Hello Everyone, its @njokuoluchukwu again; a Steem promoter.
Before I begin, I want to say a Happy Valentine's Day to everyone.
When I joined Steemit september 2017, at first I never understood the purpose of promoting until recently. Promoting Steem will increase it value and many others. Every since I realised the purpose, my ideas have being solely to Promote Steem/Steemit.
All around us, there are ideas that can Promote Steem but we fail to recognize those ideas. The first idea I shared was Why Throw-away your Old Jean when you can Promote Steemit with It., with this you can recycle your old jeans. Isn't that cool?
This post will teach readers another way to promote Steem with simple materials.
Materials needed for the Promotion
- A computer
- An Inkjet Printer
- A Laminating Machine
- ID card Film (A4 size)
- Plastic sheet ( A4 size)
- Scissors
- Safety Pins
NOTE: You don't have to personally own equipment 1,2 and 3; a business center woud have these.
With these equipments available, you can start following these Simple Steps. I hope you Follow through.
STEP 1
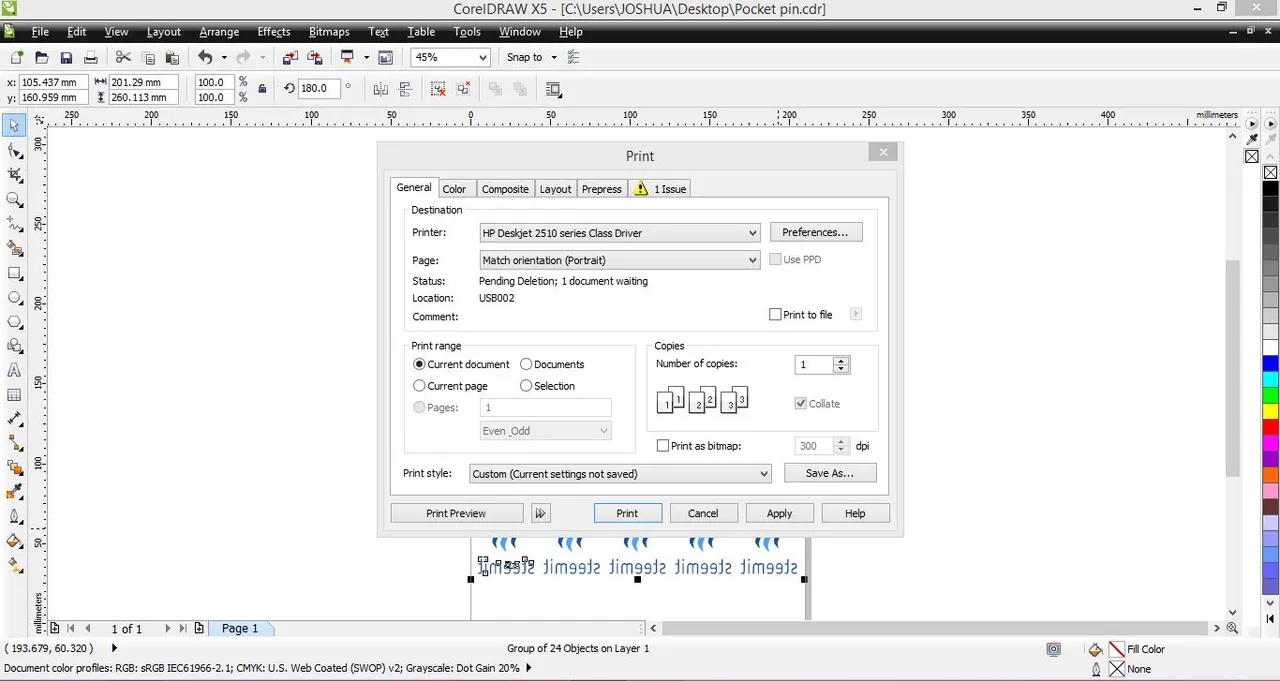
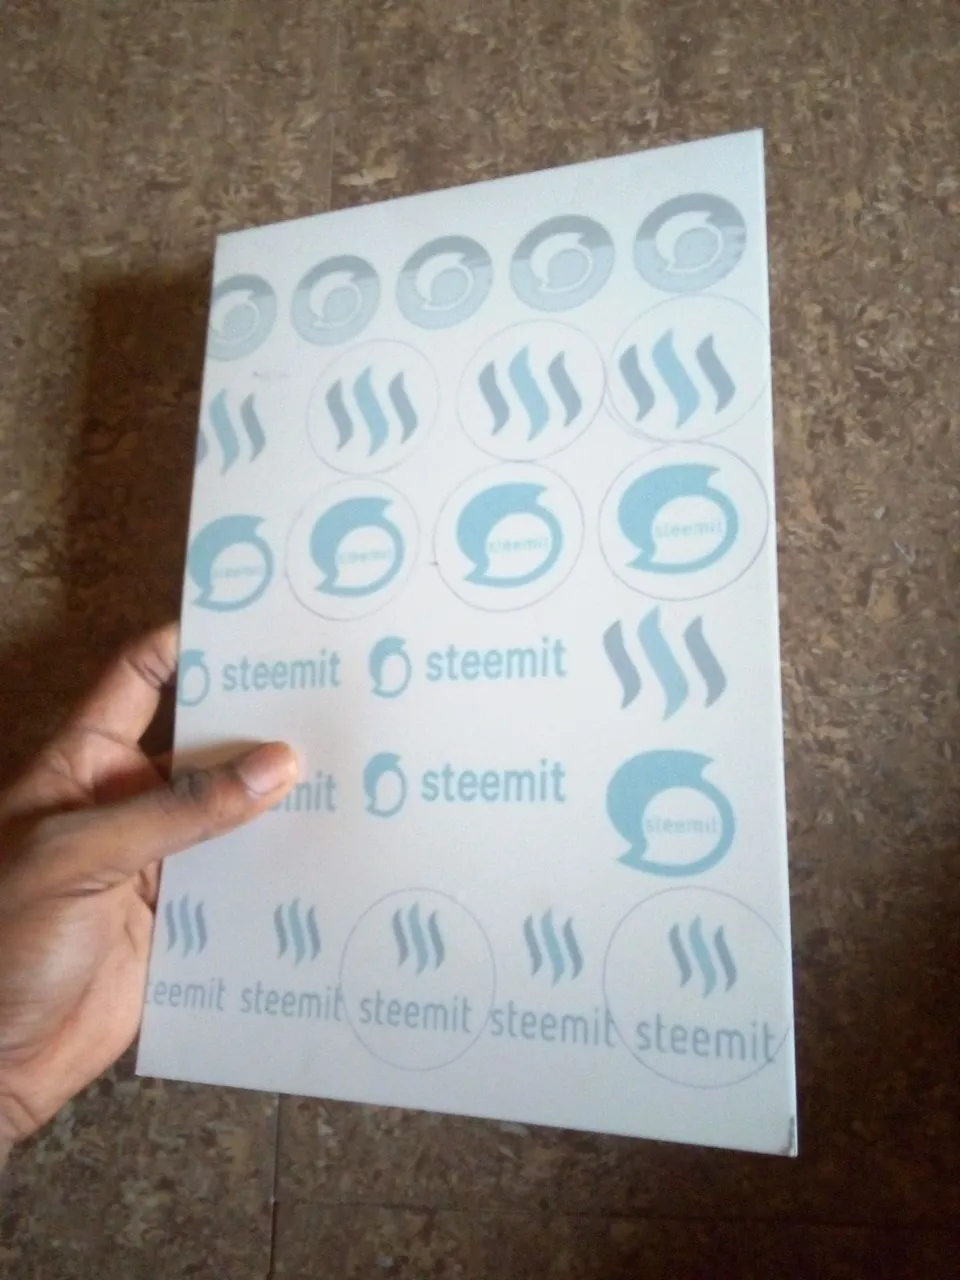
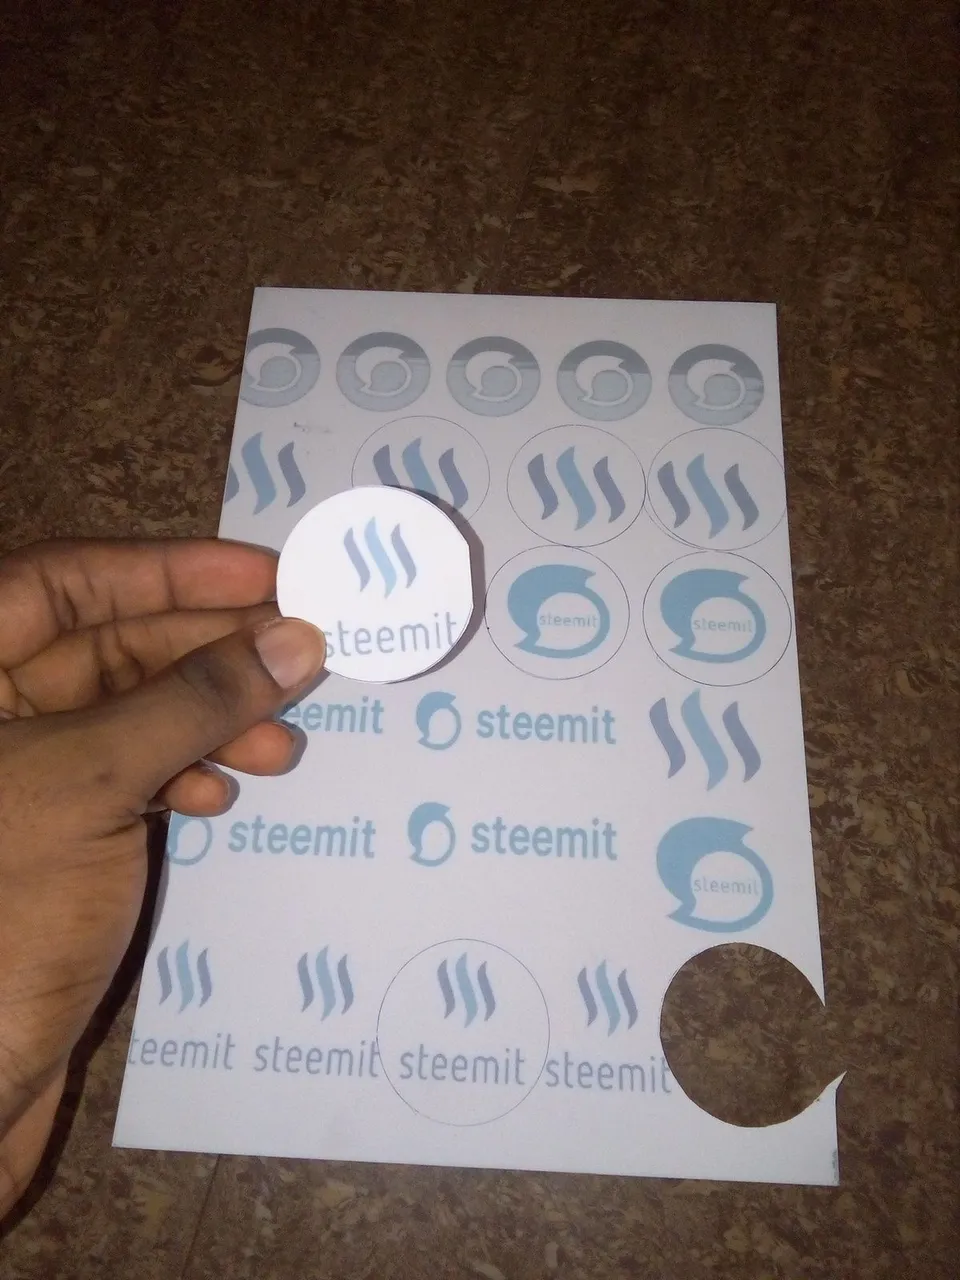
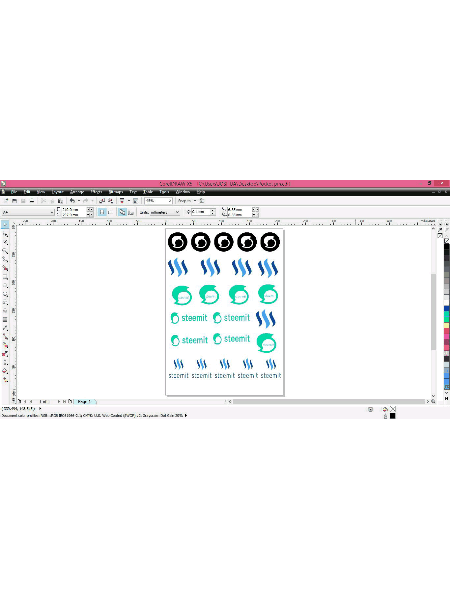
Download/ design the Steemit Logos and import them to your COREL DRAW work environment or Photoshop or any other Application, the A4 size. This is when you need a computer.
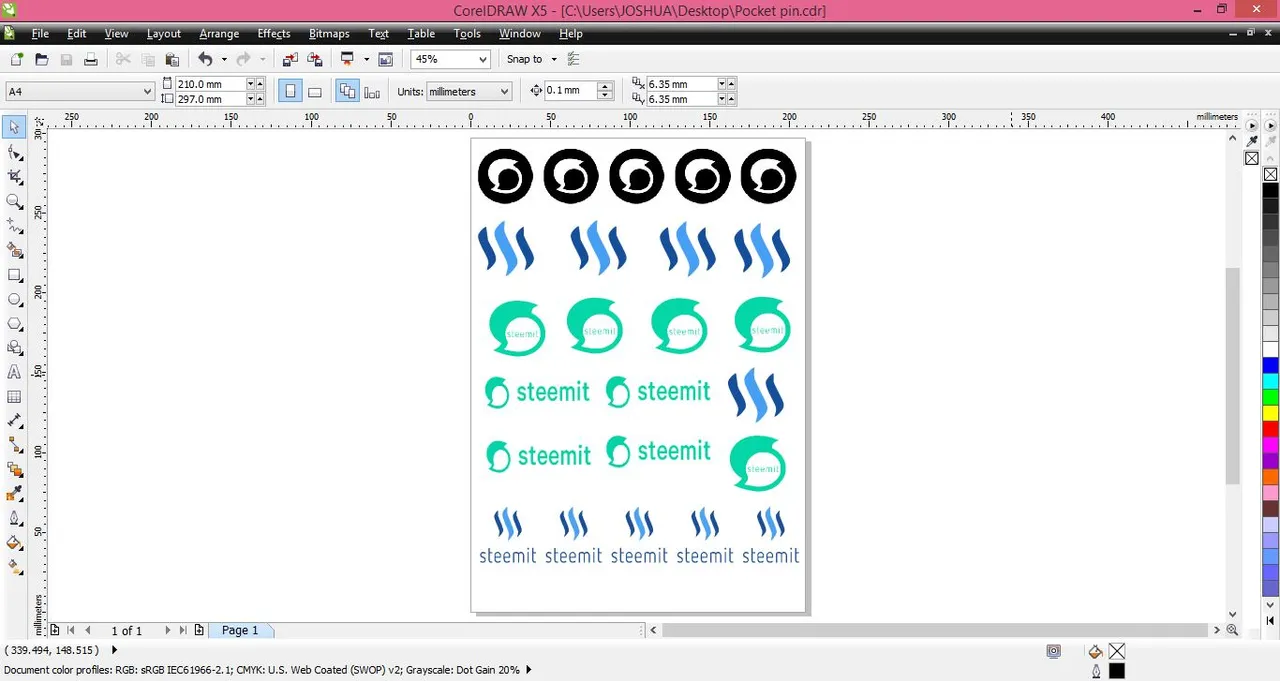
Group the Logos to act as ONE, then MIRROR the grouped logo.
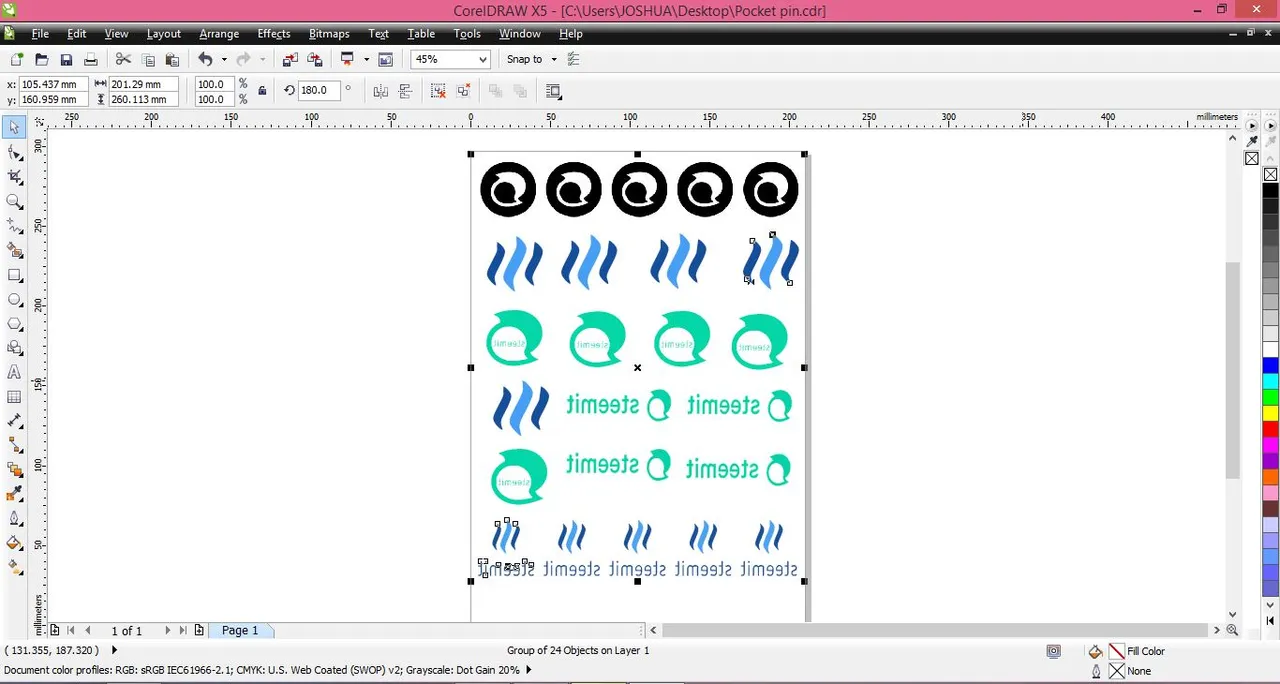
After grouping, Print the result on the ID Card film using your INKJET Printer.
STEP 2:
After completing Step 1 (printing), peel off the transparent film on the Plastic sheet and place the ID card film (the side printed on) on the Plastic Material (the side the transparent film was peeled off) and LAMINATE.
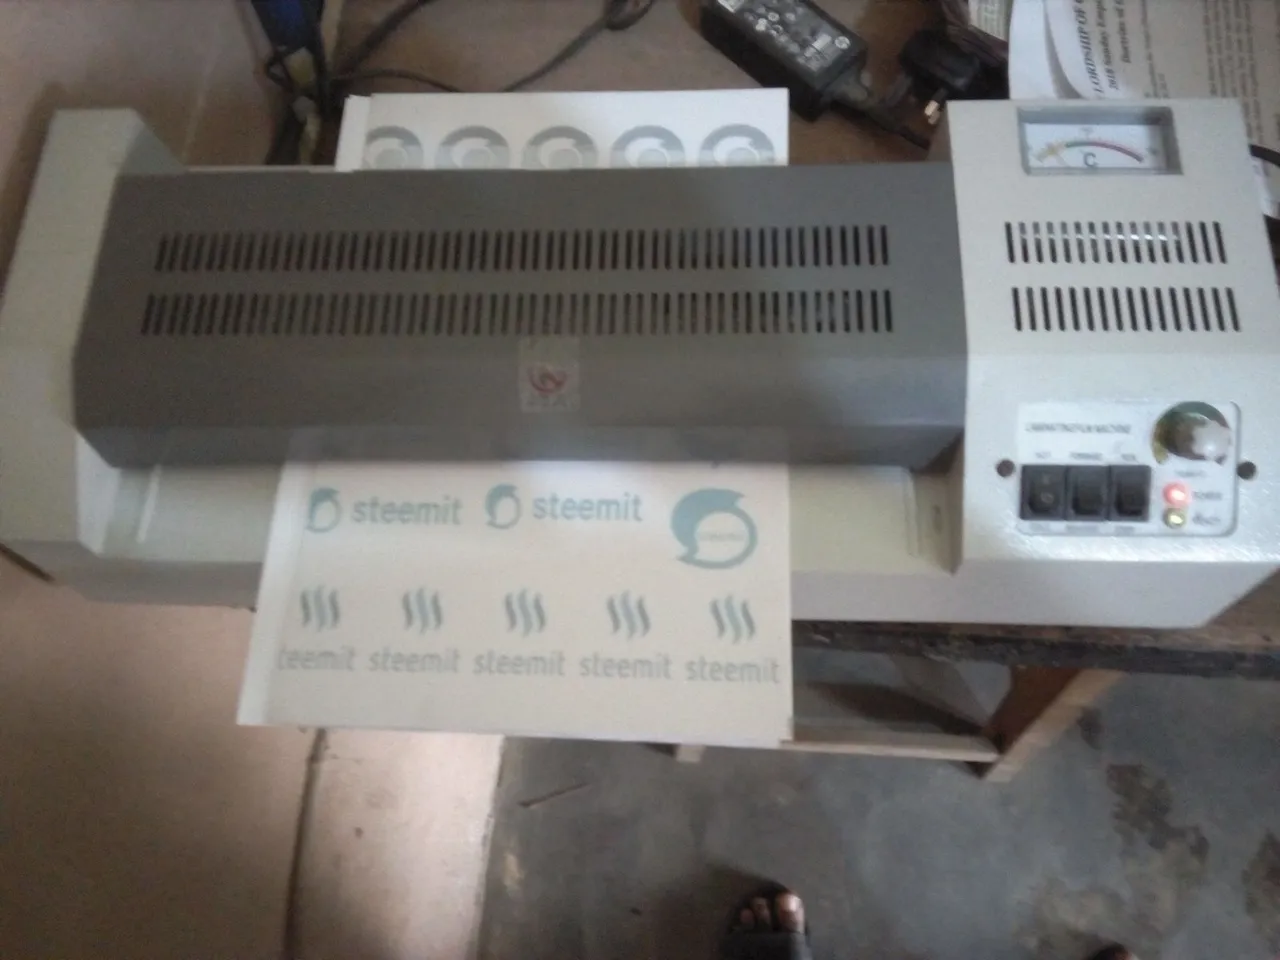
NOTE: - The purpose of laminating with the plastic sheet is to make it thick and strong.
- The Plastic sheet has sticky sides after the Transparent films have been peeled off.
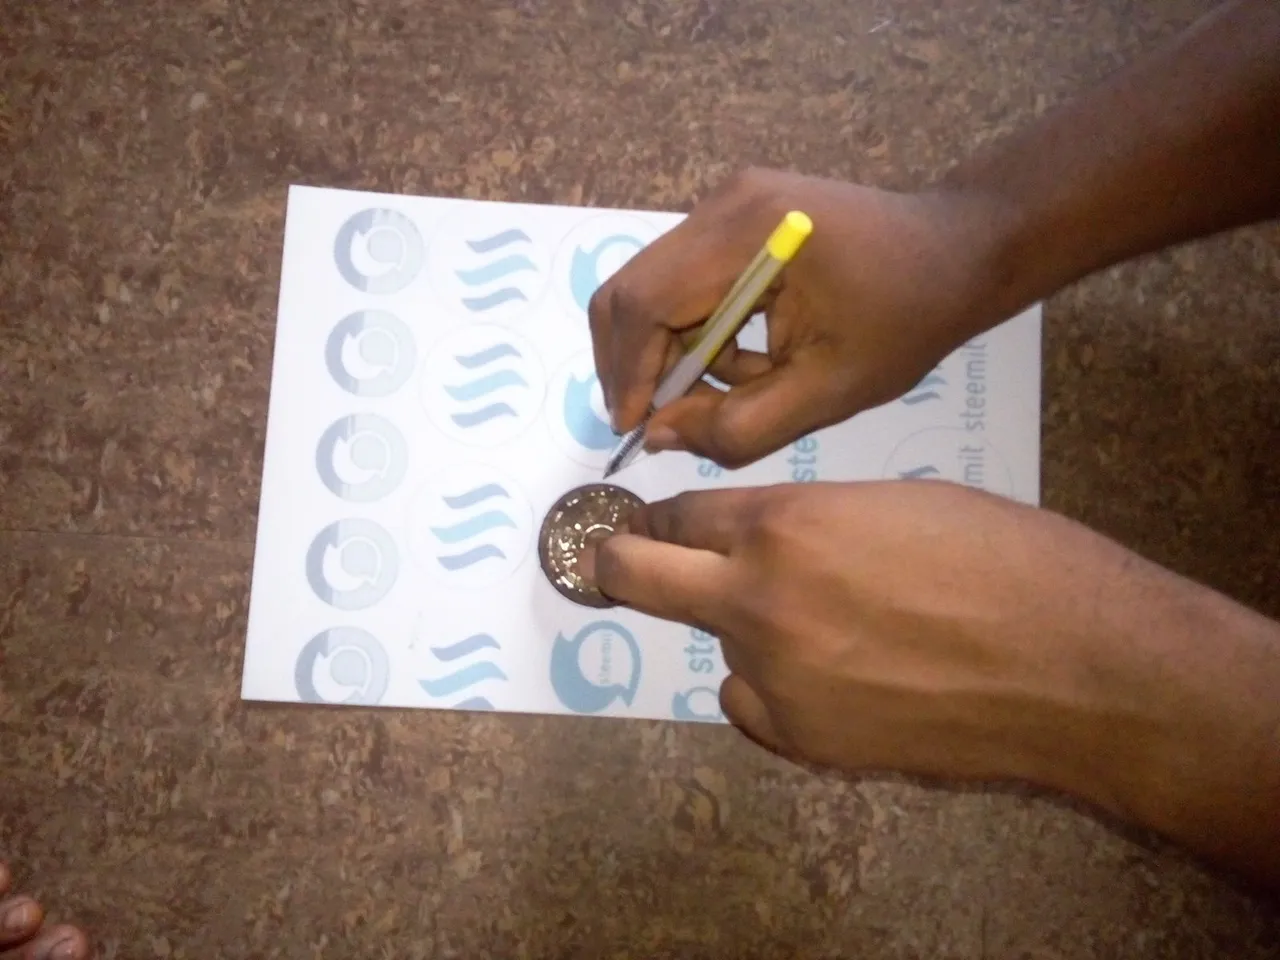
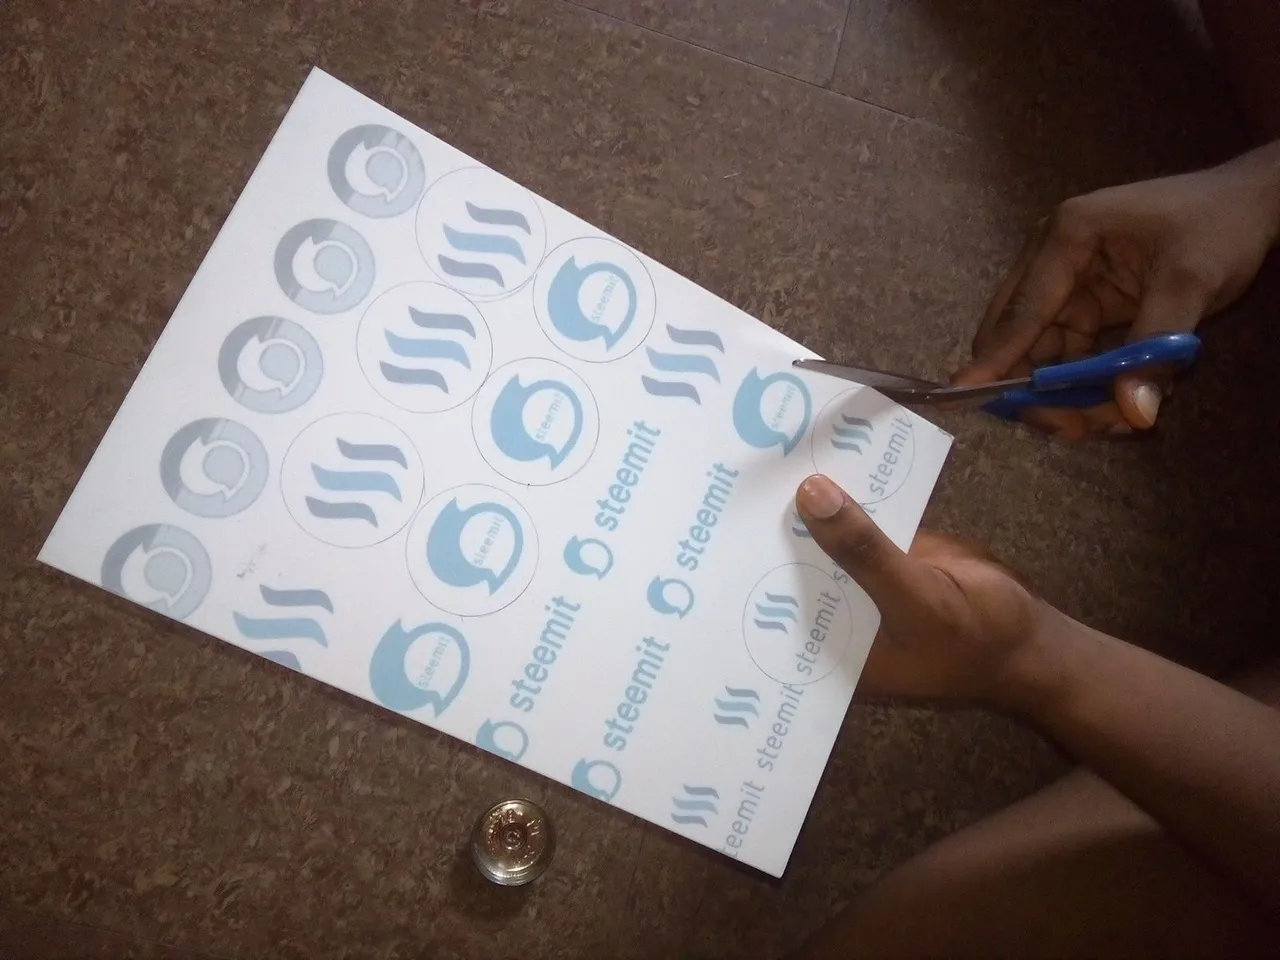
STEP 3
Trace and draw the pattern you want the Logo pocket pin to have ( Circle, rectangle, triangle, etc) and CUT IT OUT

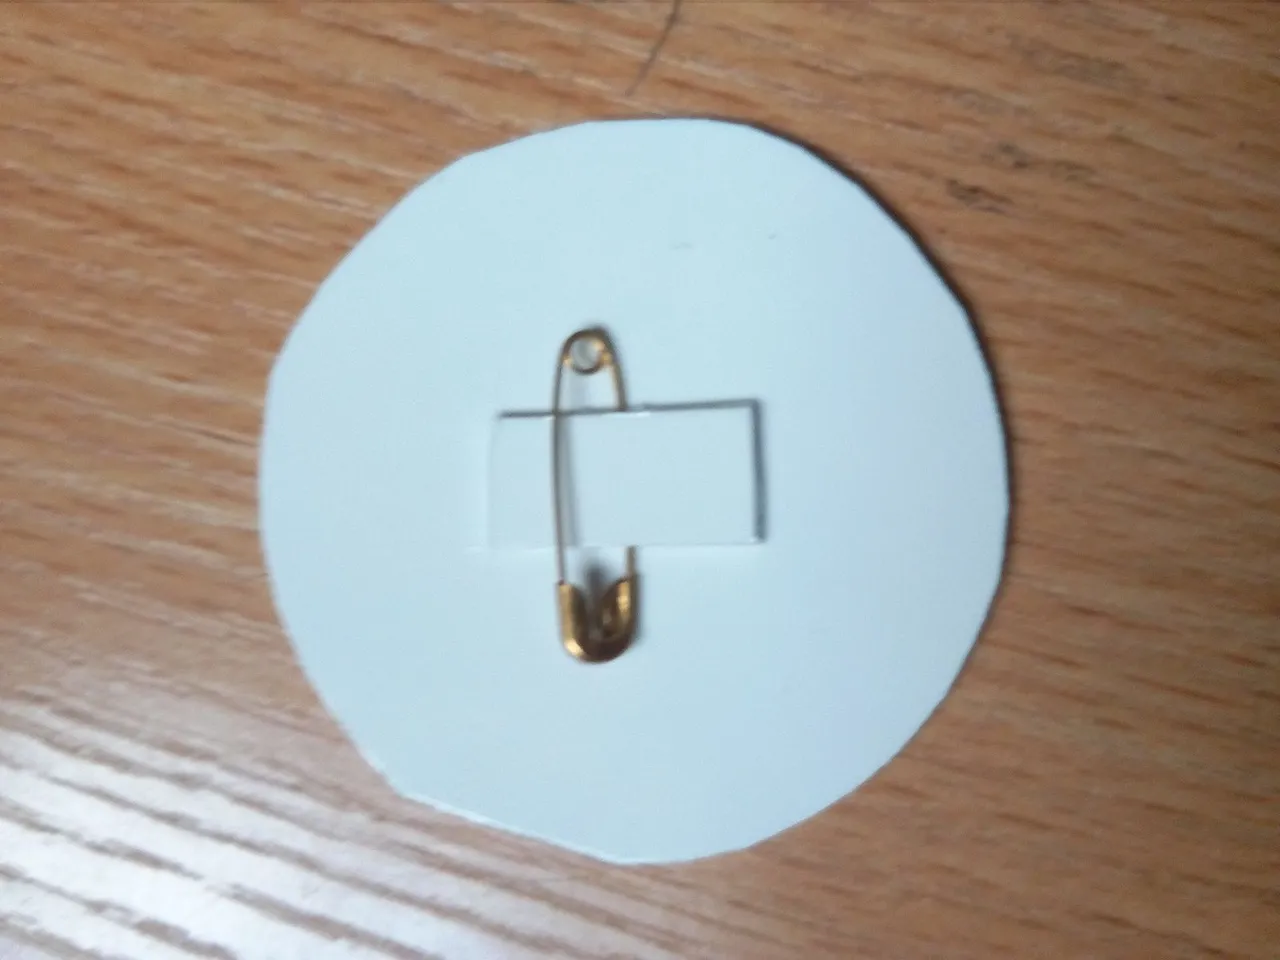
STEP 4: Putting the Safety Pin.
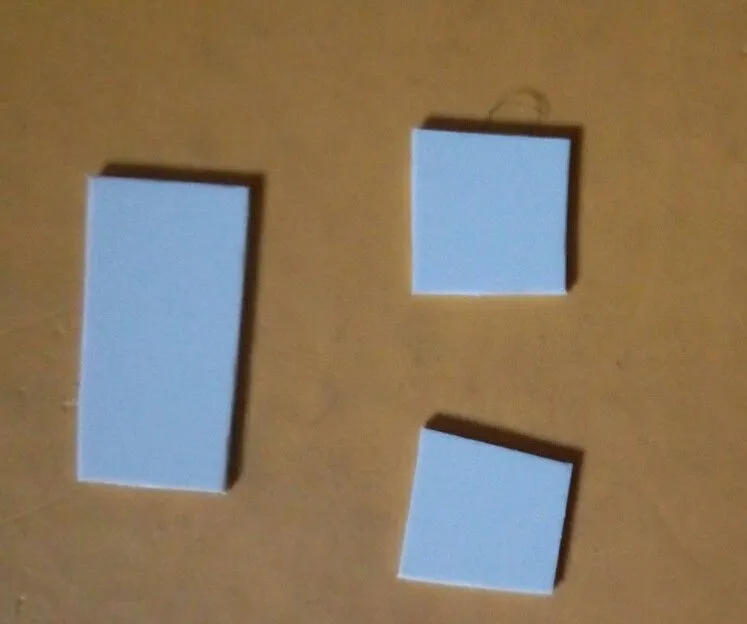
Cut the plastic sheet into 3 smaller pieces (one long, two short) and join them together; the two short pieces at both ends of the long piece, creating a GAP between them so the Pin can set in.
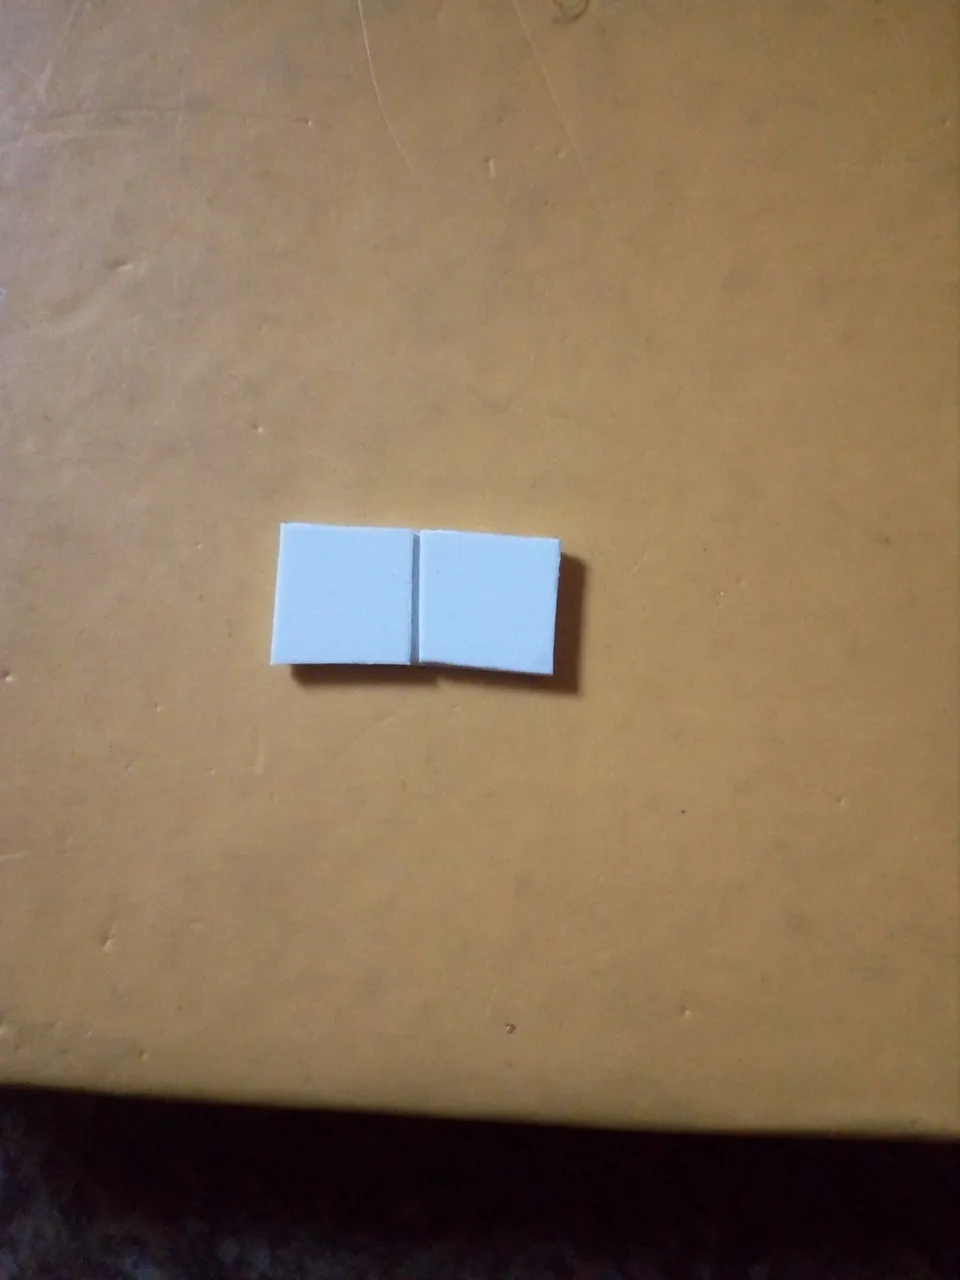
After attaching these 3 pieces together, put a part of the pin in the gap created and glue it to the back of the pocket pin.
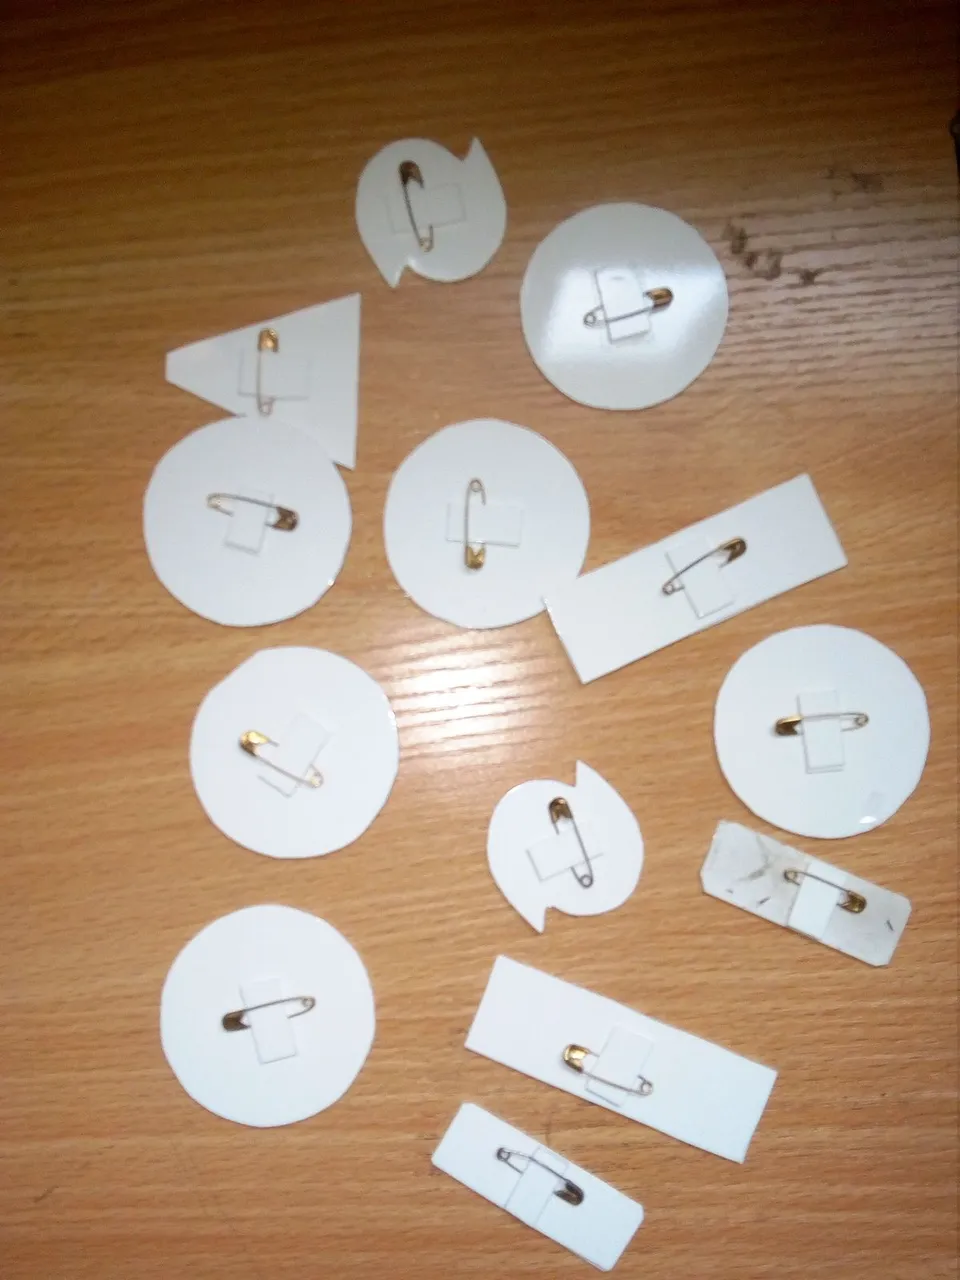
NOTE: If two sticky side of the Plastic sheet it joined, it creates a PERMANENT JOINT, very hard to separate again without damaging it.
STEP 5: Removing the translucent film
This is the final step of this process, peeling the translucent film off the ID Card film you used in Step 1 (this ID card Film has two sides; the printable side and the translucent side).
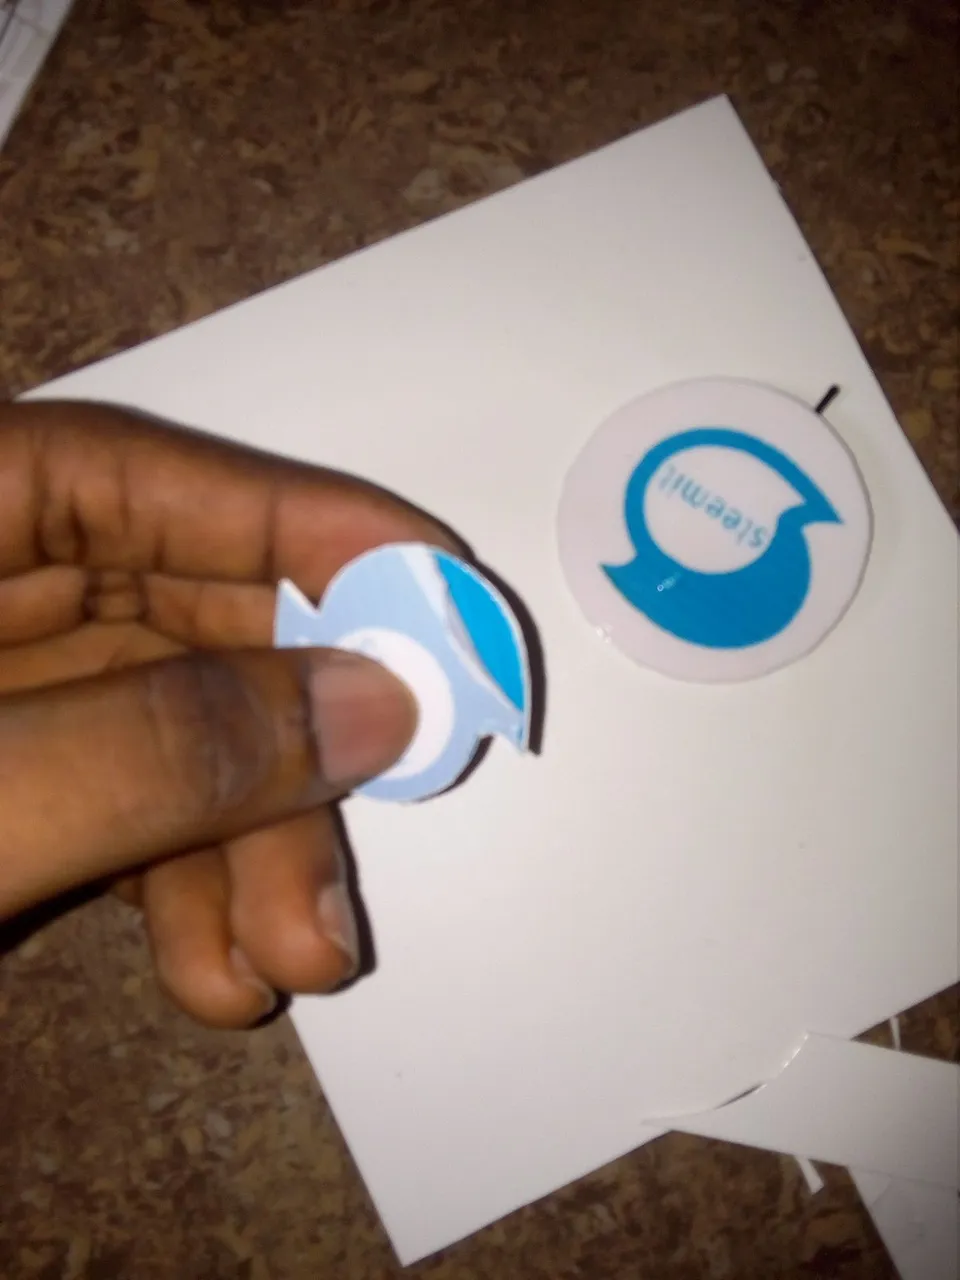
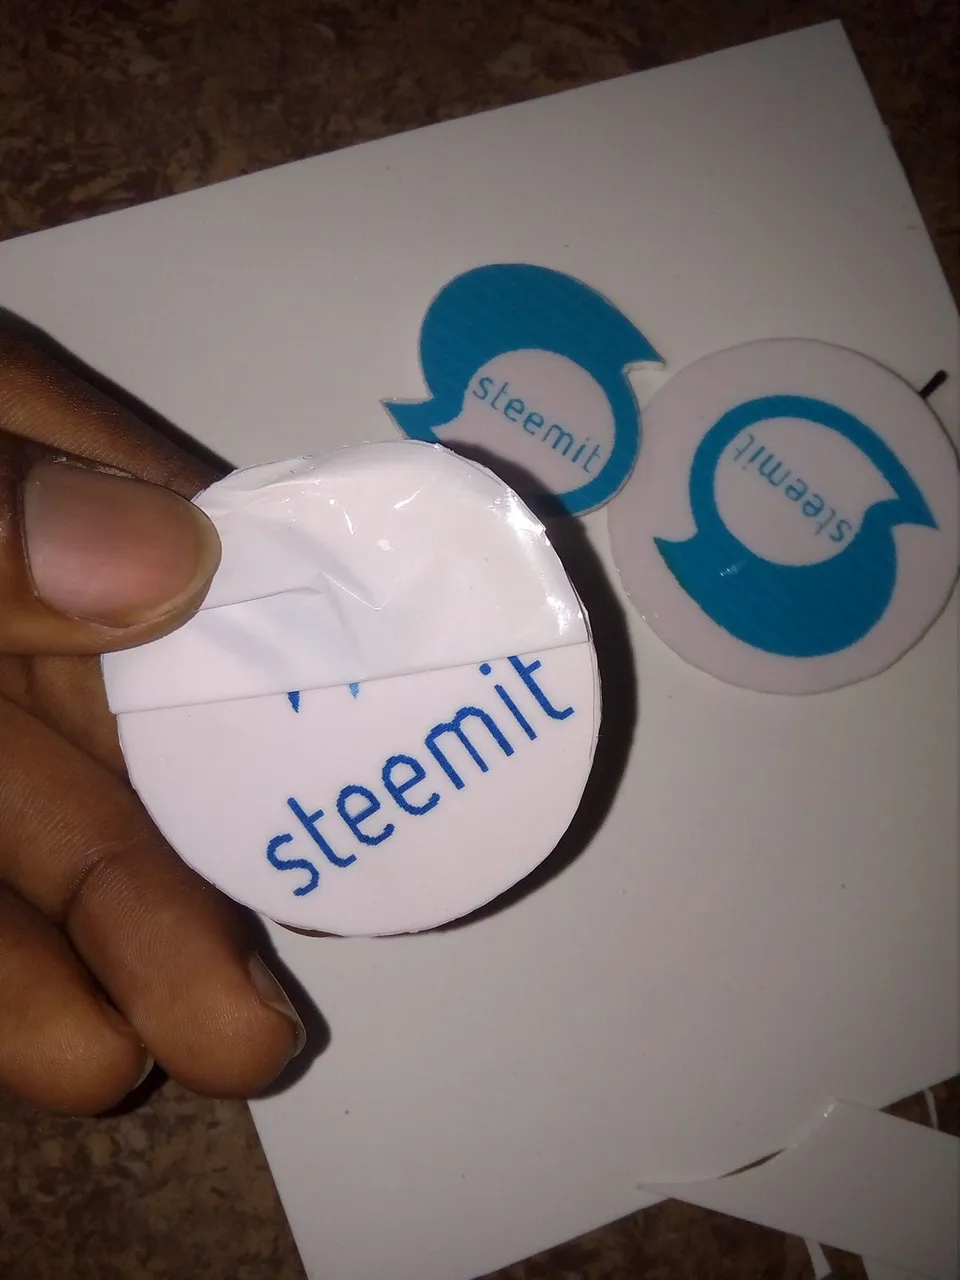
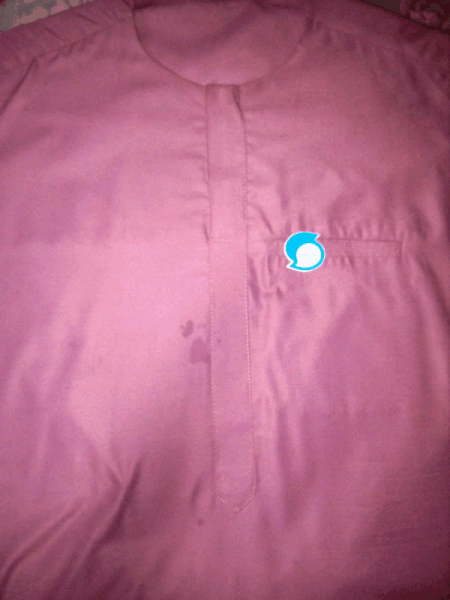
NOTE: Removing the translucent film from the Pocket Pin will show the CLEAR image of what it should look like.
And VOILA you are done!
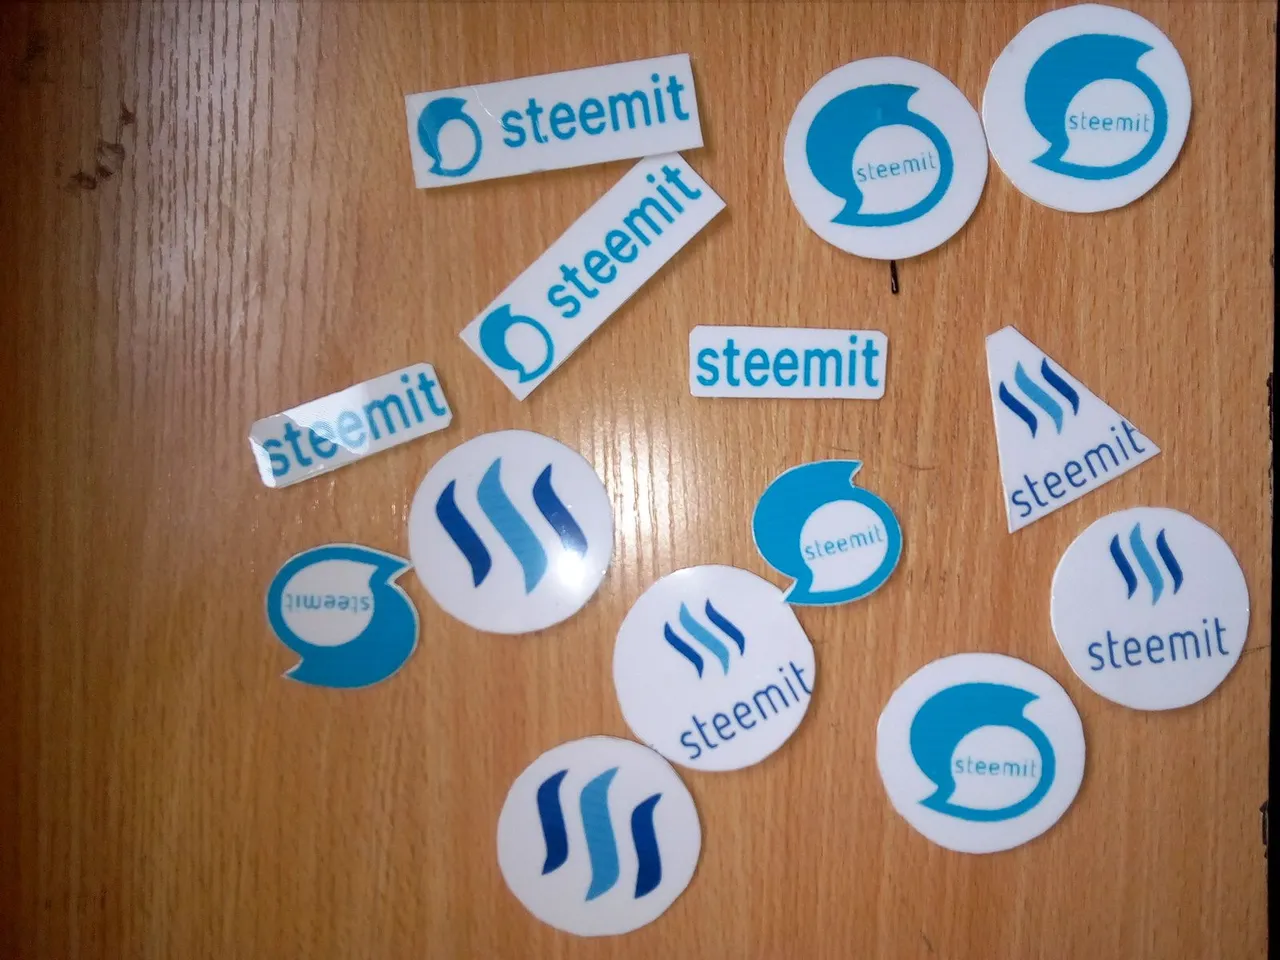
If you understand and follow these 5 Steps, you will get the ultimate result.
The Results


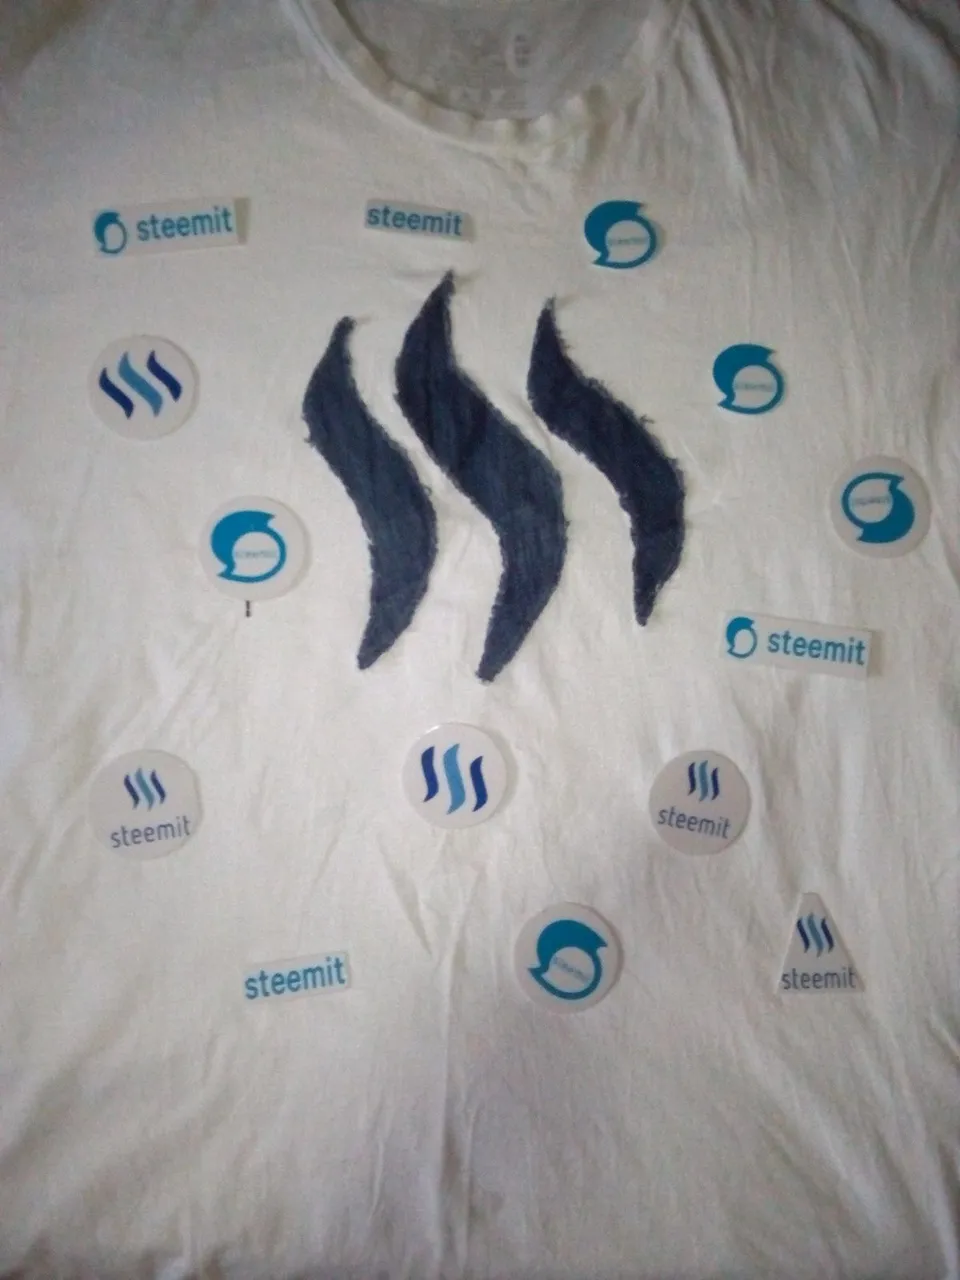
As a proud Member of the #credo Kommunity and Steemit promoter, I have decided to share these STEEMIT Pocket Pin with Newbies and Knowbies of the community and Steemians generally. As this will Promote Steem as long as it's Pinned ON!
THE Step 1 - 5 in GIF
Results in GIF