Hi everyone, here's a painting which i created recently. I wanted to share the process of how i created this for all my steemians. also at the end of the post is a full video which covers how i started this from line art to finish.
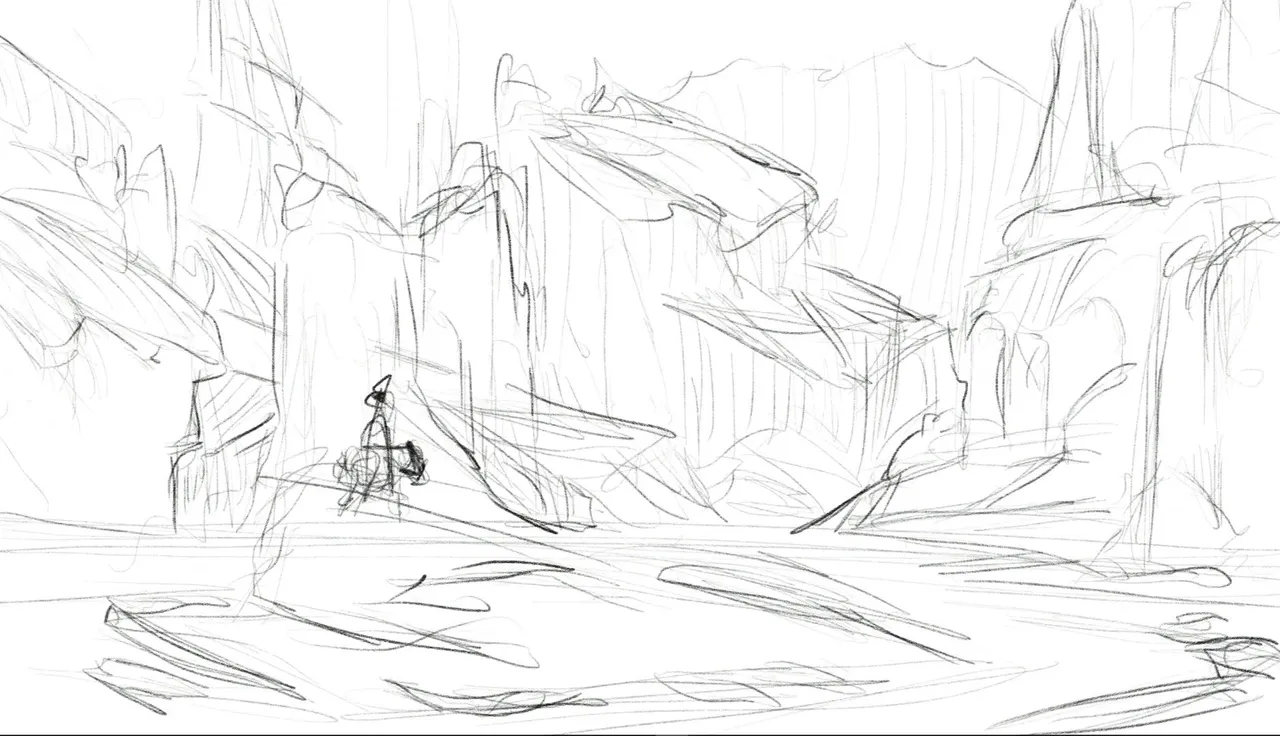
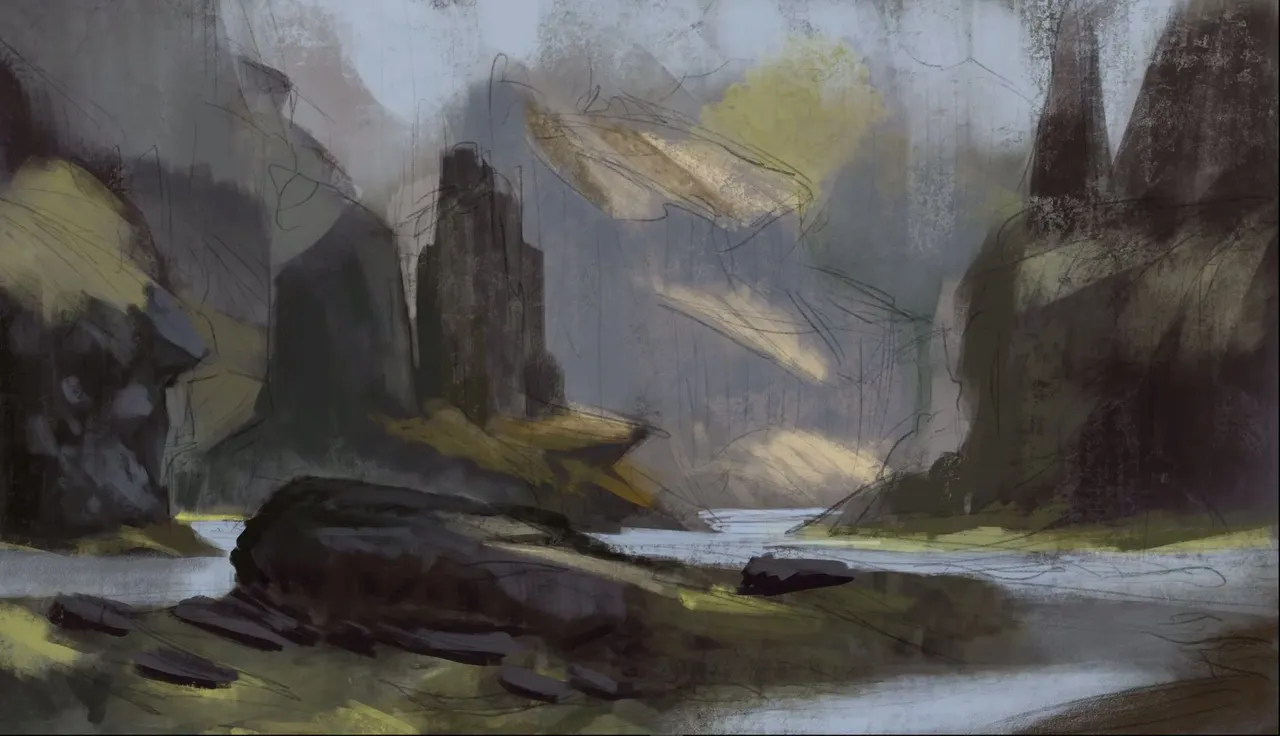
In the first step i start by creating a loose line drawing of how I want the composition to be set up. I try to keep it loose because I want to generate more ideas while I'm working on the image. the only thing I'm really keeping in mind here is the perspective and how I want things to recede in space.
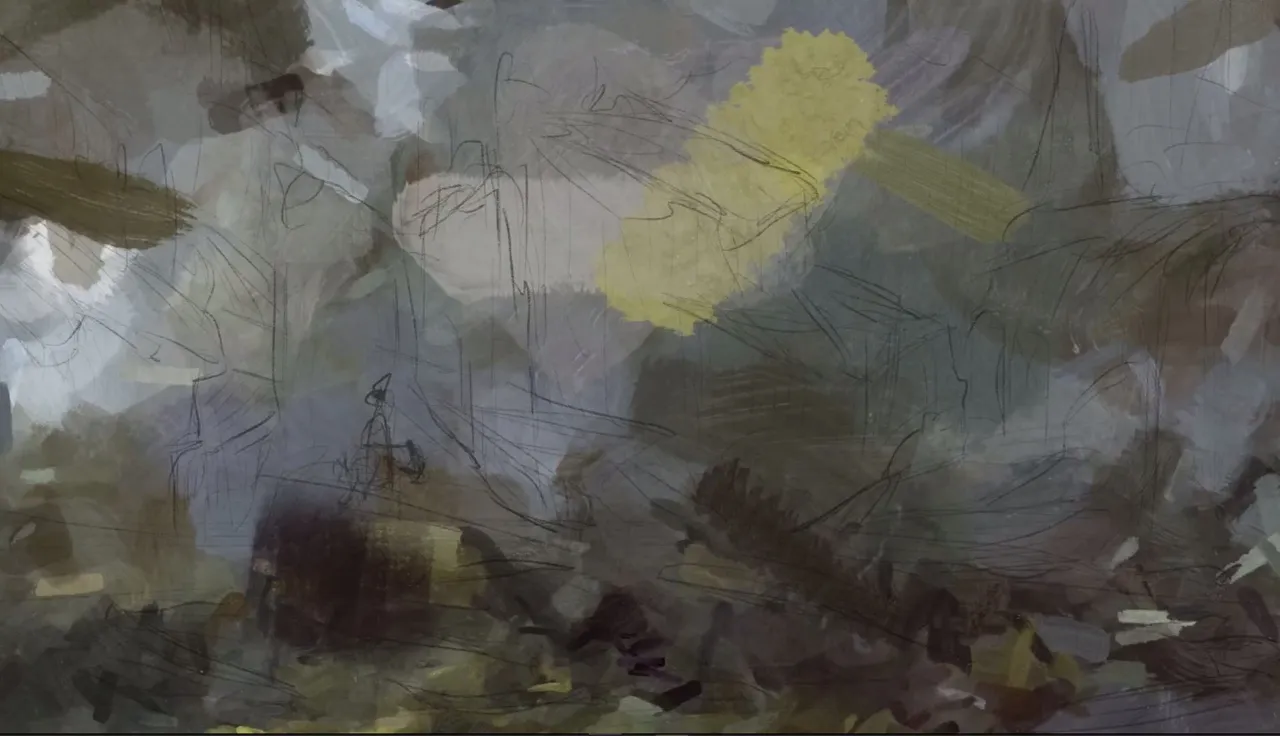
In this step I take random texture brushes and establish a color pallet and just paint in roughly all over the canvas to bring extra little accents or interesting shapes and colors. I use this layer for abstraction to generate interesting ideas, shapes and colors organically instead of me trying to force something that wont work.I also use this layer as a sort of under painting layer so when i paint on top of it I create interesting artifacts that I couldn't produce on my own intentionally.
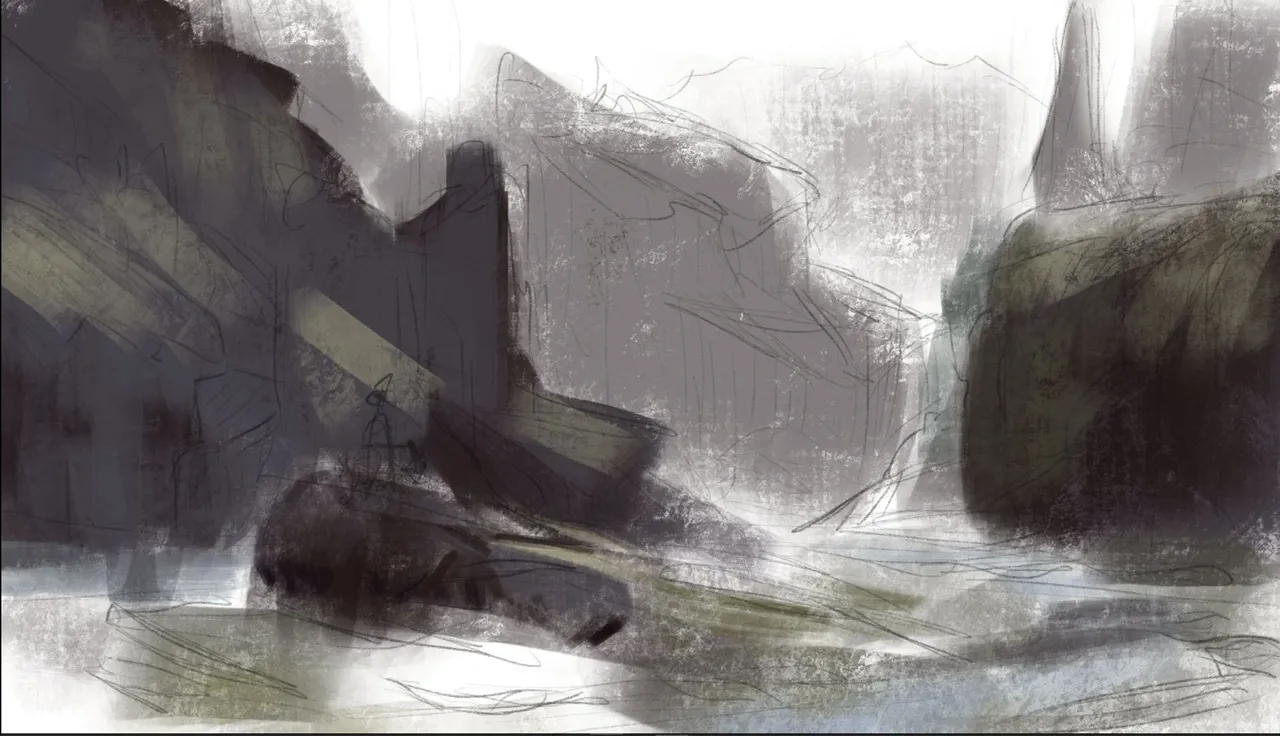
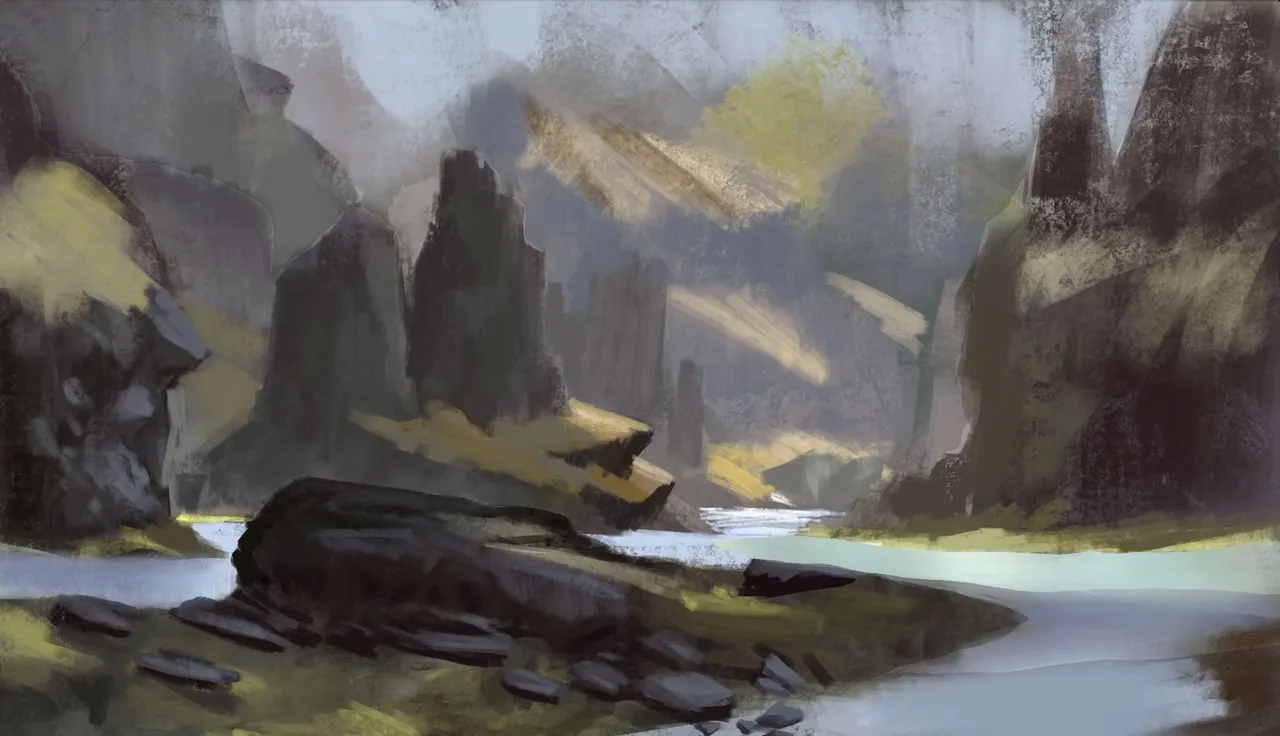
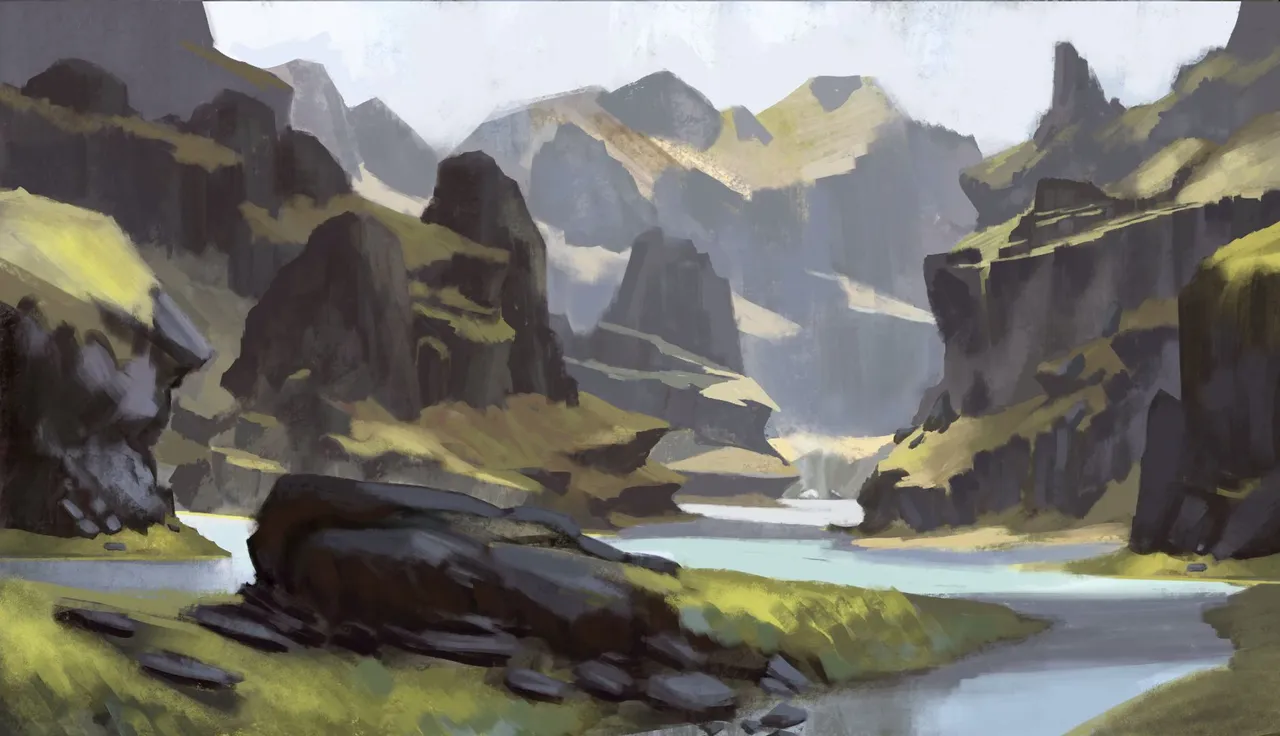
With the ideas generated I start blocking out the large masses, choosing my values to increase in brightness from foreground to background using the rule of threes.
Note* colors and value become less saturated and brighter as they recede into space due to atmospheric perspective.
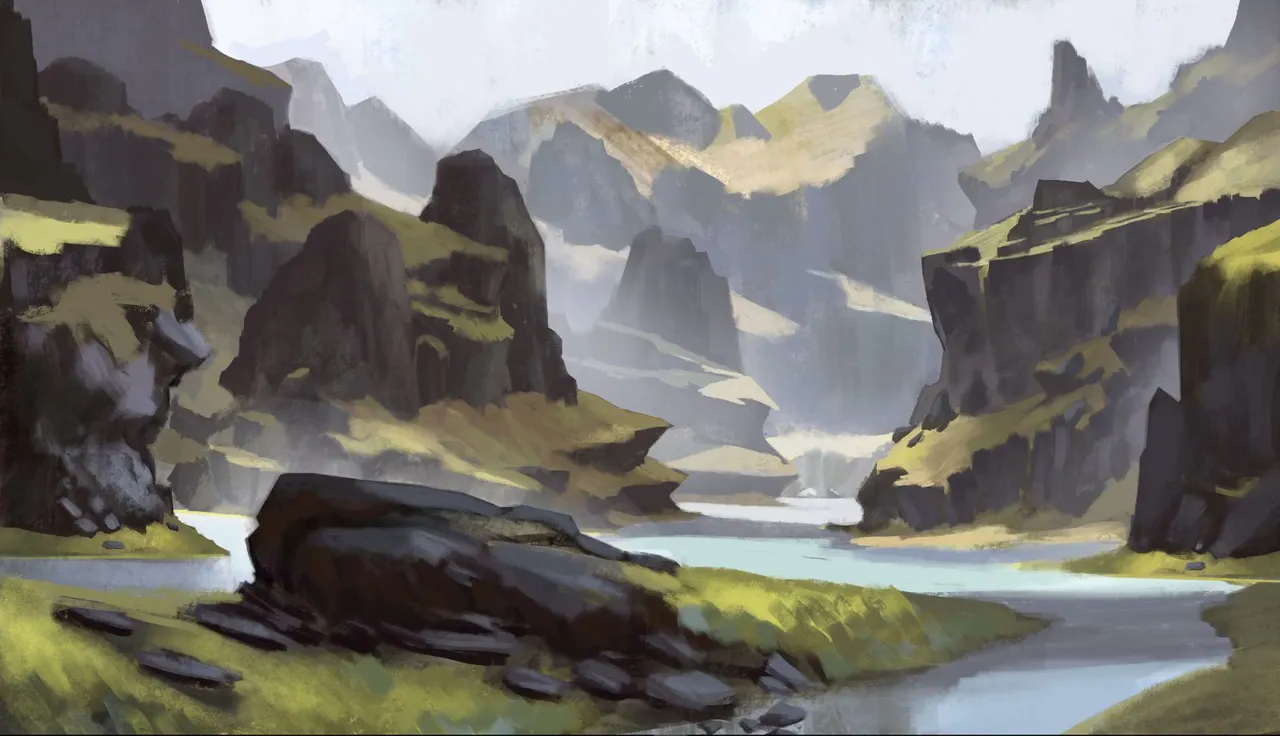
As I'm working I'm constantly juggling the value structure to ensure that each section stays in their own zone and using curves and color balance to ensure this. also note that my foreground, mid-ground and background are all on separate layers to ensure I have maximum control over my image structure. whilst keeping this in mind I am working on fleshing out the details and adding more interesting shapes and compositional points to the image.
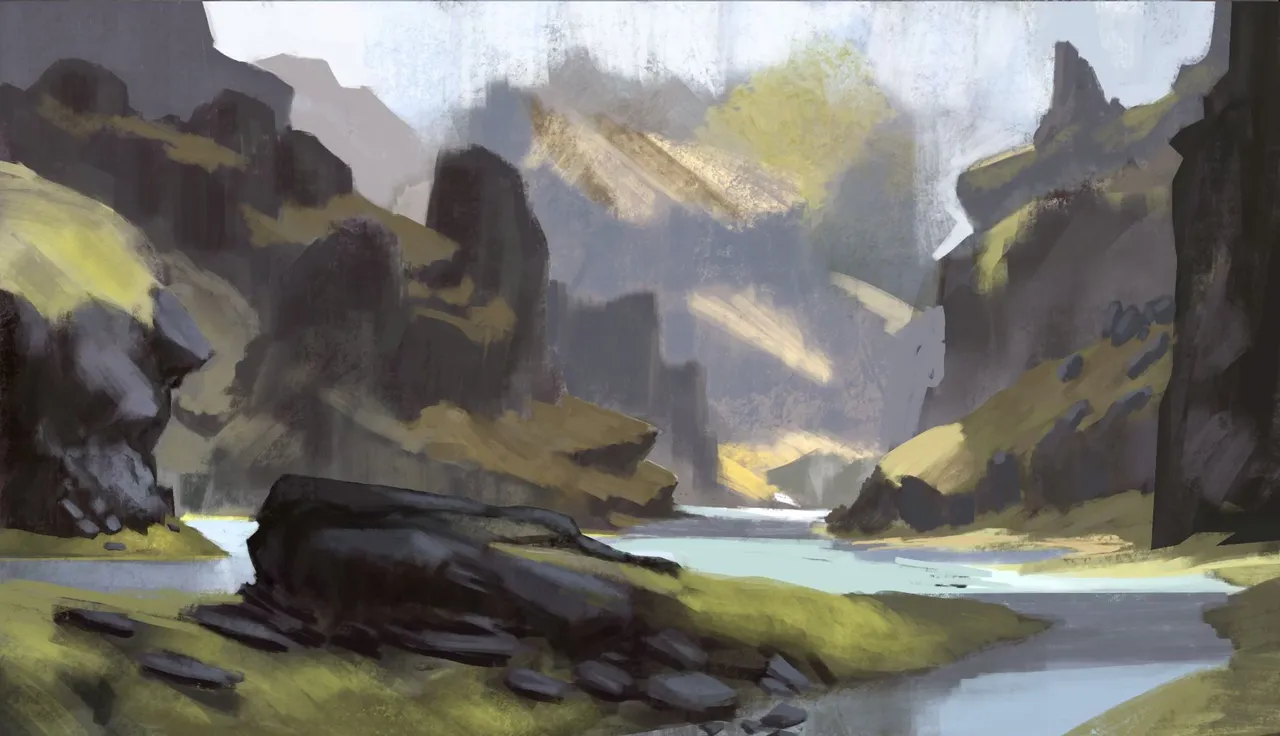
As I'm working I realize that my image might be a bit green, so I add some extra colors to break it up a bit and render out the image more, I'm paying close attention to the saturation as I only want my saturated points to be the lightest lights and keep the majority de-saturated in order to have visually interesting focal points.
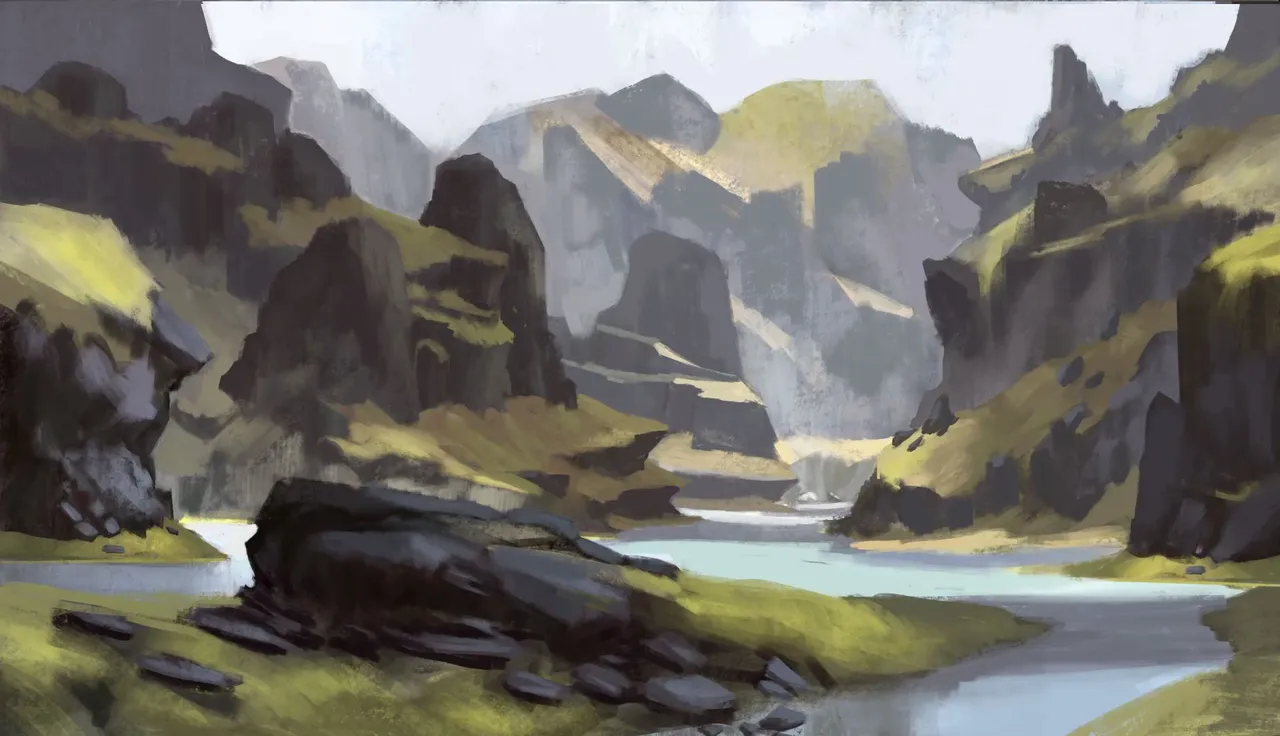
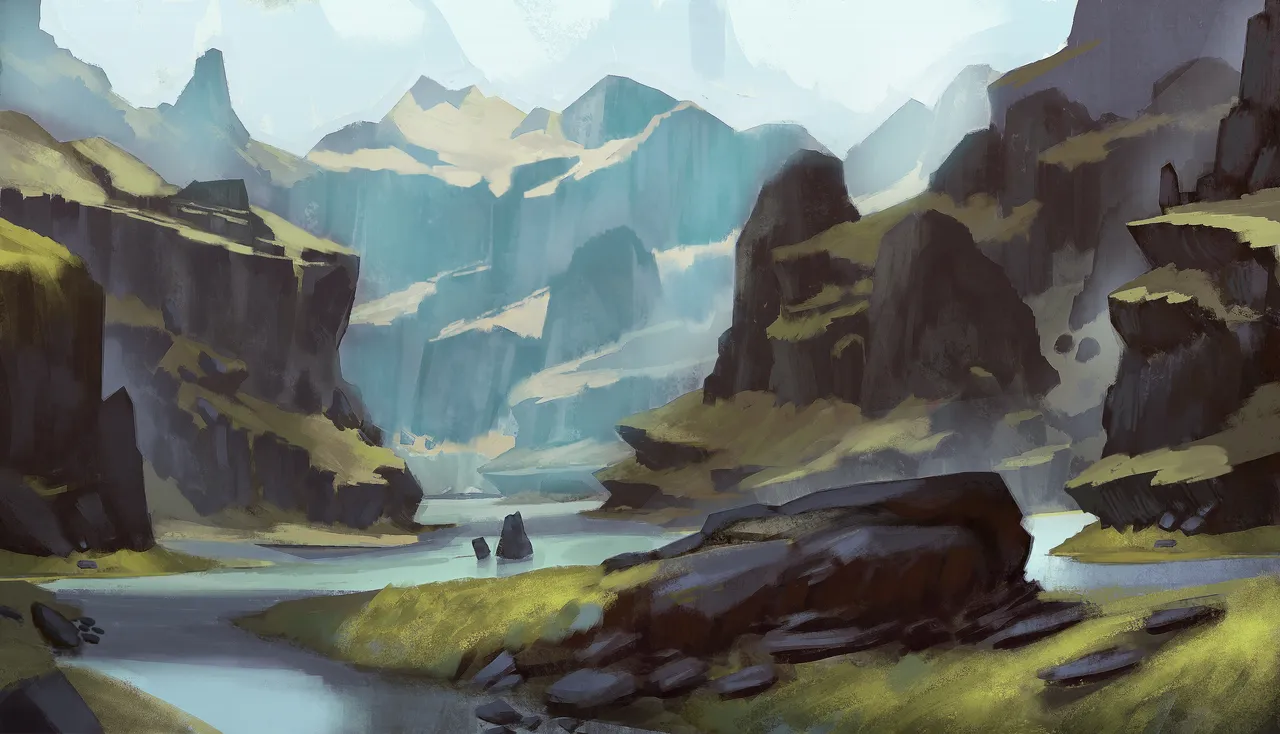
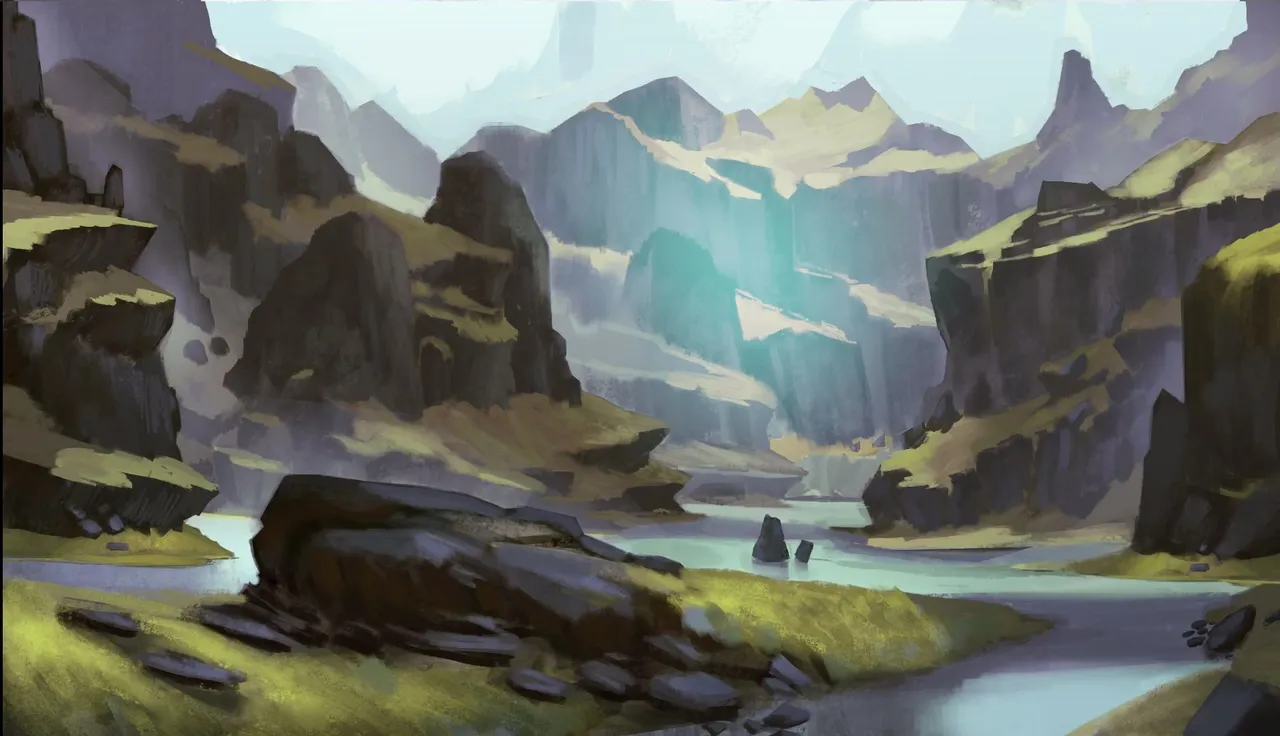
For the last bit of the image I start really playing up the atmospheric perspective to separate out three sections of background mid-ground and foreground. I accomplish this by using a soft brush and setting my layer to screen. I ensure that a light blue is chosen as when objects recede into space and atmospheric perspective occurs the natural light of the environment gets picked up as it's bouncing on the water molecules in the air.Lastly for the final image i flipped it horizontally as in my opinion it flows better when viewing from left to right and the viewers eye reads from the entrance of the river at the bottom left to the rest of the image, this is just subjective, ultimately the S shape in the composition is what will determine how the images reads.
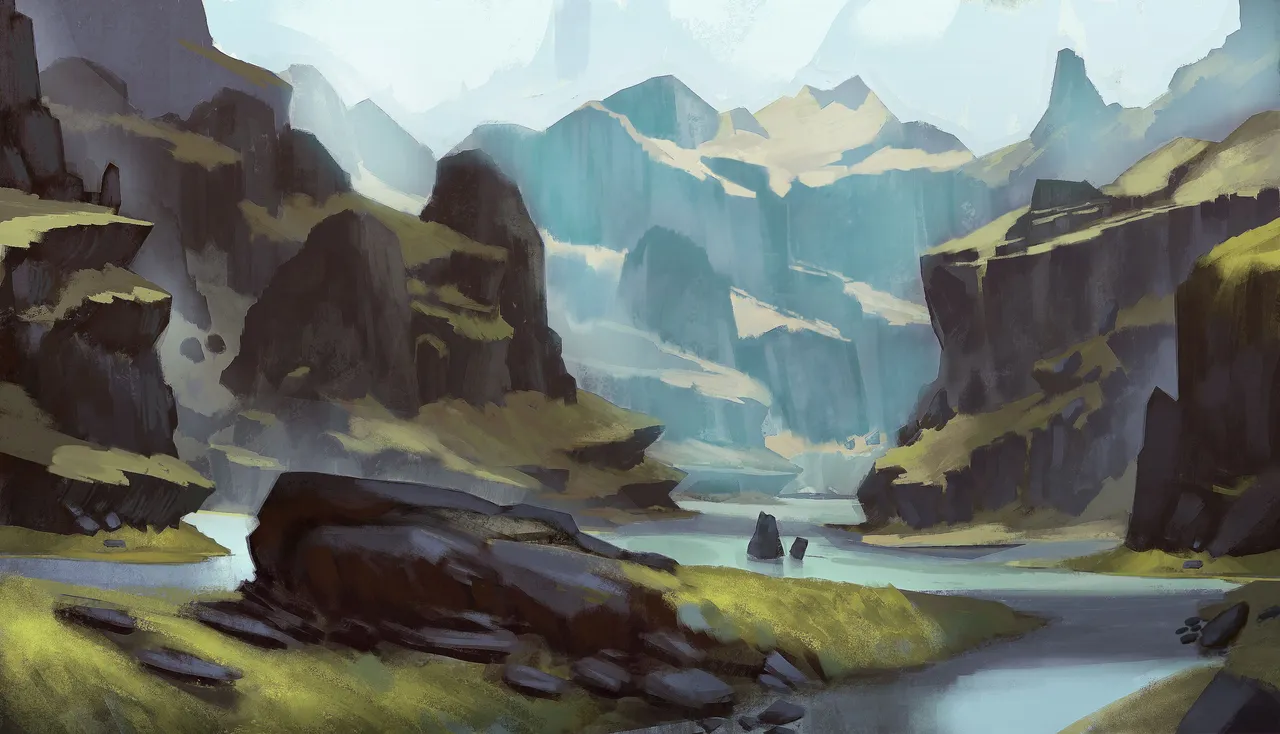
Final Image
Here's the video process where you can see everything i did from start to finish.

I hope you enjoyed this overview. note I'm not an expert and these are just my thoughts on creating this type of image. I hope you find value in it and learn something new.
If you have any questions please feel free to comment and ill answer them.
Please feel free to Follow & Resteem :)
have an awesome day!