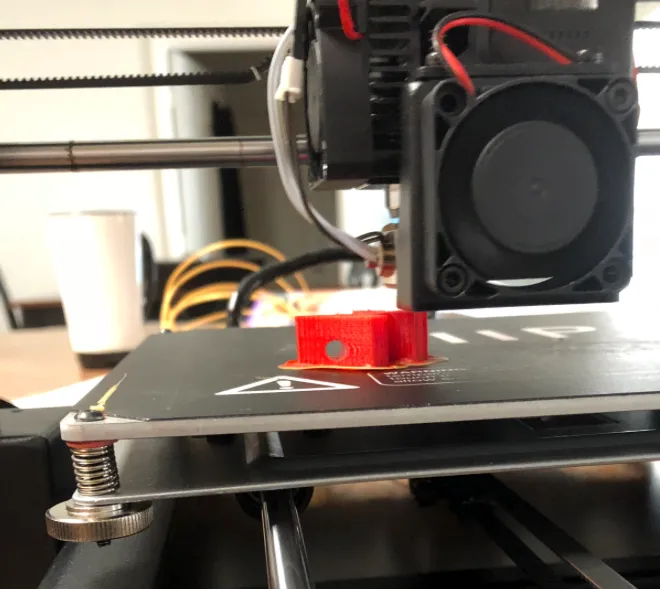
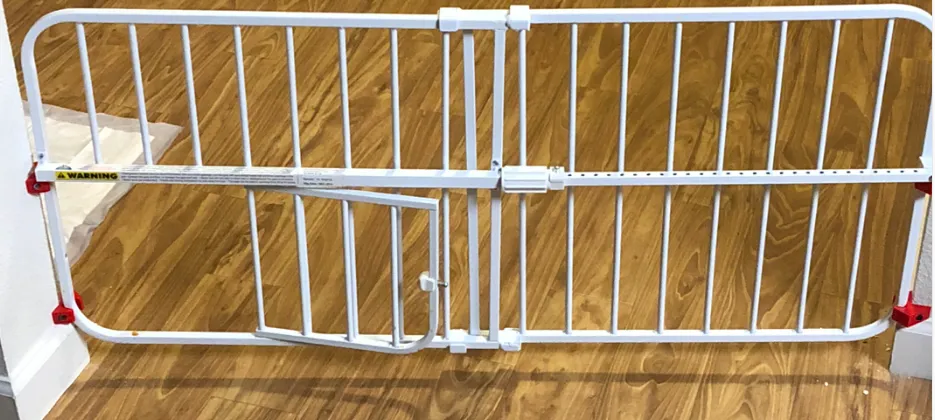
After a week of waiting for my new extruder nozzle to come in, I was finally able to get to get started up on 3D printing again. My first project of the year is a rather simple one, creating a bracket to hold my dog gate in place. Why you ask, because whoever designed this house did a terrible job with the floor plan and getting my dog gate to hold between the wall that separates the kitchen is a big pain the ass.
So I am still somewhat of a novice when it comes to doing this, I have a basic printer from Monoprice and I use Tinkercad and Cura for designing and converting my .stl to .gcode. Anyways this post is to illustrate my process.
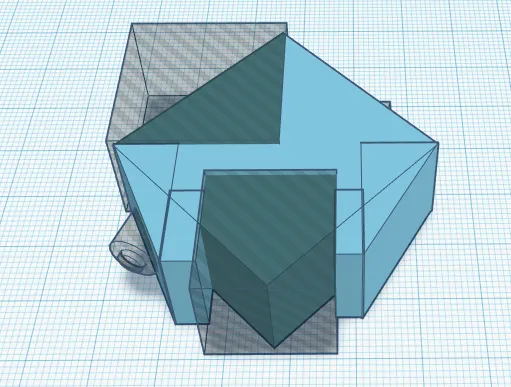
Tinkercad is a pretty simple web based program to do you designing in.
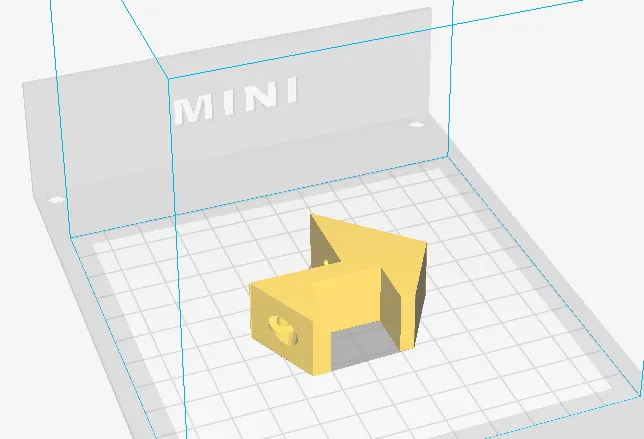
Cura converts the .stl file type from Tinkercad to the .gcode you need to actually print. It also gives you some options for infill, ie honey comb, solid, hollow. For this print, I did 50% infill, so think honey combs.
Anyways this particular piece took a few attempts before I got it right. I chalk this up to learning and practice.
So this is the end result. Of the bracket and how it works.
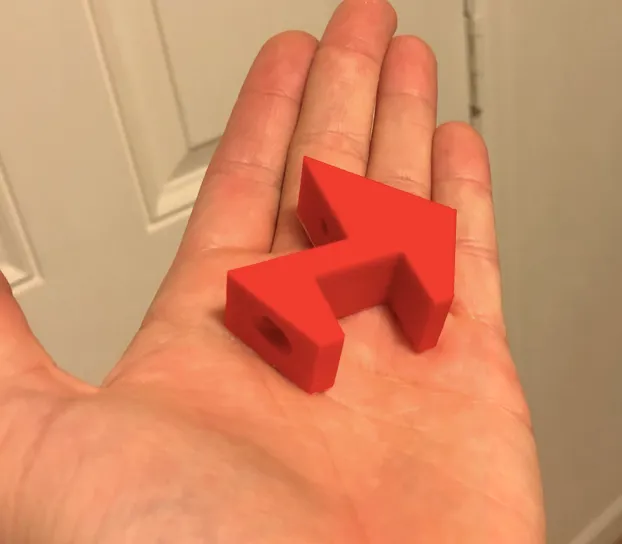
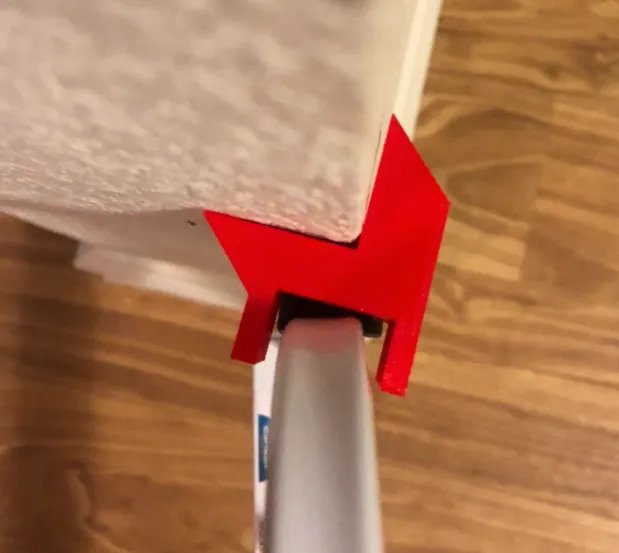
And finally, what this is supposed to do...make putting the dog gate place easier. I ended up printing 4 of these, 2 for each side. The bar that runs across the center of the gate, which is used for tightening, rests on the middle bracket. The ones on the bottom give it some additionally stability. Hopefully, this is the last time I will have to do this for this particular part of my house. Next is stair way.
Dont forget to upvote and comment, I will upvote thoughtful and meaningful comments. Til Next Time!