Well I'm glad the title caught your attention....
It's not as seedy as it sounds. I was in the mood for baking some bread today and thought I'd share with you non-culinary folk how easy it actually is to bake your own bread.
It's very difficult to think of any other aroma more appetising than that of freshly baked bread and you can't beat the first bite of warm bread straight from the oven.
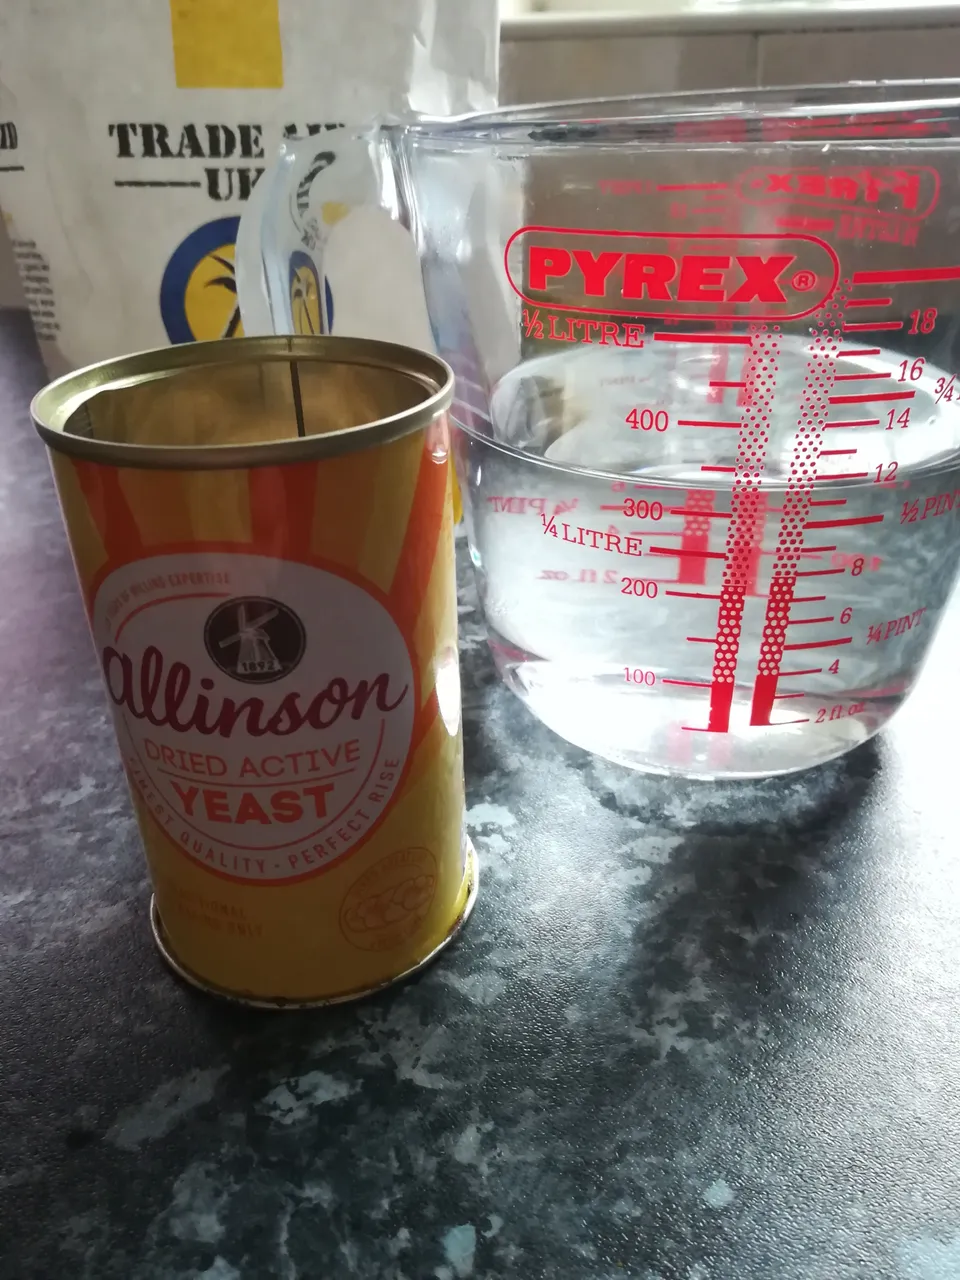
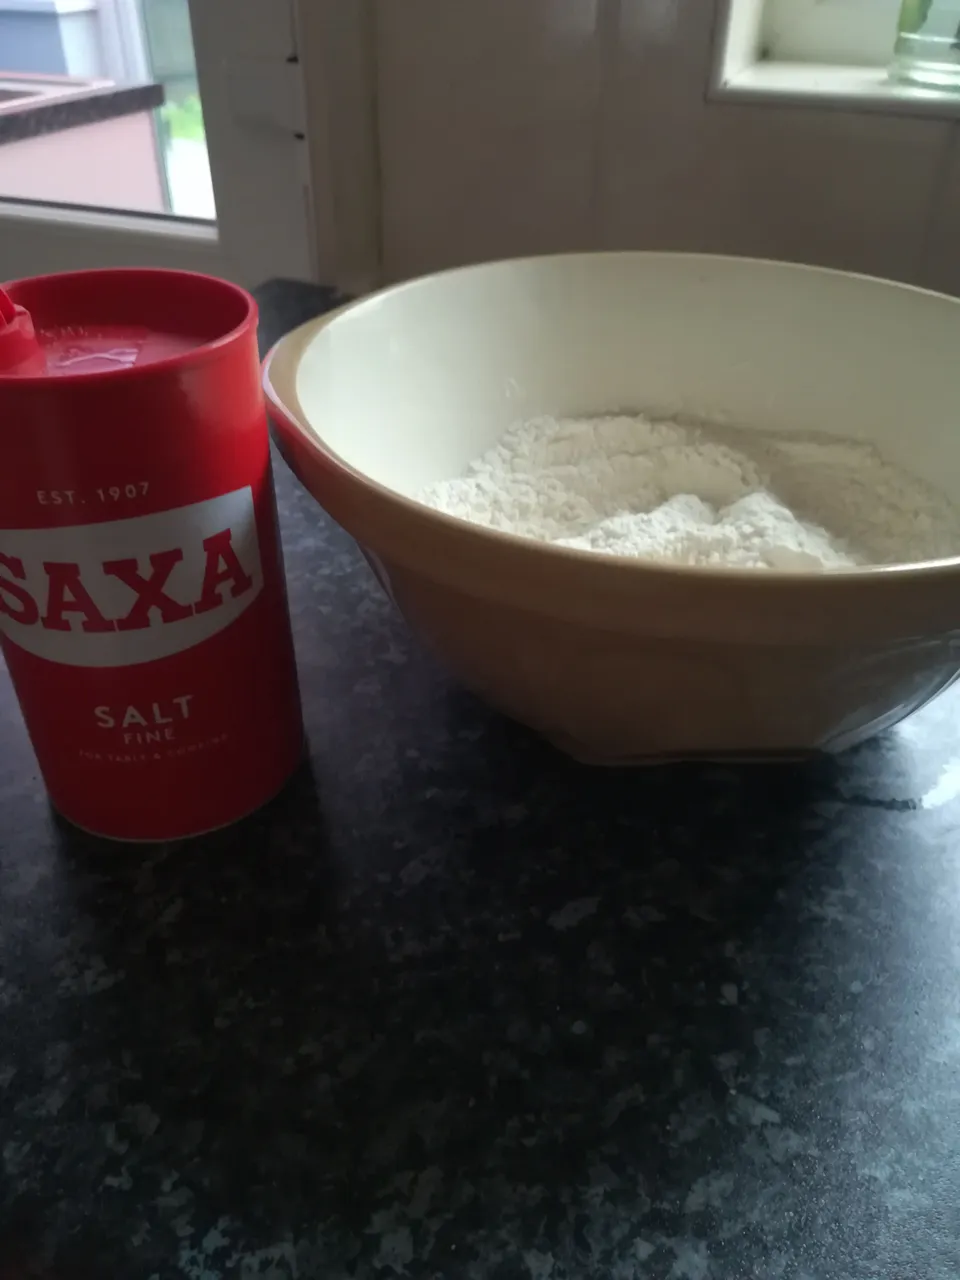
First thing to do for a simple, white, split tin loaf is gather your ingredients. There really is not a lot that goes into a loaf.
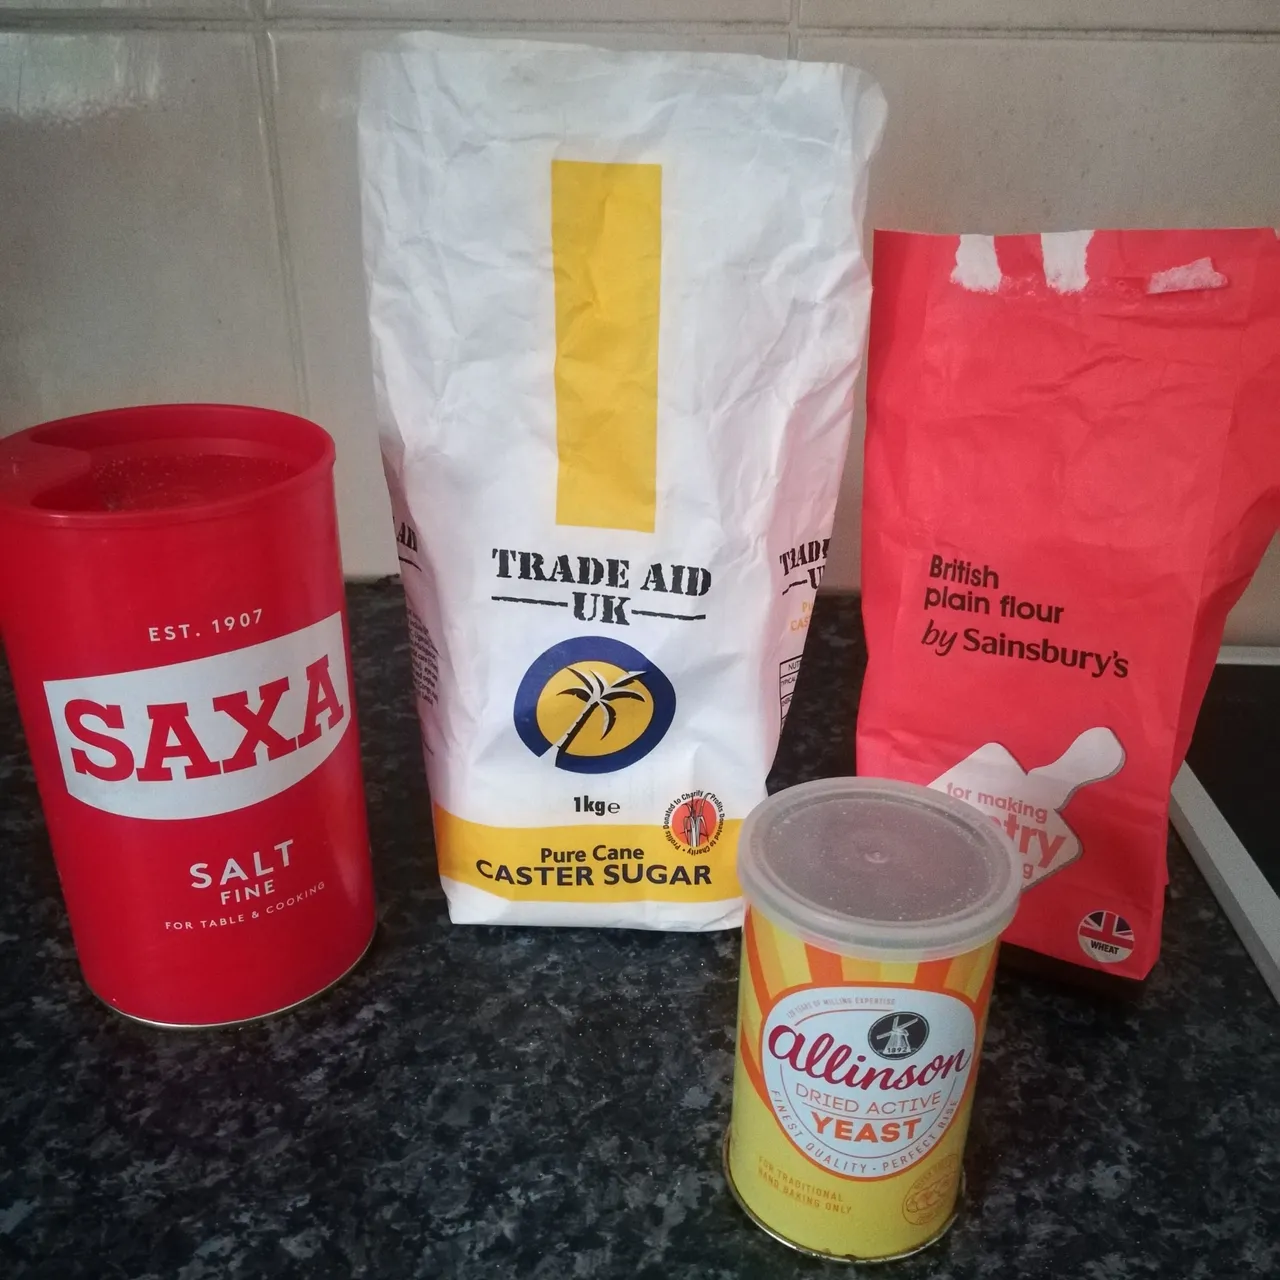
Unbleached white bread flour (I used plain as I ran out of strong flour), salt, sugar and yeast.
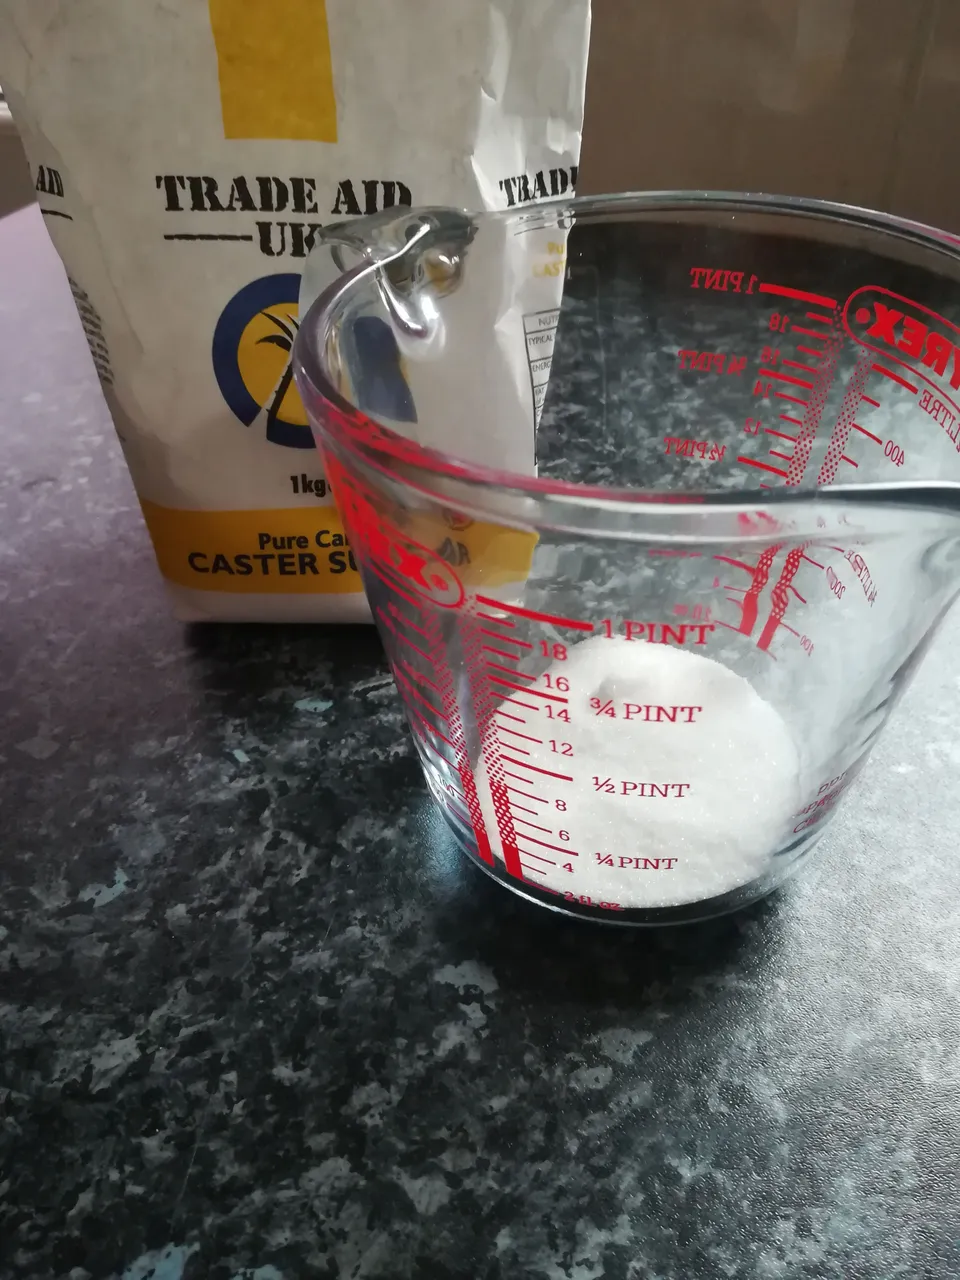
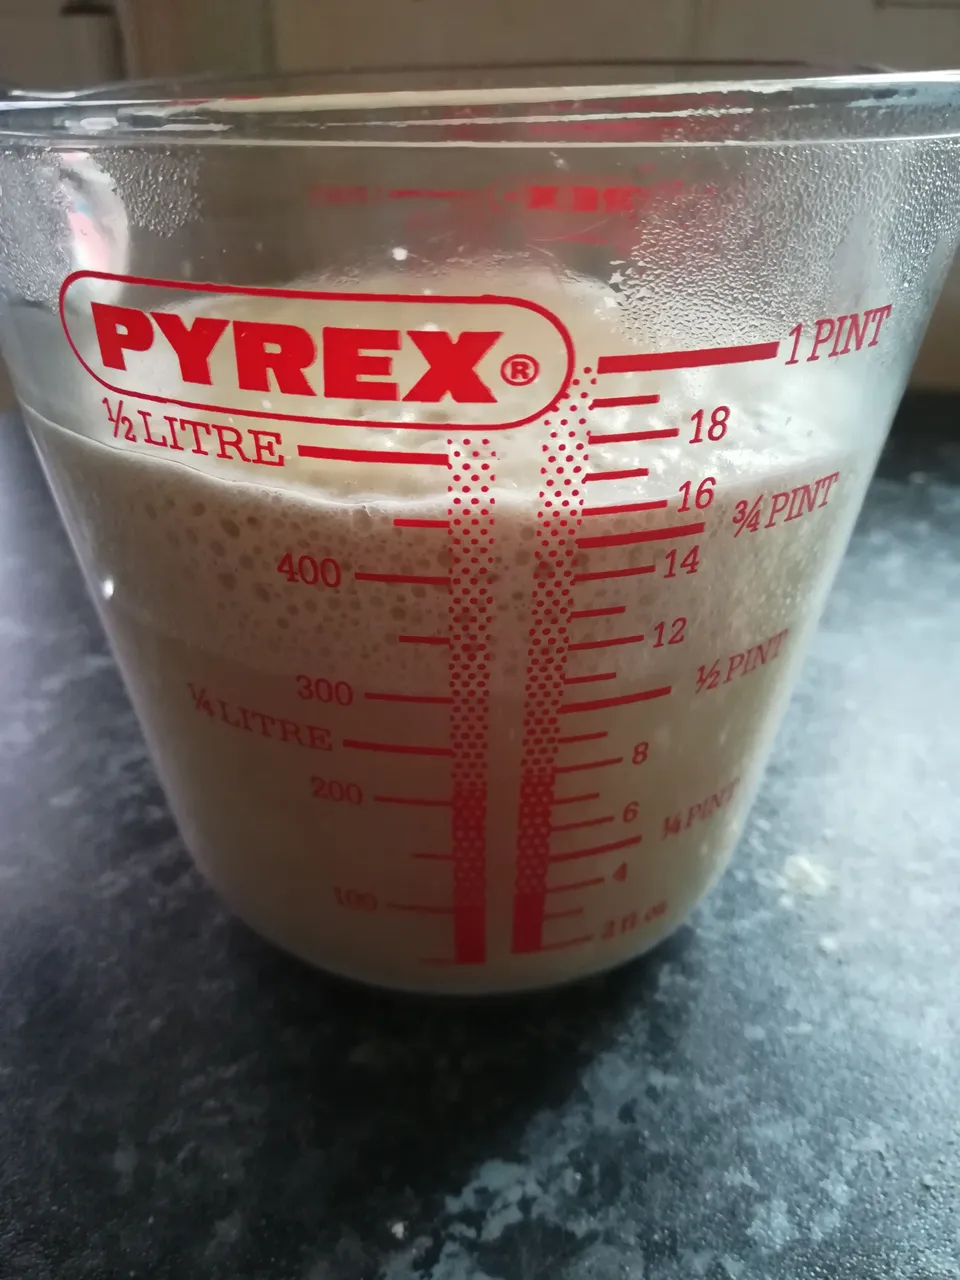
The first thing to do is to activate the dried yeast. This is done by placing sugar in a jug and dissolving it using boiling water.
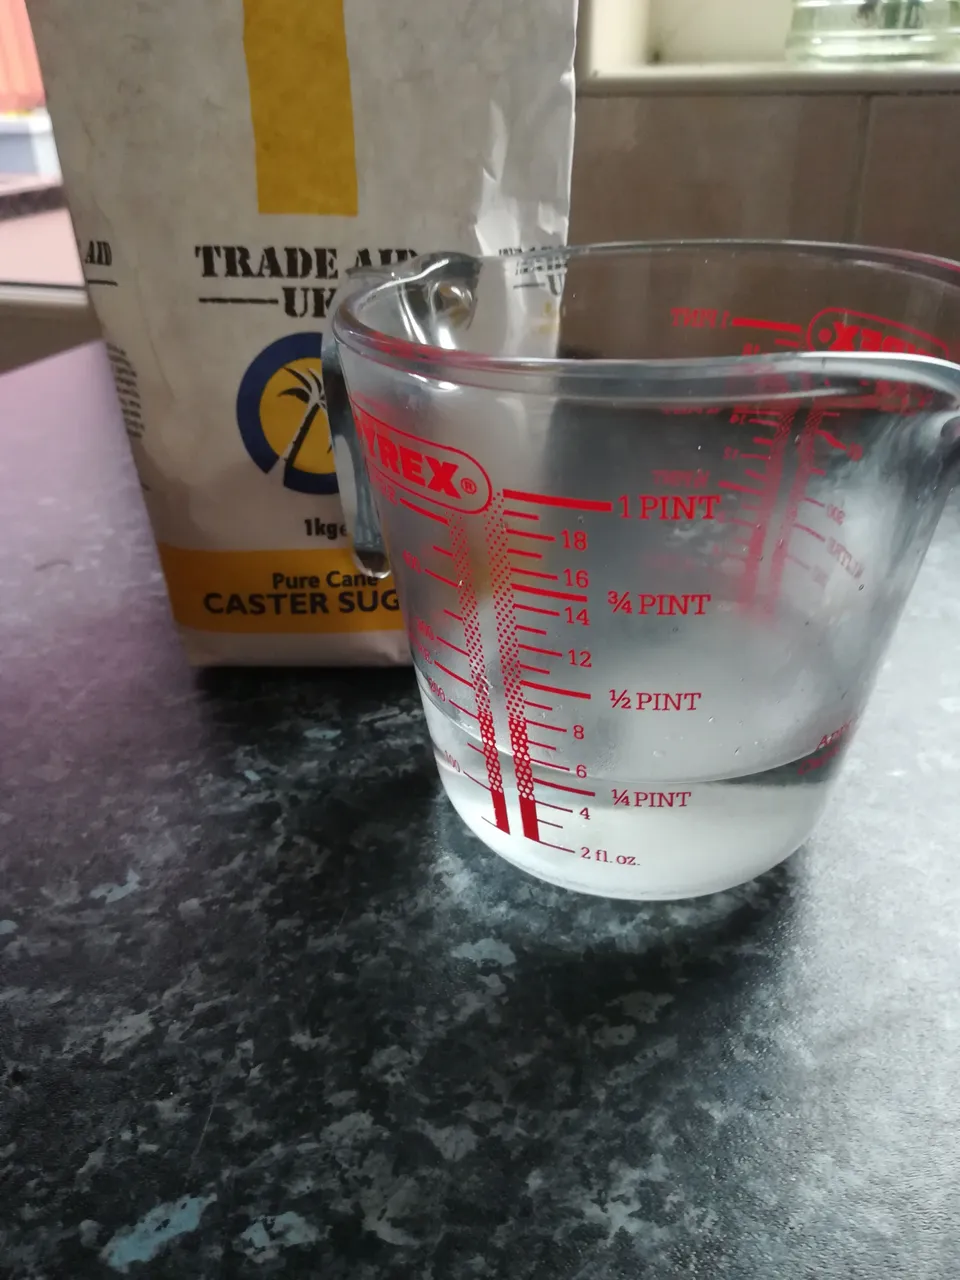
Before adding the yeast add 2 parts cold water to the 1 part, boiling sugar water. This brings the temperature of the water down, still warm enough to activate the yeast but not hot enough to kill it.
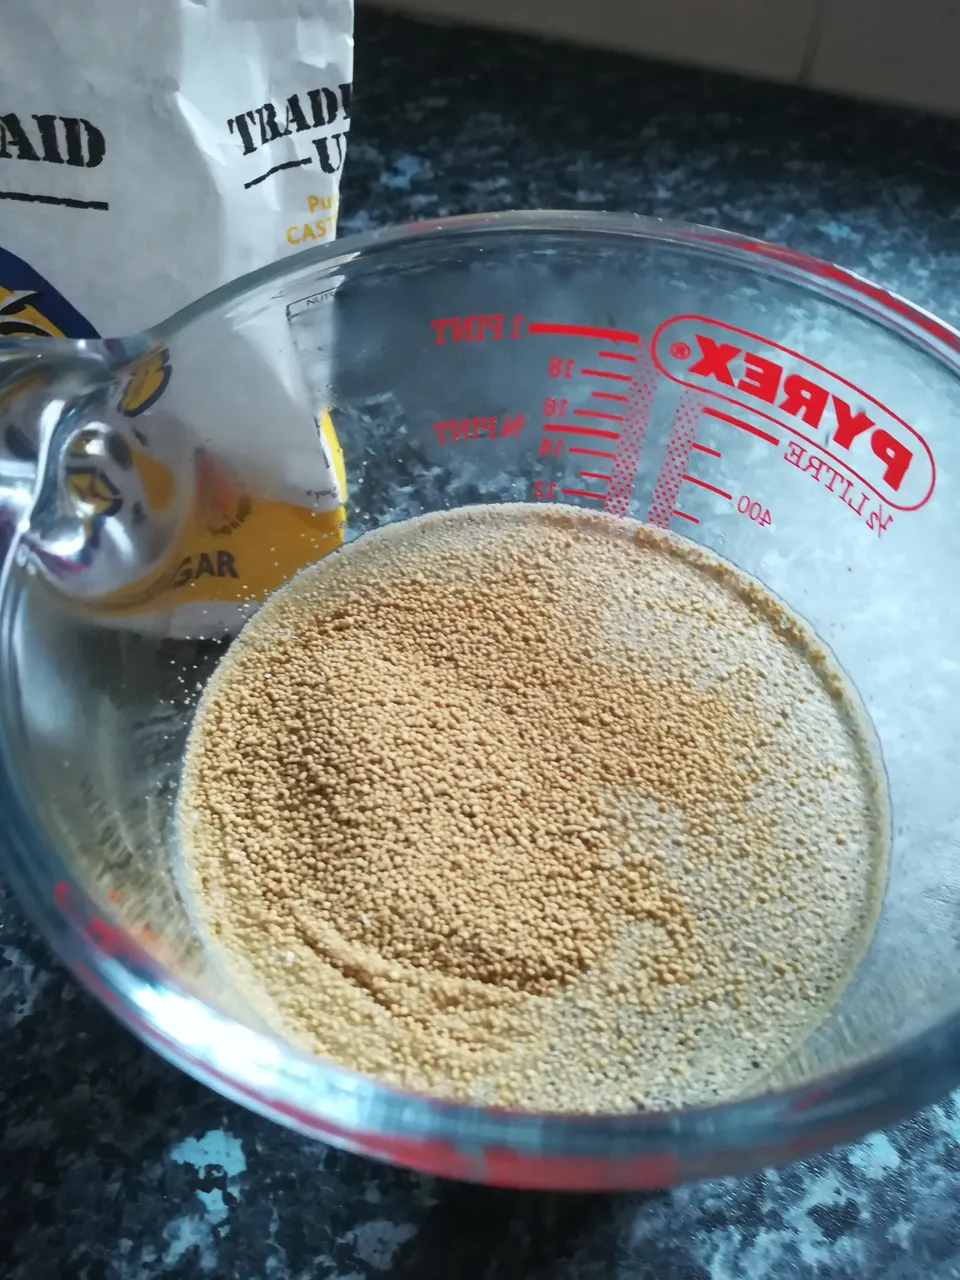
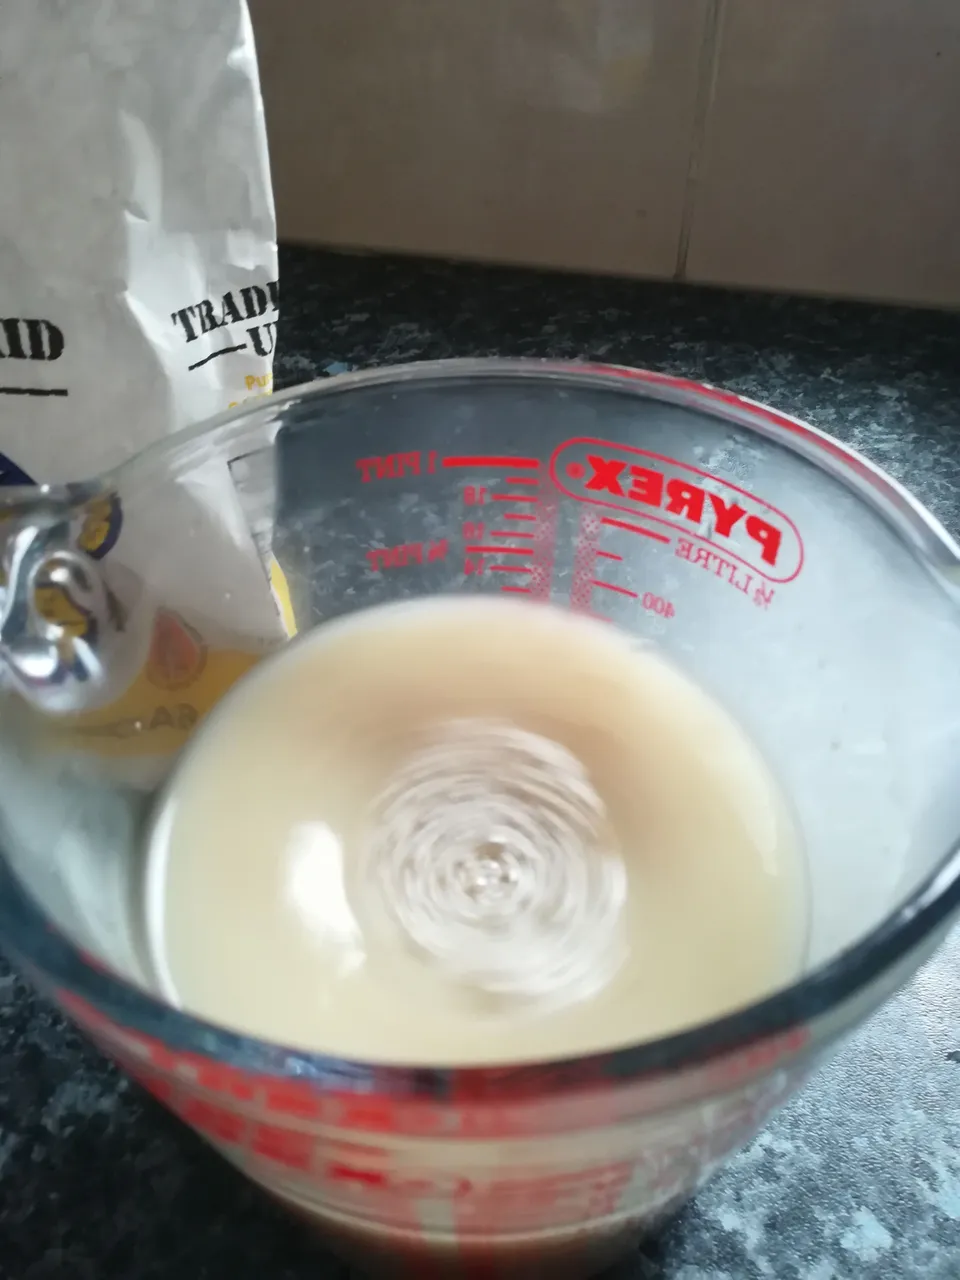
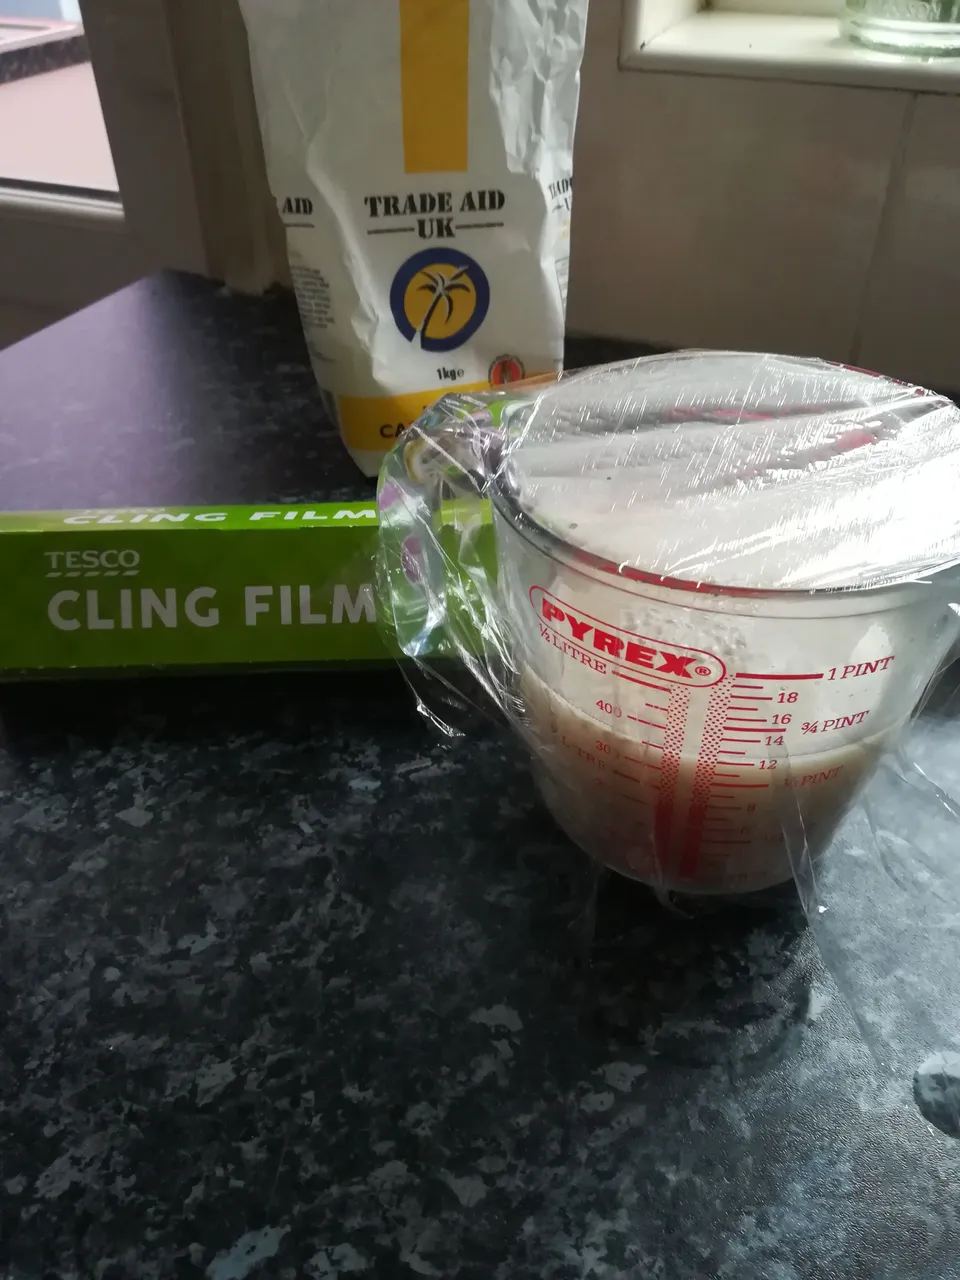
Give the water a stir so that the yeast sinks. Cover loosely with clingfilm and allow to stand for 10mins. This gives the yeast time to start digesting the sugar and releasing the Co2 that gives the bread its light, bubbly texture.
Whilst the yeast starts to work, it's time to prep the flour. Now I never weigh any ingredients, it just looks right, but I'm sure you'll find a recipe on any websearch engine.
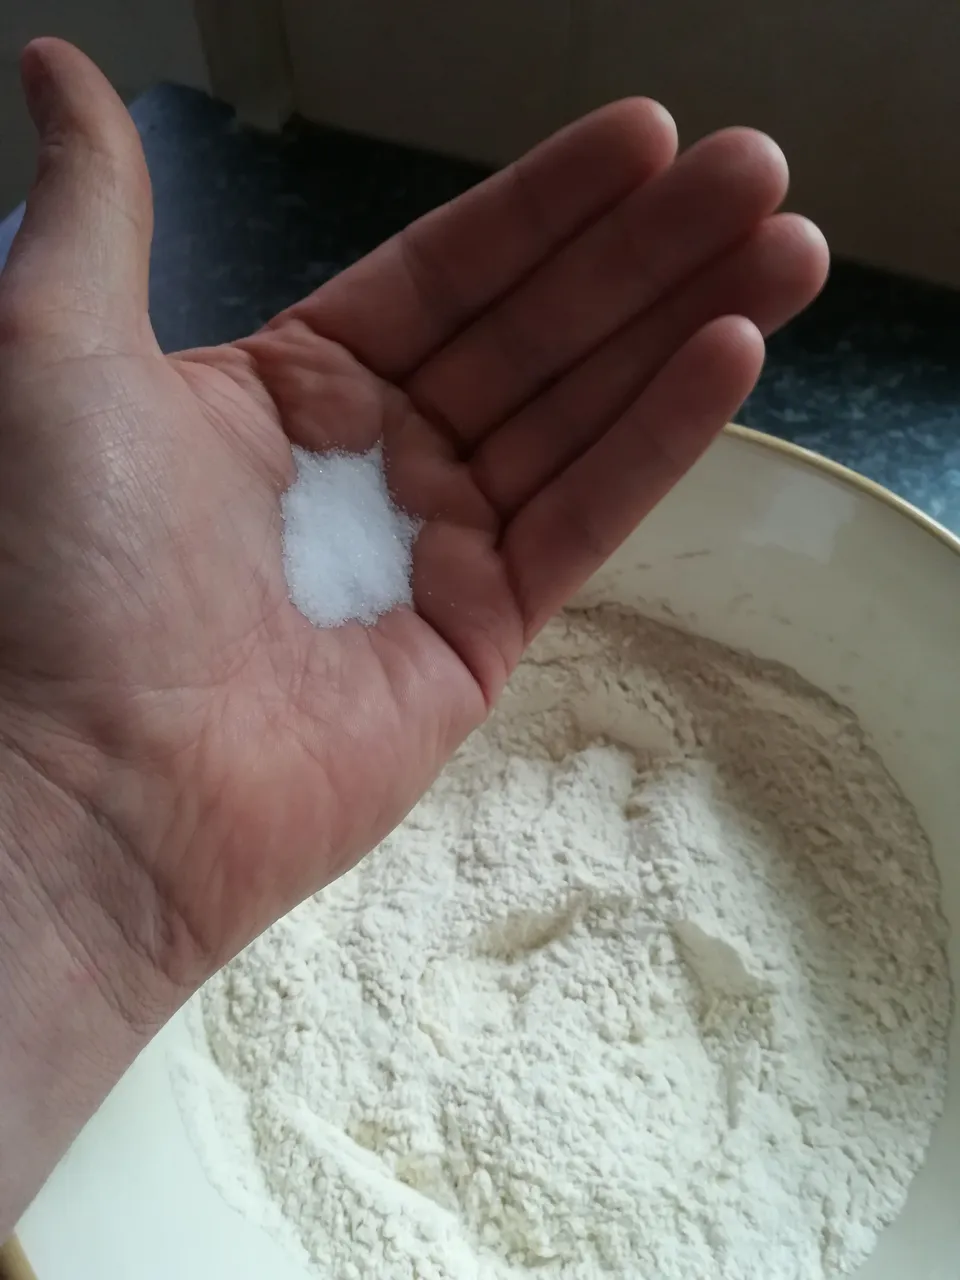
I add 2 very generous "pinches" of salt to the flour before combining softly. The salt has a twofold purpose, first it adds flavour, secondly the salt slows down the reaction speed of the yeast.
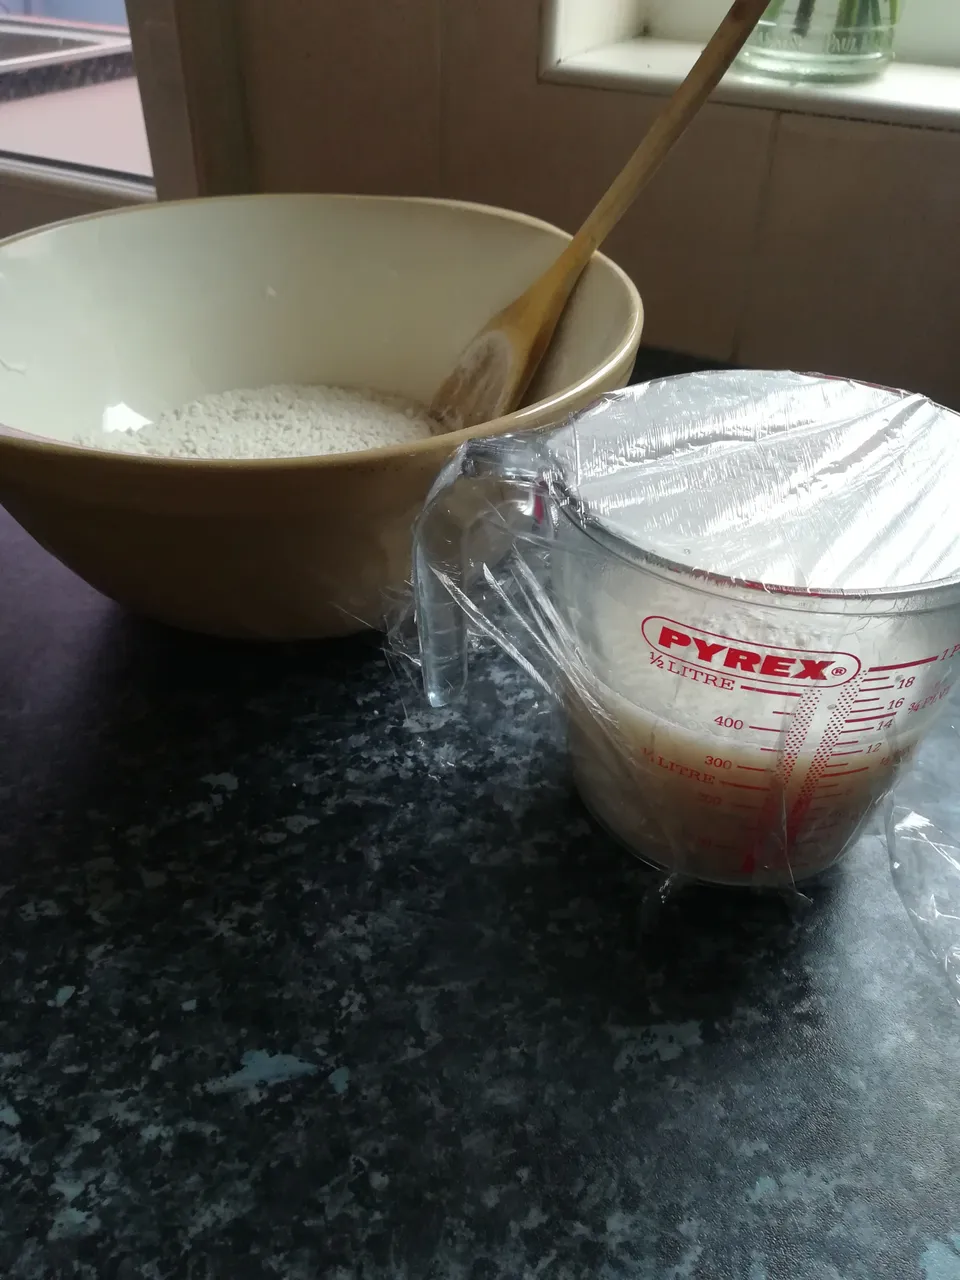
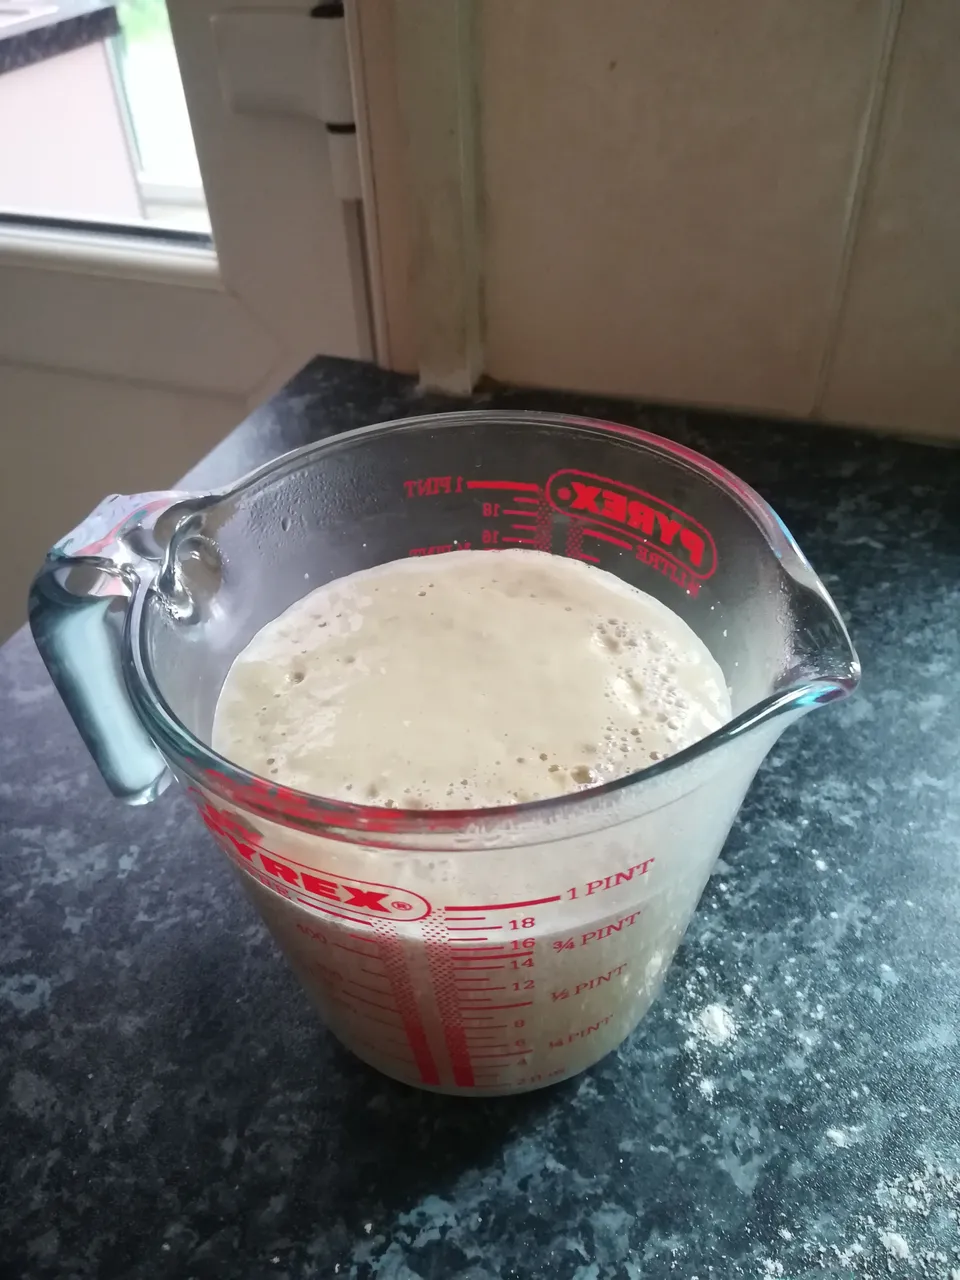
Now the salts been added to the flour and the yeast hast started to work, it's time to slowly add the liquid to the dry ingredients. The water in the jug should now have a "foamy" head. Gently stir back the head and add it to the bowl.
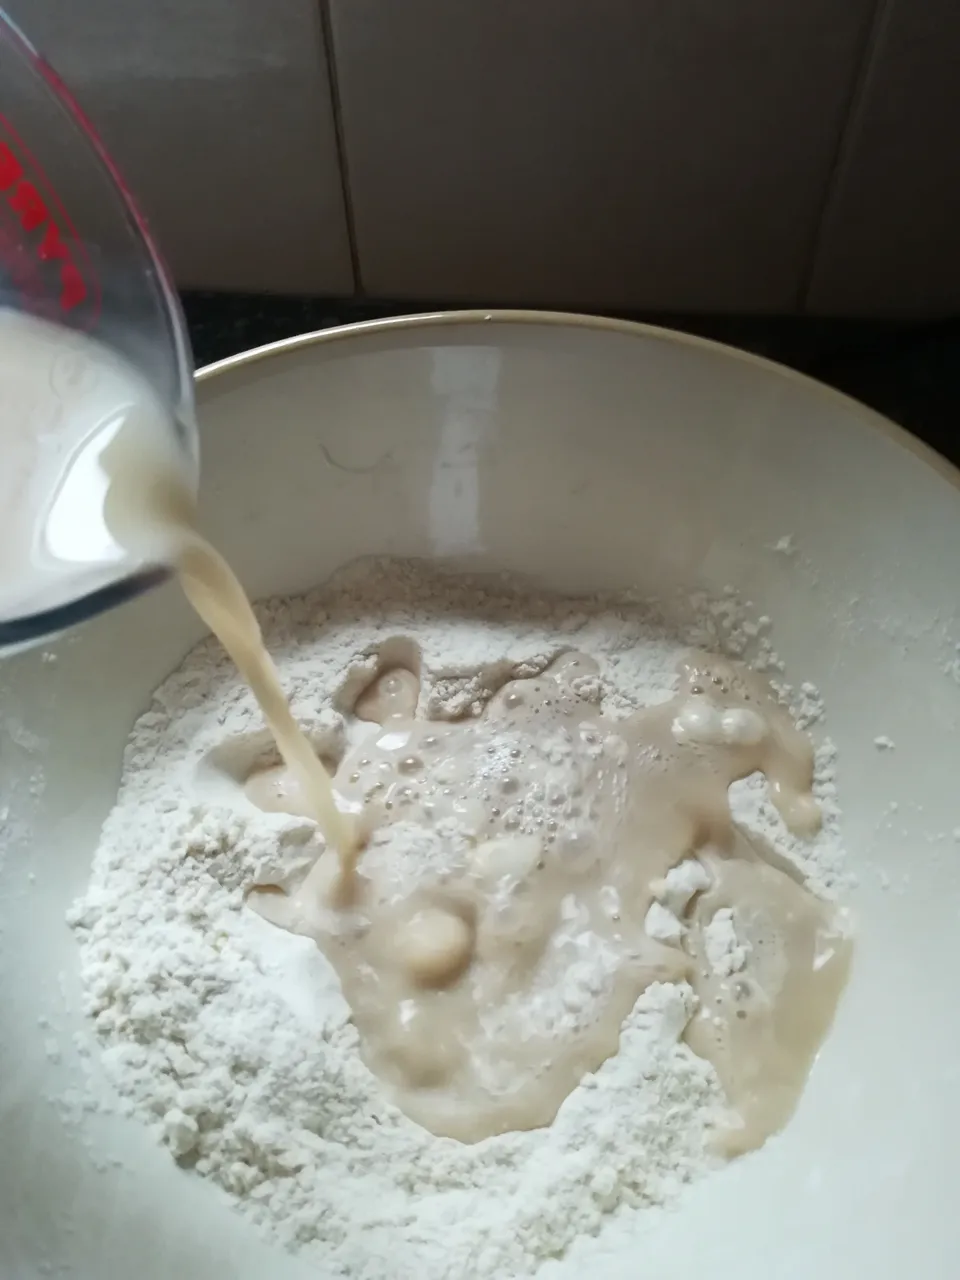
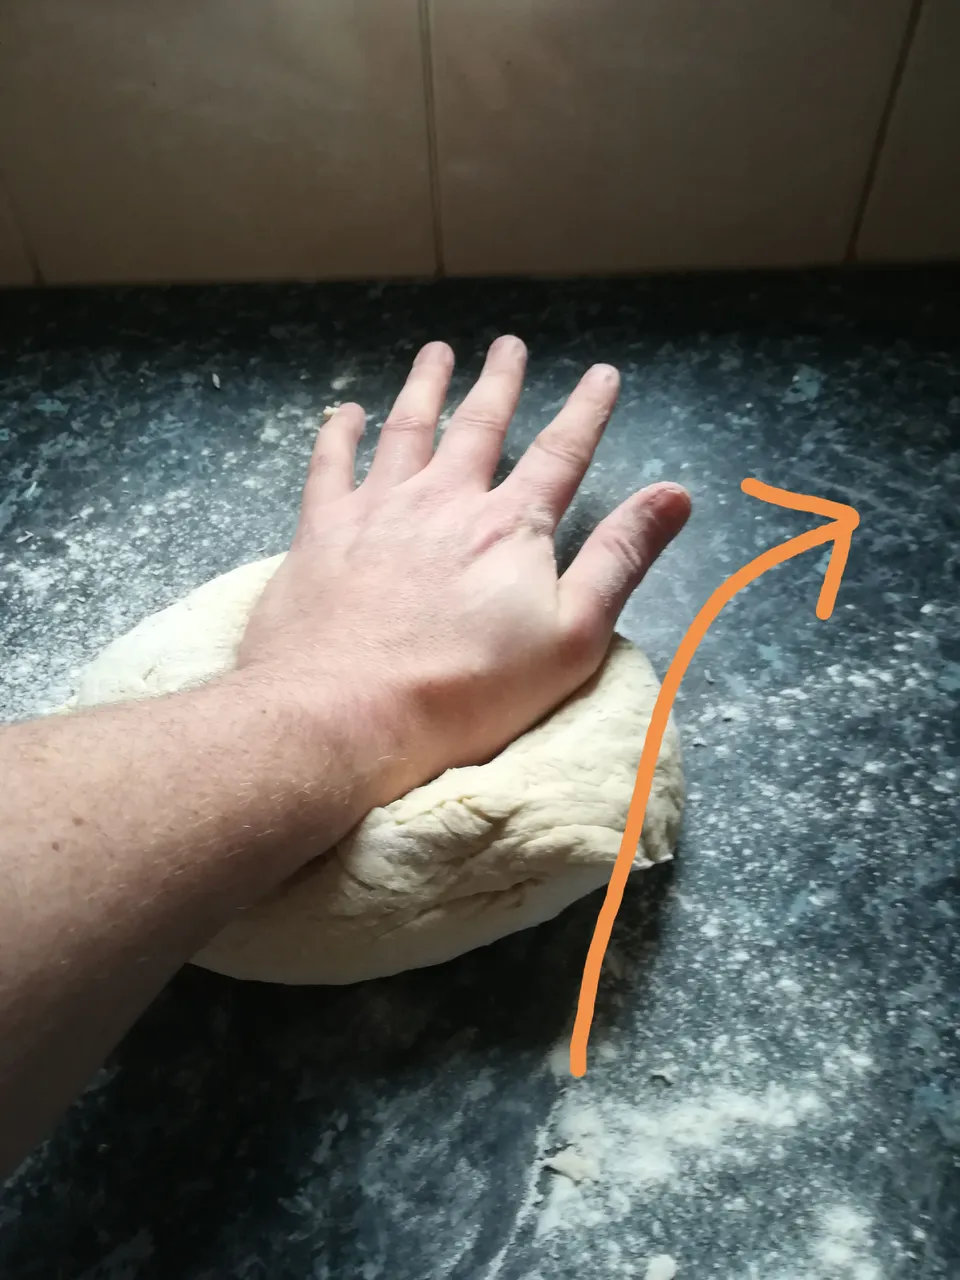
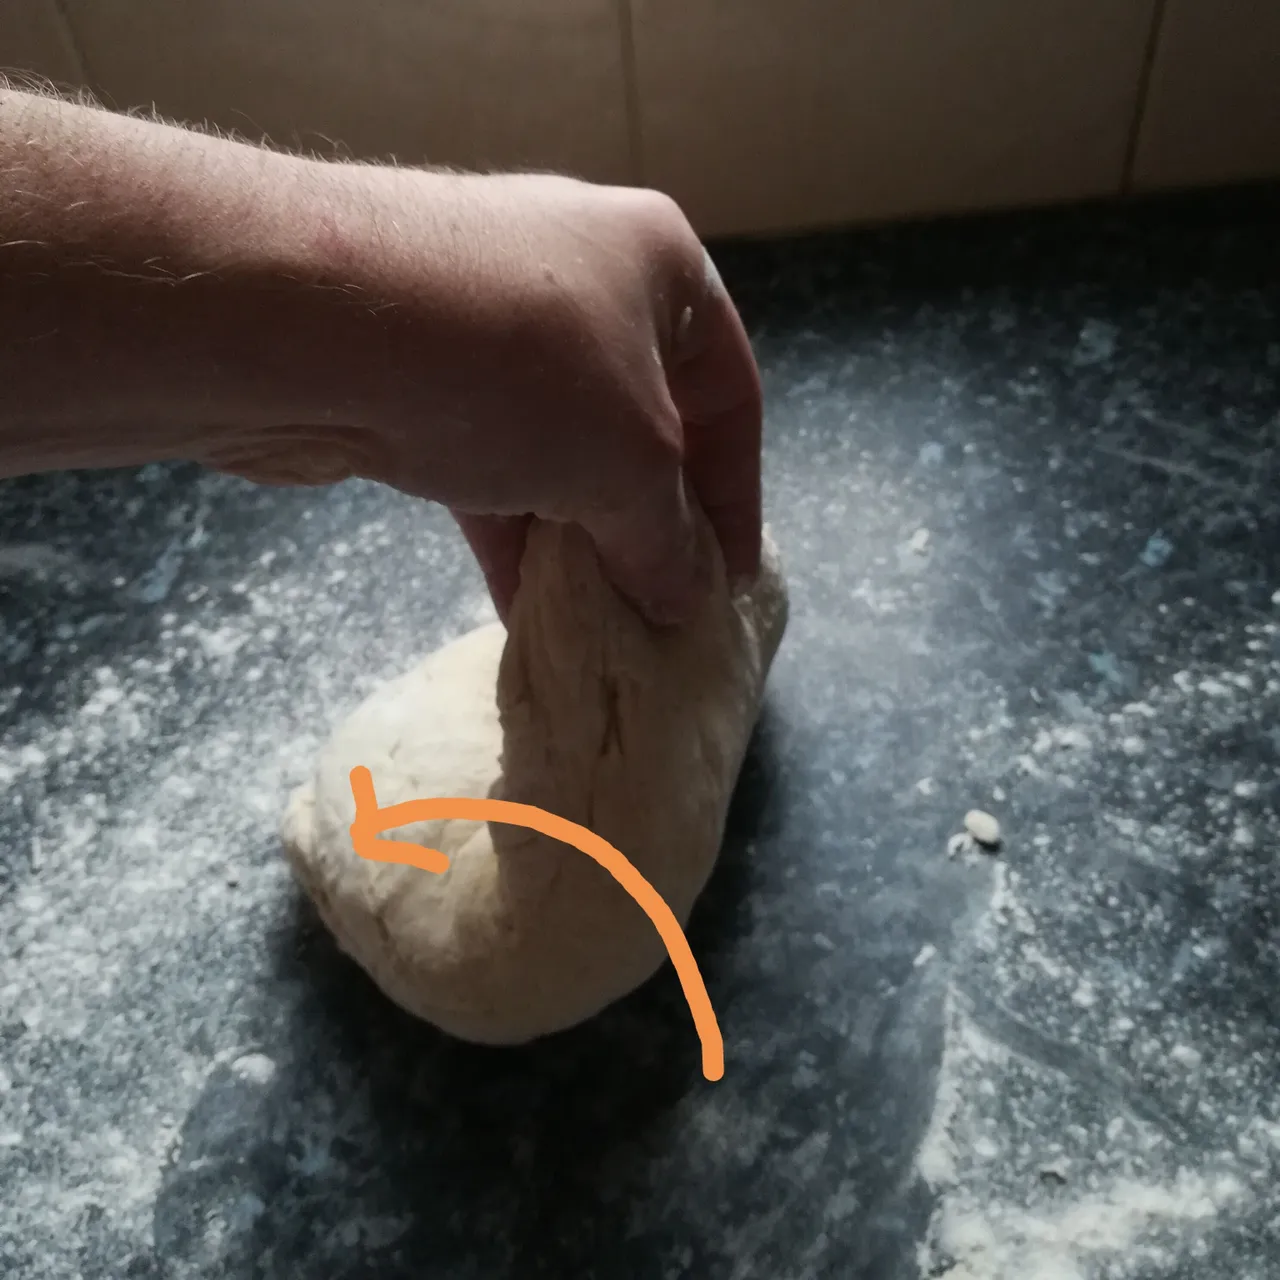
Start to combine the liquid and flour, I use a wooden spoon as its incredibly sticky at this point and a nightmare to wash off your hands. Once it begins to pull together, turn it out on to a lightly floured surface.
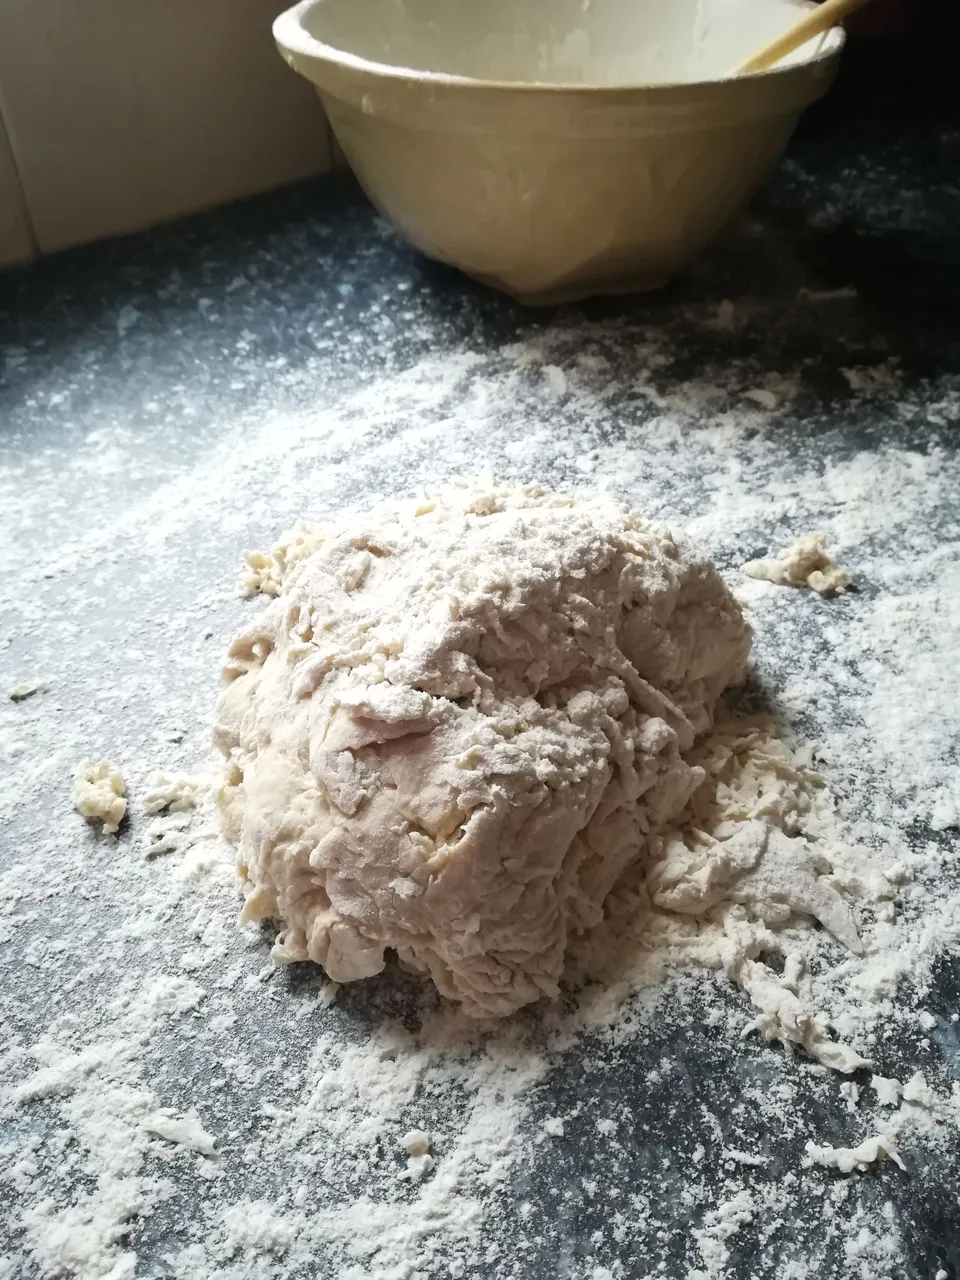
Keep your hands and the surface floured a start to work your dough together. Using a fold and stretch technique, knead your mixture for 10 minutes. Giving the dough a 1/4 turn every cycle until the dough is smooth, elastic and no longer sticky.
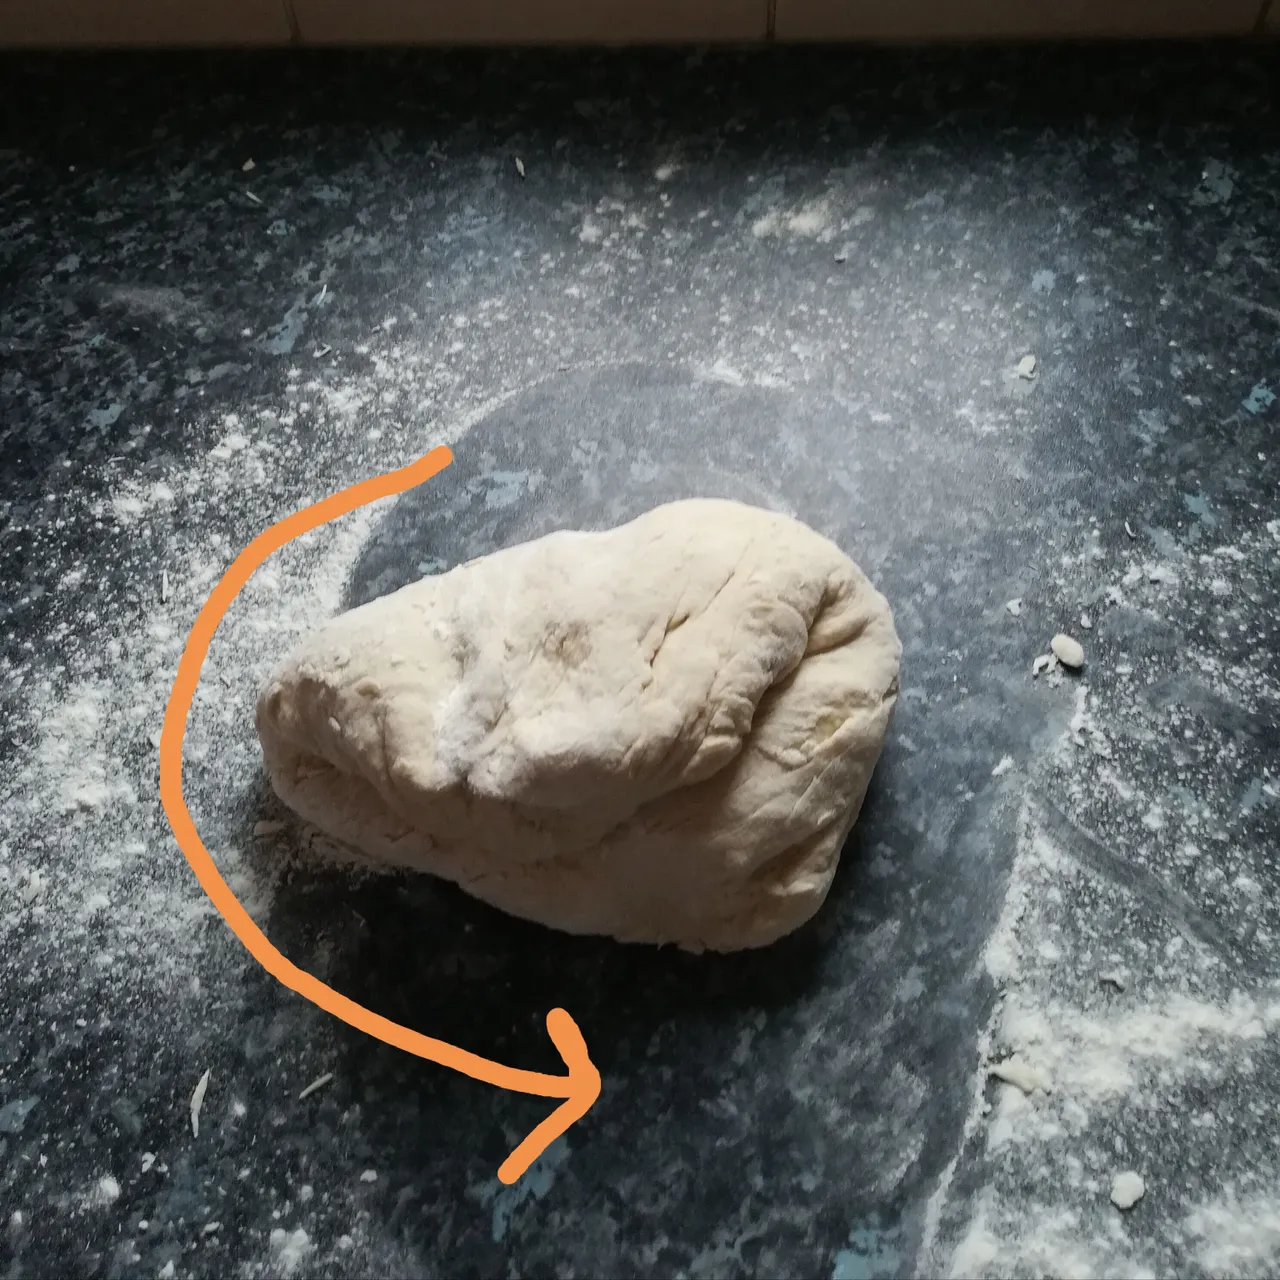
Bring your dough into a ball and add it back to your bowl, ready for the most important stage "the proving". Cover the bowl with a cloth to stop it loosing moisture and leave it somewhere warm for 1 to 1 1/4 hours. Don't rush this step or your bread will be heavy and dense. Let the yeast works it's magic and release Co2 in to your dough. It should double/triple in volume.
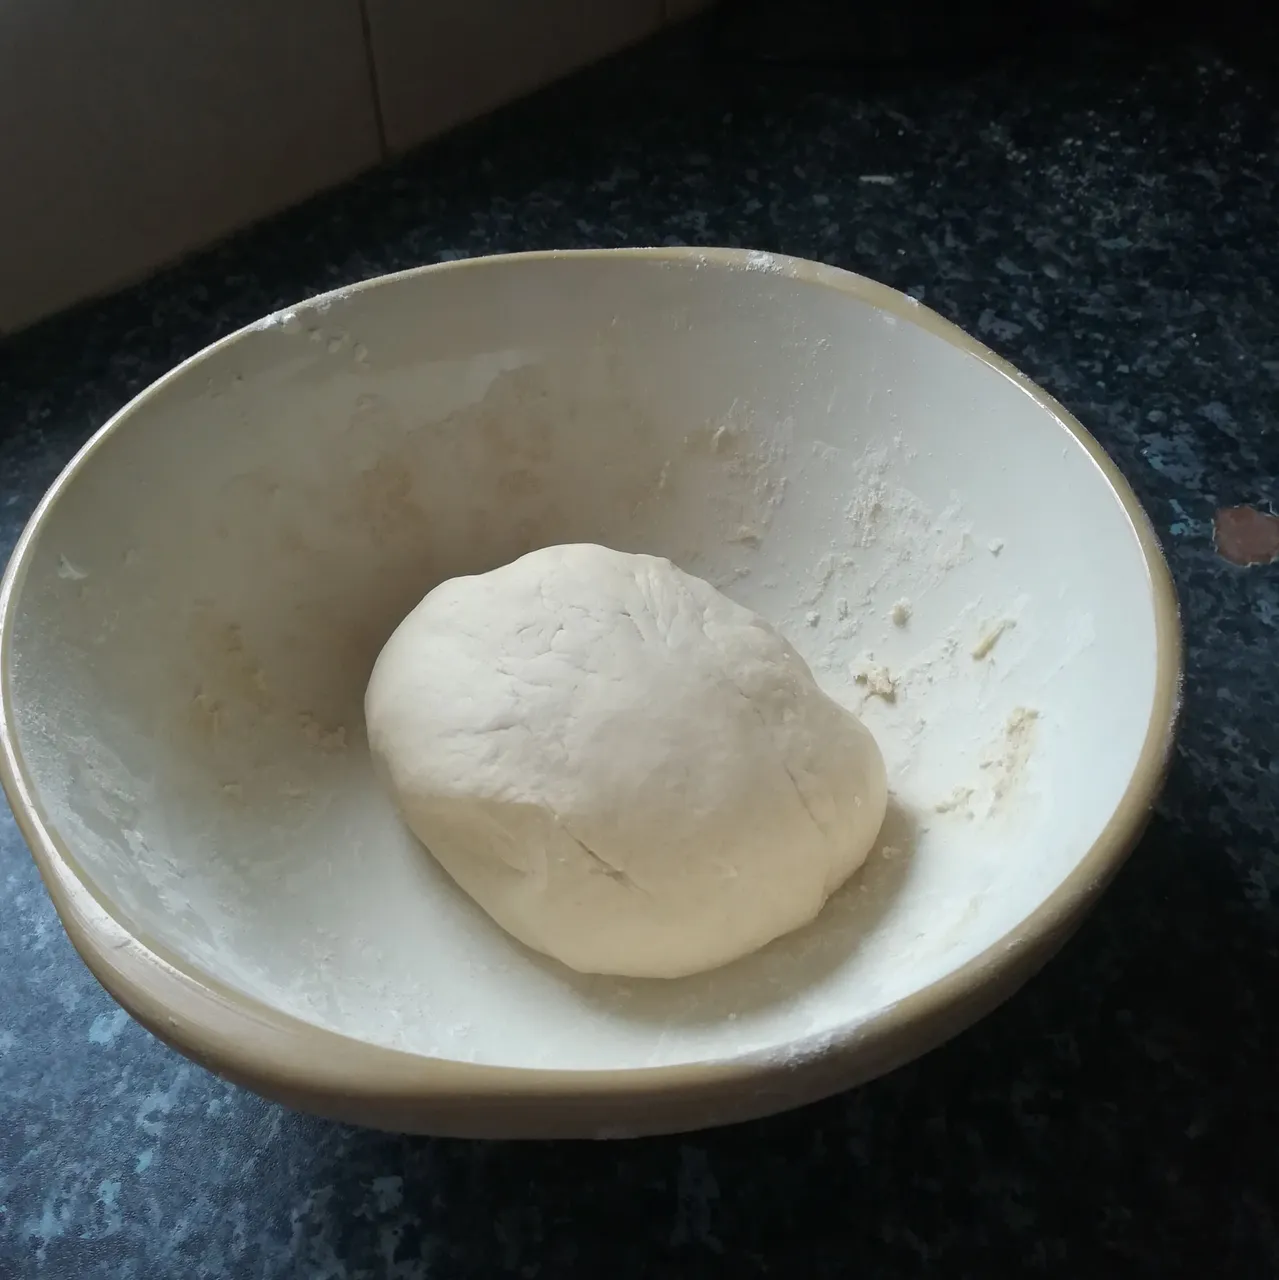
Before proving
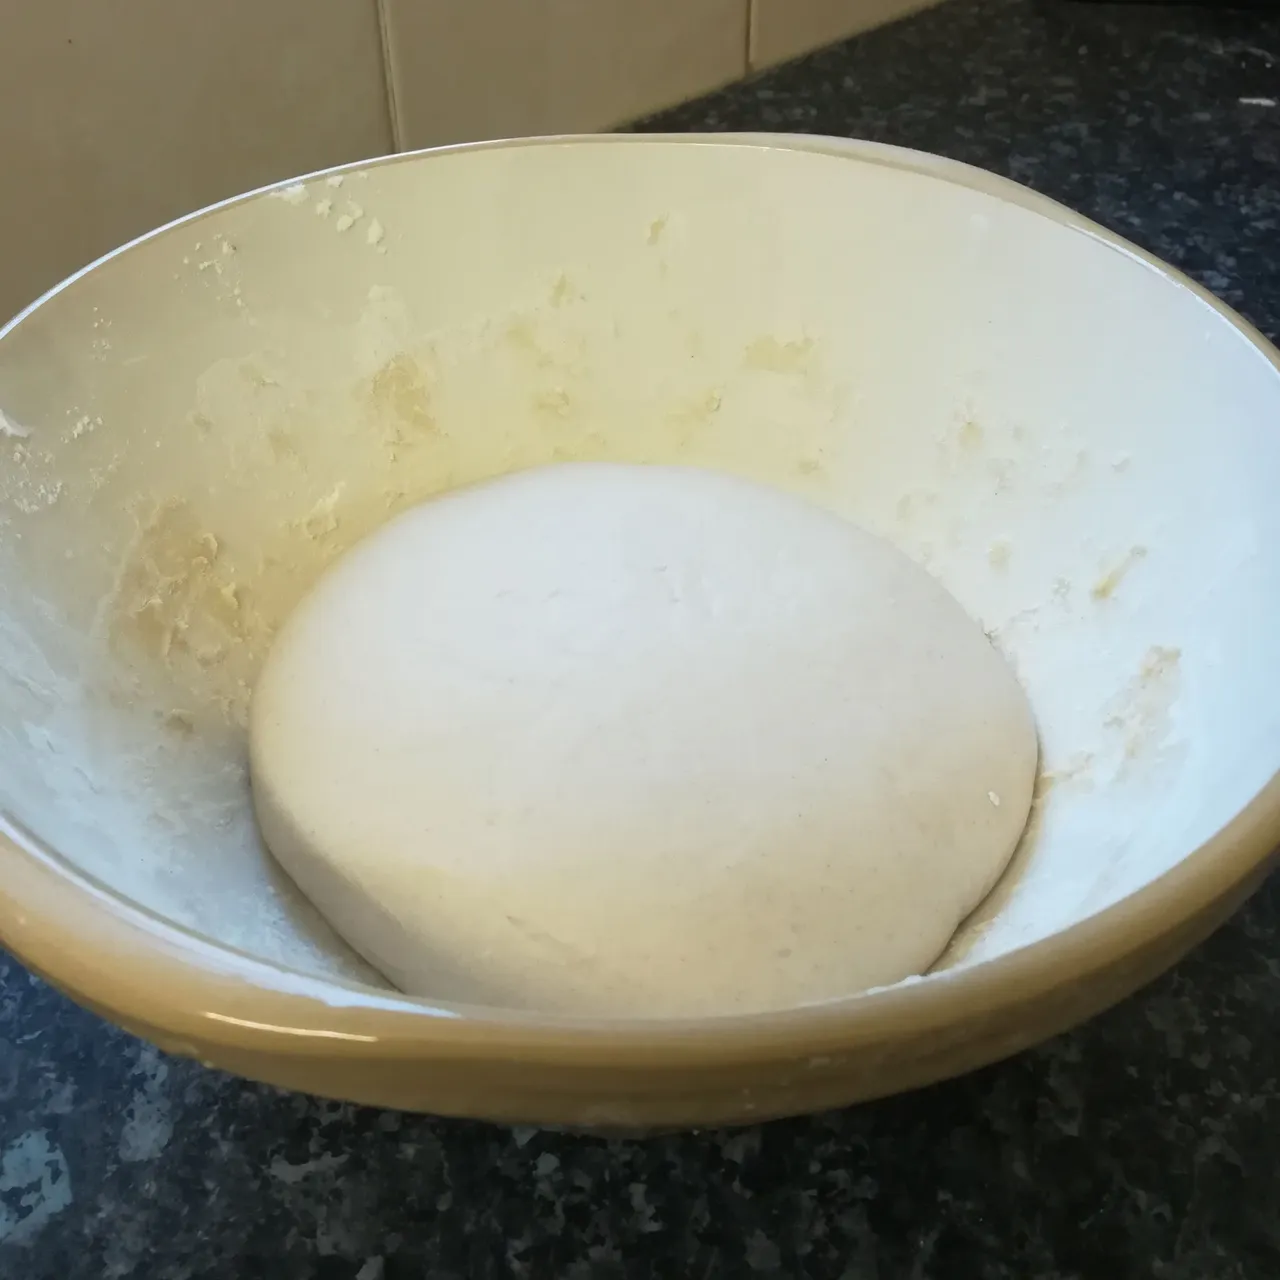
After proving
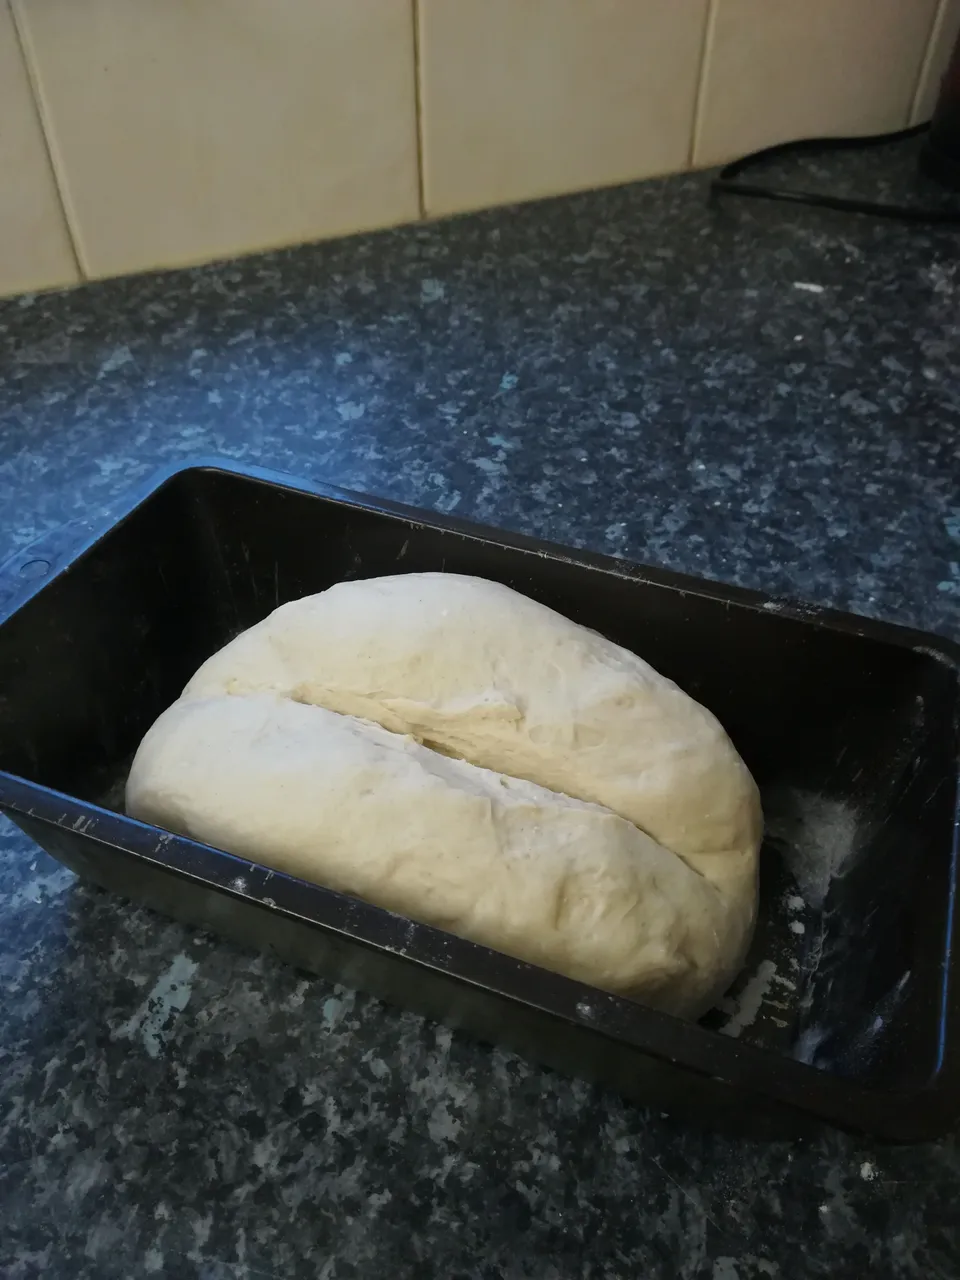
Now its time to knock-back your dough. This involves kneading the dough again but nowhere near as vigorous. Knead for only a few minutes and shape it for your tin. Add the dough to your bread tin. Using a sharp knife score a deep cut along the top. Thus stops the bread splitting during baking and gives this type of bread its name "split tin loaf".

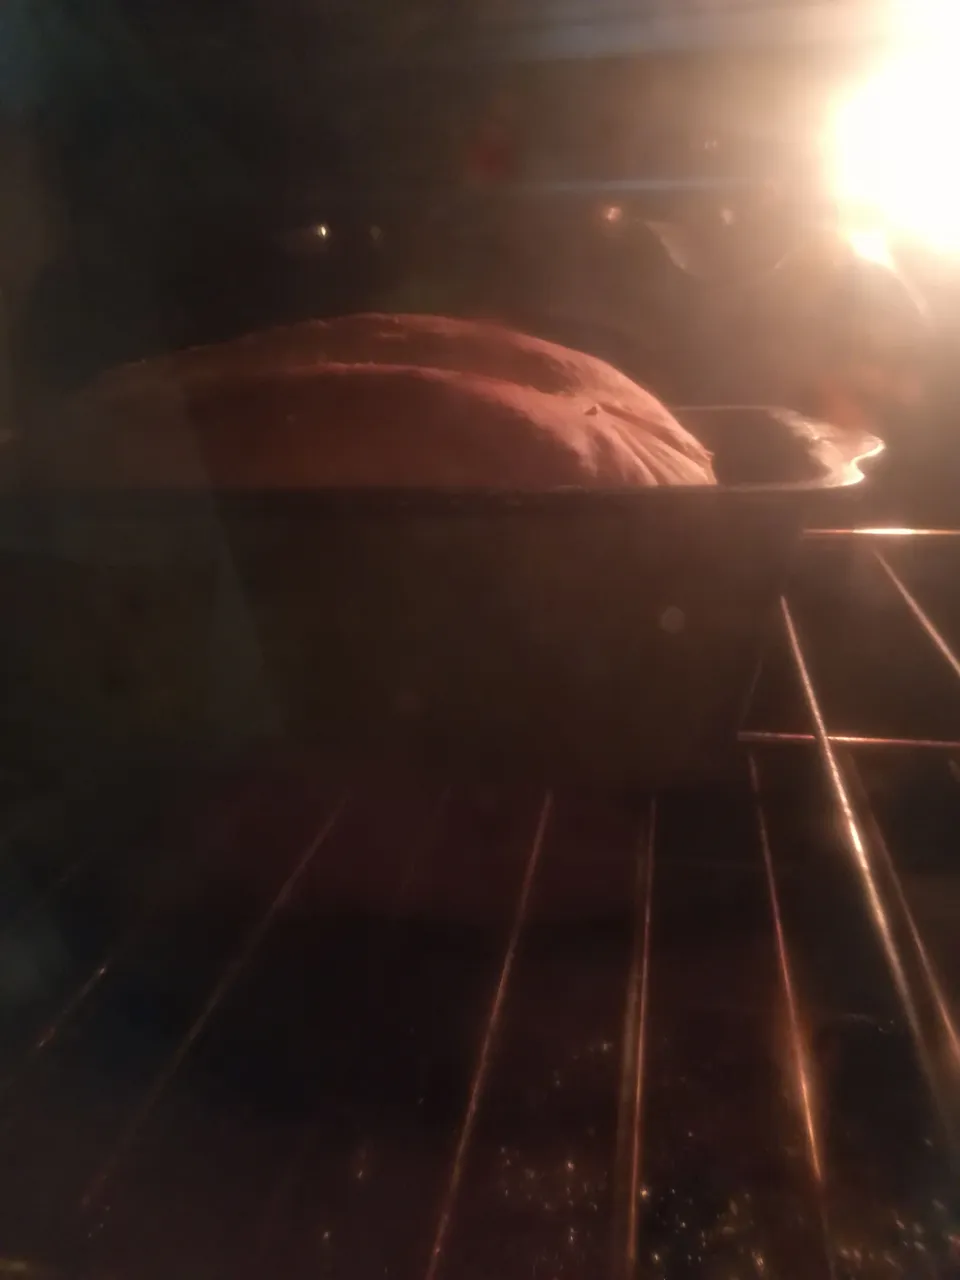
Turn your oven on and up to 230*c to pre-heat. Whilst the oven warms, your dough will have its second proving (this stage is not necessary, but does add extra bounce to your loaf). Leave your loaf in the tin, with out touching for 5 to 10 mins before adding it to the oven.

The intense heat of the oven will rapidly accelerate the yeast and your dough will puff up rapidly. After 10-15mins turn your oven down to 200*c and cook for a further 25-30 mins.
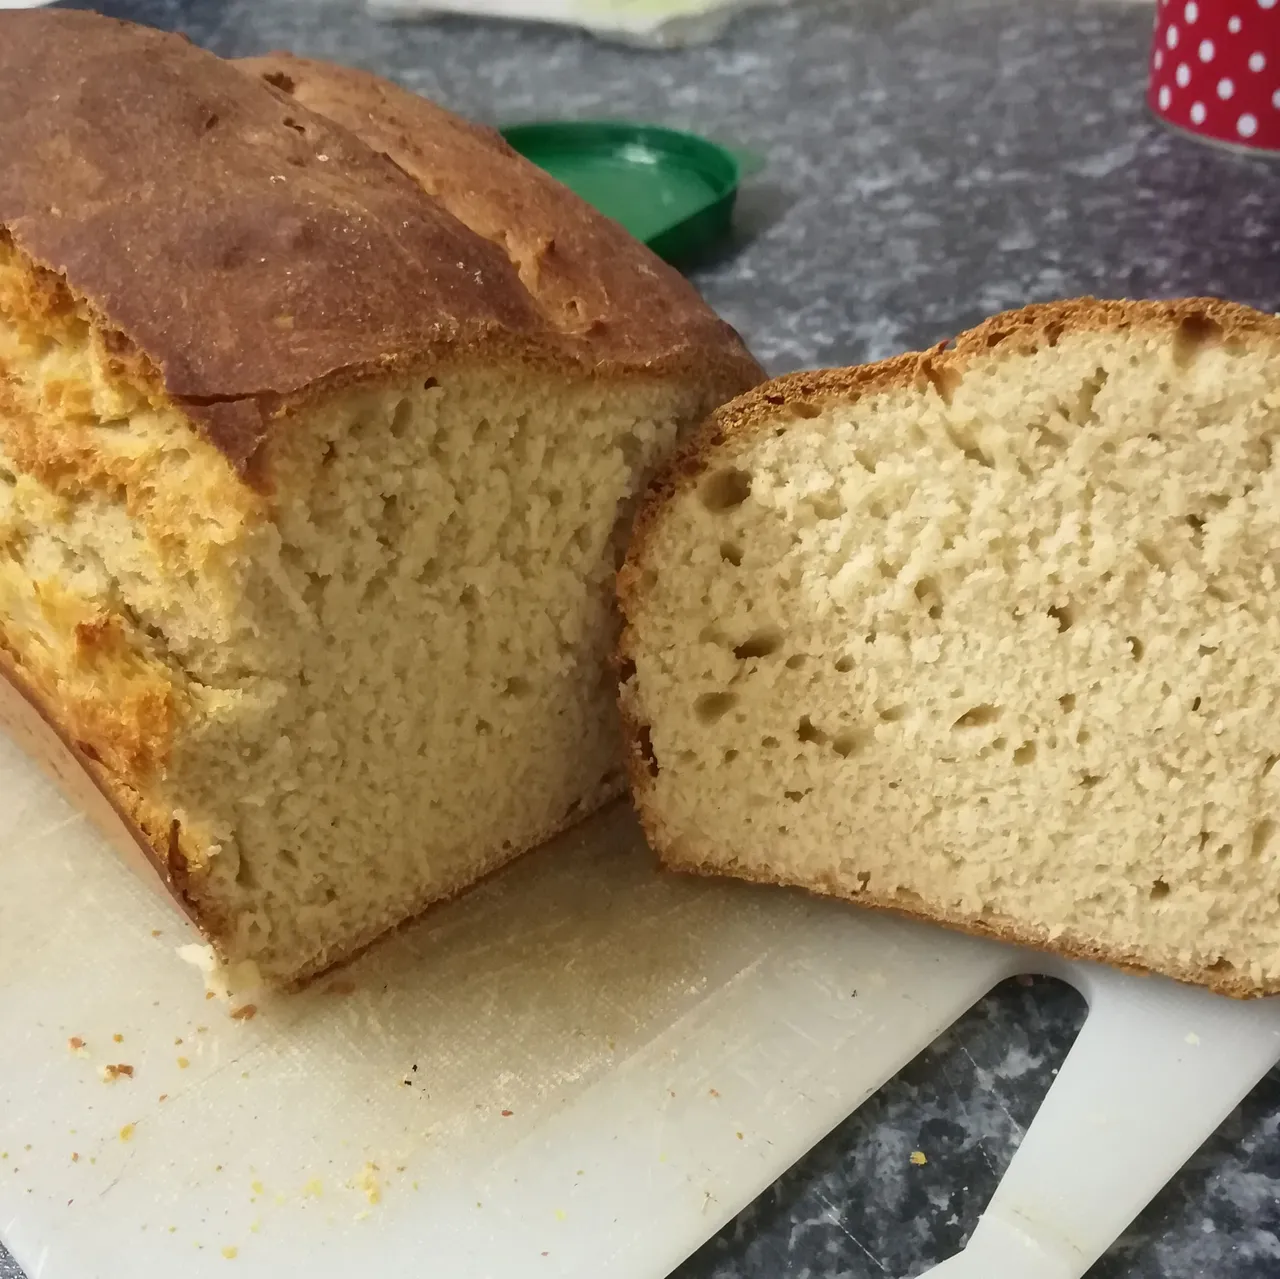
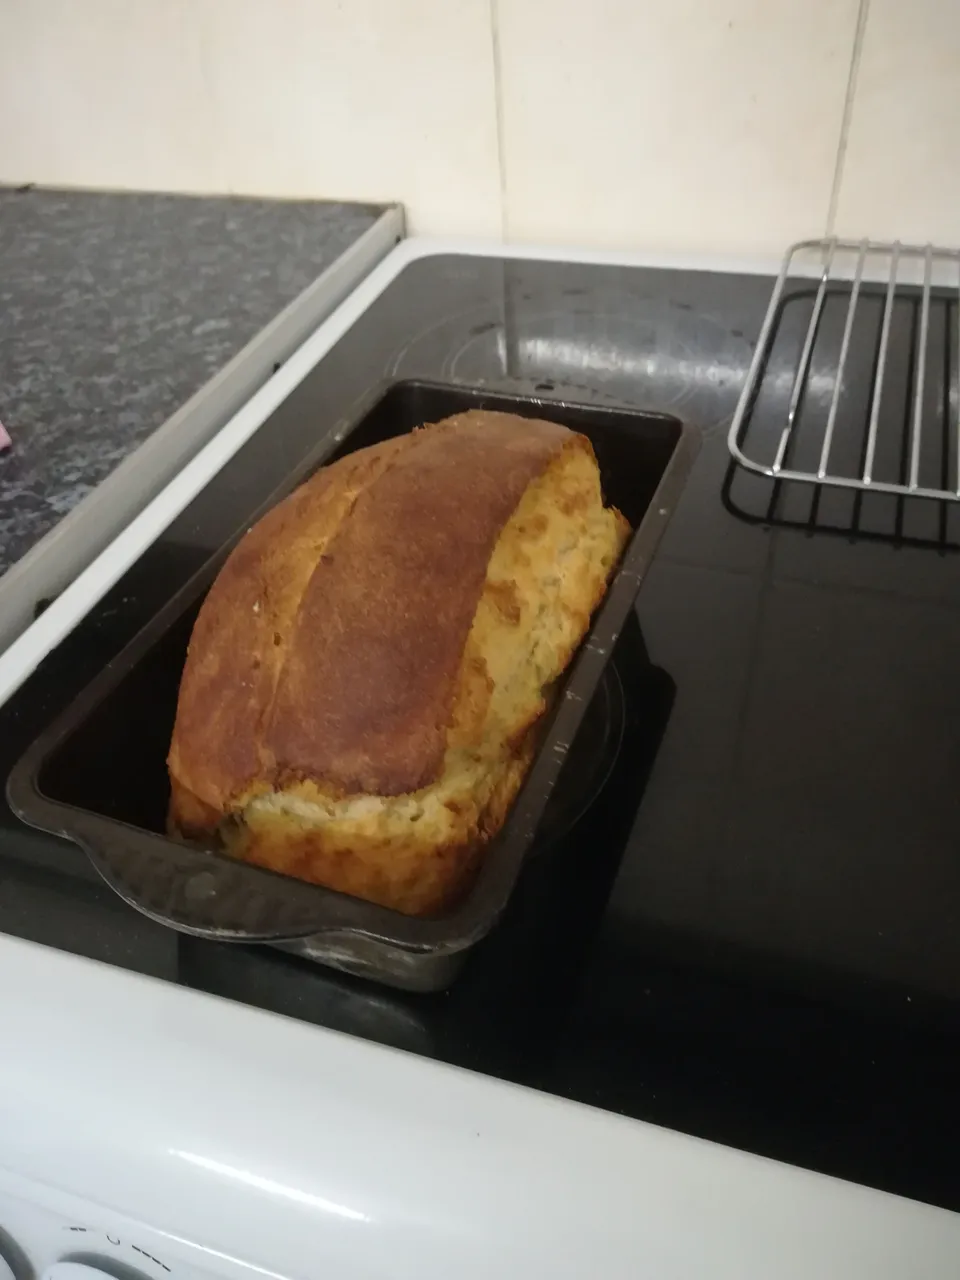
After that time check your loaf to see if it's turned a lovely golden colour. Your bread is ready. Turn off the oven, remove the loaf and allow it to cool on a raised tray. You'll also know its ready because it would have shrunk away a little from the edge of the tin.
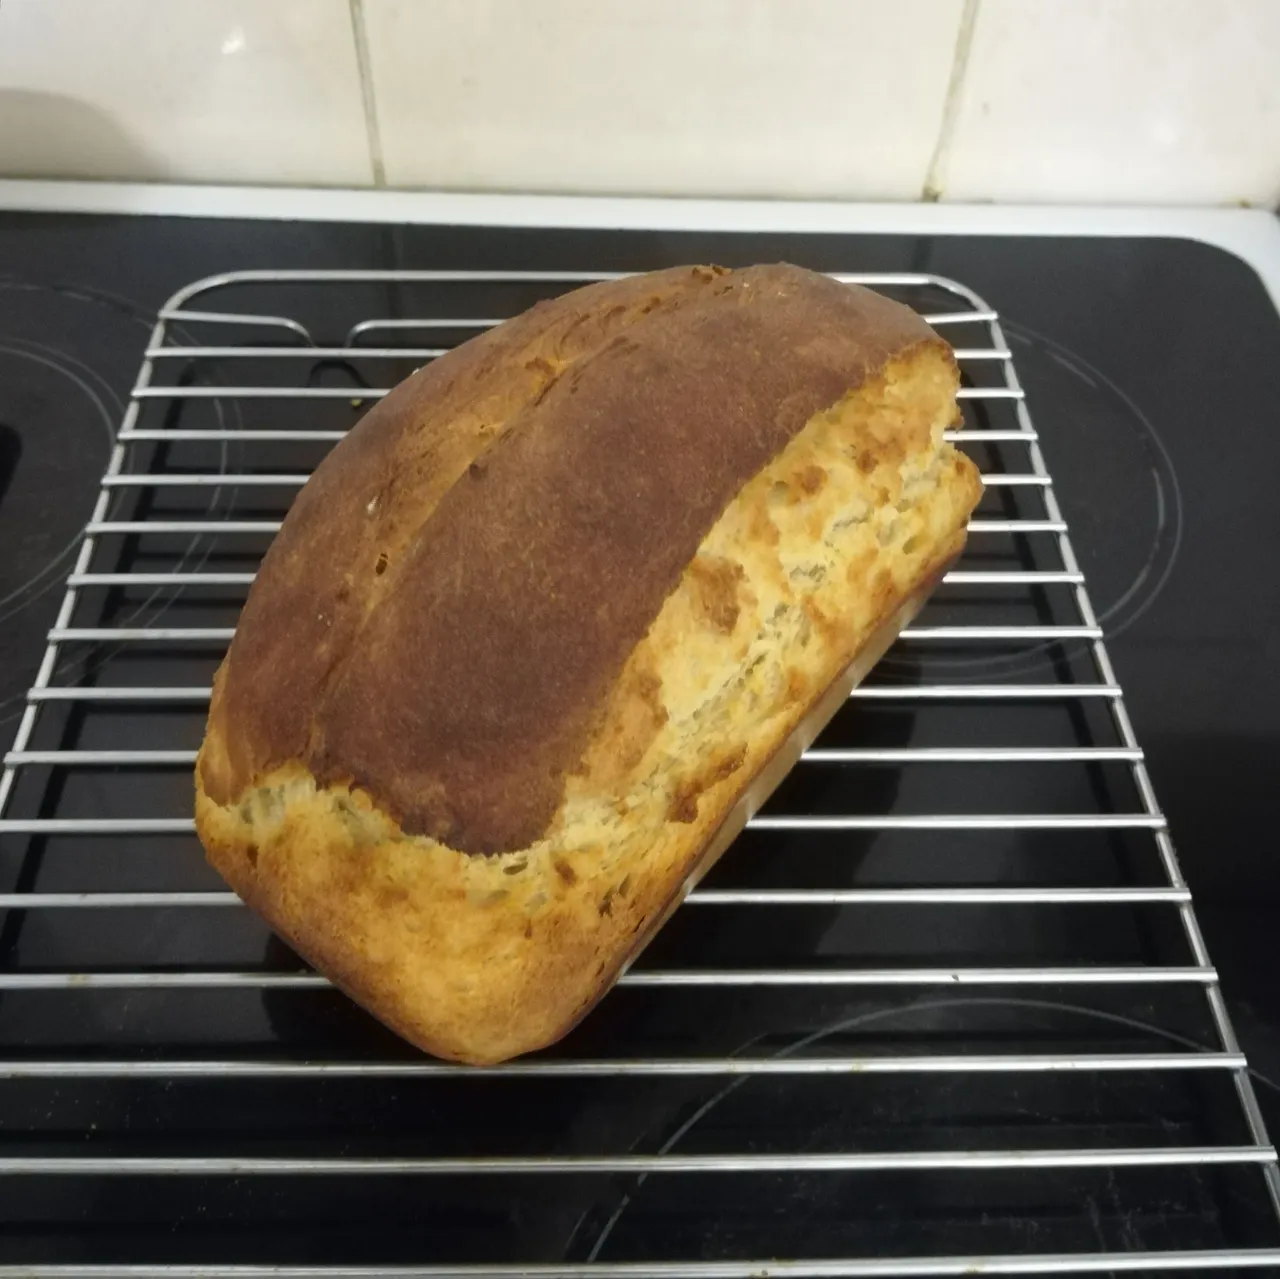
Now its baked, cut into thick doorstep slices and add loads of butter!!
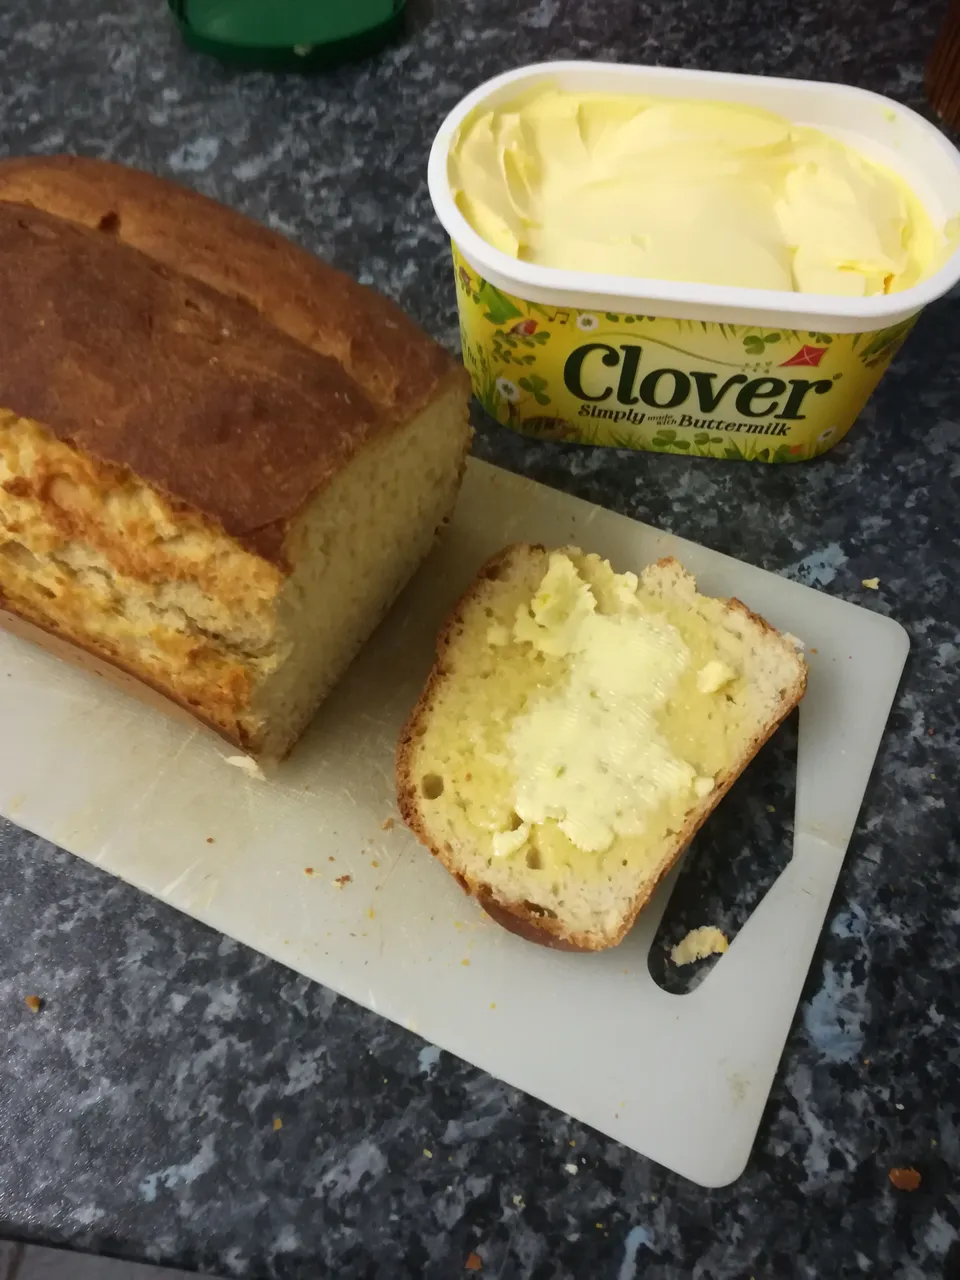
There you go.... Can't beat that smell and taste combination.
Now this got me thinking, I'd love to see how everyone else gets on with baking a simple loaf. If you've never made a loaf before or haven't for a long time please show me your attempts using the hashtag #showmeyourloaf and #masterbaker I'll dish out some prizes to my favourites. Good luck and happy baking.