
Repository: Ionic Github Repository
Software Requirements:
Visual Studio Code(Or any preferred code editor),
npm, ionic.
What you will learn:
In this tutorial you would learning about payment processing using stripe. I would be covering these major concepts
- How to set up a and structure a firestore database.
- How to retrieve and read data from a firestore collection.
- How to restrict who can read your firestore database.
Tutorial
This tutorial is a sequel to all in the ionic/firebase tutorial series which i have been on for a while. If you havent seen any of those and are not familiar with firebase set up head to my blog and read all my firebase tutorials for better understanding of what we will be doing here. Start up with a new project using this command.
ionic start newProject blank
With the slow migration to ionic 4 you would be prompted on whether you would like to create an ionic 4 project which is quite different from ionic 3. I would recommend that you refuse and use ionic 3 which is what i will be using in this tutorial. If you are familiar with the ionic routing with angular however you can proceed to use ionic 4 and the tutorial would also be applicable in that version.
After this you would need to install all npm packages required for this tutorial. As stated in earlier tutorials we do not use firebase packages directly but we use modified packages that are way better for web applications called AngularFire2. So proceed to your console and install the packages like this
npm i angularfire2@latest firebase
After the package sucessfully install. You could follow my earlier tutorial to set and link your firebase account to your application Here
After you set up login into your firebase console which should look like this under the database section
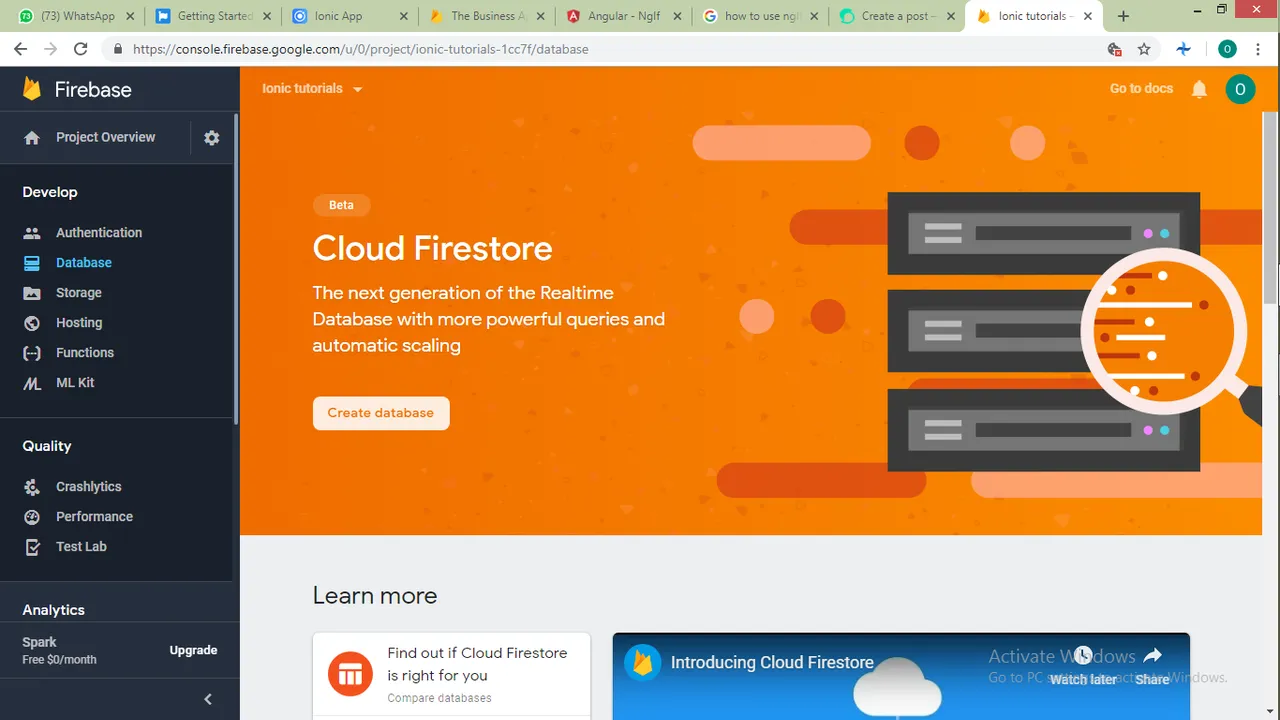
You can then proceed to creating a new firestore database which is still in its beta stage but works perfectly in my opinion.
Set the rules open to be read and written by anyone for now
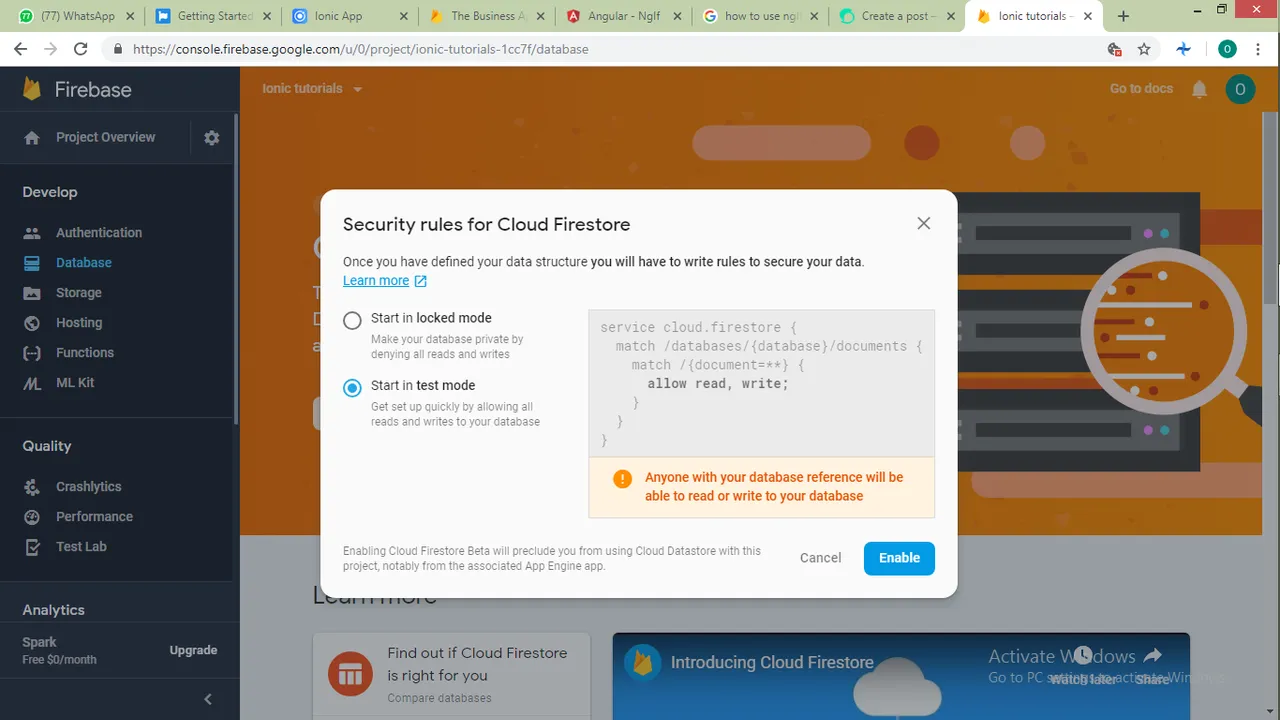
And you can change this later on as you progress using firestore.
After you have linked up your ionic app to your firestore account as in my last tutorial you can get on to using firestores collections and document.
What is the difference between collections and documents
The major difference between firebases database and firestore is the use of collections. For firestore you need to include any document you are adding to your database in a collection. This makes the database quite complex because you cannot add a collection directly to another collection. If you would like to add a collection under another it would need to be under a document under that collection.
How to receive and read data from a firestore collection
So getting to the code
In this tutorial i would be covering the major and essential functions you would be using when using firestore and how to manage your database and develop a debug free code. In our new project generated ill create a new service to handle all my public firebase functions and ill call it firestoreService and add a few things.
To generate it use
ionic g provider firestoreService
Providers are suitable to centralize the part of your code that sends requests to your apis and receive responses
In firestoreService.ts we would like to import the neccesary modules
import { AngularFirestore } from '@angular/fire/firestore
import {AngularFirestoreDocument } from '@angular/fire/firestore//This is so you could access all the properties of the document type
import {AngularFirestoreCollection } from '@angular/fire/firestore//This is so you could access all the properties of the collection type

import { Observable } from 'rxjs/operators'//This would be used to create event listeners
For the purpose of this tutorial we would be trying out the crud operations and learning how to set up active listener that checks for changes made to your database and updates your documents. As commonly used we would be using creating a note taking app which caries out all crud operations.
To get started we would declare some variables.
export class FirestoreServiceProvider {
  cloudBook: AngularFirestoreCollection<any>;//This refers to our cloud storage which is a firebase collection
  book: Observable<any>;//This would be later on used to set event listeners
  note1: AngularFirestoreDocument<any>;//This would refer to the first note added to the collection
We can then proceed to defining a collection
We would need to add firestore in our constructor like this
constructor(public firestore: AngularFirestore) {
  }
Then we can proceed to defining a new collection to our database like this
constructor(public firestore: AngularFirestore) {
    this.cloudBook = this.firestore.collection('myBook');//
    this.note1 = this.firestore.collection('myBook').doc('note1')
  }
When the constructor builds the two instances would be created under our database and will be ready to carry out crud operators.
As seen, the first note which we referred to as this.note1 is the reference for a document under the collection called this.cloudBook.
I will start out with the first CRUD operation which is 'create', 'read', 'update' and 'delete' and write the following functions for each of these operations
addNote(note){//We use add firebase function to add to a database
    this.cloudBook.add(note)
  }
  getNote(id){//use the get function to read a file by refering to its id
    this.cloudBook.doc(id).get()
  }
  deleteNote(id){//You use this to delete a document by referring to its id
    this.cloudBook.doc(id).delete();
  }
  updateNote(id,note){//You update a document by referring to it id and passing the updated data
    this.cloudBook.doc(id).update(note);
  }
From this a question of where the id comes from rises. Firestore automatically generates an id for every new document added to its database if an id is not provided. This helps to keep the data on your database anonymous and safer in a way.
This id is generated when you use add(). But you can create your own id by alternatively using .doc('Use the desired Id').set(_pass your data here).
Next thing would be setting an event listener for your backend. This is very useful for applications that have multiple people using the same account at the same time.
Both firestore Collections and document have a way of doing this which have a similar approach but different results. To listen for changes in your collection, add this to your constructor
this.book = this.cloudBook.valueChanges()//To get changes for your collection
//Or
this.book = this.note1.valueChanges()//To get changes made to a document in your collection
this.note is an observable we declared so your program would know to listen to that host. However to read the data that is published whenever there is a change, we create a function that we can subscribe to anywhere else in our application like this
subscribeChange(){
    return this.book//This can be subscribed to anywhere in our application.
  }
Protecting your database
When youre done creating your functions you would like to restrict who can read your database just in case your program is ever duplicated for any reason. To do this you can restrict read or write permissions to people who are authenticated by firebase. I would cover authentication in a separate tutorial. But for now i would show how to set rules to only allow someone who is authenticated to read your data. This is done from your firebase console.
As stated below we would only allow read and write when the request being sent has a valid user authentication Id.
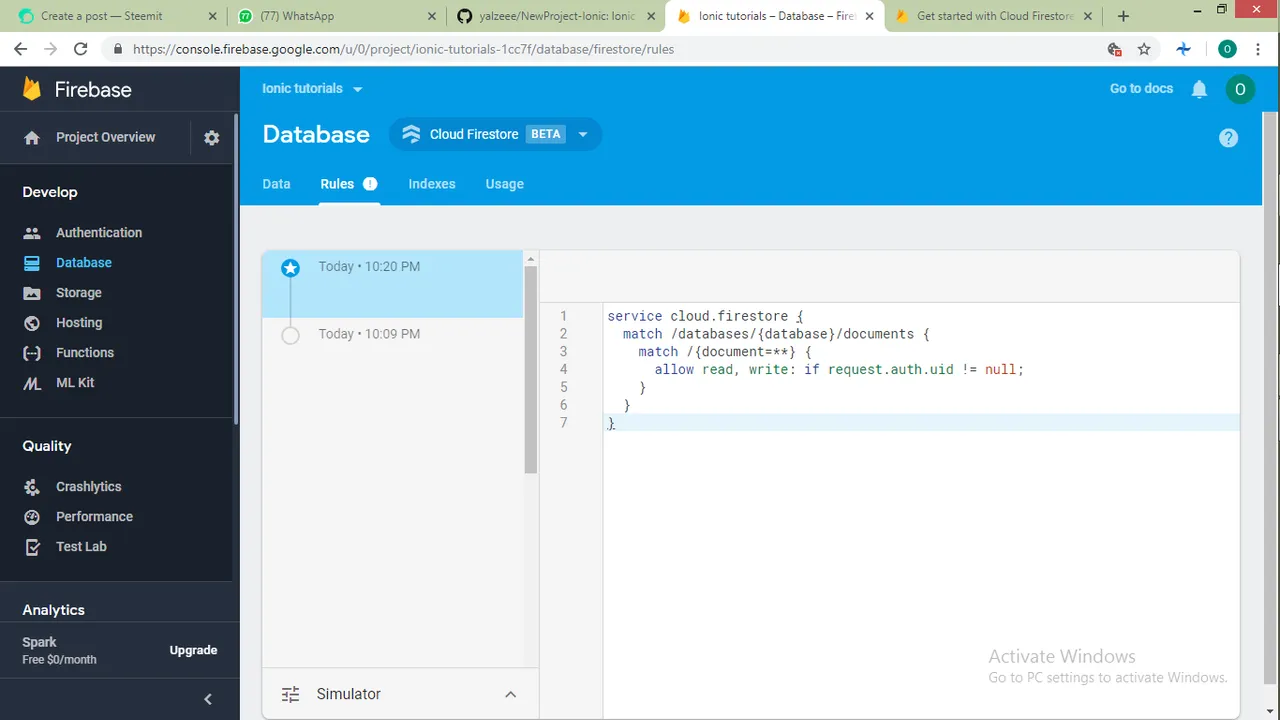
This would only allow access to your database when a user is authenticated.
In the next tutorial i would cover authentication methods and ways to update a current users data using firebases inbuilt authentication service.
You can find the code for this tutorial in GitHub