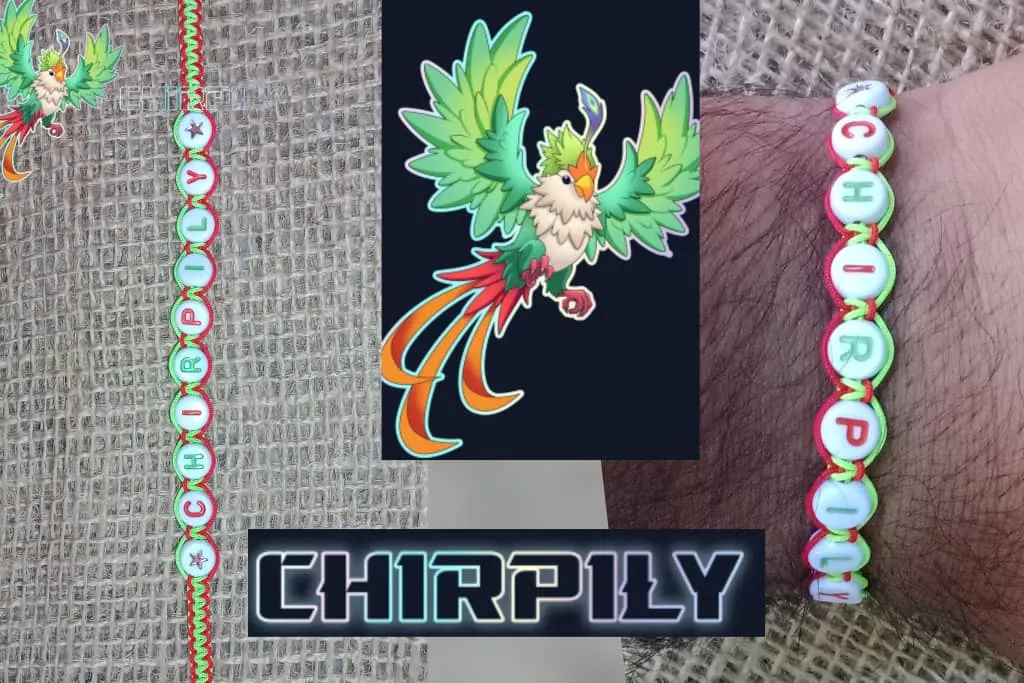
Hello #holozing community, happy to greet you and wish you a happy and blessed start of the week. This time I share with you a fanart inspired by the bird Chirpily. This character caught my attention for its wide variety of colors and I decided to be inspired by this character.
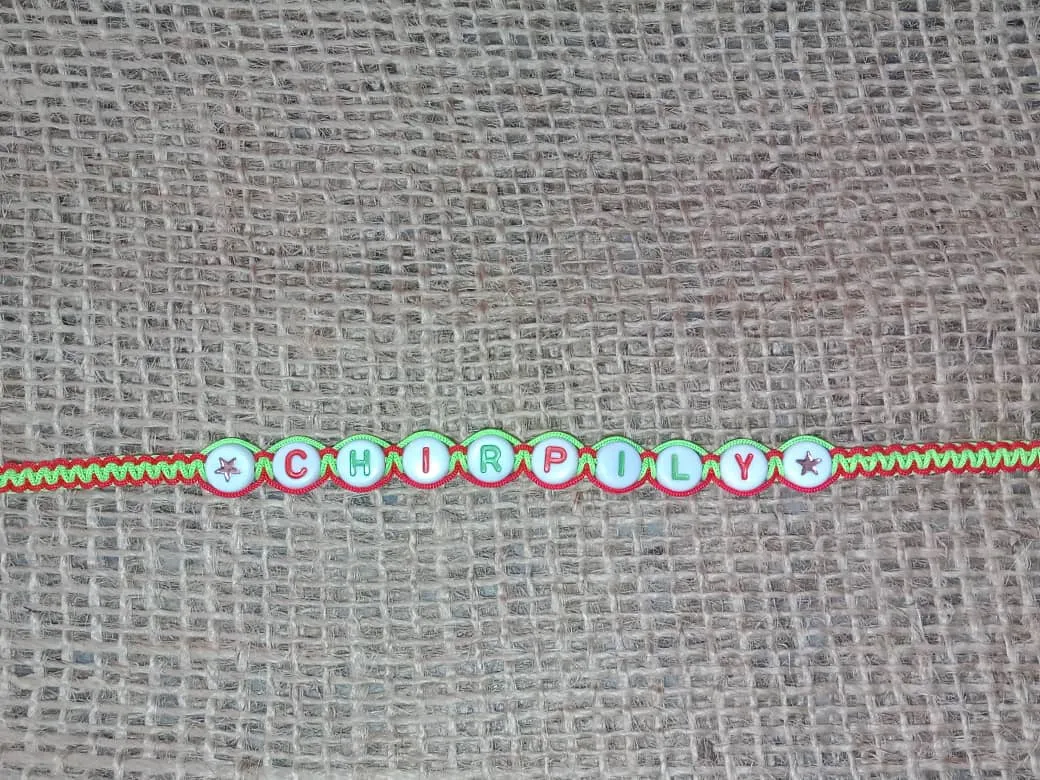
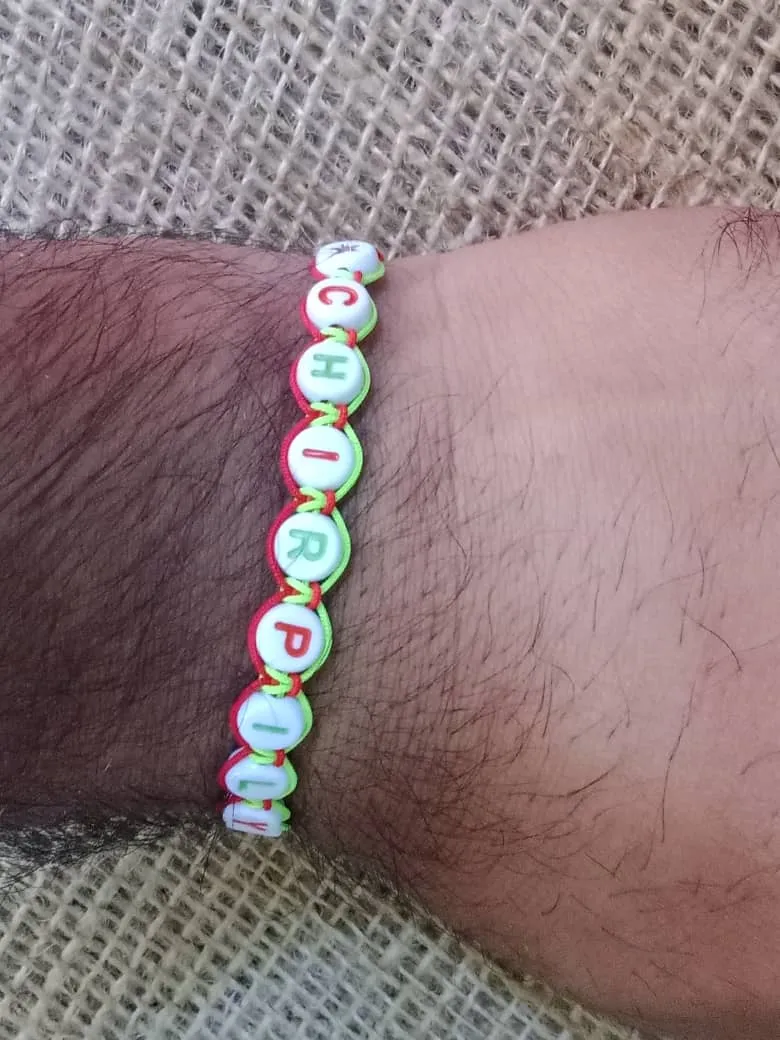
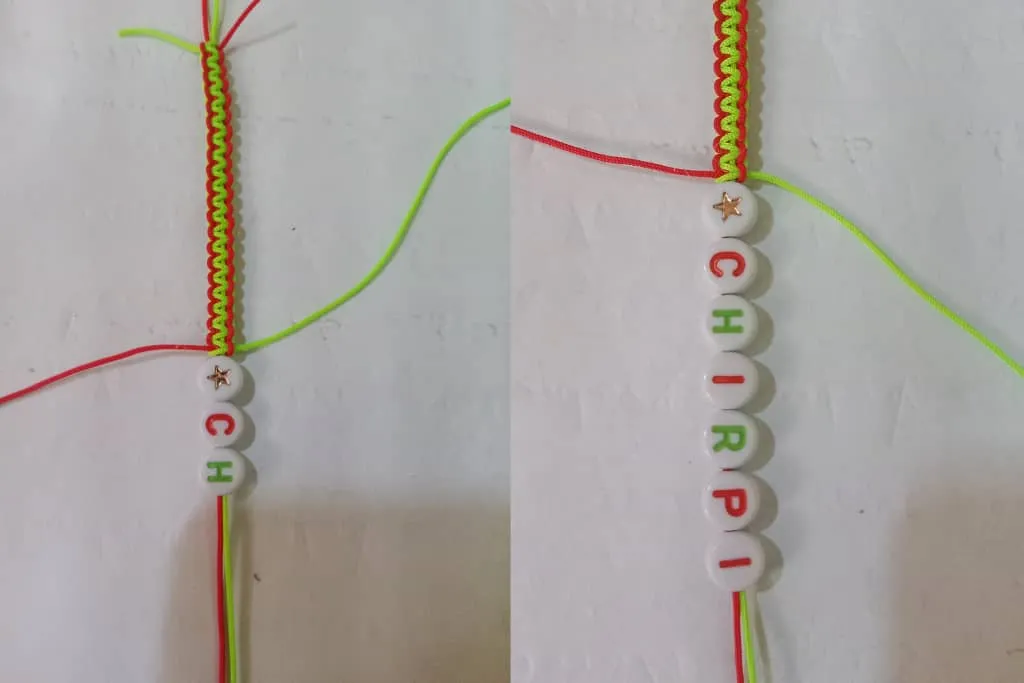
My fan art is a beautiful personalized bracelet (Chirpily's name) and with colors allusive to this bird.
Hola comunidad #holozing encantado en saludarles y desearles feliz y bendecido inicio de semana. En esta ocasión les comparto un fanart inspirado en el ave Chirpily. Éste personaje captó mi atención por su gran variedad de colores y decidí inspirarme en este personaje.
Mi fan art es una hermosa pulsera personalizada (nombre de Chirpily) y con colores alusivos a esta ave.

The materials I used to make this fan art are the following:
Chinese thread
Scissors
Tinder
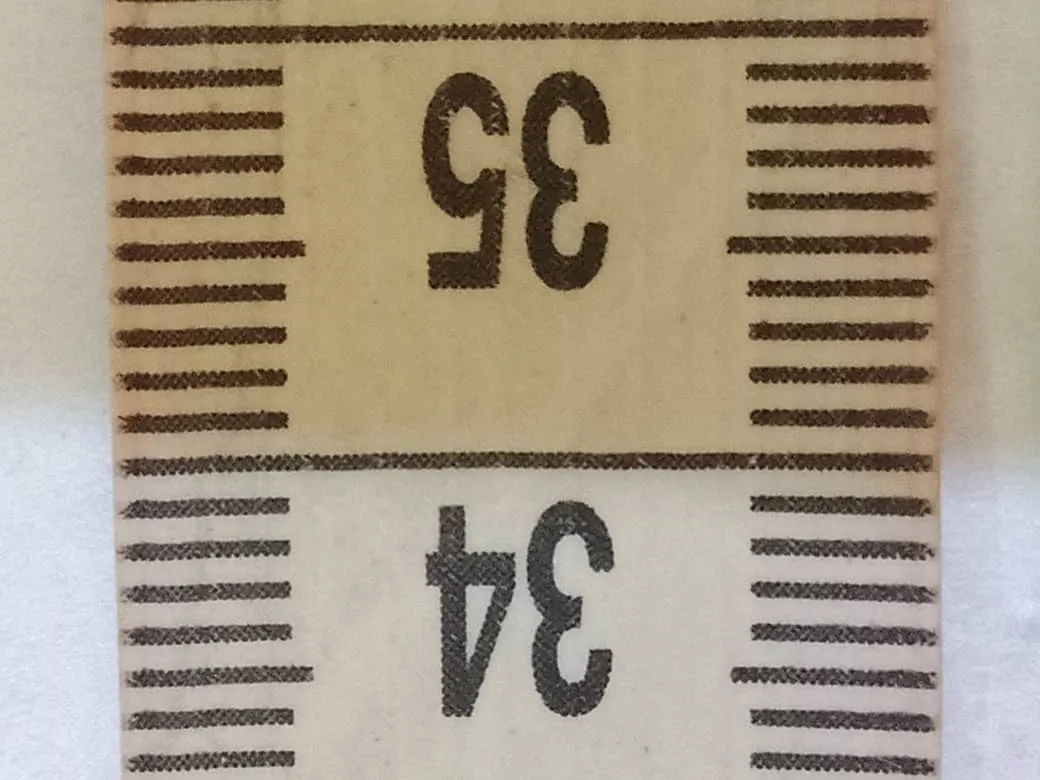
Character letters
beads
Los materiales que usé para realizar éste fan art son los siguientes:
Hilo chino
Tijera
Yesquero
Letras del personaje
cuentas
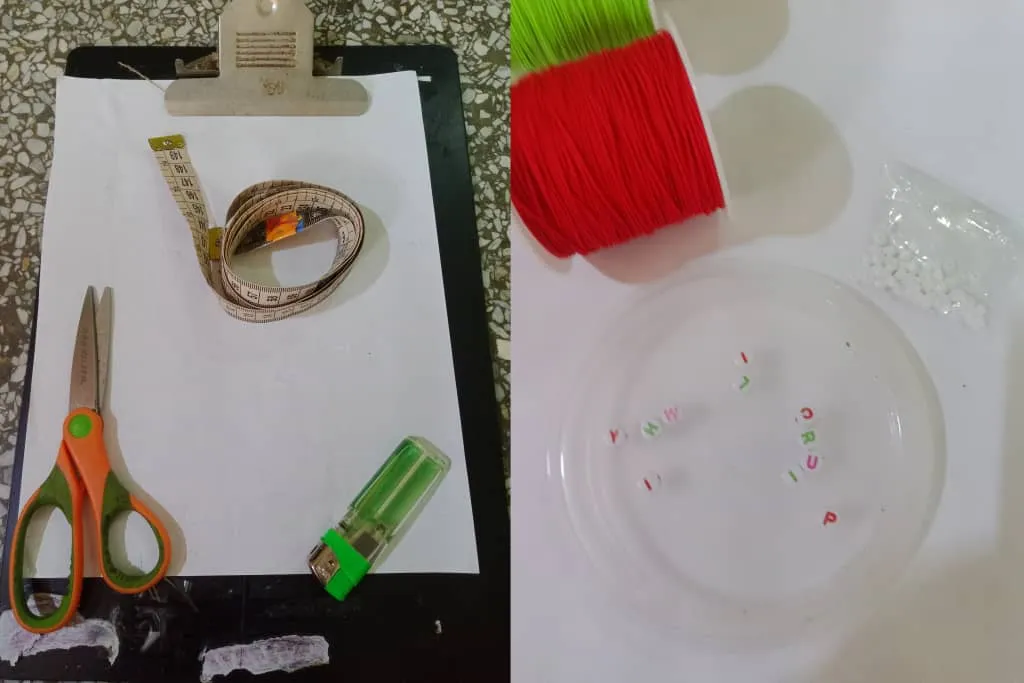
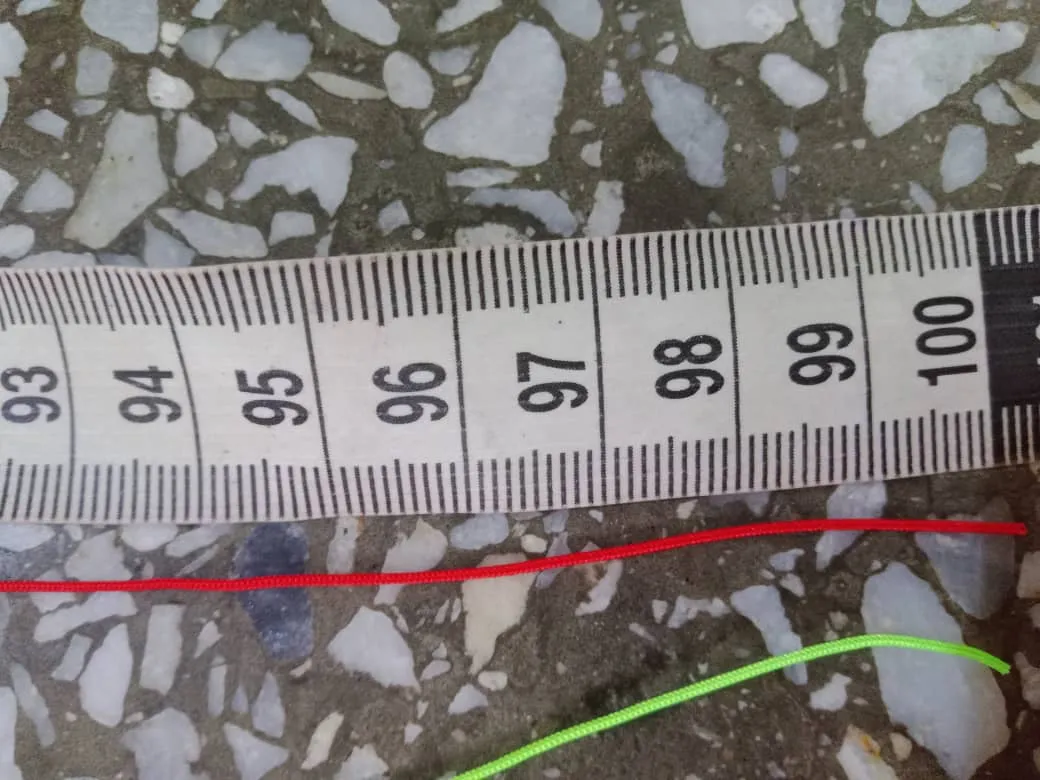
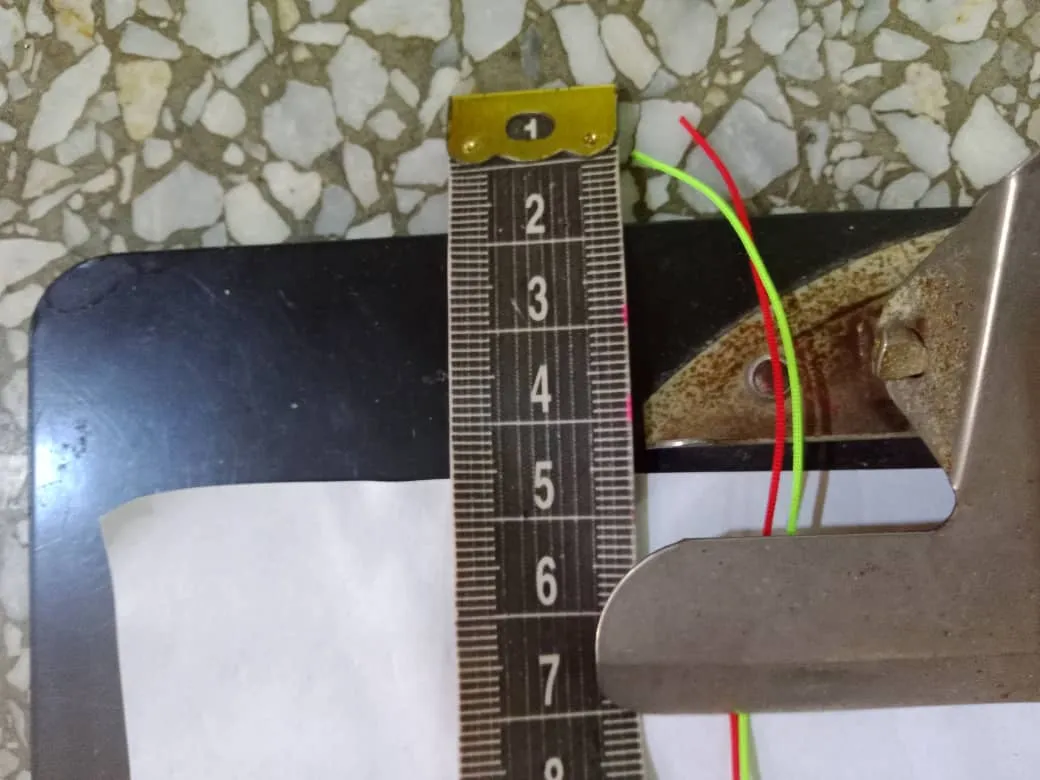
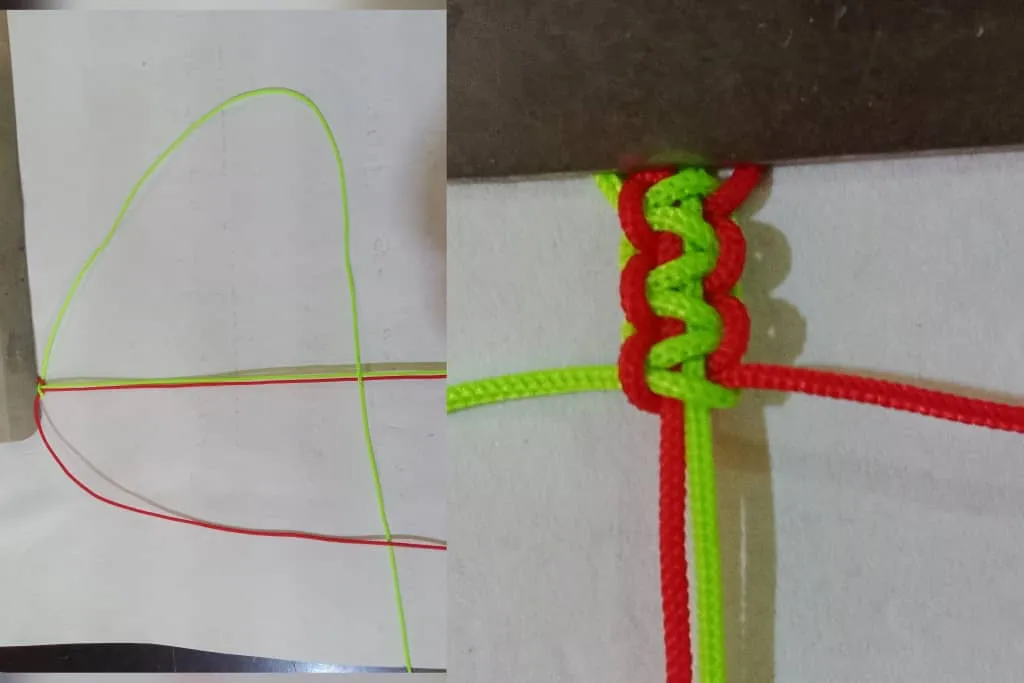
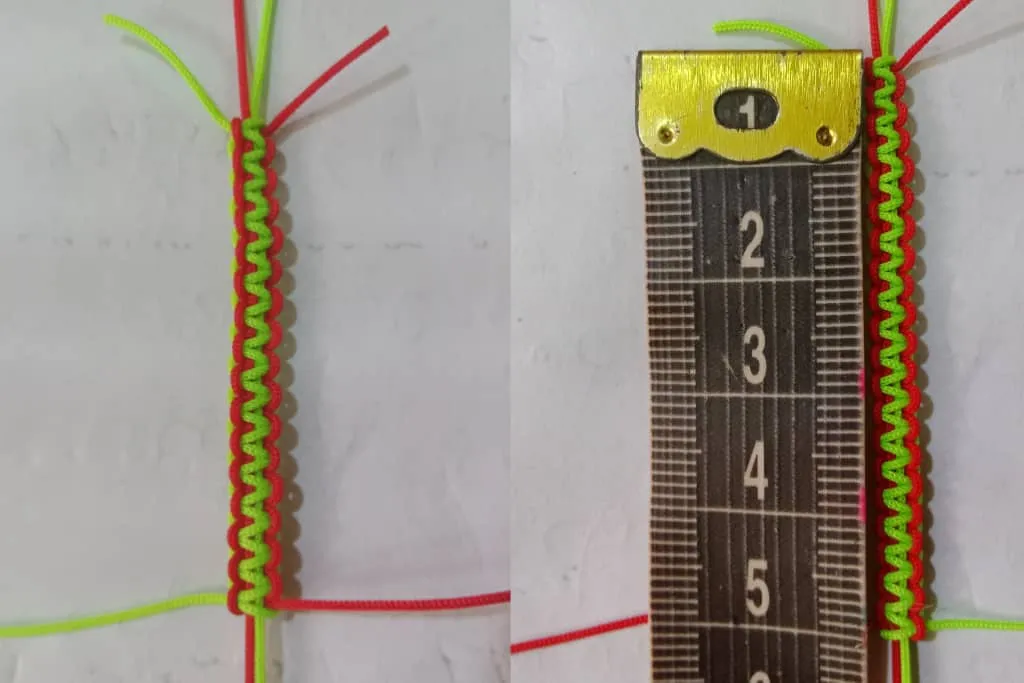
Luego corté una hebra de hilo de 100cm que usaré para realizar el tejido plano

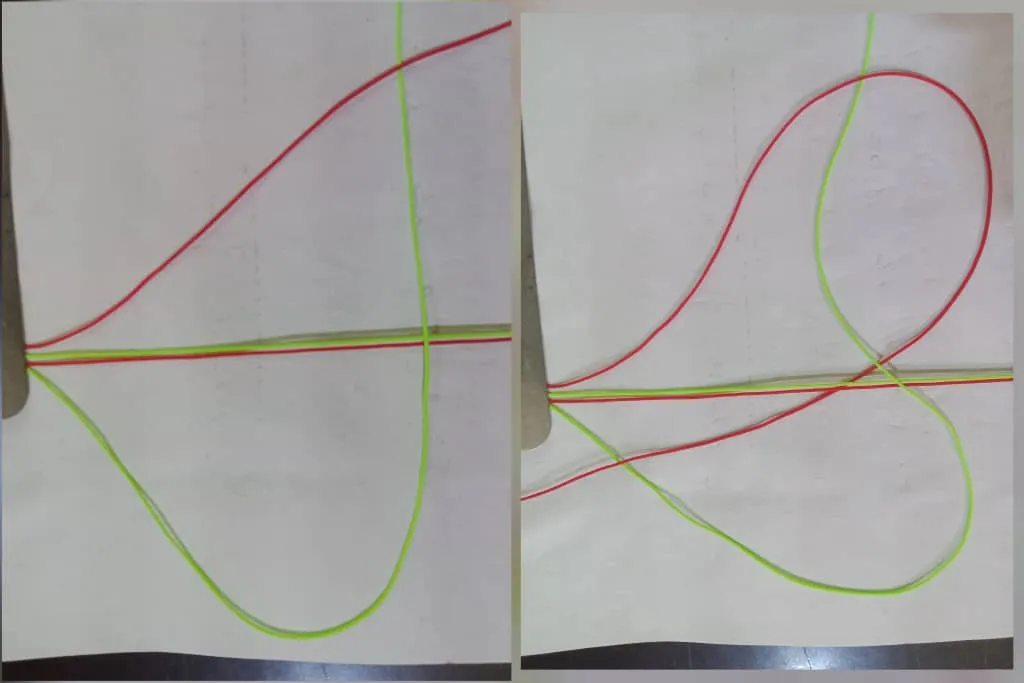
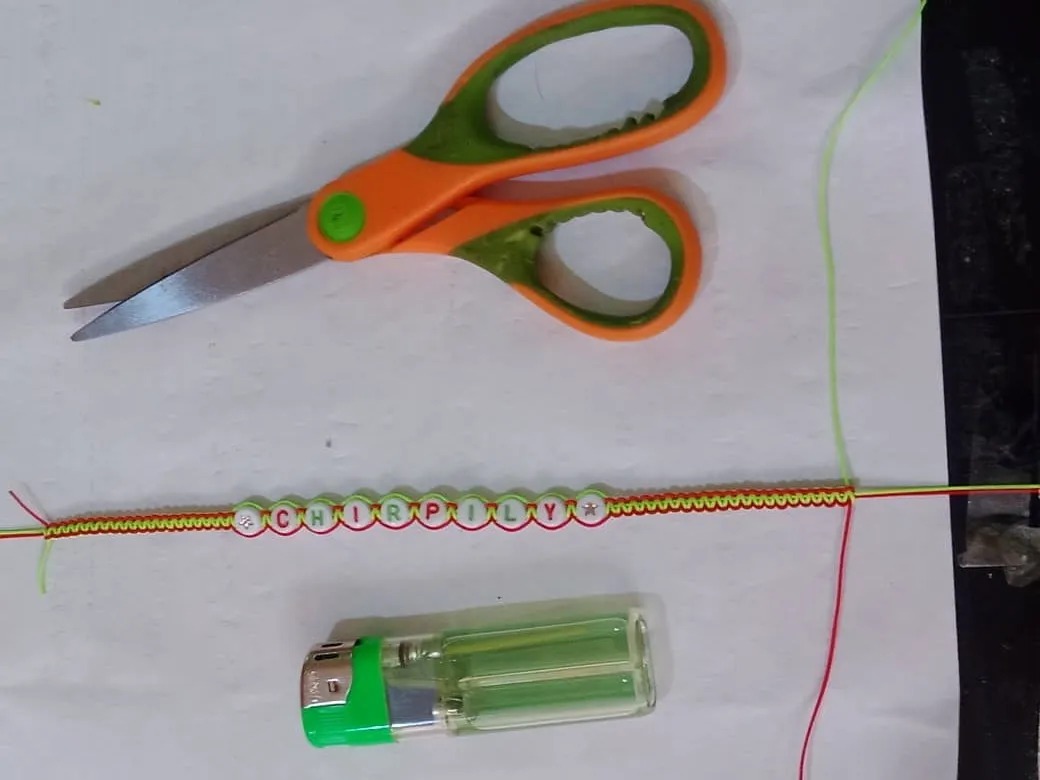
The bracelet for Chirpily was very beautiful and eye-catching because of the great variety of colors and letters.
Translated with https://www.deepl.com/translator
                  All images are my own, dividers courtesy of @kattycrochet.


             Todas las imágenes son de mi autoría, divisores cortesía de @kattycrochet.