✏️ ¡Hola amigos de Hive! Espero que se encuentren super bien y estén pasando un lindo viernes. El día de hoy vengo a mostrarles mi participación para el concurso del mes de Febrero de #diyhub el cuál trata de la Luna, lo estoy subiendo casi al final del concurso porque se me presentaron diferentes inconvenientes y hoy por fin lo pude terminar.
Para mi hacer este dibujo fue súper divertido, amo la luna, la noche, ver la luna y las estrellas me llena de una paz espectacular, por eso también quise participar en este concurso, quise reflejar la alegría que siento cada vez salgo a ver la luna desde mi balcón y para ello quise armar una escena que transmitiera todo eso.
Me hubiera gustado haber terminado el dibujo un poco antes pero bueno, así son las cosas, afortunadamente lo pude terminar y a continuación les mostraré el paso a paso.
- ✏️ Hello Hive friends! I hope you are doing well and having a nice Friday. Today I come to show you my participation for the #diyhub contest of the month of February which is about the Moon, I am uploading it almost at the end of the contest because I had different problems and today I was finally able to finish it.
- For me making this drawing was super fun, I love the moon, the night, seeing the moon and the stars fills me with spectacular peace, that's why I also wanted to participate in this contest, I wanted to reflect the joy I feel every time I go out to see to the moon from my balcony and for this I wanted to put together a scene that conveyed all that.
- I would have liked to have finished the drawing a little earlier but hey, that's the way things are, fortunately I was able to finish it and I'll show you the step by step below.
🌙Proceso | 🌙Process
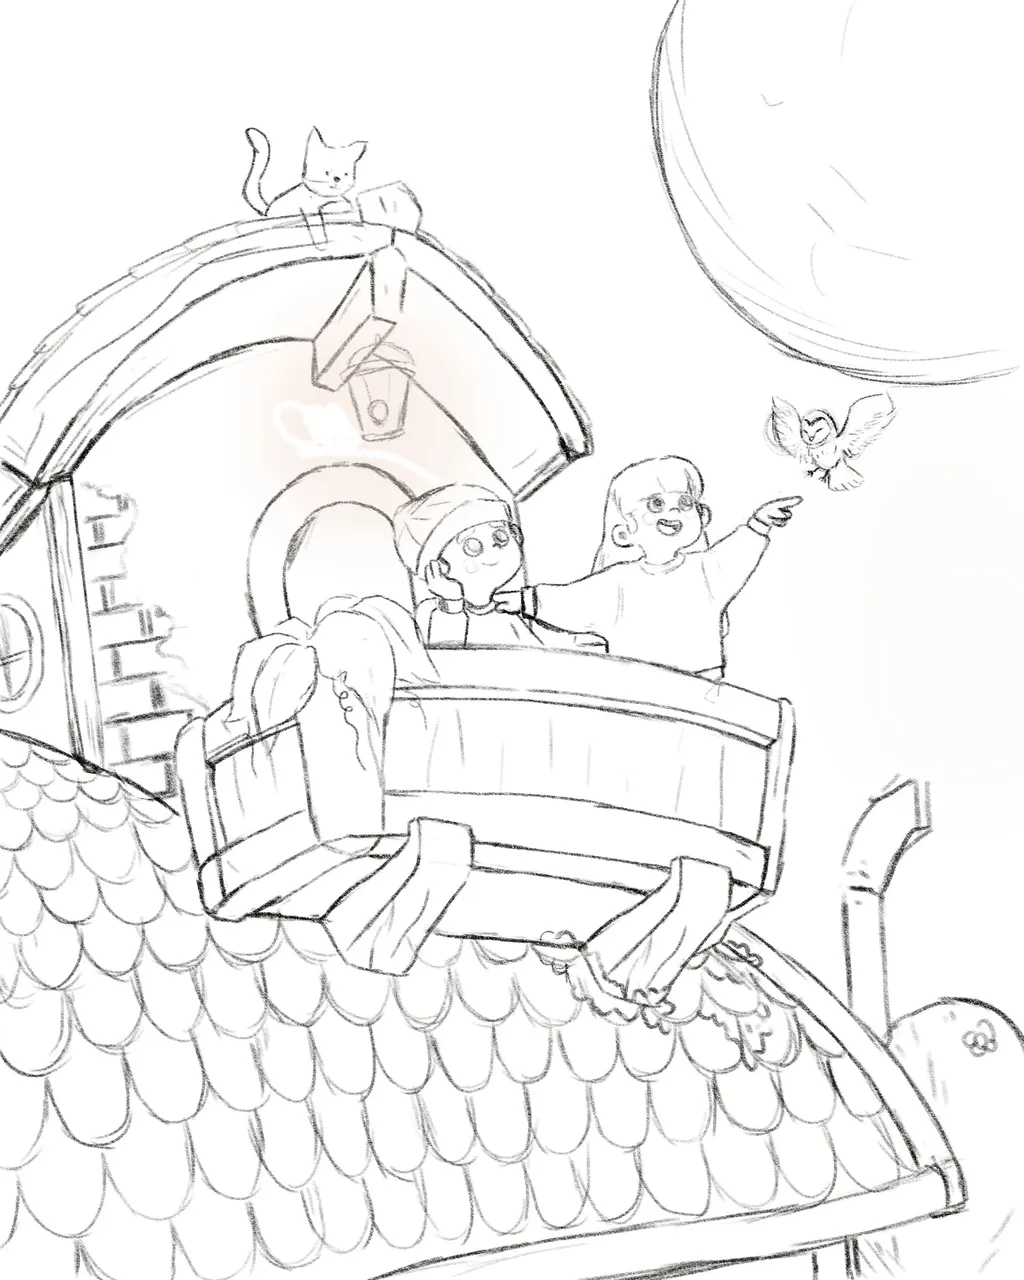
Bueno, lo primero que hago es el boceto, siempre suelo hacer un boceto sucio y garabatos en una hoja blanca, después de que tengo algo que me convence, tomo una foto y la paso a Photoshop, allí pulo el boceto y agrego los detalles.
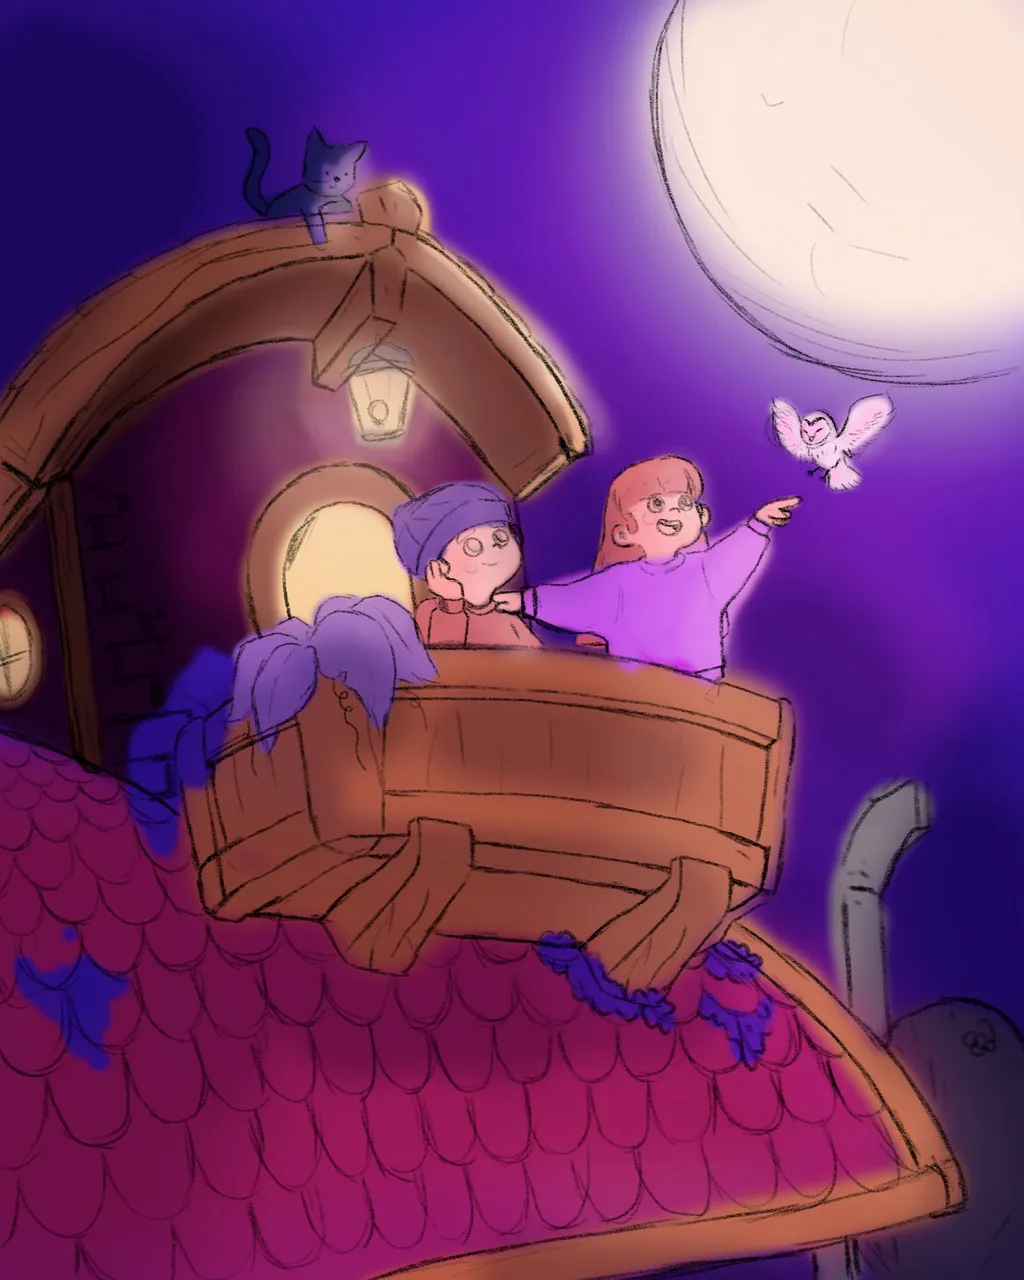
Después de hacer el boceto siempre hago lo que llamo un estudio de color, donde siempre pruebo los colores que voy a utilizar, esto lo hago para darme una idea de cómo será el resultado final, la verdad es que no no se cuantas veces tuve que hacer el estudio, ya que no me convencia ninguna paleta de colores, hasta que finalmente un dia en la noche (que casualidad) se me ocurrio usar esta paleta de colores y estoy realmente feliz con la resultado.
Un pequeño consejo que te doy es que a pesar de que es un estudio de color, te recomiendo que colorees cada parte en una capa diferente, así te será más fácil cuando quieras modificar un color, porque si lo haces todo en una sola capa será fácil cambiar el color de un área y es más tedioso.
- Well, the first thing I do is the sketch, I always usually do a dirty sketch and scribble on a white sheet, after I have something that convinces me, I take a photo and pass it to Photoshop, there I polish the sketch and add the details.
- After making the sketch I always do what I call a color study, where I always test the colors that I am going to use, I do this to give myself an idea of what the final result will be like, the truth is that I don't know how many times I had to to do the study, since I was not convinced by any color palette, until finally one day at night (what a coincidence) it occurred to me to use this color palette and I am really happy with the result.
- A little advice that I give you is that despite the fact that it is a color study, I recommend that you color each part in a different layer, so it will be easier for you when you want to modify a color, because if you do everything in one single layer it will be easy to change the color of an area and it is more tedious.
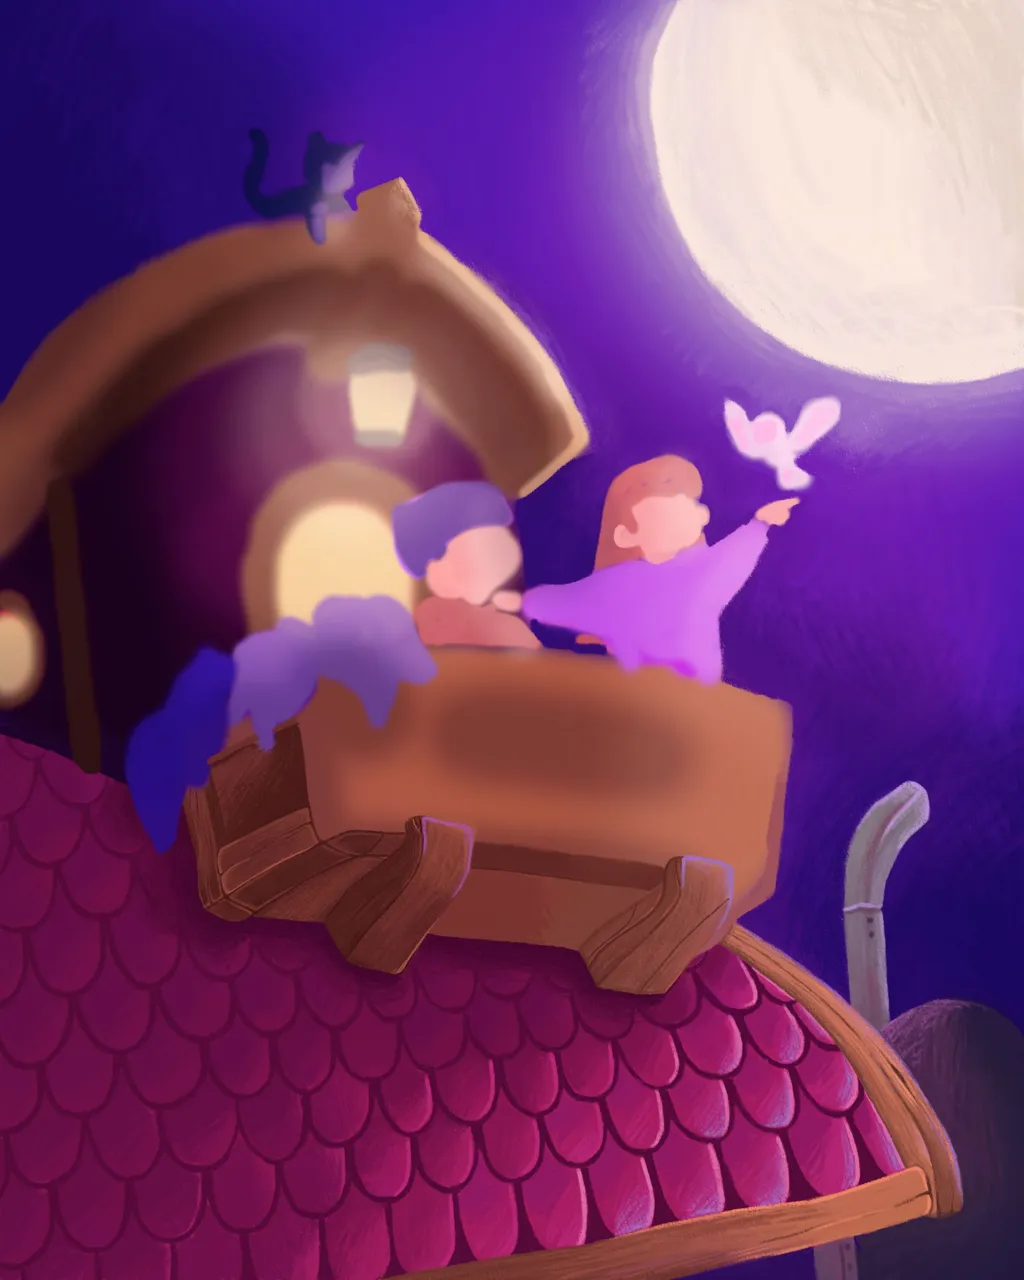
Una vez que tuve el estudio de color hecho procedí a colorear el dibujo. Últimamente he estado coloreando en una sola capa (en una capa encima del estudio de color y el boceto) ya que me es mucho más cómodo hacerlo de esa manera, pero recomiendo a las personas que recién comienzan a colorear en capas separadas en caso de que se equivoquen.
Para el coloreado comencé primero con el techo, la verdad que me costó un poco ya que tenía que colorear y sombrear cada parte del techo, también coloreé el borde de madera que tiene el techo y algunos adornos pequeños.
Una vez que hice el techo comencé a colorear el balcón de madera y la casa, aproveché para agregar la iluminación de la casa y hacer el reflejo de luz de la pequeña farola.
- Once I had the color study done I proceeded to color the drawing. Lately I've been coloring in a single layer (on a layer on top of the color study and sketch) as it's much more comfortable for me to do it that way, but I recommend people who are just starting to color on separate layers in case they mess up.
- For the coloring I first started with the roof, the truth is that it took me a bit since I had to color and shade each part of the roof, I also colored the wooden edge that the roof has and some small ornaments.
- Once I made the roof I began to color the wooden balcony and the house, I took advantage of adding the lighting of the house and making the light reflection of the small lamppost.
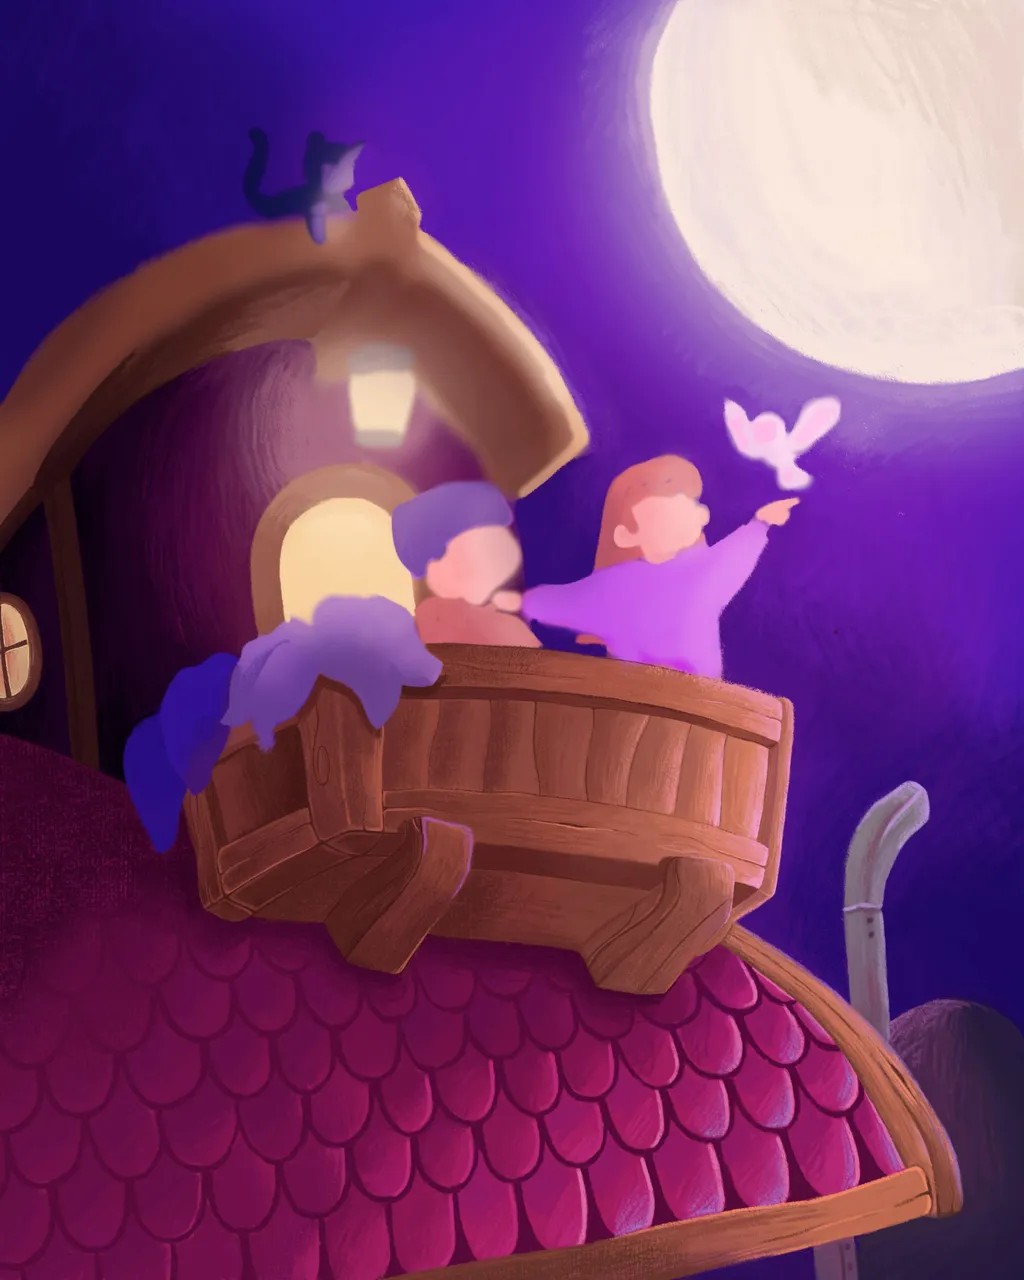
Para esta parte ya había terminado de colorear el balcón y ya estaba en proceso de colorear el techo, aquí aproveché para agregarle detalles a la viga de madera que sostiene el techo y le agregué una sombra en la parte superior del techo , justo debajo de la ventana, pero al final decidí quitar esa sombra.
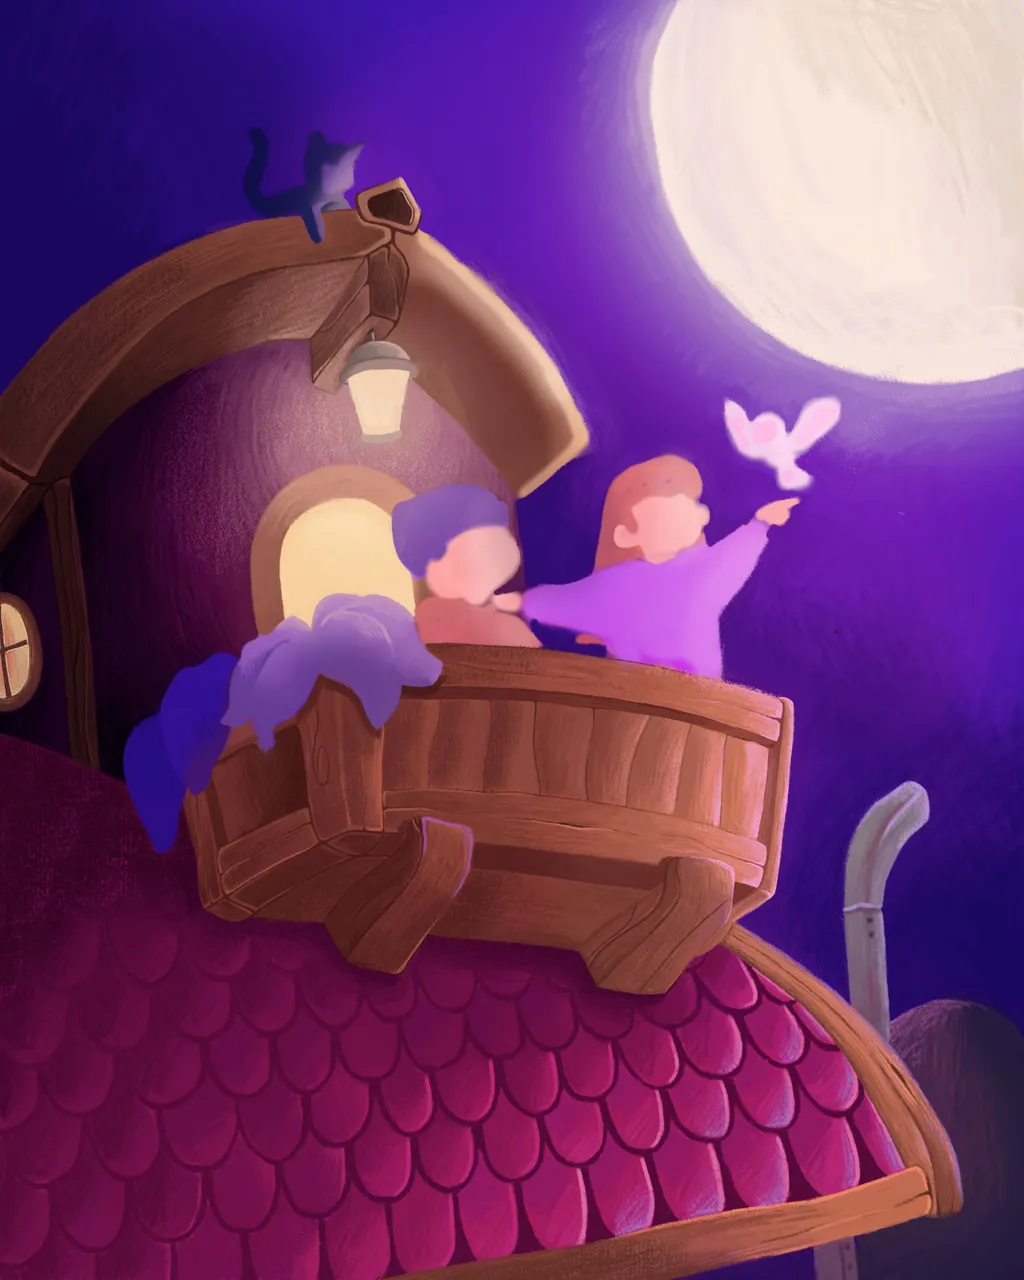
Después de mucho trabajo pude terminar de hacer la casa y también coloreé a los niños, el lindo mochuelo y el gatito que está en el techo de la casa. Espero que la lechuza saliera bien, la verdad nunca habia hecho una jaja, y si salio rara lo siento.
- For this part I had already finished coloring the balcony and I was already in the process of coloring the roof, here I took the opportunity to add details to the wooden beam that supports the roof and I added a shadow on the upper part of the roof, just below the window , but in the end I decided to remove that shadow.
- After hard work I was able to finish making the house and I also colored the children, the cute little owl and the kitten that is on the roof of the house. I hope the owl turned out well, the truth is that I had never done one haha, and if it turned out weird I'm sorry.

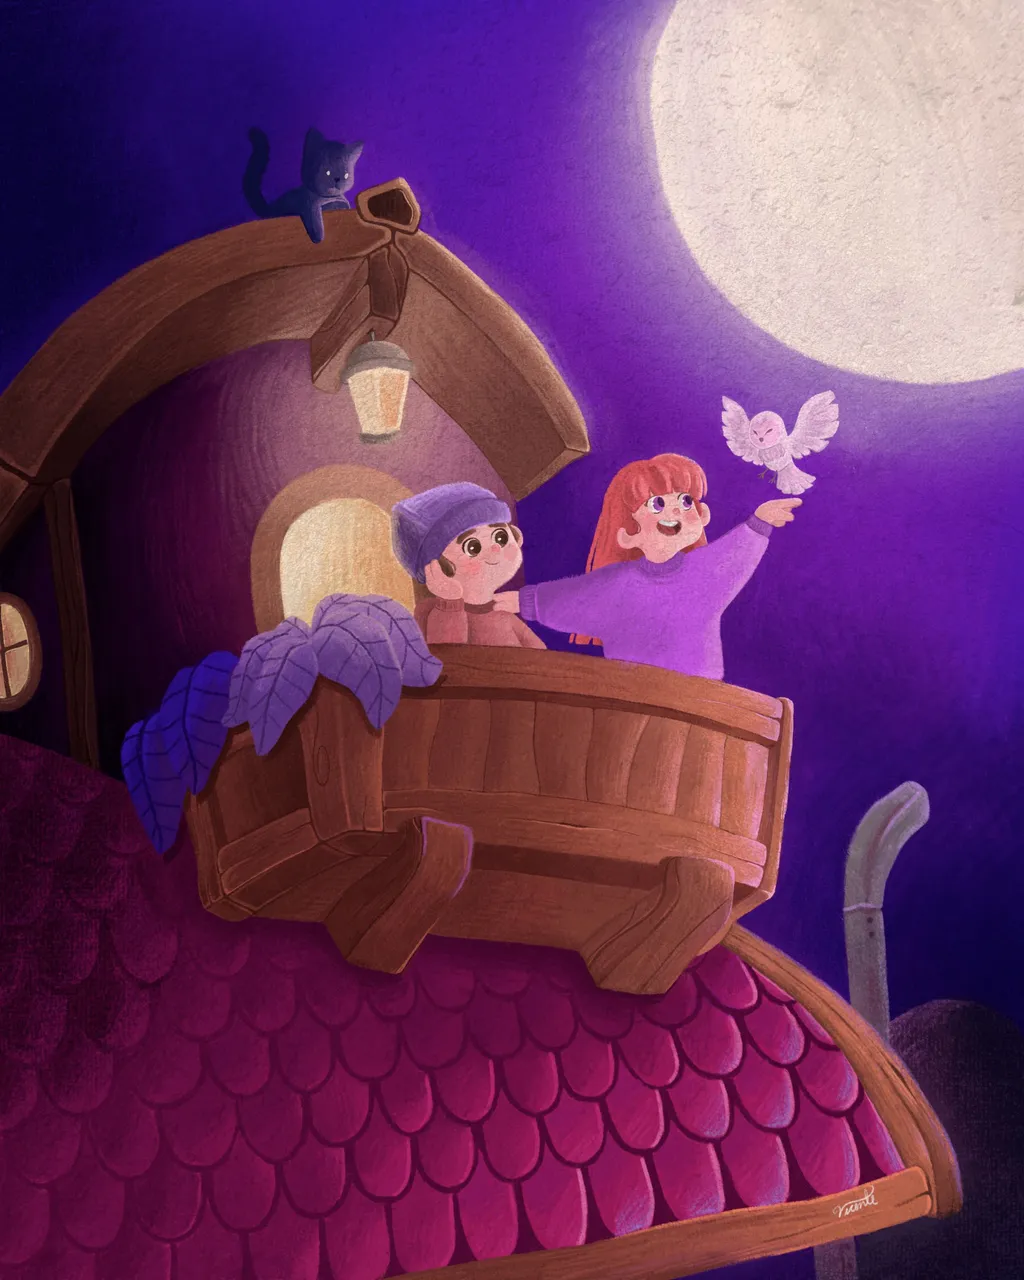
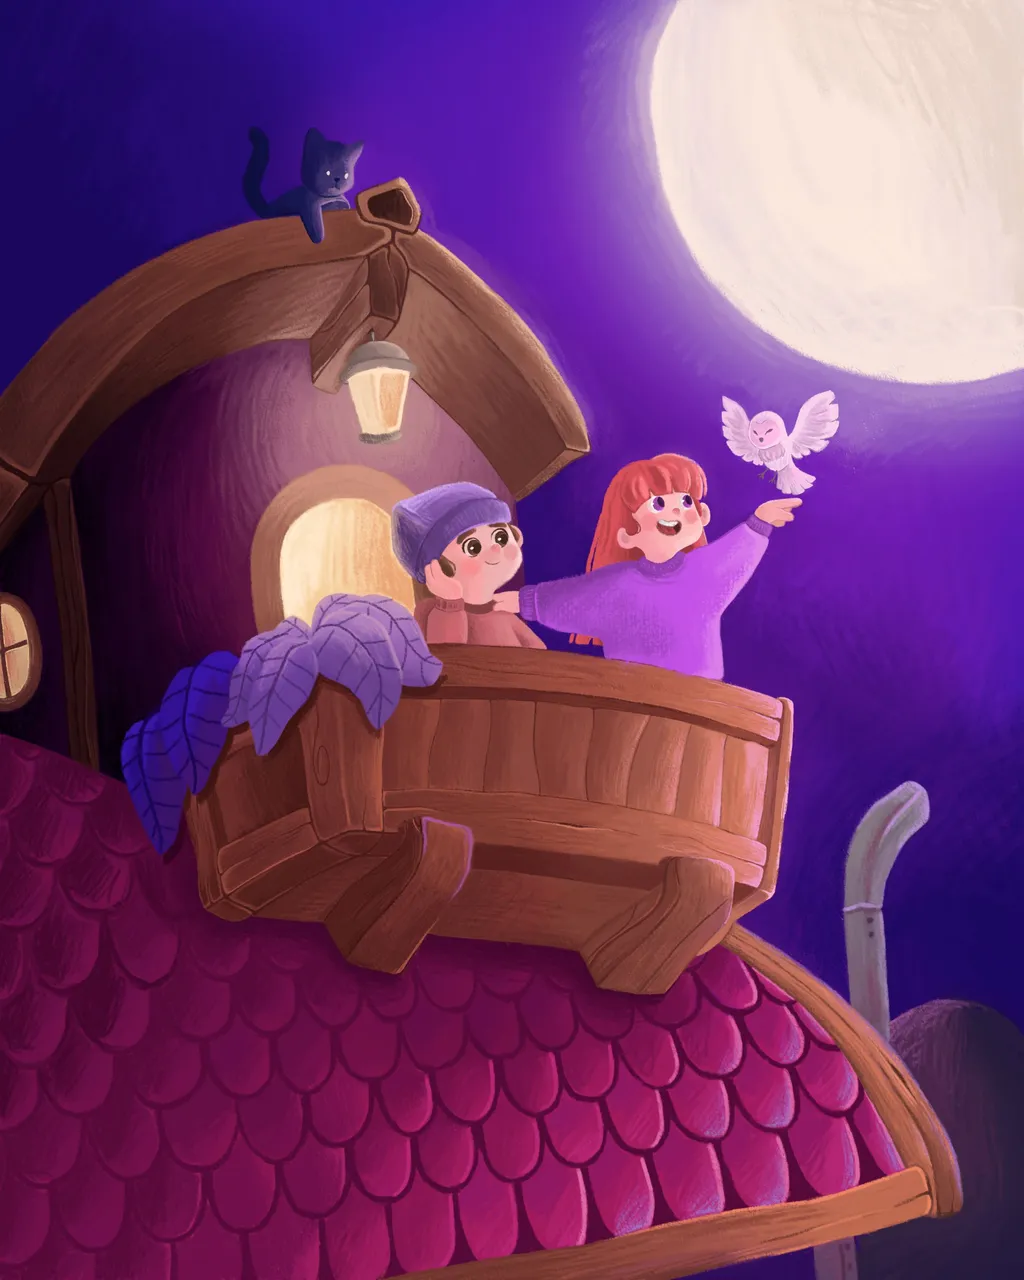
Para terminar, detallé las flores que están en el balcón y le agregué una sombra extra al fondo, para que resalte más la luna y su brillo. También le agregué una textura tradicional, simplemente la coloqué encima de la capa de coloreado, bajé la opacidad y listo.
- To finish, I detailed the flowers that are on the balcony and added an extra shadow to the background, so that the moon and its brightness will stand out more. I also added a traditional texture to it, just placed it on top of the coloring layer, lowered the opacity and that's it.

¡Y listo! Espero que les haya gustado mi participación en el concurso y espero haberme explicado bien paso a paso. Fue muy lindo y divertido para mi haber recibido este hermoso reto.
✨Espero que tengas un excelente día ¡Saludos!.
- And ready! I hope you liked my participation in the contest and I hope I have explained myself well step by step. It was very nice and fun for me to have received this beautiful challenge.
- ✨I hope you have an excellent day. Greetings!
Instagram:@byvicente99
Separador y Fotos editadas en Canva
Photos edited in Canva