Hello friends, trust you are all doing good, it is another amazing week of creativity and I would not hesitate to share my new experience with everyone here.
Actually, this is my first post in this community and I am glad I came across this wonderful #DIYHUB community where I could share my craft work and equally learn new things.
During the weekends I decided utilize the little time I had to recreate an amazing handcrafted shoes, I finally decided to make a simple sandal.
The materials I needed to make this sandals were':
- A sole
- some gold chains
- A nora or Marco for the insole but I made use of marco
- dye
- Shoe polish
- Gum
- scissors
- sandpaper
- leather
- last
- hammer
- buckle
- punch
- lining etc
All these materials were available at home exception of a ready made sole and a gold chain. I had to go to the market to buy a black sole and some gold chains,.
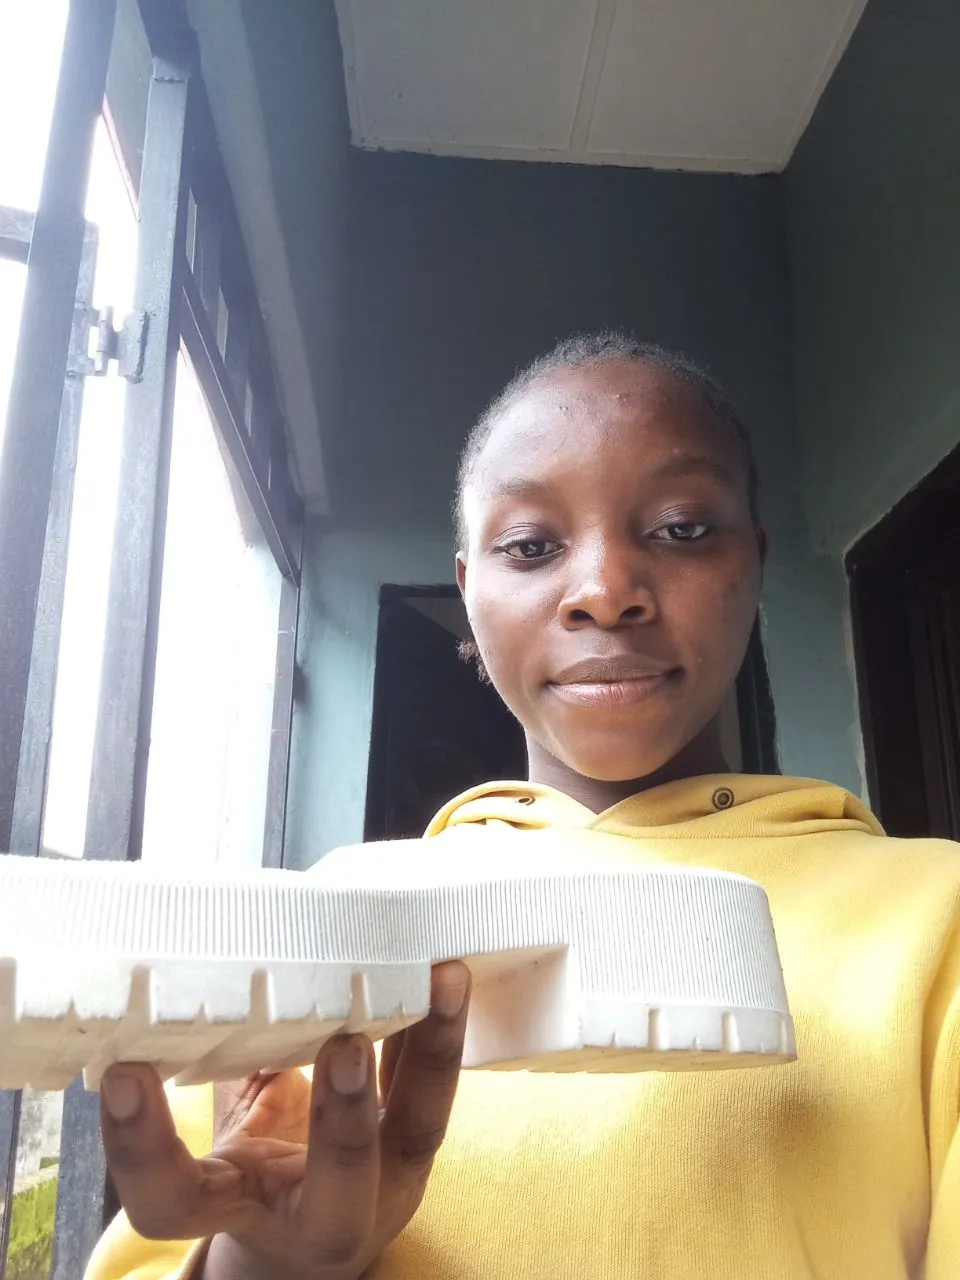
unfortunately, I did not see the kind of black sole that would be suitable for it, but rather I saw the sole I wanted in a white color, I felt sad about it but instead of letting go I had to make use of my creative mind, I bought the white sole.
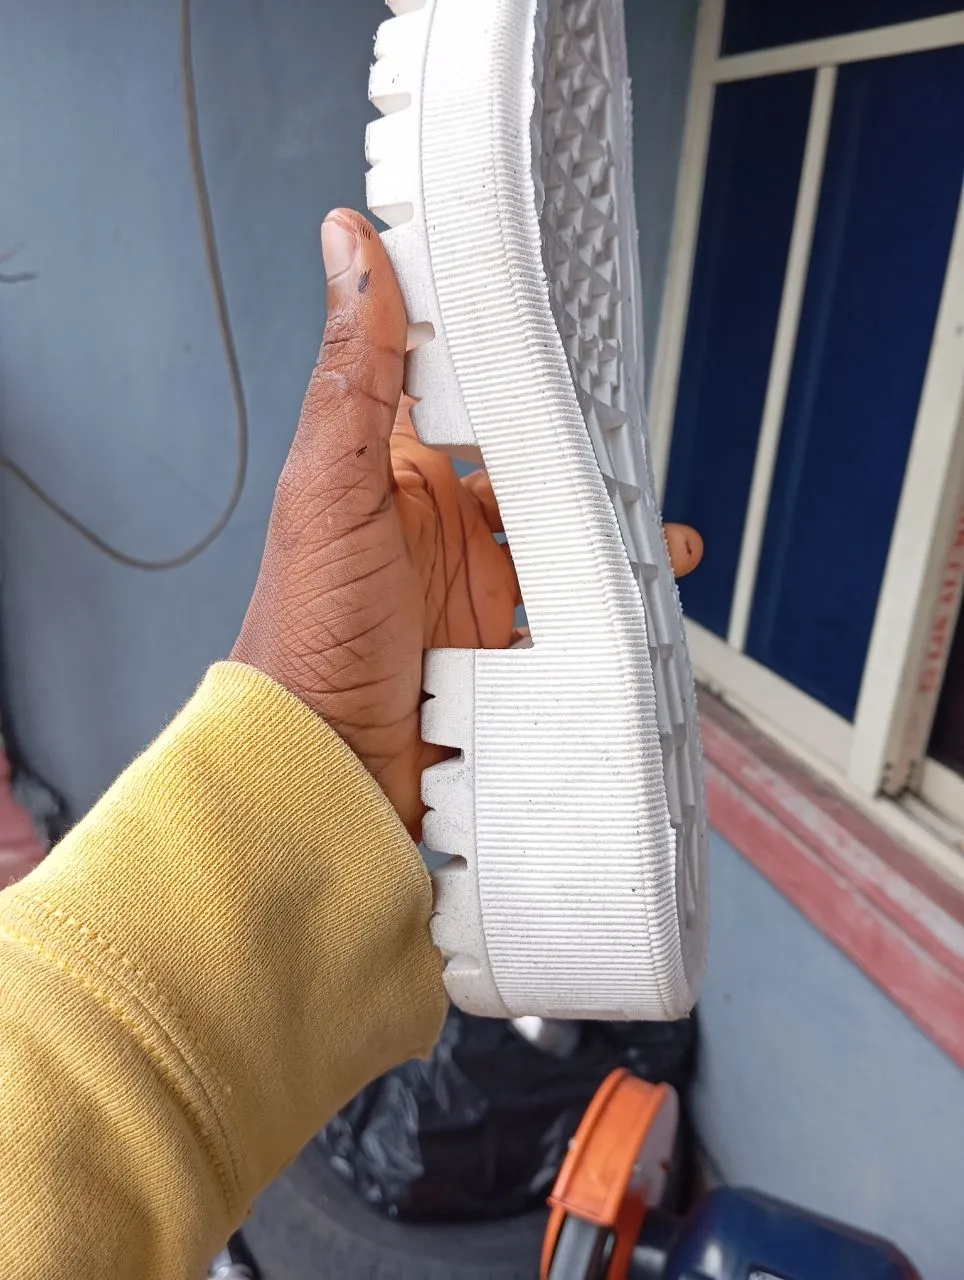
Getting to the house I dyed the white sole, at first I doubted if it would really turned out nice but I just had to give it a try.
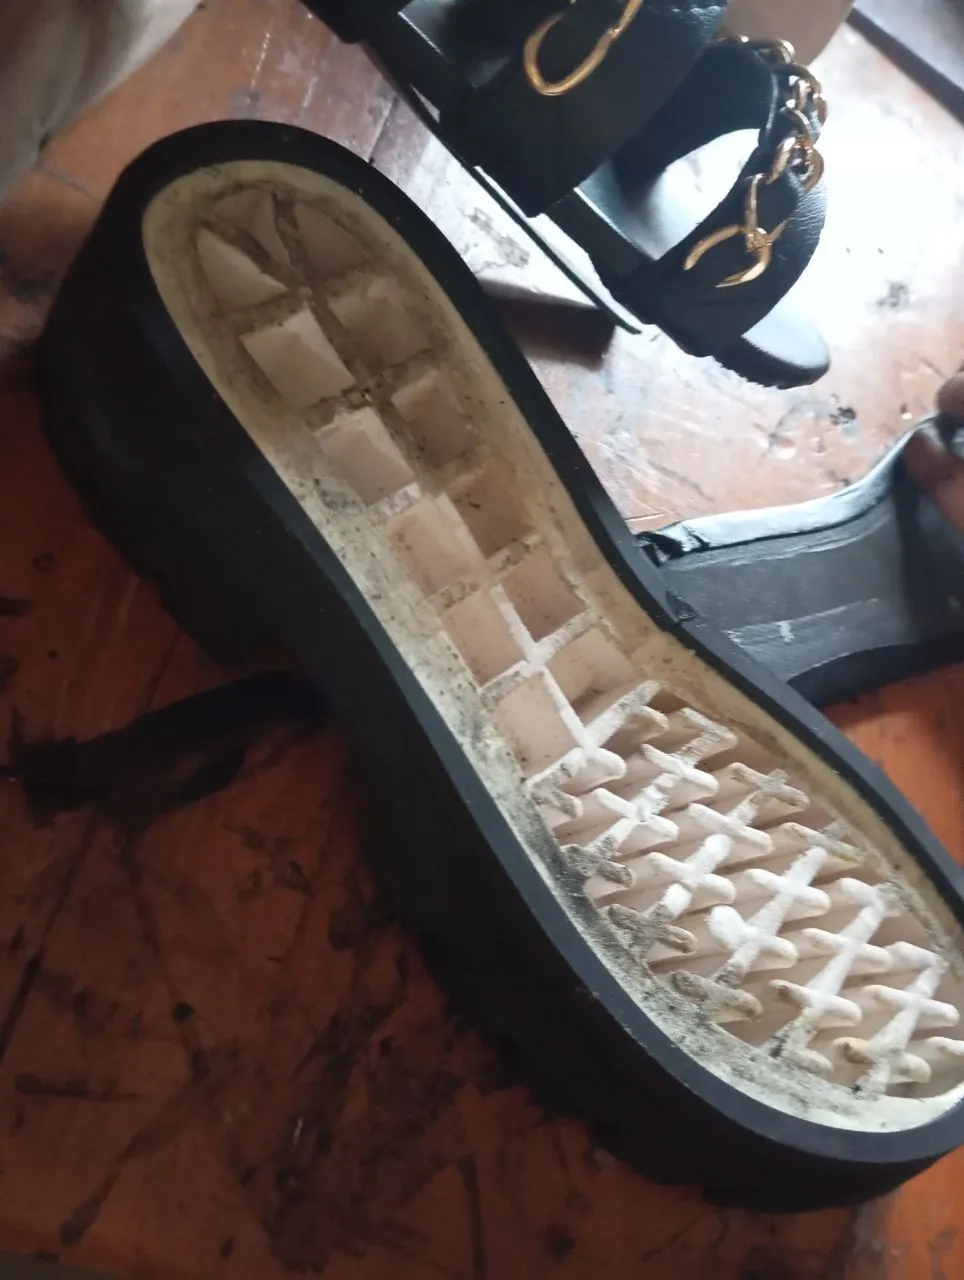
I dyed it thoroughly and dried it in the sun, after sometime, I dyed it again to ensure it's gets very dark and sundry it for some time and boom! my black sole was ready.
I had to proceed with other aspects, I cut out a welt from my Nora material and added to the top edge of the sole using my gum.
The next process was to prepare an insole, I carefully carved out size 38 on my Marco material and padded it with my leather which is carved out of the same size.
I added gum to the carved Marco and the leather, I further padded it after it got dried, my insole was finally ready for attachment.
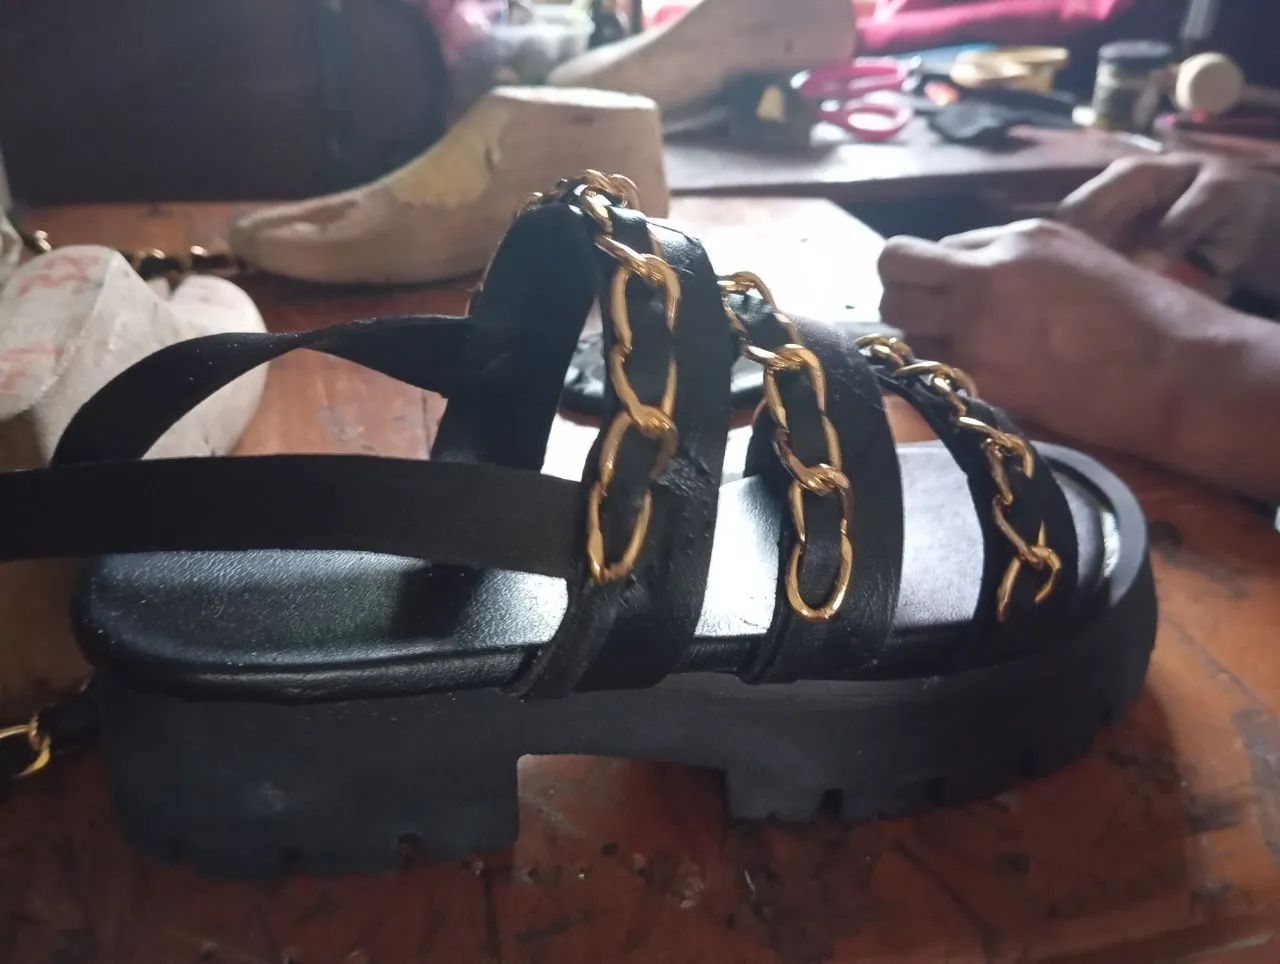
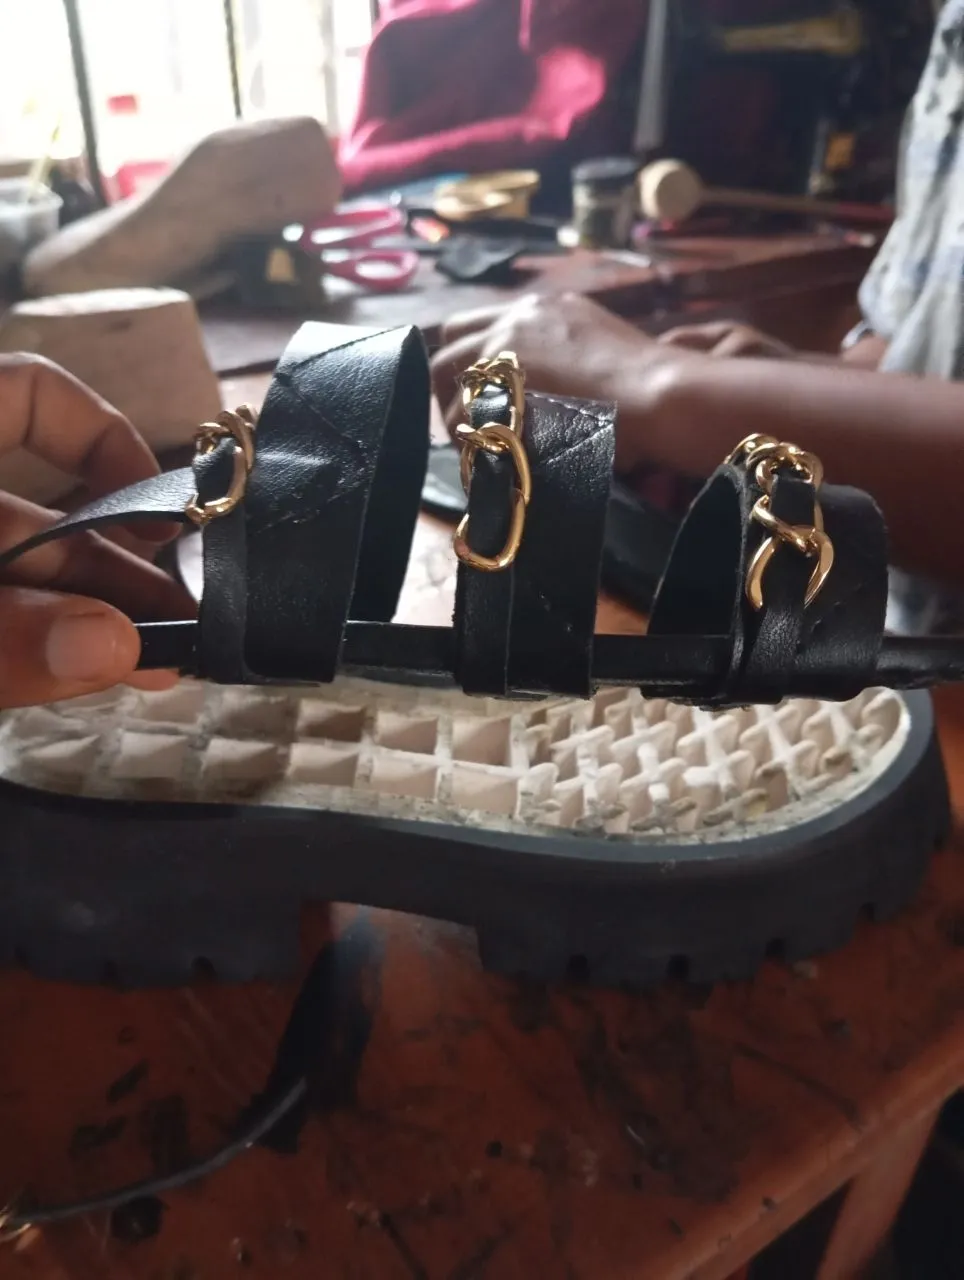
I cut the leather into long strips of equal sizes and attach the chain carefully on it. I further attach the stripes on my insole using gum, I allowed the gum to dry and get sticky.
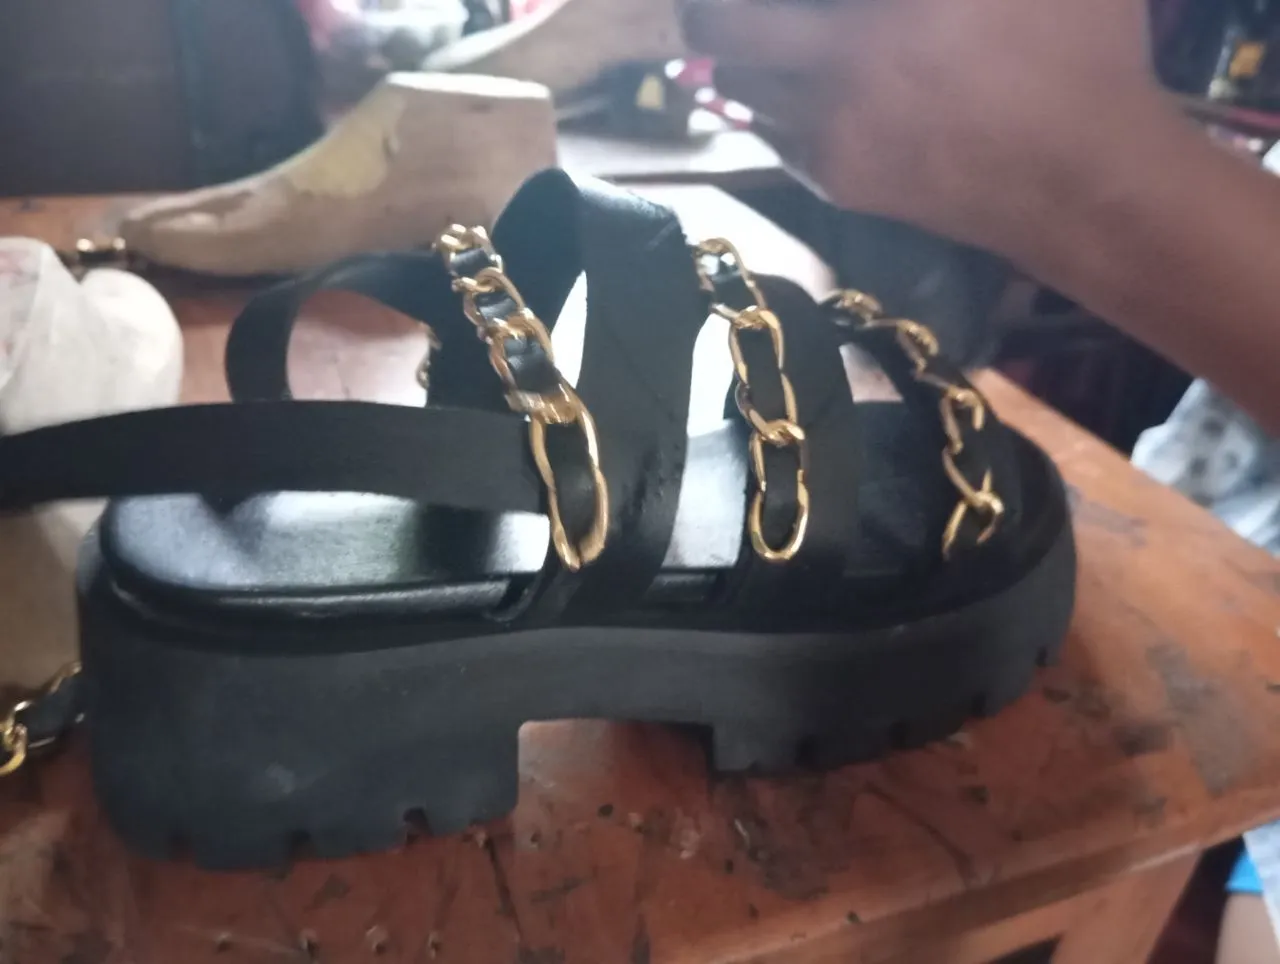
I attached a buckle to the other end of the stripe and boom! my sandals is almost ready. I tried it out on the shoe last and it looked nice.
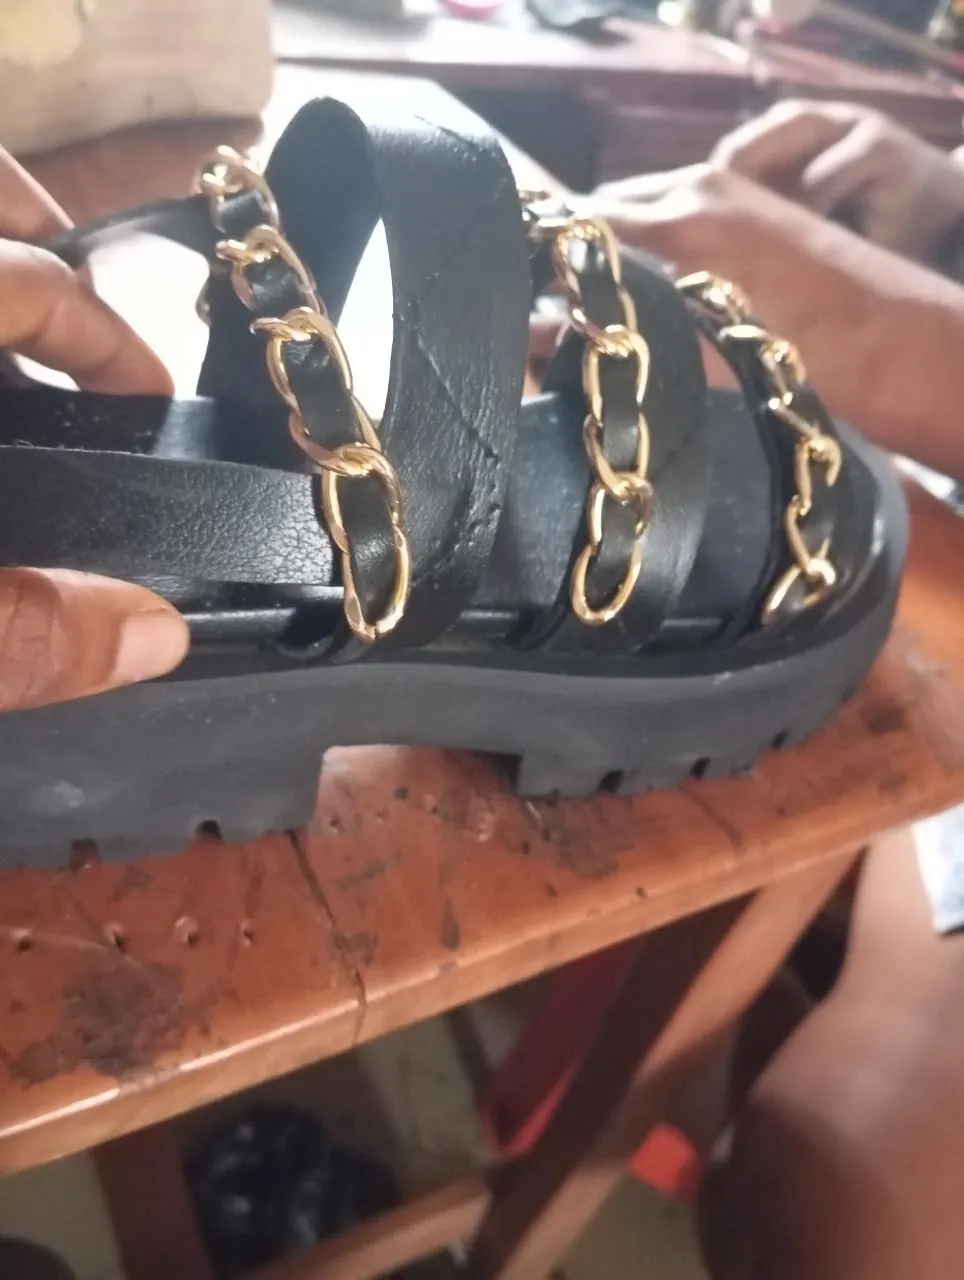
To the final step, I added some gum to the sole and round the back of the insole , I fixed it into the sole, it wasn't properly fixed so I had to make use of the mallet to hit it in carefully till it entered well.
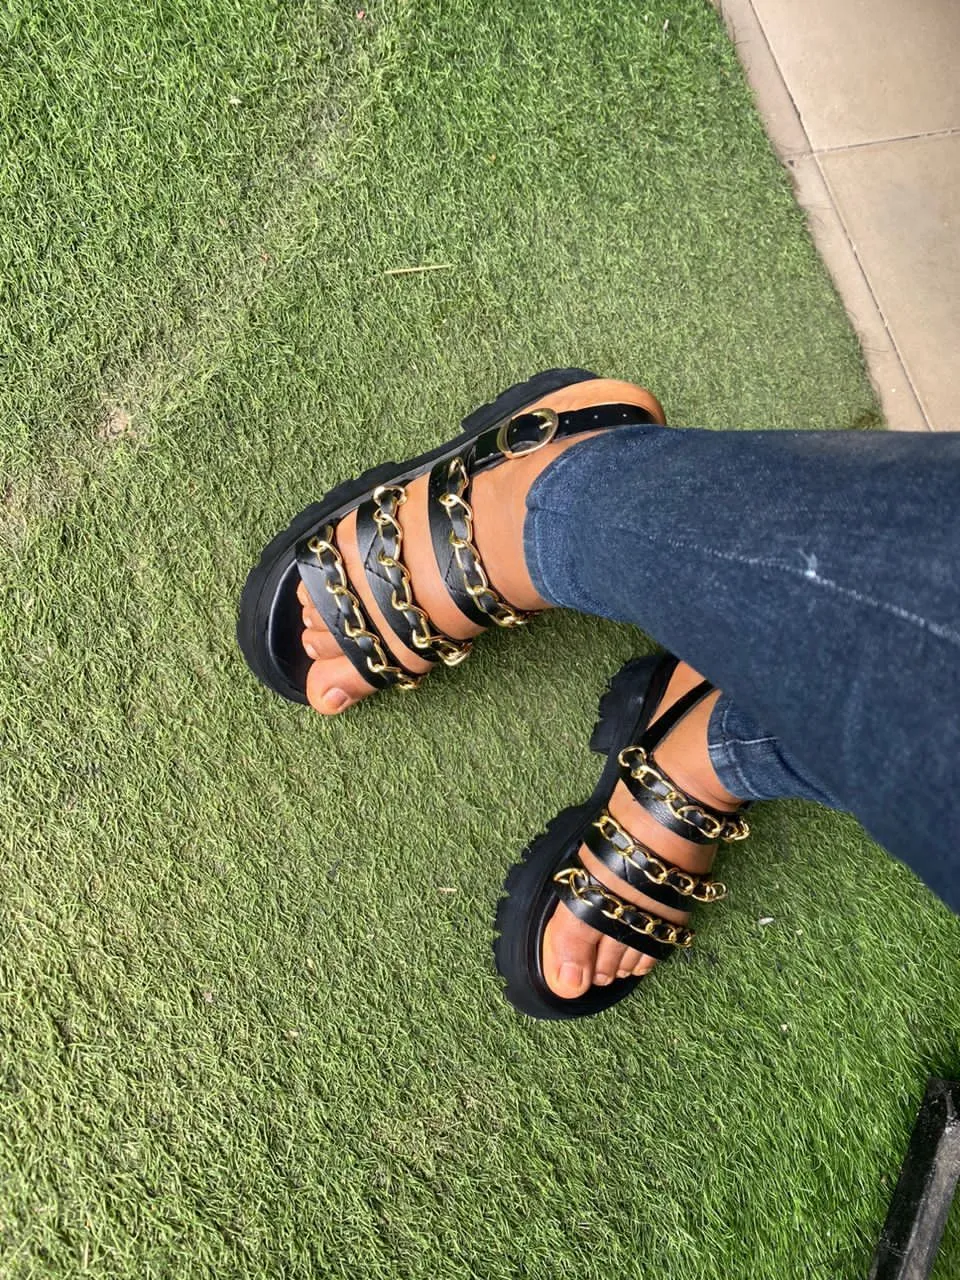
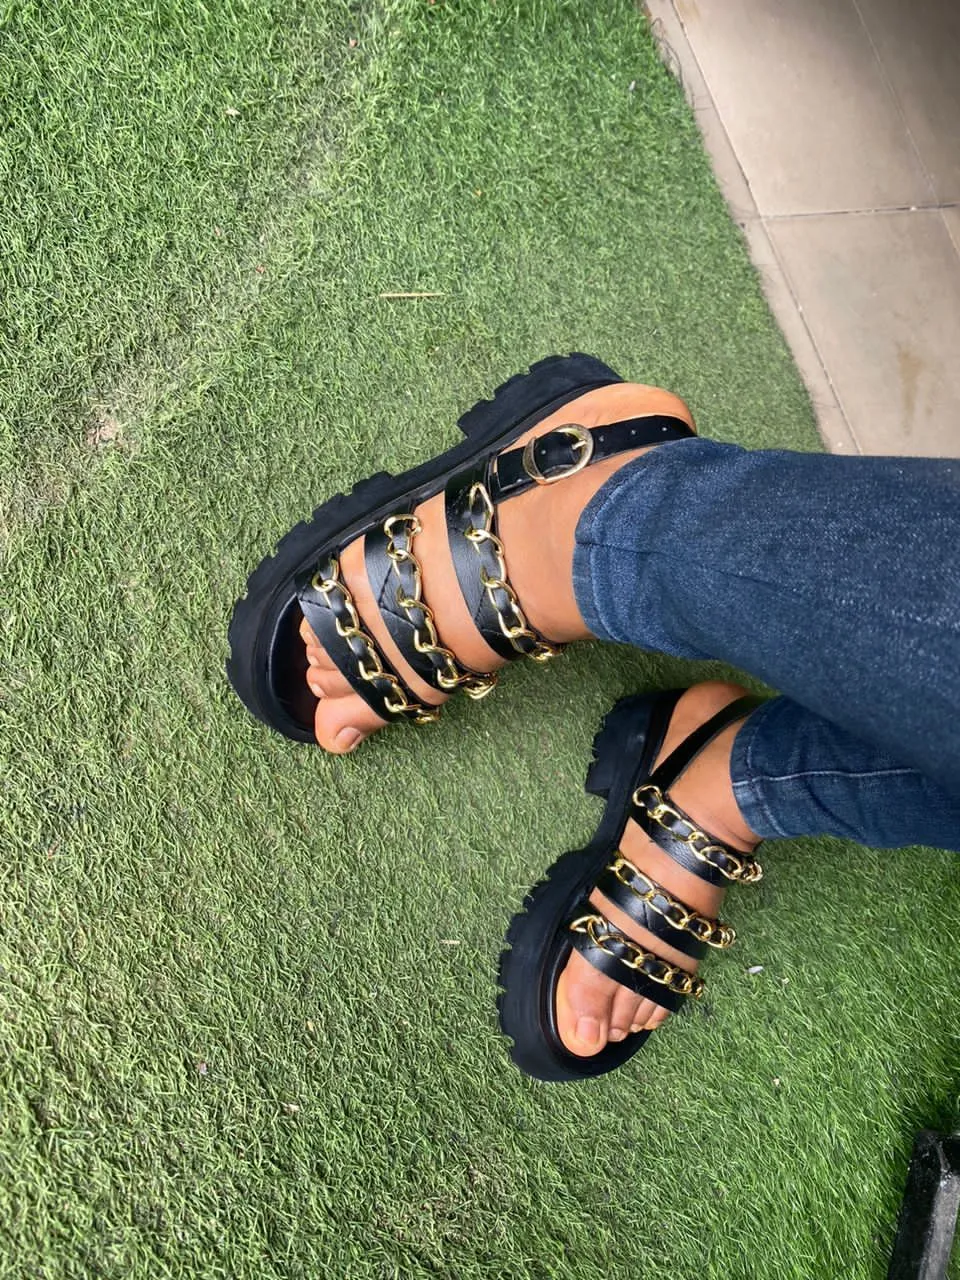
My beautiful sandals was ready but still needed some drying, I dried it out the next day and polished the sole again. It actually took me two good days to do this DIY , I was glad I finally finished it and it still looked nice.