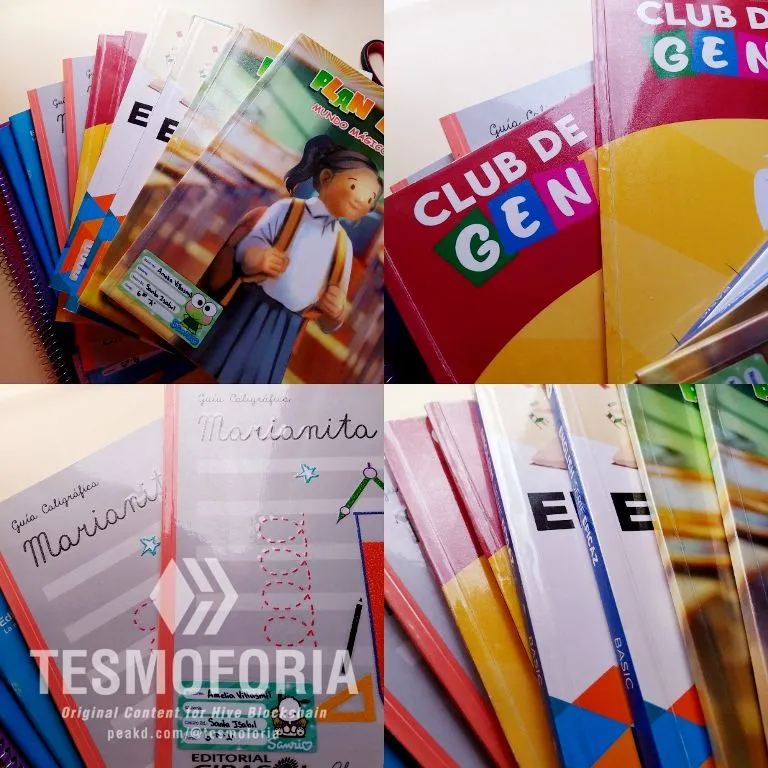
✦ I would like to start giving my opinion about the quality of the materials I buy for my handmade projects and how good they are or are not for handmade projects! I hope this information will be useful for you, dear creative friend who reads me 🥰 - Collage & Edition in FotoJet, photos by @Tesmoforia ✦

🇪🇸 ~ Forrar libros con papel contacto es una de esas maestrías estilo "Avatar" en el mundo de las manualidades, naciste para dominarla o tendrás que luchar para hacerlo.
¡Es difícil!, toma tiempo y mucha practica poder controlar un material que no es para nada piadoso con los errores.
Literal, este papel tiene vida propia: Va para donde quiere, se ensucia fácilmente y si tratas de despegarlo parece la encarnación del espíritu de Spawn porque le arranca media cara al pobre cuaderno 🚩 😬 🔪
🇺🇸 ~ Lining books with contact paper is one of those “Avatar” style masteries in the crafts world, you were either born to master it or you'll struggle to do it.
It's hard! It takes time and lots of practice to get a handle on a material that isn't at all forgiving of mistakes.
Literally, this paper has a life of its own: It goes wherever it wants, it gets dirty easily and if you try to peel it off it looks like the incarnation of the spirit of Spawn because it rips half the poor notebook's face off 🚩 😬 🔪
Una amiga me preguntó la semana pasada si podía ayudarla a forrar los libros para el nuevo ciclo escolar de sus hijos, obviamente le dije que sí, y de esa ocasión decidí tomar registro fotográfico para crear este tutorial.
Aquí encontraras 4 pasos sencillos y muchos consejos útiles para no sufrir más de esas arrugas o burbujas de aire en tus nuevos cuadernos y libretas 💃 💯 ✅
A friend asked me last week if I could help her cover the books for her children's new school year, obviously I said yes, and from that occasion I decided to take a photographic record to create this tutorial.
Here you will find 4 simple steps and many useful tips to not suffer any more of those wrinkles or air bubbles in your new notebooks and notebooks 💃 💯 ✅

« 𝕋 𝕆 𝕆 𝕃 𝕊 • 𝔸 ℕ 𝔻 • 𝕄 𝔸 𝕋 𝔼 ℝ 𝕀 𝔸 𝕃 𝕊 »
 |
|---|
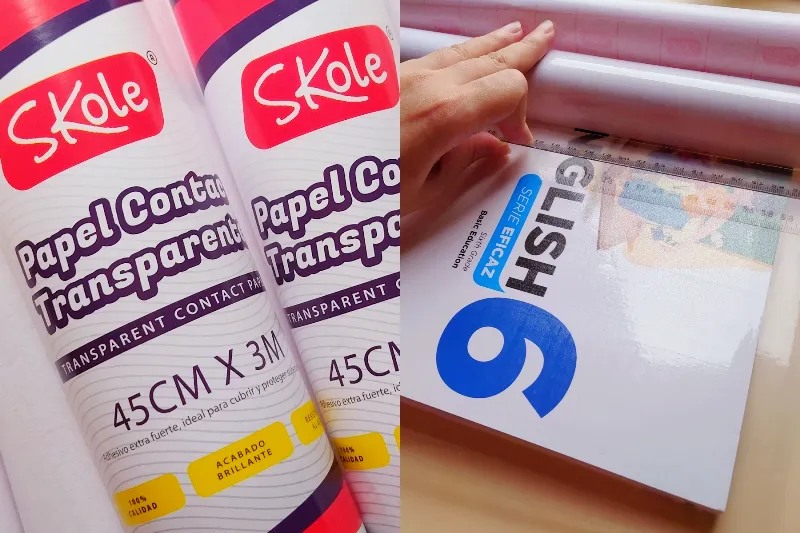
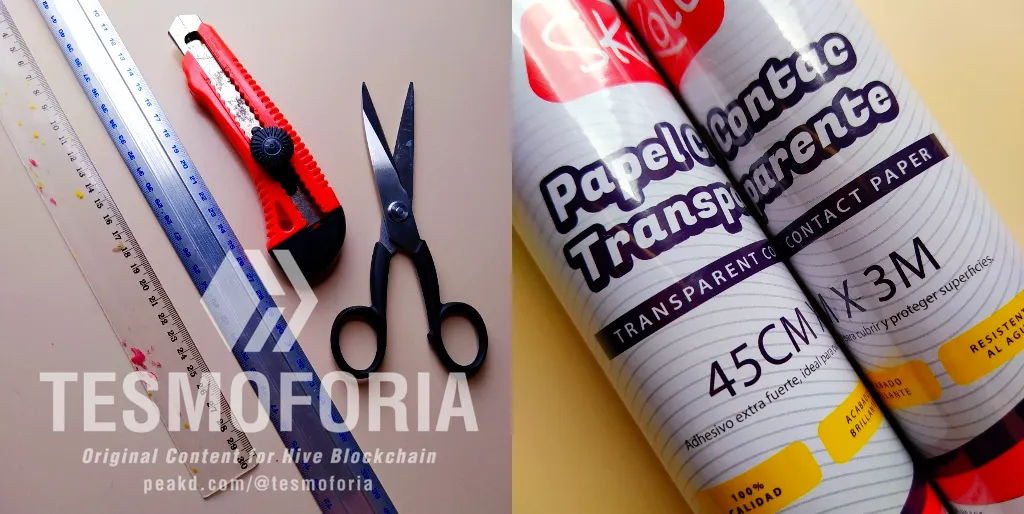
| 🇪🇸 ✦ Las herramientas y materiales que necesitas para elaborar este proyecto son: 2 rollos de papel contacto transparente de 45 cm de ancho x 3 metros de largo, reglas de distintos tamaños, tijera, cutter, lápiz, toallitas húmedas o un poco de alcohol y una toalla pequeña. |
| 🇺🇸 ✦ The tools and materials you need to make this project are: 2 rolls of transparent contact paper 45 cm wide x 3 meters long, rulers of different sizes, scissors, cutter, pencil, wet wipes or some alcohol and a small towel. |
• ℙ ℝ 𝕆 𝕐 𝔼 ℂ 𝕋 𝕆 •
« Step by Step: "How to correctly cover a book with contact paper!" »

✦ Thoroughly clean the outside of each book and the flat surface on which you will be working. Wet the towel with the alcohol and close the windows to prevent drafts from blowing dust or moving the paper ✦
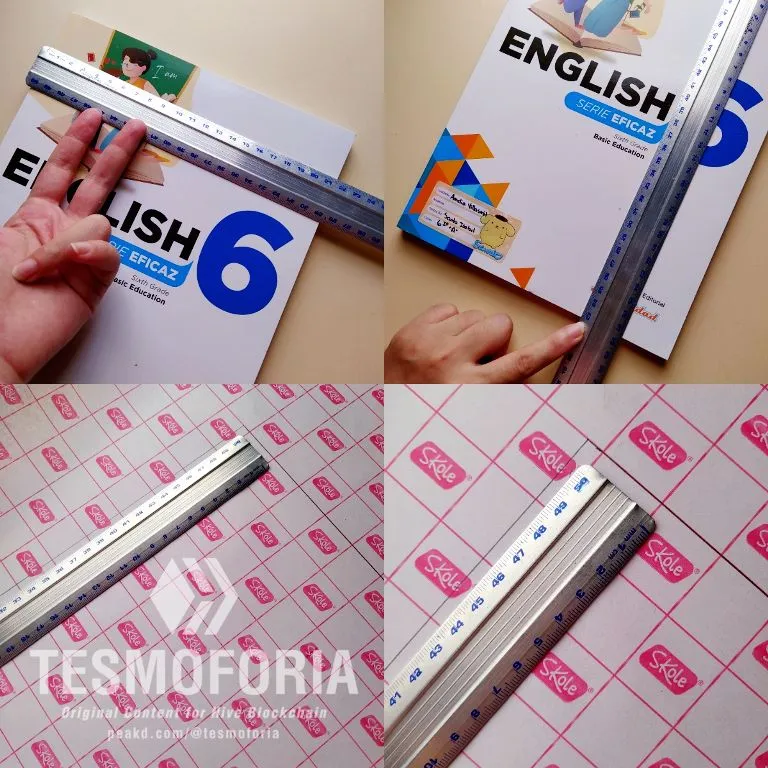
【 PASO 1 】 El primer paso es tomar la medida de cada cara de cada cuaderno más el ancho de su lomo, y a esa medida sumar 2 cm en todos sus lados (es decir agregar 2 cm a cada uno de los 4 lados del rectángulo que dibujaremos en el reverso del papel contacto). Luego recortaras tantos rectángulos como cuadernos necesitas forrar, lo mejor es hacer este paso en una sola tanda.
【 STEP 1 】 The first step is to take the measurement of each side of each notebook plus the width of its spine and add 2 cm to that measurement on all sides (i.e. add 2 cm on each of the 4 sides of the rectangle we will draw on the back of the contact paper). Then cut out as many rectangles as you have books to cover, it is best to do this step in one batch.
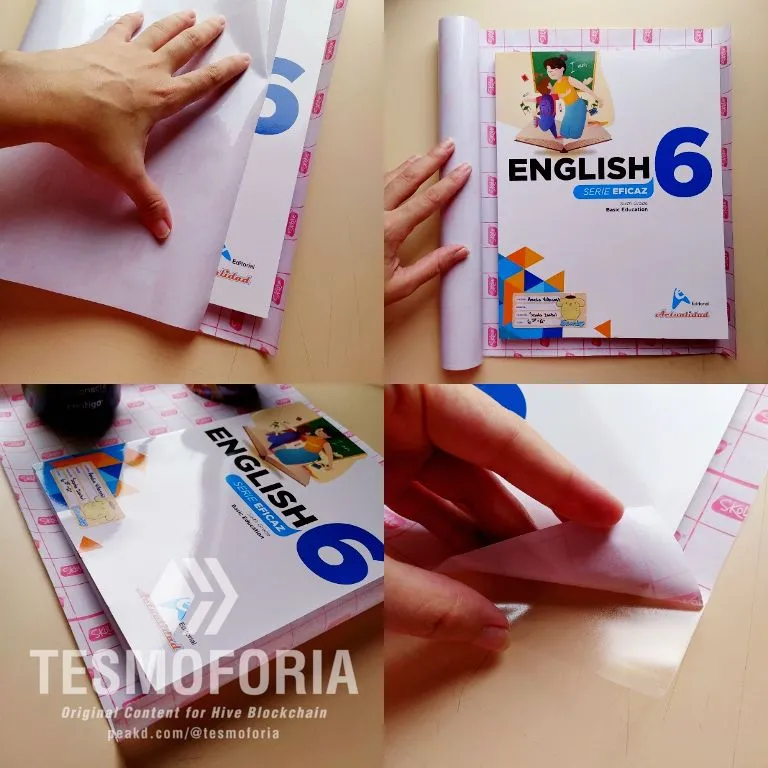
【 PASO 2 】 Toma uno de los libros con su respectivo rectángulo de papel que corresponda a sus medidas, y has una prueba previa centrando el libro sobre el papel; despega una de las esquinas del papel exponiendo el lado engomado y déjalo tocar la esquina del libro SIN HACER PRESION, desenrolla lentamente y presiona empujando el reverso de una regla contra el "rollo" de papel, despegándolo lentamente al ras de la superficie. Hazlo despacio pero con fuerza. Cuando llegues al final, no lo jales.
【 STEP 2 】 Take one of the books with its respective rectangle of paper that corresponds to its measurements, and do a pre-test by centering the book on the paper; peel off one of the corners of the paper exposing the gummed side and let it touch the corner of the book WITHOUT PRESSURE, slowly unroll and press by pushing the back of a ruler against the “roll” of paper, slowly peeling it off flush with the surface. When you reach the end, do not pull.
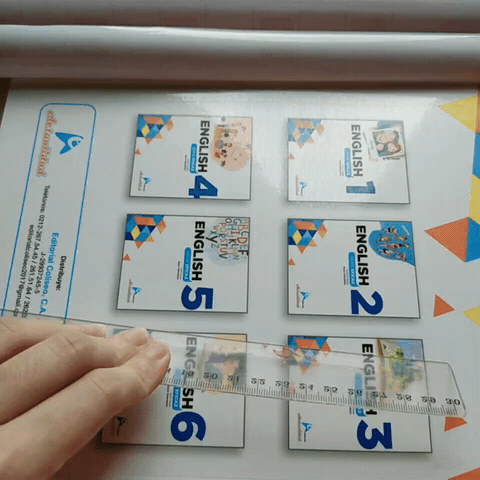
✦ This is the way you should press with the ruler, in one direction only and pressing inwards. If you press outwards, the elasticity of the paper can twist the book covers ✦
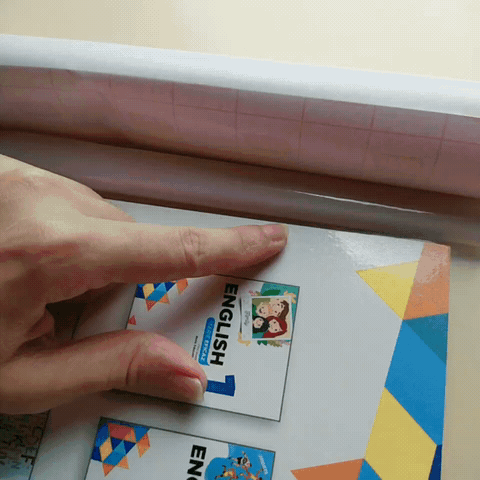
✦ Only when you have correctly pressed the entire contact surface of the paper against the sides of the book, peel off the side of the paper that is not glued ✦
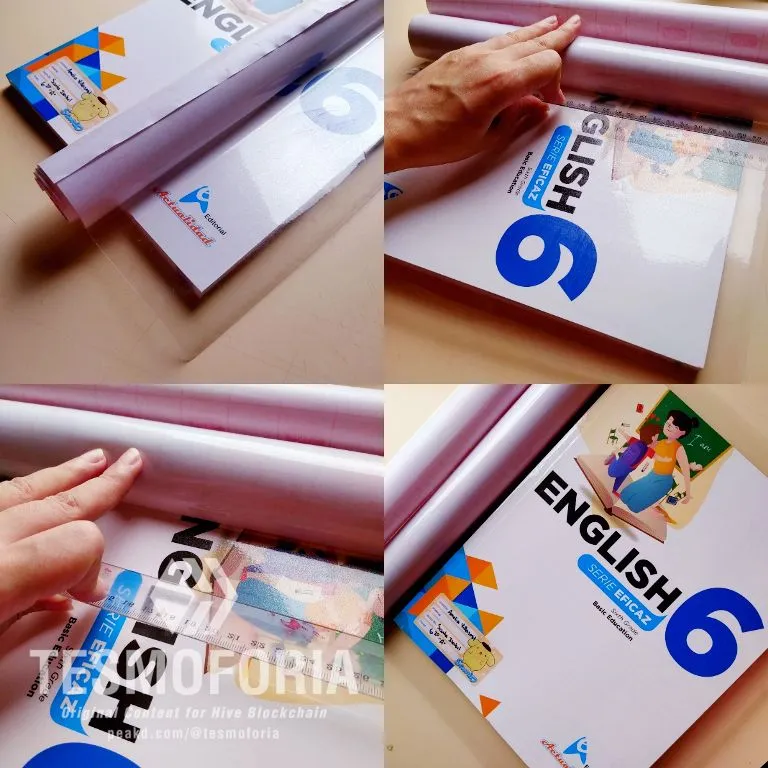
【 PASO 3 】 ¡La parte crítica esta superada!, si lo has hecho correctamente hasta ahora, no deberían haberse producido burbujas de aire, ni arrugas en el papel, ni partículas de suciedad atrapadas entre el papel y el libro. Retira por completo la parte del papel que no tiene pegamento.
【 STEP 3 】 The critical part is over! If you have done everything correctly so far, there should be no air bubbles, no wrinkles in the paper, and no dirt particles trapped between the paper and the book. Completely remove the part of the paper that does not have glue on it.
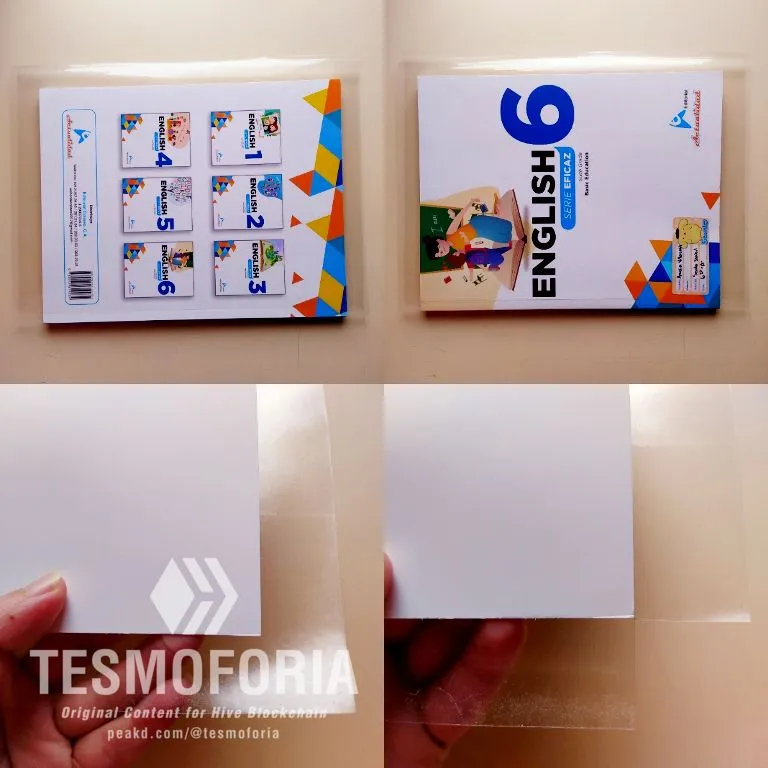
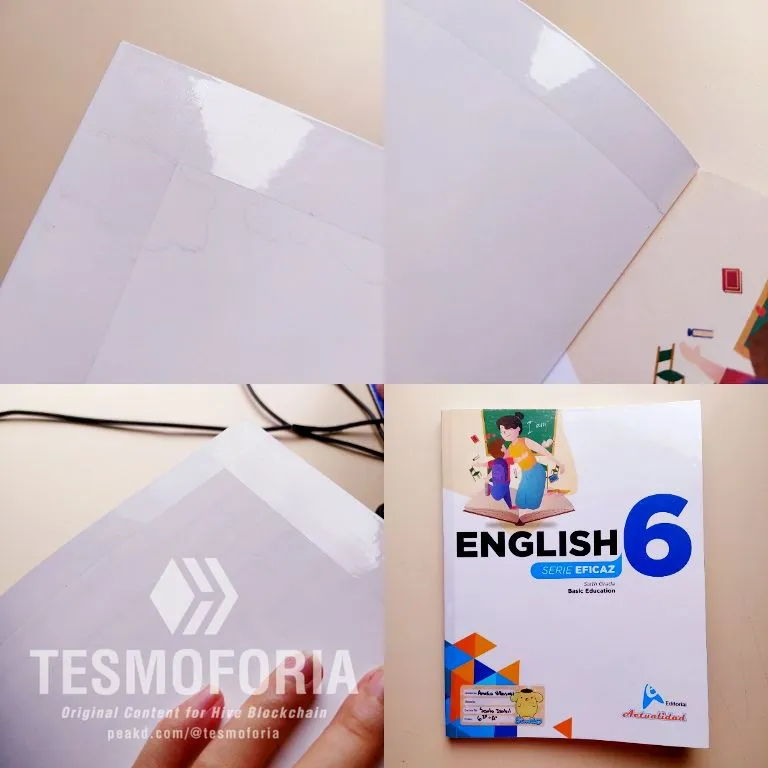
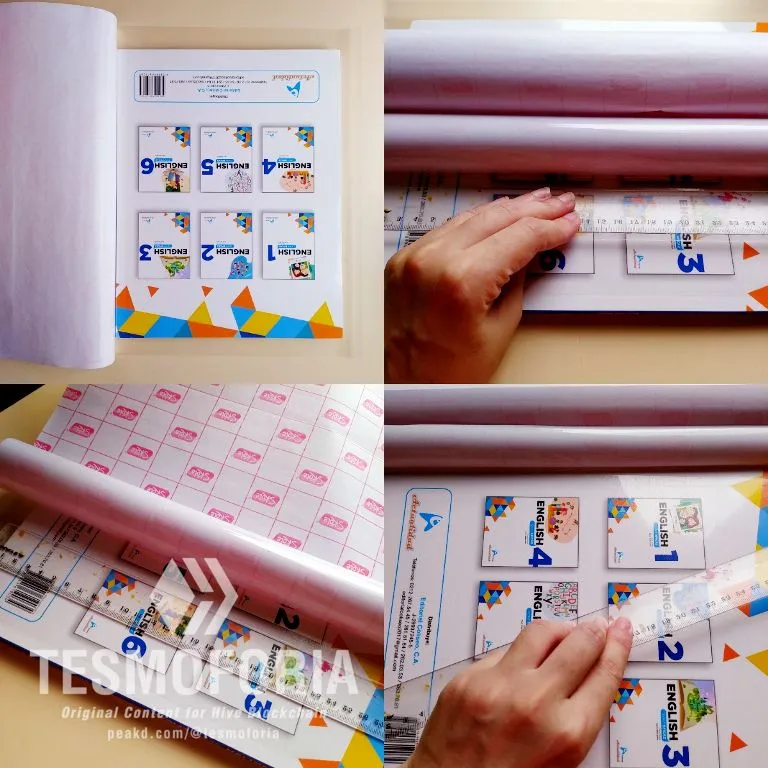
【 PASO 4 】 Con ayuda de la tijera, recorta un rectángulo como se aprecia en las imágenes guías, y dobla con cuidado este margen de papel contacto hacia dentro, una pestaña a la vez, y pasa la regla ejerciendo presión sobre ellas como lo has hechos hasta ahora en los pasos anteriores. ¡Y listo! 💡 ✨
【 STEP 4 】 With the help of the scissors, cut out a rectangle as shown in the guide images, and carefully fold this margin of contact paper inwards, one tab at a time, and pass the ruler over them, pressing on them as you have done so far in the previous steps. And you're done! 💡 ✨
« ℂ 𝕆 𝕄 ℙ 𝕃 𝔼 𝕋 𝔼 • ℙ ℝ 𝕆 𝕁 𝔼 ℂ 𝕋 »

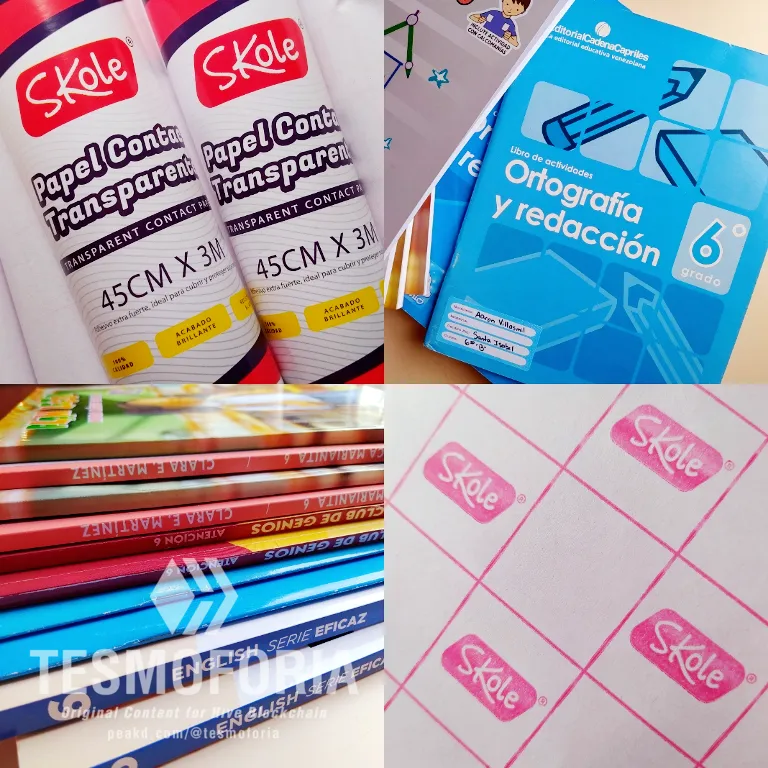
✦ In all, the 6 meters of paper are enough for 12 books of different sizes that do not exceed 30 cm in height ✦
『 ¿Qué opino de este producto de la marca Skol? 』~
Aunque al principio el ancho no me convencía, encuentro que este papel tiene muy buena calidad, la cantidad de adhesivo es intermedia lo que hace que no se sienta pesado ni "baboso" en el proceso de forrado, ¡definitivamente lo recomendaría!, y lo estare utilizando para próximos proyectos creativos 👌 🎨
『 Recomendaciones Finales 』~
Un espacio limpio de trabajo es el secreto para una cobertura limpia sin imperfecciones.
Mientras más gruesa dejes las pestañas interiores más resistente se sentirán los bordes de la caratula y reverso del libro.
Antes de comprar papel de esta clase, despega una esquina y toca la parte que tiene adhesivo, si se siente "clicloso" al tacto quiere decir que el pegamento empezó su proceso de degradación; en ese caso no lo compres y escoge un rollo diferente. Esta es una forma efectiva de saber si el papel esta en buen estado.
『 What do I think of this Skol brand product? 』~
Although I was not convinced by the width at first, I find that this paper has very good quality, the amount of adhesive is intermediate which makes it not feel heavy or “slimy” in the lining process, I would definitely recommend it, and will be using it for upcoming creative projects 👌 🎨
『 Final Recommendations 』~
A clean working space is the secret to clean coverage without imperfections.
The thicker you leave the inner tabs the more sturdy the edges of the cover and back of the book will feel.
Before buying paper of this kind, peel off a corner and touch the part that has adhesive, if it feels “clicky” to the touch it means that the glue started its degradation process; in that case don't buy it and choose a different roll. This is an effective way to know if the paper is in good condition.

 |  |  |  |  |  |  |  |  |
|---|
✨ 🍓 All texts and images by @Tesmoforia 🍓 ✨
📸 Tools: Smartphone 📲 Snow 🎬 Remini 🌓 FotoJet 📐
🚨 ¡Please do not take, edit or republish my material without my permission! 🚨
💌 ¿Do you wish to contact me? Discord #tesmoforia 💌
🌙 Banner, signature and separators by Keili Lares