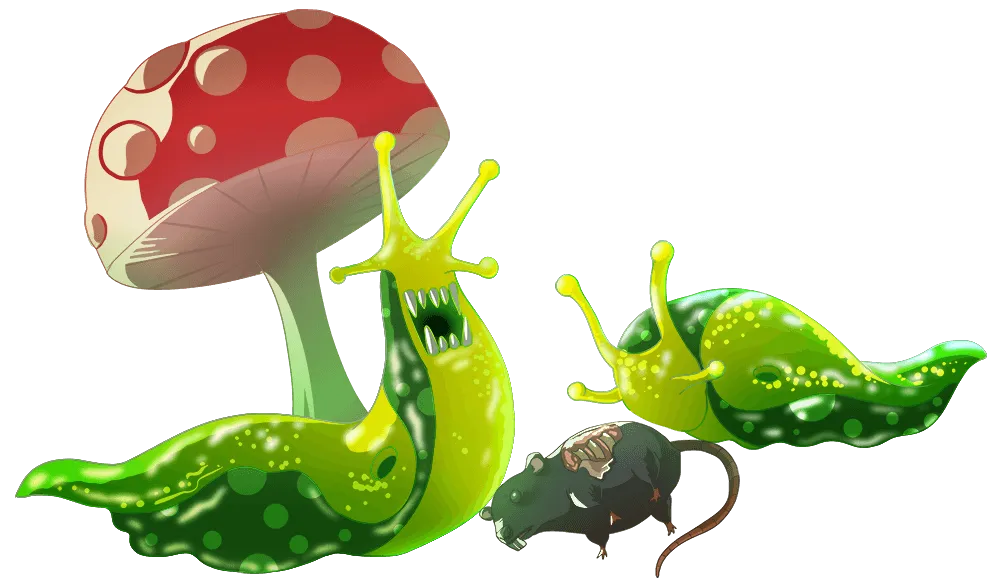
Saludos comunidad @diyhub, les deseo un feliz día en unión familiar, me siento feliz de compartir una vez más con ustedes mi proyecto creativo inspirado en una carta de Splinterlands Cave Slug, se trata de hermoso hongo elaborado con masa flexible, es un material versátil y fácil de moldear con el cual me gusta trabajar, son varios los proyectos que se pueden realizar con masa flexible, los cuales se carcterizan por su durabilidad.
Greetings @diyhub community, I wish you a happy day in family unity, I am happy to share once again with you my creative project inspired by a letter from Splinterlands Cave Slug, this is a beautiful mushroom made with flexible dough, it is a versatile and easy to mold material with which I like to work, there are several projects that can be done with flexible dough, which are characterized by their durability.


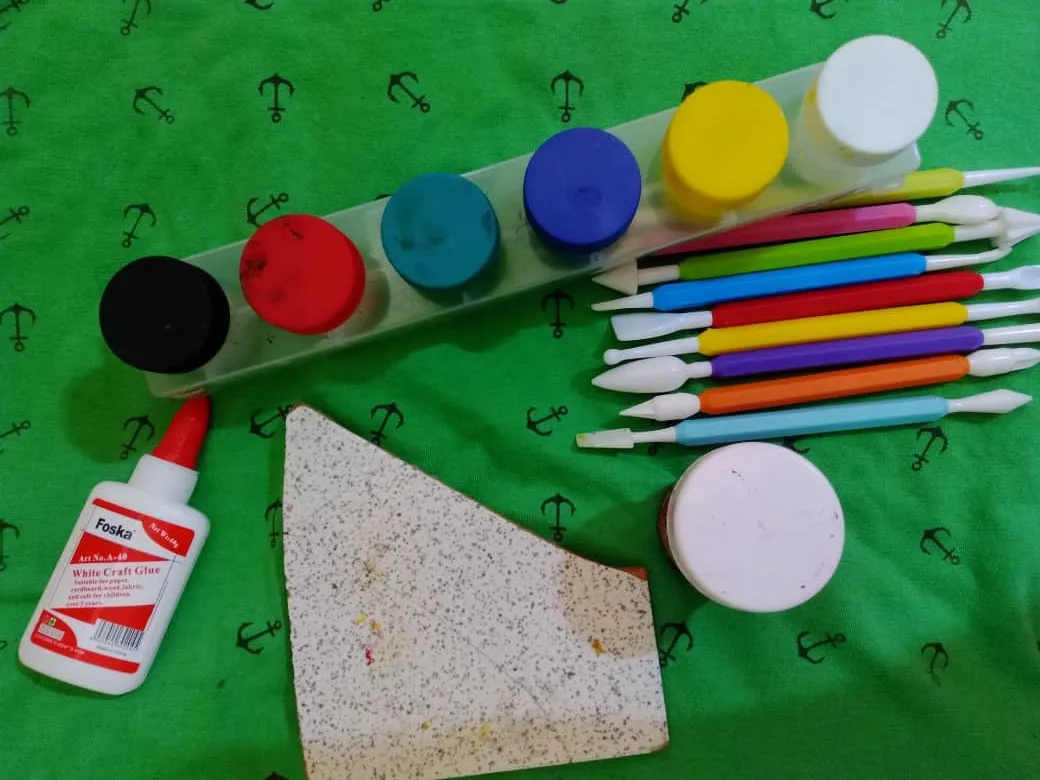
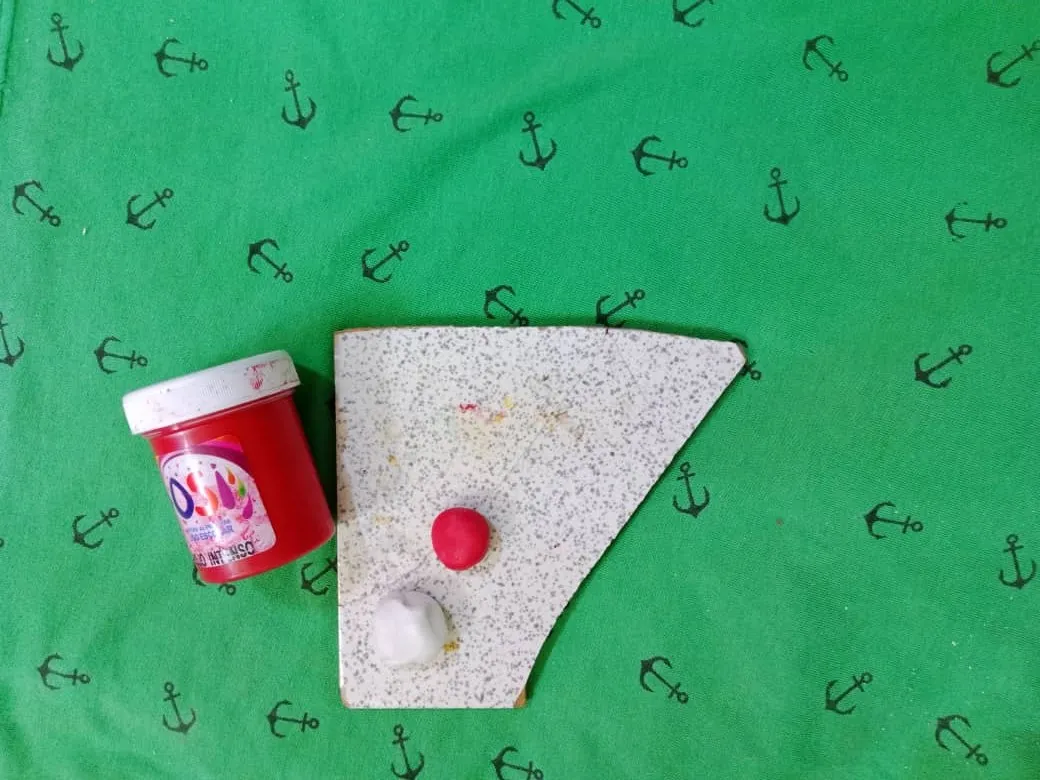
Masa flexible
Estecas
Pintura al frío
Base plana para moldear
Pegamento
Flexible mass
Pigeonholes
Cold paint
Flat base for molding
Glue
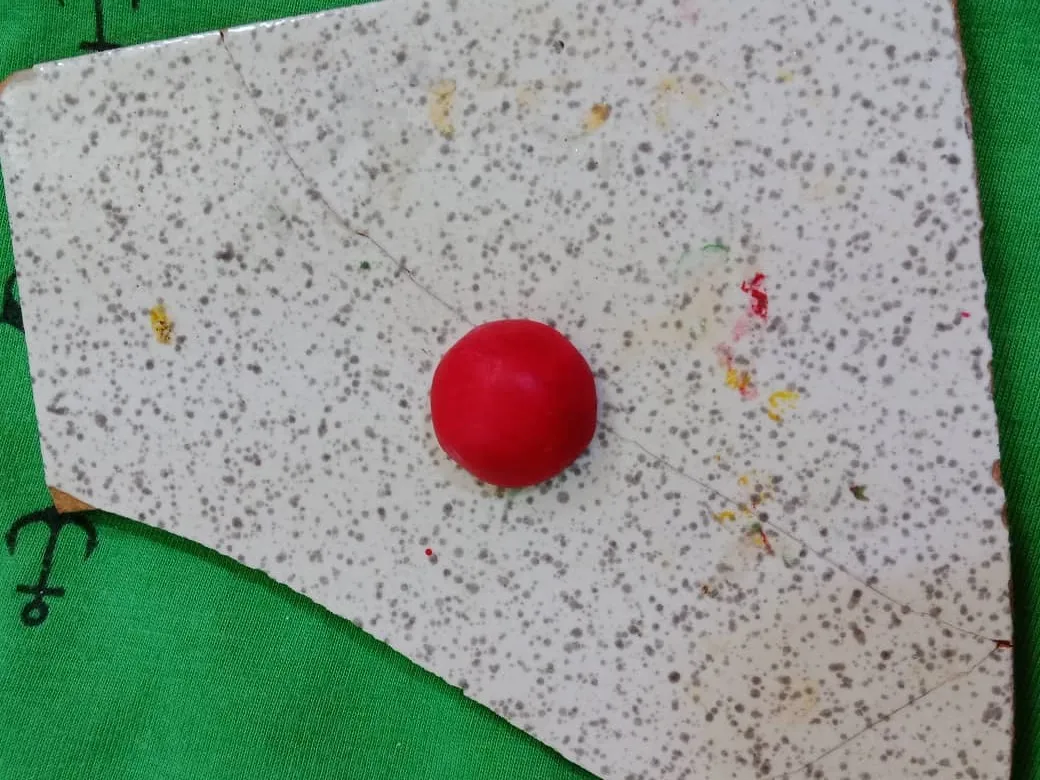
Moldear el hongo es muy sencillo, les invito me acompañen, iniciamos dividiendo la masa en dos porciones, luego agregamos pintura al frío a cada porción de masa y mezclamos hasta obtener el color deseado.
Molding the mushroom is very simple, I invite you to join me, we start by dividing the dough into two portions, then we add cold paint to each portion of dough and mix until we obtain the desired color.
Luego moldeamos un semi círculo de color rojo, con ayuda de las estecas vamos dando forma a la parte superior del hongo y dejamos secar por al menos treinta minutos.
Then we mold a semi-circle of red color, with the help of the stecas we shape the upper part of the mushroom and let it dry for at least thirty minutes.
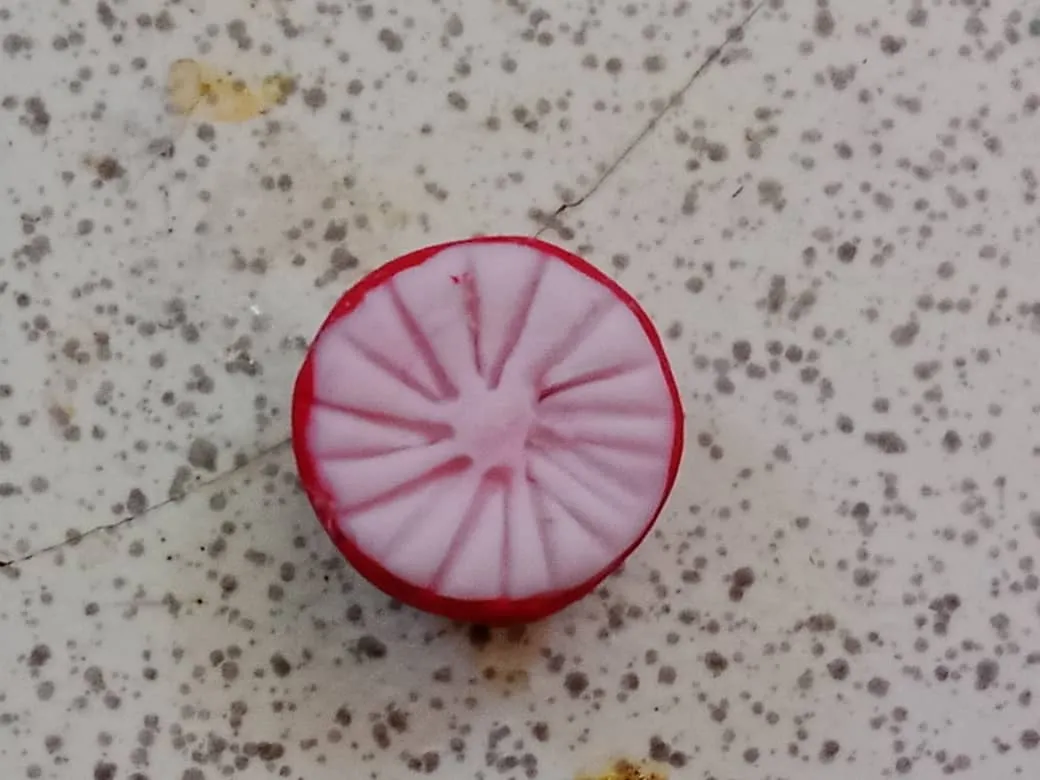
Pasados los treinta minutos moldeamos un círculo de color blanco y lo pegamos en la parte inferior del círculo rojo, con la esteca marcamos varias líneas rectas y nuevamente dejamos secar.
After thirty minutes we mold a white circle and glue it to the bottom of the red circle, with the stake we mark several straight lines and let it dry again.
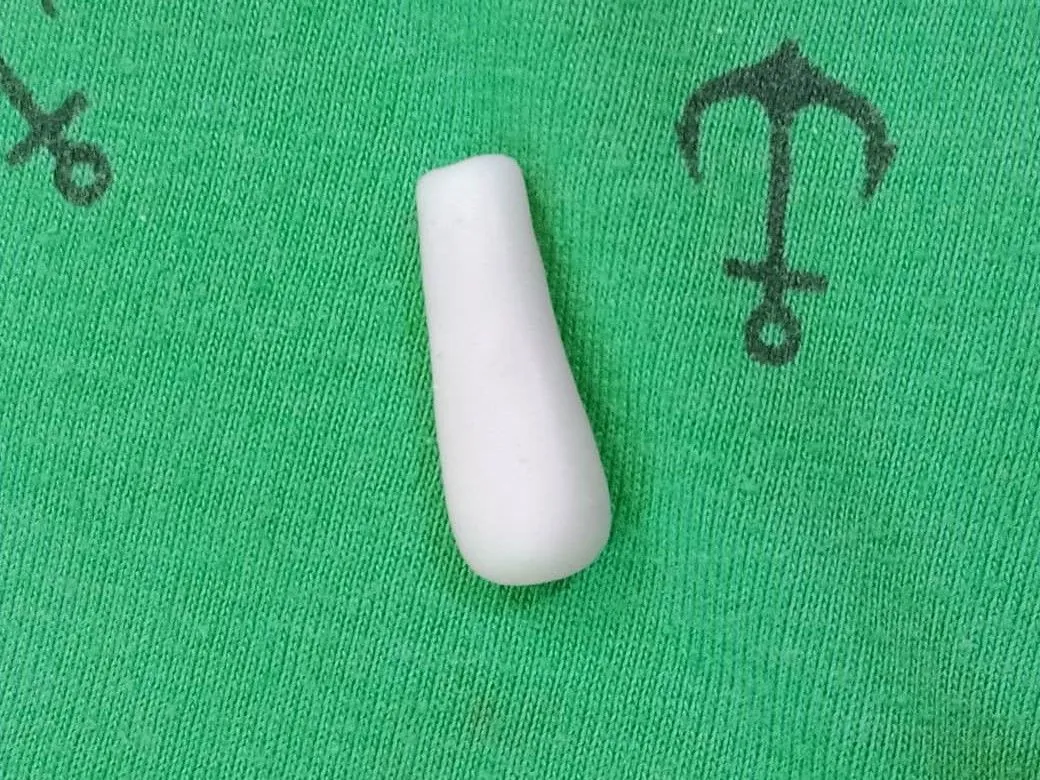
Para hacer la base del hongo, estiramos en la superficie plana y moldeamos un tubo, luego aplanamos en la parte de abajo y damos forma circular en la parte de arriba.
To make the base of the mushroom, we stretch on the flat surface and mold a tube, then flatten the bottom and give a circular shape on the top.
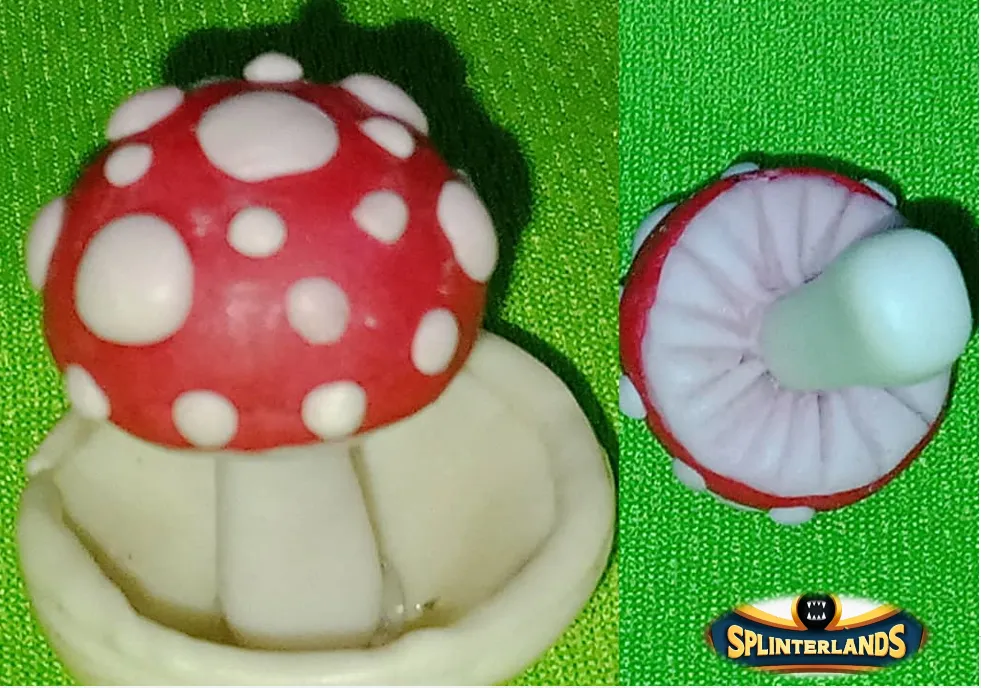
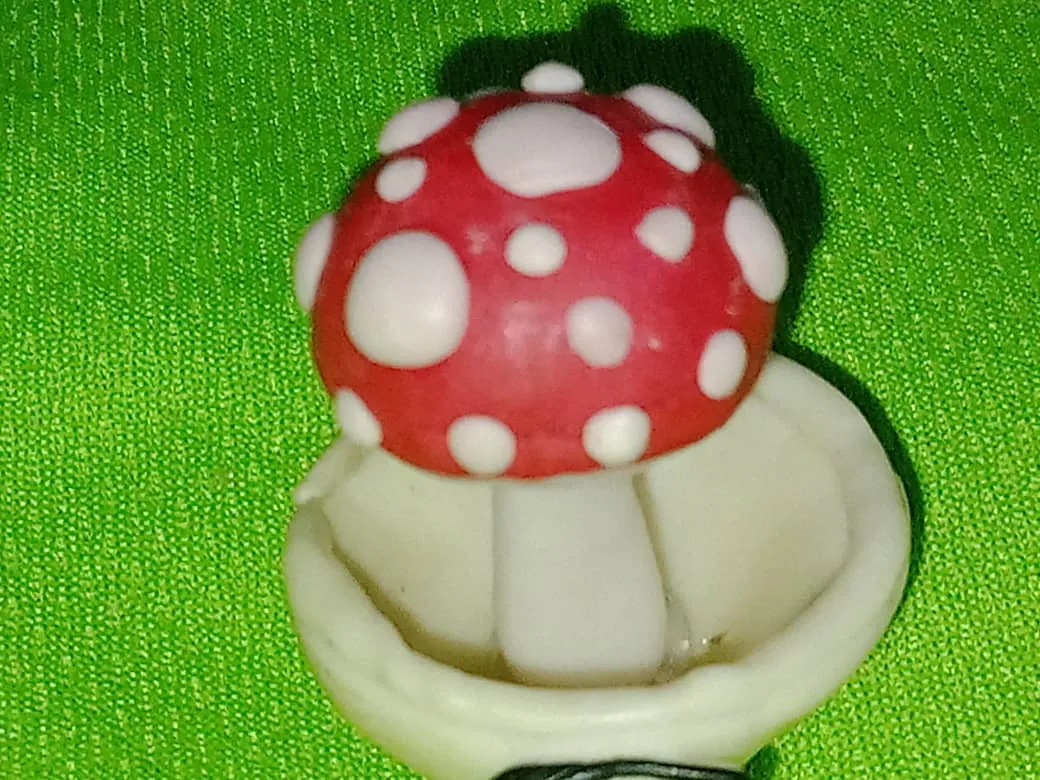
Finalmente pegamos con ayuda de las estecas y una porción de pegamento pequeños círculos de color blanco en la parte exterior del hongo, debajo de este pegamos la base y dejamos secar durante dos (2) días para que quede firme y fuerte; de esta forma está listo un hermoso hongo que puede ser usado para decorar el jardín.
Finally, we glue with the help of the stecas and a portion of glue small white circles on the outside of the mushroom, under this we glue the base and let it dry for two (2) days so that it is firm and strong; in this way a beautiful mushroom is ready that can be used to decorate the garden.
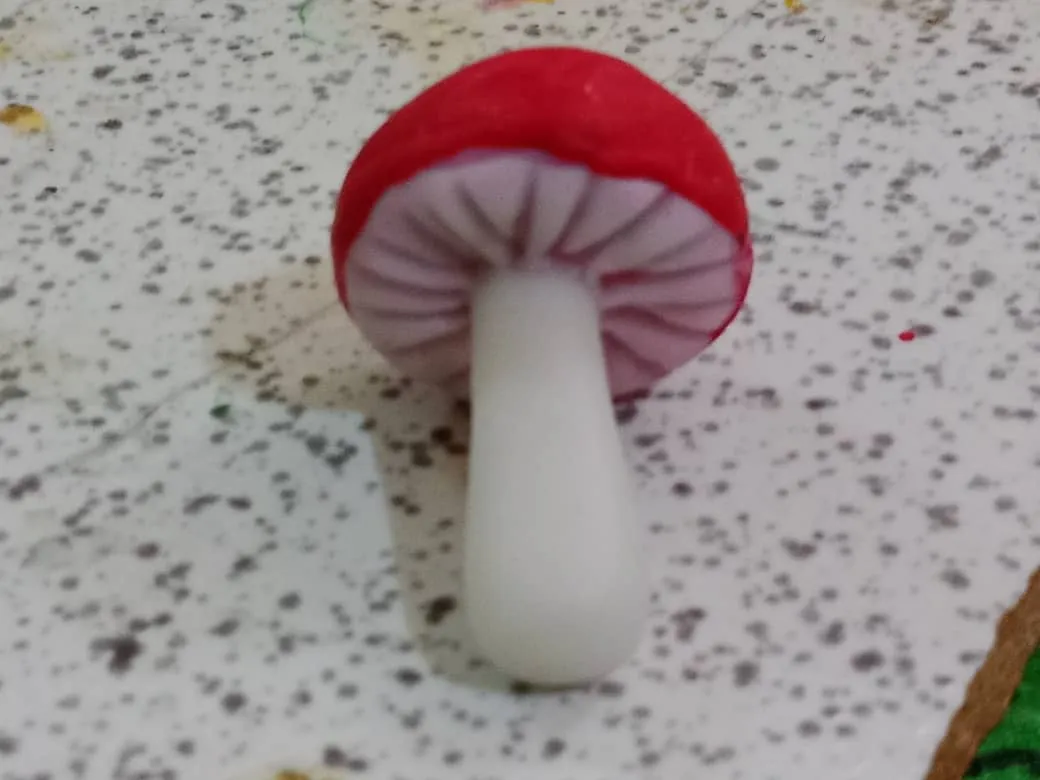
Les muestro el resultado.
I show you the results.
Gracias por Leer.
Thank you for reading.
Hasta Luego!
See you later!
Translated with https://www.deepl.com/translator
    All images are of my authorship captured with an Alcatel phone.Separator designed by @emansitticoof.


      Todas las imágenes son de mi autoría capturadas con un teléfono Alcatel. Separador diseñado por @emansitticoof.