Happy Monday my fellow needleworker,
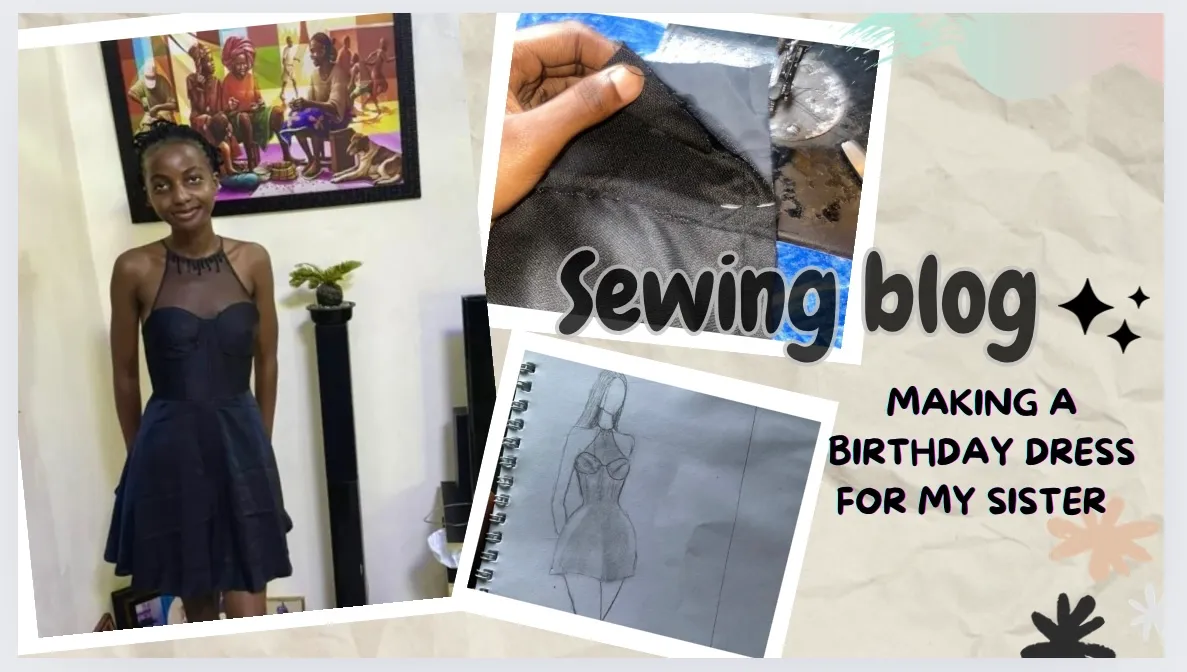
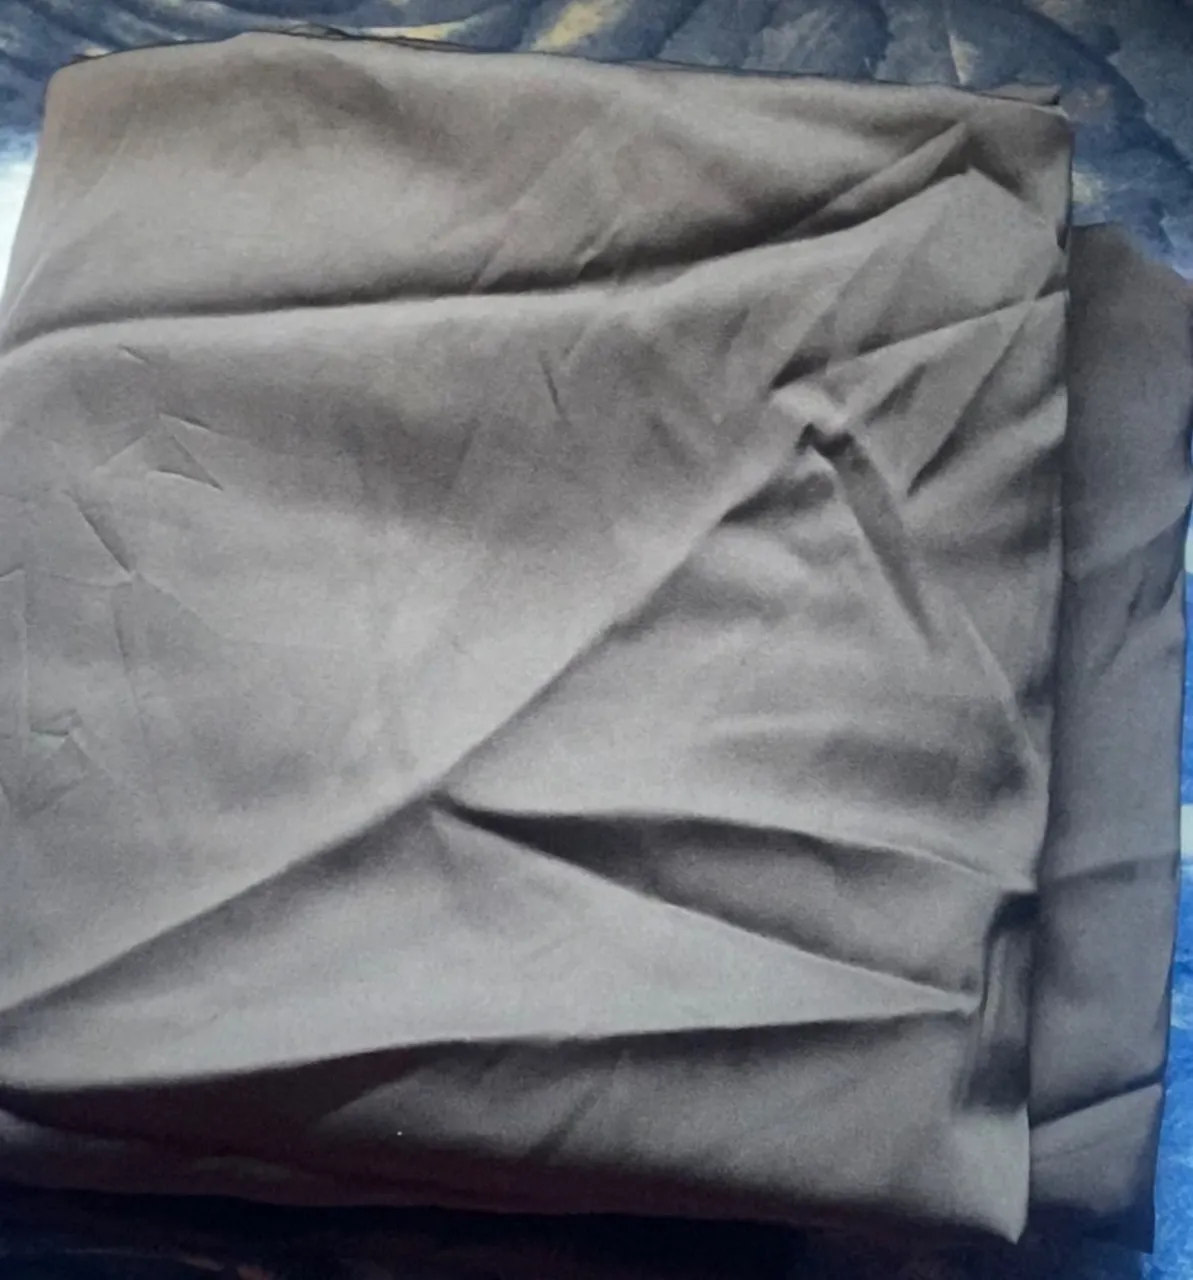
Last week, I had the joy of creating a special dress for my sister's birthday gift. This dress is really special to me because it was entirely designed and made by me. The design of the dress was inspired by minimalism and I know my sister will love it since she is a minimalist to the call. She loves neutral colors, so I decided to make the dress in the colour black. I use a soft silk material to give it a more luxurious look. I also add beads to just make it look more appealing.
The process of making this dress was fun, like watching my imagination to life. Every step and stitch was infused with passion and care. I know A lot of people sew simply for the sake of sewing but I see sewing as a lot more different than that, I see it as a form of art and I'd make it with passion and perfection even in every little detail.
I'm very fond of gifting people cloth I made for birthdays because it is one of the best gifts I can give. It like giving a piece of my soul haha.
Let me walk you through the process:
Materials used
- 1.5 yards of silk
- 1.5 years of lining
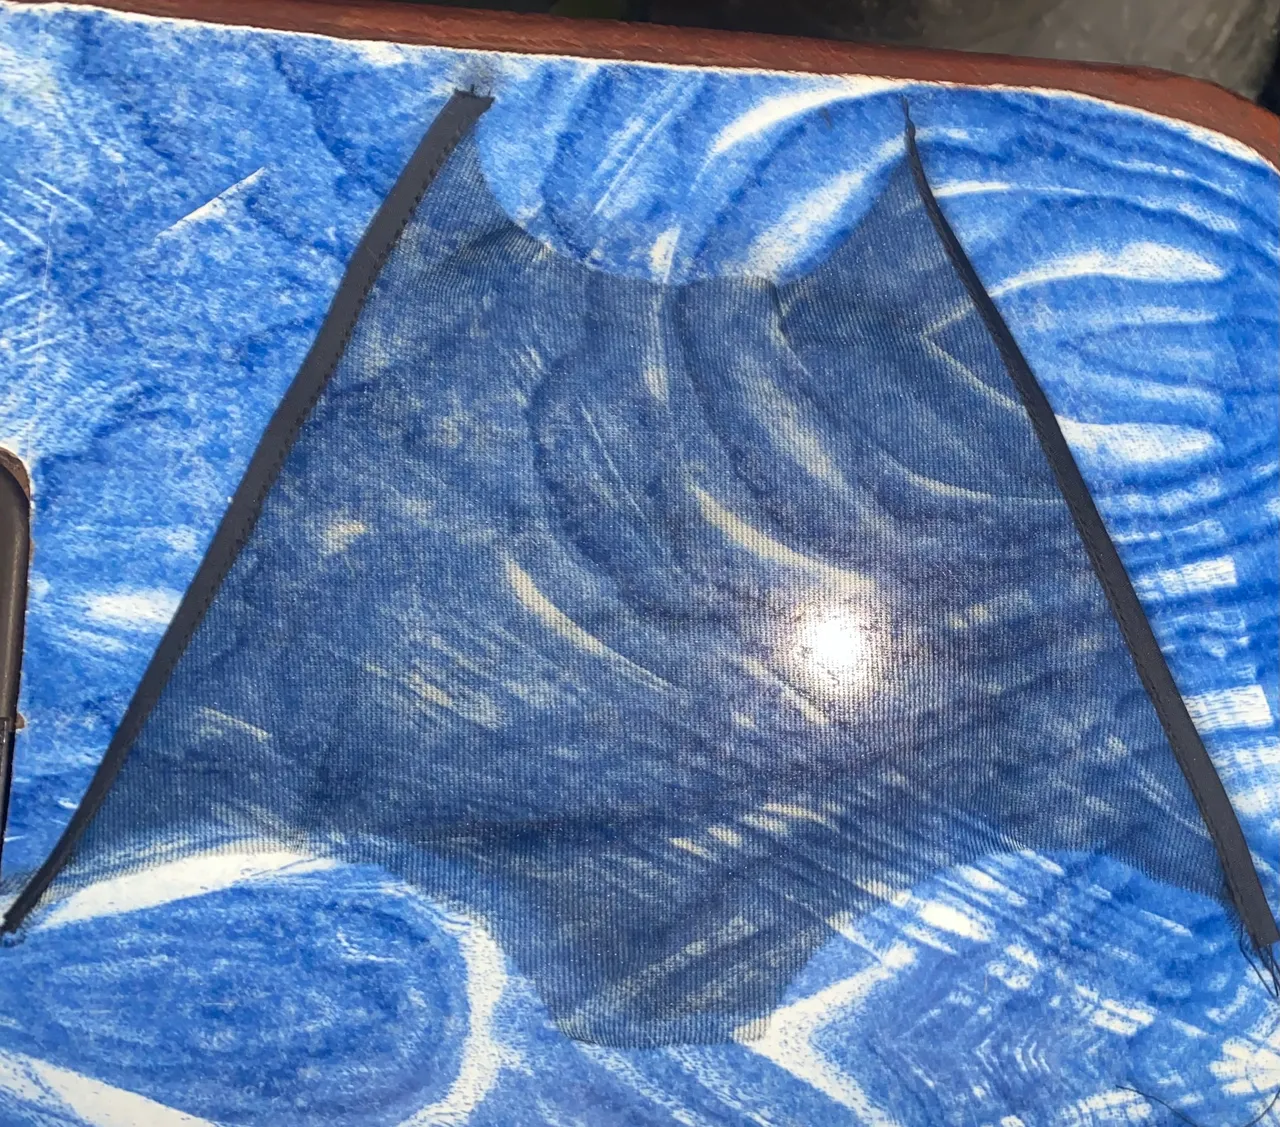
- 0.5 yards of tulle
- Bias binding
- Invisible zip
- Thread
- Stay interface
- Plastic boning
- Foam interface for the cup
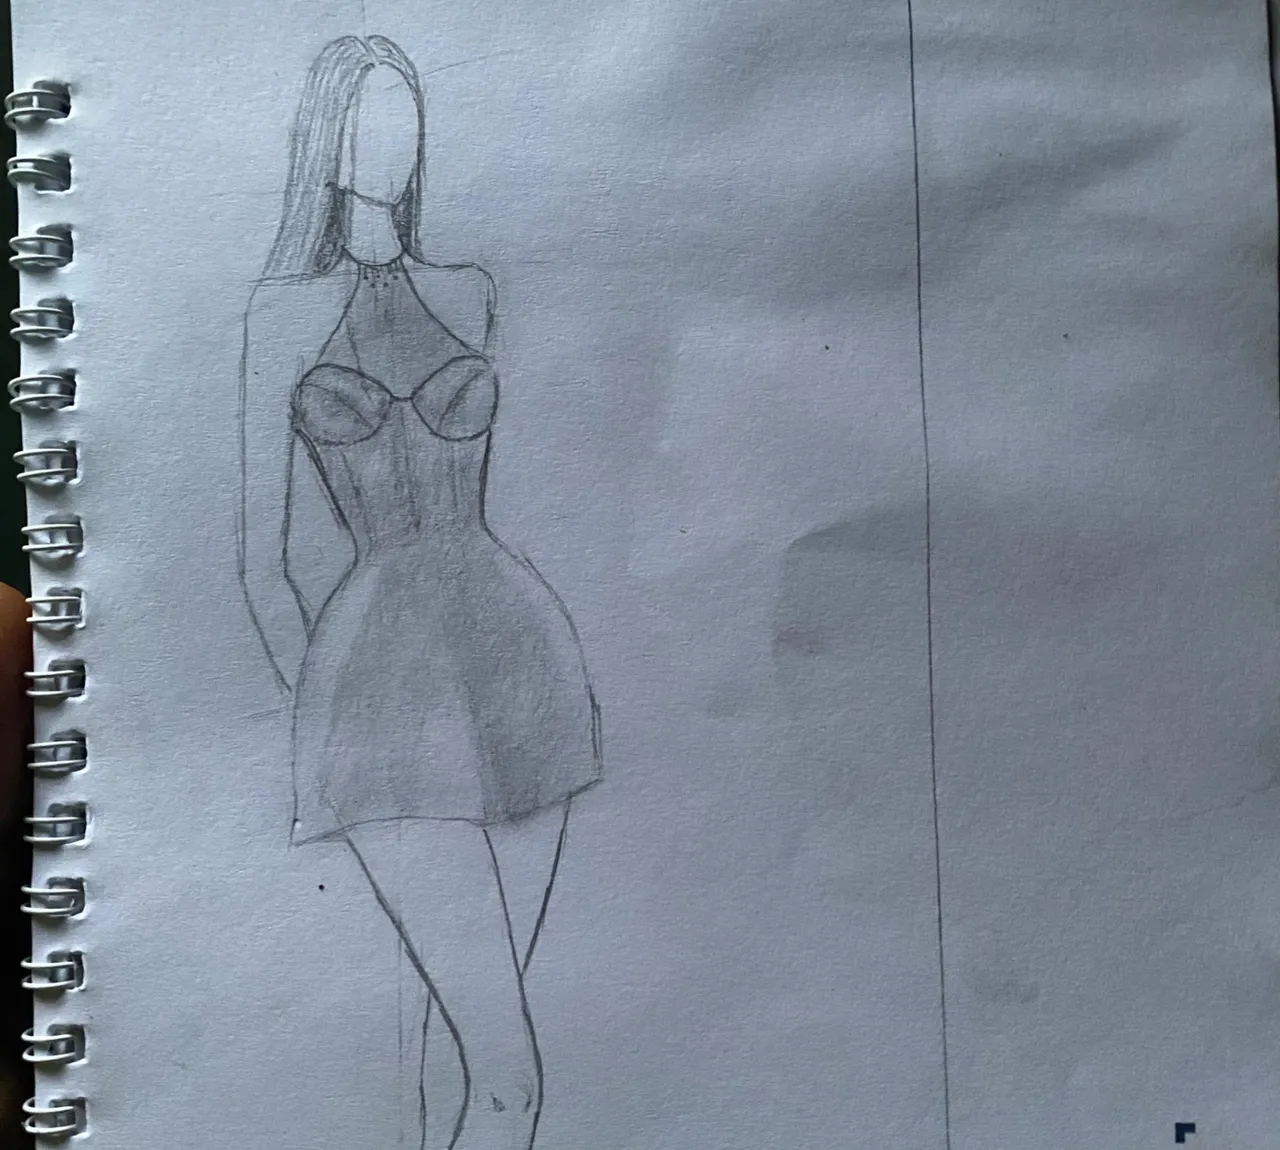
Step 1
I sketch the design out
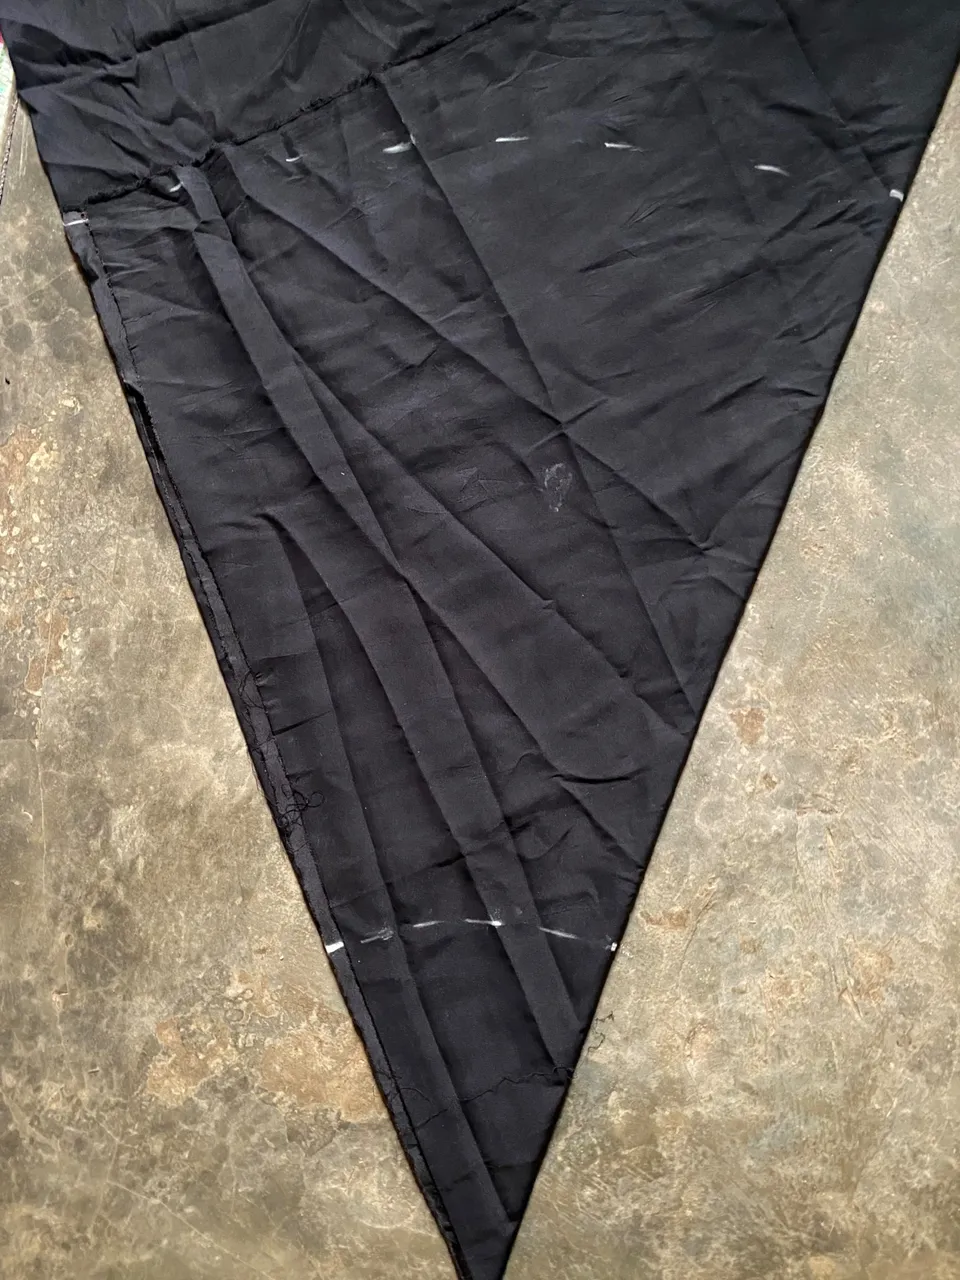
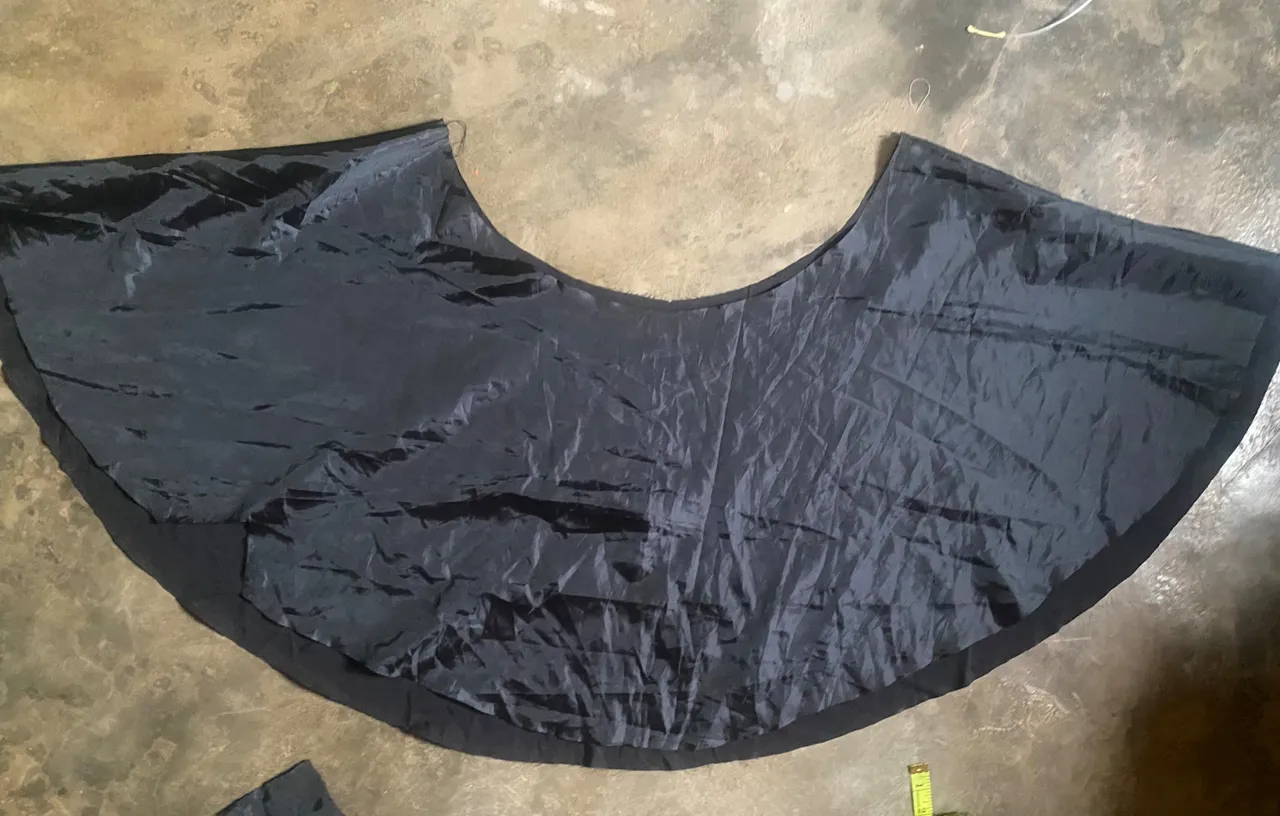
Step 2
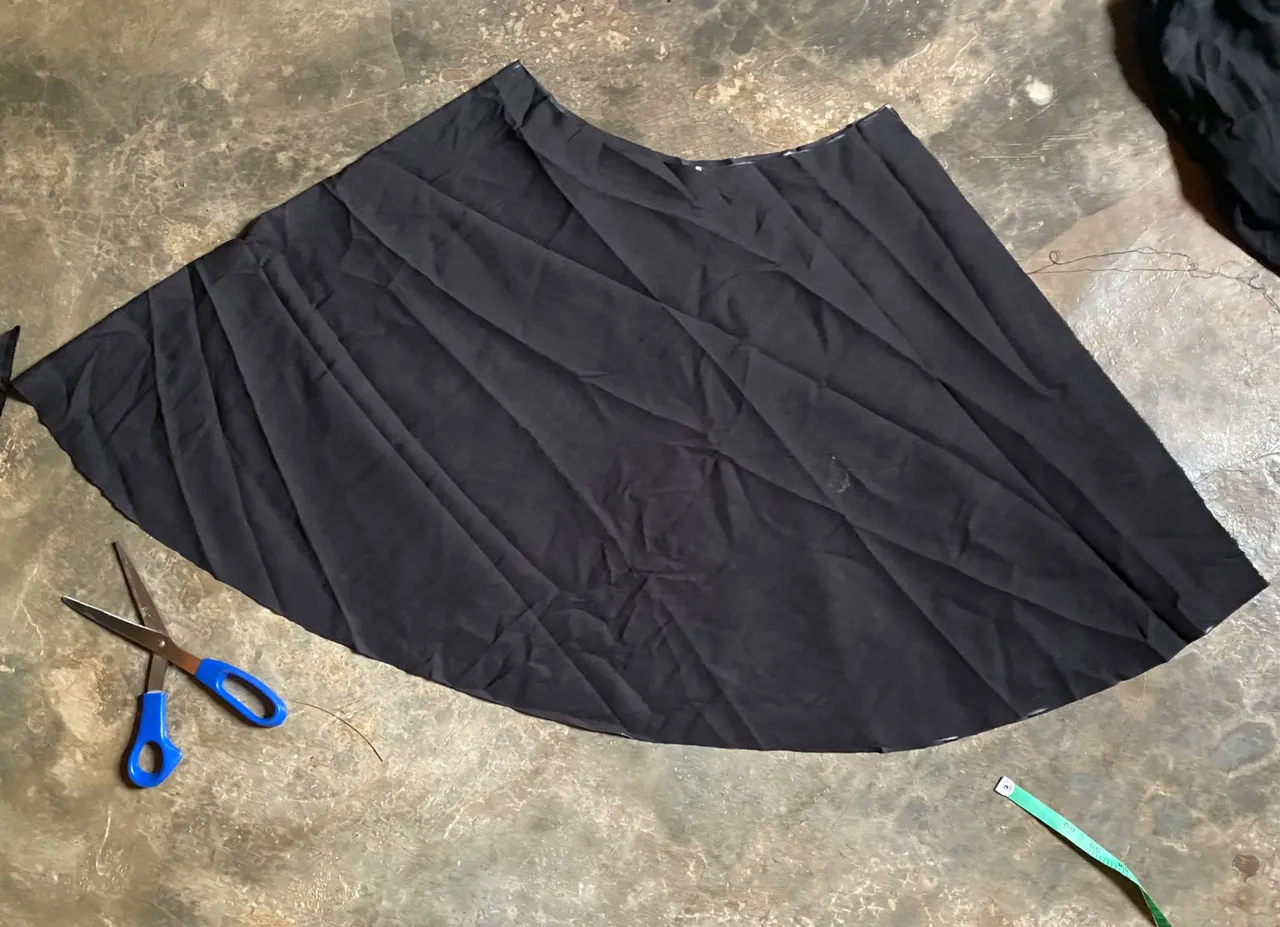
I start by cutting the bottom flare of the dress
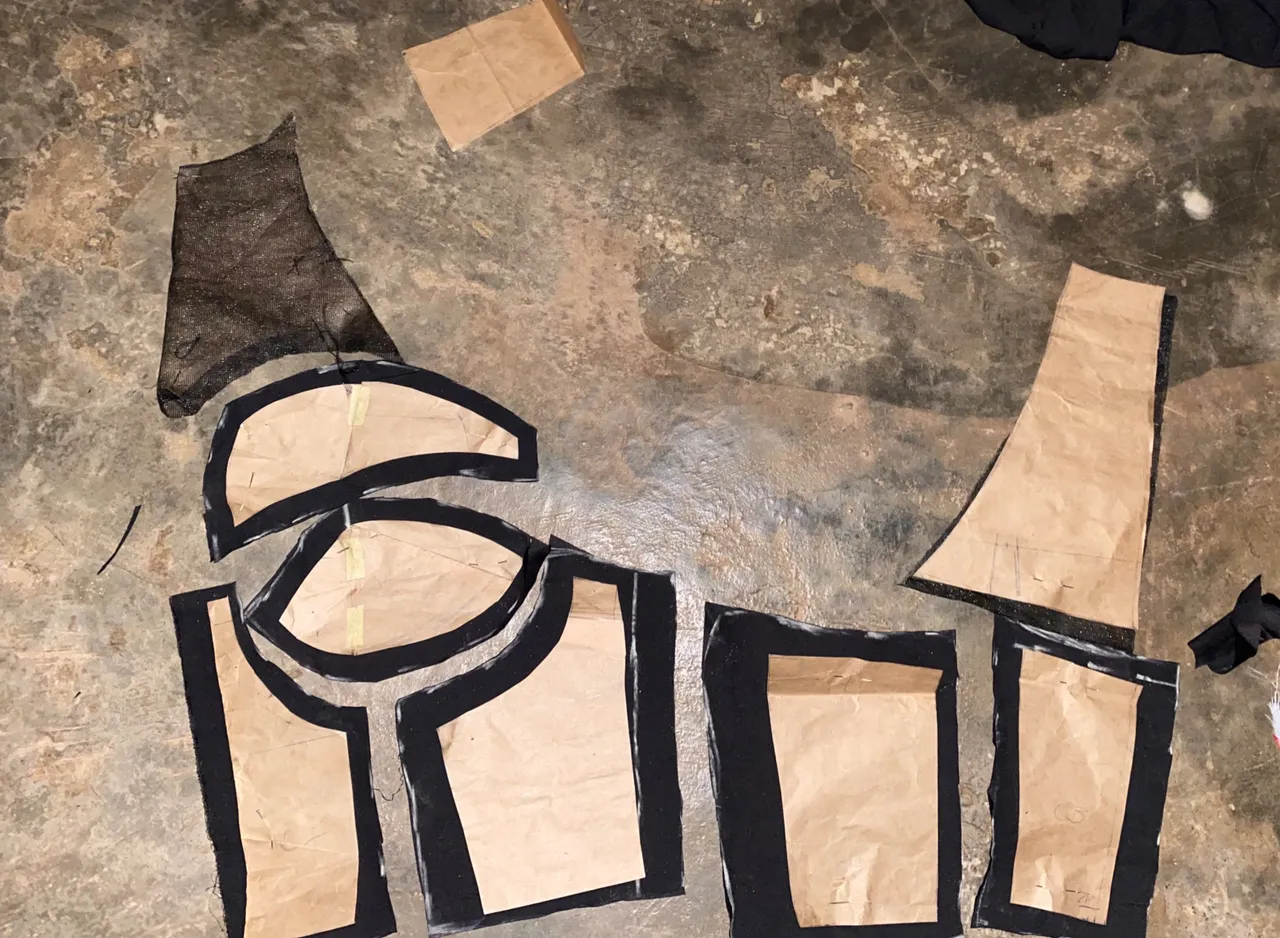
Step 3
I draft the top pattern and I place the pattern on the silk fabric and cut with 0.5 inch allowance and 1.5 inches allowance on the sides
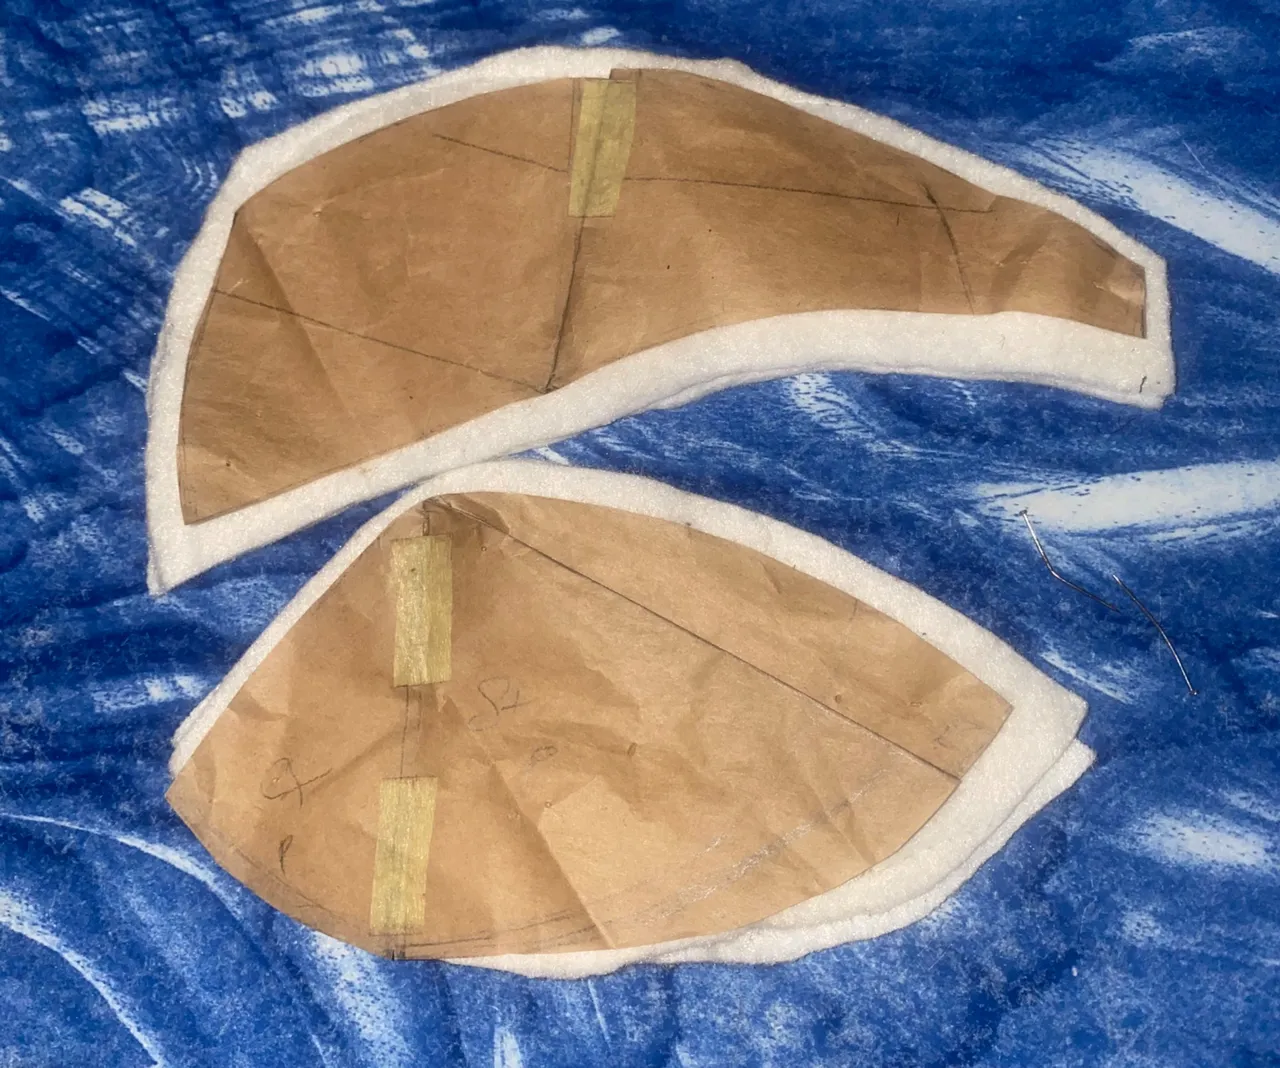
Step 4
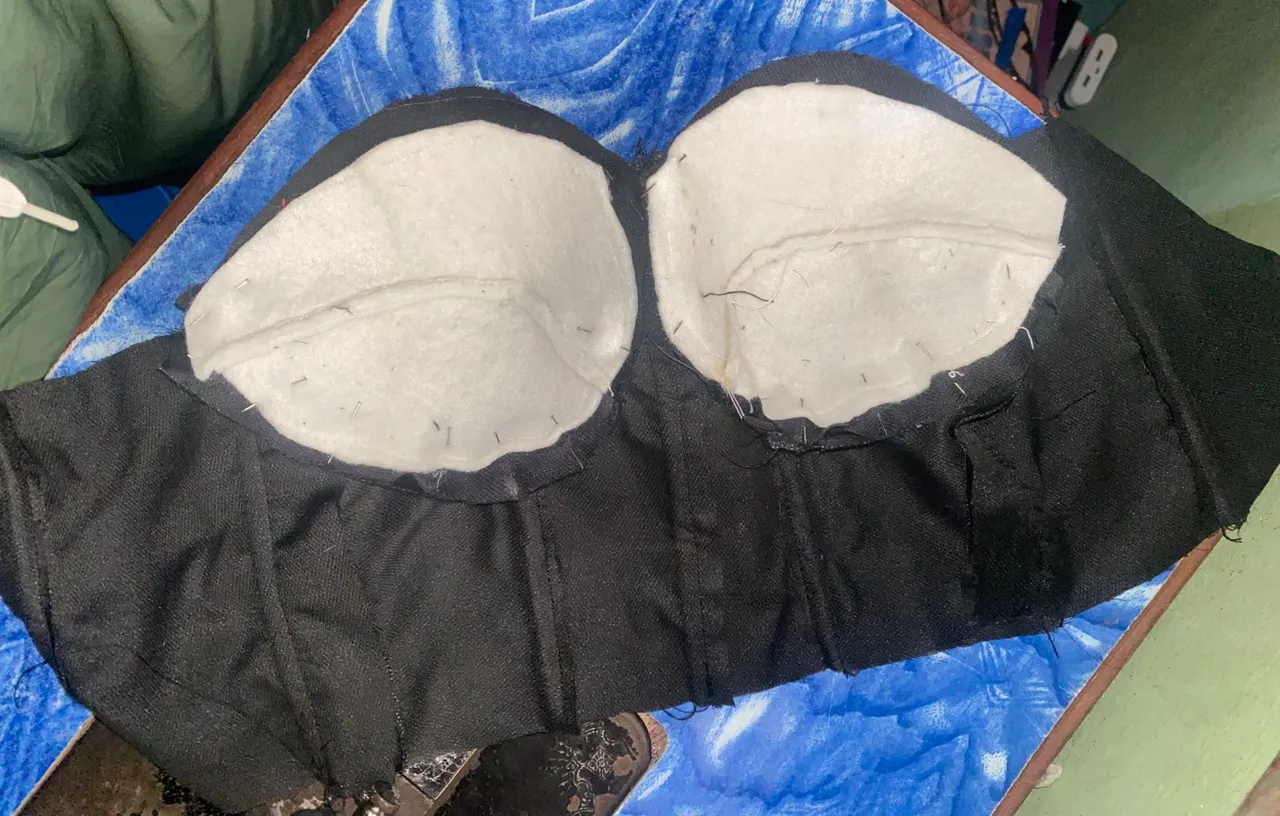
I cut the cup foam and sew
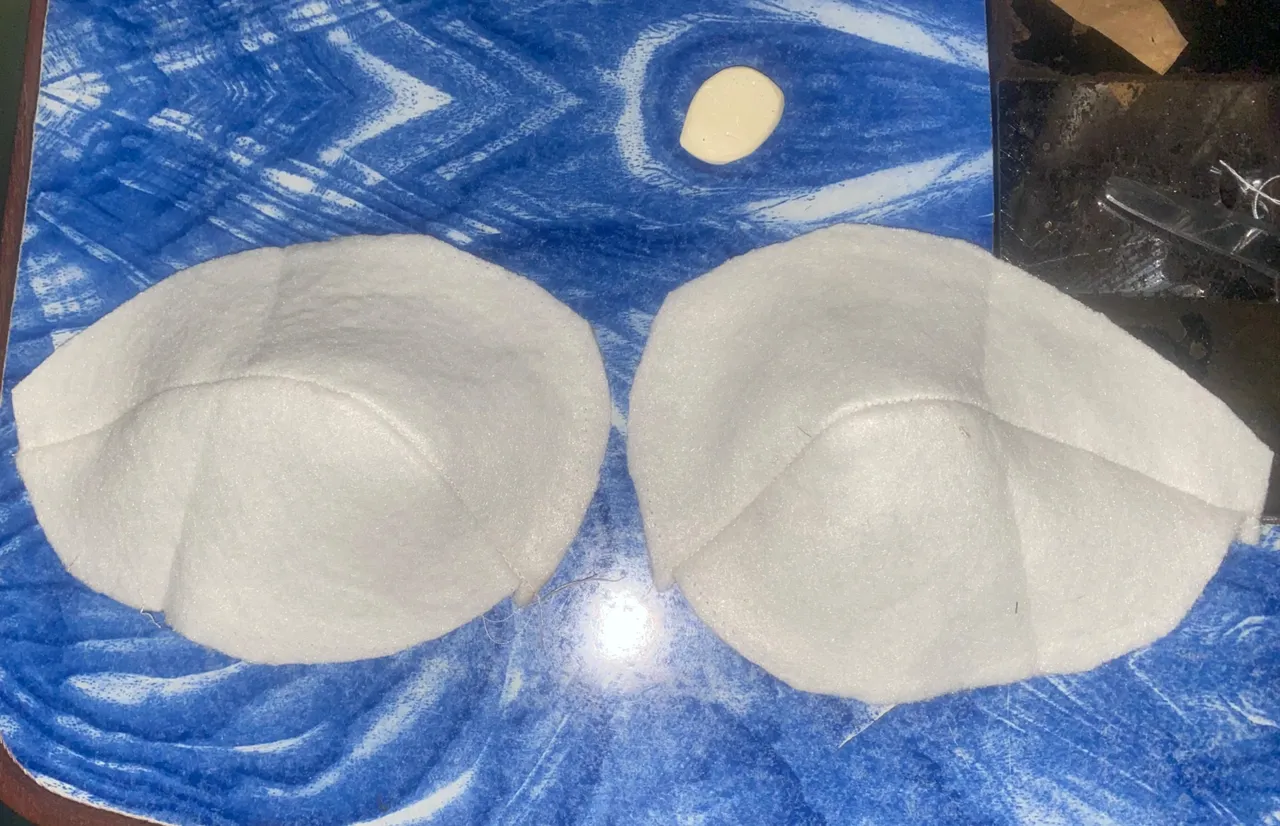
Step 5
I sew the pattern pieces together and sew the foam to the cup


Step 6
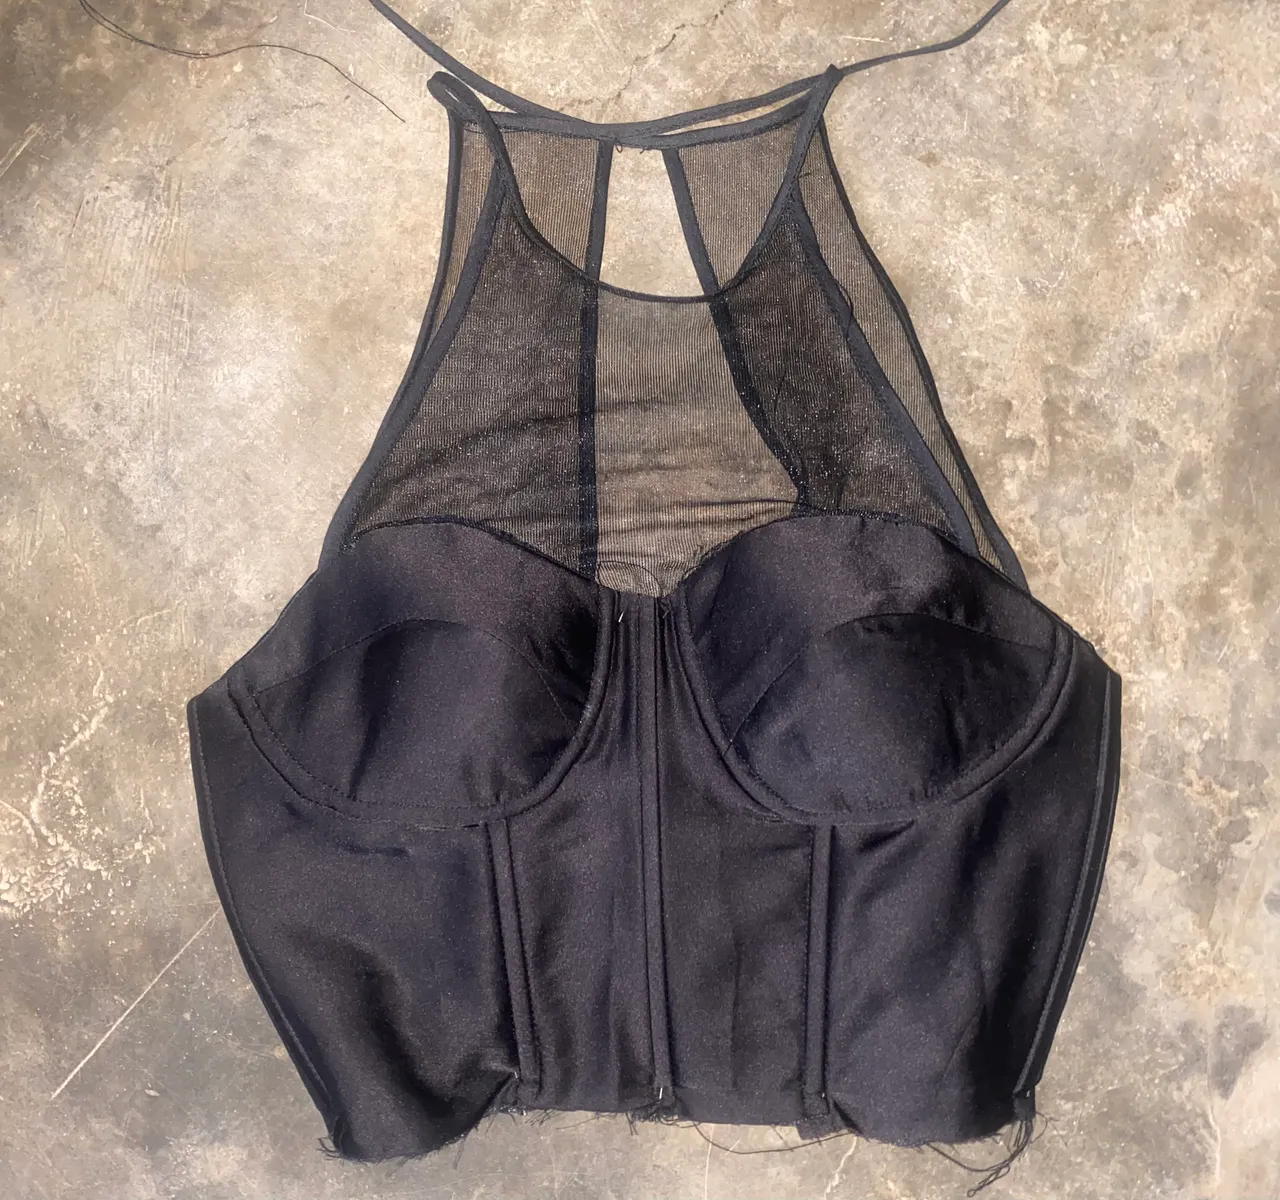
I sew the cup to the bodies
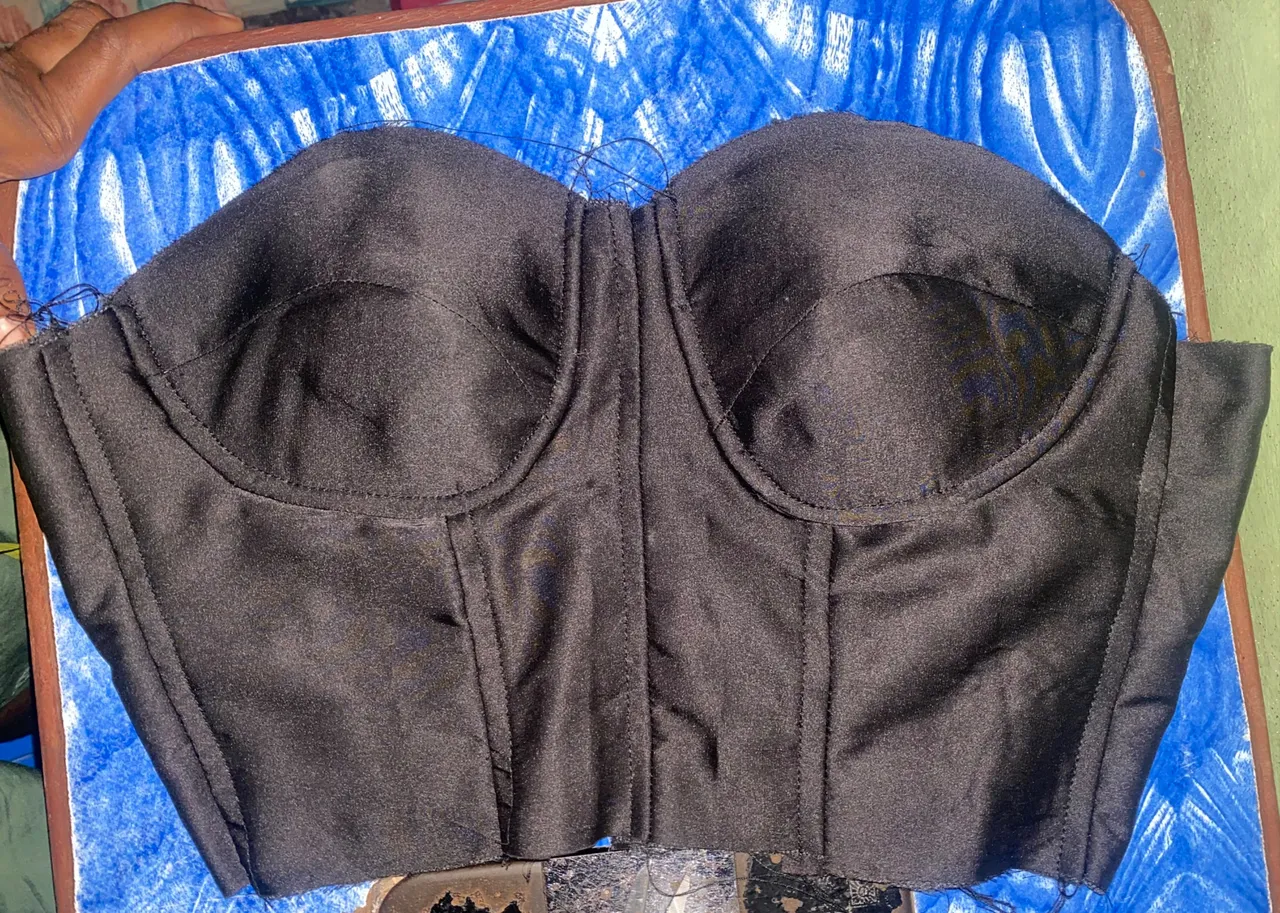
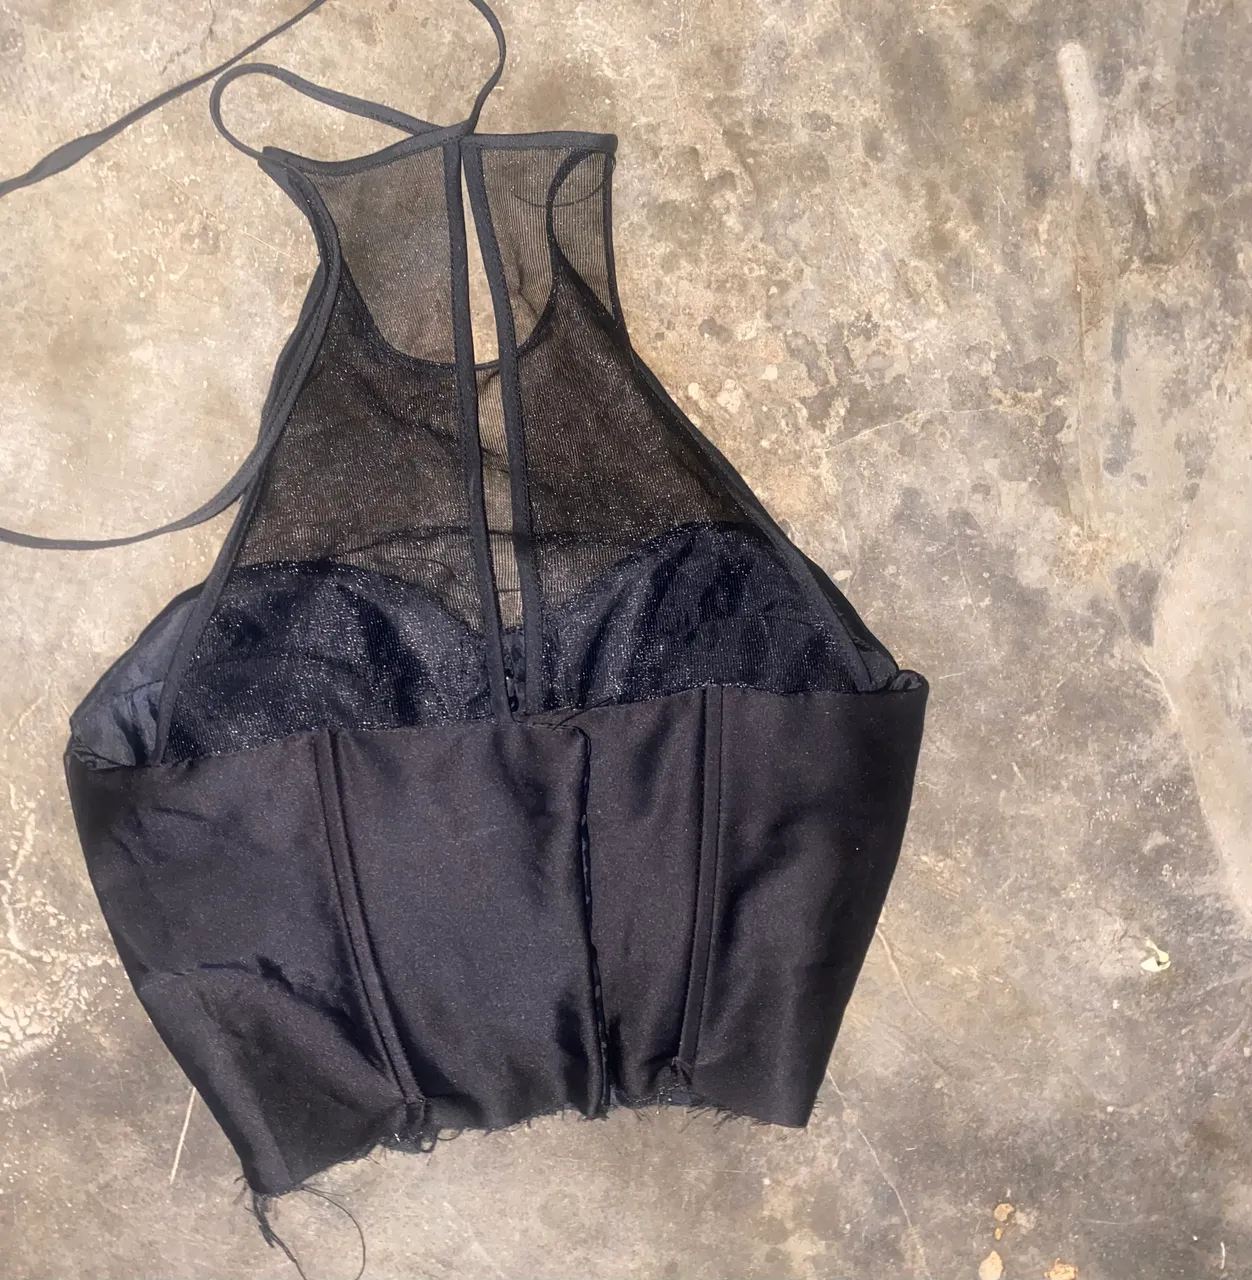
Step 7
I sew Bia on the sides of the yoke then I sew the yoke to the bodies.
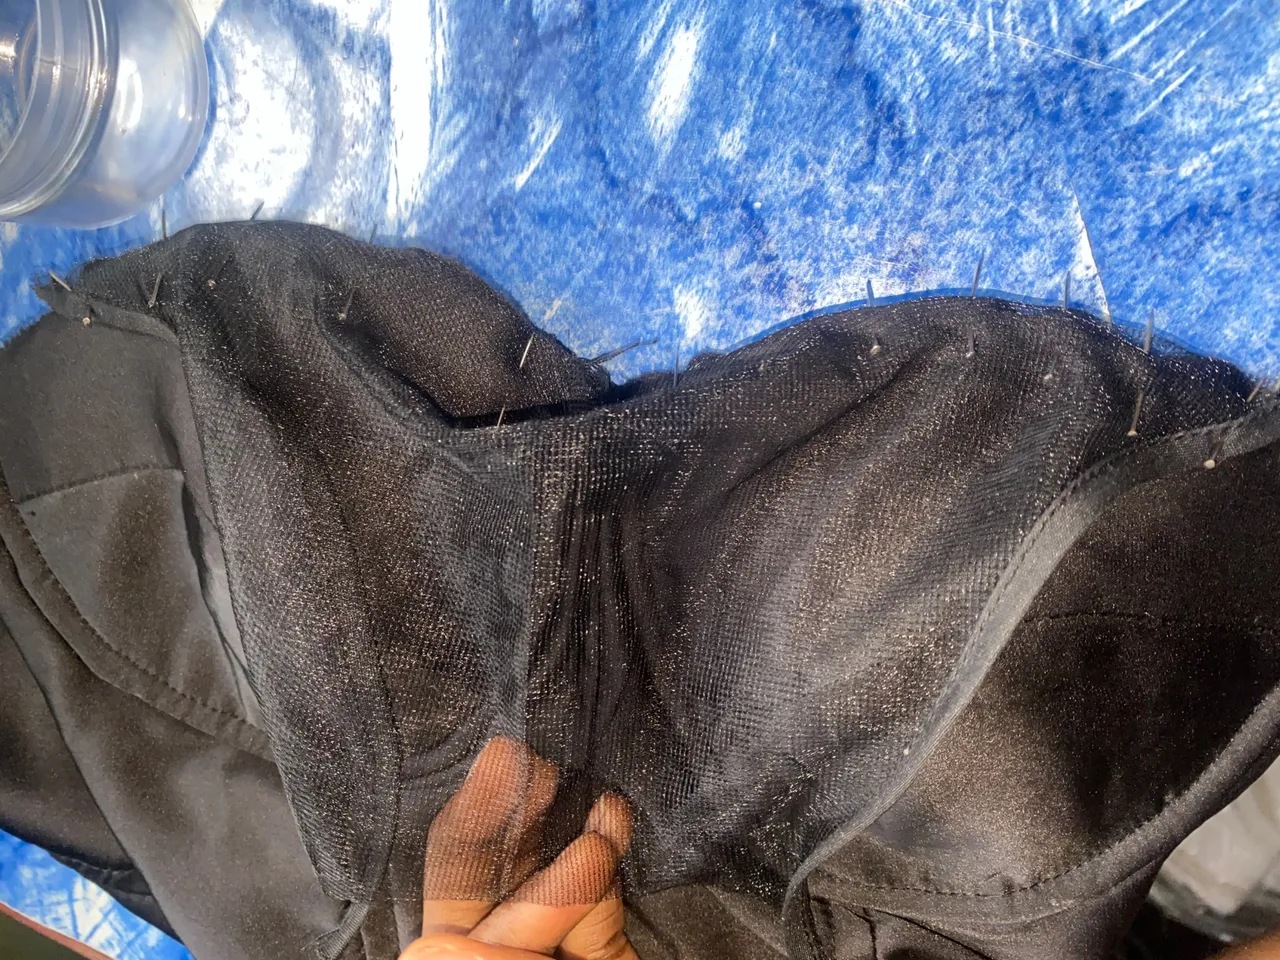
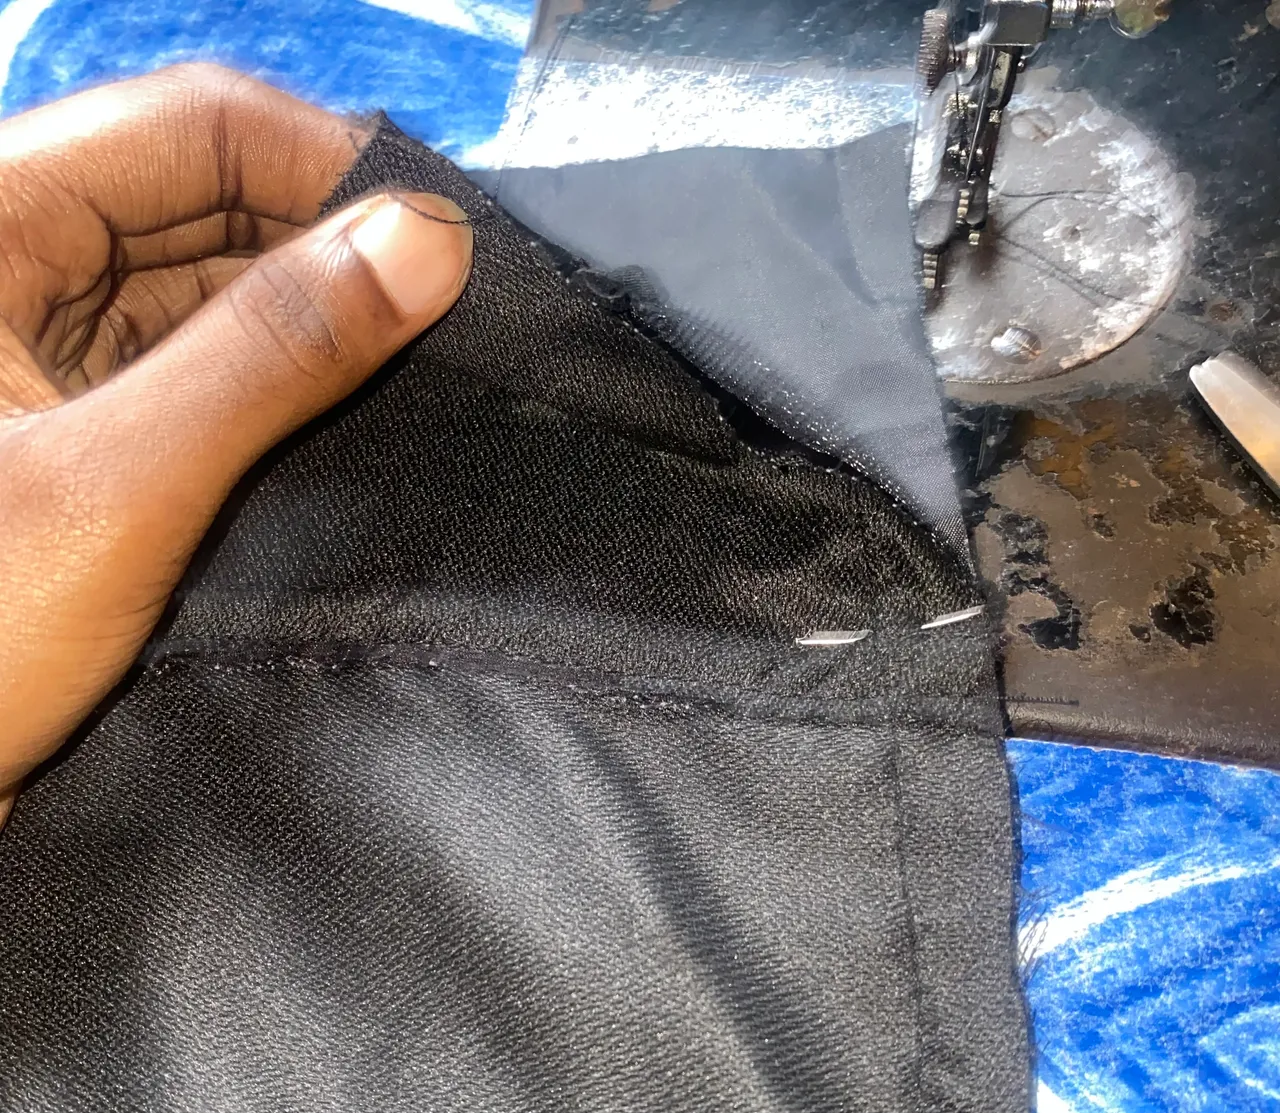
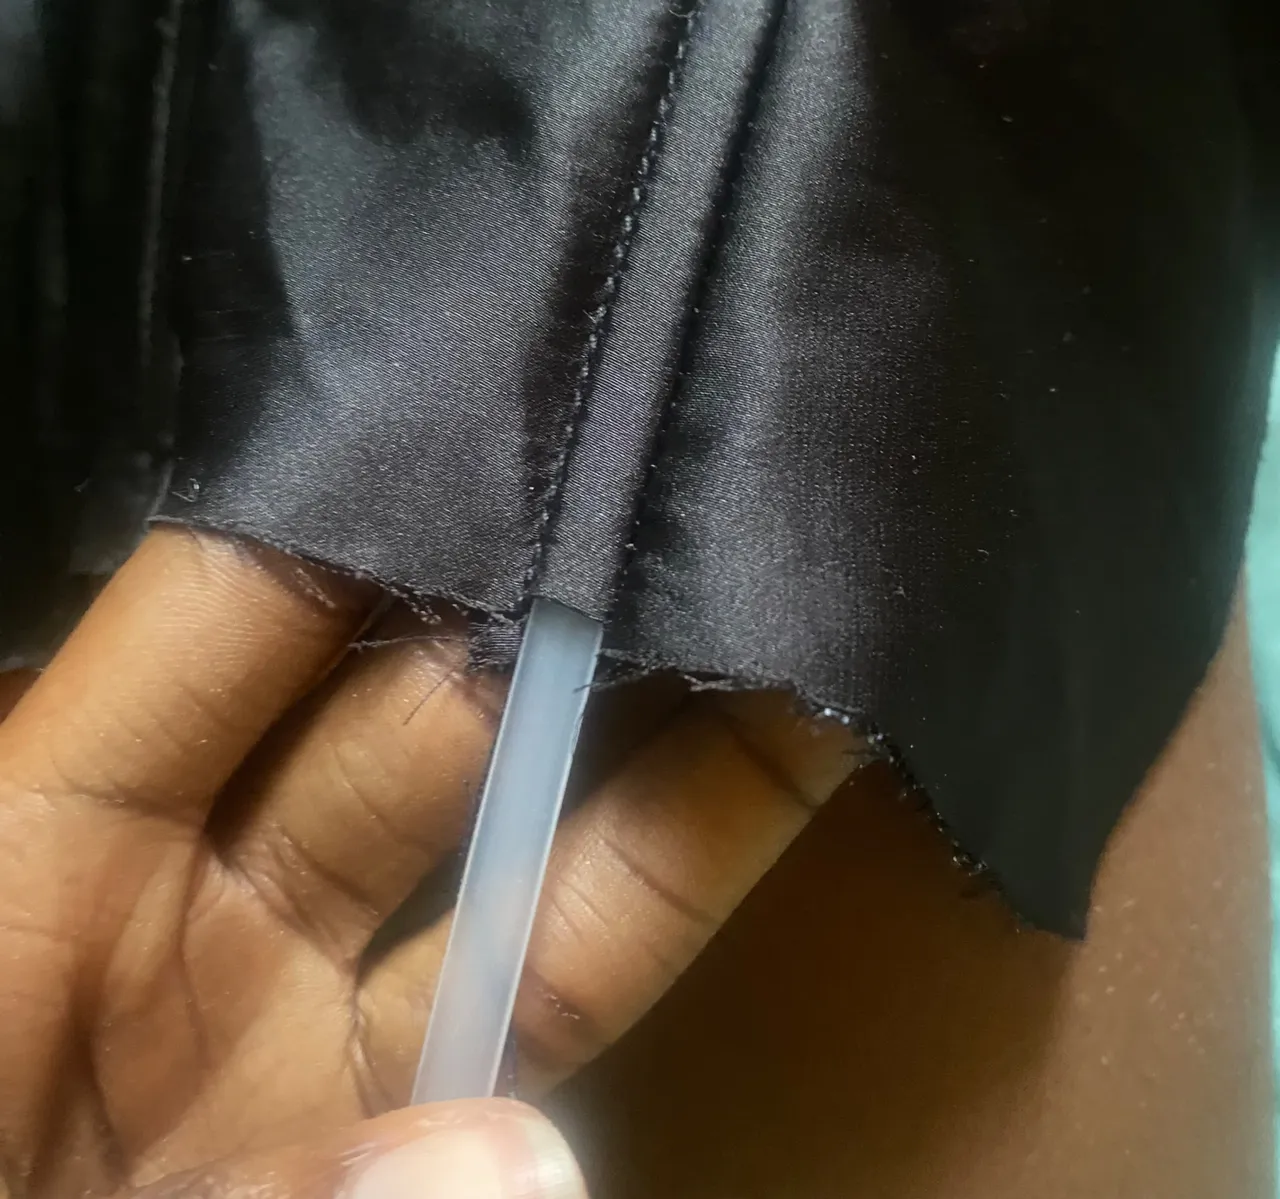
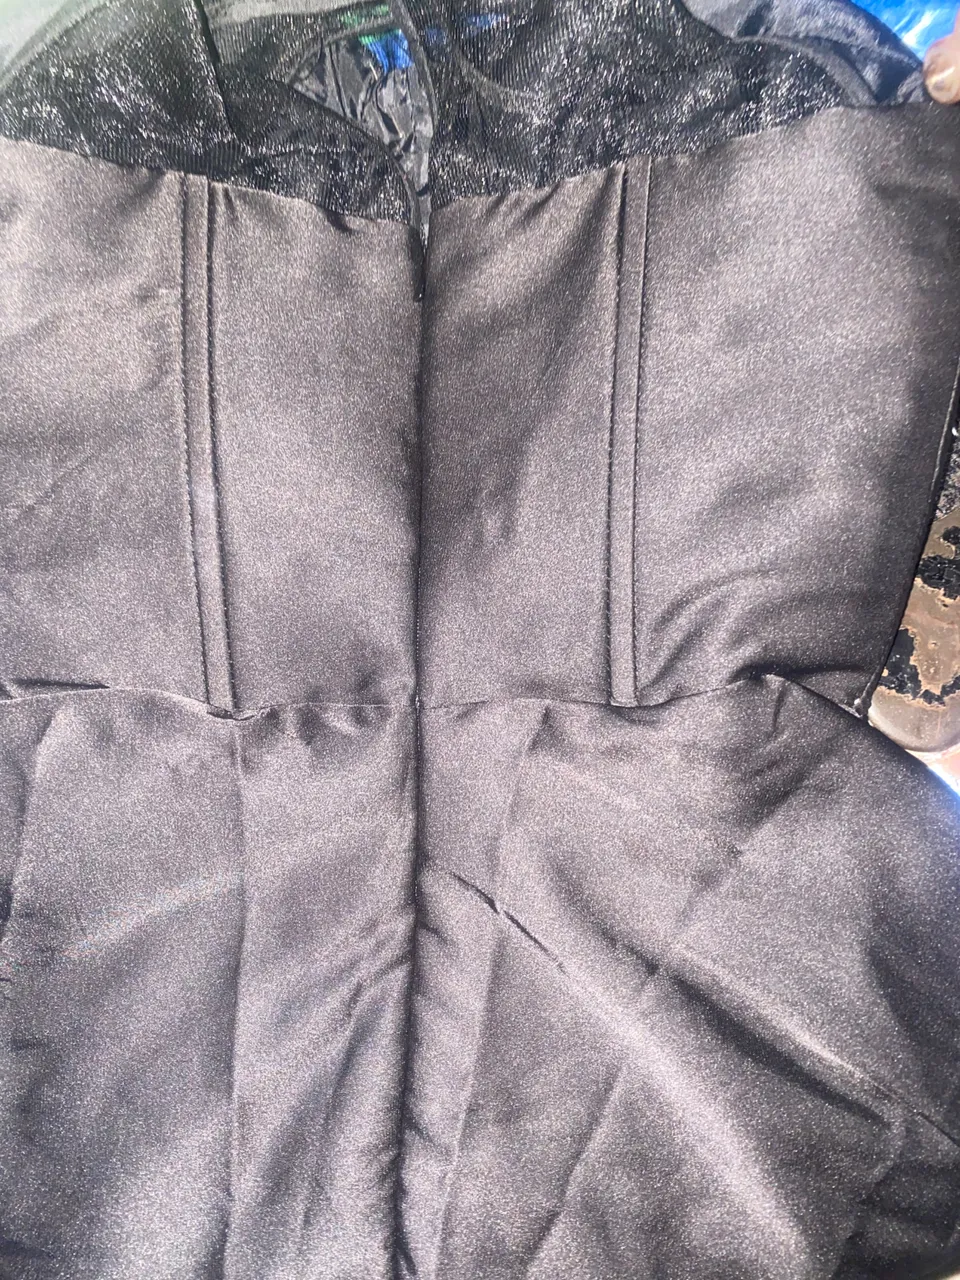
Step 8
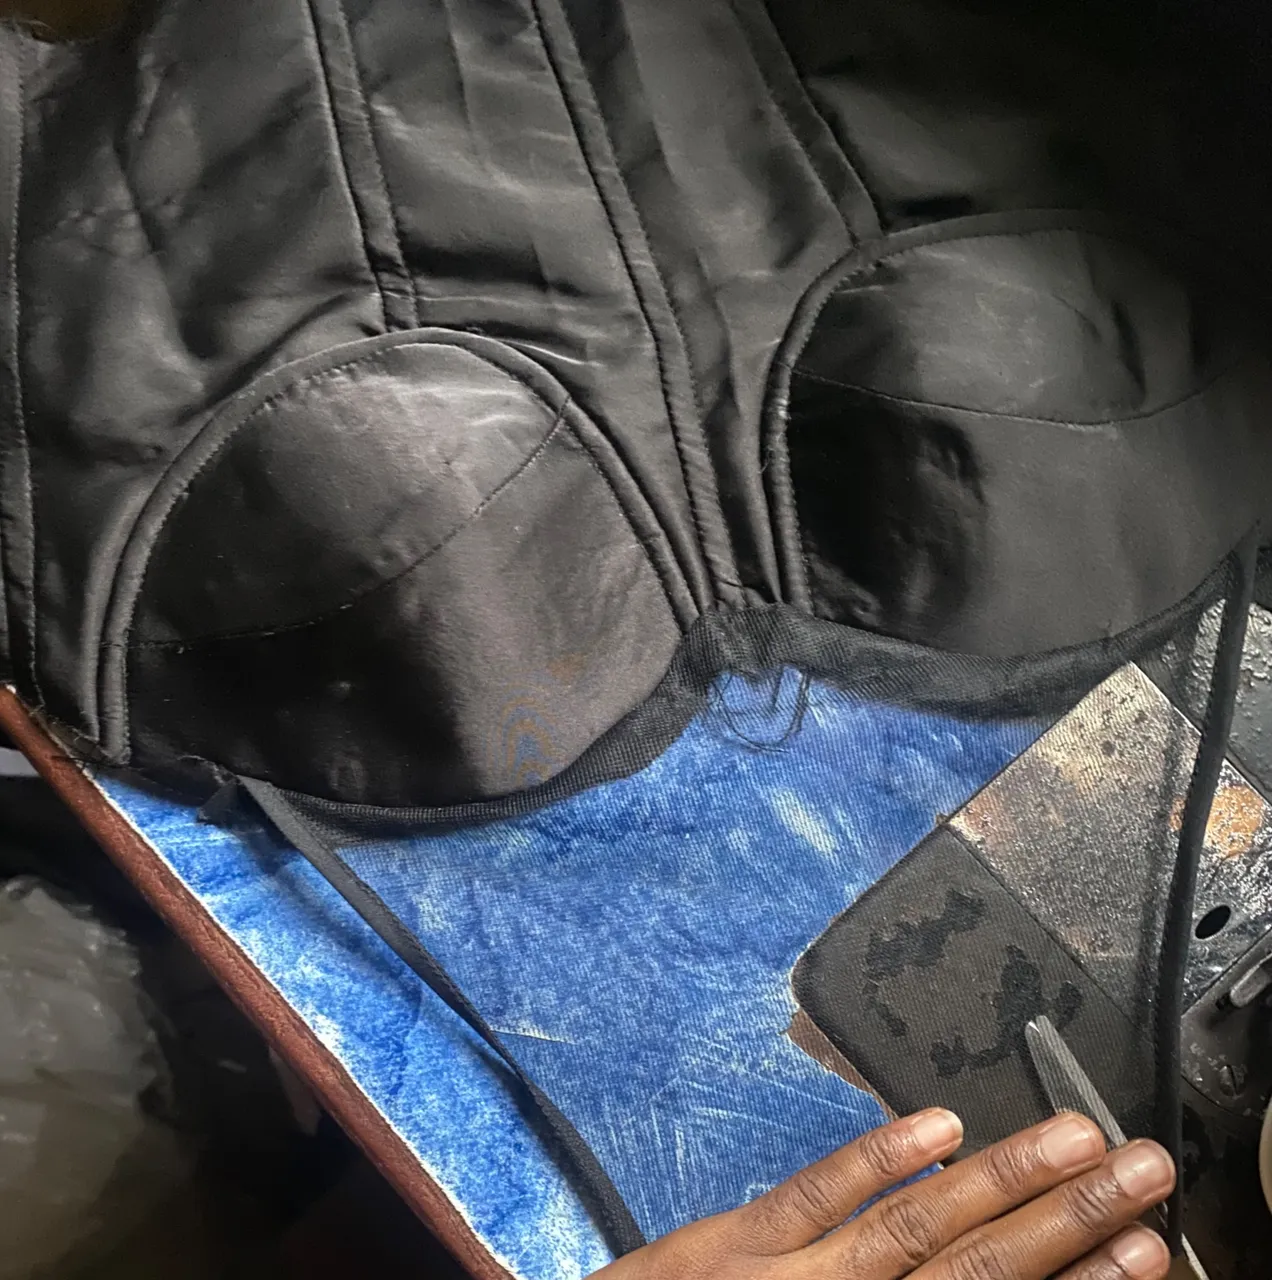
I sew the lining to the bodies and insert the plastic boning.
Step 9
I sew bias around the neck line
Step 10
I sew the bottom with the lining respectively
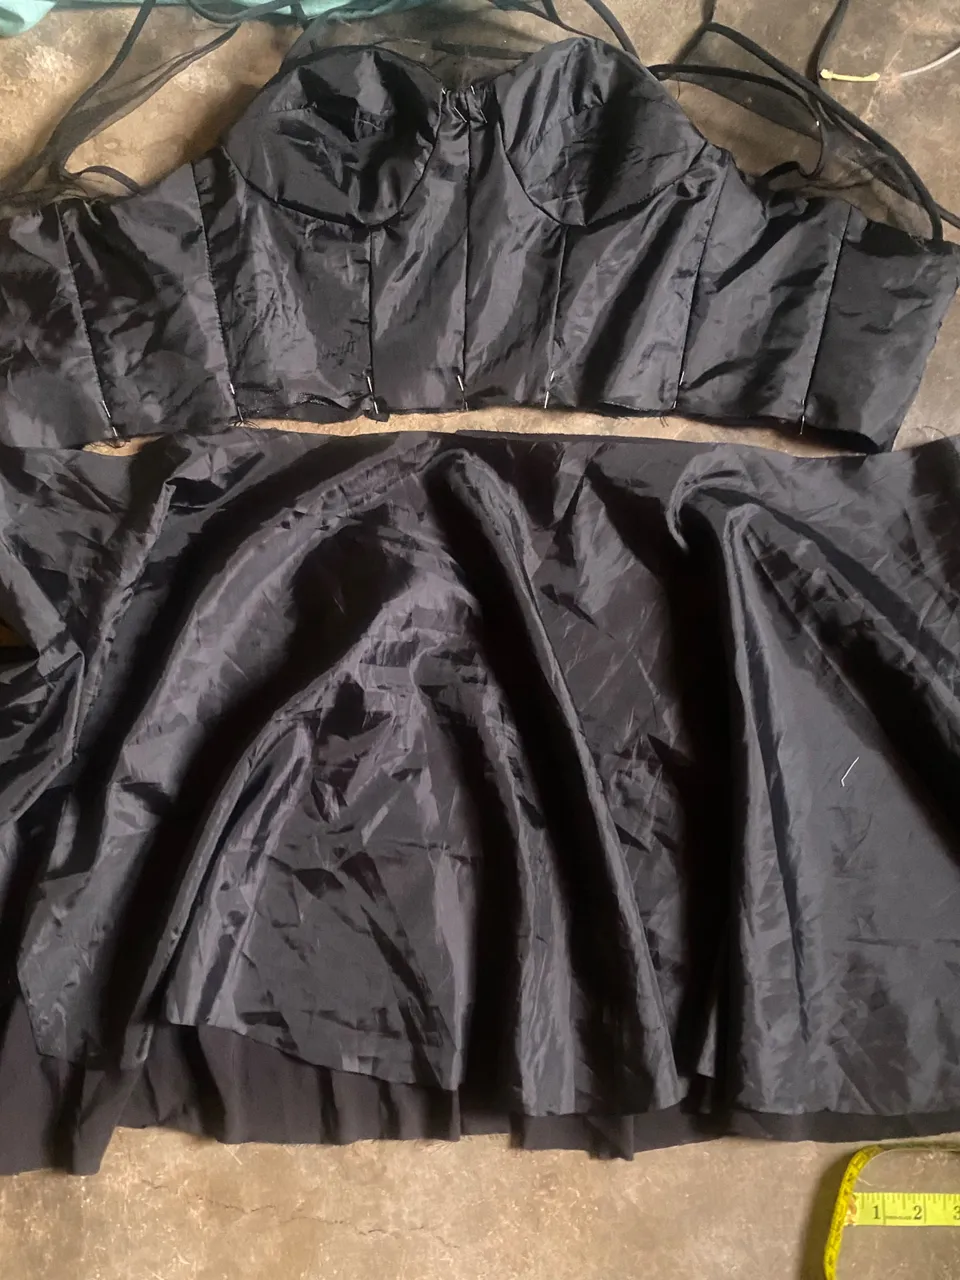
Step 11
I joined the top(bodies) to the bottom
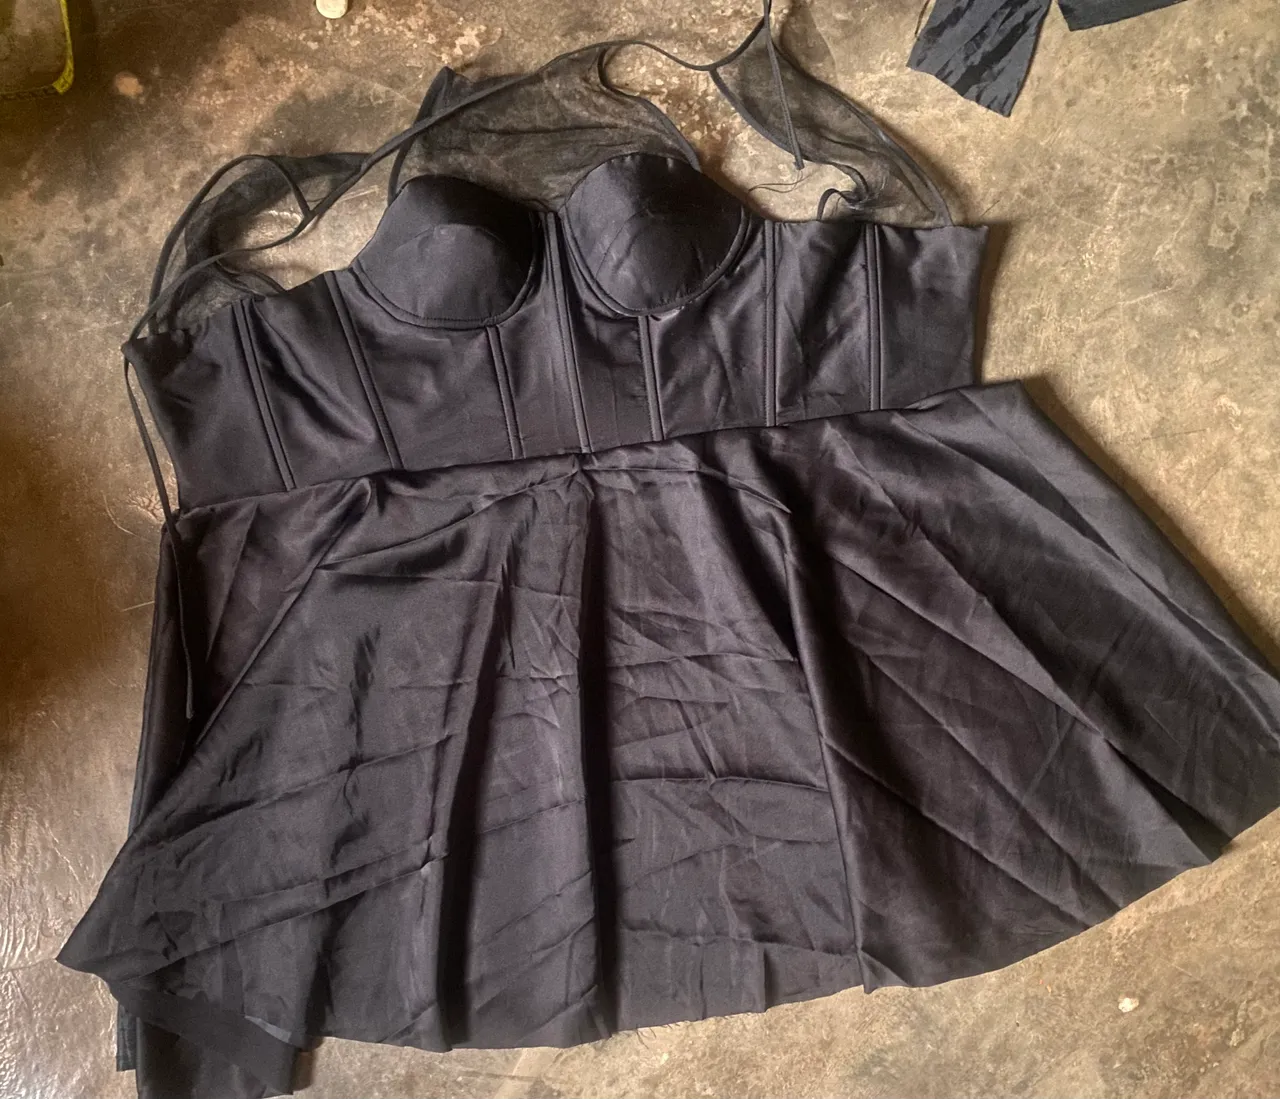
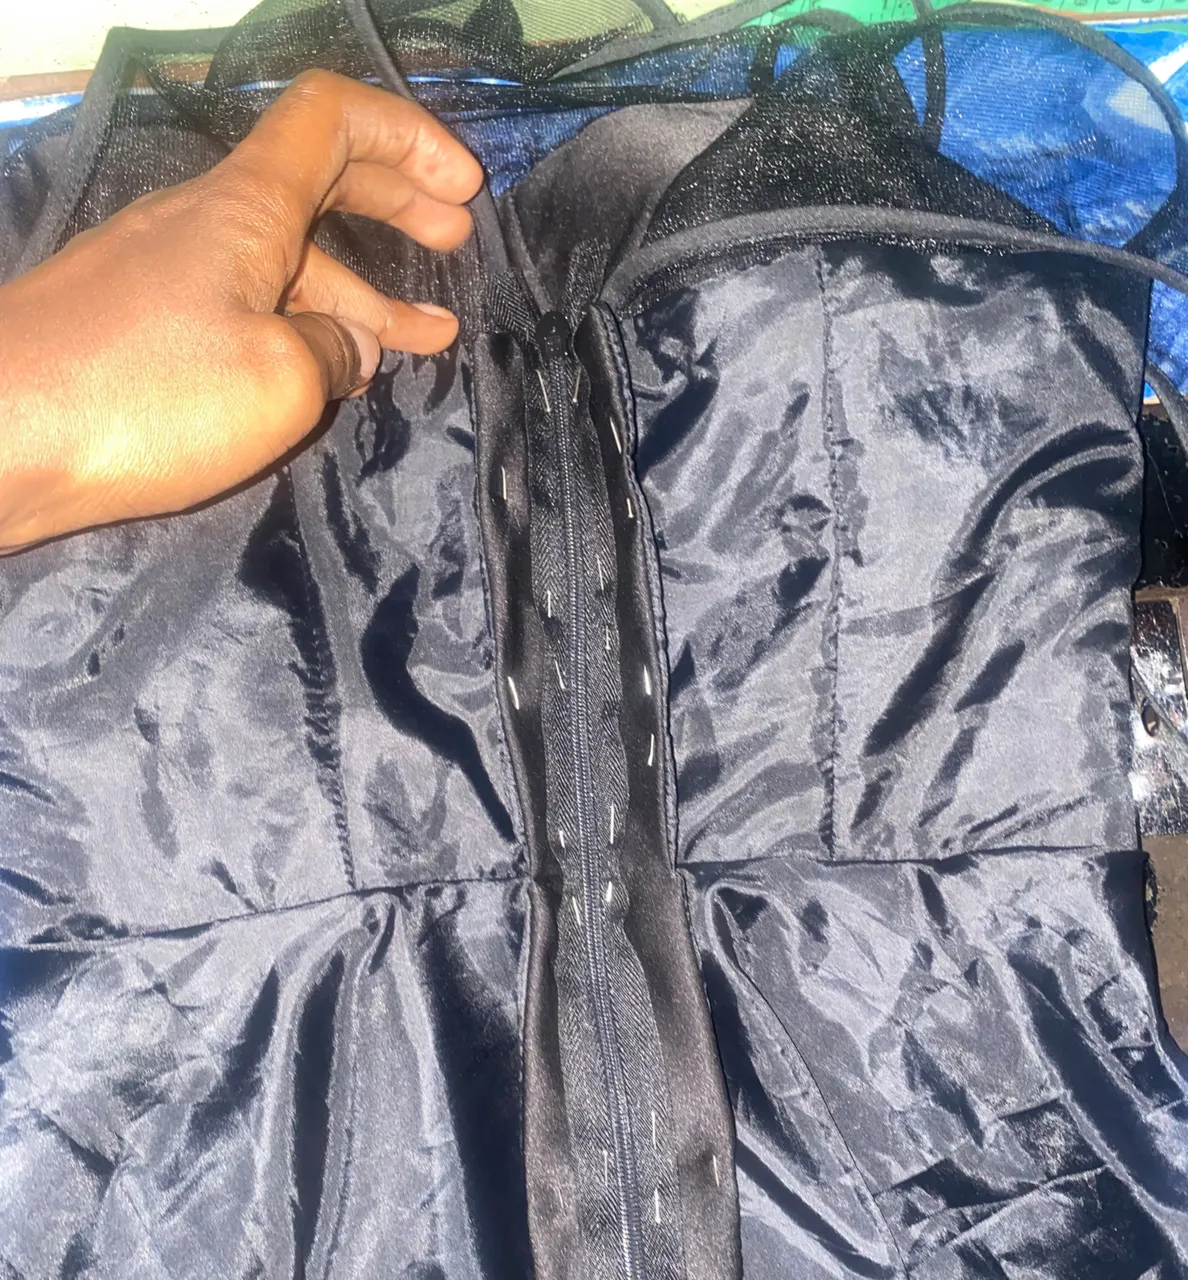
Step 12
I sew an invisible zip to the back
Step 13
I hem the bottom of the flare

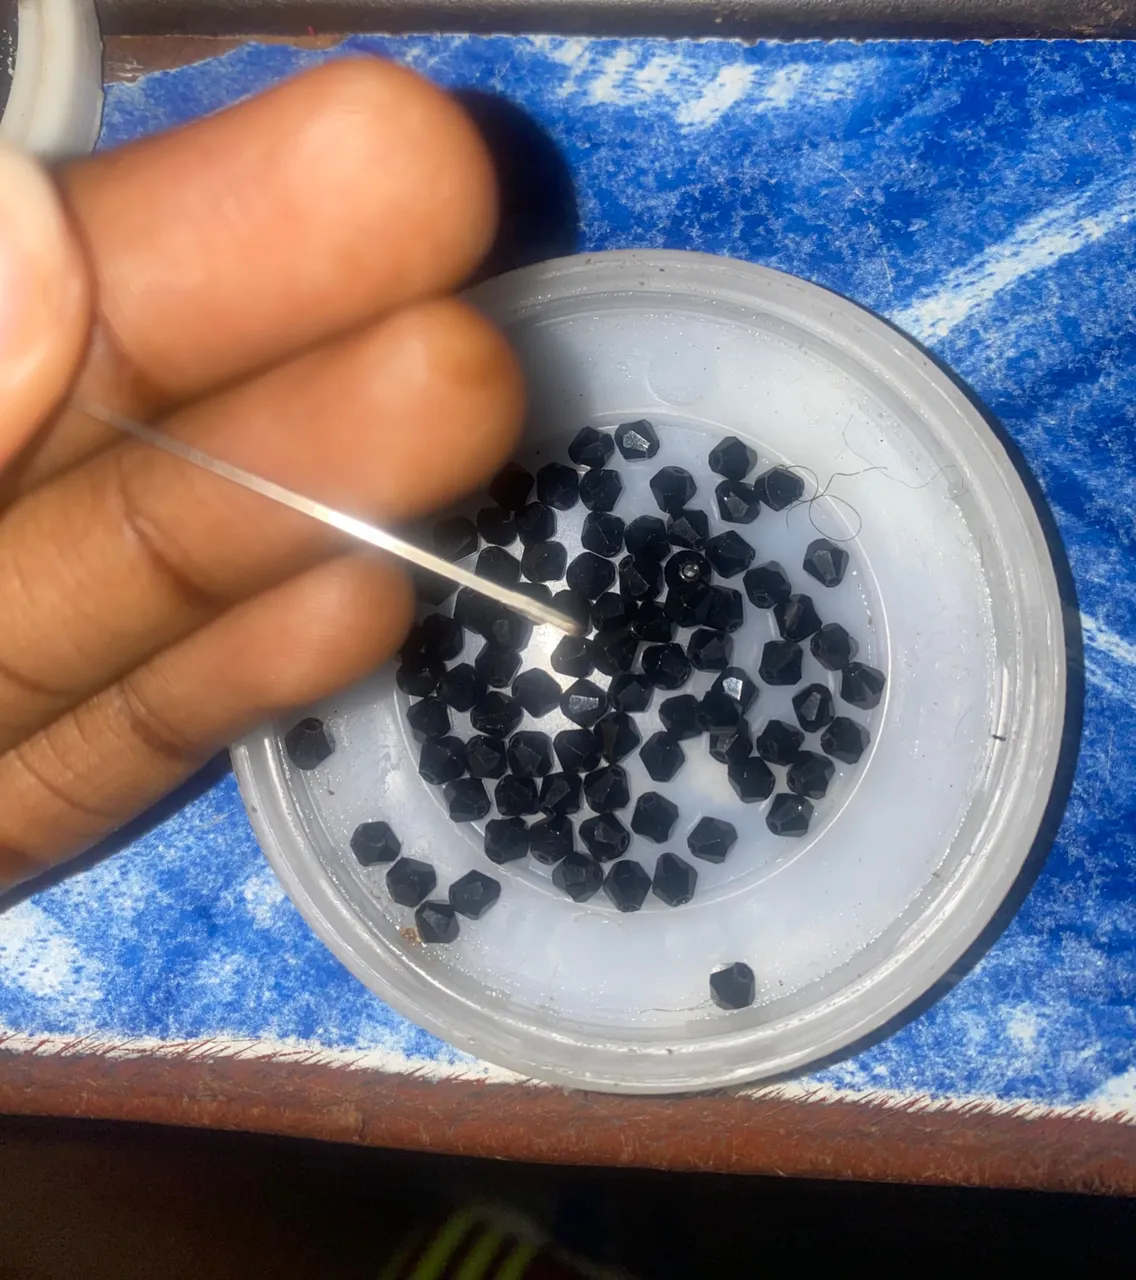
Step 14
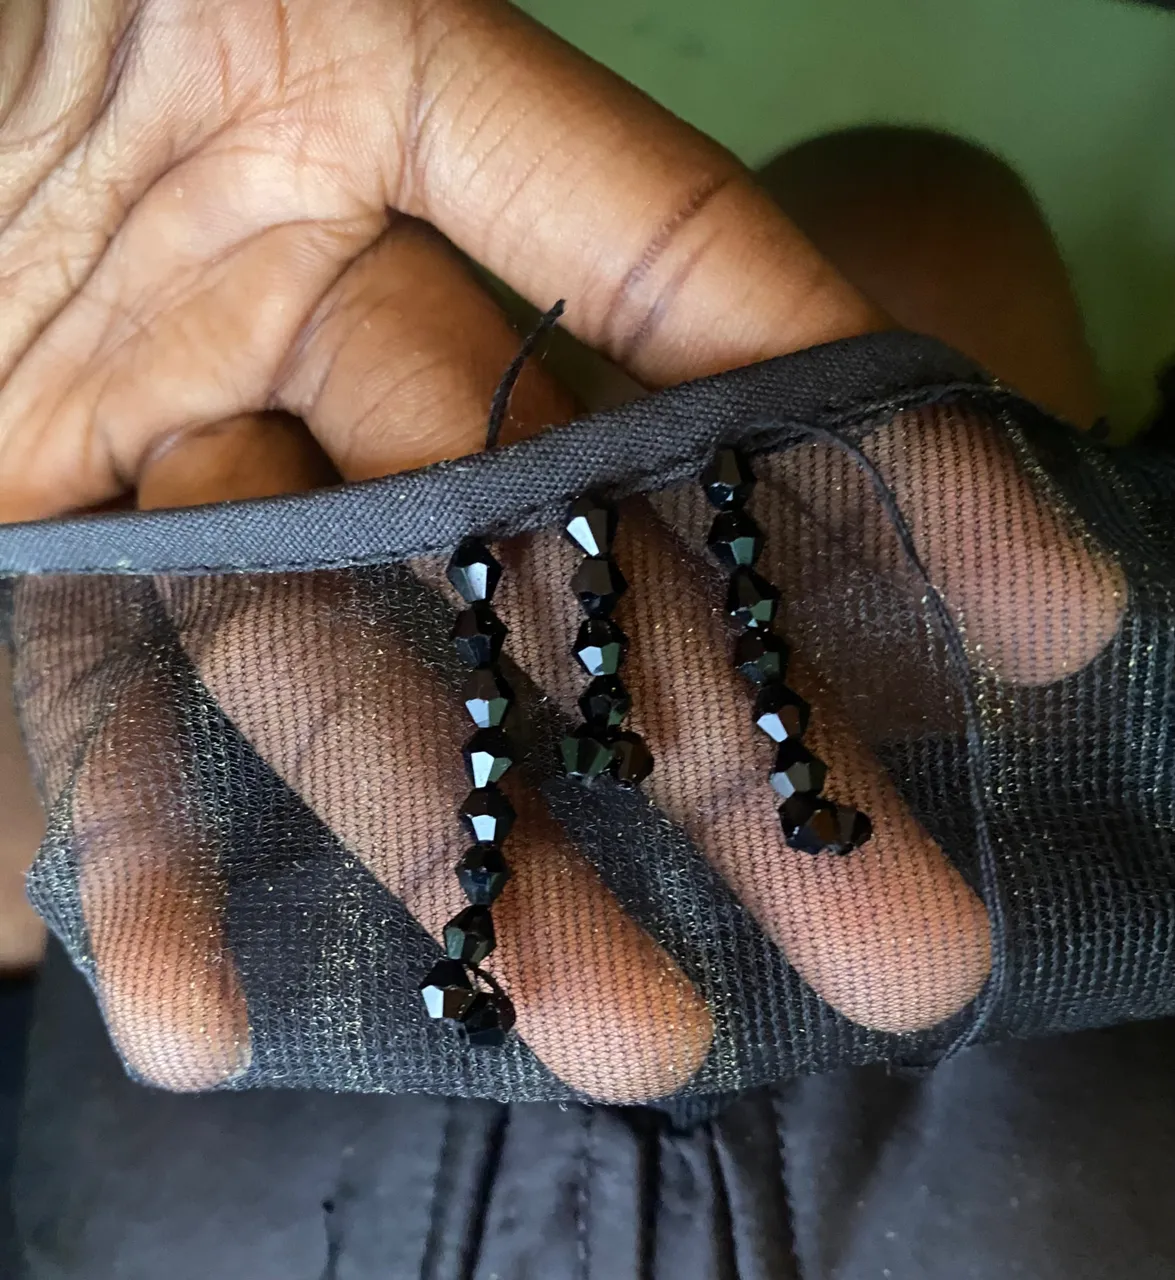
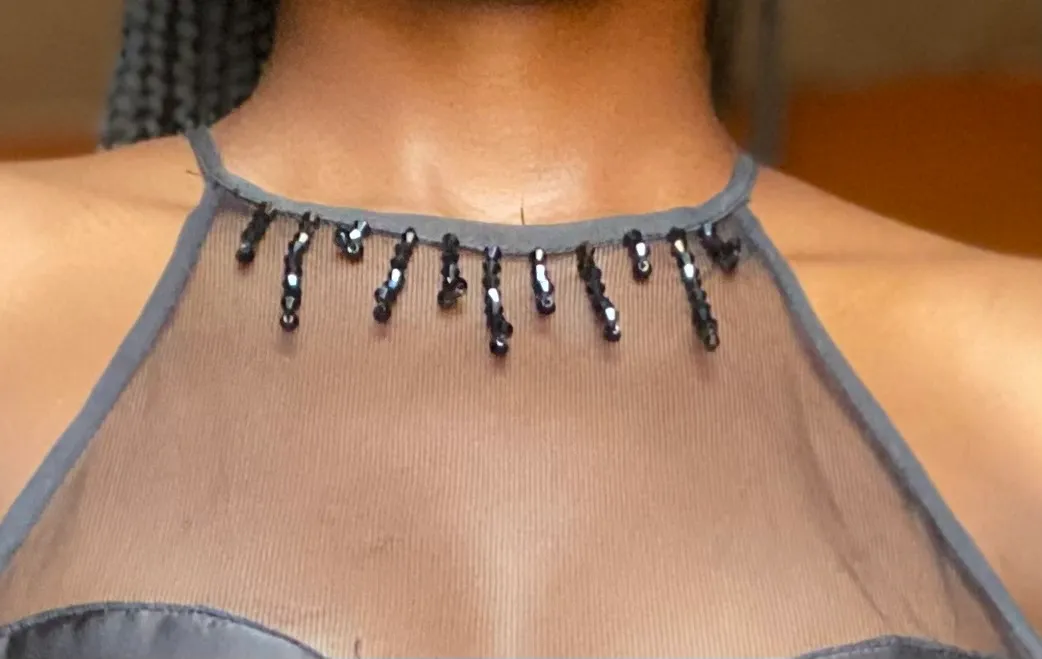
I added beads to the neckline
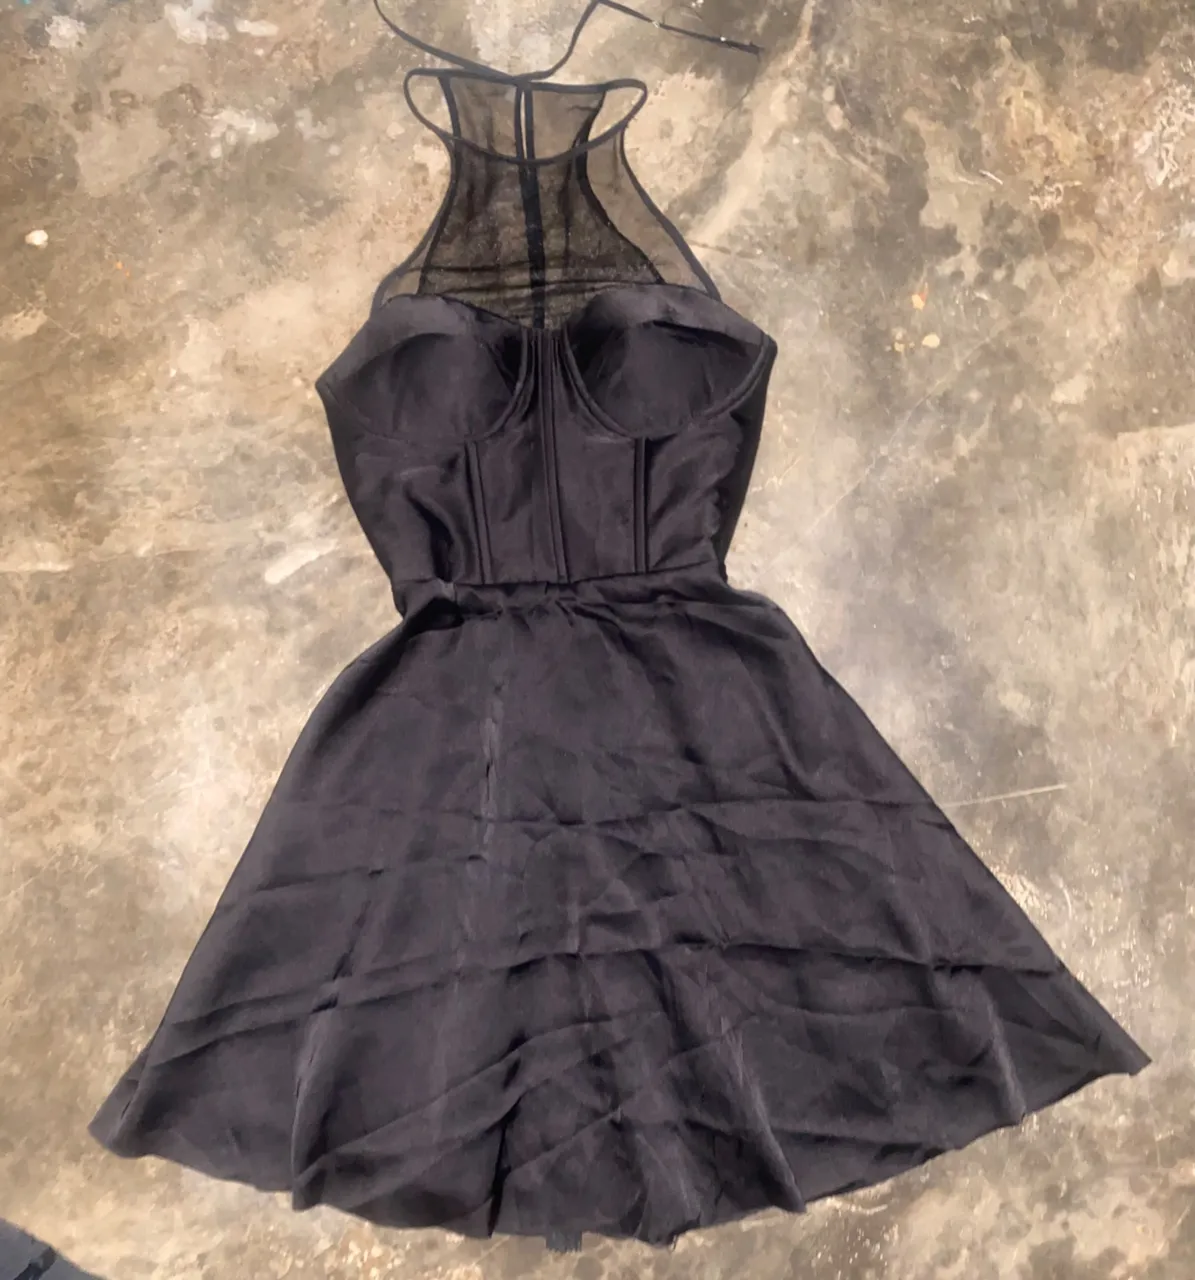
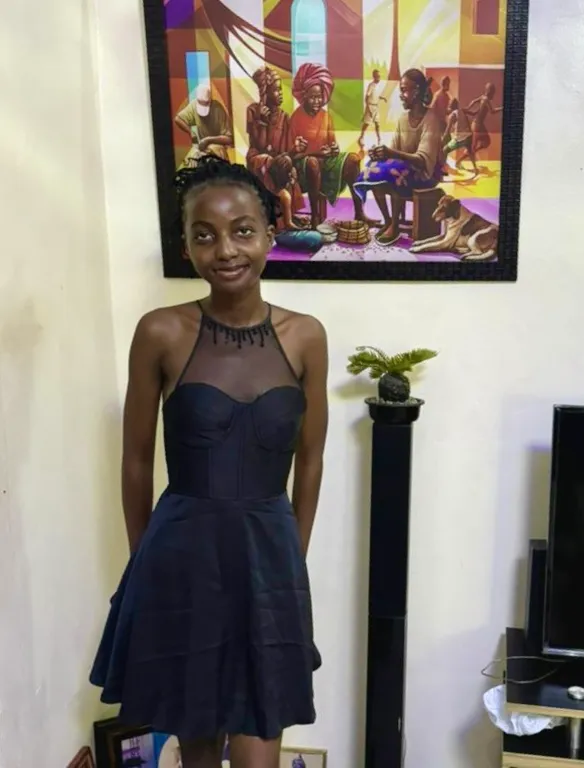
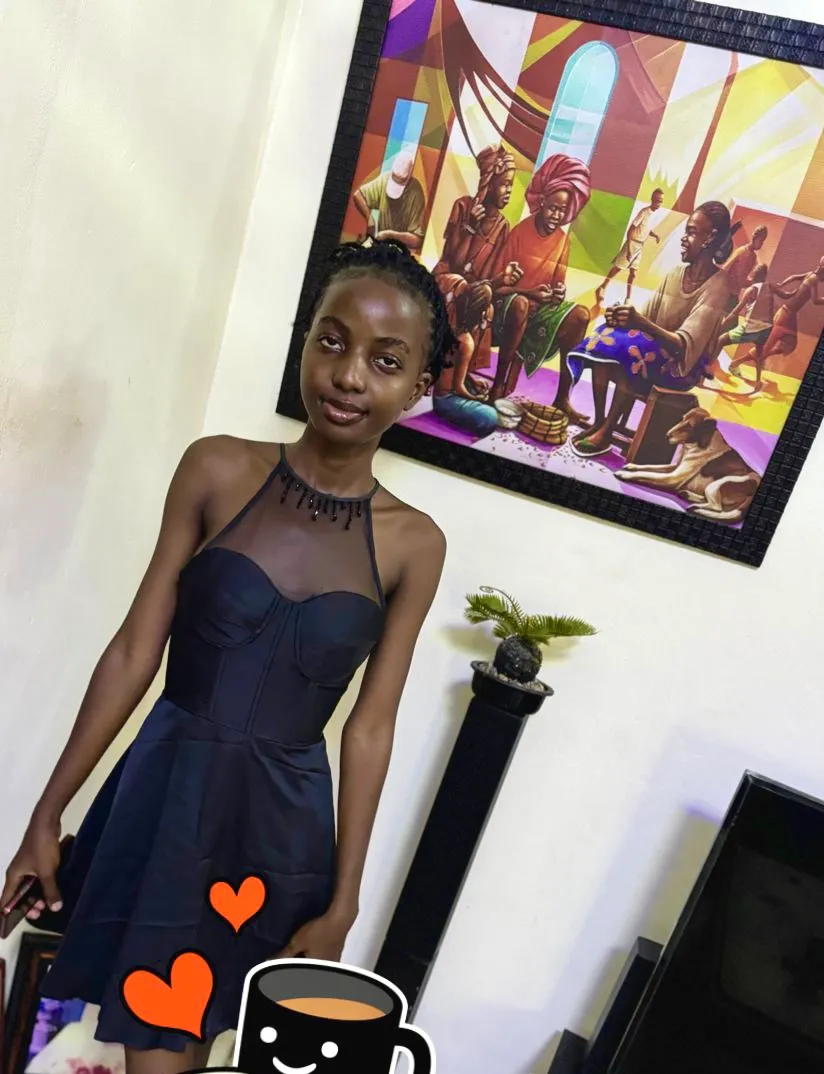
Here is the final look on her, I made it longer than the original sketch,I have to make it a little decent because of her long legs.
Happy belated Birthday to my favorite girl @lizizoo✨💜
Thank you for visiting my blog and stay creative ✨❤️
All images are mine and thumbnail was made by canva