Hola, holaaa! Saludos Artistas Creativos de la Joyería, esperando que se encuentren todos gozando de perfecta salud y llenos de todas las energías positivas que irradia el universo.
De verdad estoy asombrada de la rapidez con que van pasando los días, ayer era navidad y ya casi estamos en los carnavales; por aqui la comunidad se encuentra entusiasmada con esa algarabia carnestolenda, las bambalinas, carrozas, disfraces, tronos, reinas, etc., están en todo su apogeo.
Mi manualidad creativa de hoy la realicé reciclando materiales, como les he comentado muchas veces está es una comunidad de recursos economicos limitados, y el reciclaje es una de las técnicas que más utilizamos; como tengo que hacer parte de la bisuteria para los atuendos que lucirán los participantes de la feria escogí en esta oportunidad una pulsera haciendo juego con un collar usando materiales de provecho; sigan leyendo para que vean el paso de cómo los hice.
Hello, hello! Greetings Creative Jewelry Artists, hoping that you are all enjoying perfect health and full of all the positive energies that the universe radiates.
I am truly amazed at the speed with which the days go by, yesterday was Christmas and we are almost at the carnival; Around here the community is enthusiastic about that Carnival merriment, the scenes, floats, costumes, thrones, queens, etc., are in full swing.
I made my creative craft today by recycling materials, as I have told you many times, this is a community with limited economic resources, and recycling is one of the techniques we use the most; Since I have to make part of the jewelry for the outfits that the fair participants will wear, I chose this time a bracelet matching a necklace using useful materials; keep reading to see the step of how I made them.
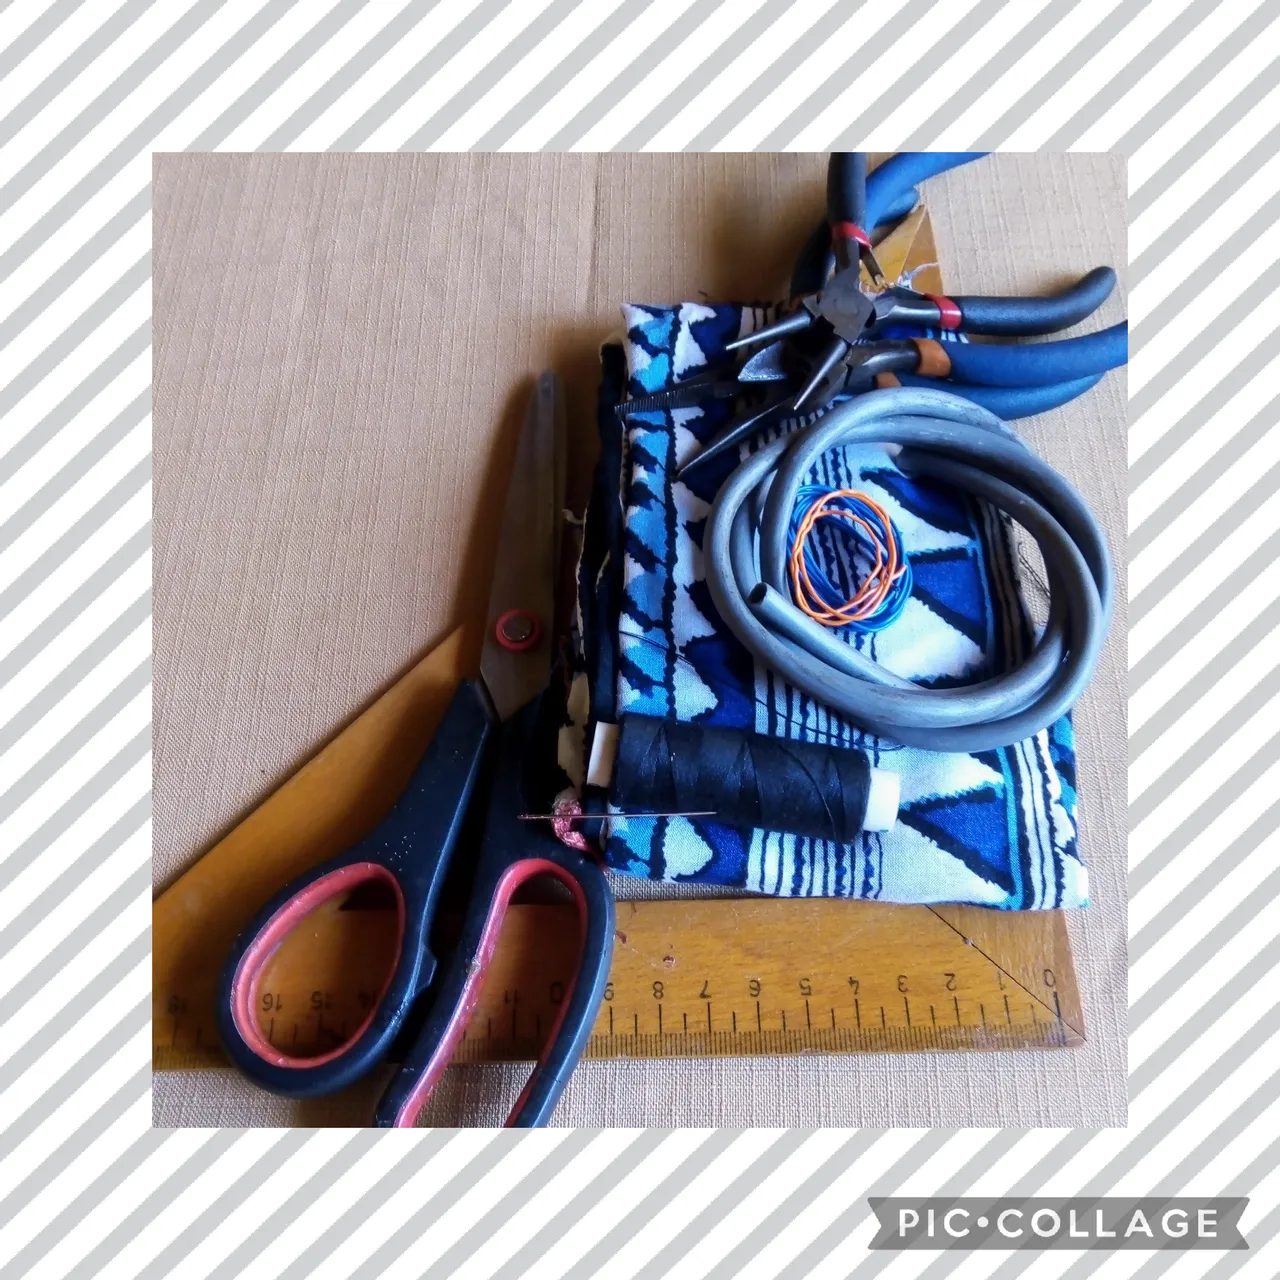
LOS MATERIALES USADOS PARA LA ELABORACIÓN DE ESTE ORIGINAL PROYECTO, FUERON LOS SIGUIENTES:
- Forro plastico protector
que recubre el alambre de
cobre, del cable usado
para teléfonos. - Recorte de tela.
- Argollas.
- Pega instantánea.
- Dos tranca pico de loro.
- Alambre de cobre delgado
- Dos terminales grandes.
- Dos terminales pequeños.
- Cadena de extensión.
- Tijeras.
- Centímetro.
- Pinza punta redonda.
- Pinza plana.
- Pinza de corte.
THE MATERIALS USED FOR THE ELABORATION OF THIS ORIGINAL PROJECT WERE THE FOLLOWING:
- Protective plastic lining
covering the wire
copper, of used cable
for phones. - Fabric cutout.
- Rings.
- Instant paste.
- Two parrot beak locks.
- Thin copper wire
- Two large terminals.
- Two small terminals.
- Extension chain.
- Scissors.
- Centimeter.
- Round nose tweezers.
- Flat clamp.
- Cutting clamp.
LOS PASOS PARA REALIZAR ESTA MANUALIDAD FUERON:
PRIMER PASO:
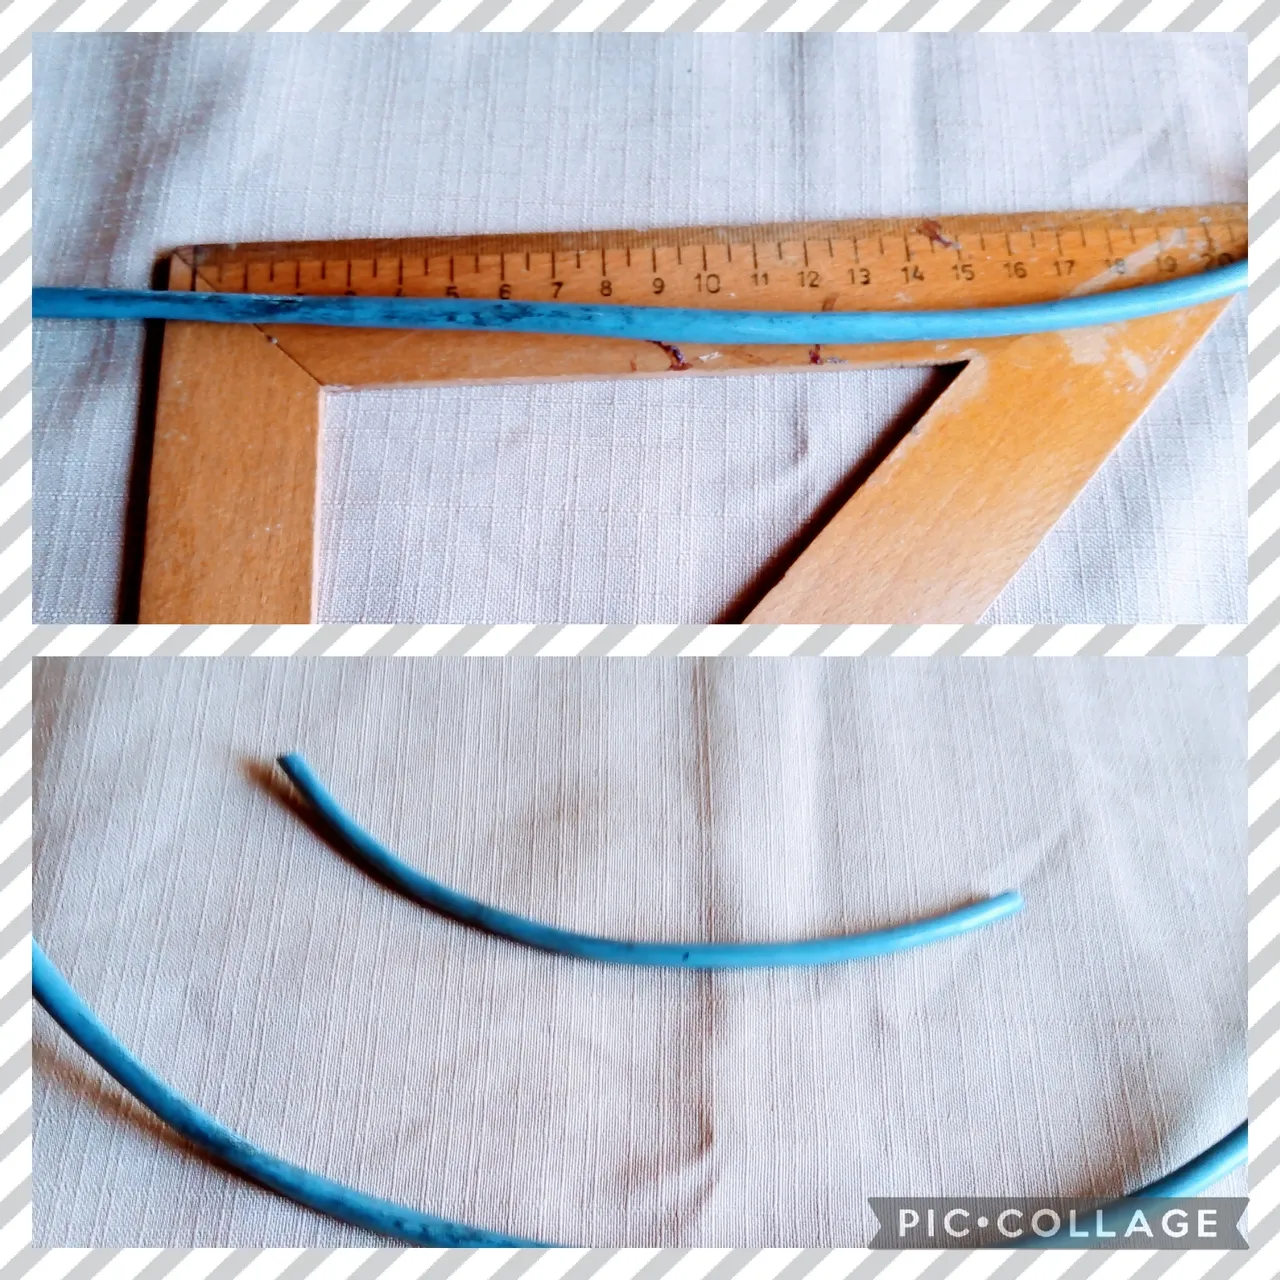
Utilizo el centímetro para medir dos porciones del forro plastico del cable: uno de veinticinco centímetros para el collar y otro de diecisiete centímetros, para la pulsera luego los corto con la pinza de corte, así como muestro en las fotos.
THE STEPS TO MAKE THIS MANUAL WERE:
FIRST STEP:
I use the centimeter to measure two portions of the plastic lining of the cable: one of 25 centimeters for the necklace and another of 17 centimeters, for the bracelet, then I cut them with the cutting pliers, as shown in the photos.
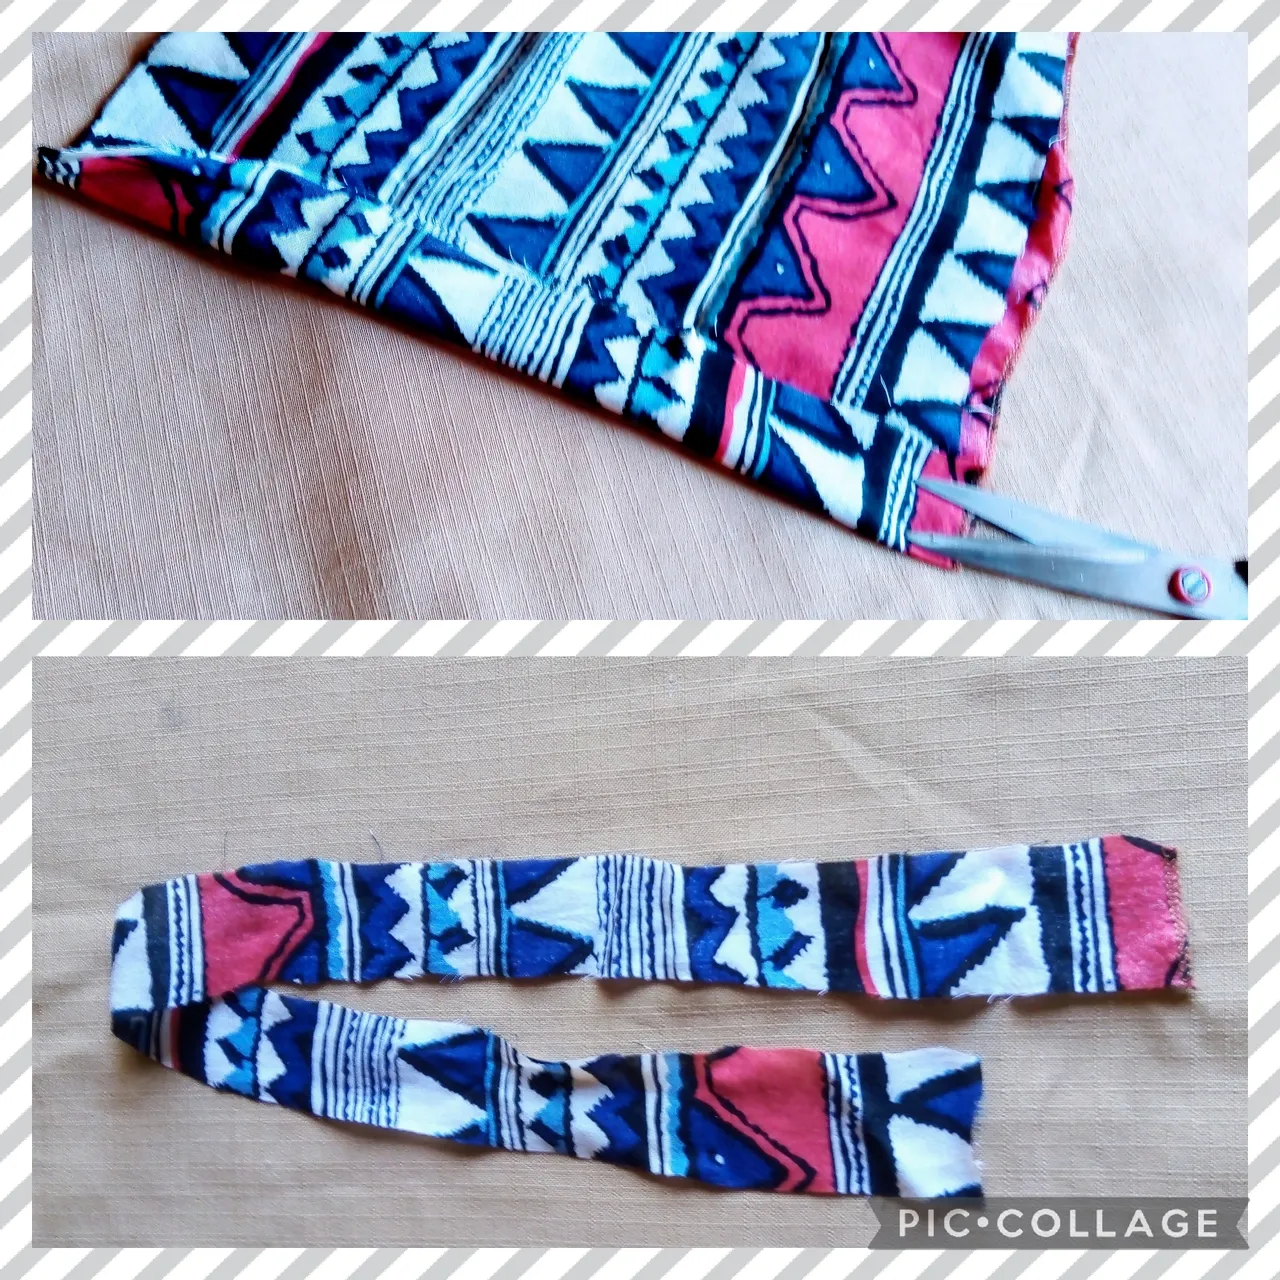
SEGUNDO PASO:
En este paso usando las tijeras, corto del retazo de tela un listón de aproximadamente cincuenta centímetros de largo por cuatro centímetros de ancho, para hacer el forro del cable plástico con el que voy a elaborar el collar, ver las fotos.
SECOND STEP:
In this step, using the scissors, I cut a ribbon approximately fifty centimeters long by four centimeters wide from the fabric scrap, to make the lining of the plastic cable with which I am going to make the necklace, see the photos.
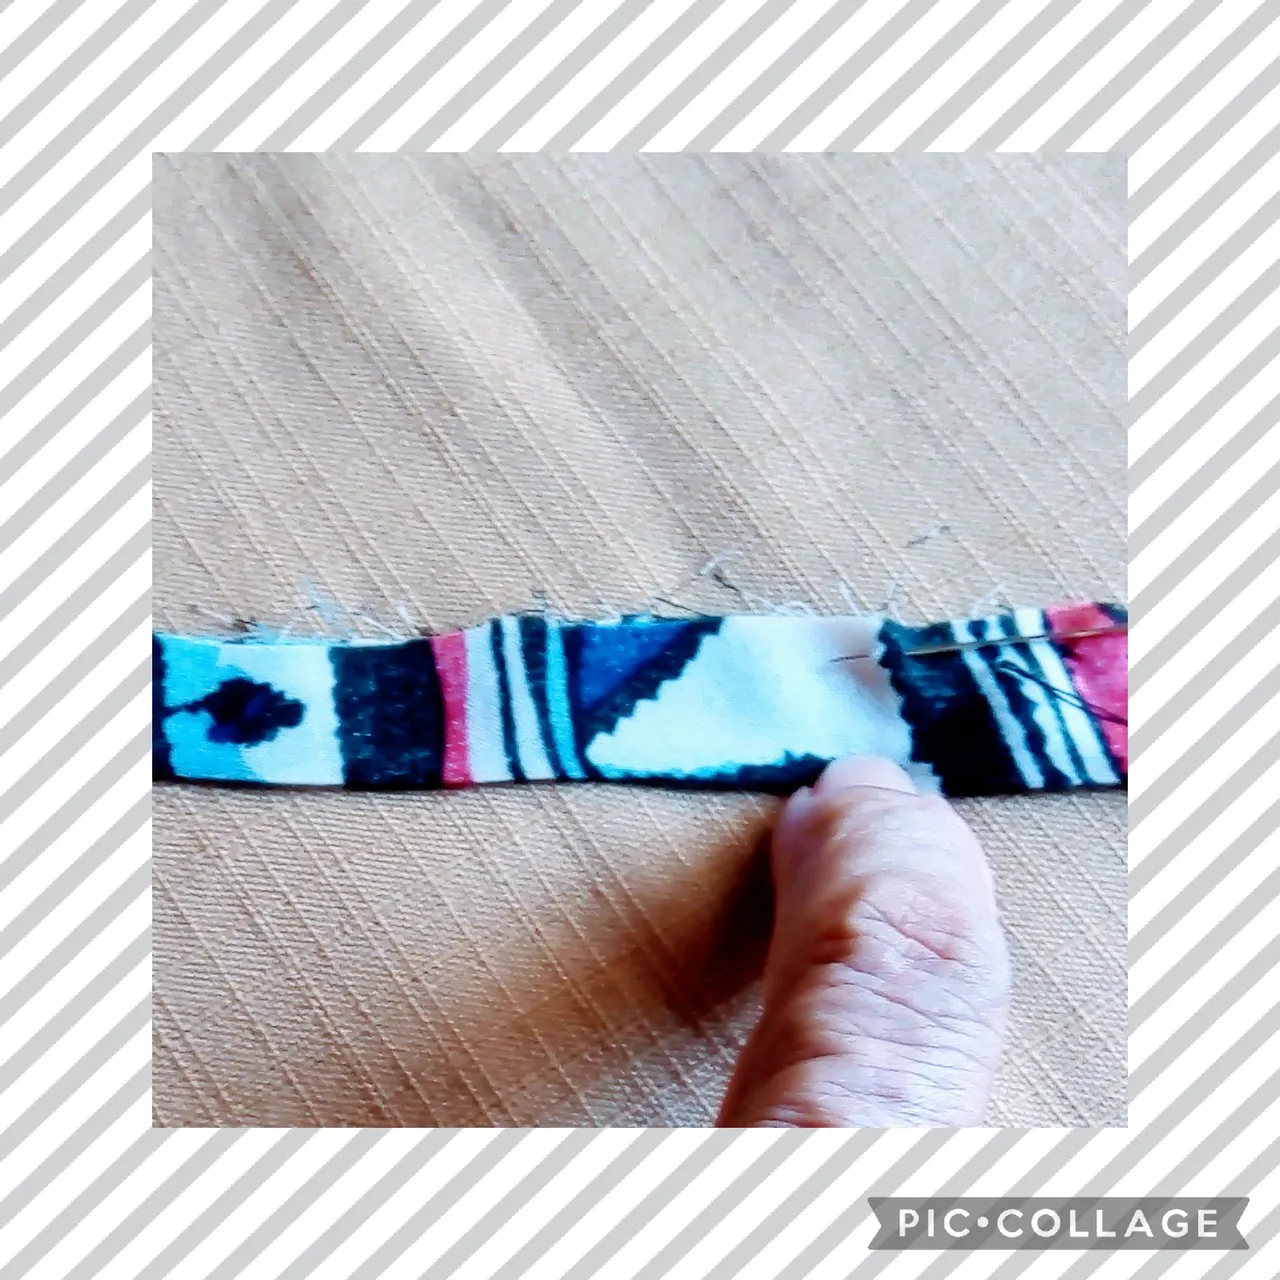
TERCER PASO:
Ahora en este paso uso la aguja y el hilo para hacer el forro: doblo el rectángulo de tela a la mitad y lo coso por toda la orilla; muestro las fotos.
THIRD STEP:
Now in this step I use the needle and thread to make the lining: I fold the rectangle of fabric in half and sew it all the way around the edge; I show the photos.
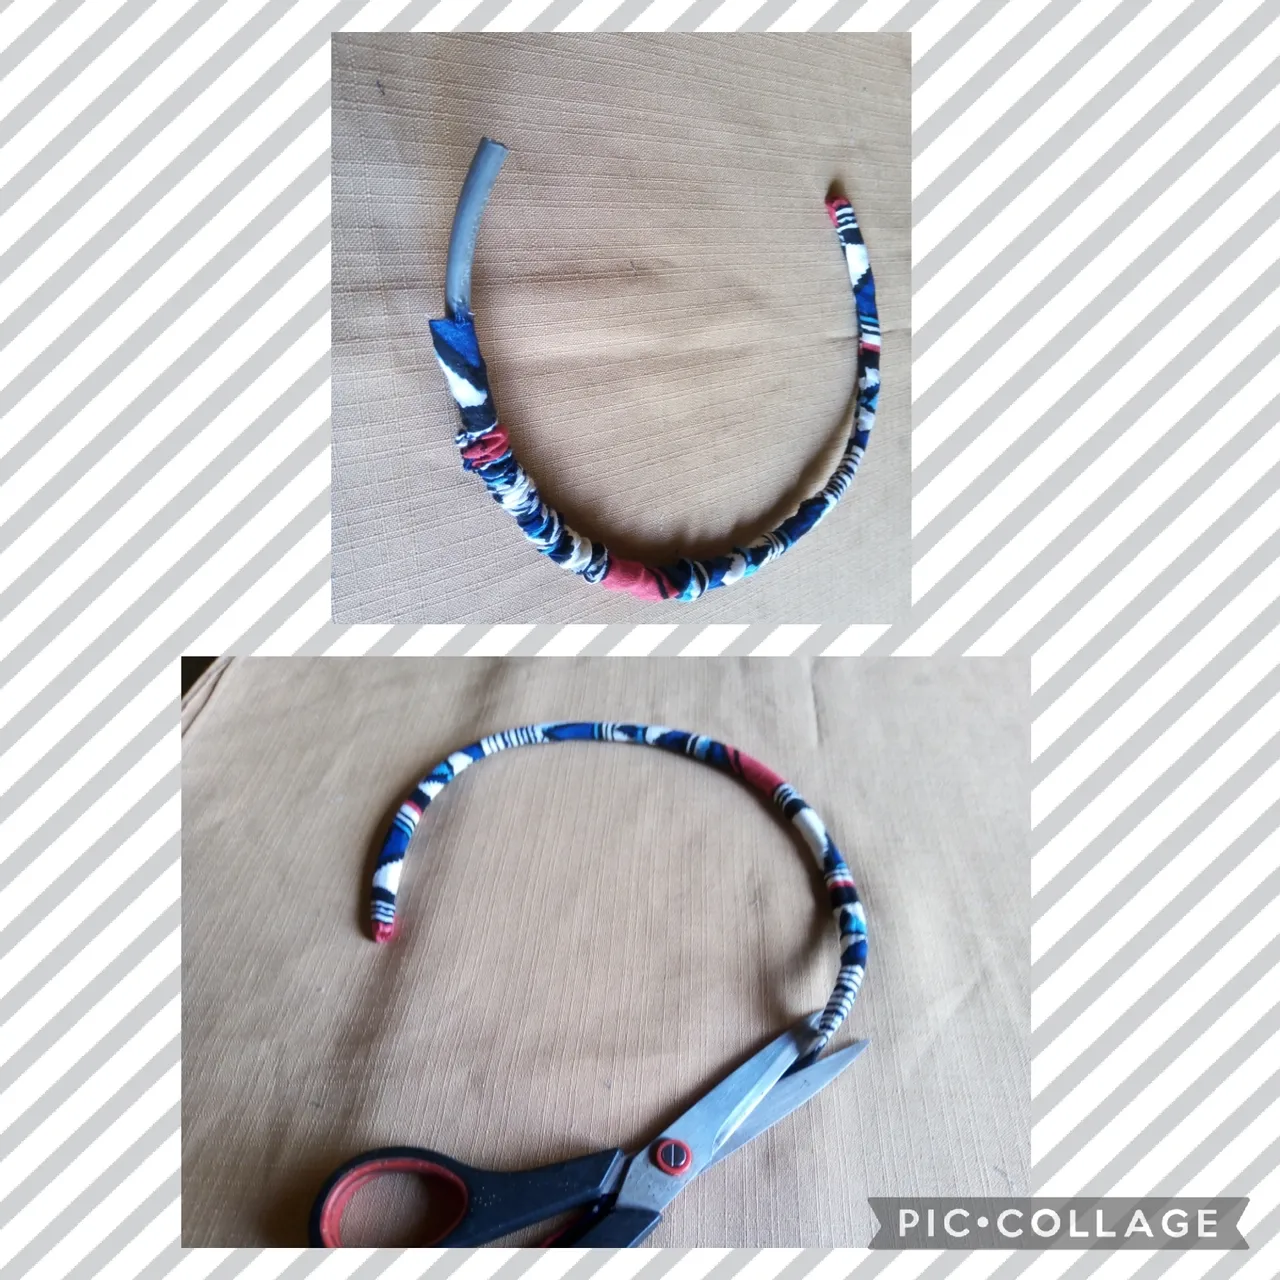
CUARTO PASO:
Ahora en este paso introduzco el forro plastico del cable dentro de la fundita que elabore con el rectángulo de tela, uso la pega instantánea y sello con ella las puntas donde luego voy a insertar los terminales, como se ve en las fotos.
FOURTH STEP:
Now in this step I introduce the plastic lining of the cable inside the sheath that I made with the rectangle of fabric, I use the instant glue and seal with it the ends where I will later insert the terminals, as seen in the photos.
QUINTO PASO;
Una vez realizado el paso anterior, usando la pinza plana y la pinza de punta redonda coloco los terminales en cada extremo, igualmente pongo una argolla en cada terminal, coloco la cadena de extensión y la tranca pico de loro, para así terminar el collar.
FIFTH STEP;
Once the previous step is done, using the flat pliers and the round nose pliers, I place the terminals at each end, I also put a ring on each terminal, I place the extension chain and the parrot beak lock, in order to finish the necklace.
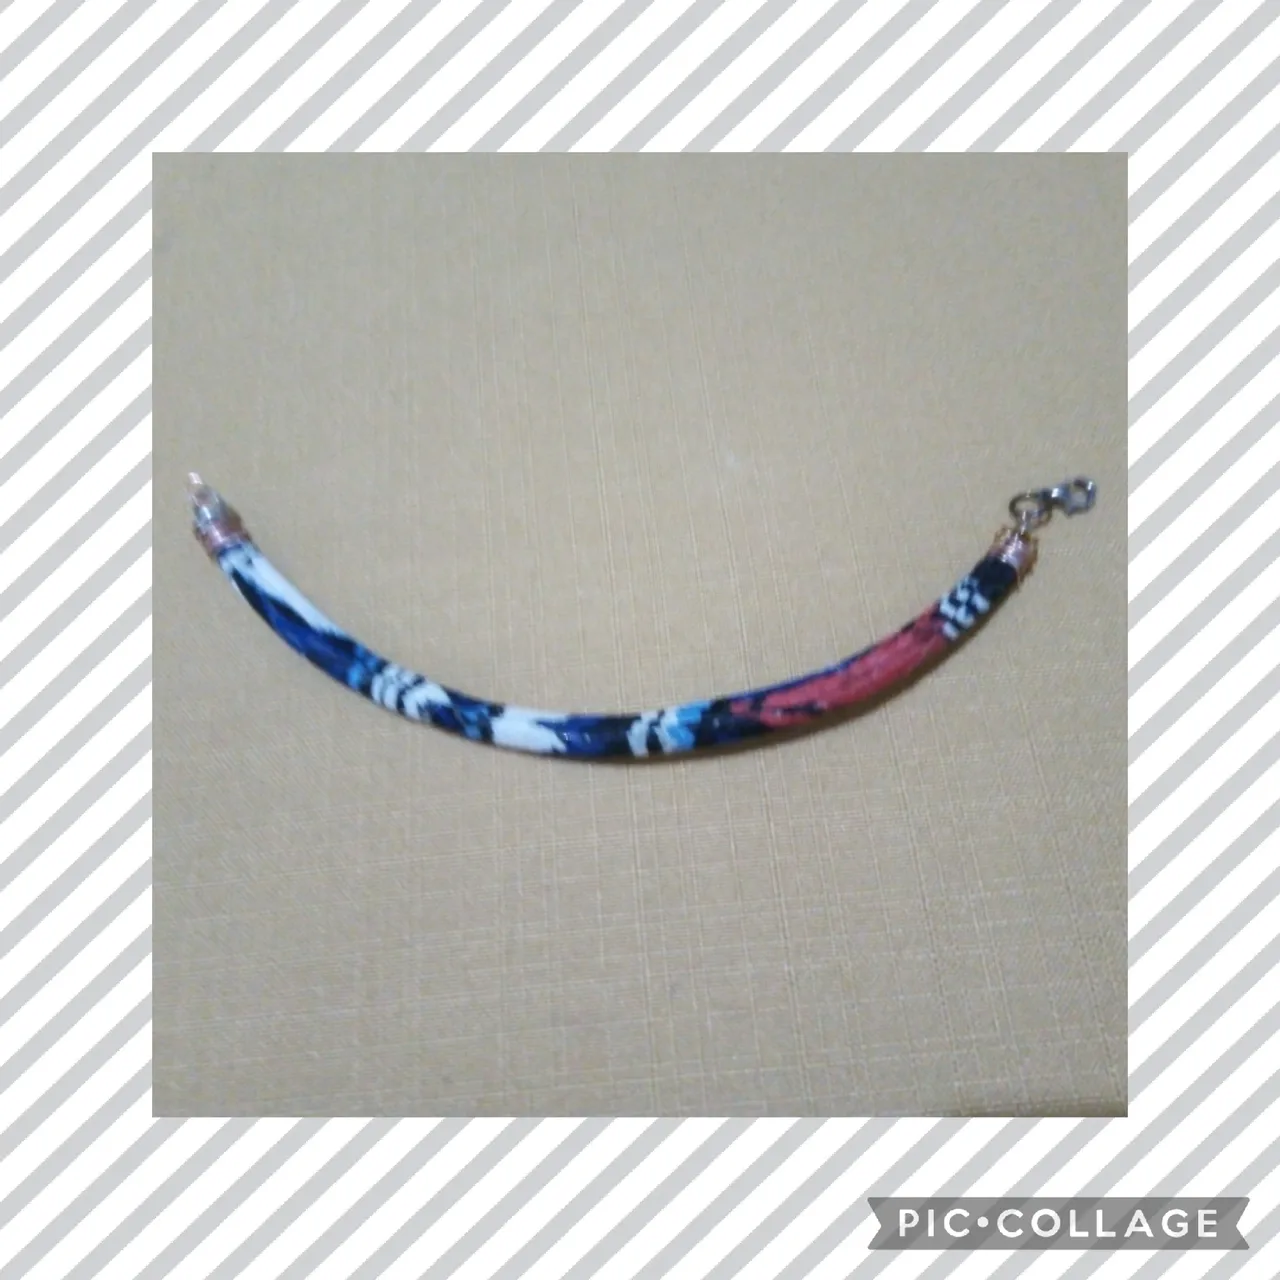

SEXTO PASO:
Vamos a realizar en este paso la pulsera, utilizando pasos iguales que los que usé en la elaboración del collar; usando una fundita de diecinueve centímetros introduzco el forro plastico del cable de diecisiete centímetros y al igual que el collar sello las puntas con la pega instantánea, luego coloco los terminales, la cadenita de extension, el cierre pico de loro y termino la pulsera.
SIXTH STEP:
In this step we are going to make the bracelet, using the same steps as the ones I used to make the necklace; Using a 19 centimeter sheath, I introduce the plastic lining of the 17 centimeter cable and, just like the necklace, I seal the ends with instant glue, then I place the terminals, the extension chain, the parrot beak clasp and I finish the bracelet.

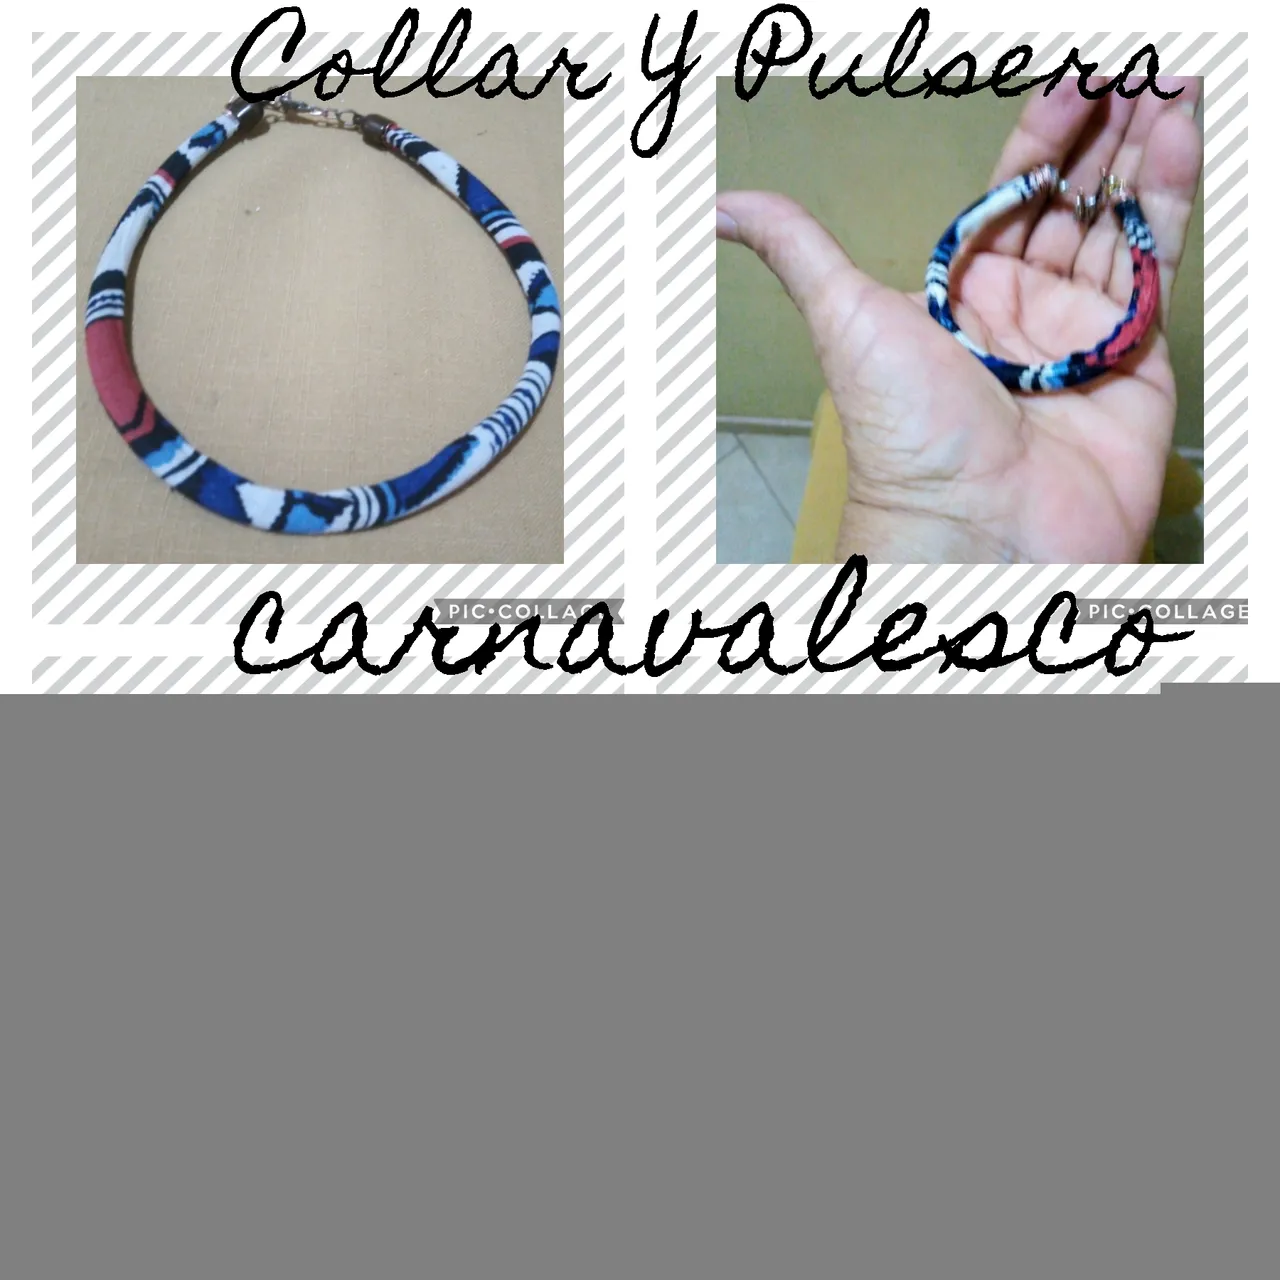
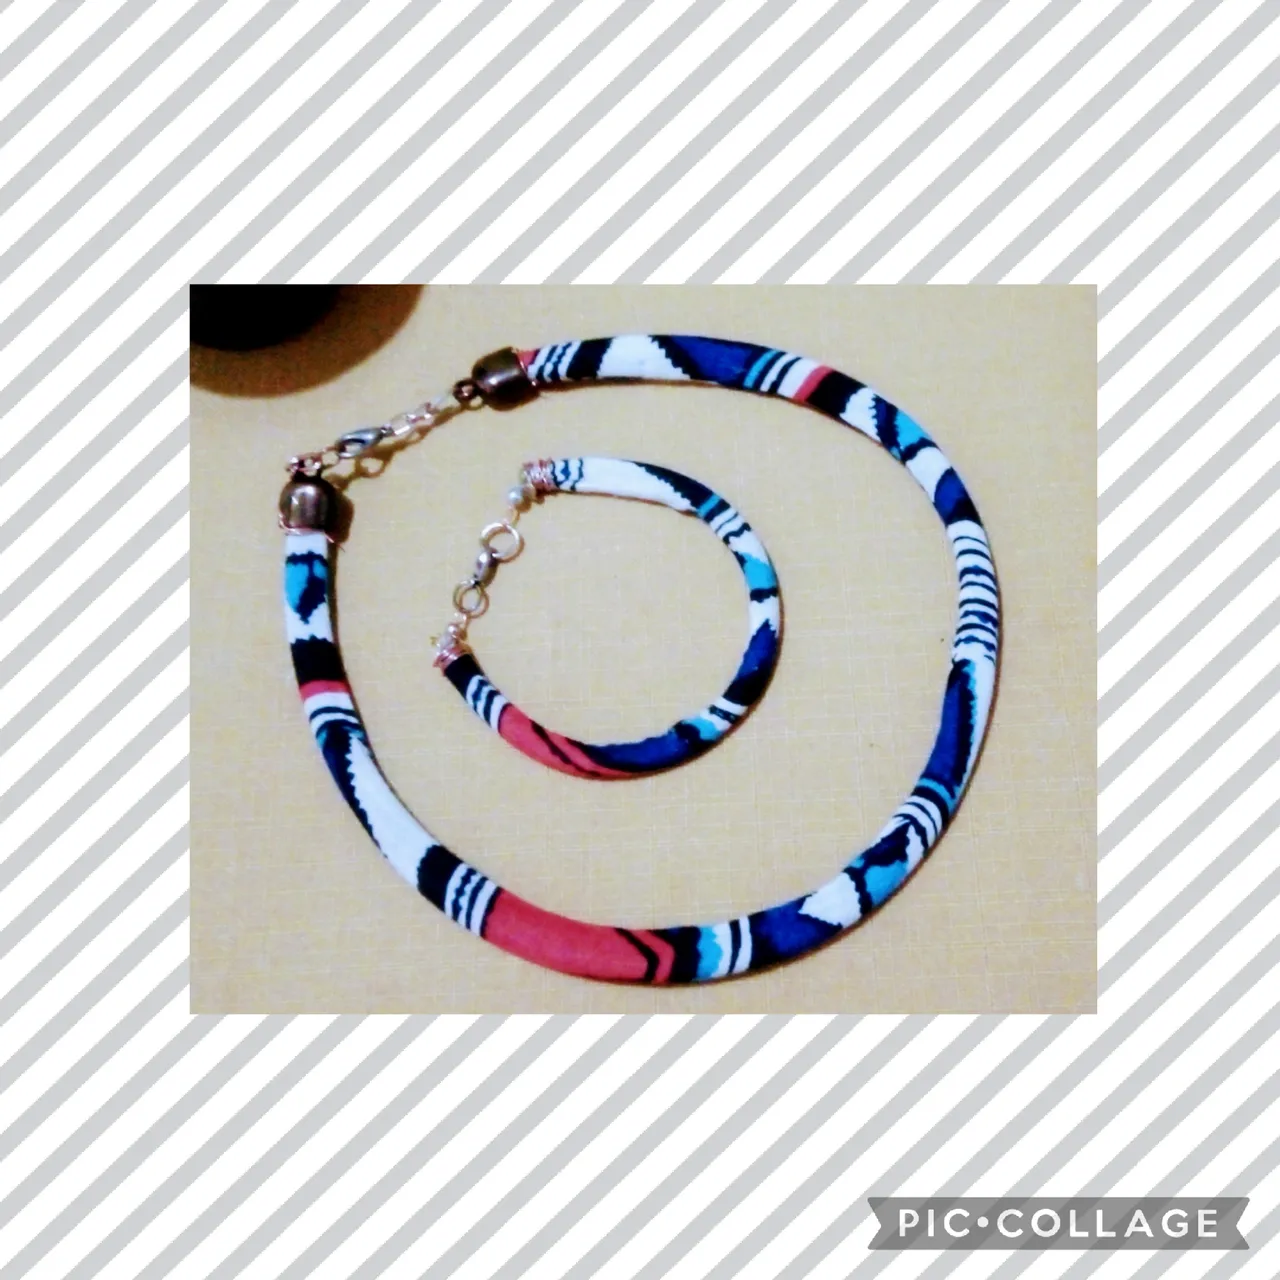
Artistas Creativos de la joyería este es el resultado final de mi manualidad de hoy; Un Colorido y casual Juego de Collar y Pulsera realizado con materiales de provecho que ya estaban listos para ir a la basura, está idea me gustó mucho, pues me di cuenta que se pueden realizar además de bisutería otras manualidades, y asi ayudamos a cuidar el medio ambiente, yo, espero que les guste está idea , la tela que usé la encontré ideal para combinar ropa casual y deportiva. Gracias por visitarme y dejar sus comentarios, nos vemos en la próxima manualidad, bye bye.
Creative Jewelry Artists this is the end result of my craft today; A Colorful and casual Necklace and Bracelet Set made with useful materials that were already ready to be thrown away, I liked this idea a lot, because I realized that other crafts can be made in addition to jewelry, and thus we help to take care of the environment, me, I hope you like this idea, the fabric I used I found it ideal to combine casual and sportswear. Thank you for visiting me and leaving your comments, see you in the next craft, bye bye.
Las imágenes y redacción de este tutorial son de mi propiedad; las fotos fueron tomadas con mi celular Motorola E6 y las edite con una aplicación gratis del mismo.
Para traducir texto usé geogle traduuctor.
The images and wording in this tutorial are my property; The photos were taken with my Motorola E6 cell phone and I edited them with a free application of the same.
To translate text I used geogle translator.