It takes wit, an artistic mindset, and a set of talented hands to make something grand out of nothing.

Hello, Hivers! I hope everybody is doing great. Today, I will walk you with me as I share how my partner transformed a simple old wood into something fab and precious.
I have shared in my previous blog about some pieces of my home furniture which were personally crafted by my partner. He has this eye for art that allows him to make something beautiful from things that were out of purpose.
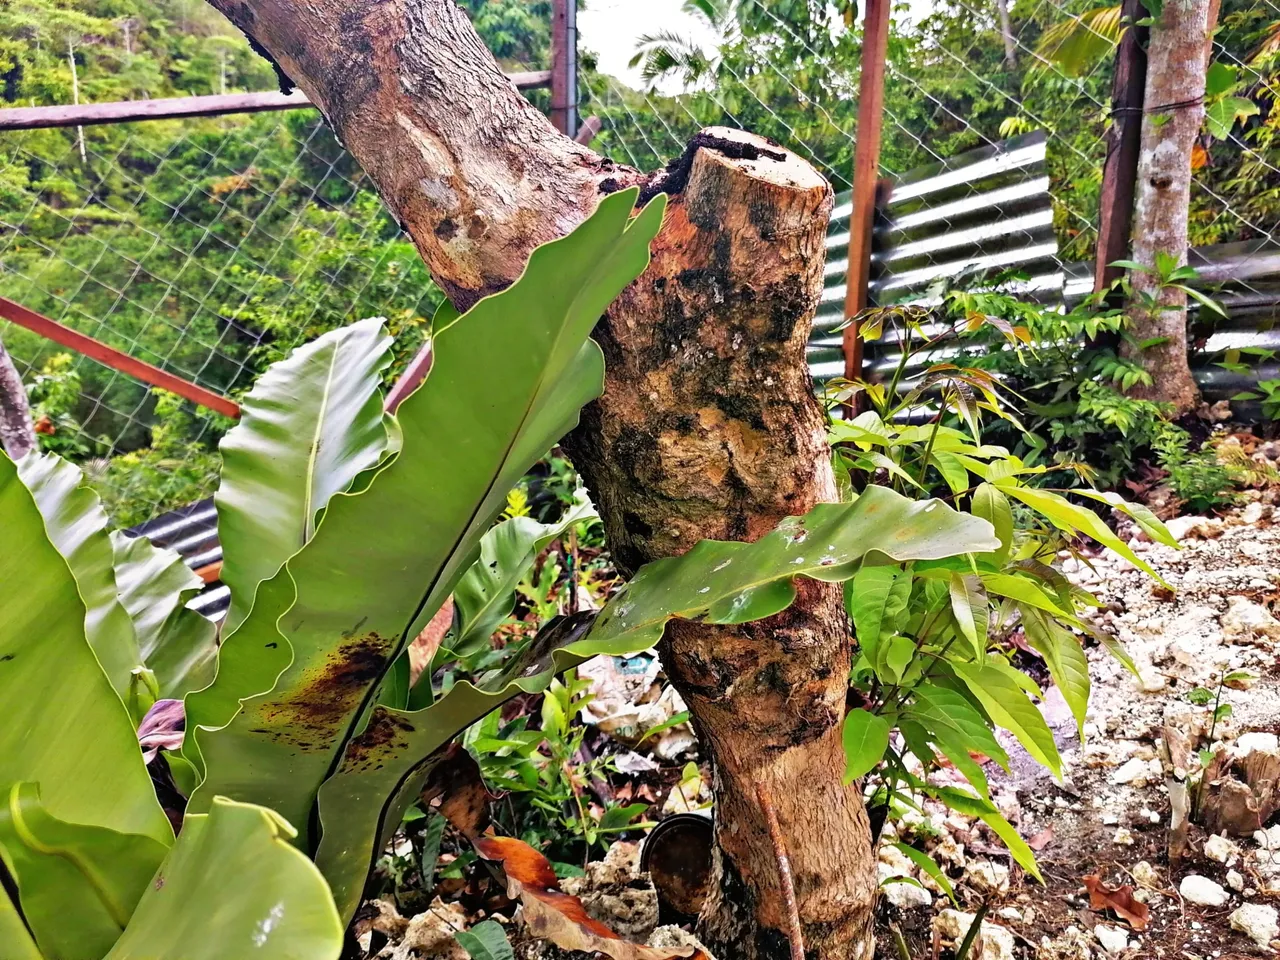
My place is rich with Molave trees, mostly baby Molave trees (Tugas in our dialect). Since it is known for its durability and is commonly used in making furniture, I have seen its value already. Some were cut when the house was built but I told Papa to just keep the wood for I will put it into use when the time comes. (The partner told me so.😊) And yes, it happened.😊
THE PROCESS OF MAKING A DIY LAMPSHADE
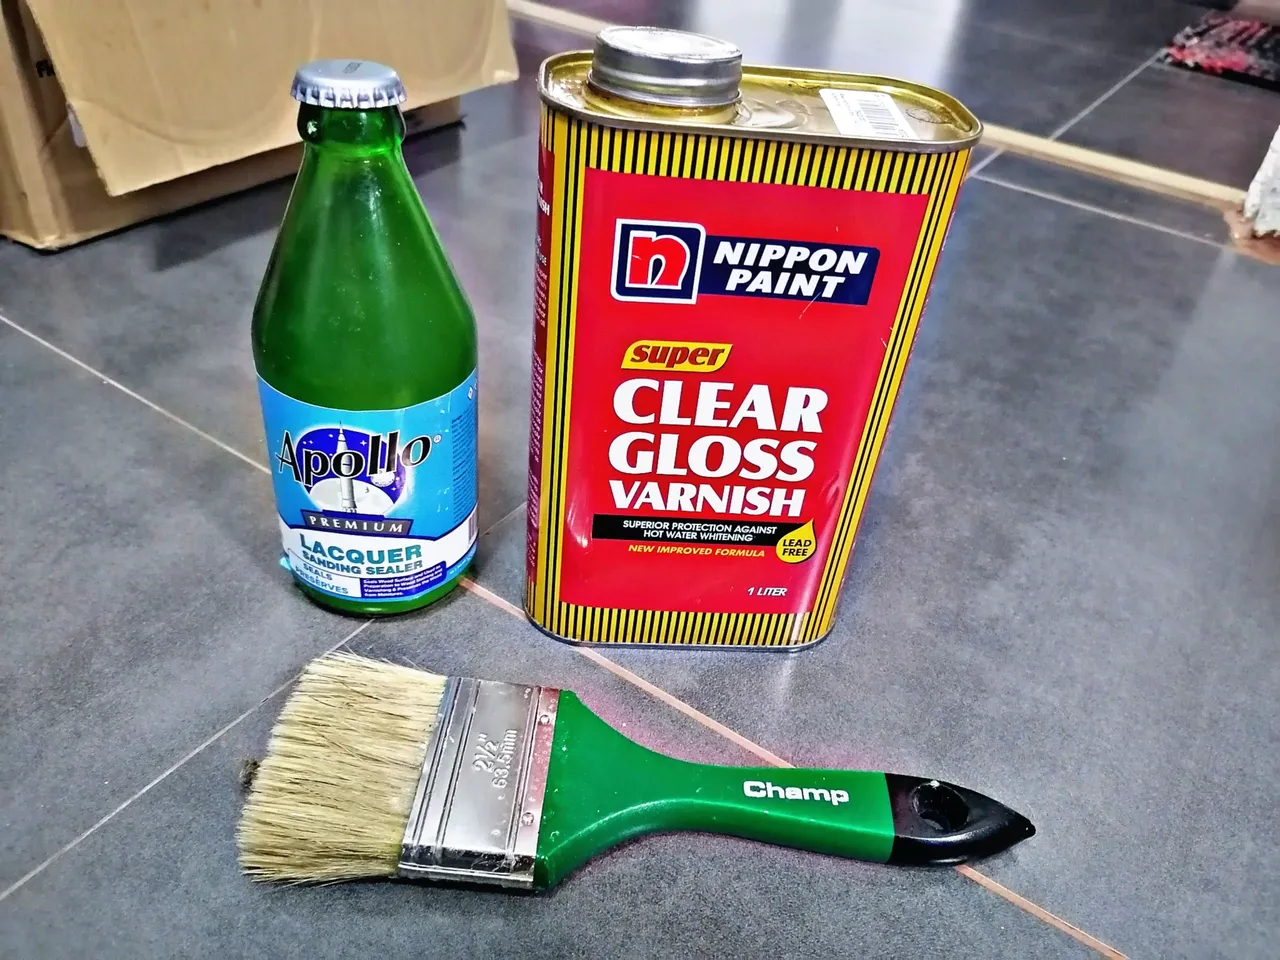
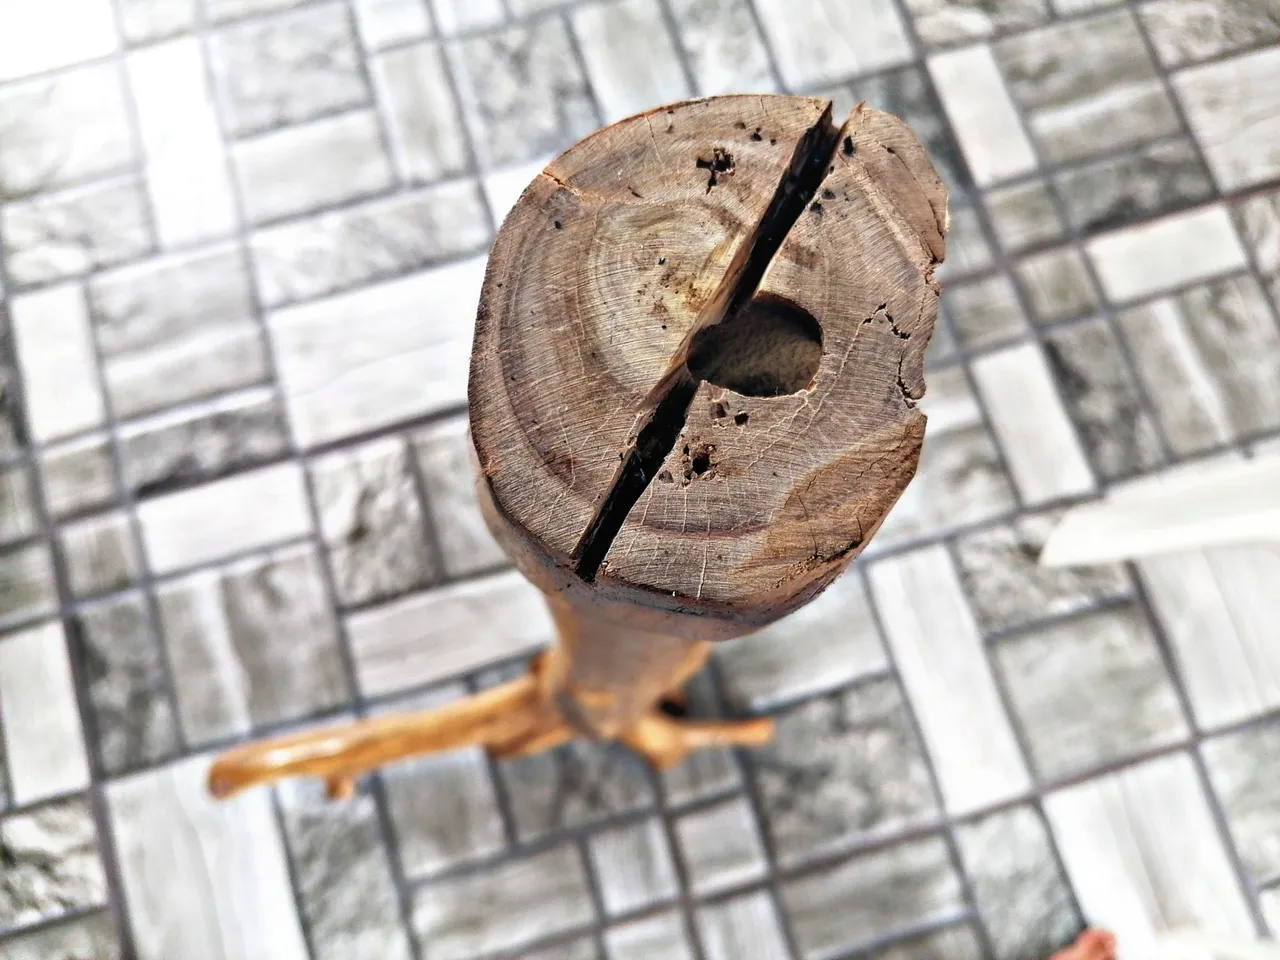
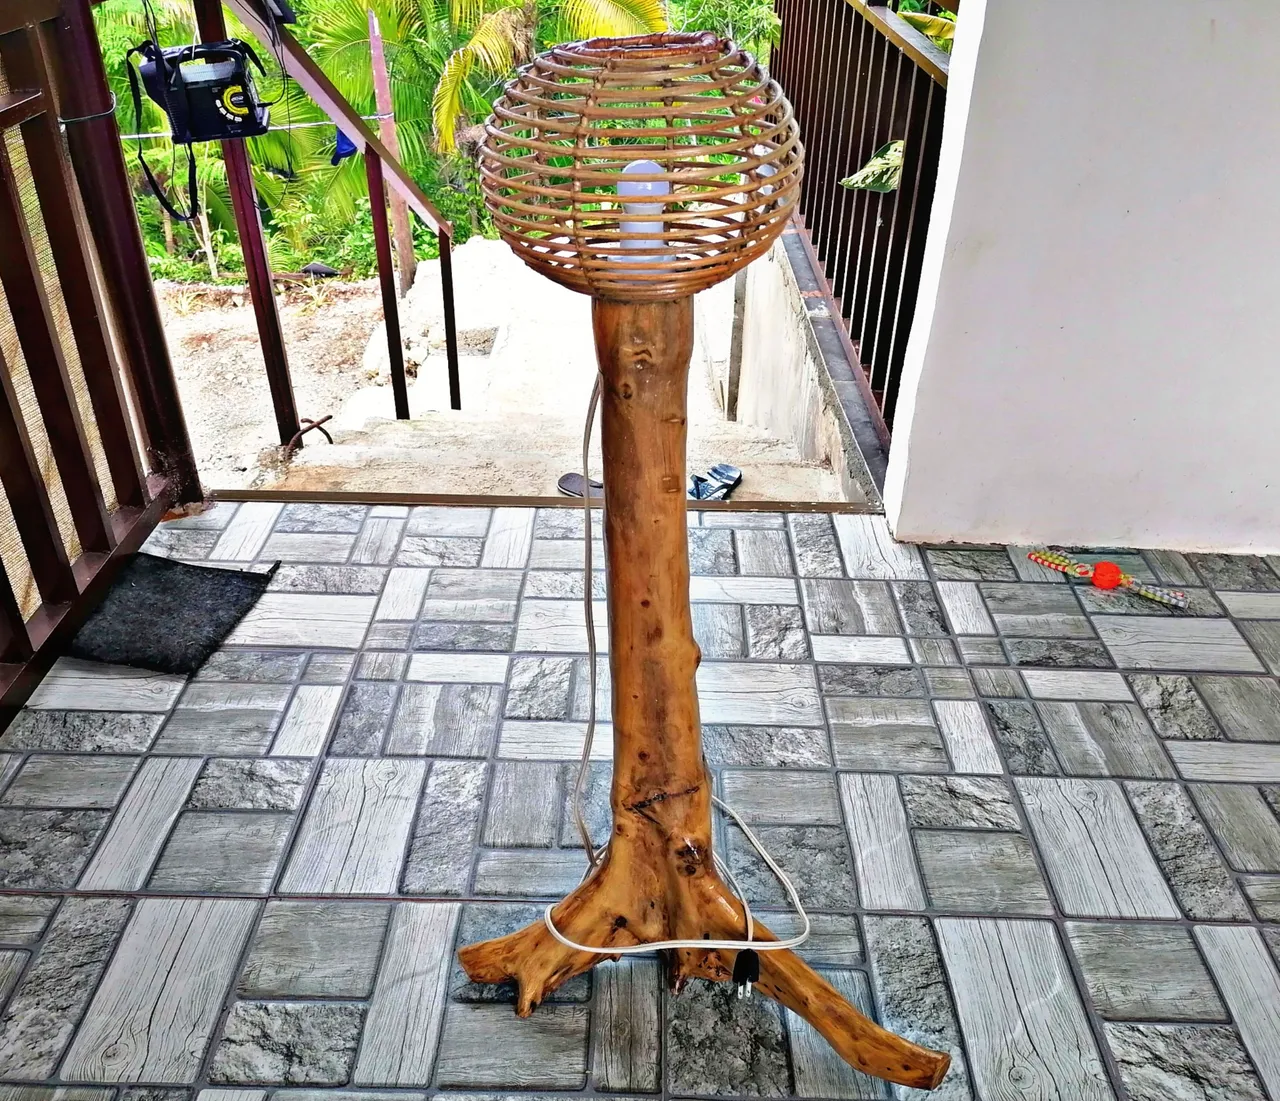
✨Step 1. From the Molave wood cut a year ago, my partner had a better plan for it. He made use of a grinder to somehow flatten the surface. After, he applied some varnish and sanding sealer to beautify its surface. And this is what it looks like now. It looks clean, shiny, durable, and a lot more pleasing to the eyes.
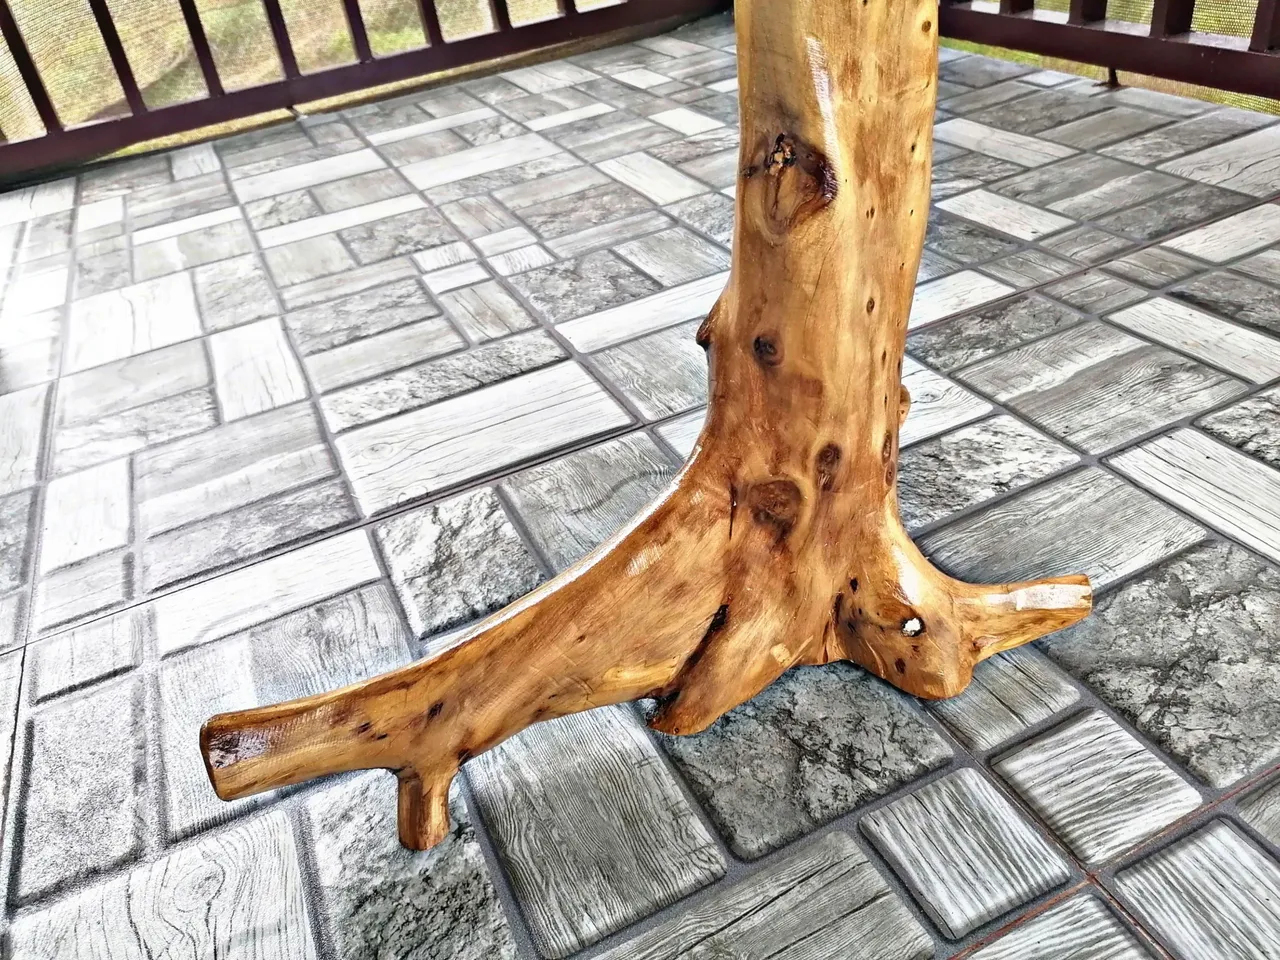
We keep the foundation of the wood as it is, with its roots originally formed this way because this looks much more authentic and it says a lot more about art.
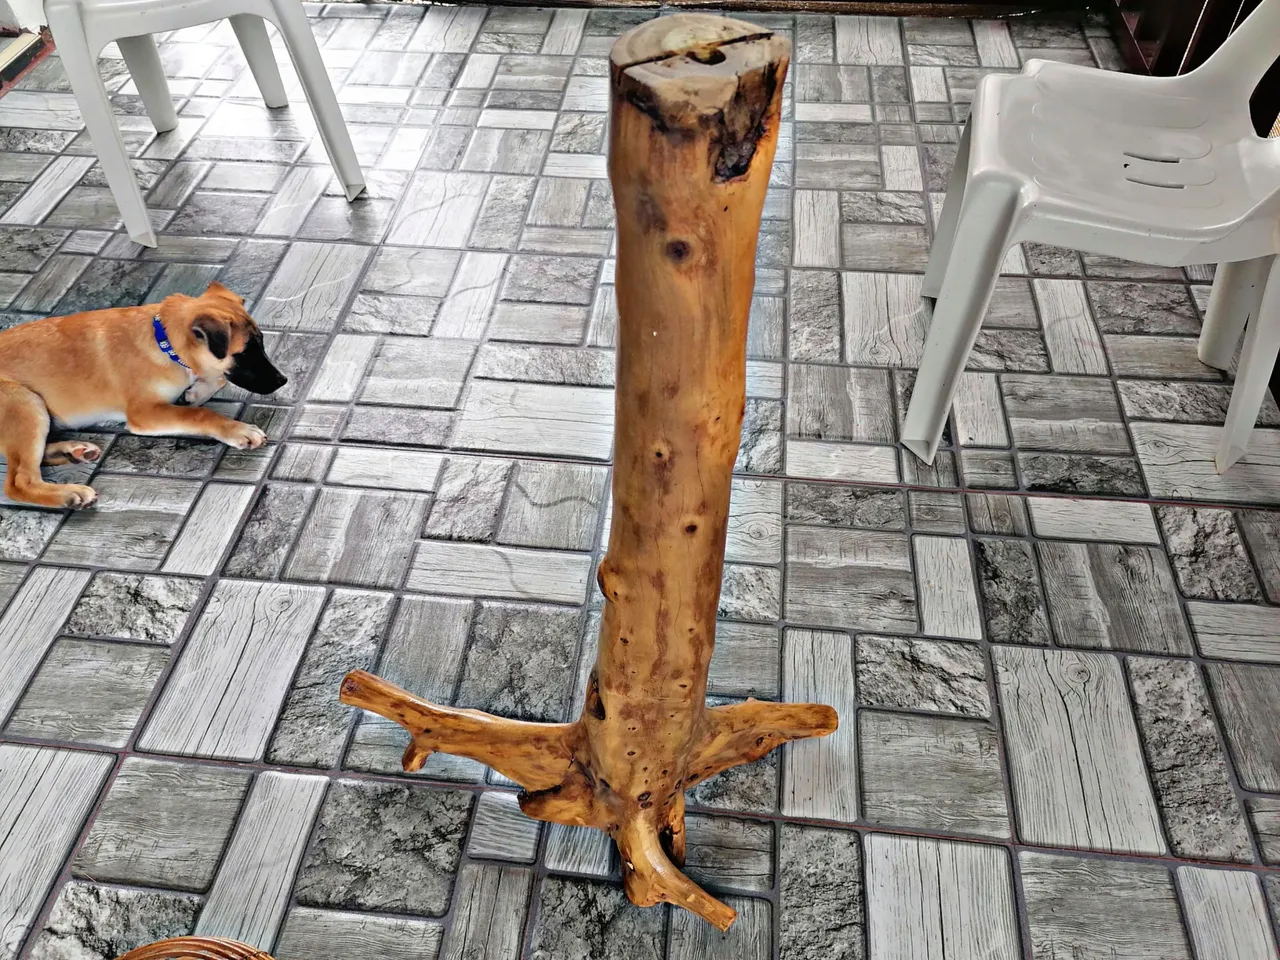
✨Step 2. He made a hole at the center of the wood where the wire for the light gets in. He then also made a vertical hole to fit the chandelier.
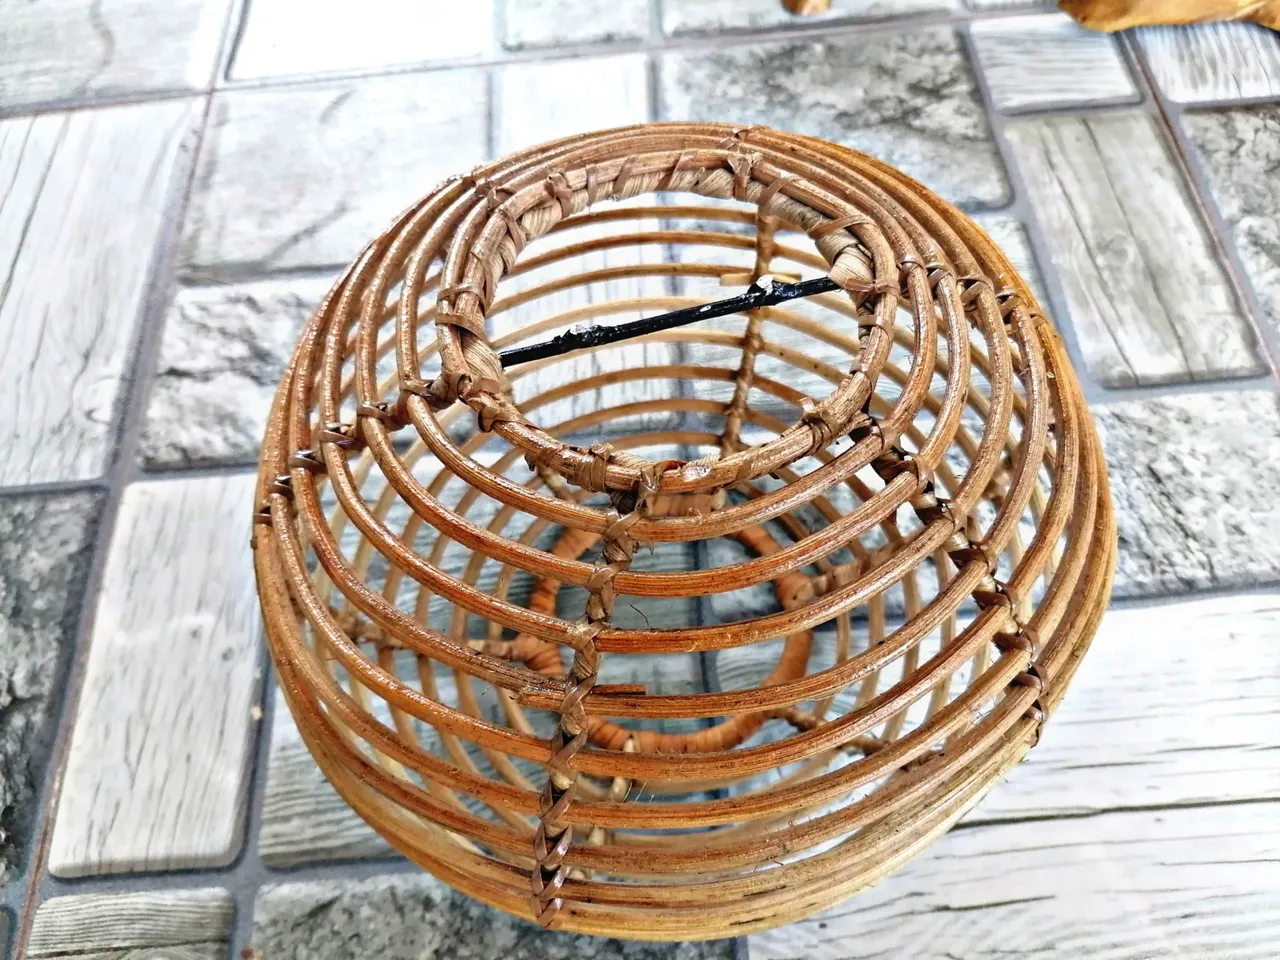
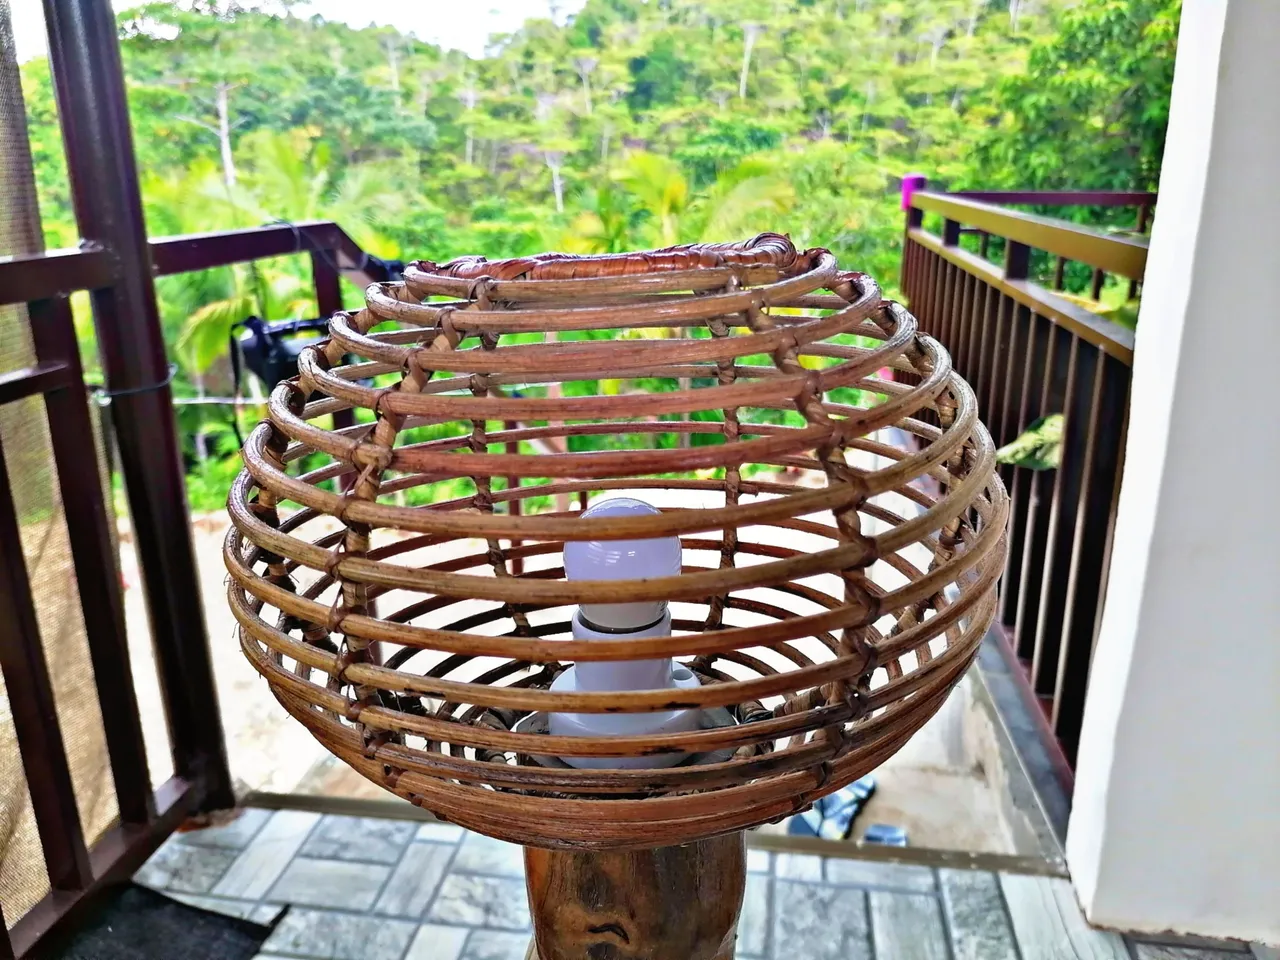
✨Step 3. He bought a wooden chandelier (without lights of course) from the displays along the road of Sogod, Cebu. It looks aesthetic and it matches the natural wood color. Hence, it made a perfect pair with the Molave tree. He then inserted the chandelier into the hole he made earlier.
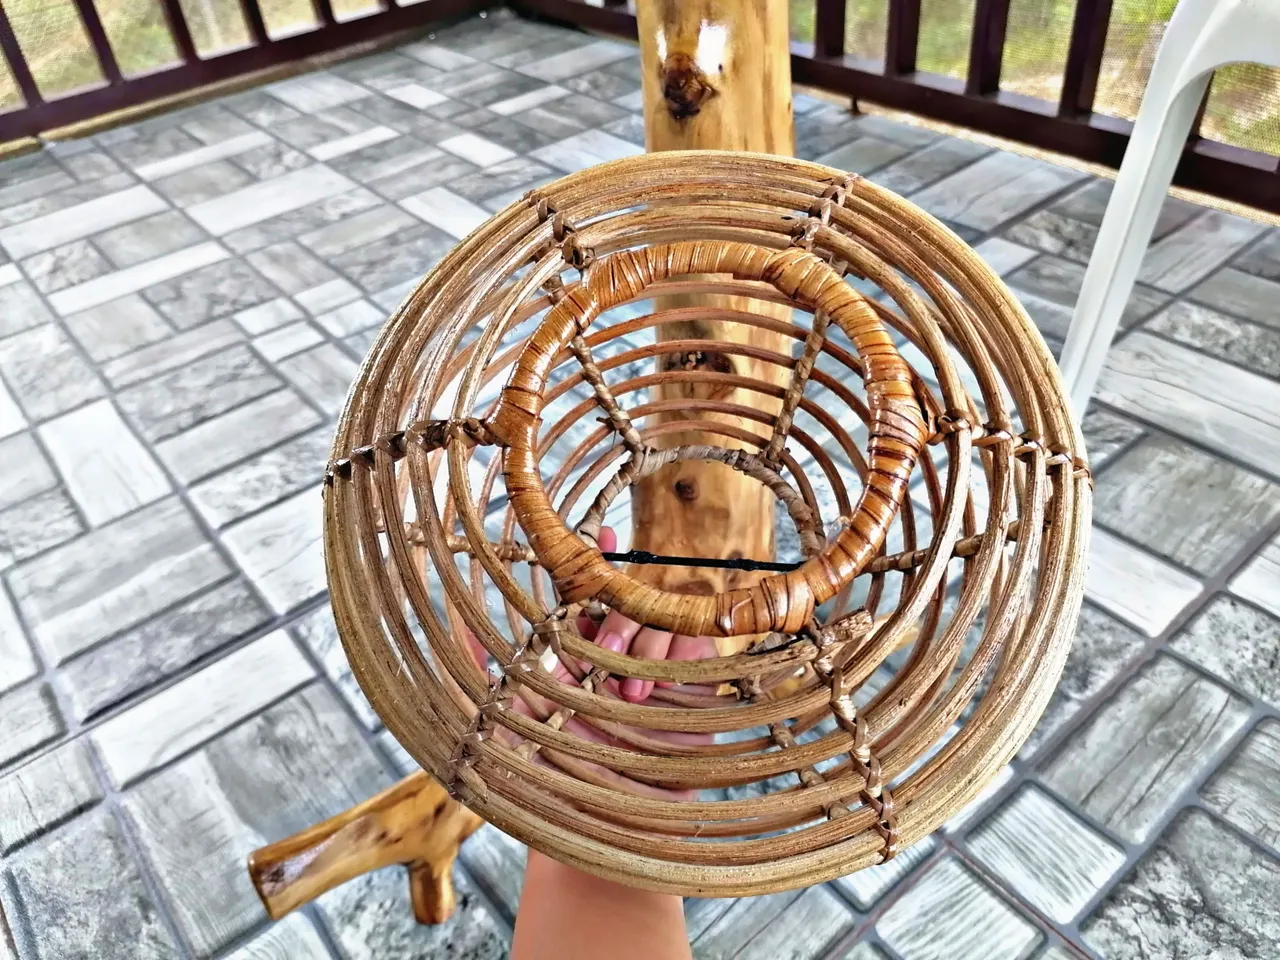
✨Step 4.To secure the chandelier, he put a lock onto it, locked by screws.

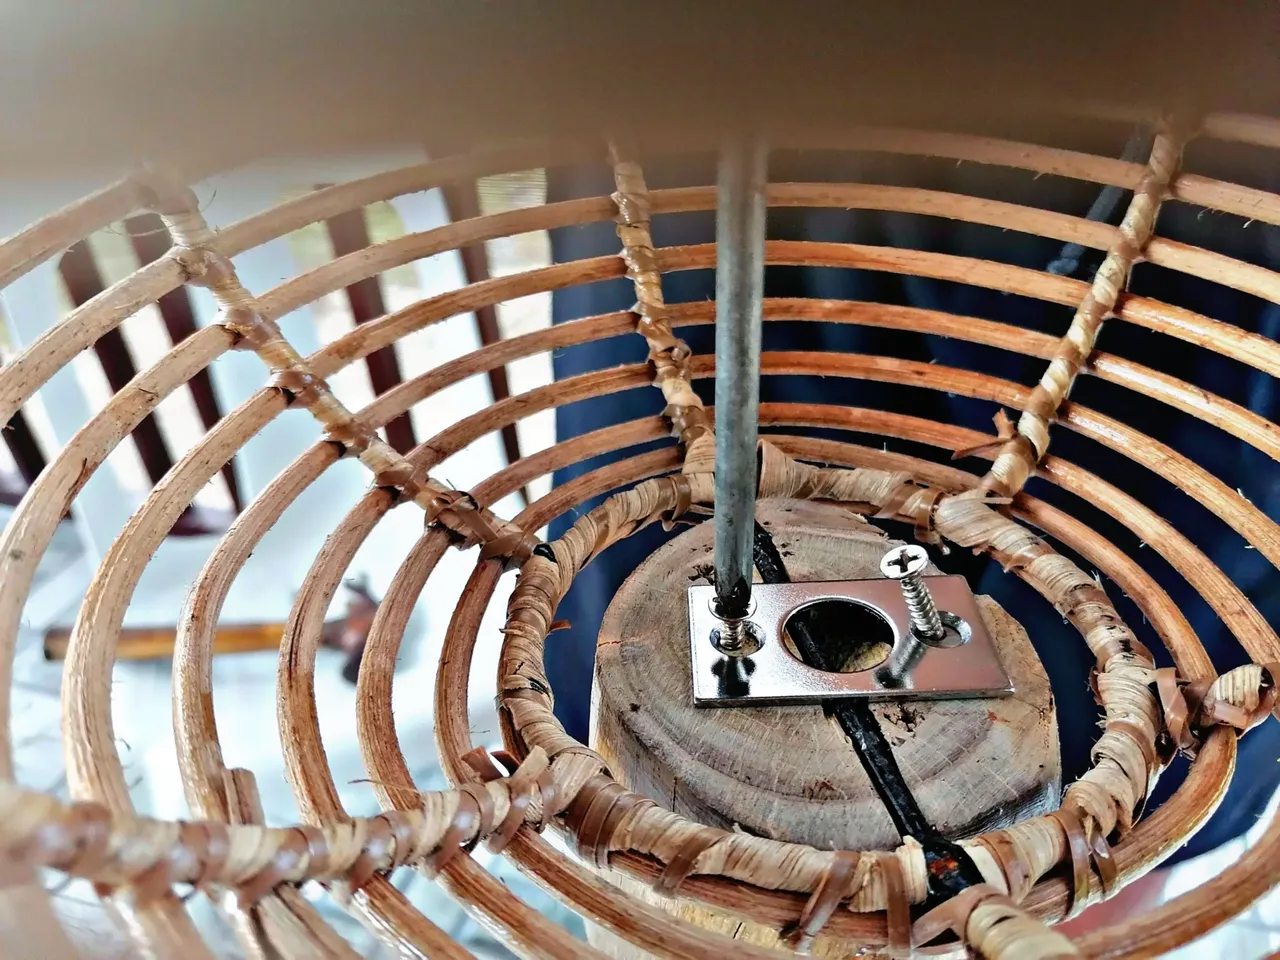
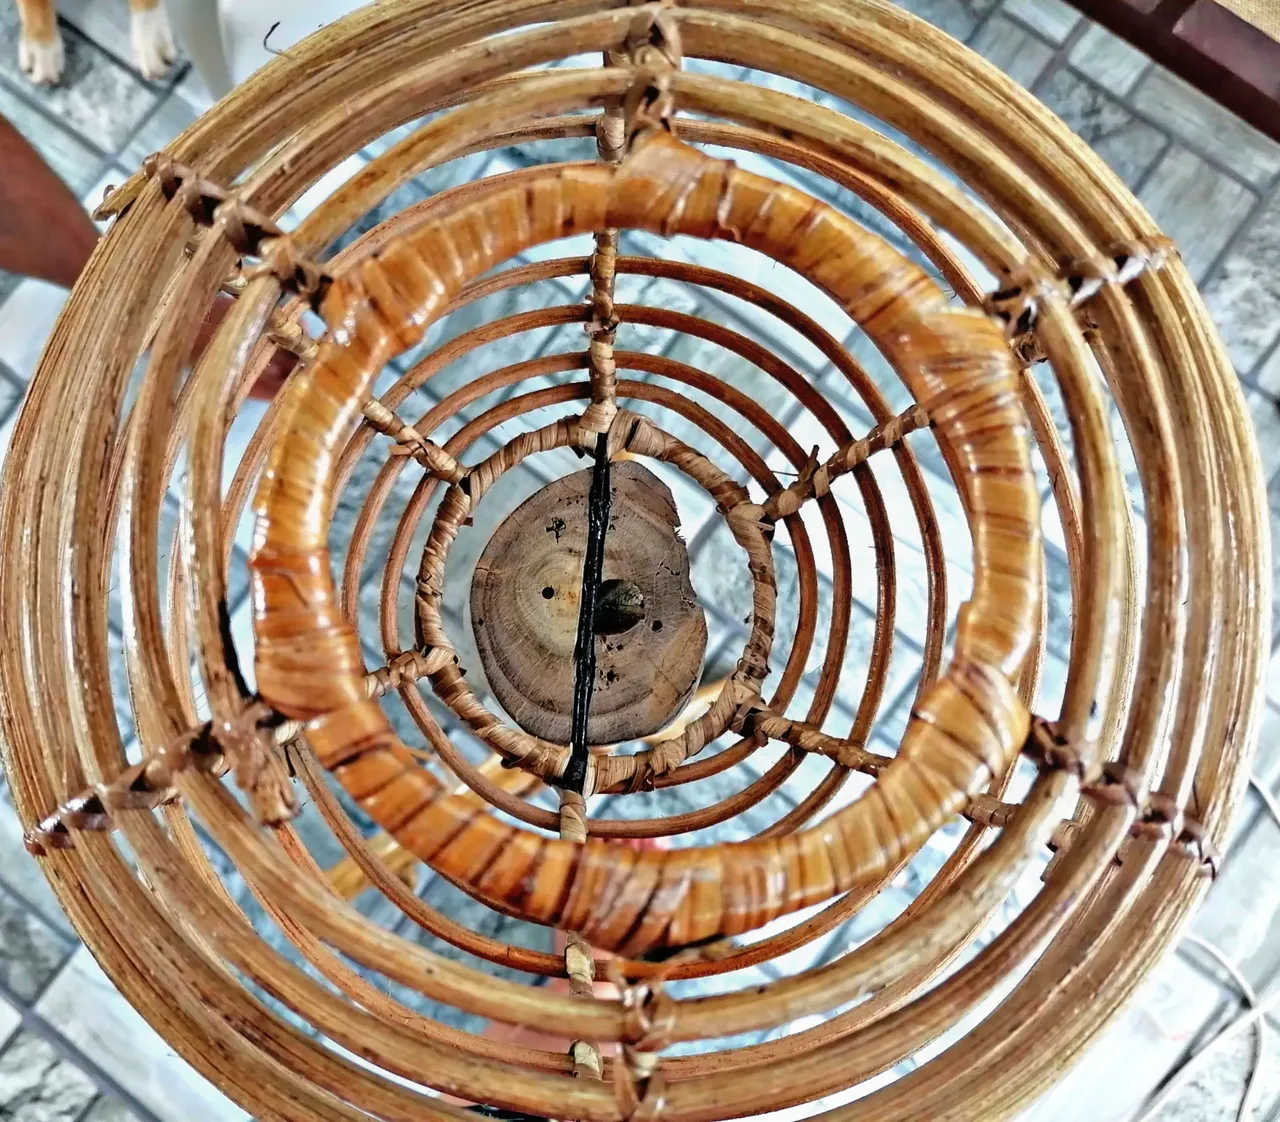
✨Step 5. He then inserted the wire into the hole at the center of the Molave tree and connected it to the socket.
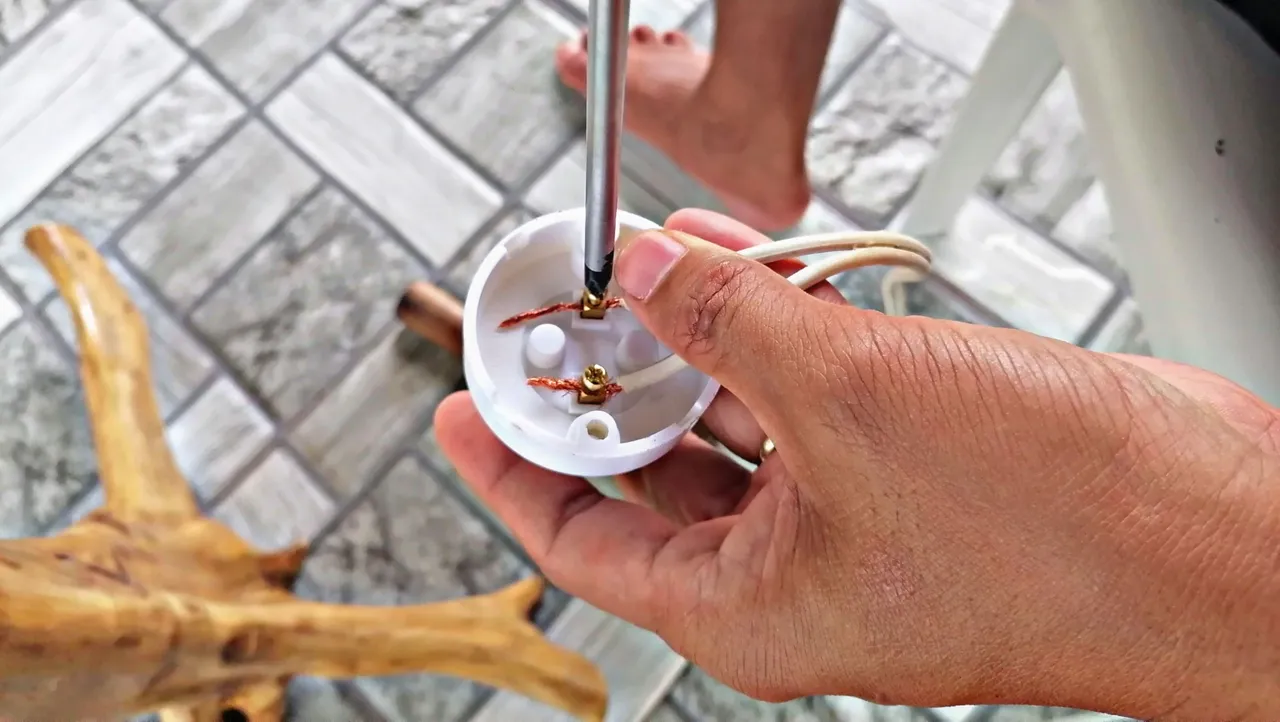
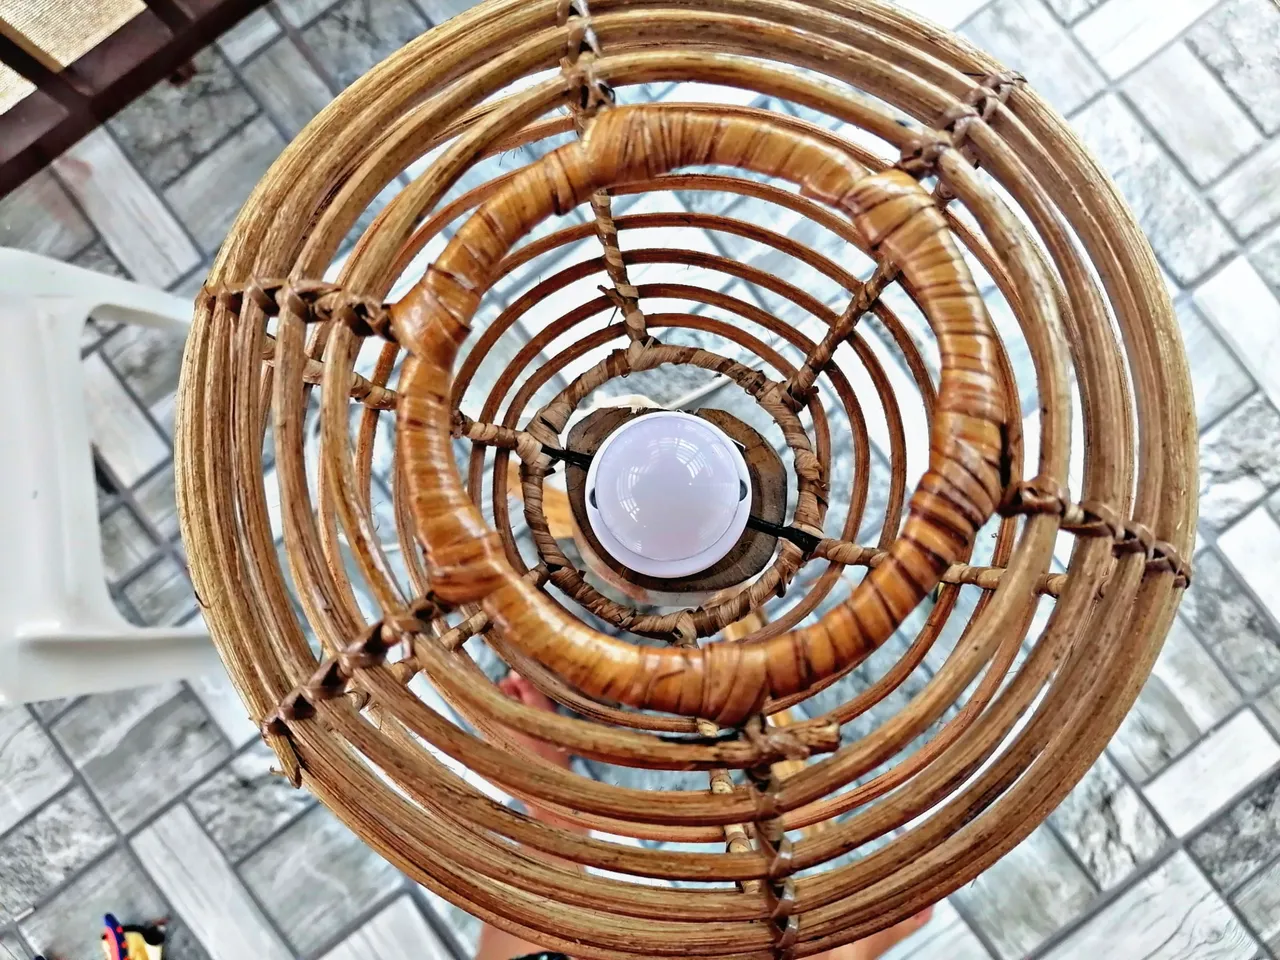
✨Step 6. He placed the socket at the center and locked it using screws.
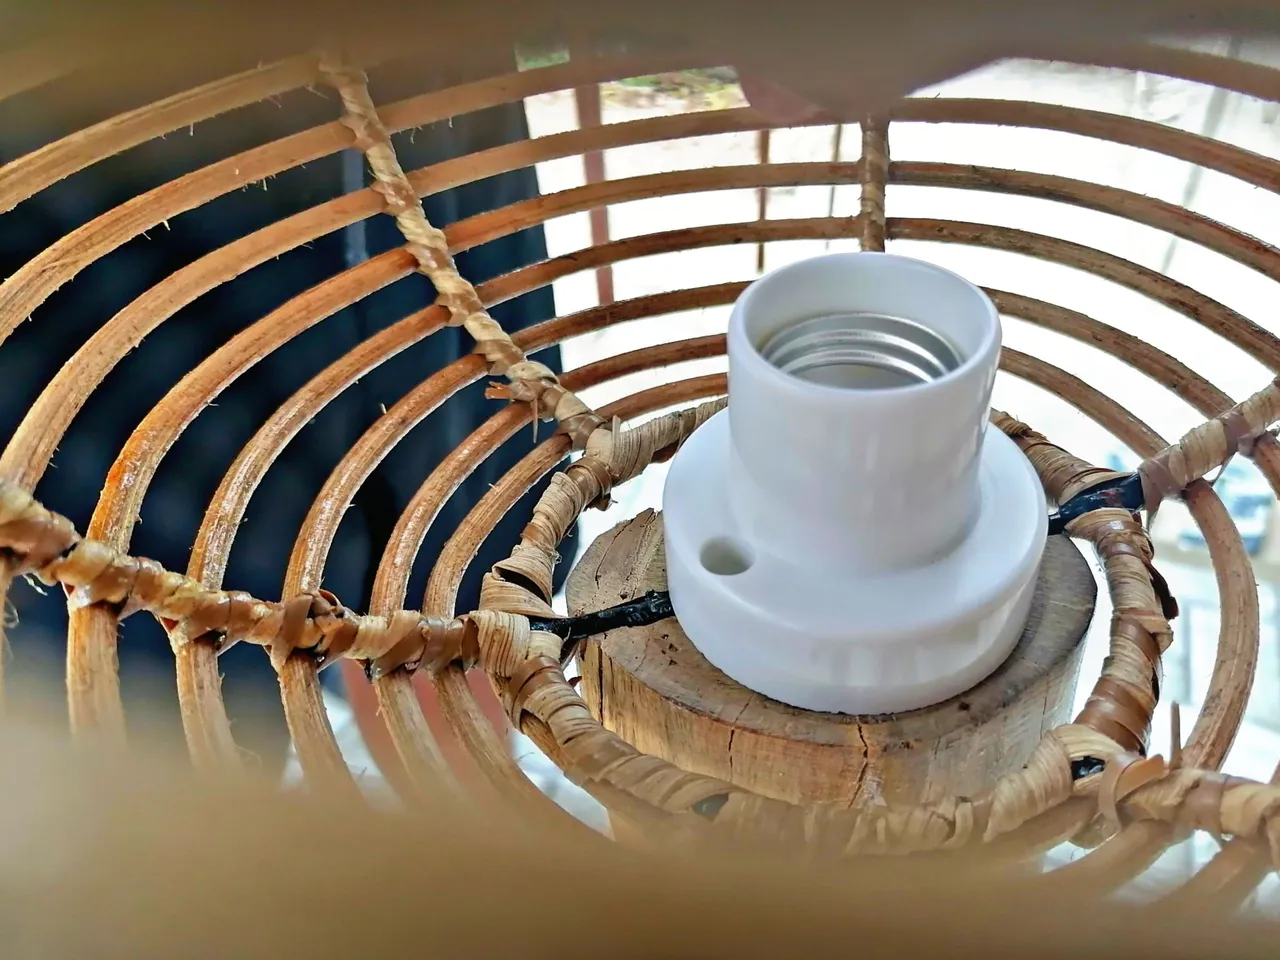
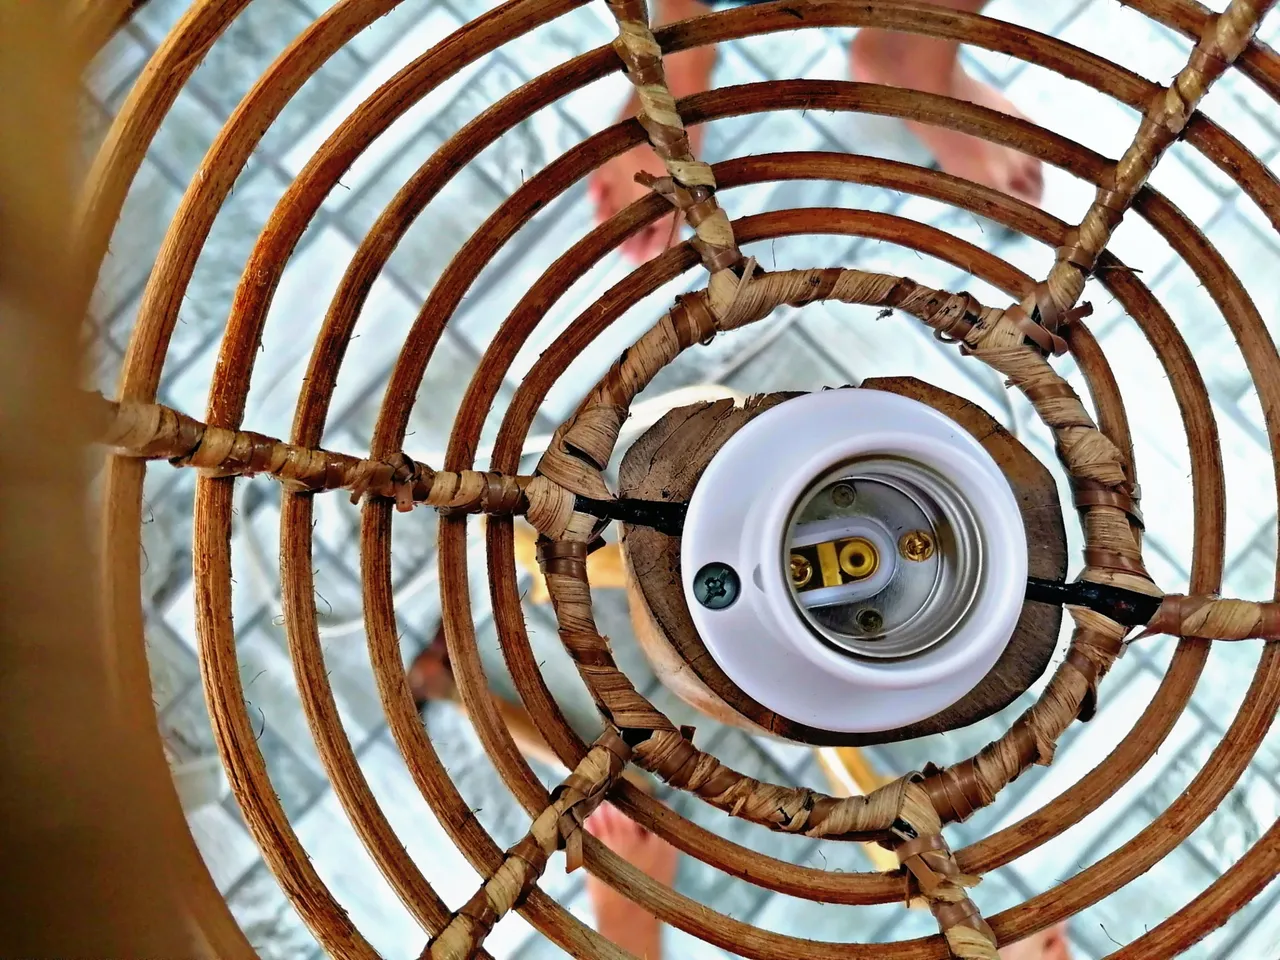
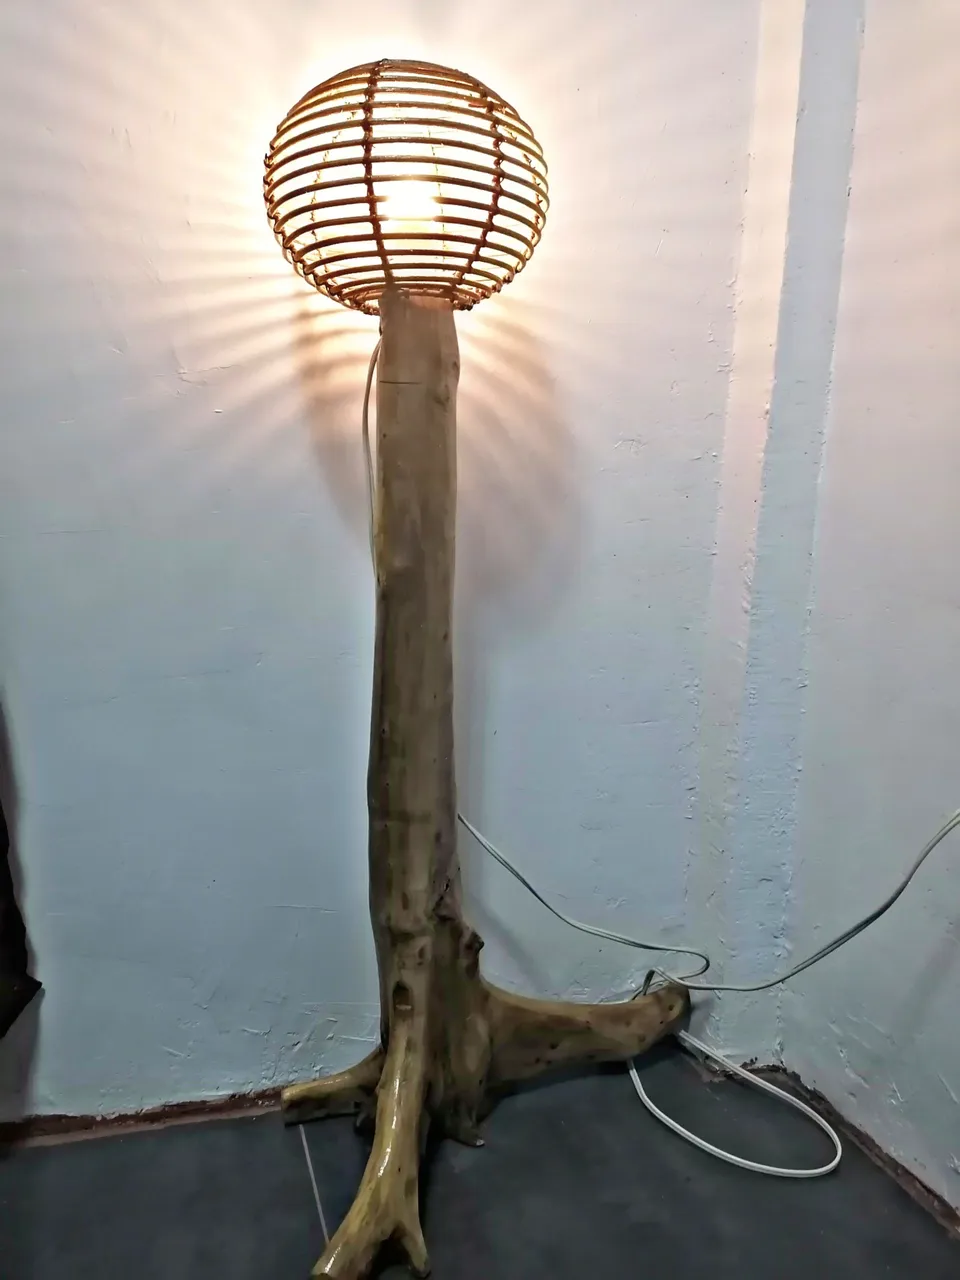
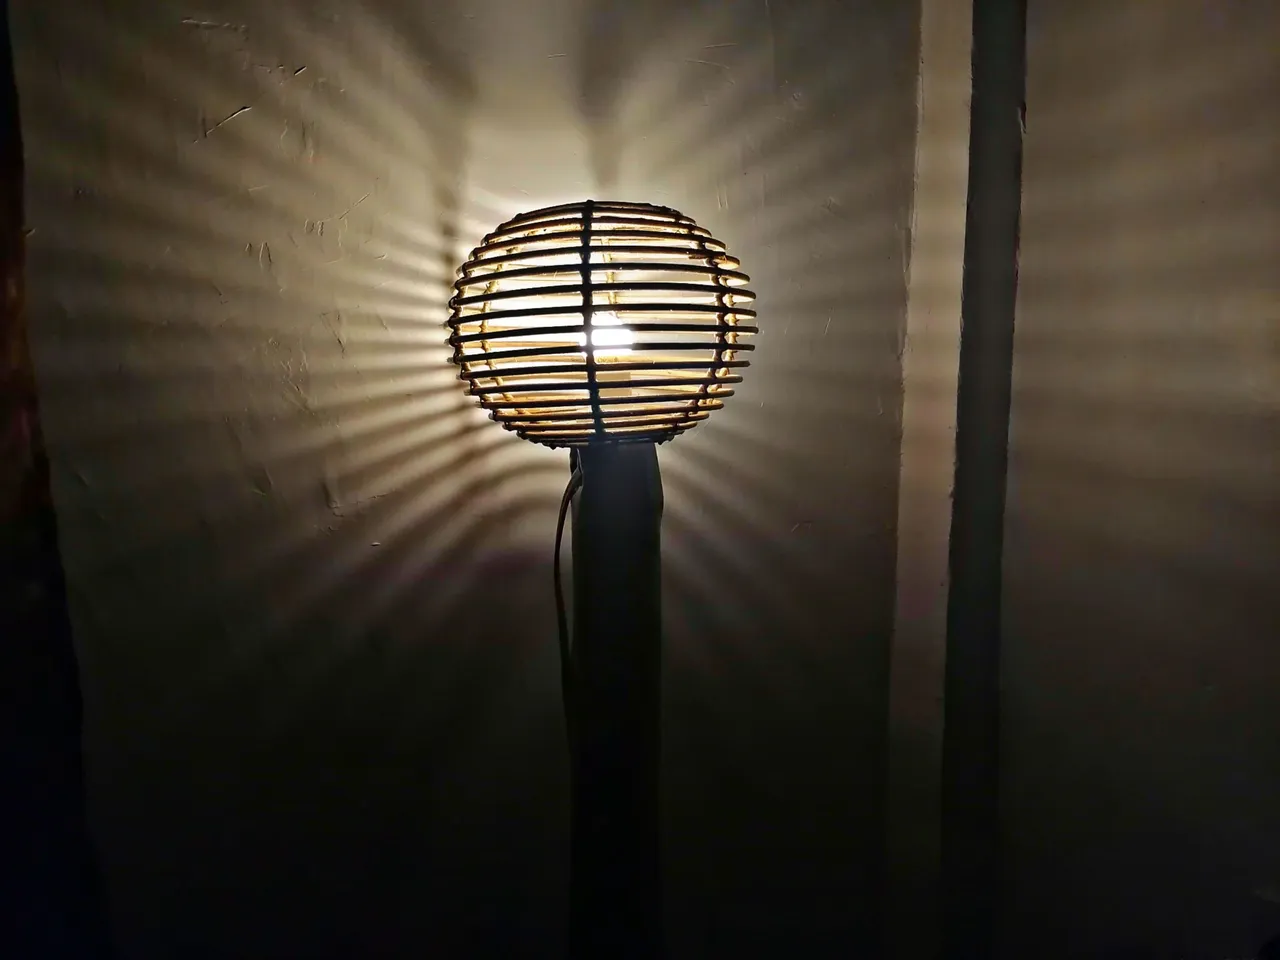
✨Step 7. Lastly, he put the bulb. And now, the lampshade is all set.
This is how it looks like now it's done. It stands strong, beautiful, and one of a kind.
THE GIST
Things don't need to be expensive to look magnificent and grand. They don't need a name for them to have value and purpose. Sometimes, what a simple thing needs is an artistic hand and a resourceful mind to create transformations. Moreover, no matter how old or ugly a thing looks, it is not for us to judge of its worth. What we sometimes regard as useless and insignificant could be beautiful and meaningful. We just have to do our part, make an effort, and be amazed by the wonders a thing holds.
I am happy I get to keep the Molave wood after being cut. I never thought that a simple wood could look enchanting as this lampshade does. And I couldn't thank the partner enough for innovating and for making magic - for turning a simple piece of wood into something beautiful.
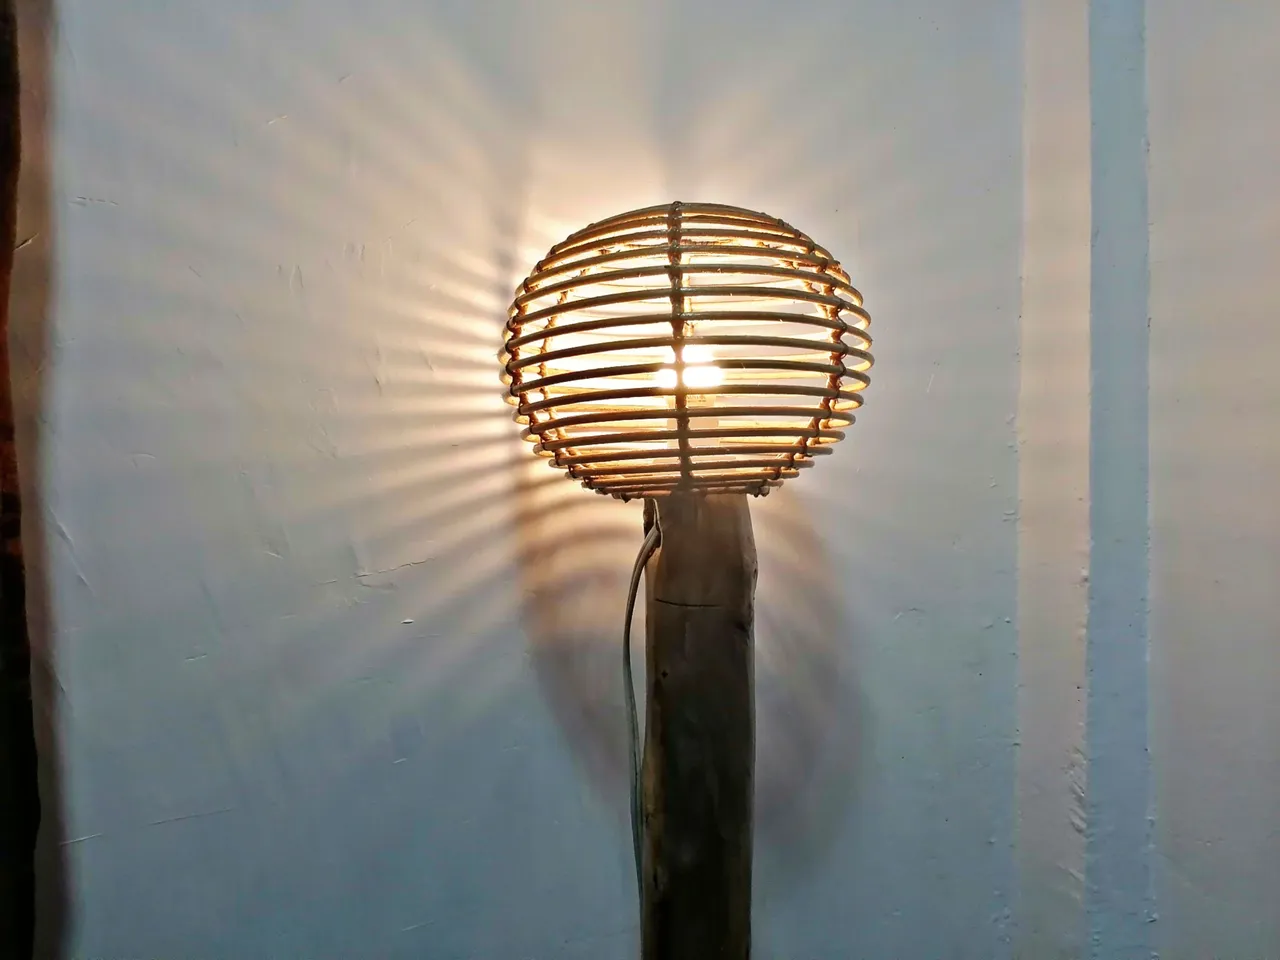
I am beyond happy looking at how this work of art turns out. Indeed, happiness comes from the simplicity of things.
This is all for today's blog. Thank you for reading this far. Be well. Be safe. Until the netswriting.