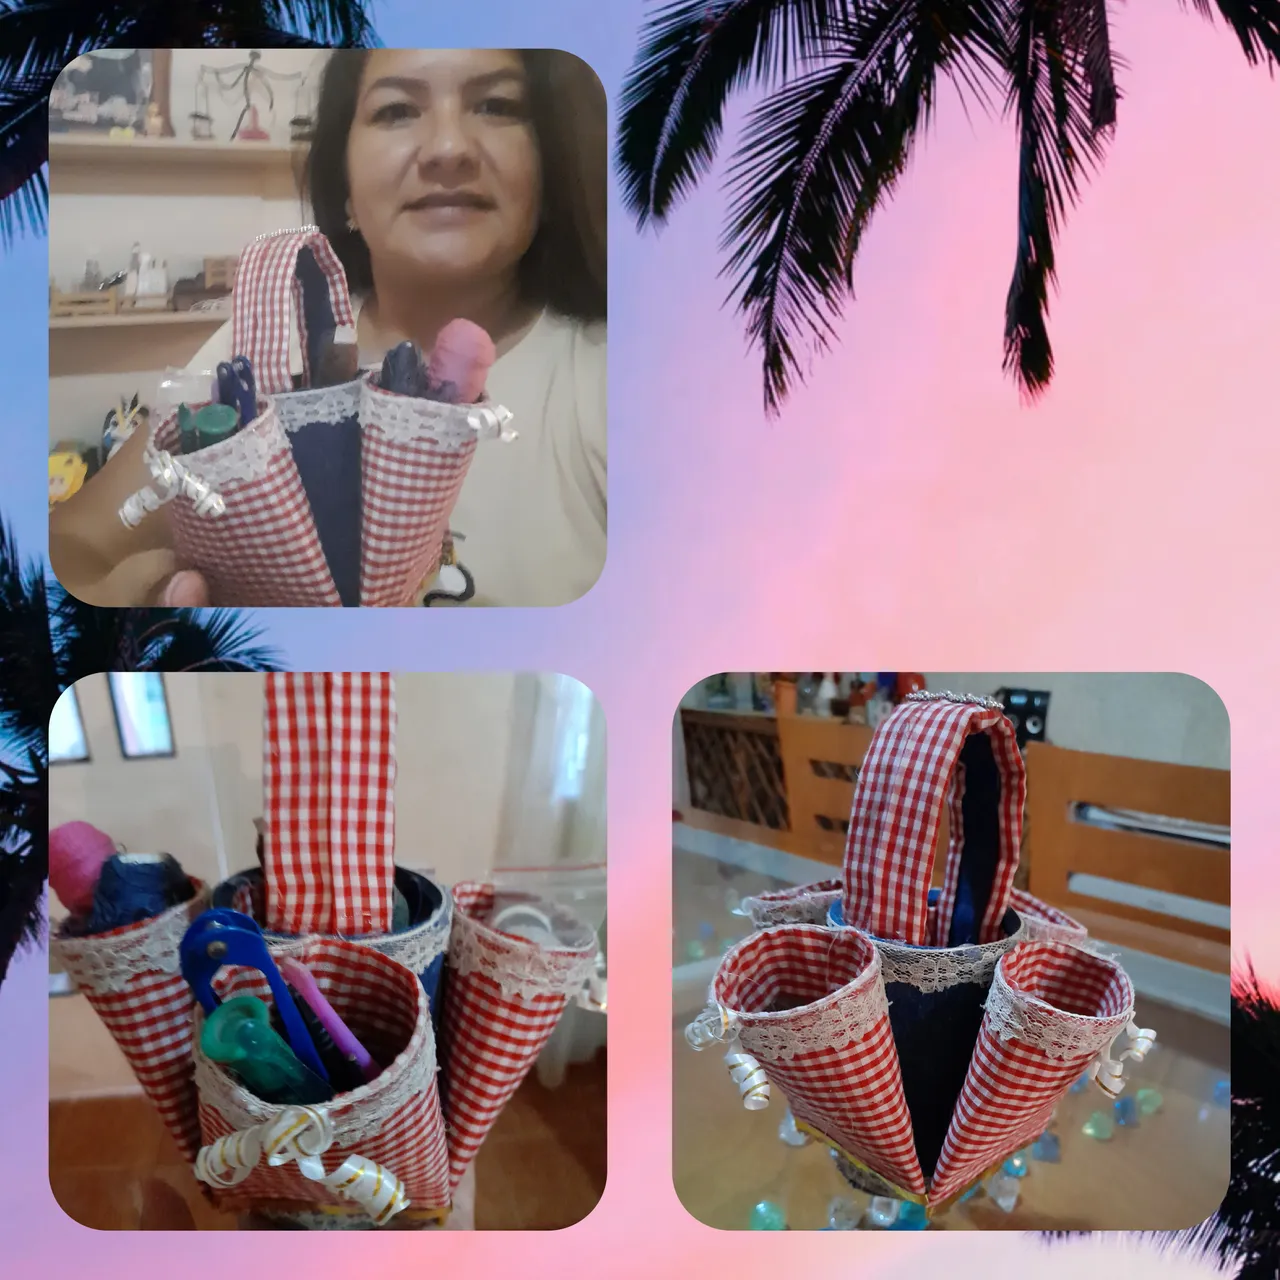
Feliz inicio de semana mi gente linda, un gusto en saludarles y compartir con ustedes, luego de unos dias de ausencia, hoy con mucha alegria estoy aqui para presentarles la elaboracion de un espectacular organizador de costura con material reutilizable, esta bien distribuido para todo la utileria que se emplea en la costura, esperando que sea de provecho y le guste mi trabajo.
Materiales utilizados:
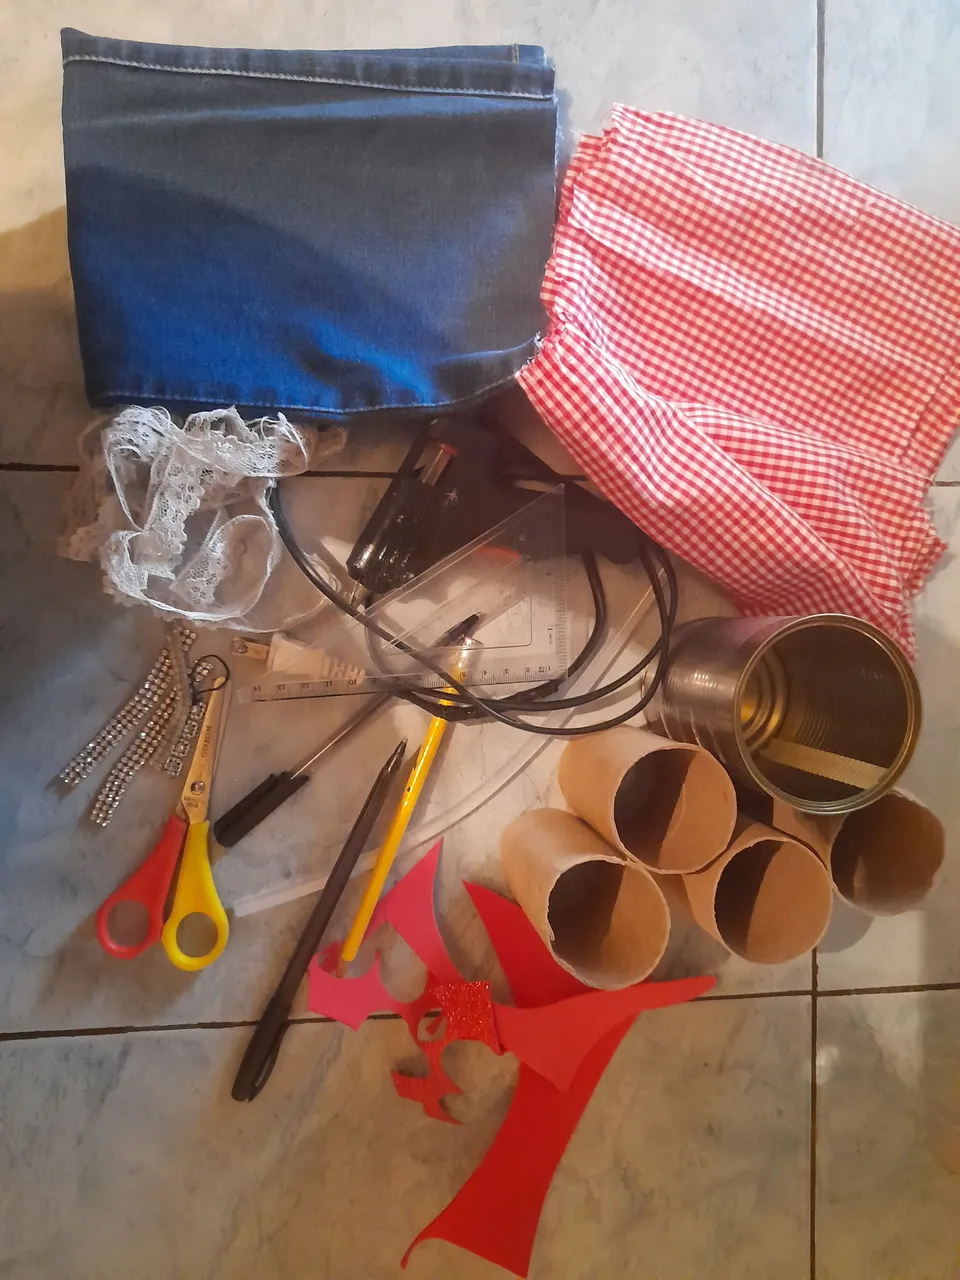
1 Una lata de aluminio grande.
4 Rollos del carton de papel higienico.
1 Un retaso de tela de blujeen.
1 Un retaso de tela de cuadrito roja.
1 Metro de encaje blanco.
Silicon.
Pistolita de Silicon.
Tijera.
Lapiz.
Regla.
Carton.
Cinta dorada y blanca.
Procedemos a la Elaboracion paso a paso:
Paso #1:
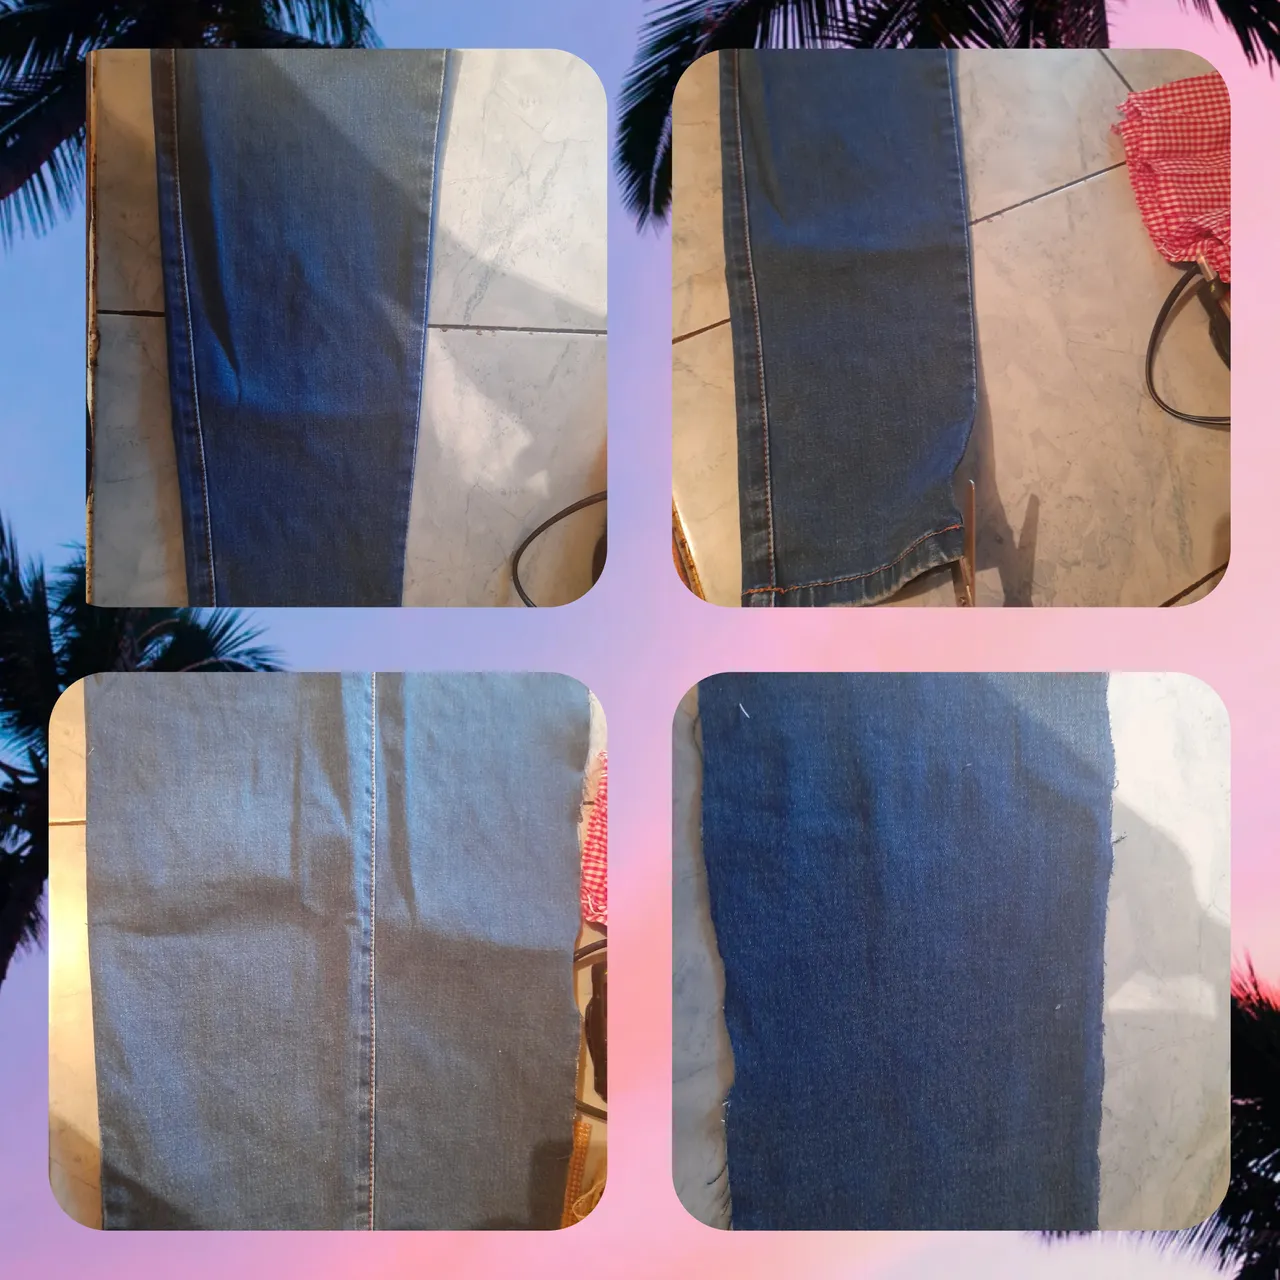
Tomamos el retaso de tela de blujeen y lo abrimos con la tijera para obtener un cuadro de tela exacta de 25,50cm de largo por 14cm de ancho, lo cual sera utilizado para revestir la parte de afuera de la lata.
Paso #2:
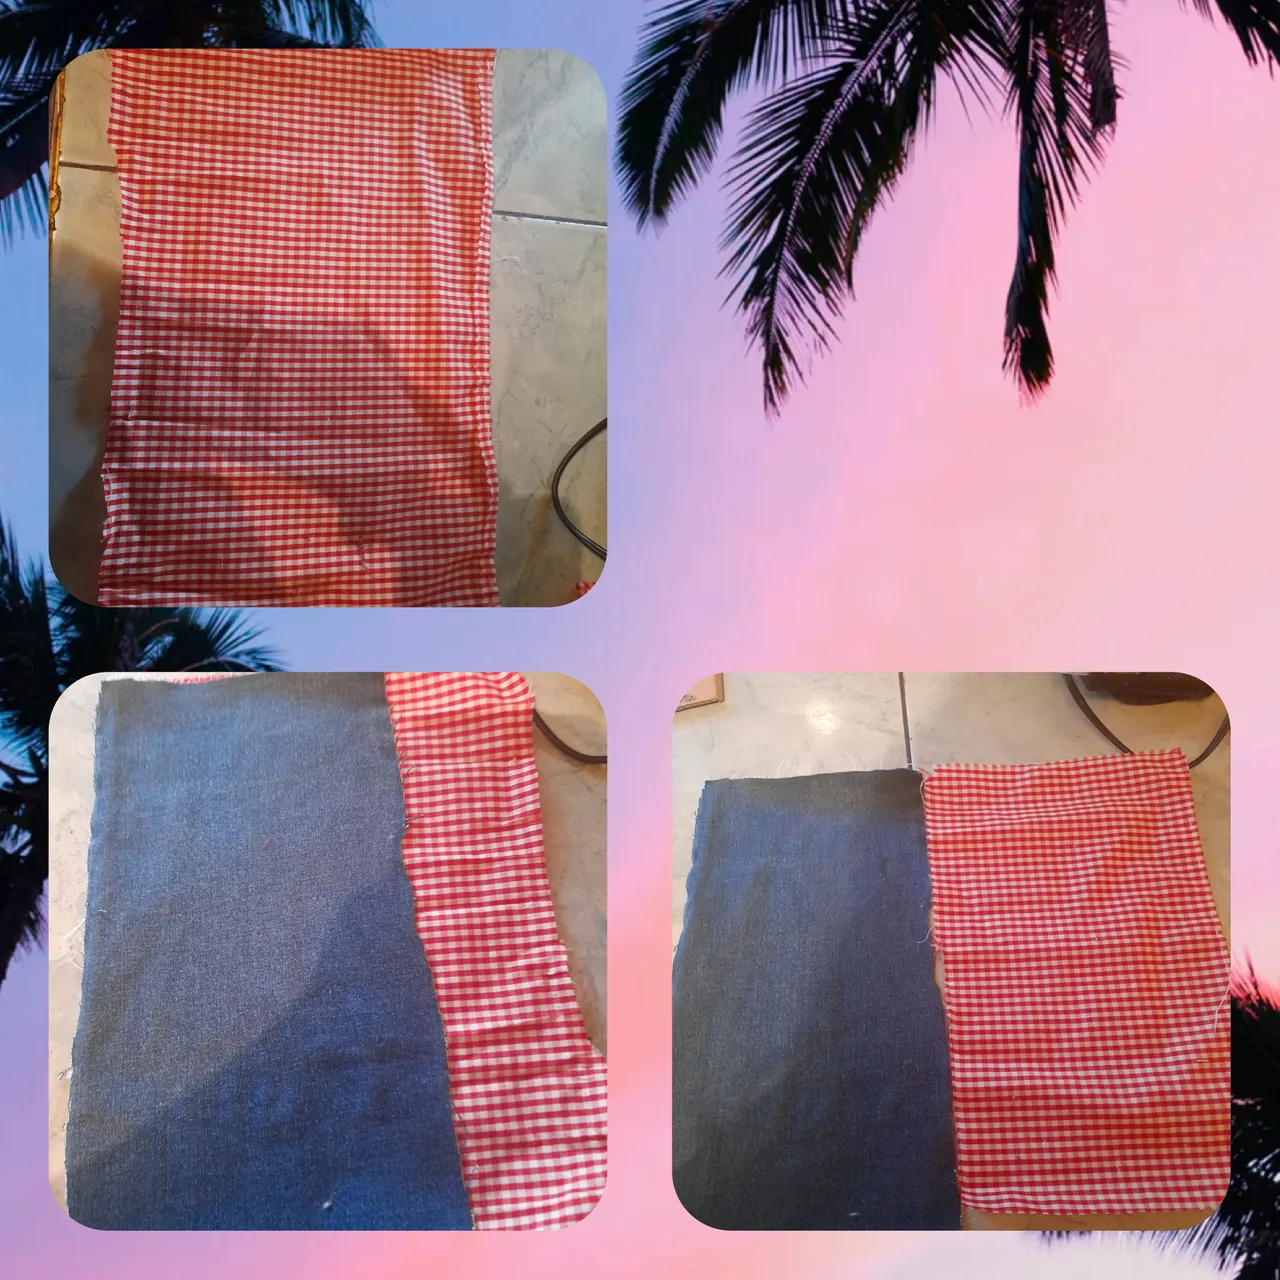
Tomamos el retaso de tela roja de cuadrito y lo cortamos con la tijera para obtener un cuadro de tela con las medidas de 25,50cm de largo por 14cm de ancho, lo cual sera empleada para revestir la parte de adentro de la lata, procediendo a pegar ambas telas en su orilla con el silicon caliente.
Paso #3:
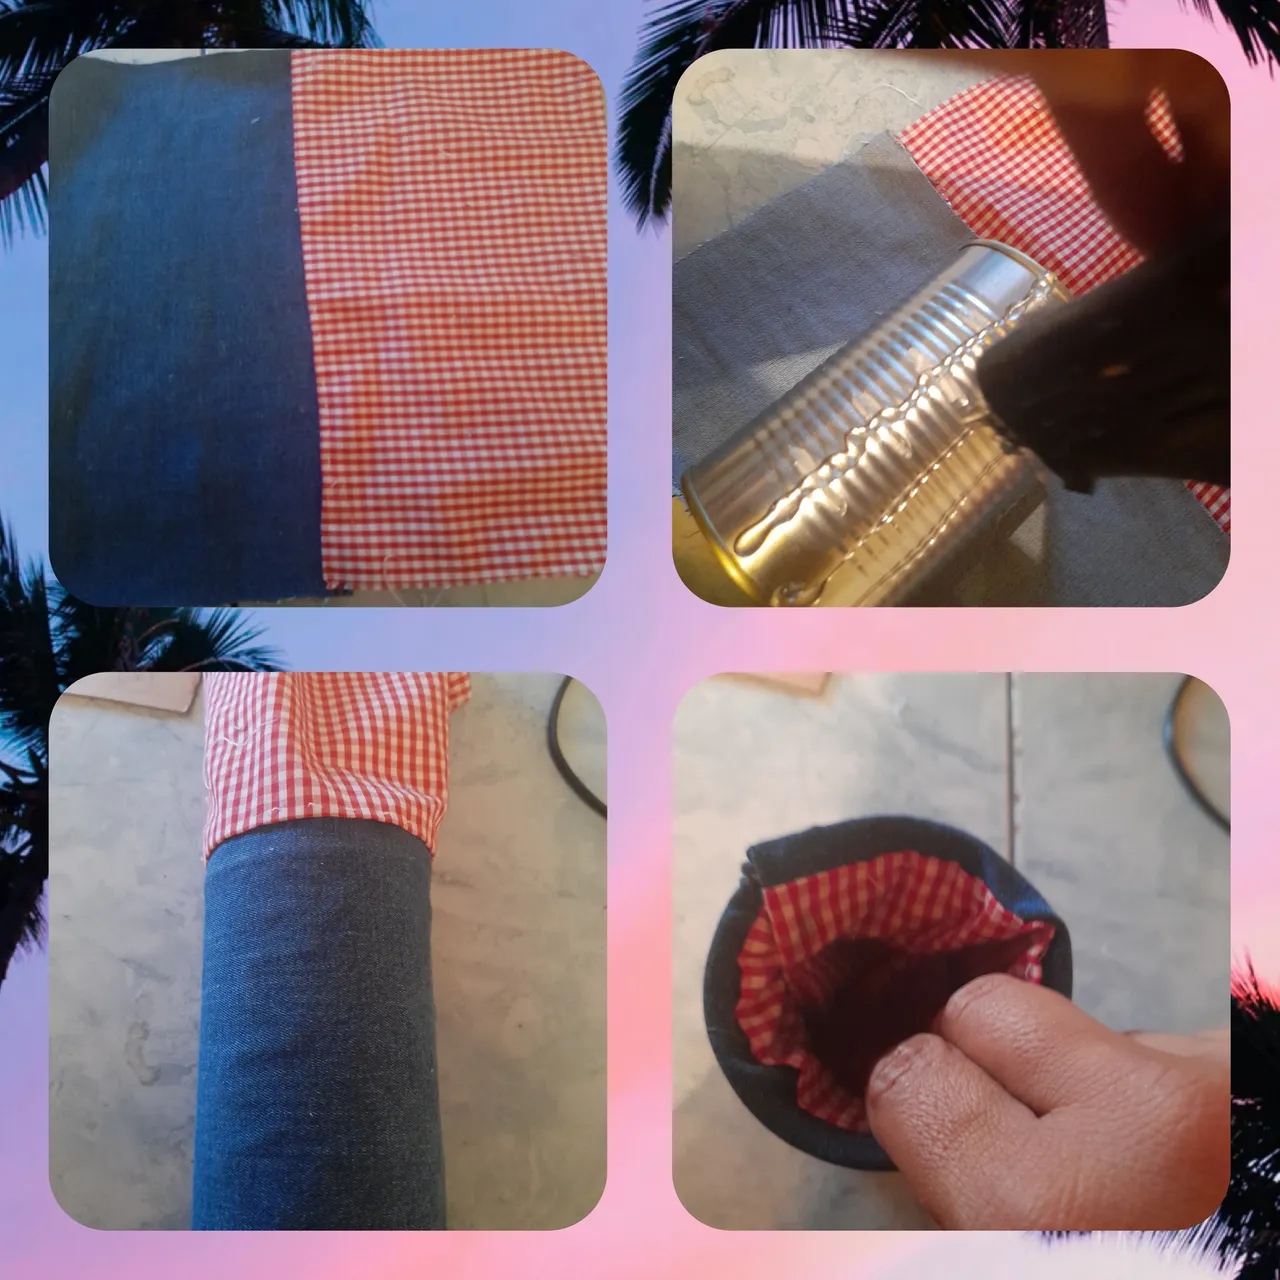
Iniciciamos a pegar con la pistolita de silicon caliente la tela de blujeen por toda la parte de afuera de la lata y la tela roja de cuadrito por el lado de adentro de la lata hasta cubrirla en su totalidad por ambos lados con las telas antes señaladas.
Paso #4:
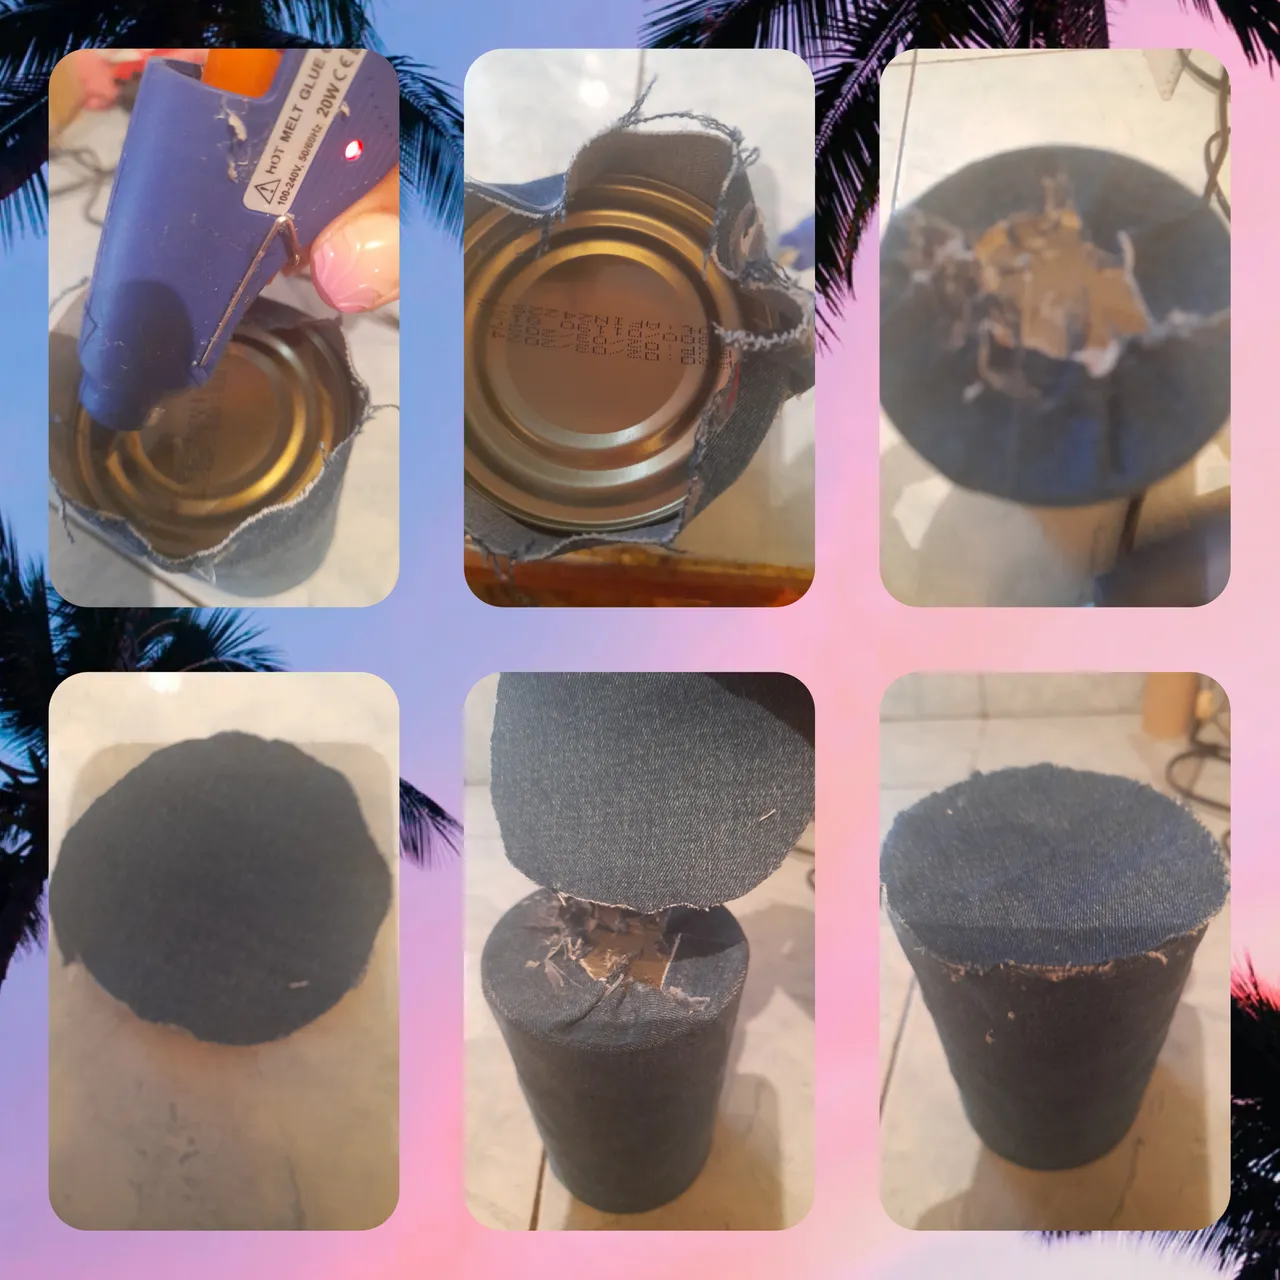
Procedemos a marcar un circulo en tela de blujeen para luego recortarlo con la tijera y cubrir la parte de abajo de la lata y obterner un acabado mucho mas hermoso al fondo de la lata.
Paso #5:
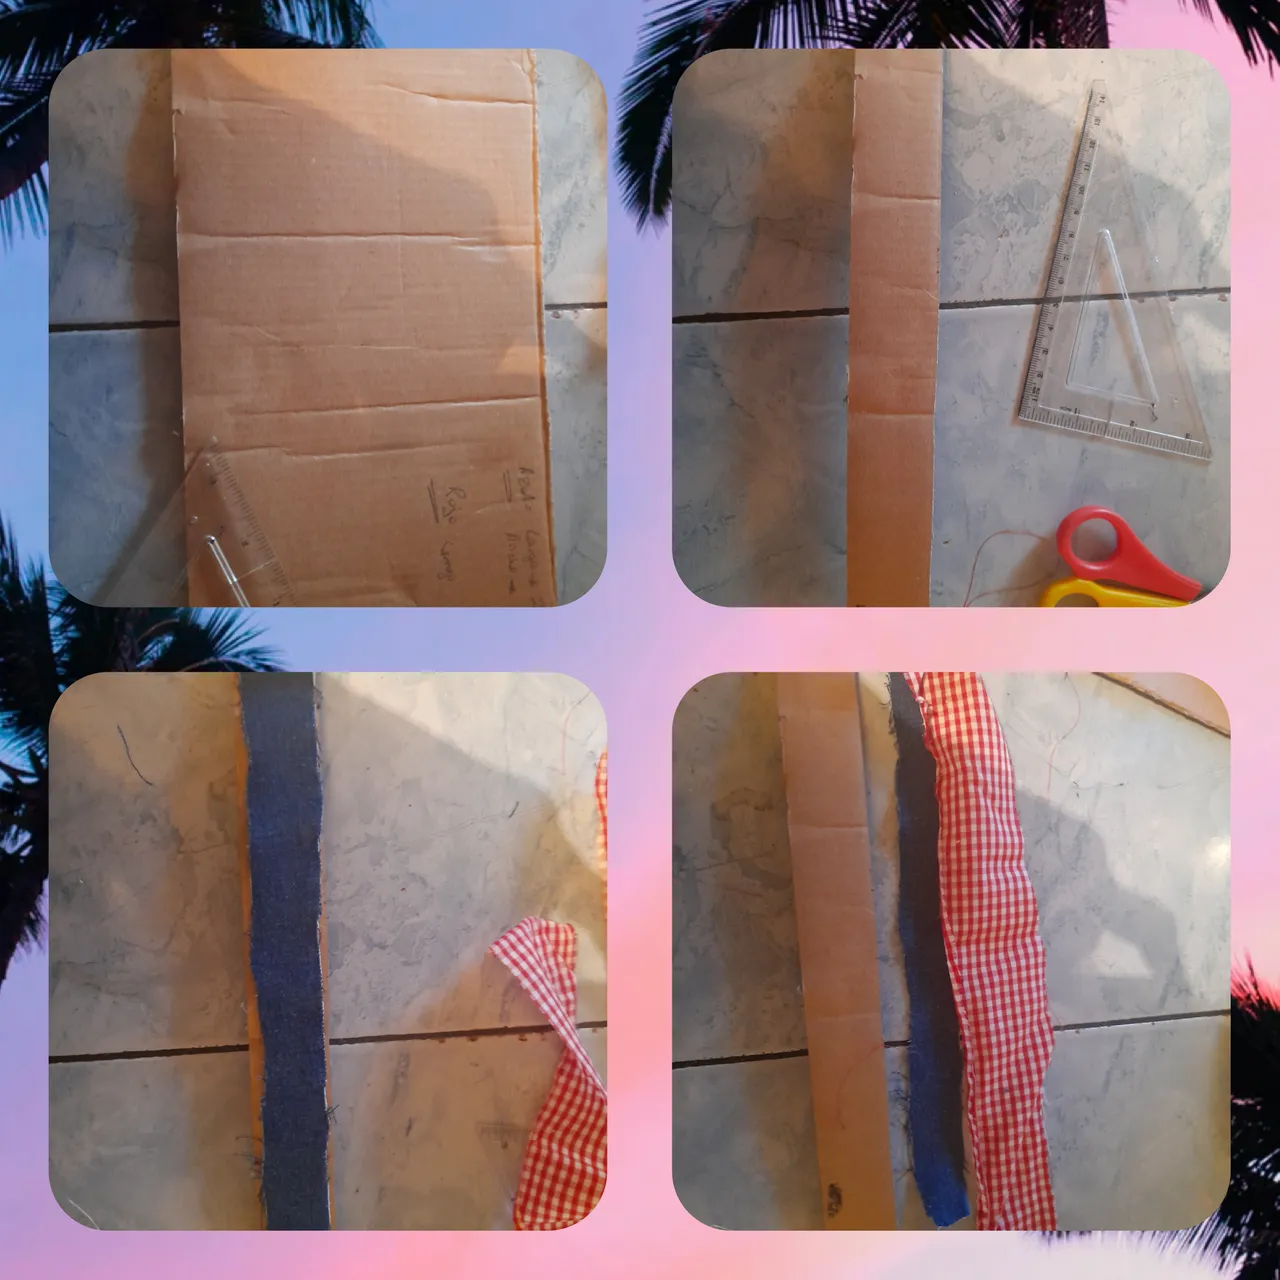
Tomamos el carton de una caja y marcamos un liston largo de 25cm por 3 de ancho, lo cual sera o funcionara como la asa o agarrador del organizador.
Ya teniendo ese liston procedo a cortar de las mismas medidas un retaso de tela en jeen y 2 en cuadrito rojo.
Paso #6:
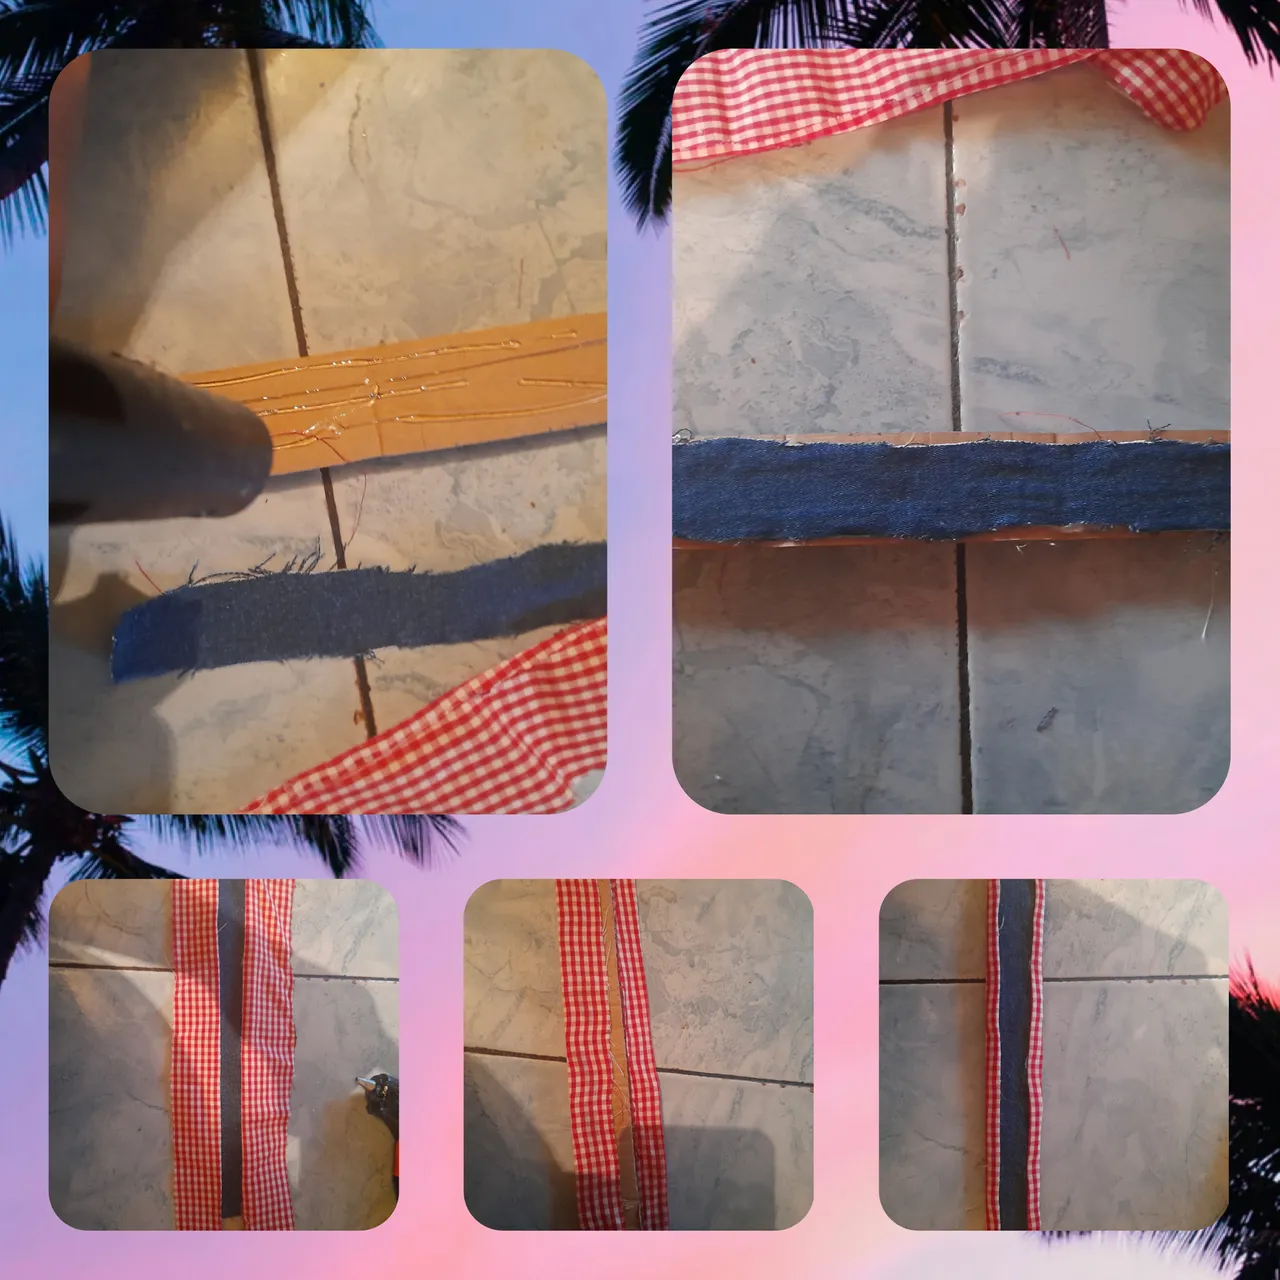
Ya recortados los listones en tela jeen y roja procedemos a pegarlos sobre el carton para cubrirlo completamenta y asi tener la asa cubierta.
Paso #7:
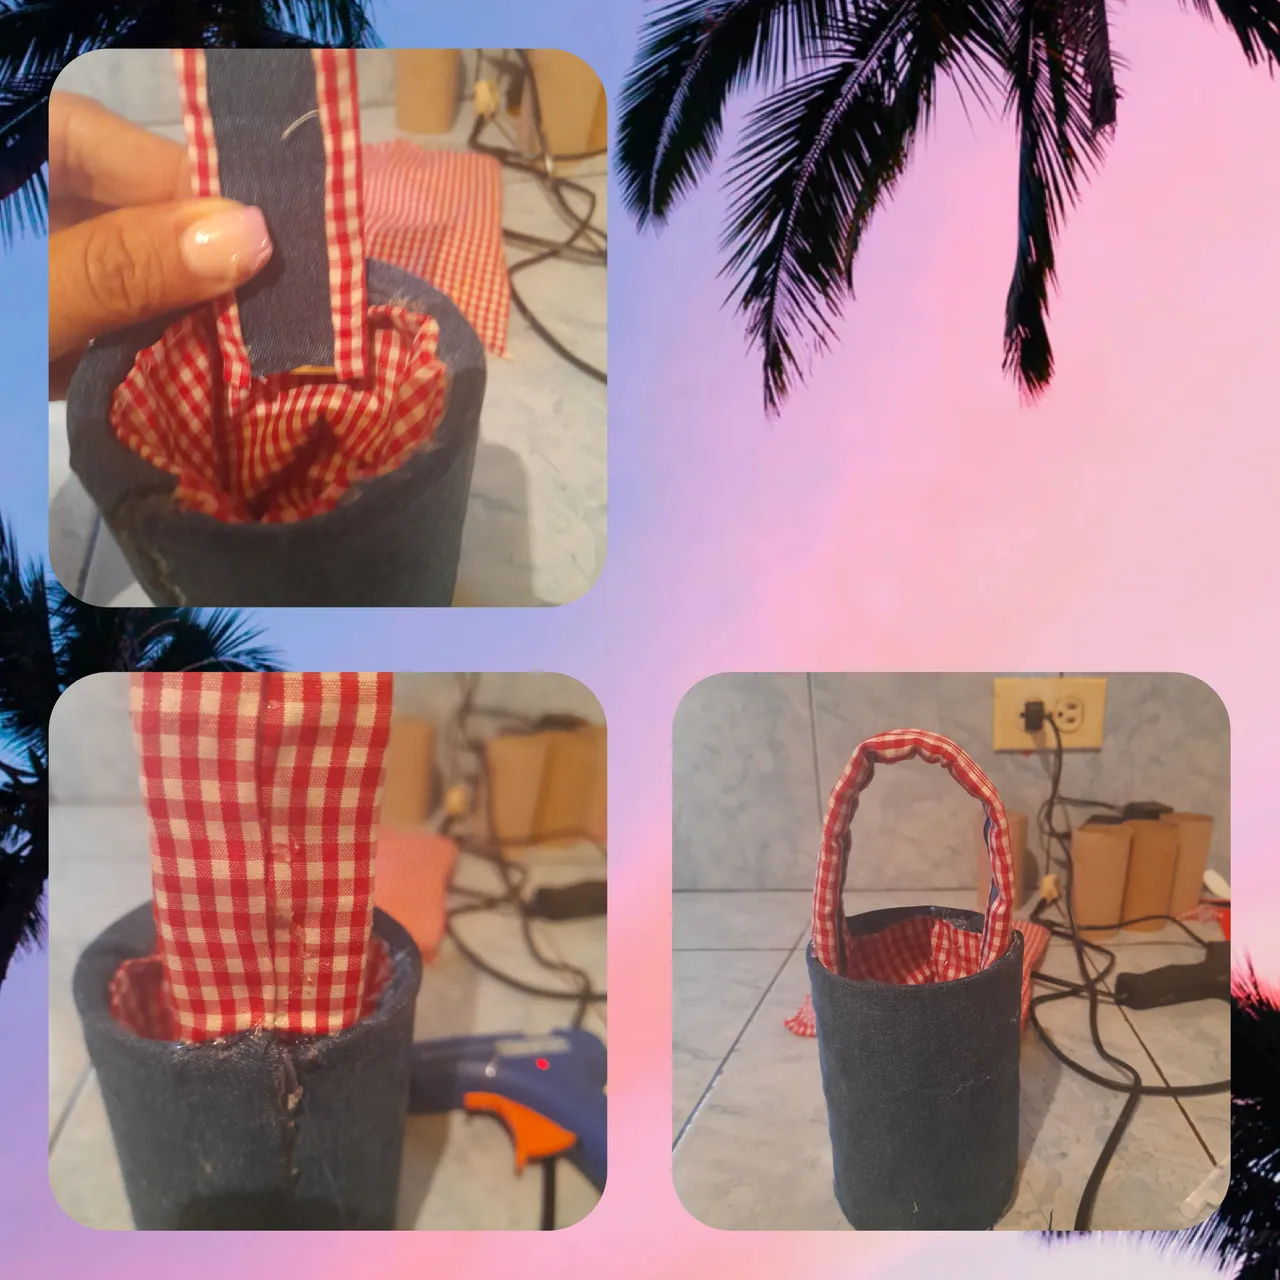
Luego pegamos el carton ya forrado con las telas por el lado de adentro de la lata para ya obtener la asa del organizador.
Paso #8:
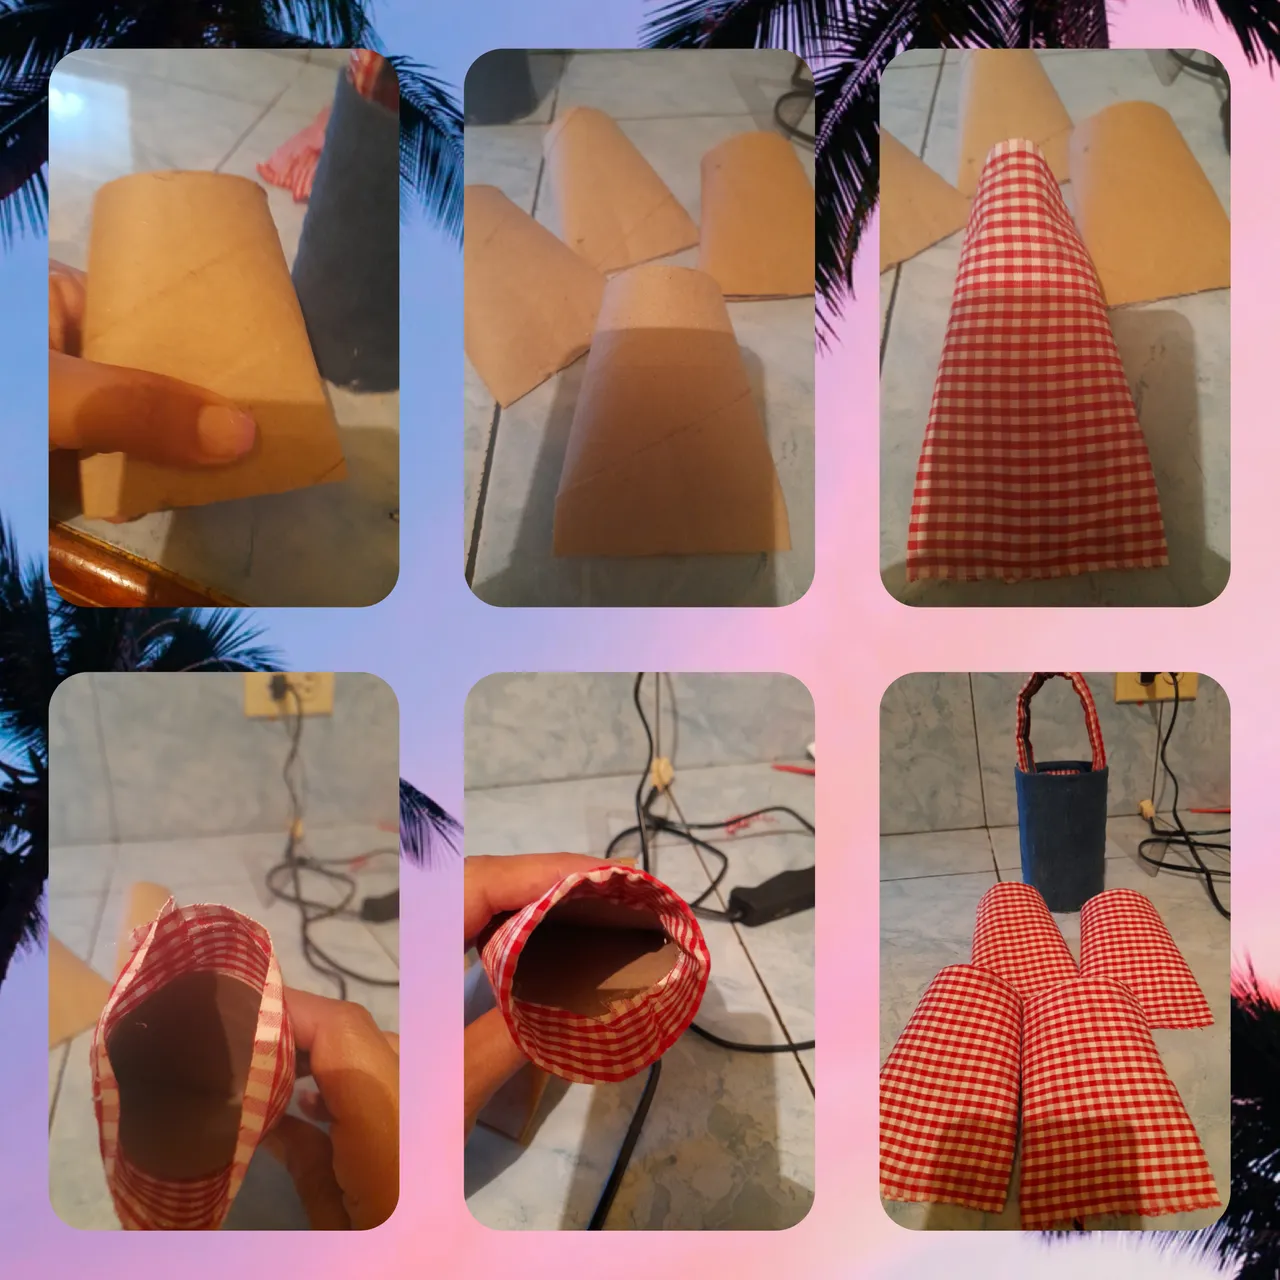
Agarramos los rollos de papel higienico y los untamos en uno de sus lados para hacerlos en forma de saquitos o costales y ya implementado el procedimiento en los cuatros rollos, pegamos con el silicon caliente la orilla, para dejar reposar hasta que recortemos cuatro retasos de tela de cuadrito con la medida de 20cm de largo por 13 de ancho para forrarlos del mismo modo los cuatros.
Paso #9:
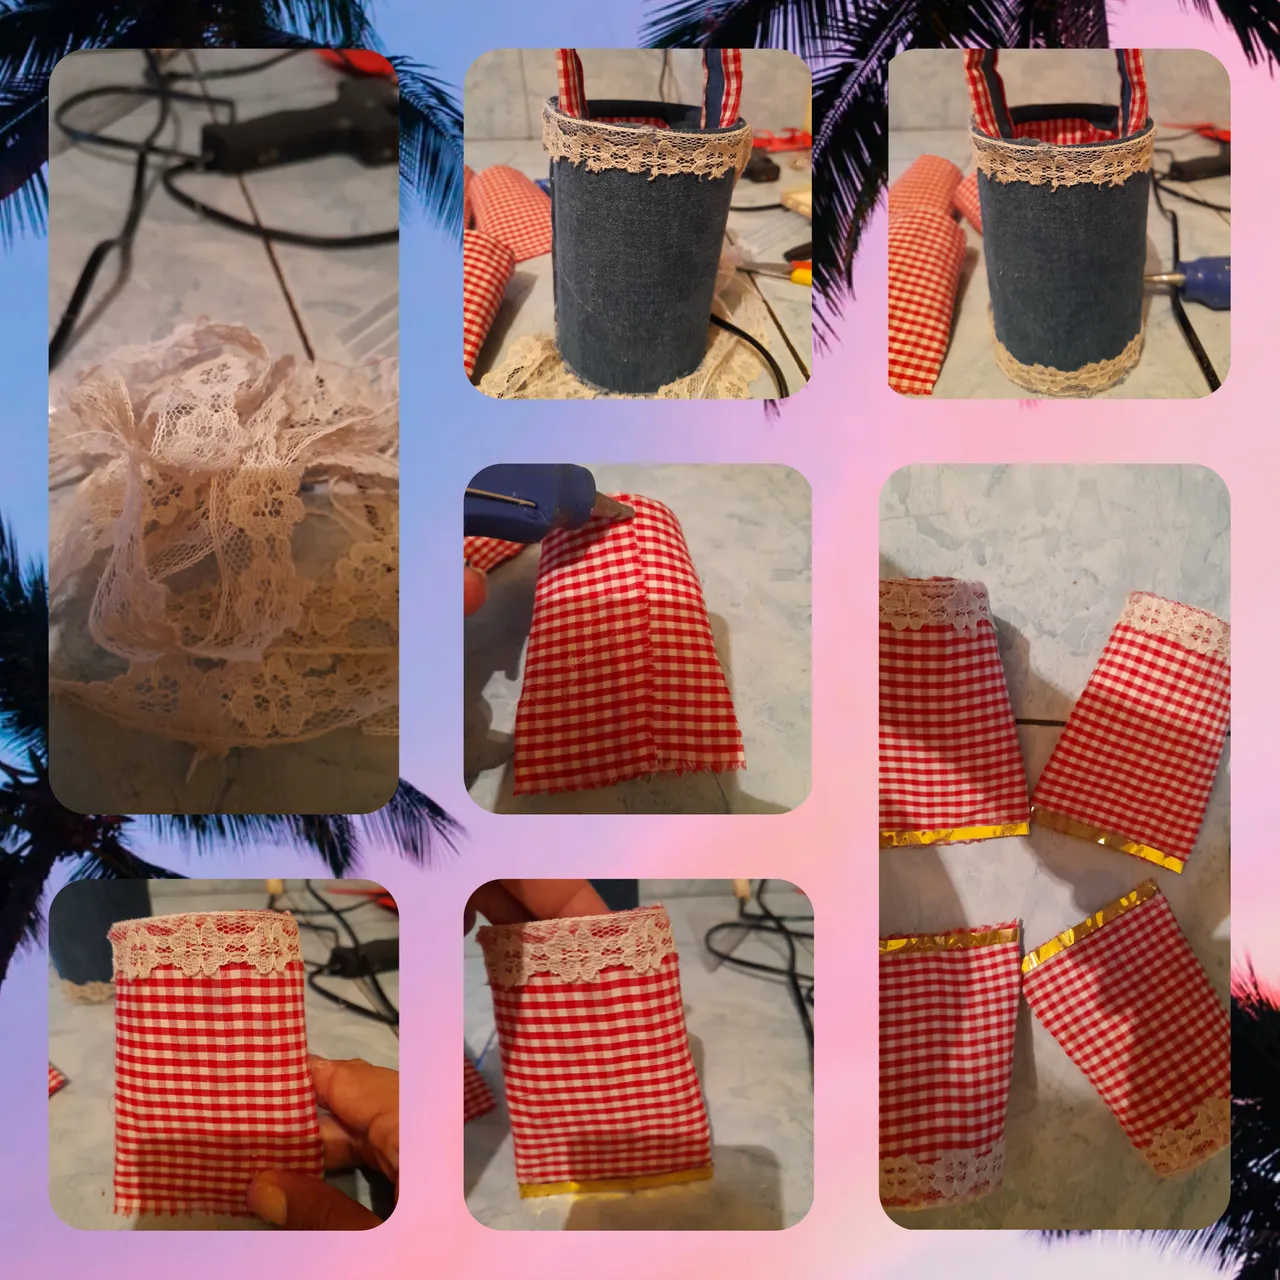
Ya cubiertos los rollos en tela roja, le colocamos un encaje de color blaco por toda la orilla de arriba y una cinta dorada por toda la orilla de abajo, todo esto como adorno. Y un detalle en cinta en el centro.
Paso #10:
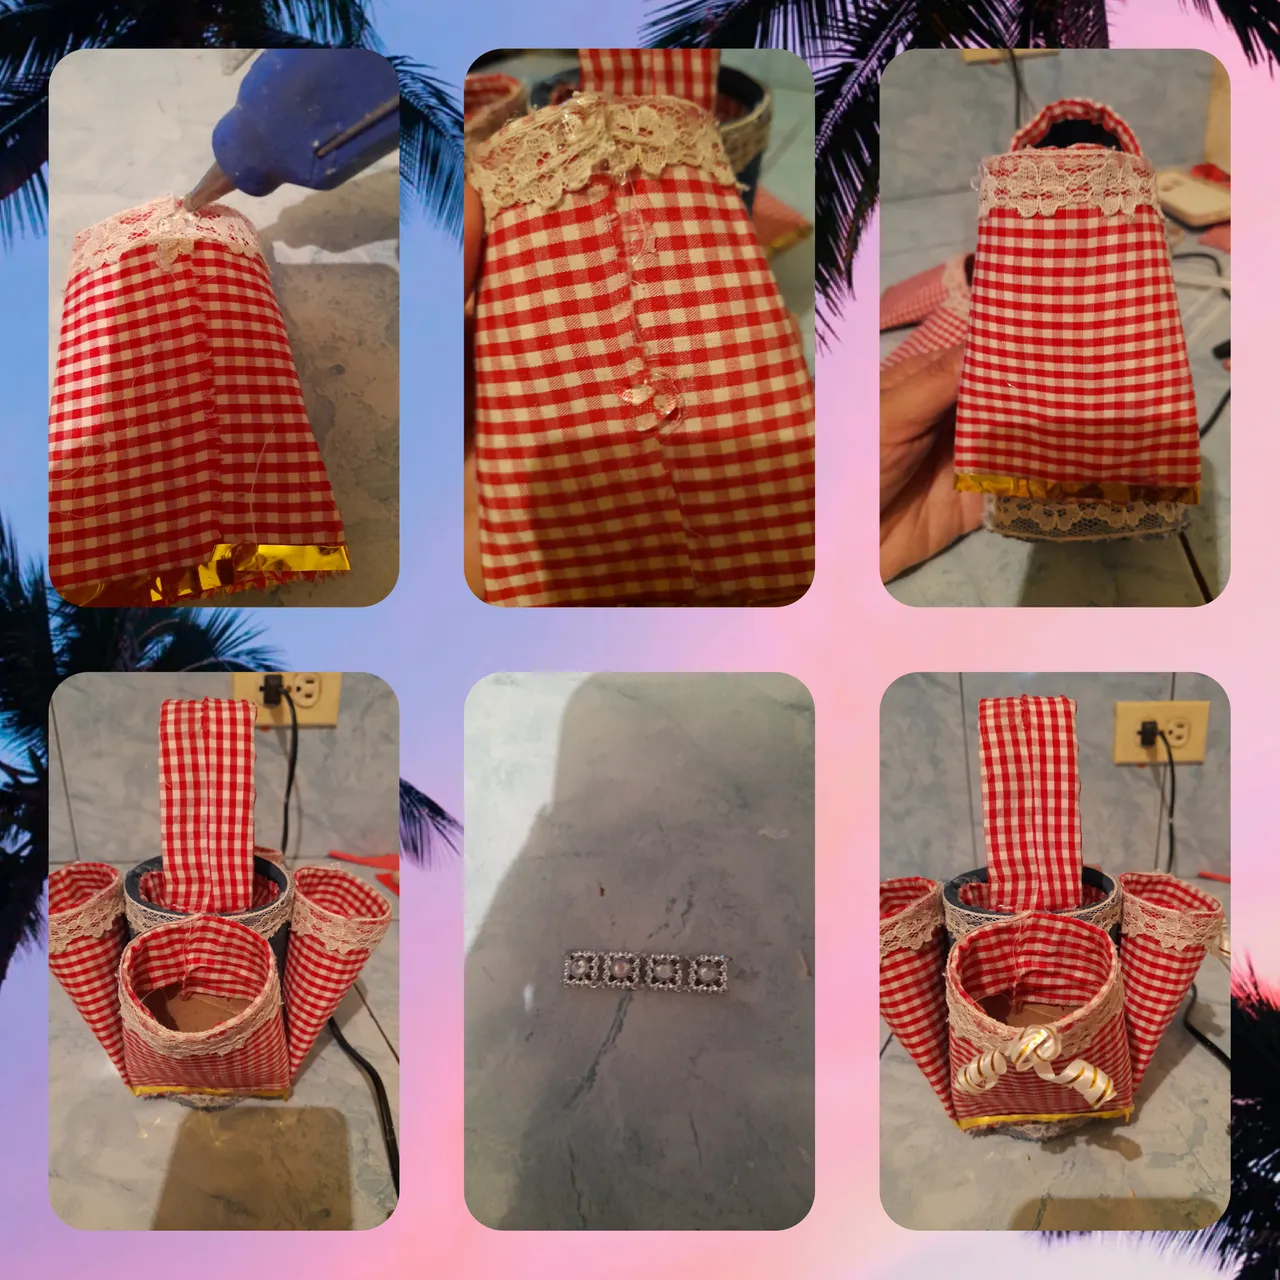
Luego procedemos a pegar cada saquito en los cuatros costados de la lata para organizar.
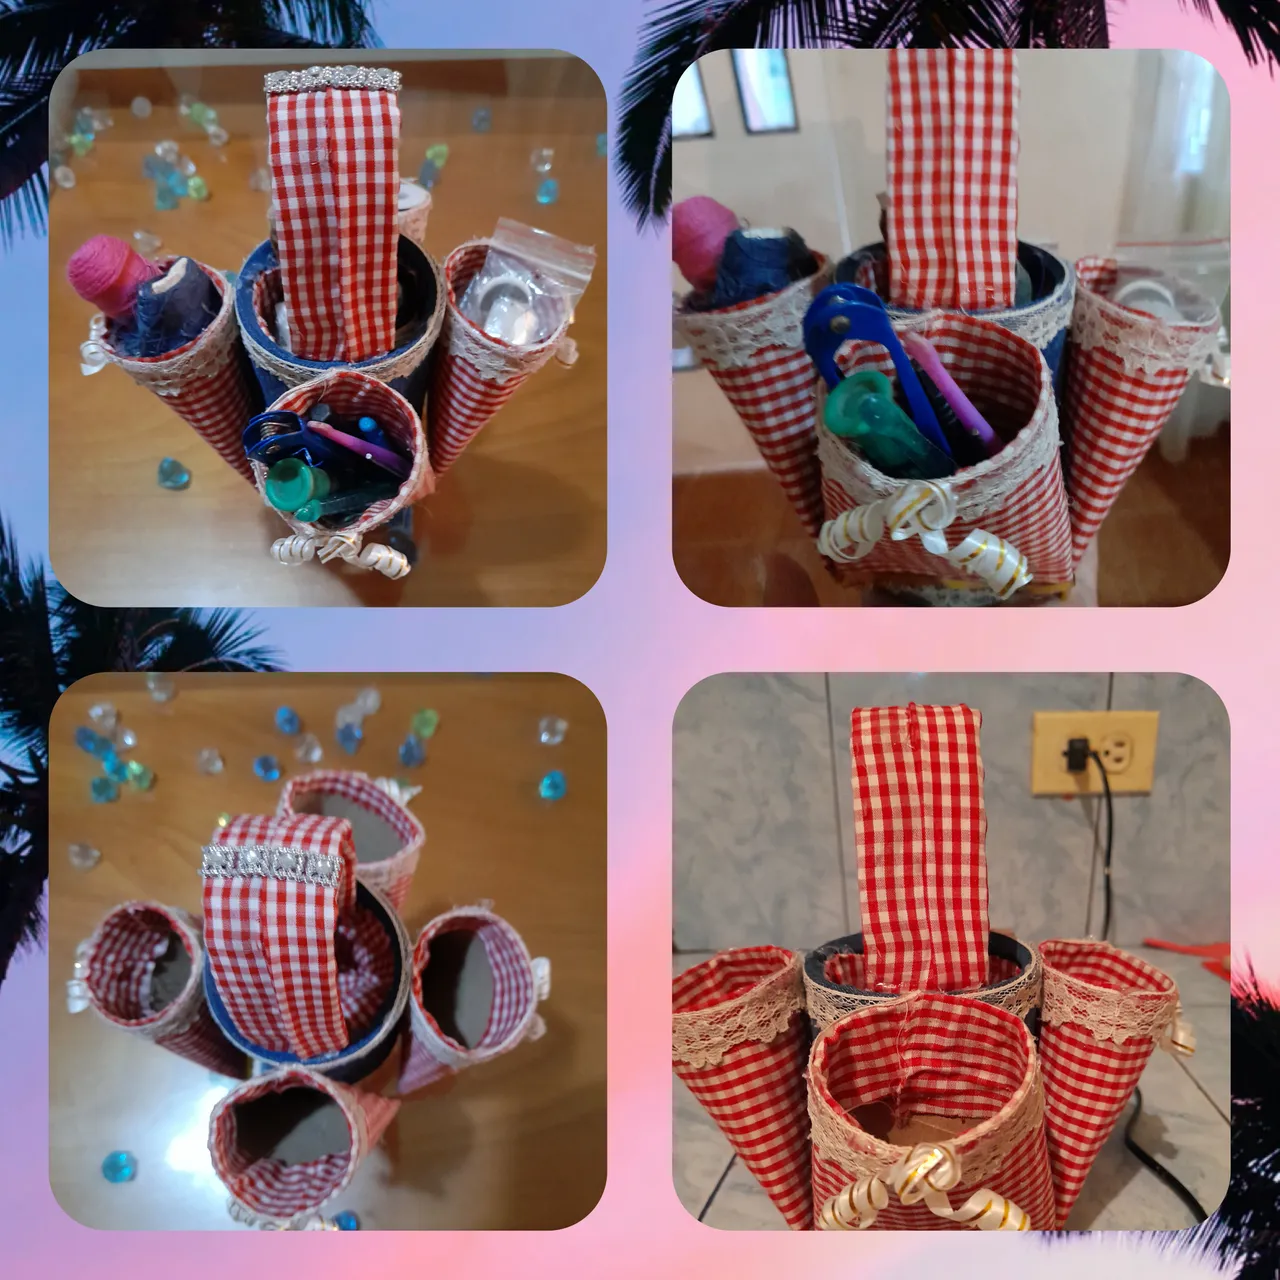
Teniendo como resultado un espectacular Organizador de costura.
Hasta la proxima mi gente linda. Saludos
CREDITS
Las imagenes me pertenecen, fueron tomadas de mi teléfono Samsung A21
Fueron editadas las fotos en el programa Polish.
traductor: Deepl Traslator.
Inglish
Happy start of the week my beautiful people, a pleasure to greet you and share with you, after a few days of absence, today with much joy I am here to present the elaboration of a spectacular sewing organizer with reusable material, this well distributed for all the tools that are used in sewing, hoping it will be of benefit and you like my work.
Materials used:
1 A large aluminum can.
4 rolls of toilet paper cardboard.
One bag of blujeen cloth.
1 Piece of red squared cloth.
1 yard of white lace.
Silicon.
Silicon gun.
Pencil.
Ruler.
Cardboard.
Gold and white tape.
Step #1:
We take the blujeen fabric scrap and open it with the scissors to obtain a square of fabric exactly 25.50cm longby 14cm wide, which will be used to line the outside of the can.
Step #2:
We take the red fabric square and cut it with the scissors to obtain a square of fabric with the measures of 25.50cm long by 14cm wide, which will be used to cover the inside of the can, proceeding to glue both fabrics on its edge with the hot silicone.
Step #3:
Start gluing the blujeen fabric on the outsideof the can and the red square fabric on the inside of the can with the hot silicone gun until it is completely covered on both sides with the fabrics mentioned above.
Step #4:
We proceed to mark a circle in blujeen fabric and then cut it out with the scissors to cover the bottom of the can and get a much more beautiful finish to the bottom of the can.
Step #5:
We take the cardboard from a box and mark a 25cm long and 3cm wide strip, which will be the handle or grip of the organizer.
Once we have this strip,we proceed to cut a piece of fabric in denim and 2 in red squares of the same size.
Step #6:
Once the strips have been cut out of thedenim and red fabric, we proceed to glue them on the cardboard to cover it completely and thus have the handle covered.
Step #7:
Then we glue the cardboard already lined with fabrics on the inside of the can to obtain the handle of the organizer.
Step #8:
We take the rolls of toilet paper and spread them on one side to make them in the form of sacks or sacks and already implemented the procedure in the four rolls, glued with hot silicone edge, to let stand until we cut four pieces of cloth square with the measure of20cm long by 13 wide to line them in the same way the four.
Step #9:
Once the rolls are covered in red fabric, we place a white lace along the top edge and a gold
ribbon along the bottom edge, all this as an ornament. And a ribbon detail in the center.
Step #10:
Then proceed to glue each bag on the four sides of the can to organize.
The result is a spectacular sewing organizer.
Until next time my beautiful people. Greetings
CREDITS
Las imagenes me pertenecen, fueron tomadas de mi teléfono Samsung A21
Fueron editadas las fotos en el programa Polish.
traductor: Deepl Traslator.