Happy weekend dear creatives, artists and artisans of this beautiful community, your friendly home.
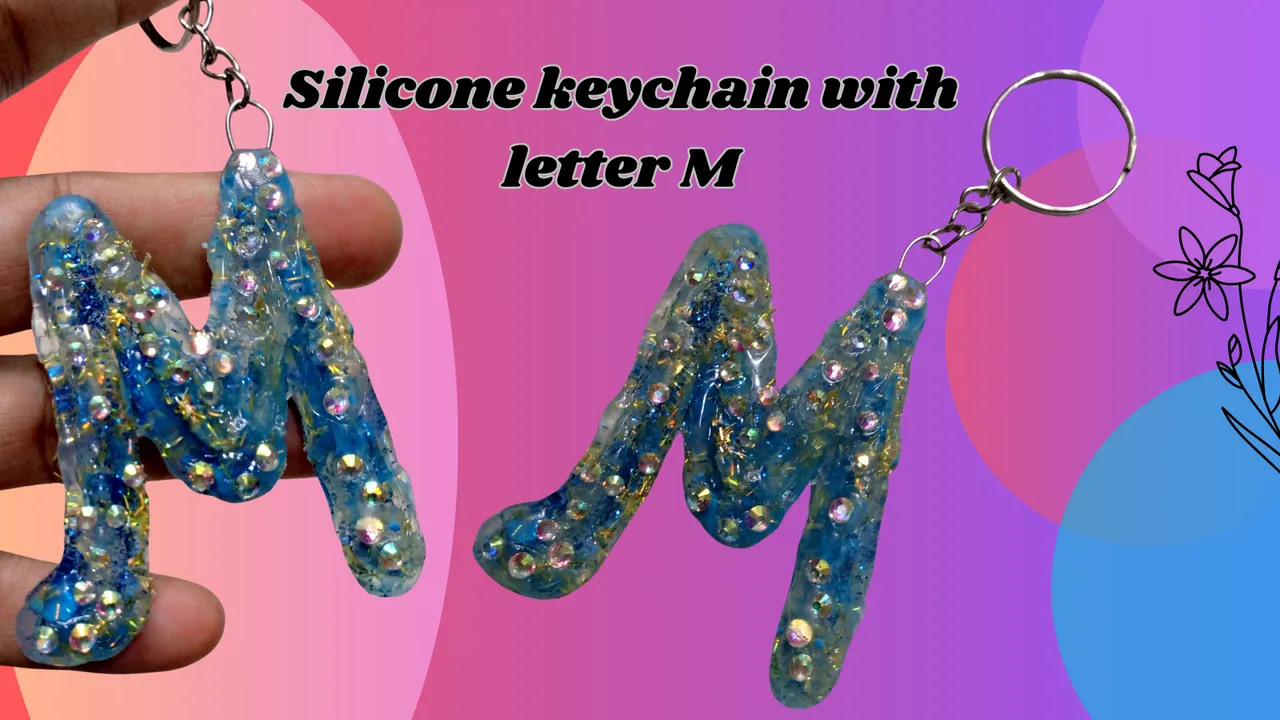
Today I share with you a project that I love to do, it is a keychain that I made with hot silicone, here I will show you a simple step by step so you can also do it, it is an exciting project, ideal to make keychains for the kids who are back to school, to hang them in their school bag, a keychain with the initial of their name will cheer them up a lot.
I hope they like it.
The pictures you will see below were taken with my TECNO SPARK GO 2024.
Feliz fin de semana queridos creativos, artistas y artesanos de esta hermosa comunidad, su casa amiga.
Hoy les comparto un proyecto que me encanta hacer, se trata de un llavero que hice con silicón caliente, aquí les mostraré un sencillo paso a paso para que ustedes también puedan hacerlo, es un proyecto emocionante, ideal para hacer llaveros para los niños que están de regreso a clases, para colgarlos en su mochila escolar, un llavero con la inicial de su nombre les alegrará mucho.
Espero que les guste.
Las fotos que veras a continuación están hechas con mi TECNO SPARK GO 2024.
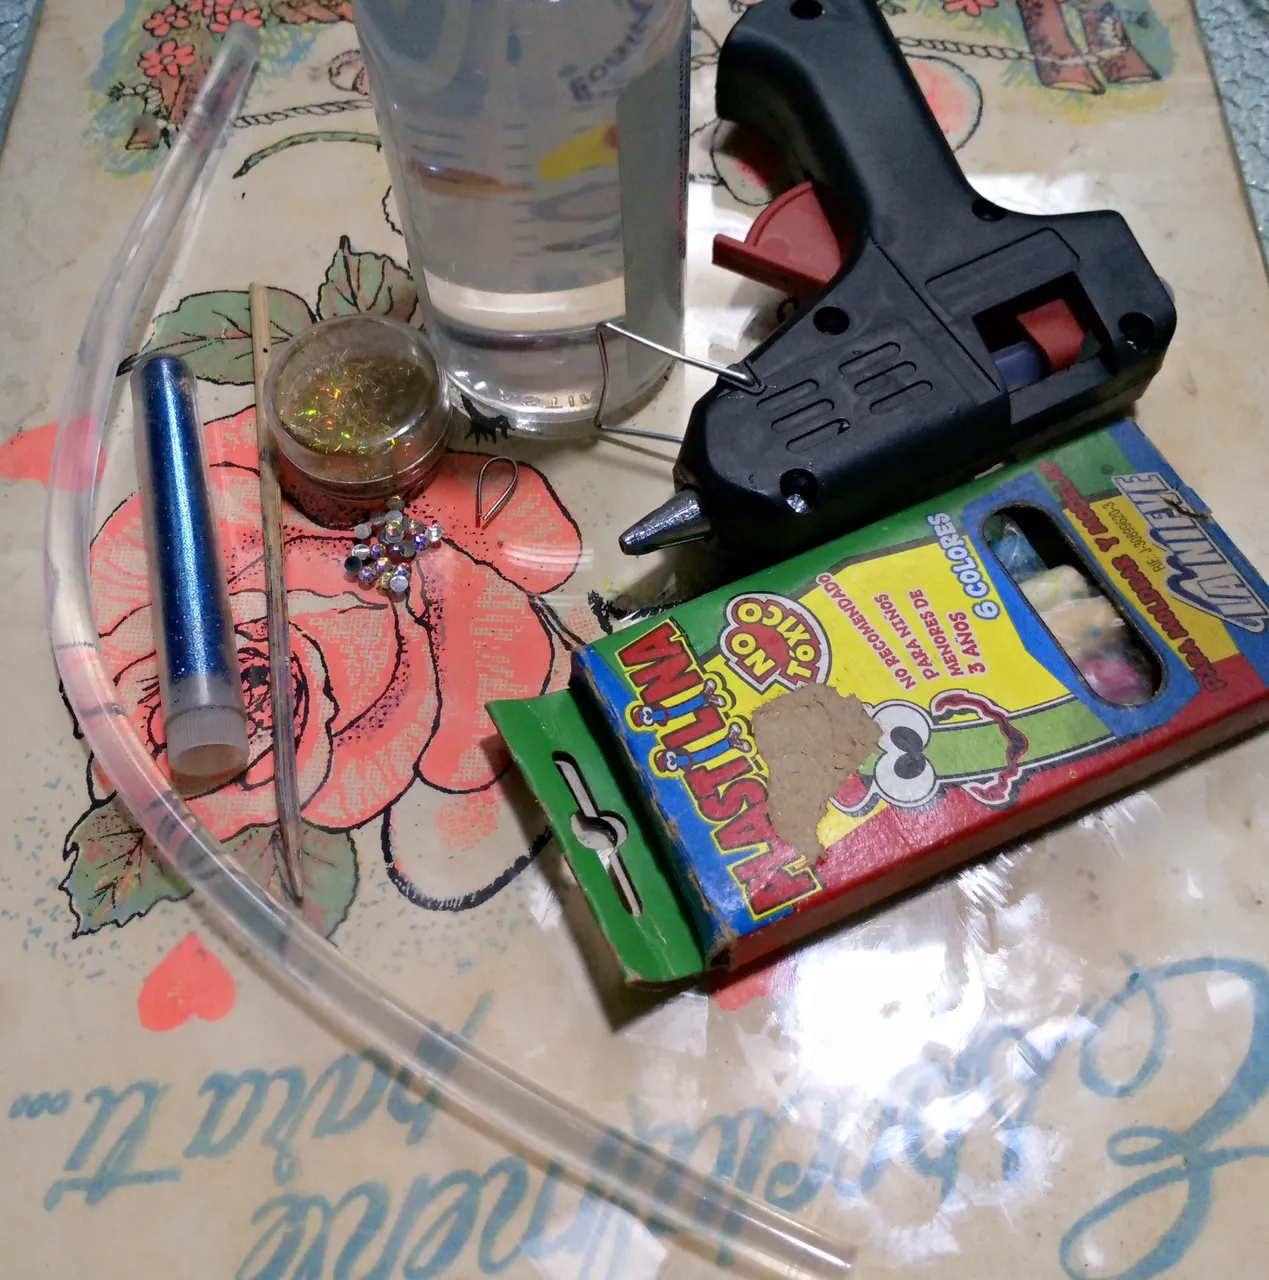
Materials:
- 1 stick of transparent silicone
- 1 stick of blue play dough or the color of your choice
- 2 Drops of baby oil or cooking oil, or skin cream
- Decorative glass stones
- Blue and gold glitter
- Skewer stick
- 1 Hanging ring
- Hot silicone gun
- Glass or metal base to work the material
Materiales:
- 1 Barra de silicona transparente
- 1 Barra de plastilina azul o del color de su preferencia
- 2 Gotas de aceite de bebe o aceite de cocina, o crema para la piel
- Piedras decorativas de cristal
- Glitter azul y dorado
- Palo de brocheta
- 1 Argolla para colgar
- Pistola para silicona caliente
- Base de vidrio o metal para trabajar el material
Pasos 1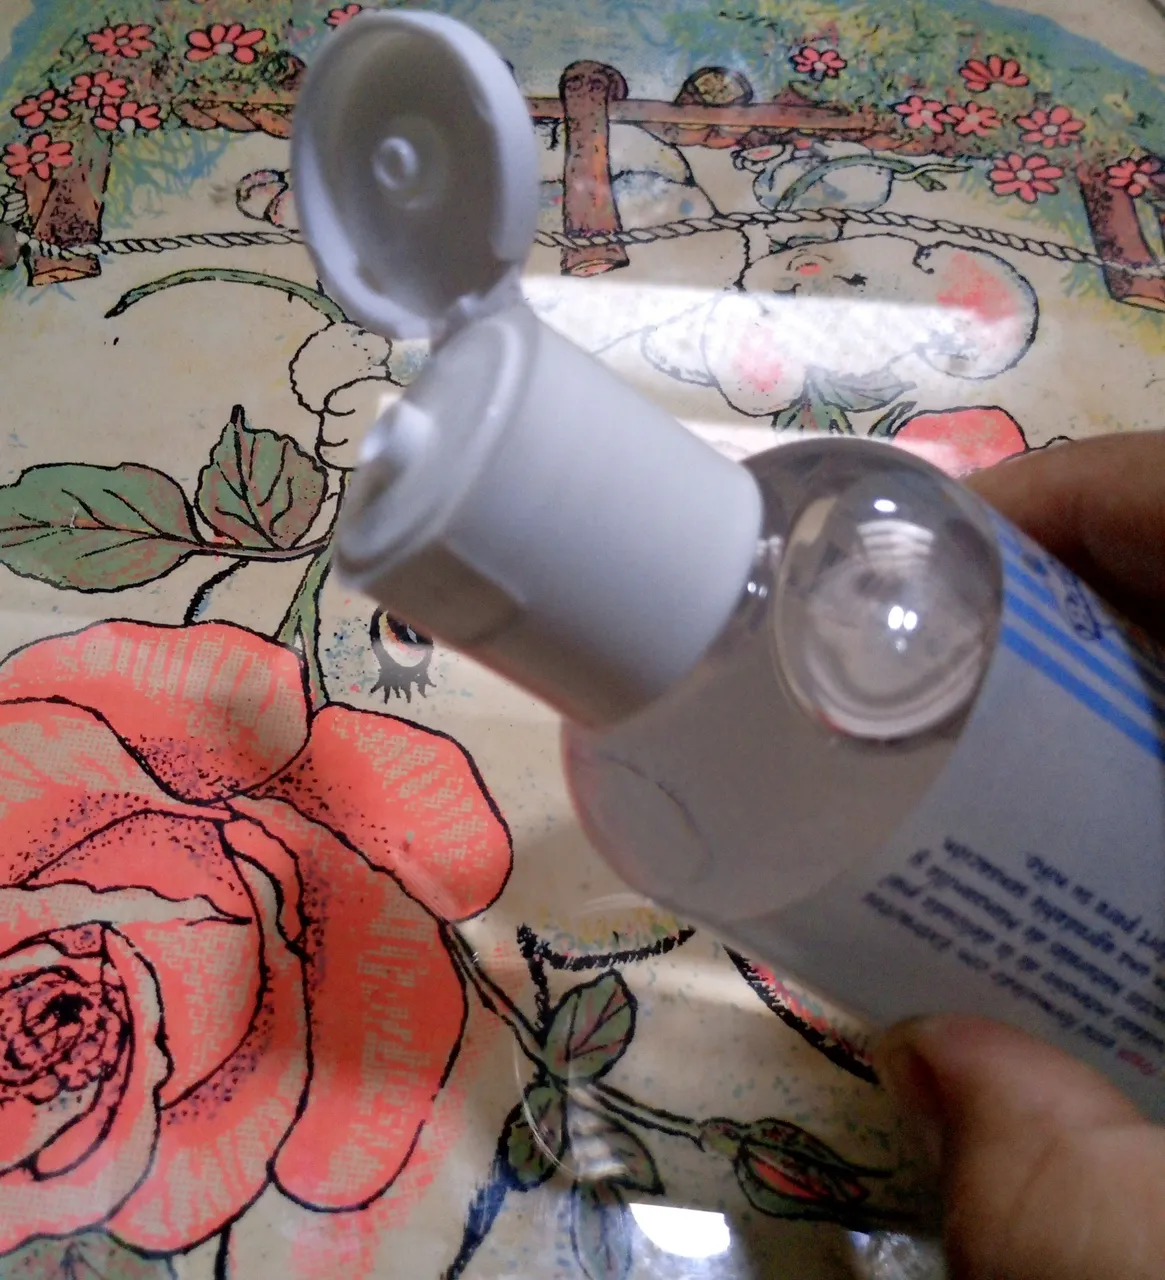 | Paso 2  | Paso 3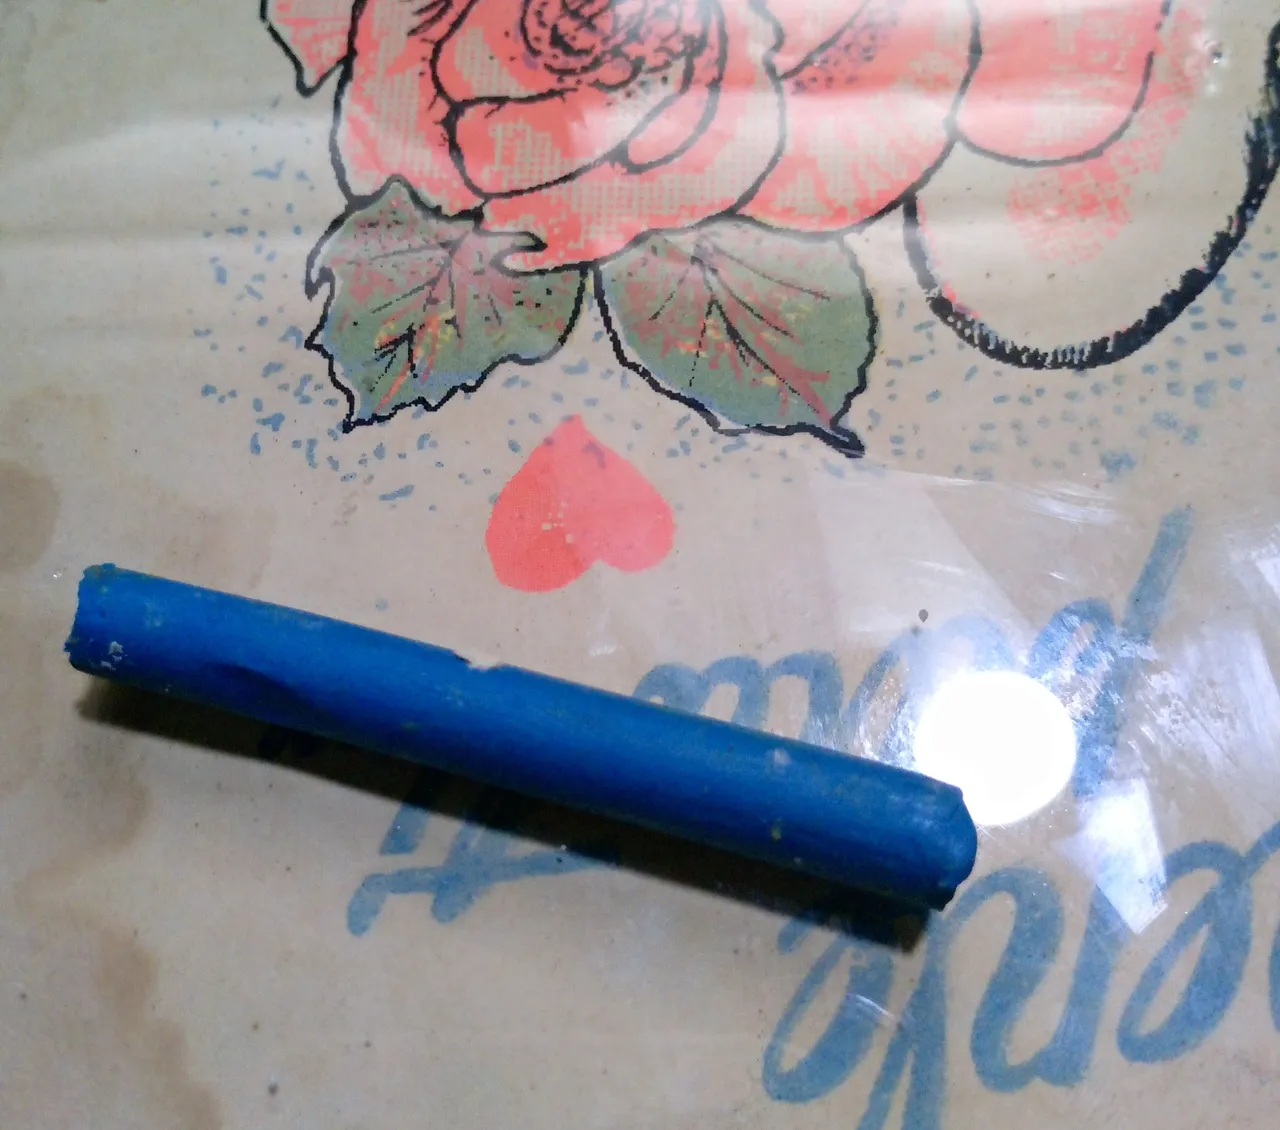 |
|---|
Step 1. On the clean, dry glass surface we will place 2 drops of oil.
Step 2. With the help of your fingers, brush or cotton we will spread the oil on the glass, covering the surface we are going to use.
Step 3. Select the plasticine according to the color.
Using plasticine is an option to give shape, color and texture to the design.
Paso 1. Sobre la superficie de vidrio limpia y seca vamos a colocar 2 gotas de aceite.
Paso 2. Con la ayuda de los dedos, brocha o algodón esparciremos el aceite sobre el vidrio, abarcando la superficie que vamos a utilizar.
Paso 3. Seleccionamos la plastilina según el color.
Utilizar plastilina es una opción para darle forma, color y textura al diseño.
Paso 4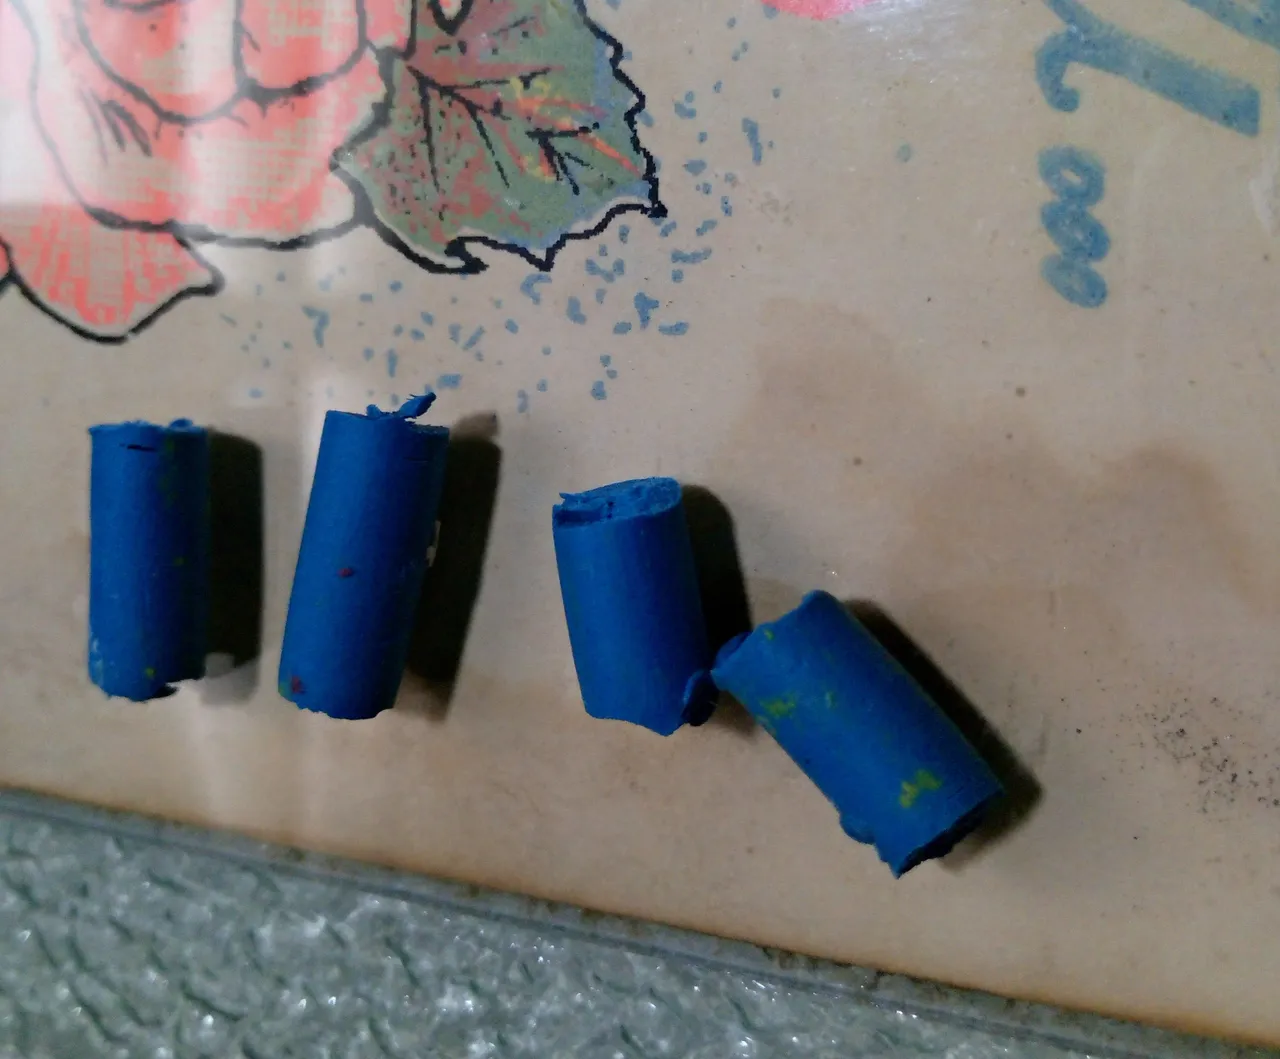 | Paso 5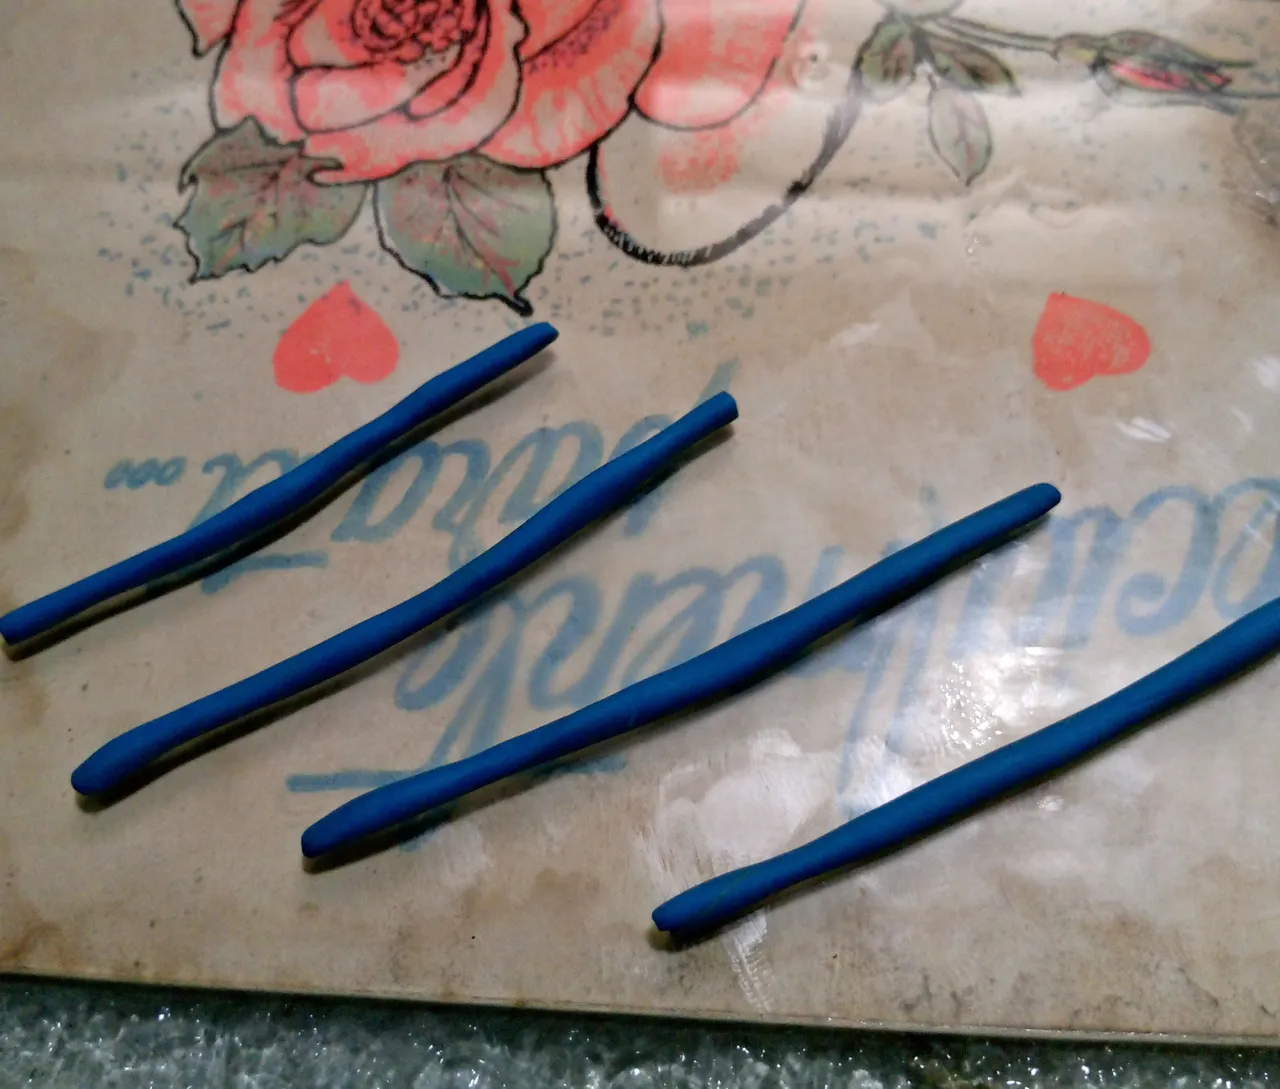 | Paso 6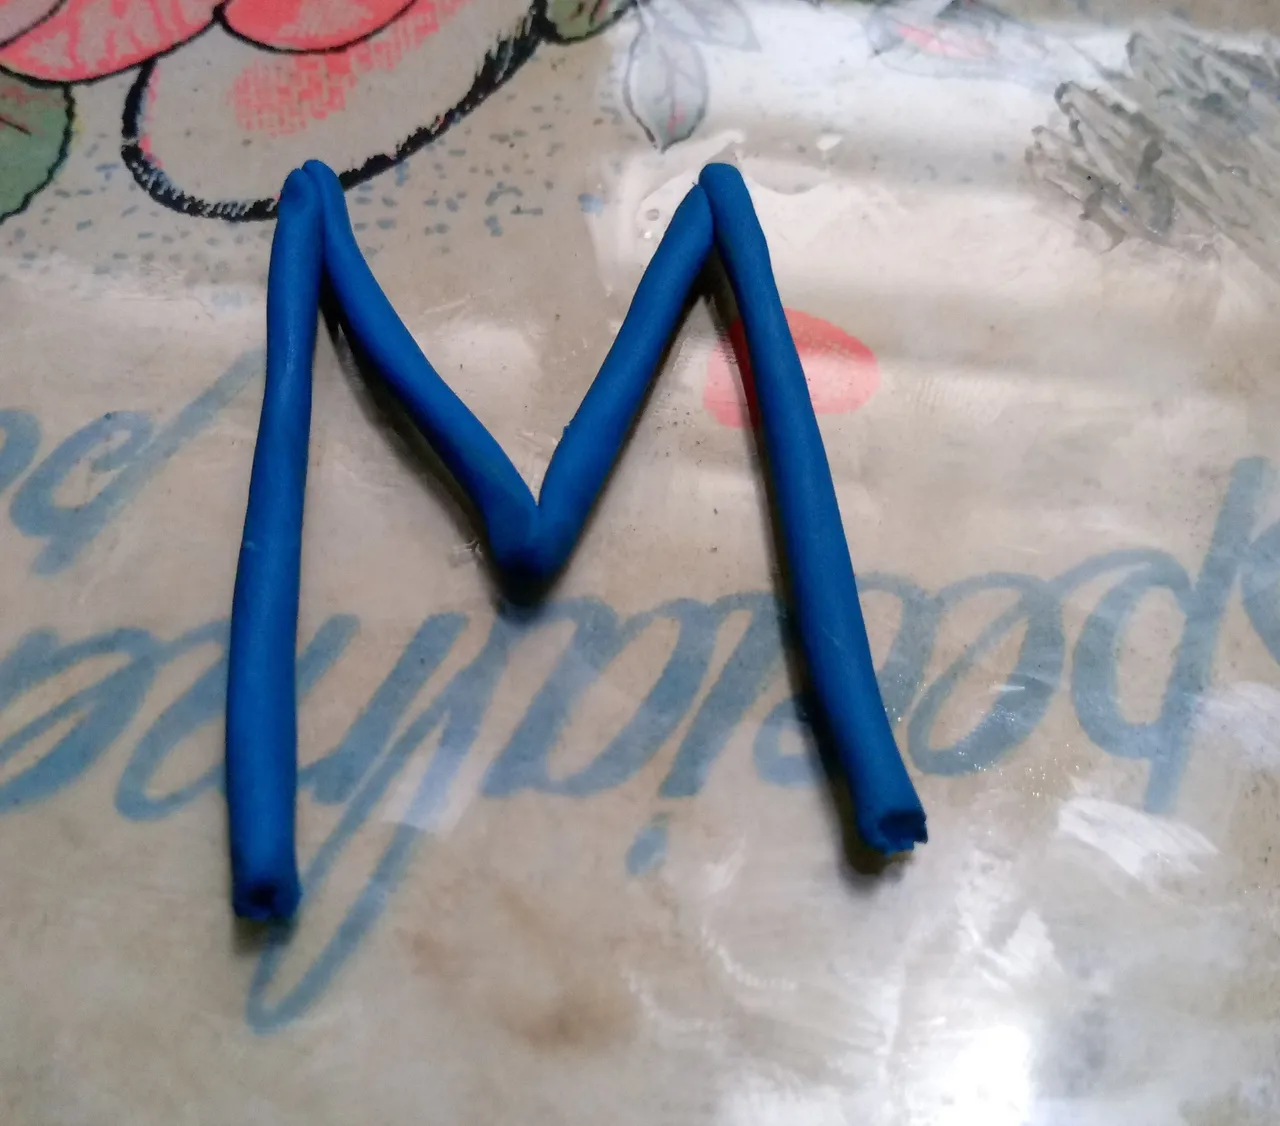 |
|---|
Step 4. We will cut the plasticine bar in 4 parts.
Step 5. With the pieces of plasticine form some wands, rubbing them in a space of the glass surface that did not have oil.
Step 6. We will measure the parts of the plasticine, 2 equal sides, and the central parts 2 equal, then we will join the pieces and glue them together, forming the letter M.
Paso 4. Cortaremos la barra de plastilina en 4 partes.
Paso 5. Con los trozos de plastilina forme unas varitas, frotándolas en un espacio de la superficie de vidrio que no tenía aceite.
Paso 6. Mediremos las partes de la plastilina, 2 laterales iguales, y las partes centrales 2 iguales, luego uniremos las piezas y pegamos entre sí, formando la letra M.
Paso 7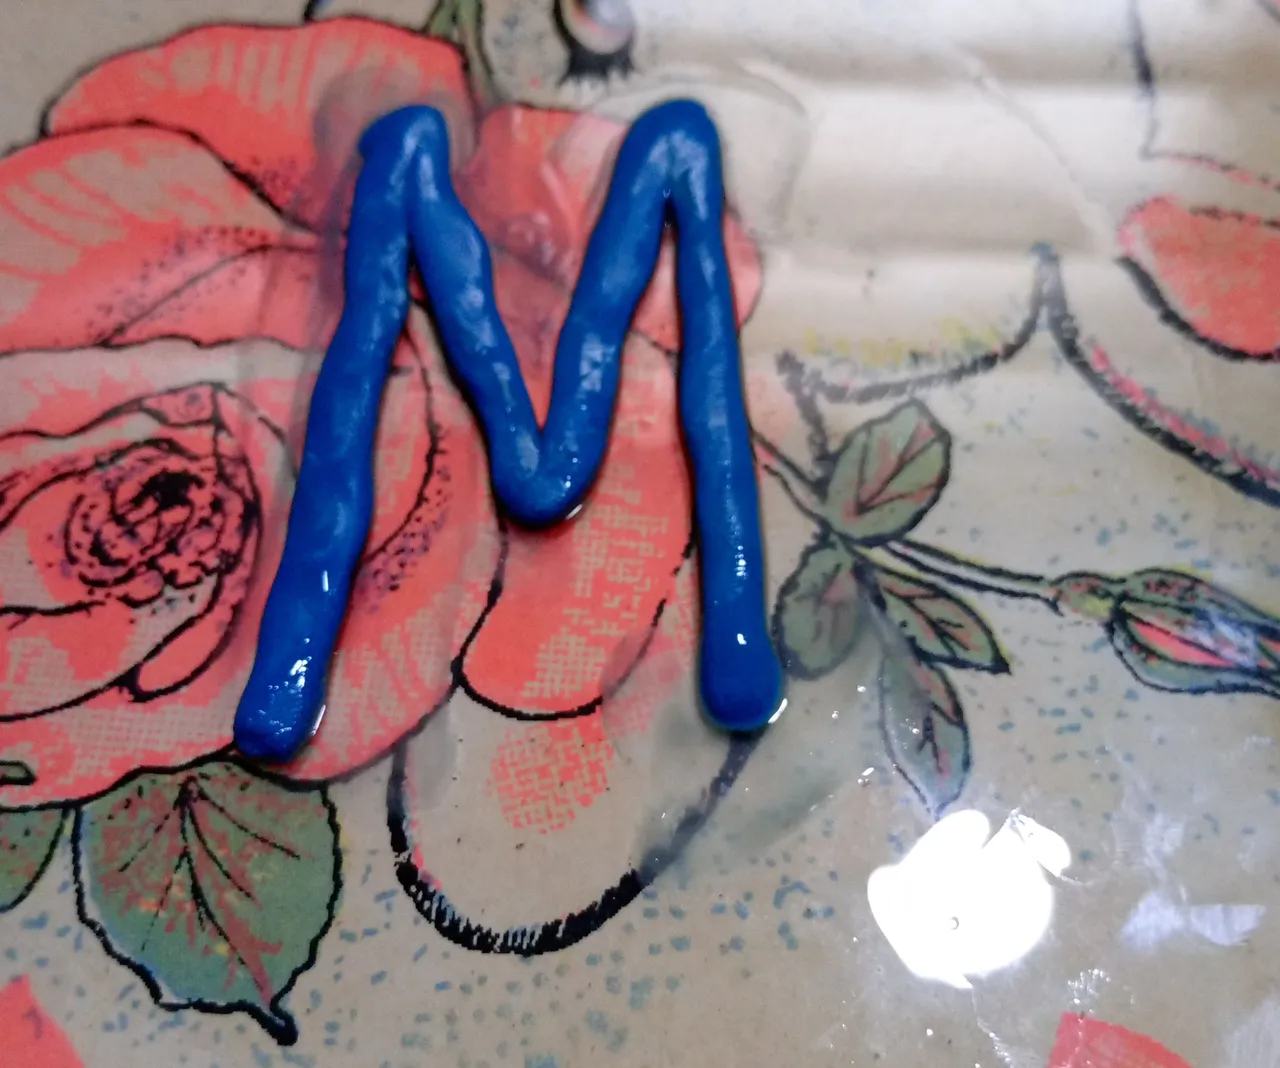 | Paso 8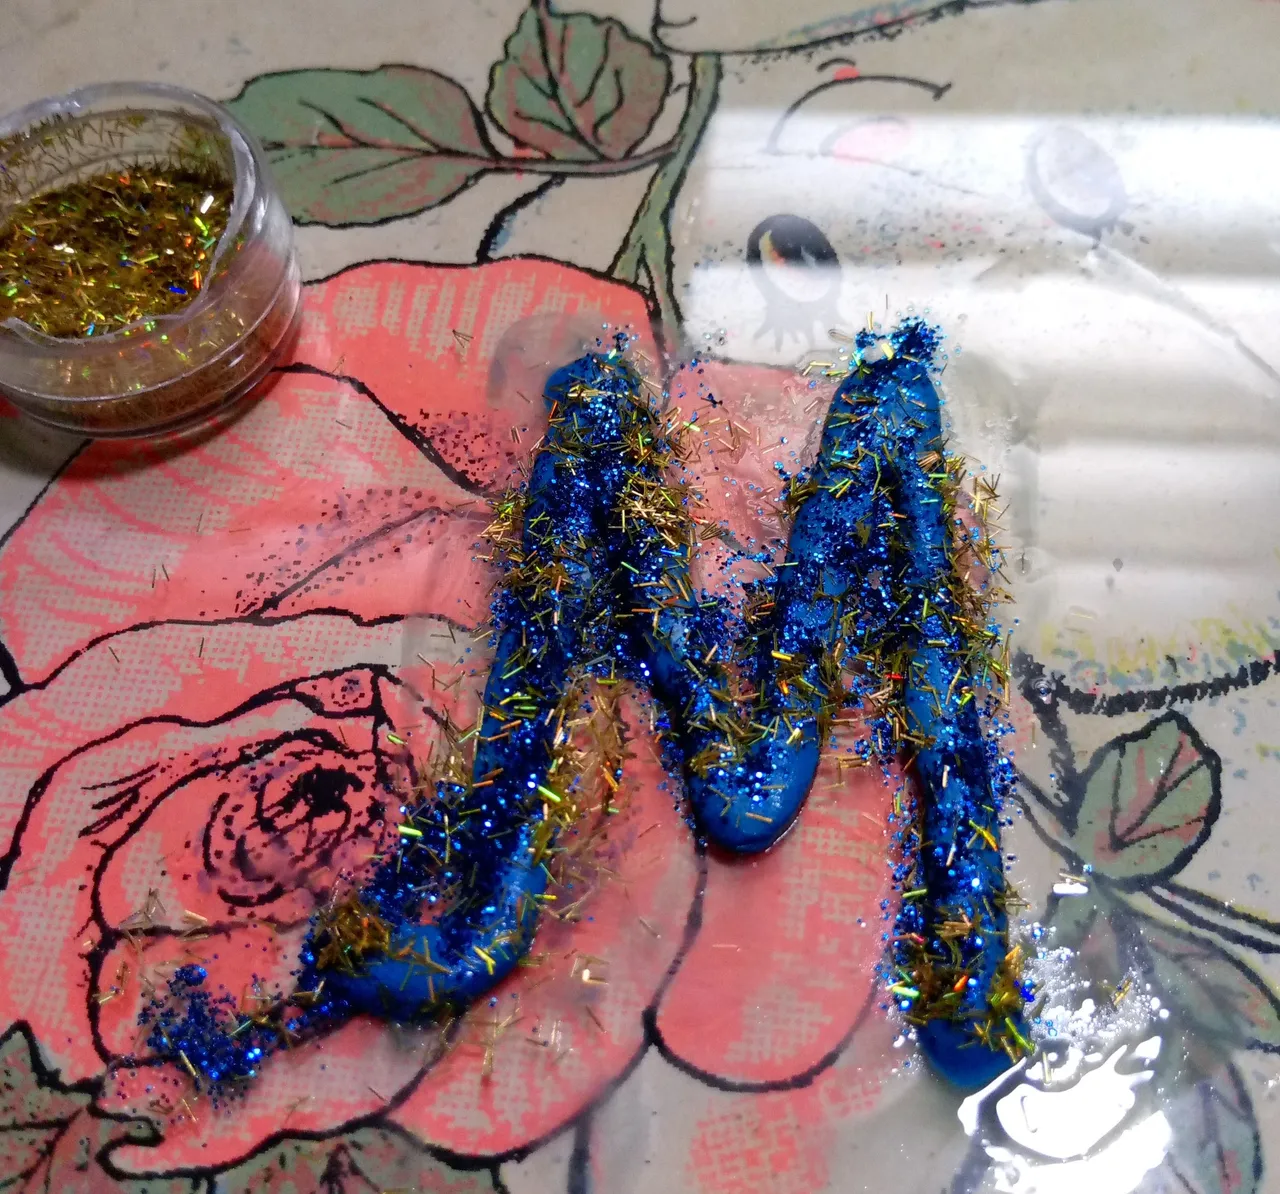 | Paso 9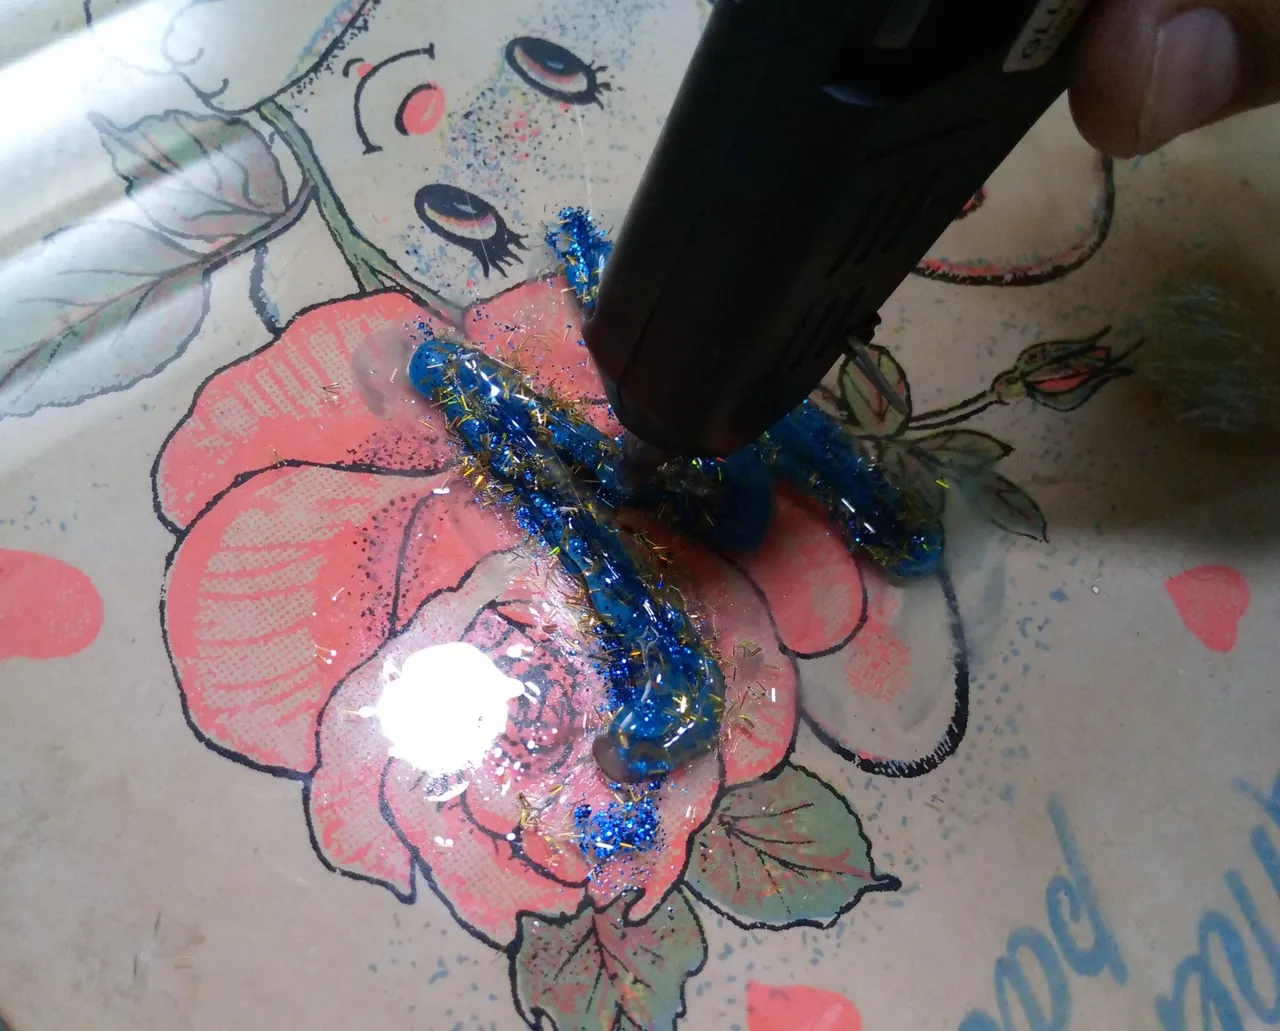 |
|---|
Step 7. We will transfer the letter M to the glass surface with oil and give it a nicer shape.
Step 8. We will decorate the plasticine M with blue and gold glitter.
Step 9. On the letter, we will begin to apply the hot silicone with the gun, carefully covering the entire plasticine.
Paso 7. Traspasaremos la letra M para la superficie de vidrio con aceite y le damos una forma más linda.
Paso 8. Vamos a decorar la M de plastilina con glitter azul y dorado.
Paso 9. Sobre la letra, comenzaremos a aplicar la silicona caliente con la pistola, con mucho cuidado cubriendo en su totalidad la plastilina.
Paso 10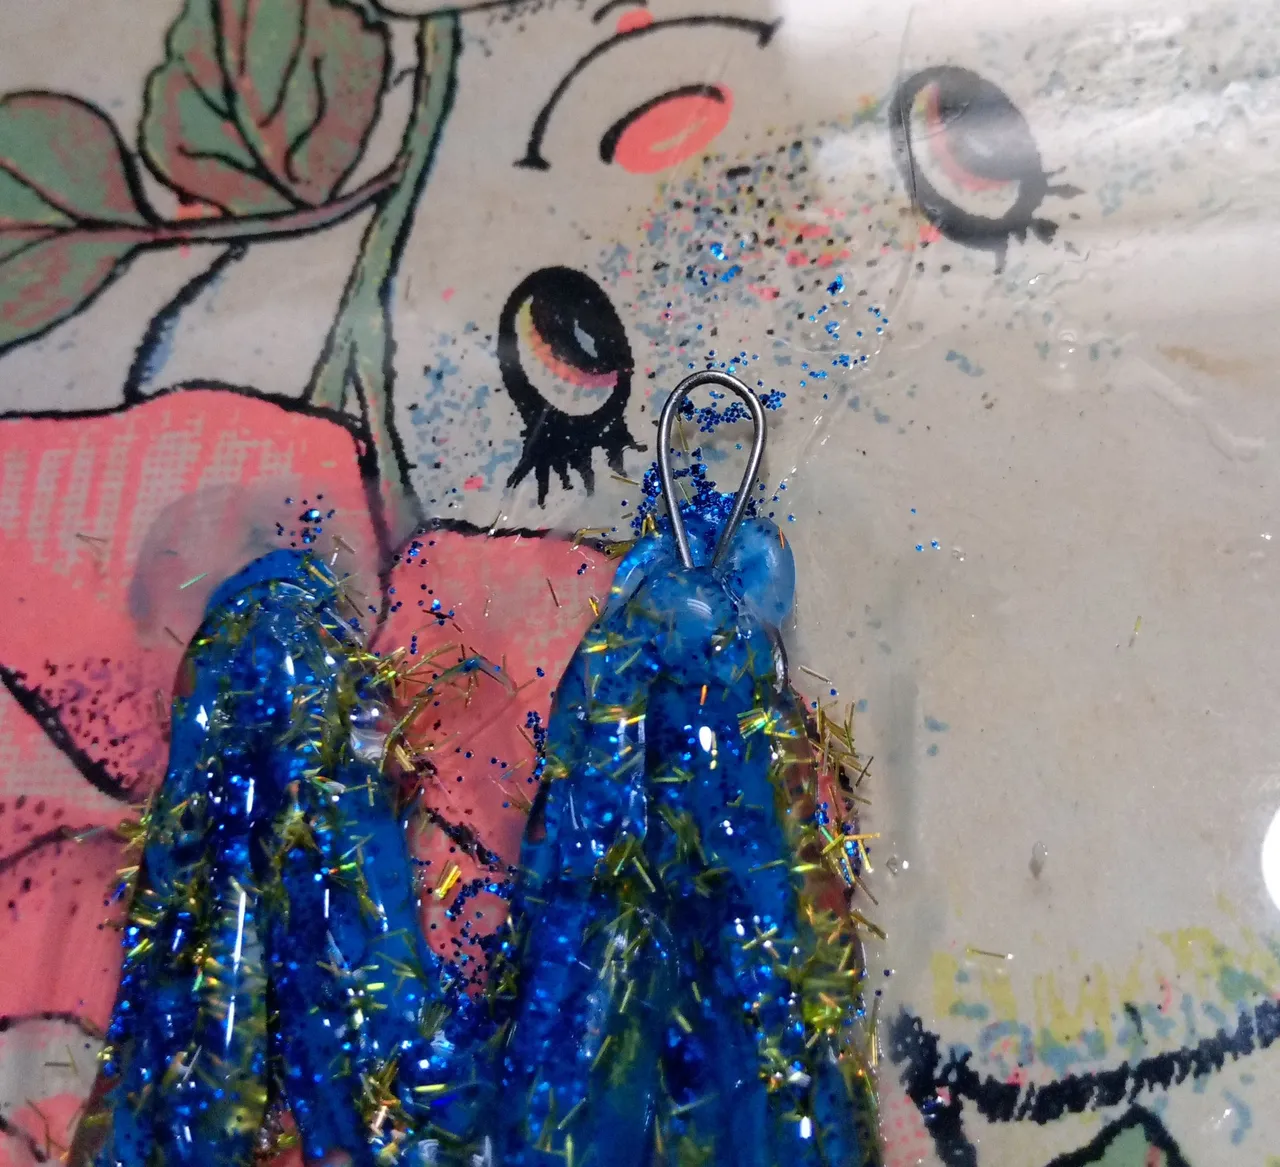 | Paso 11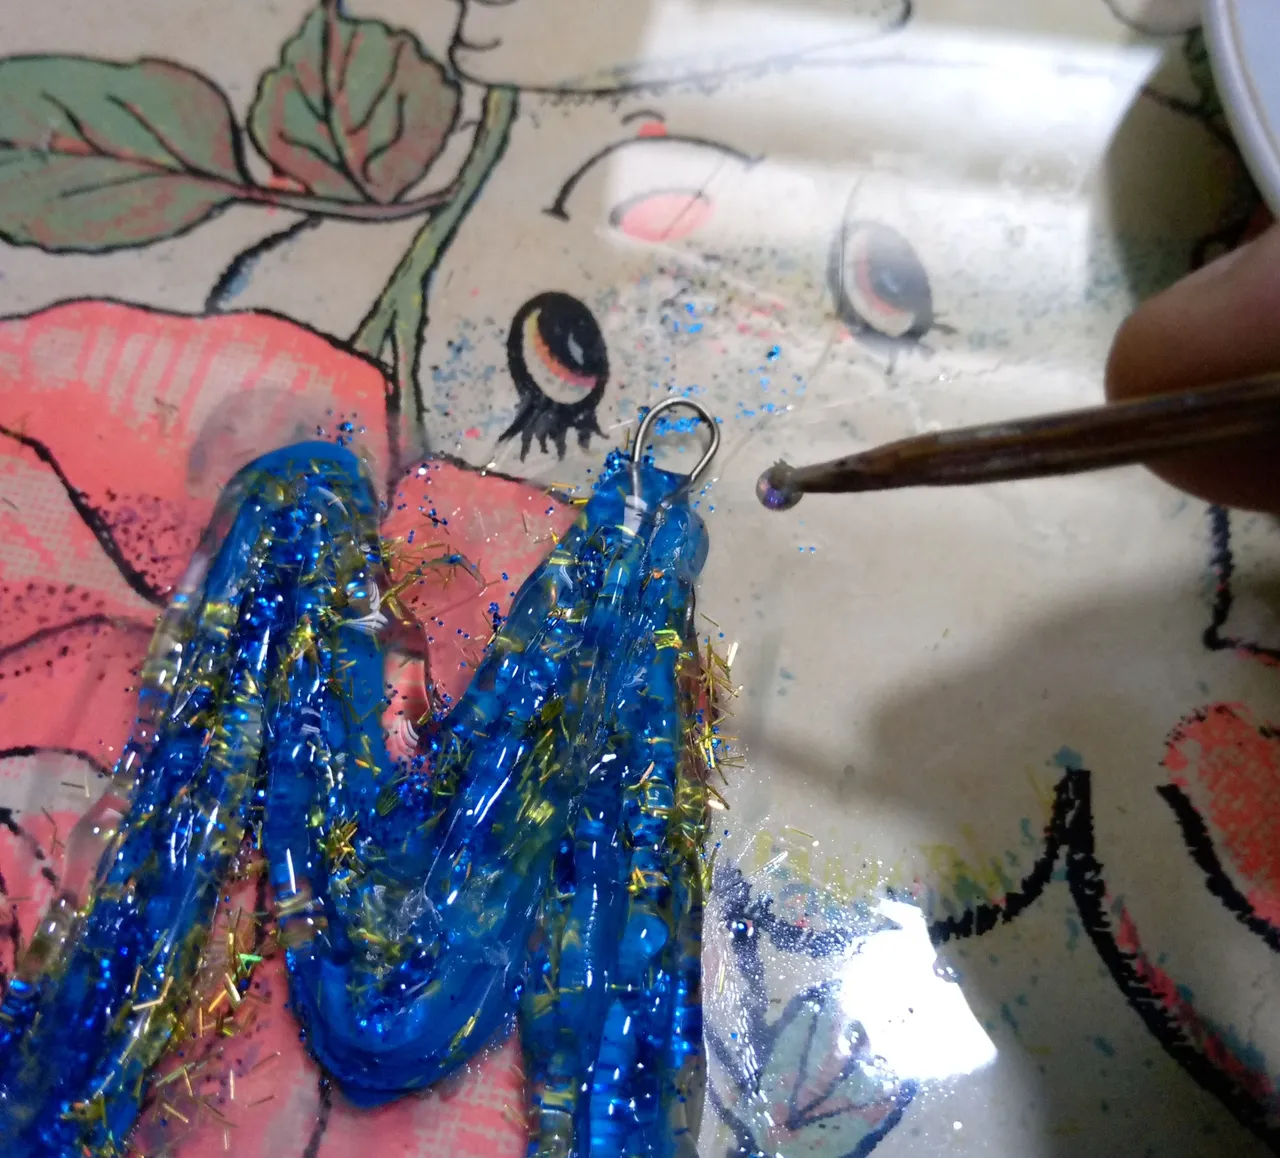 | Paso 12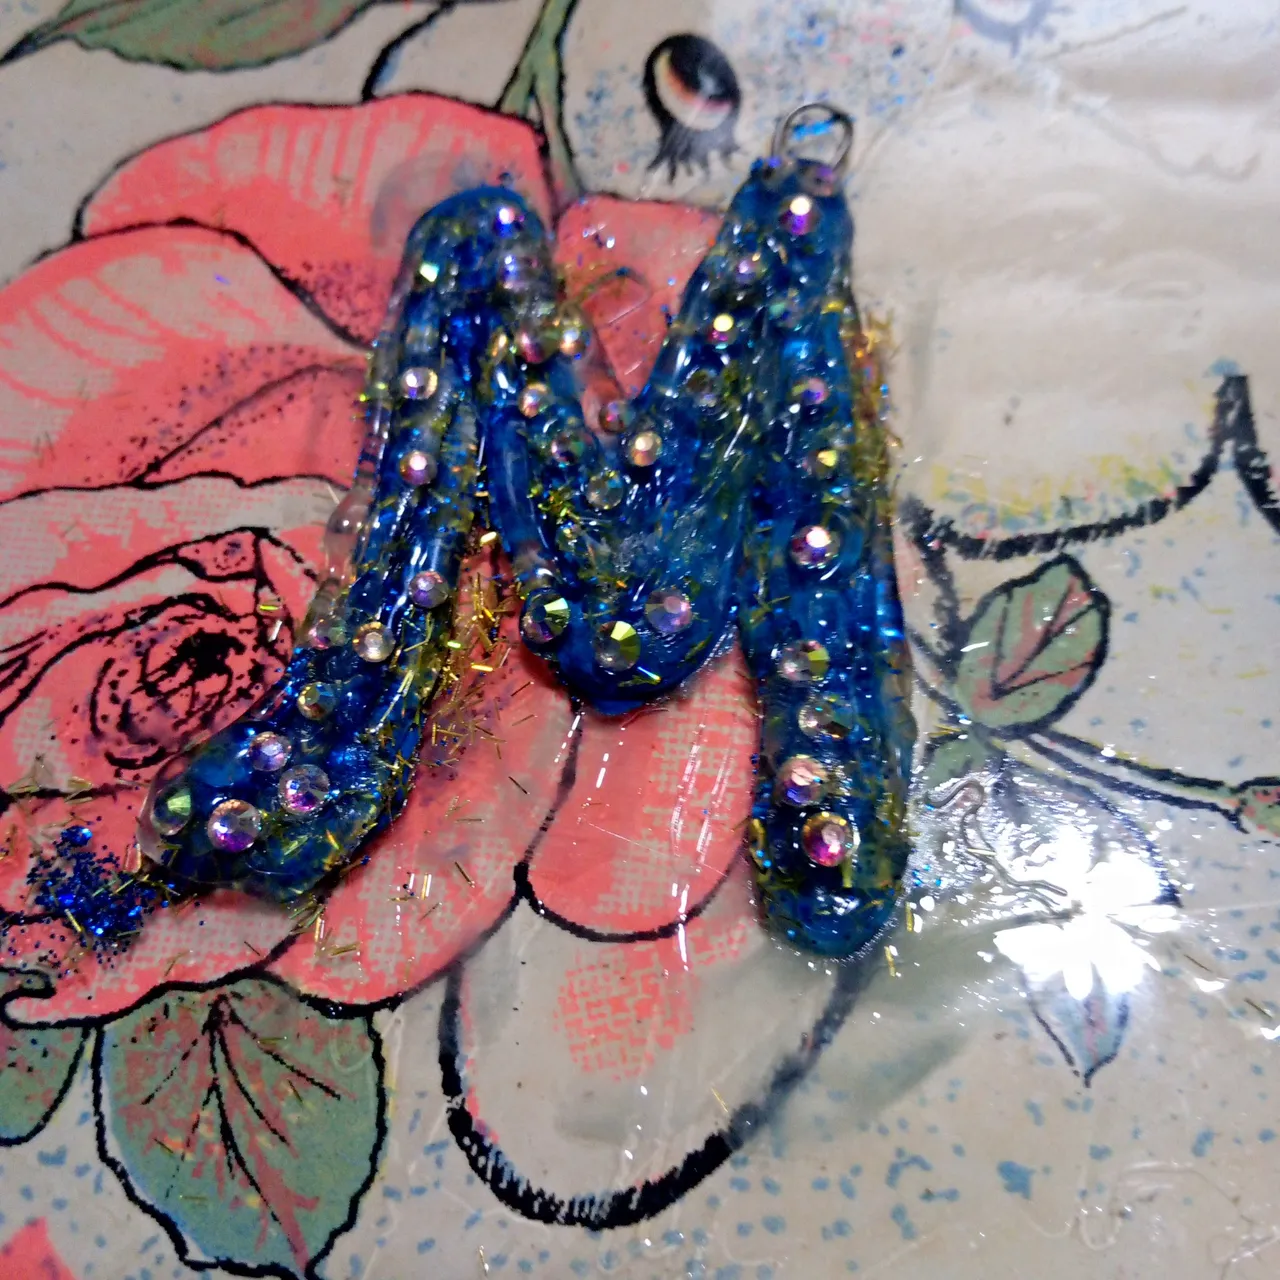 |
|---|
Step 10. During the application of the silicone we will embed a hanging ring.
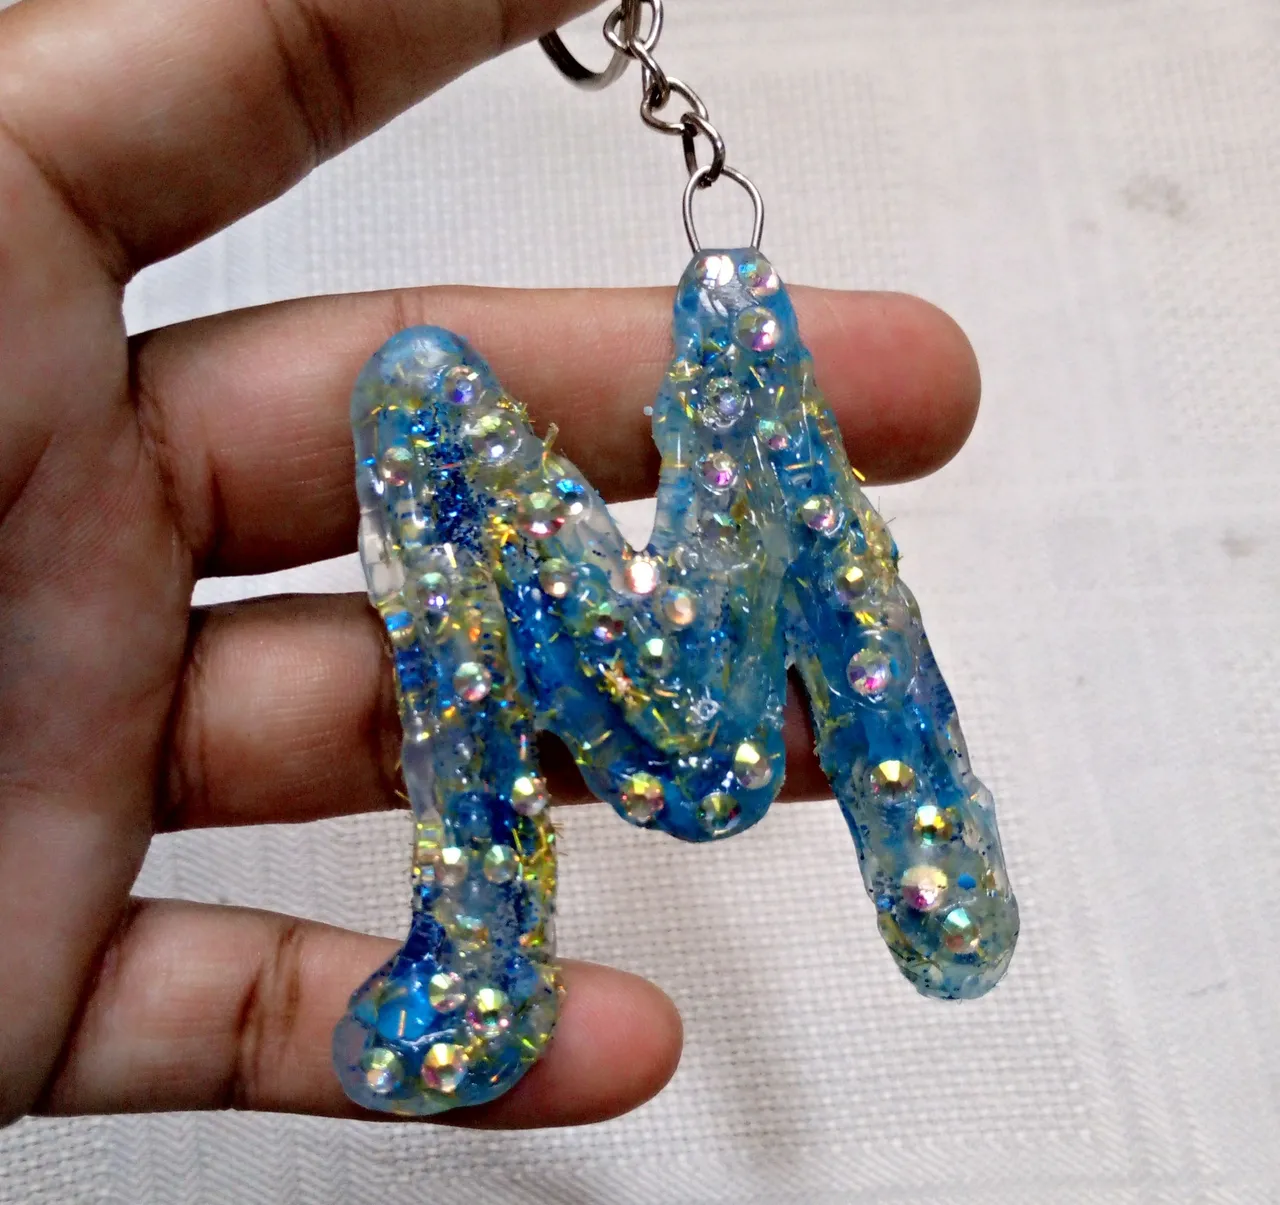
Step 11. Without letting the silicone cool, we are going to place the decorative stones of our preference.
Step 12. Let the silicone cool for a few minutes.
Paso 10. Durante la aplicación de la silicona le vamos a incrustar una argolla para colgar.
Paso 11. Sin dejar que la silicona enfríe, le vamos a ir colocando las piedras decorativas a nuestra preferencia.
Paso 12. Dejaremos enfriar la silicona unos minutos.
Paso 13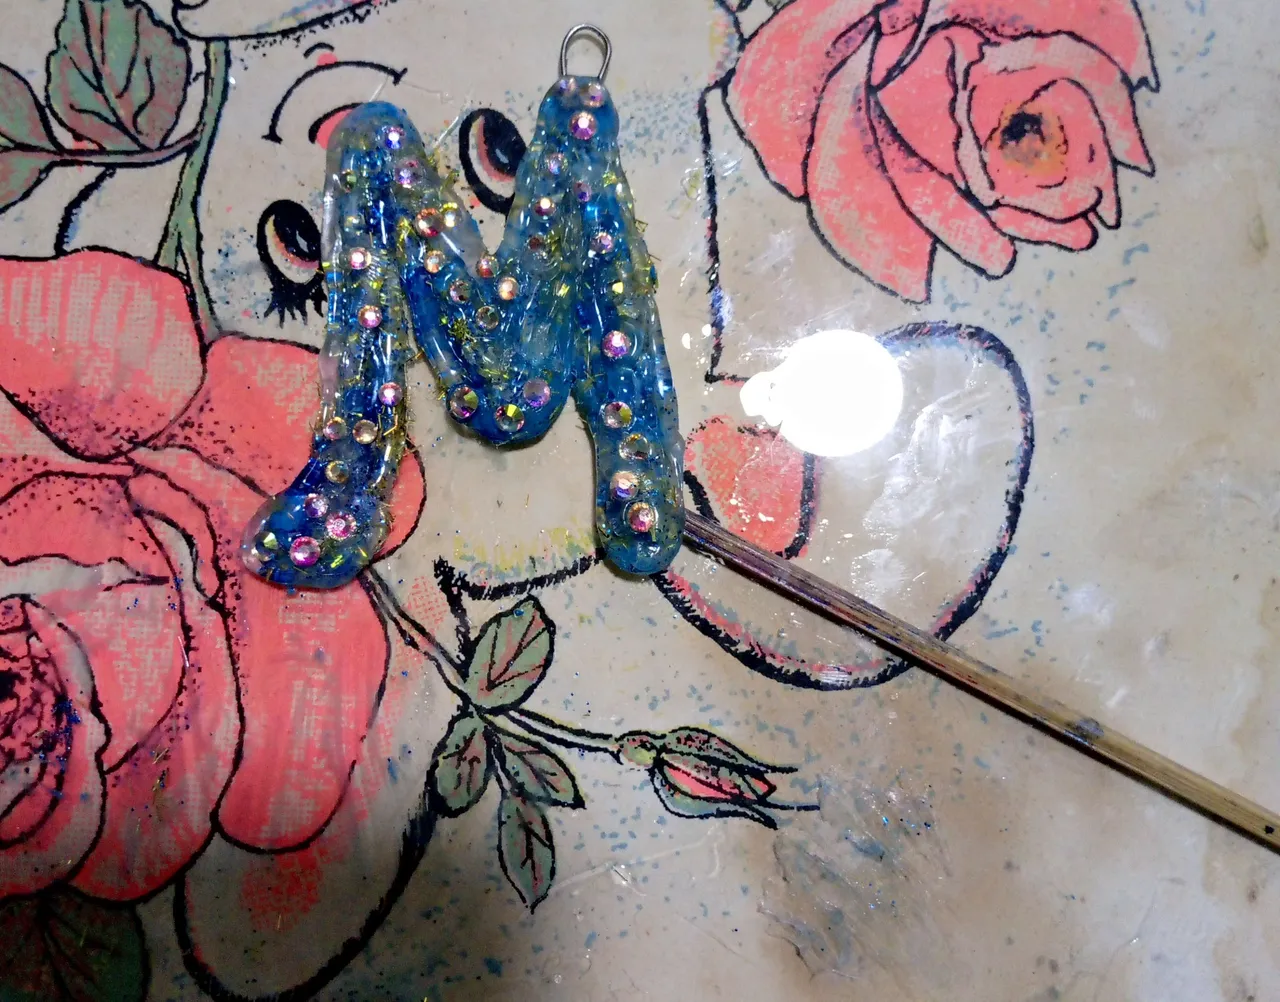 | Paso 14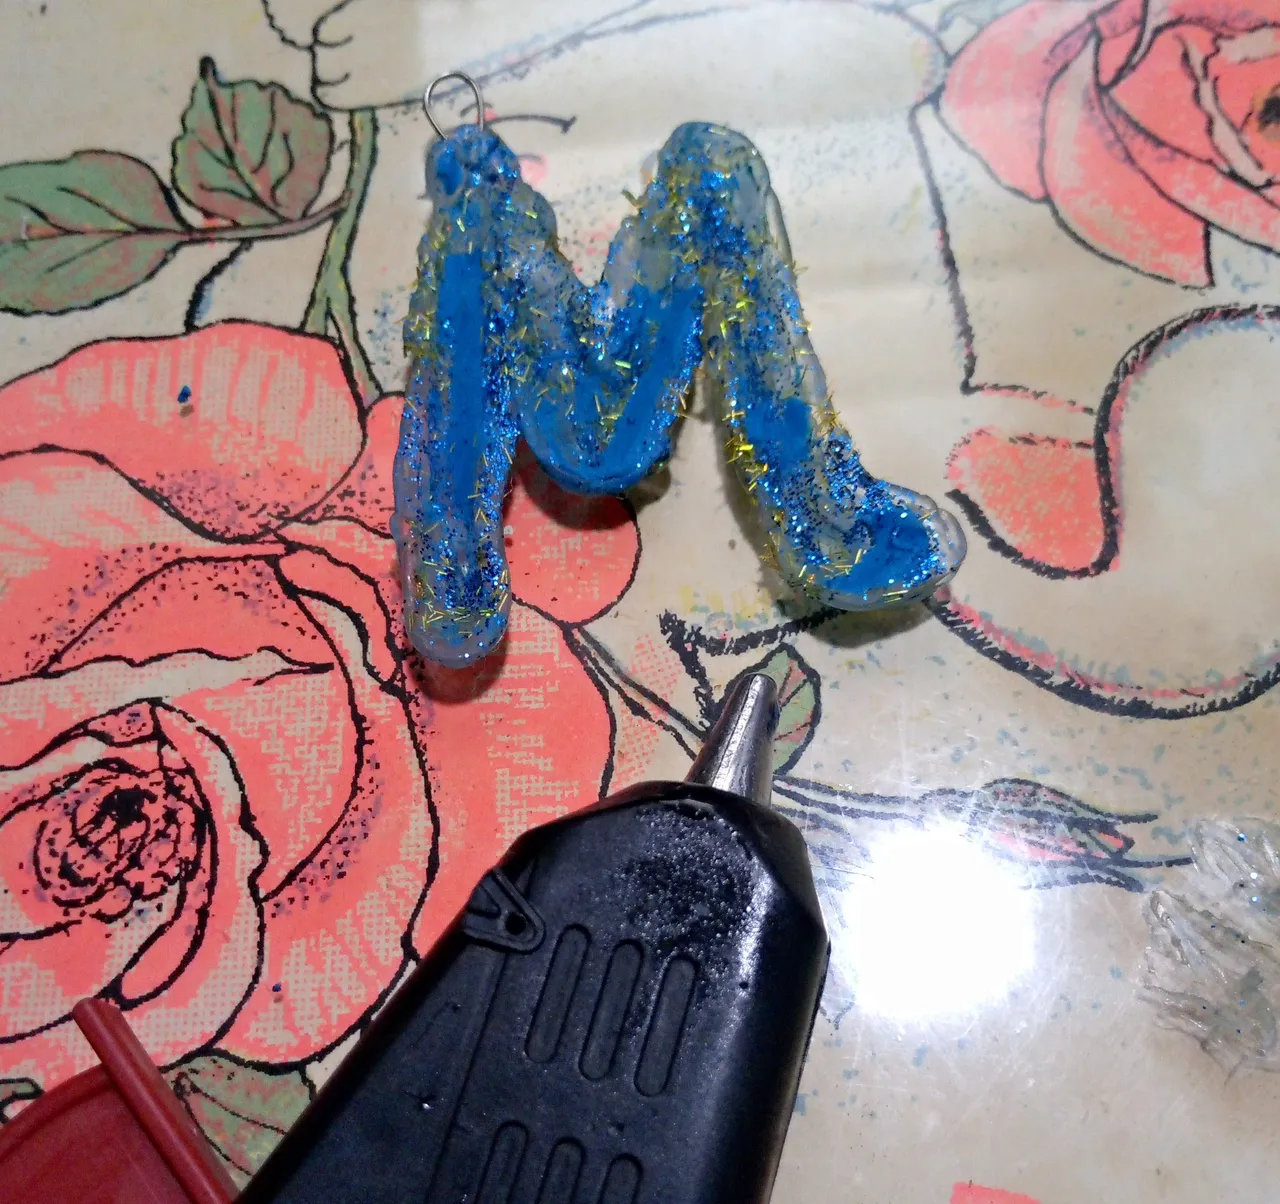 | Paso 15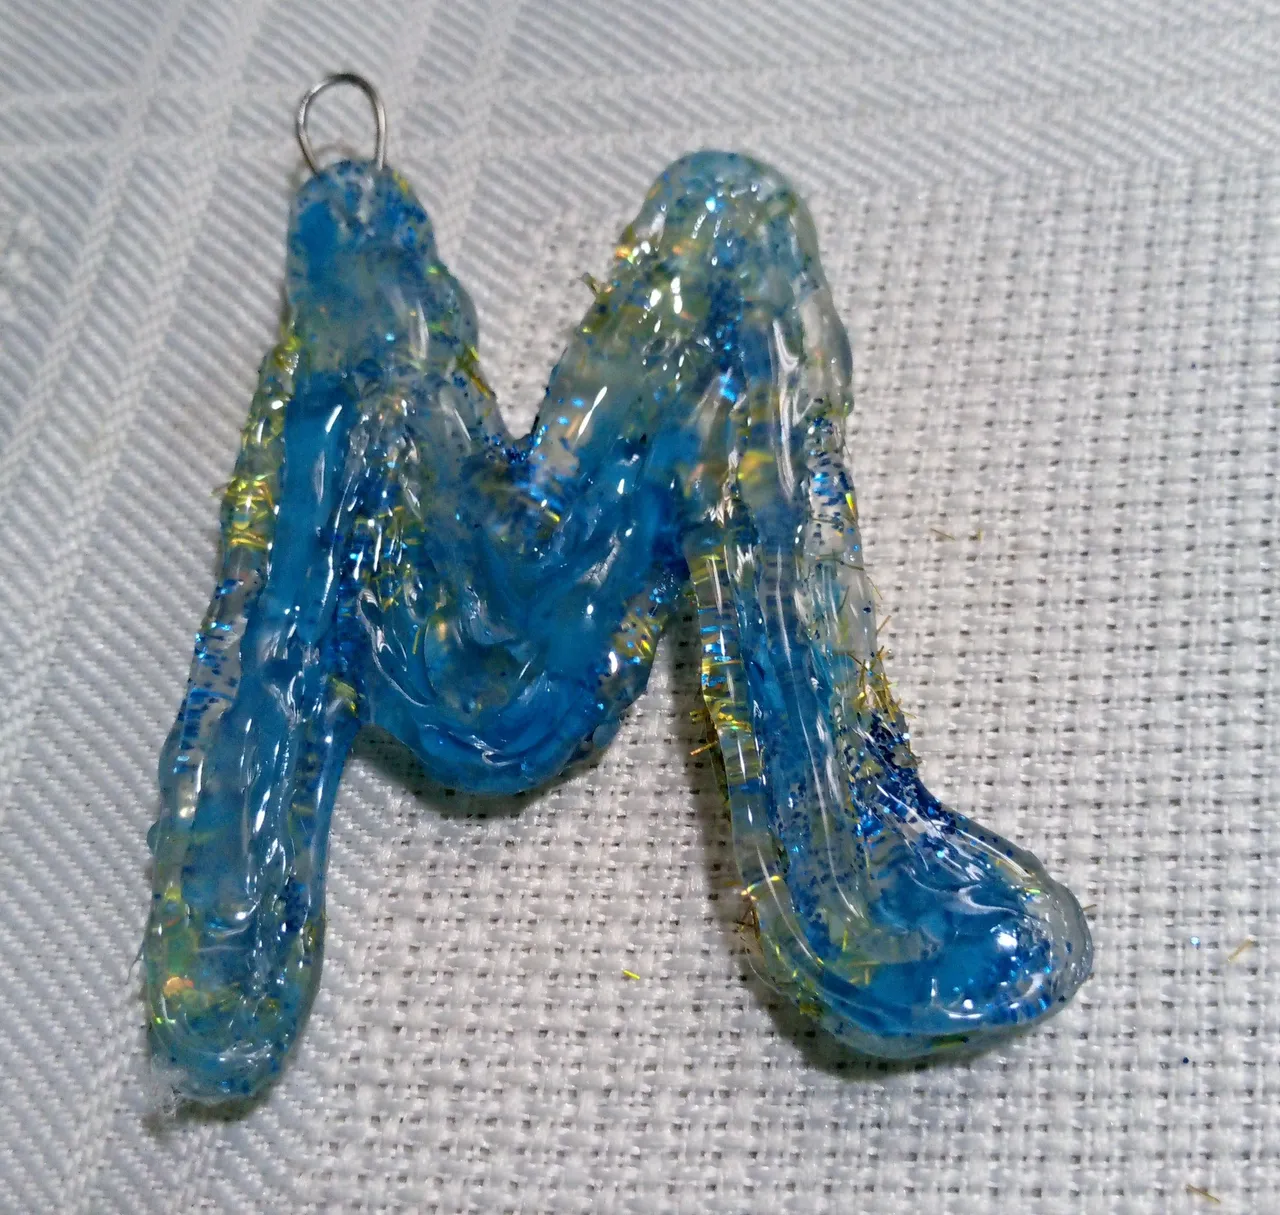 |
|---|
Step 13. After the silicone is cool, we will take off the letter of our keychain, very easy with the help of a stick or any other tool we have at hand.
Step 14-15. We will turn the letter, remove the excess of unwanted plasticine and fill with plasticine the back of the letter and leave another few minutes to cool and we will be releasing a new keychain with the initial of our name.
Paso 13. Después que la silicona esté fría, despegaremos la letra de nuestro llavero, muy fácil con la ayuda de un palito o cualquier otra herramienta que tengamos a mano.
Paso 14-15 Voltearemos la letra, retiramos los excedentes de plastilina no deseados y rellenaremos con plastilina la parte trasera de la letra y dejaremos otros minutos a que enfríe y ya estaremos estrenando un nuevo llavero con la inicial de nuestro nombre.
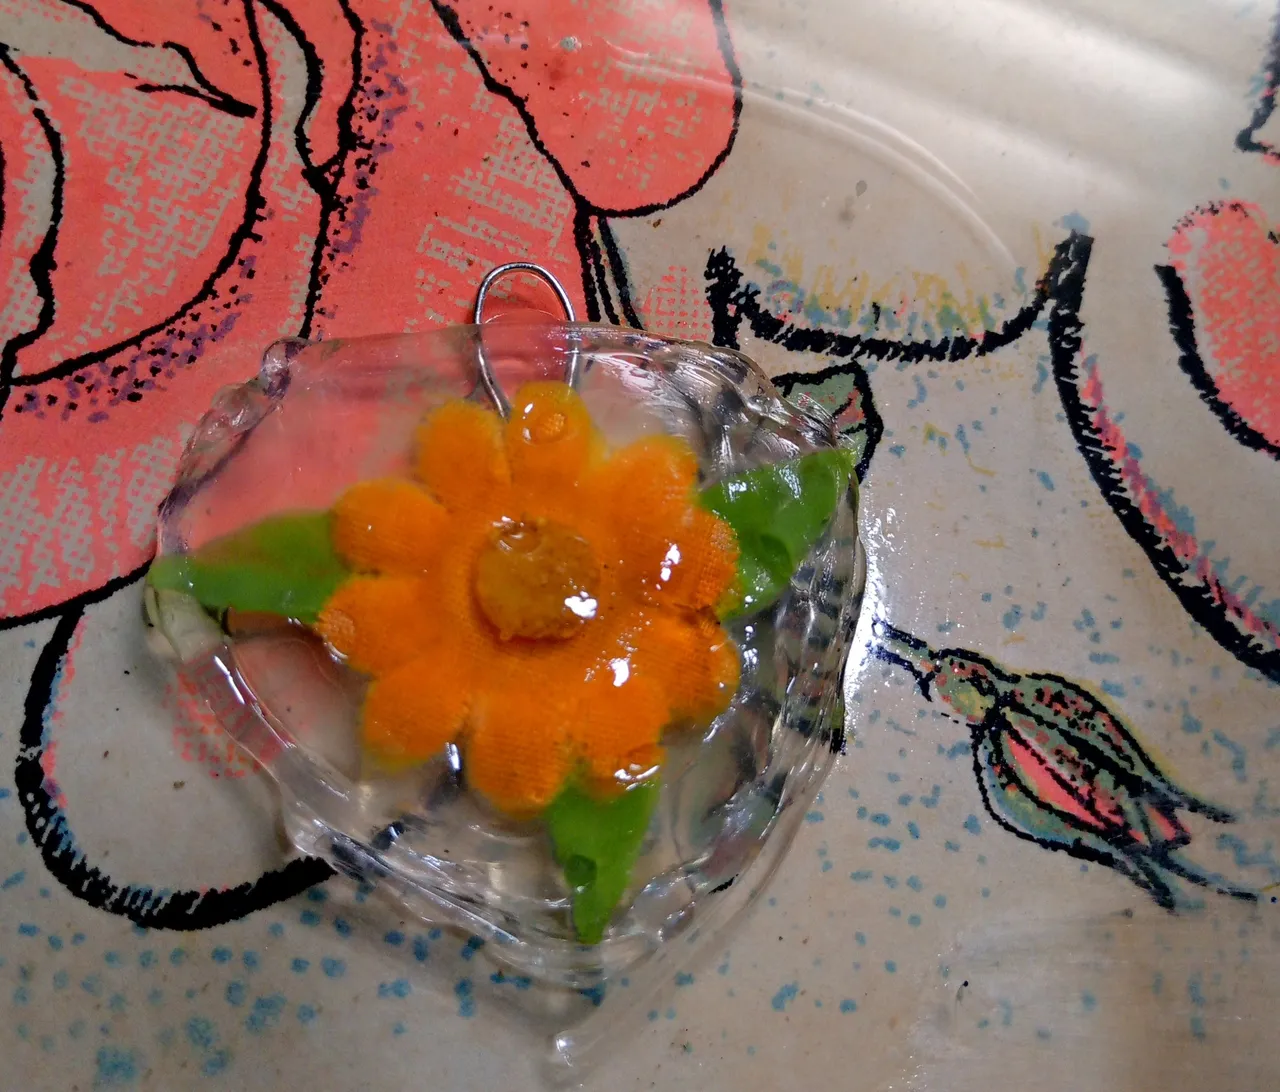
I hope you liked these techniques to make keychains with hot silicone, it really is very easy and fun, ideal to share with our family and friends, to make a nice detail and give away, and the most important thing is that we can even use natural materials such as flowers and any ornament that we have that is useful and transform them into other ideas, here I also show you a keychain with a beautiful artificial flower that I made with the same techniques, to give it to a friend.
Thanks for reading and leaving your comment, you will always be an ally to motivate. Happy and blessed day.😘💞
Espero que les haya gustado estas técnicas para hacer llaveros con silicona caliente, realmente es muy fácil y divertido, ideal para compartir con nuestra familia y amigos, para hacer un bonito detalle y regalar, y lo más importante es que podemos utilizar incluso materiales naturales como flores y cualquier adorno que tengamos que nos sea útil y transfórmalos en otras ideas, aquí también les muestro un llavero con una linda flor artificial que hice con las mismas técnicas, para regalársela a una amiga.
Gracias por leer y dejar tu comentario, siempre serás un aliado para motivar. Feliz y bendecido día.😘💞
social networks / redes sociales
![]()
![]()
Traductor Deepl
Translated Deepl
Ediciones Canva
Editions Canva