(ENG)
Hello everyone, I hope you are feeling very well, I want to congratulate you, today for being a holiday, for the Worker, for you, my dear content creators, for the entire @hive Community and especially for @diyhub, who every day , they strive, without anyone imagining, for what they are going through or not, and they fight to bring a different idea, captured in a beautiful, delicate manual project, a strong and very heartfelt hug. Today I am going to show you a very simple idea, but made with a lot of love to show you. It is a keychain inspired by a beautiful baby bear and a delicate sunflower, which you can use as pendants for your wallets, bags or simply as a keychain, made in amigurumi. The invitation is to follow me and I will show you how I did it.

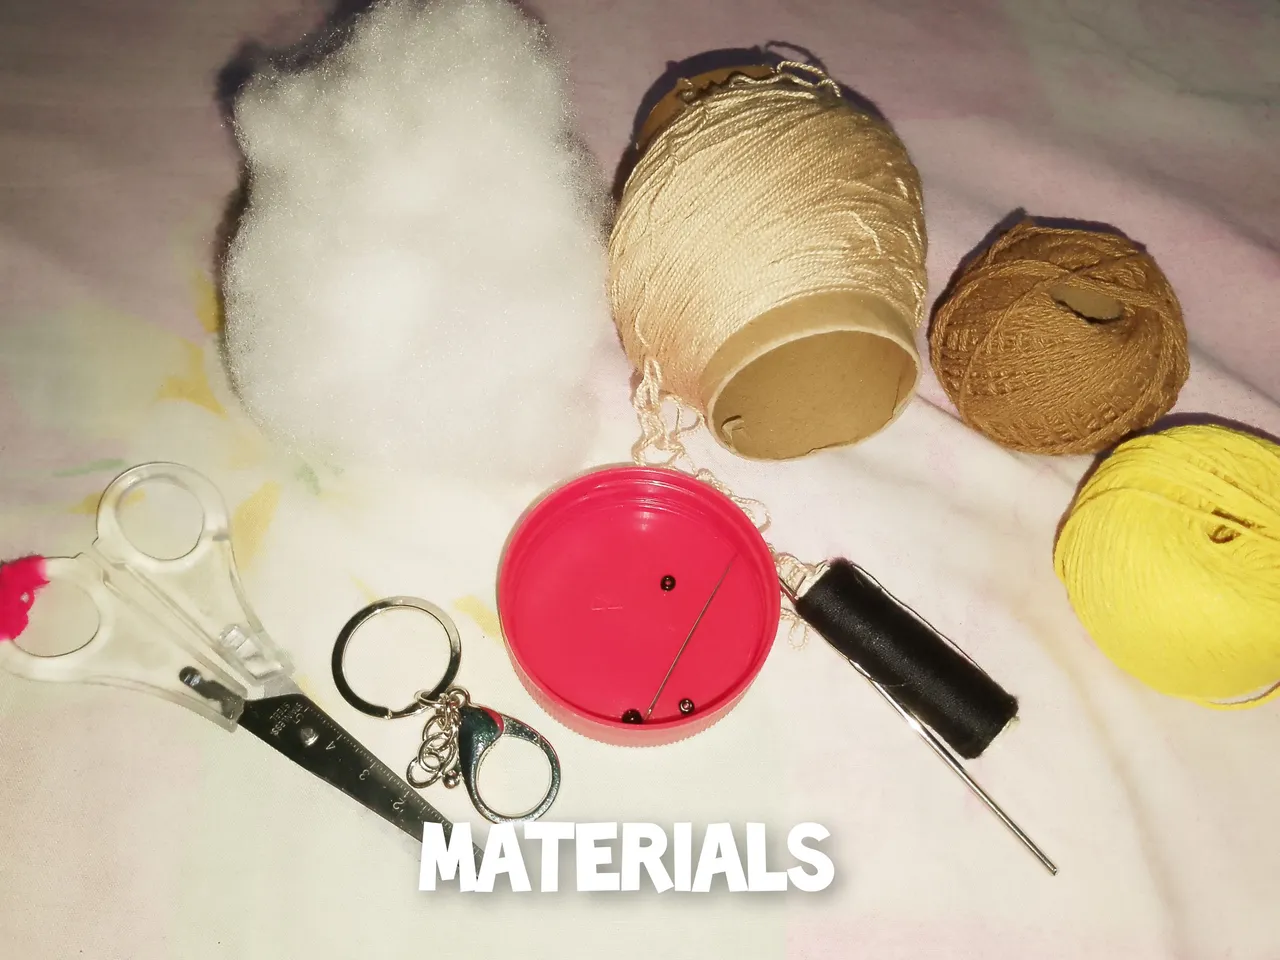
Used materials:
. Stainless steel keychain.
. Threads for knitting, colors (yellow, brown, cream) . Knitting needle.
. Wool needle.
. Black sewing thread.
. Two black beads.
. Scissors.
. Stuffed.
Steps:
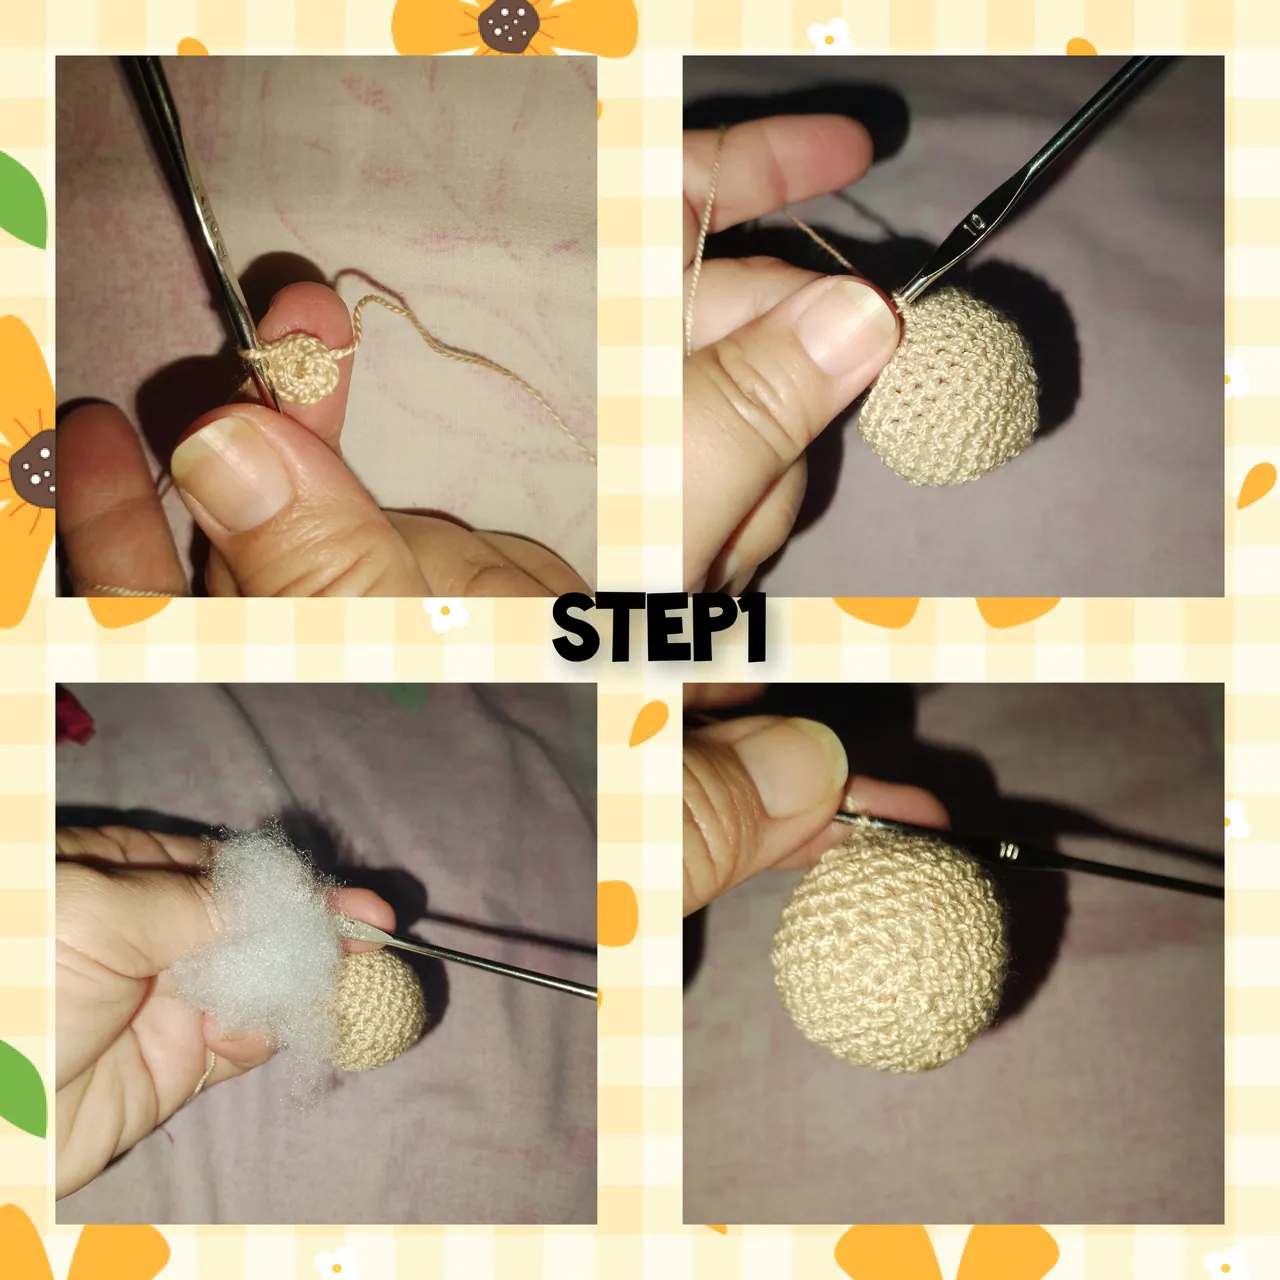
1.) In a magic ring, I have knitted six half stitches, I close the ring and make a slip stitch over the first half stitch. For the next one, I make an increase in each half stitch, then a single crochet and an increase, and I knit two more rounds, knitting, two, three and four, reaching up to here, 34(sc), before each increase. I continue doing the next four rows of (34sc), and in the following ones, I will do the decreases. I place filling and close the first sphere. What will be the head of the baby bear.
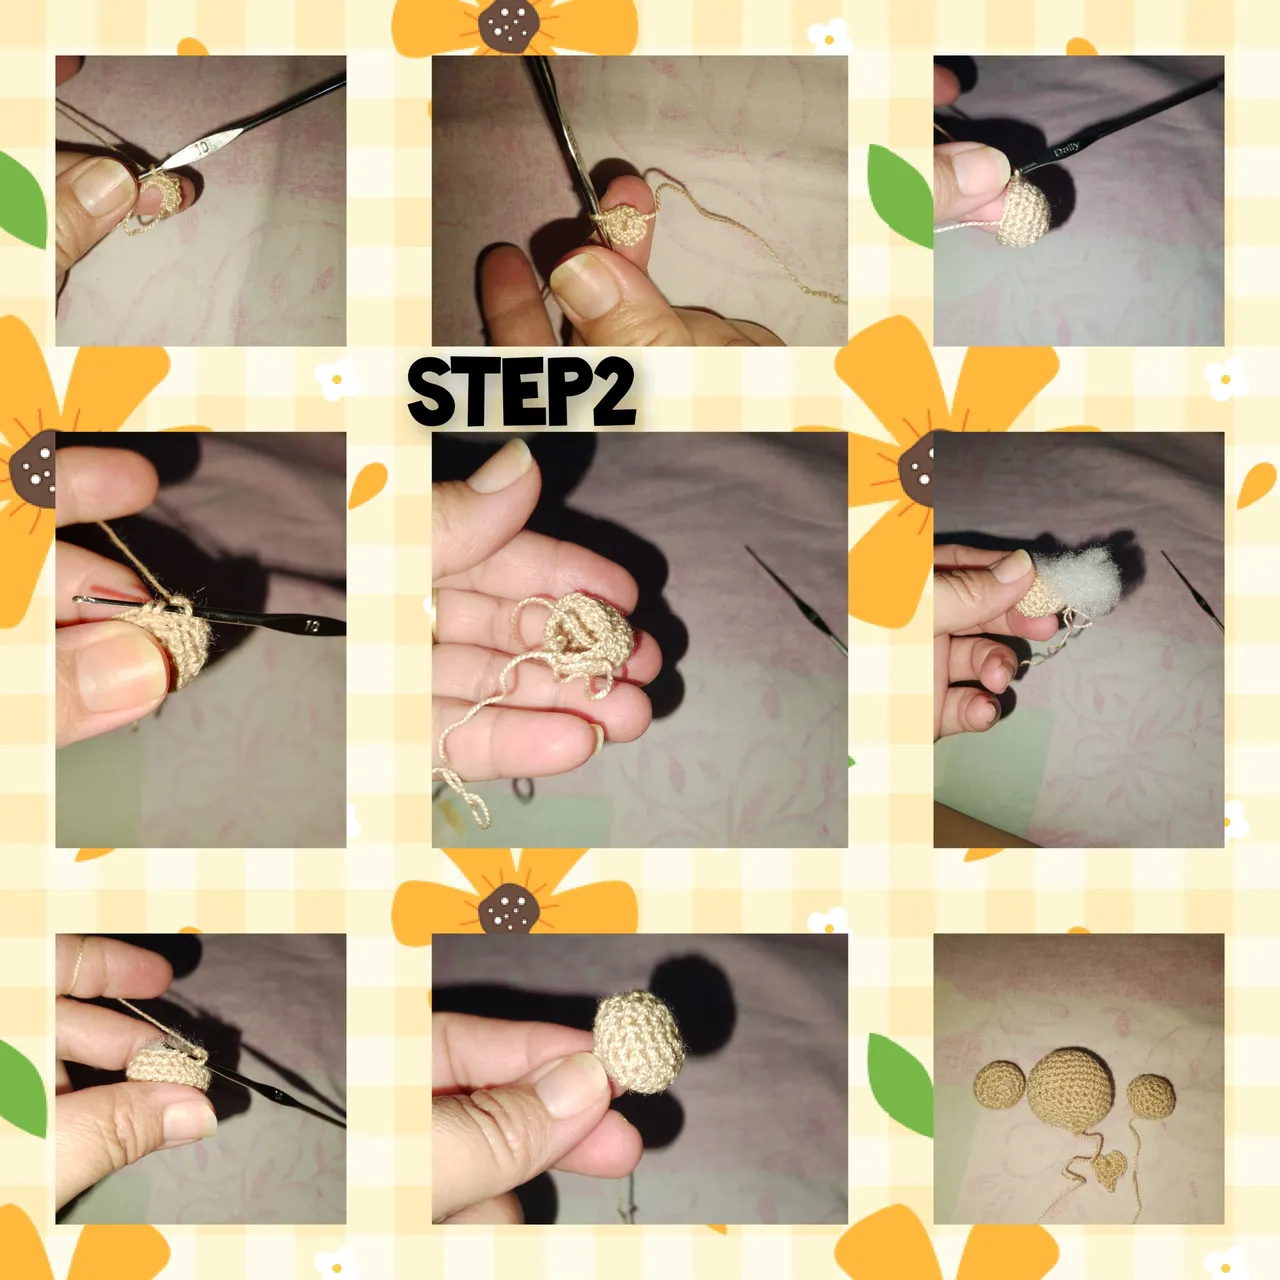
2.) In this step, I will first knit the small spheres that will be the ears of the bear. I start as I did in the previous one, but when I reach round n2, I repeat three passes of, (12sc), and continue making the decreases, before closing, I put a little filling, and I close the mini sphere, this is what I did. I repeat, for the next one. Now in a magic ring, I knit two half crochets, two double half crochets and two double crochets, I pick up two chain stitches and go to the ring knitting, a slipped stitch, I repeat on the next side, and I close the ring, closed this one, gives shape of a small heart, which I will use as the bear of the bear 🐻. List the parts.
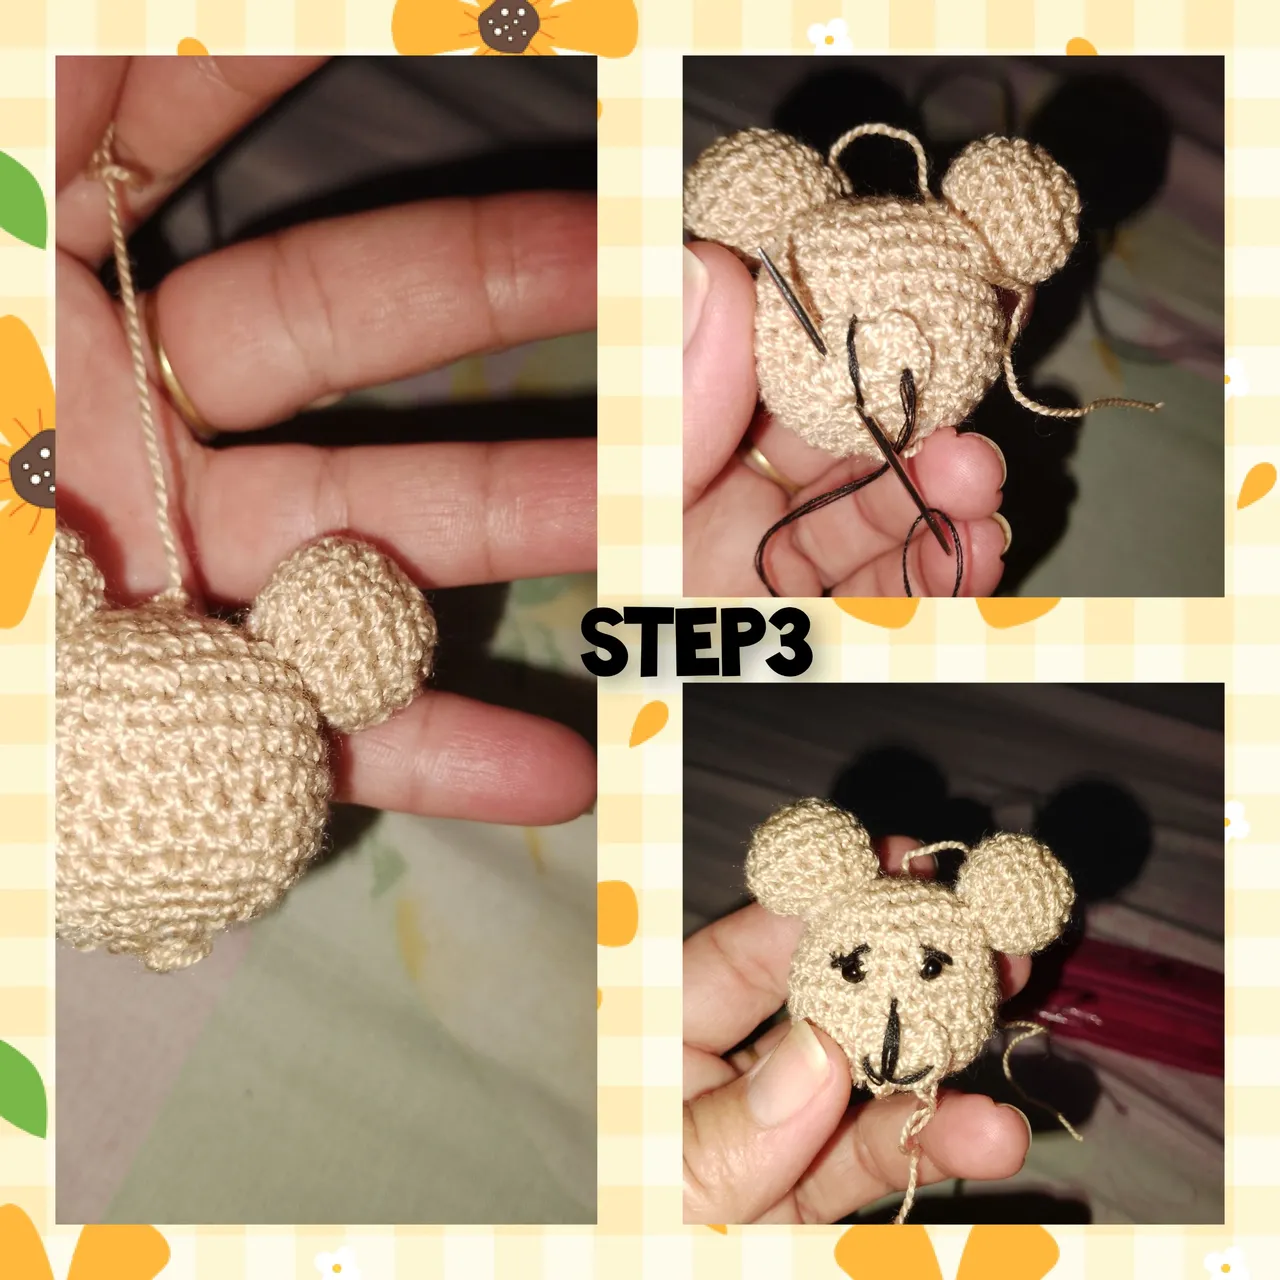
3.) with the wool needle, I start gluing the ears, then I change to the black color of thread, glue and embroider the bear, and fix the little bear's eyes. Thus leaving the bear ready.
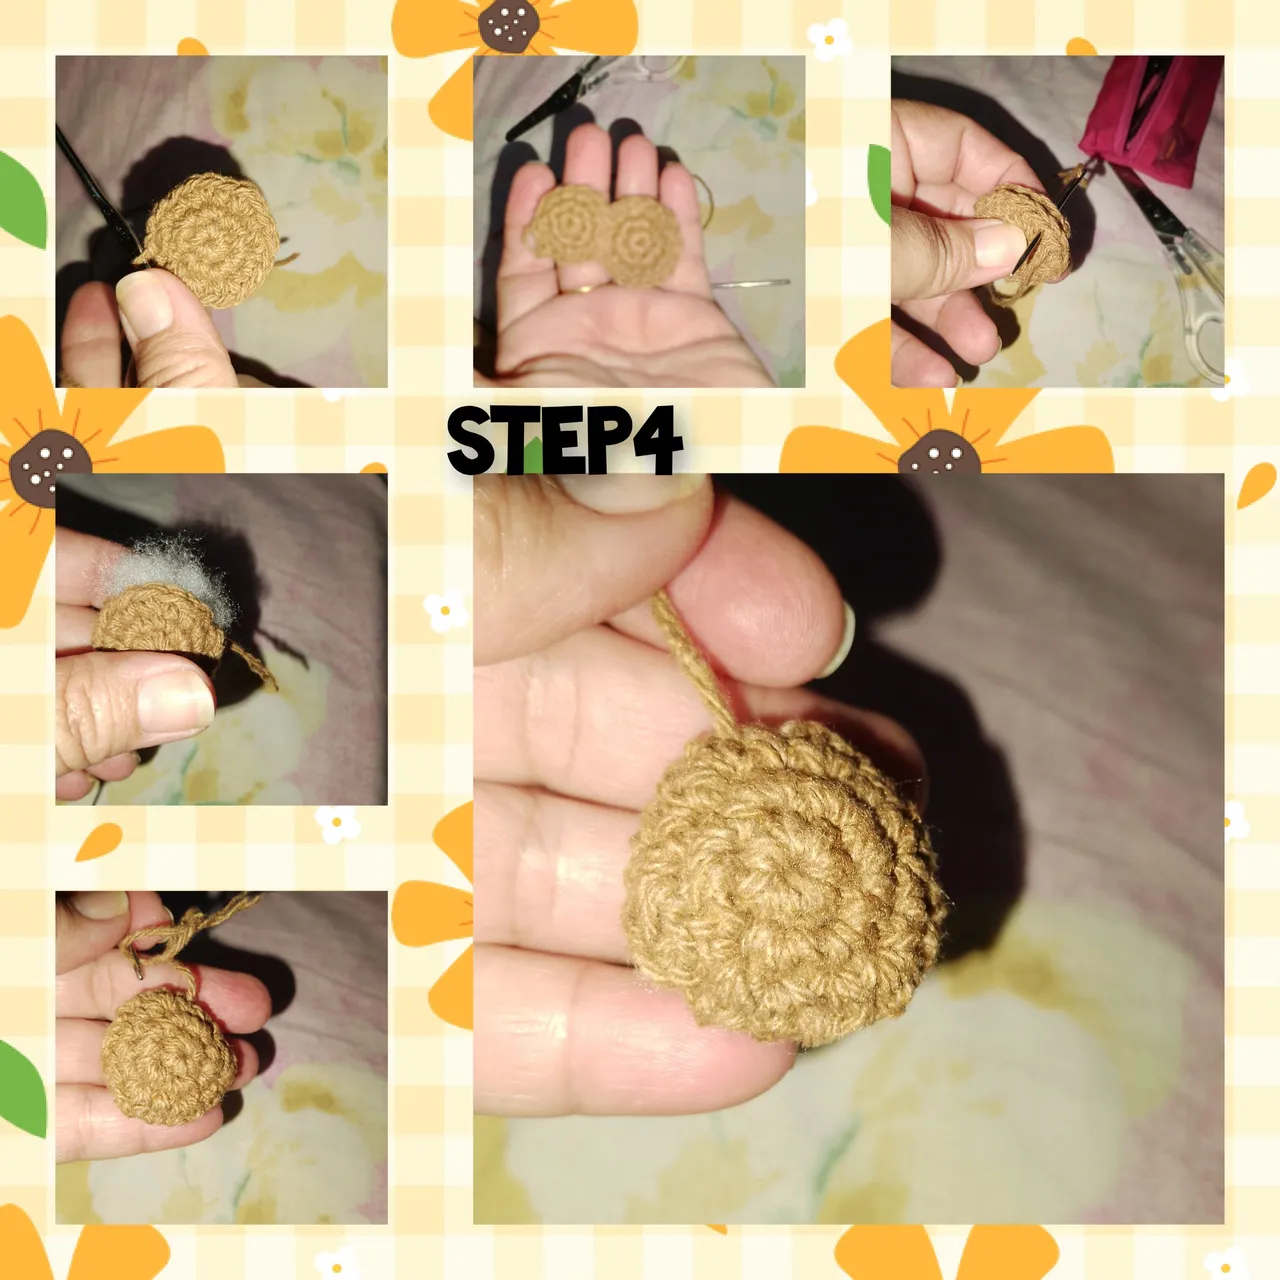
4.) Using the brown thread, I knit two three-row circles, knitted in amigurumi, following the process of the previous spheres. Ready the circles, with the wool needle, I glue them together, fill and seal the circles.
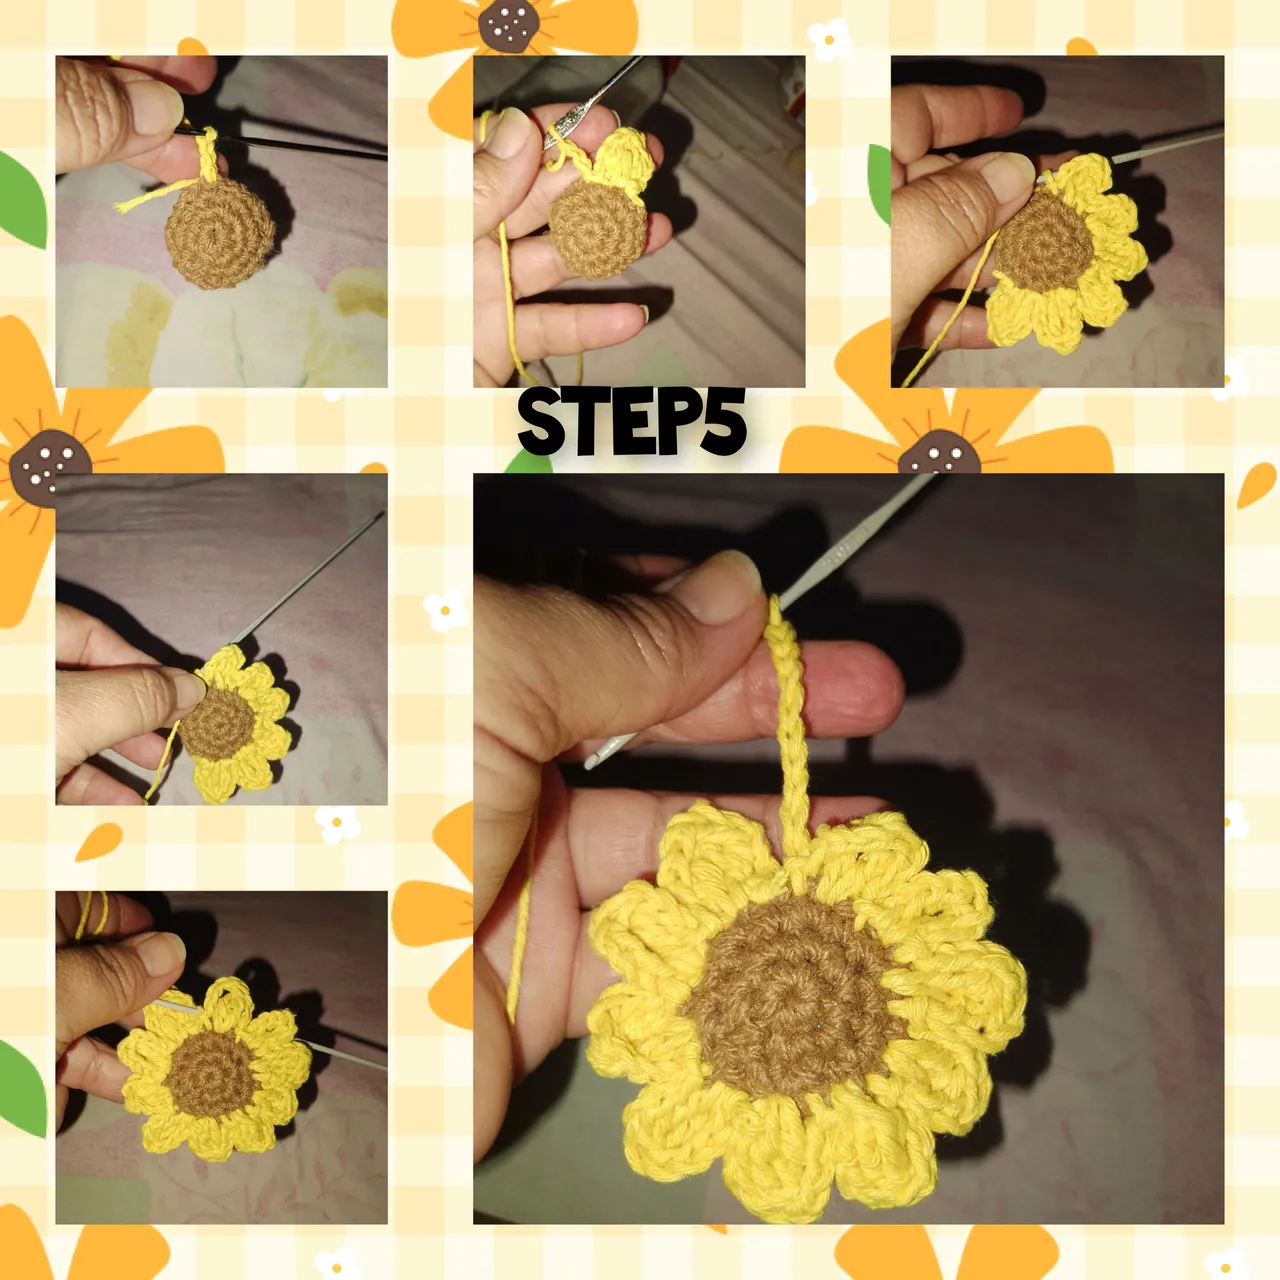
5.) involved the yellow thread, pick up three chain stitches, equivalent. A double crochet, I take yarn over and knit two double crochets and close together, I pick up three chain stitches and lower with a slip stitch. In this way I repeat nine more times, until I have made the journey to the sphere, remaining in the center of the sunflower. I cut the thread, leaving a long strandconsiderable.
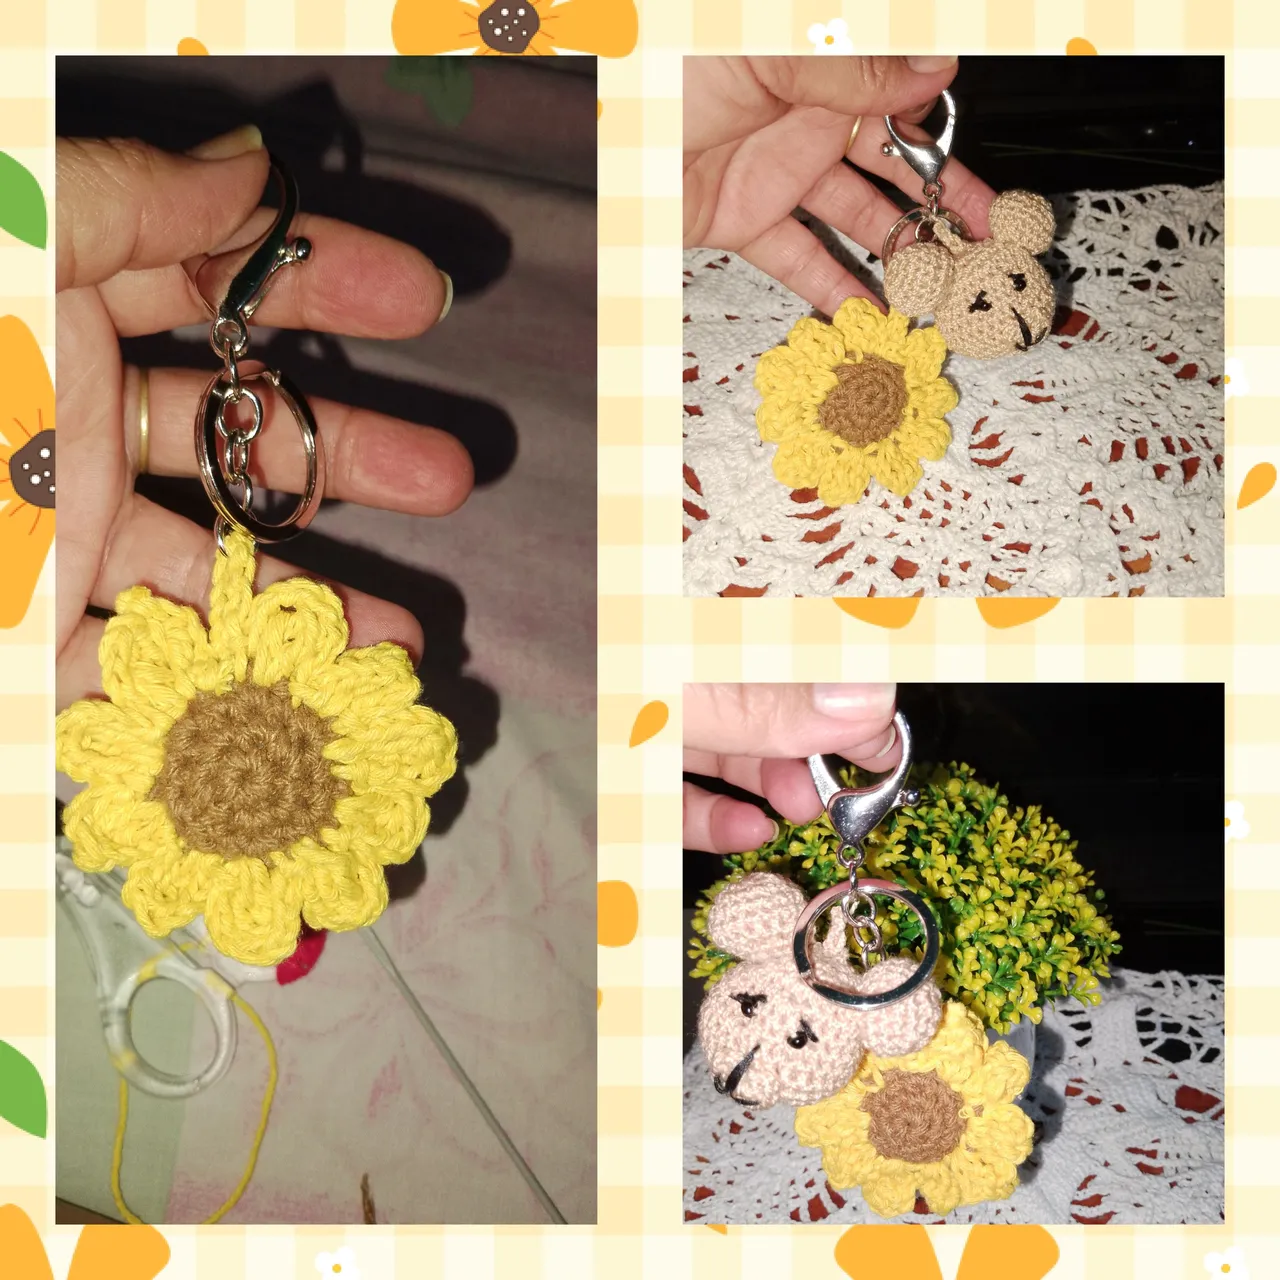
6.) I knit ten chain stitches and transfer them to the first ring of the key ring, ATI and secure very well, then on top of it I place the little bear. And in this way, I have put together the keychain.
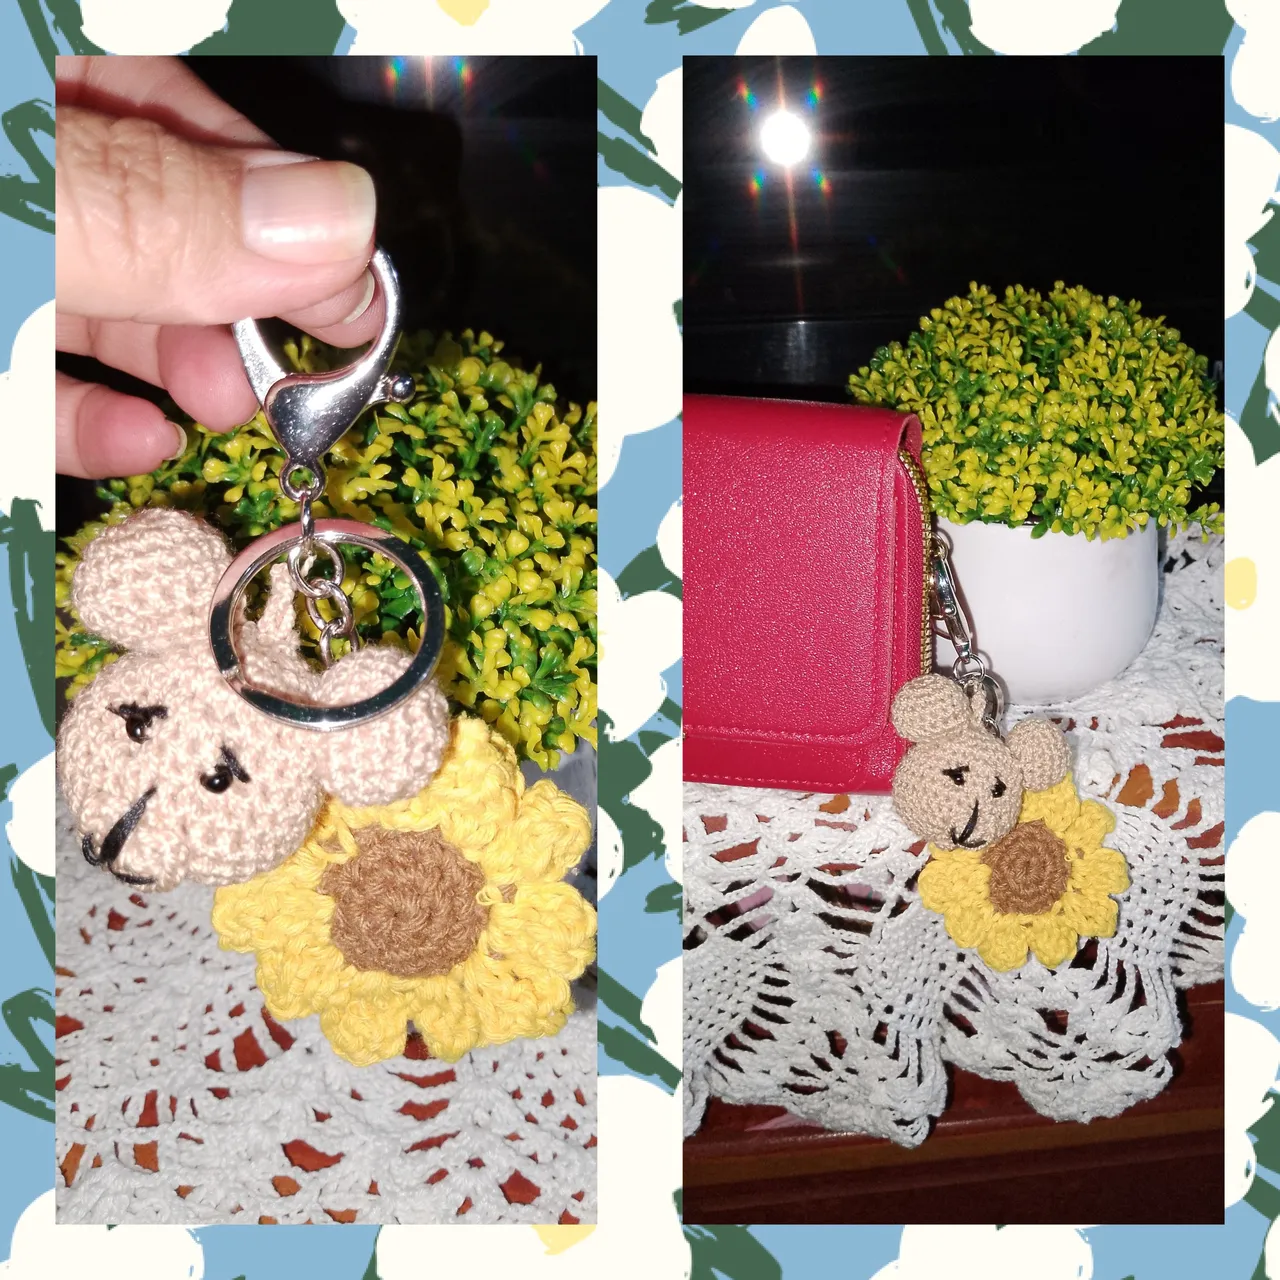
 Ready, today's project, satisfied with the final result.
. All photos are my property, taken with my smartphone.
. Use incollage.
. Use language translator.
Grateful for following me until the end, it is always a pleasure to visit my blog, it will be until the next opportunity.
(ESP)
Hola a todos, espero se encuentren muy bien, quiero felicitarlos, hoy por ser un día festivo, del Trabajador, para ustedes, mis queridos creadores de contenidos, de toda la Comunidad de @hive y en especial a @diyhub, que día a día, se esfuerzan, sin nadie imaginar, por lo que estén pasando o no, y que luchan por traer una idea diferente, plasmada en un lindo, delicado proyecto manual, un fuerte y muy sentido abrazo. Hoy paso a mostrarles una muy sencilla idea, pero hecho con muchísimo cariño para mostrarles. Se trata de un, llavero inspirado en un hermoso oso bebé y un delicado girasol, que bien pueden usar como colgantes para sus carteras, bolsos o simplemente como un llavero, hecho en amigurumis, la invitación es a seguirme y les muestro como lo hice.
Materiales usados:
. Llavero de acero inoxidable.
. Hilos para tejer, colores ( amarillo, marrón, crema)
. Aguja para tejer.
. Aguja lanera.
. Hilo de coser color negro.
. Dos chaquiras de color negro.
. Tijeras.
. Relleno.
Pasos:
1.) En un anillo mágico, he tejido seis medios puntos, cierro el anillo y hago un punto deslizado sobre el primer medio punto. Para la siguiente, hago un aumento en cada medio punto, luego un punto bajo y un aumento, y tejo dos vueltas más, tejiendo, dos, tres y cuatro, alcanzando hasta aquí, 34(pb), antes de cada aumento. Continuo haciendo la siguientes cuatro vueltas de (34pb), y en las siguientes, iré haciendo las disminuciones. Coloco relleno y cierro la primera esfera. Que será la cabeza de el oso bebé.
2.) en este paso, tejere, primero las esferas pequeñas que serán las orejas de el osito. Comienzo tan cual lo hice en la anterior, pero al llegar a la vuelta n2, repito tres pasadas de, (12pb), y sigo haciendo las disminuciones, antes de cerrar, pongo un poco de relleno, y cierro la mini esfera, esto lo repito, para la siguiente. Ahora en un anillo mágico, tejo dos medios puntos, dos medios puntos dobles y dos puntos altos, levanto dos puntos cadenas y voy a el anillo tejiendo, un punto deslizado,repito en el siguiente lado, y cierro el anillo, cerrado este, da forma de un pequeño corazón, que usare como el osico de el oso 🐻. Lista las piezas.
3.) con la aguja lanera, comienzo pegando, las orejas, luego cambio al color negro de hilo, pego y bordo el osico, y fijo los ojitos de el pequeño oso. Quedando así listo el osito.
4.) usando el hilo de color marrón, tejo dos círculos de tres vueltas, tejidos en amigurumi, siguiendo el proceso de las esferas anteriores. Listo los círculos, con la aguja lanera, pego entre sí, relleno y sello los círculos.
5.) involucró el hilo de color amarillo, levanto tres puntos cadenas, equivalentes. Un punto alto, tomo lazada y tejo dos puntos altos y cierro juntos, levanto tres puntos cadenas y bajo con punto deslizado. De esta forma repito nueve veces más, hasta haber hecho el recorrido a la esfera quedando está en el centro de el girasol. Corto el hilo, dejando una hebra larga considerable.
6.) tejo diez puntos cadenas y traspaso en el primer arito de el llavero, ATI y aseguro muy bien, luego sobre este coloco el pequeño osito. Y de esta manera, he armado el llavero.
Listo, el proyecto de el día de hoy, satisfecha con el resultado final.
. Todas las fotos son de mí propiedad, tomadas con mí teléfono inteligente.
. Use incollage.
. Use traductor lenguaje.
Agradecida me hayas seguido hasta el final, siempre es un gusto su visita a mí blog, será hasta una próxima oportunidad.