*****English version*****
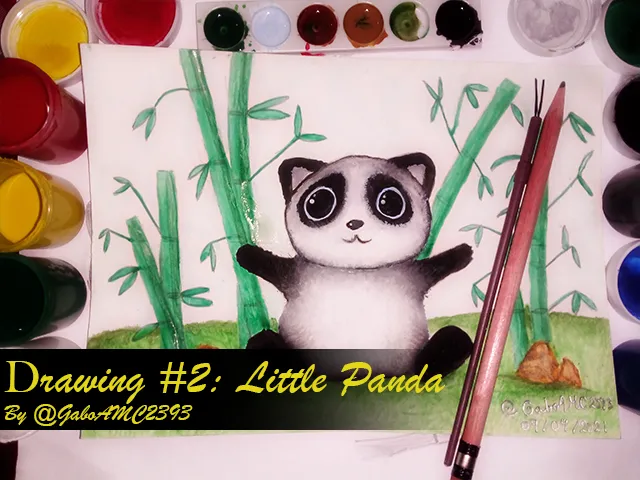
A few days ago I was doing a drawing of an owl and I was certainly surprised at how nice it looked. Since then, I have been practicing, making sketches, painting little things and in short, trying to improve my drawing and painting skills. That is why today I am going to share with you one of the drawings that I liked the most, a Panda bear.
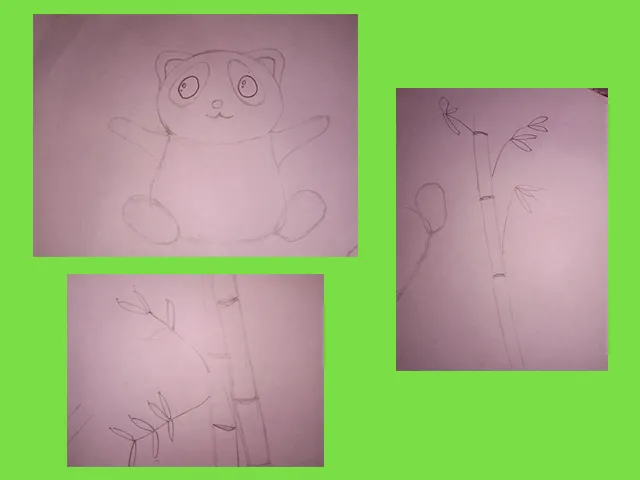
Before making the drawing, I like to make several strokes on sheets that I know are not going to be for the final result. Then I start to do the things I plan to draw in the final drawing, so I do tests and sketches, like the ones I show below:
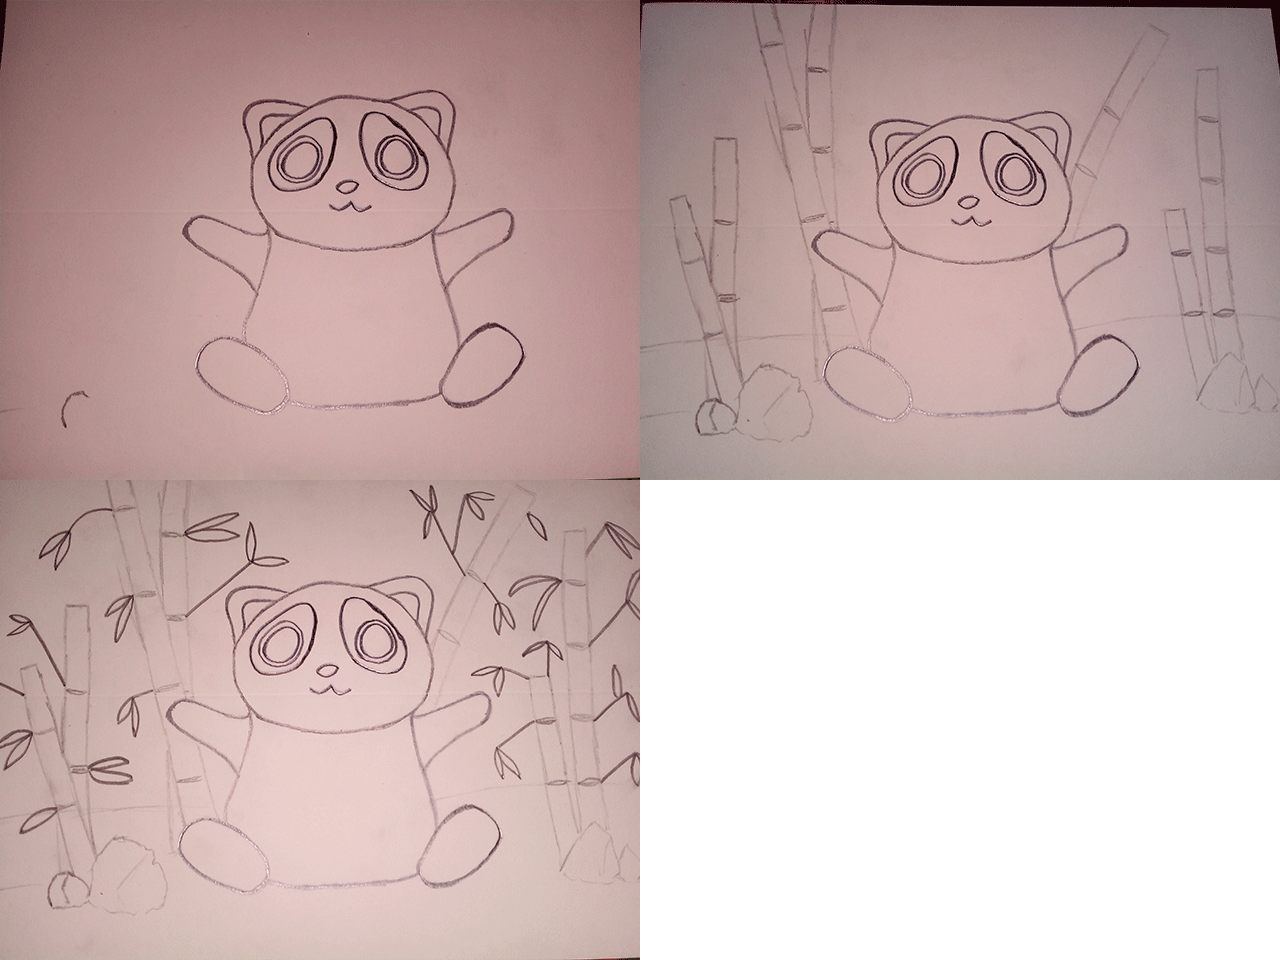
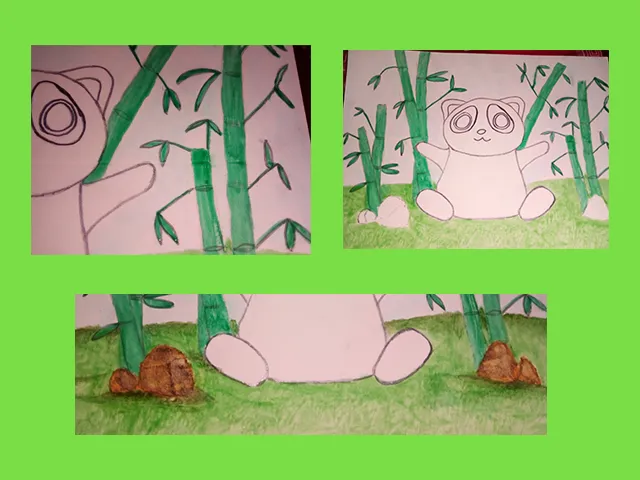
After making the sketches, I get an idea of how I want it to look in the end and then I start drawing, with fine strokes, on my canvas. Then I retouch the strokes with more strength, so that the pencil lines are well marked. You can see below an animated sequence of the drawing process:
Once the drawing is done, without shadows or anything else, the painting begins. For this I used simple school watercolors, nothing fancy. I find them very practical for those of us who are learning to draw because it is easy to mix colors, blur and make shadows, so I recommend them for beginners, at least for me these watercolors are proving very useful.
I started painting this drawing from the background. I painted it with a light blue color, then I painted the grass with an apple green color and finally the bamboo with a much stronger green, as shown in the following animation:
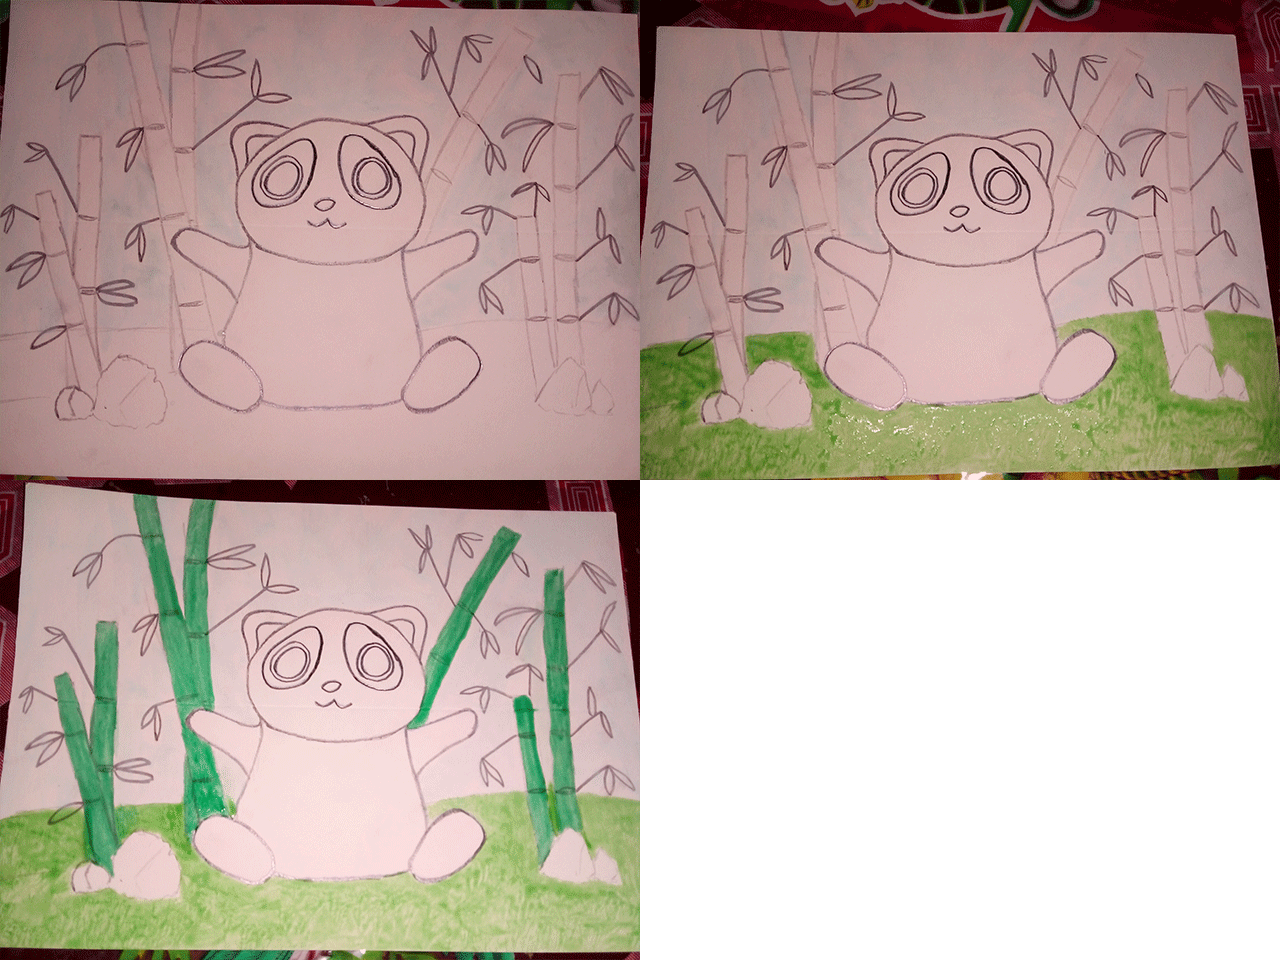
If you notice I also painted the leaves with the watercolors and the rocks at the base of the bamboo. I used some black and green to create shadows under the rocks and on the edge of the horizon, where the grass and the blue background cross.
Once my background was done, I started to paint my panda. Here I simply used black and white. First I painted the extremities and with the wet brush I started to blend the black with the white of the body, to create the effect you can see in the image below. You can also see a picture of me while I was doing the drawing:
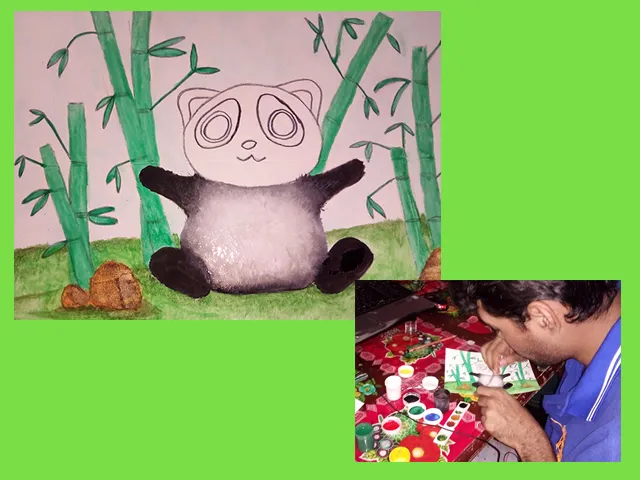
The work with the eyes was the most difficult for me, to be honest. First I painted the eyes blue to leave a border around the black of each eye. Finally I painted the black spots around the eyes and blurred them with the brush, using the white color to blend it with the black.

After painting the ears, nose and mouth, the panda looked like this:
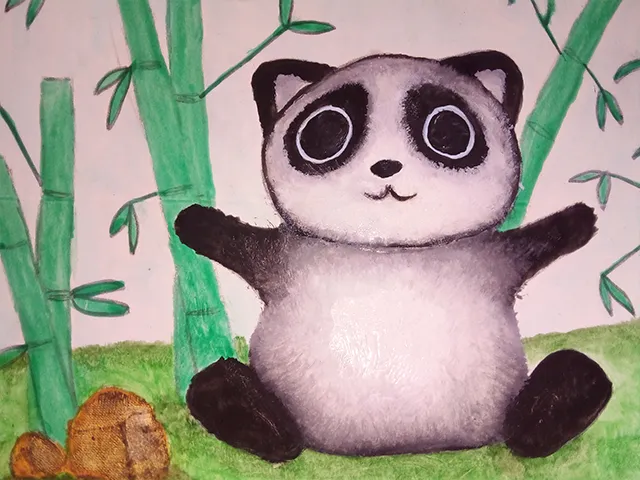
As you can see in the image, I put some white dots on the eyes and nose to simulate glitter. I also painted thin black lines around the head to create shadows. Finally I used a darker green to create more leftovers on the bamboo. Below you can see the drawing once it is finished:
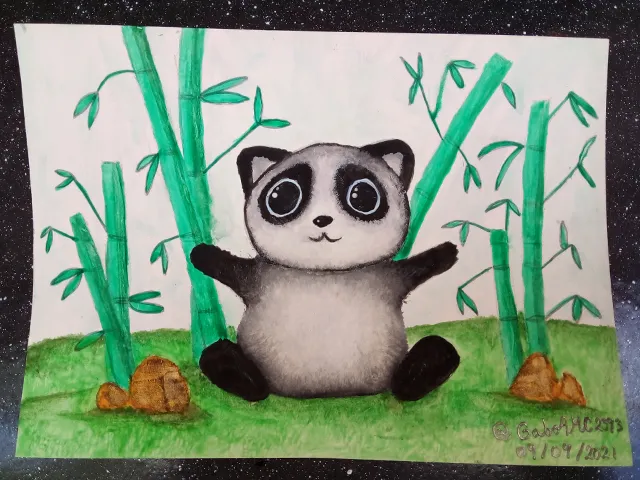
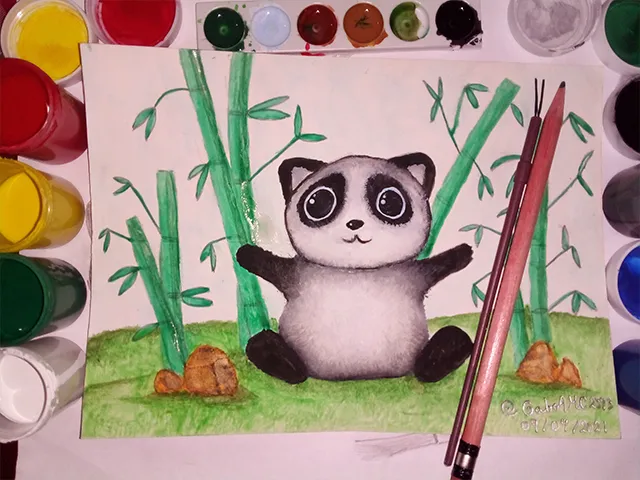
I had previously made an owl, one of the first drawings I did this way. It turned out well, but this one certainly turned out better, at least from my point of view. This teaches me that when we want to do something, we should dare and try, maybe the result will be better than expected.
Well friends, I hope you liked my drawing or, at least, it has served to distract your mind a little. If you like to leave your opinions, you can do it below in the comments. With nothing more to add, I'll say goodbye then...
See you next time!
*****Versión en español*****
Hace unos días estuve haciendo un dibujo de un búho y ciertamente me sorprendí de lo bonito que había quedado. Desde entonces, he estado practicando, haciendo bocetos, pintando cosillas y en definitiva, intentando mejorar mis habilidades de dibujo y pintura. Es por ello que hoy les voy a compartir uno de los dibujos que más me gustó cómo quedó, un osito Panda.

Antes de hacer el dibujo, me gusta hacer varios trazos en hojas que sé que no van a quedar para el resultado final. Ahí me pongo a hacer las cosas que planeo dibujar en el dibujo final, así que hago pruebas y bocetos, como los que muestro a continuación:

Luego de hacer los bocetos, me hago una idea de cómo quiero que quede al final y entonces comienzo a dibujar, con trazos finos, en mi lienzo. Luego hago retoques en los trazos con más fuerza, para que queden bien marcadas las líneas hechas con lápiz. Pueden ver a continuación una secuencia animada del proceso de dibujo:

Una vez hecho el dibujo, sin sombras ni nada, comienza el pintado. Para esto ocupé simples acuarelas escolares, nada del otro mundo. Me parece muy practica para los que estamos aprendiendo a dibujar porque es fácil hacer mezcla de colores, difuminar y hacer sombras, así que las recomiendo para los principiantes, al menos a mi me están resultando muy útiles estas acuarelas.
Yo comencé a pintar este dibujo por el fondo. Lo pinté de un color azul claro, luego pinté la grama de un color verde manzana y por último el bambú con un verde mucho más fuerte, tal como se muestra en la siguiente animación:

Si se fijan también pinté las hojas con las acuarelas y las rocas que están en la base del bambú. Usé un poco de negro y verde para crear sombras bajo las rocas y en el borde del horizonte, donde se cruza la grama y el fondo azul.

Una vez hecho mi fondo, comencé a pintar mi panda. Aquí simplemente usé blanco y negro. Primeramente pinté las extremidades y con el pincel húmedo comencé a difuminar el negro con el blanco del cuerpo, para crear ese efecto que se observa en la imagen de abajo. También pueden ver una foto de mi persona mientras hacía el dibujo:

El trabajo con los ojos fue el que más difícil me pareció, siendo honesto. Primeramente pinté los ojos azules para dejar un borde alrededor del negro de cada ojo. Por último pinté las manchas negras alrededor de los ojos y las difuminé con el pincel, usando el color blanco para mezclarlo con el negro.

Tras pintar las orejas, la nariz y la boca, el panda quedó de la siguiente manera:

Como se observa en la imagen, le coloqué unos puntitos blancos en los ojos y la nariz para simular brillo. También pinté líneas delgadas de color negro alrededor de la cabeza para crear sombras. Por último usé un verde más oscuro para crear más sobras en el bambú. A continuación pueden ver el dibujo una vez que está terminado:


Anteriormente había hecho un búho, uno de los primeros dibujos que hacía de esta manera. Me quedó bien, pero este sin duda me quedó mejor, al menos desde mi punto de vista. Esto me enseña que cuando queremos hacer algo, debemos atrevernos e intentarlo, tal vez el resultado sea mejor de lo esperado.
Bien amigos, espero que mi dibujo les haya gustado o, cuando menos, haya servido para que distraigan un poco la mente. Si gustan dejar sus opiniones, abajo en los comentarios pueden hacerlo. Sin más que agregar, me despido entonces...
¡Hasta la próxima!

Imagenes editadas con Photoshop
Traducido con DeepL
Photos edited with Photoshop
Translated with DeepL
Últimos tres post/Last three posts:
New cell phone and PC
Hunger and sleep / Hambre y sueño
Gabo Play Megaman x4


