
This is my first time joining a DIY contest showing off my DIY content that I specially did for this contest and I would like to talk about the MOON decorated candle holder that I did following a YouTube video although I added more things on the idea that I borrowed from YouTube.

DIYHUB MONTHLY CONTEST - MOON has only 2 days left so if you wanna join then you better hurry.

Lemme show you how I did the entire thing.
- Essentials
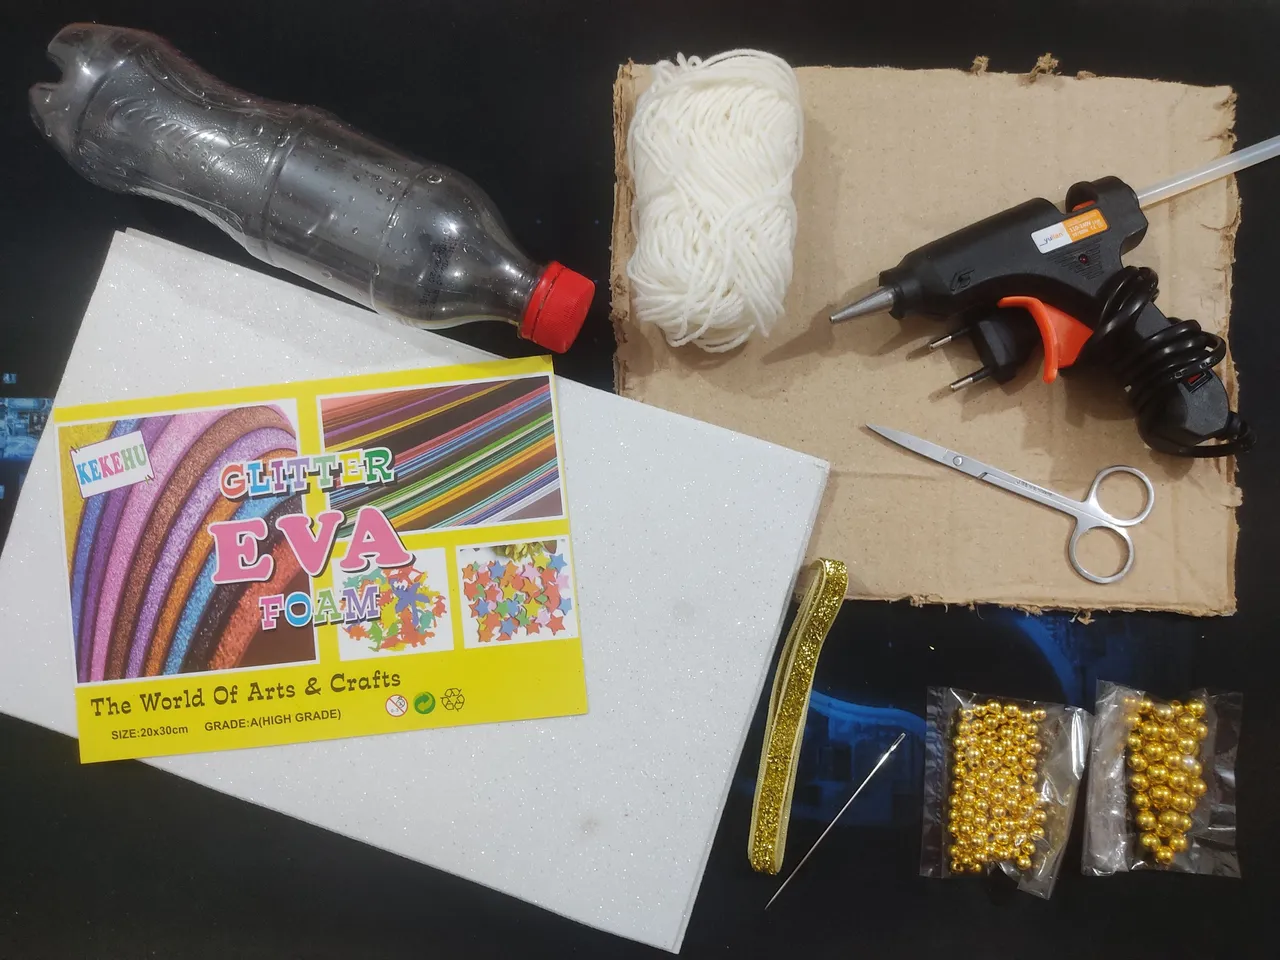
I used some white color glitter foam paper, recycled cardboards, a recycled bottle of Coca-Cola, white thread, a hot glue gun, a scissor, a needle, lace and 2 sized golden beads. I forgot to use the glittery lace that I bought to add on a certain part.
Except the scissor and the recycled bottle, I had to buy everything else that you see there and the total package did cost me around 3.4 fiat USD.

- How I did it myself?
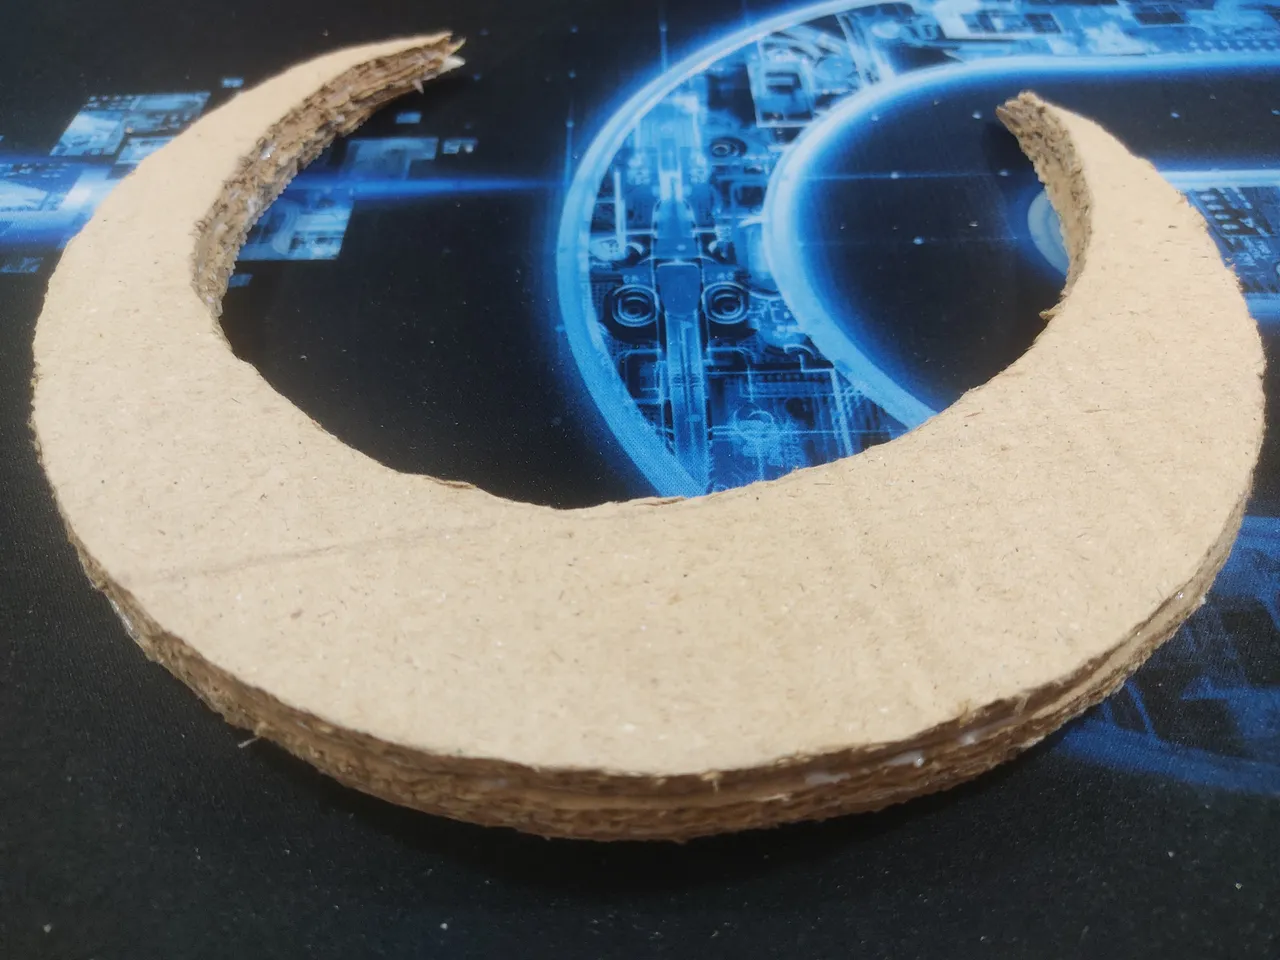
The first thing I needed was a MOON which is the main thing actually so I drew a moon on a cardboard.
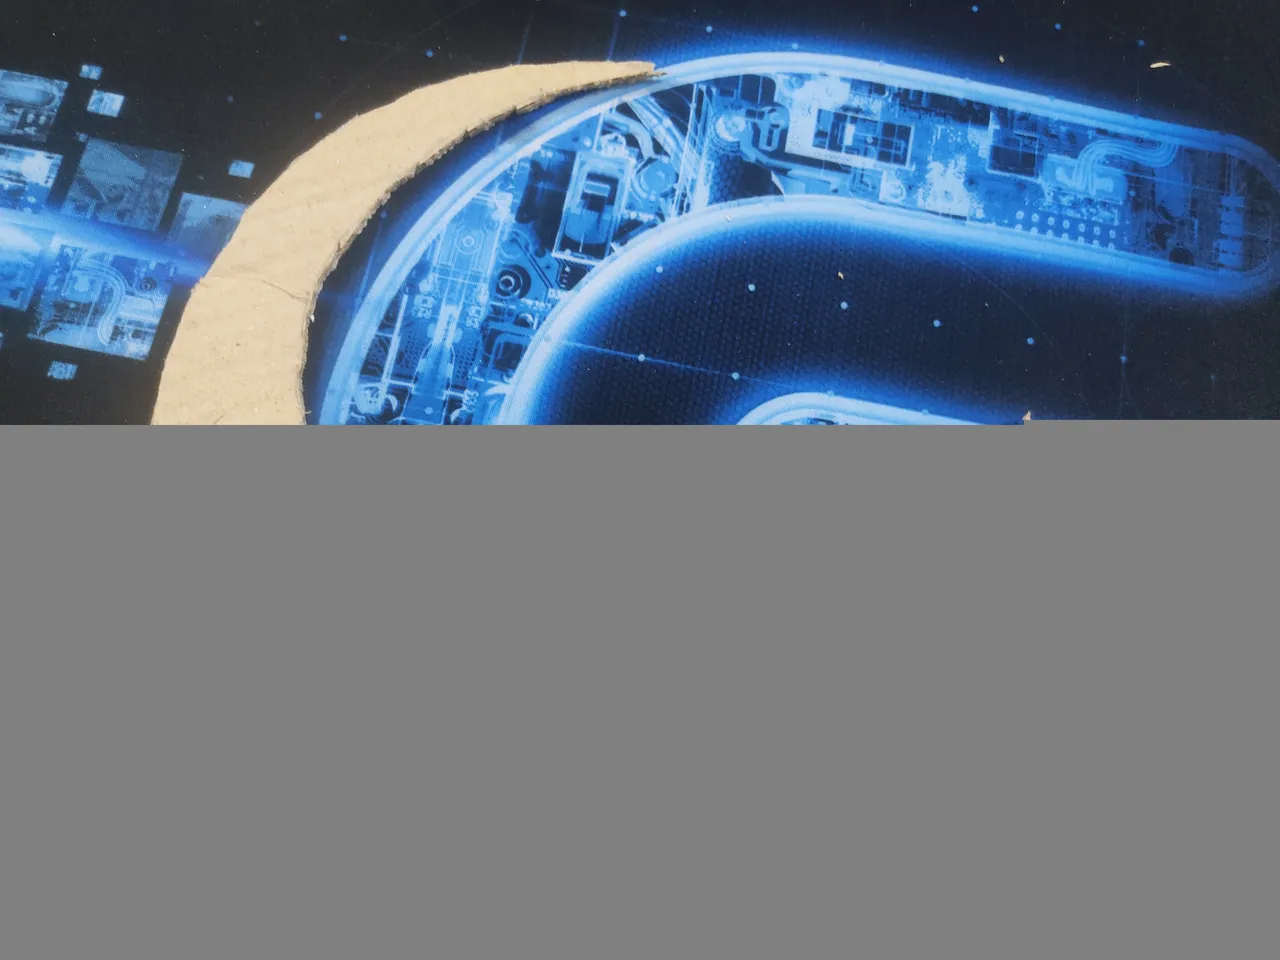
Then I started cutting the cardboard and then I got the moon. I cut 3 parts of them to make them weigh.
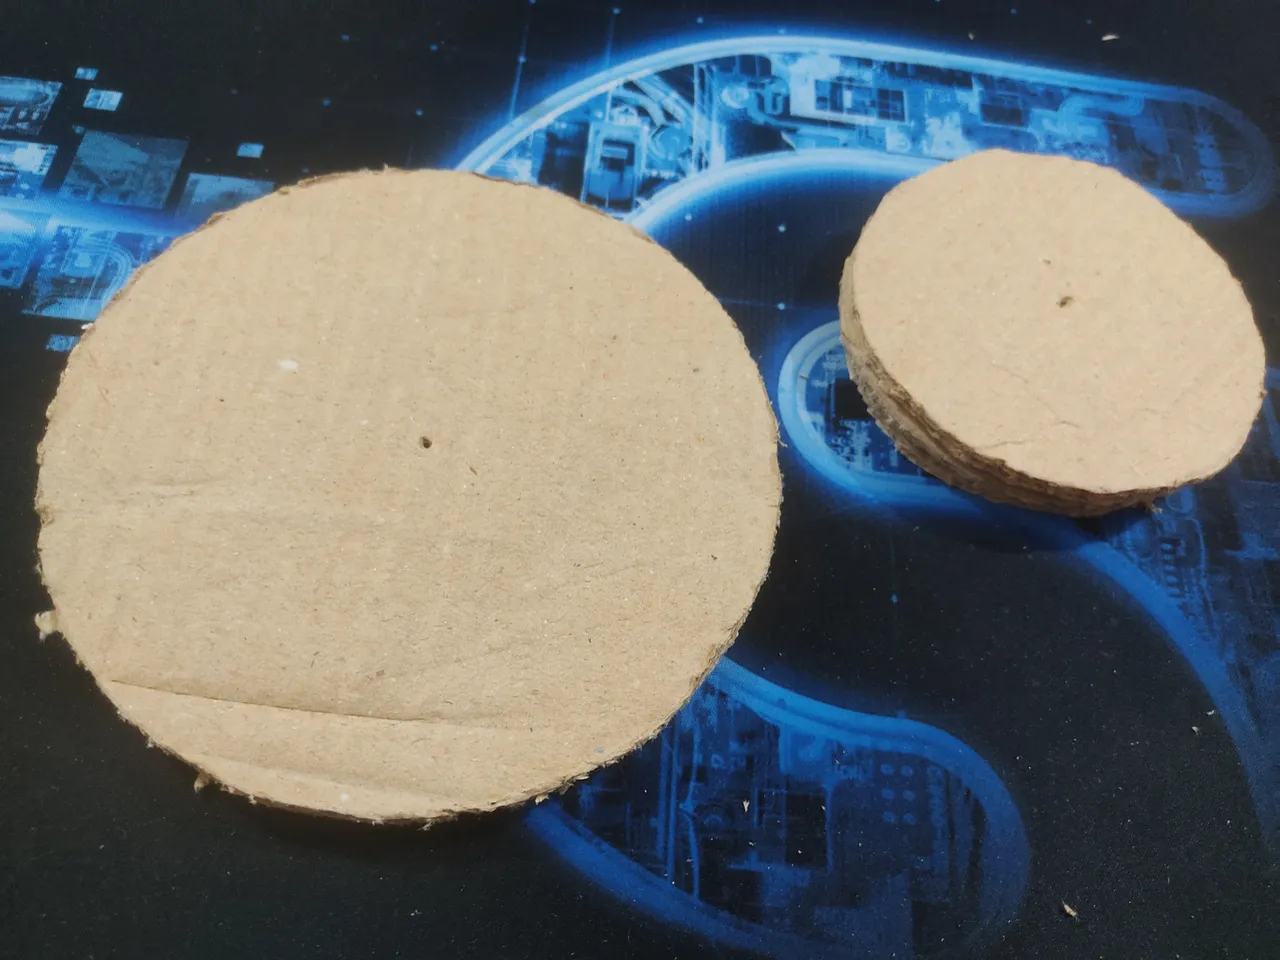
Then I cut these circles. There are 2 big circles and 3 small circles.
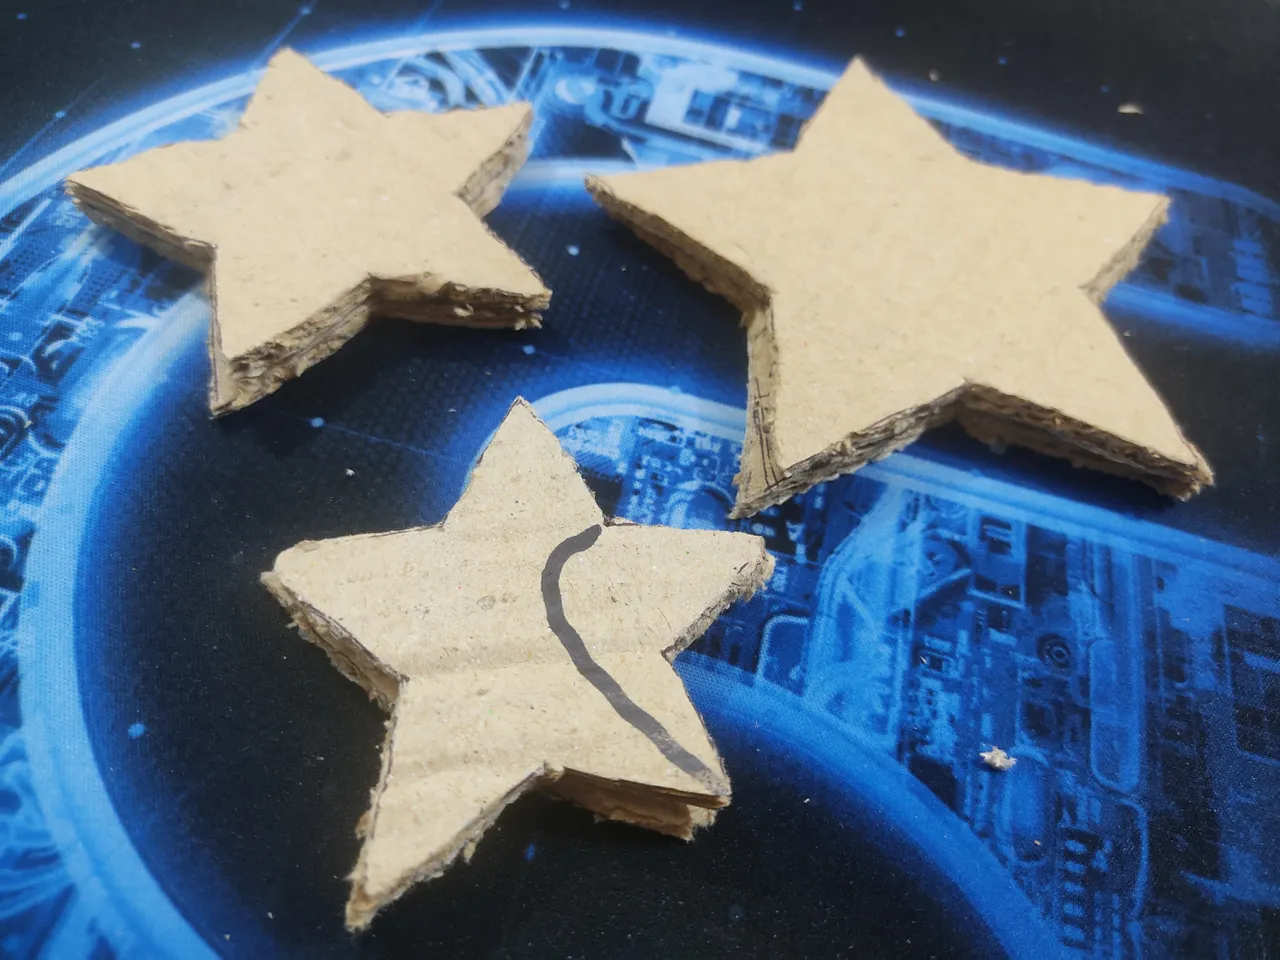
And then I cut three stars in 3 different sizes. At first I drew the biggest star and cut it out and then the medium one and the the smallest one. I cut 2 parts for each sizes to make them a little weigh. And this star part is from my own idea as there were not stars on the YouTube video that I followed.
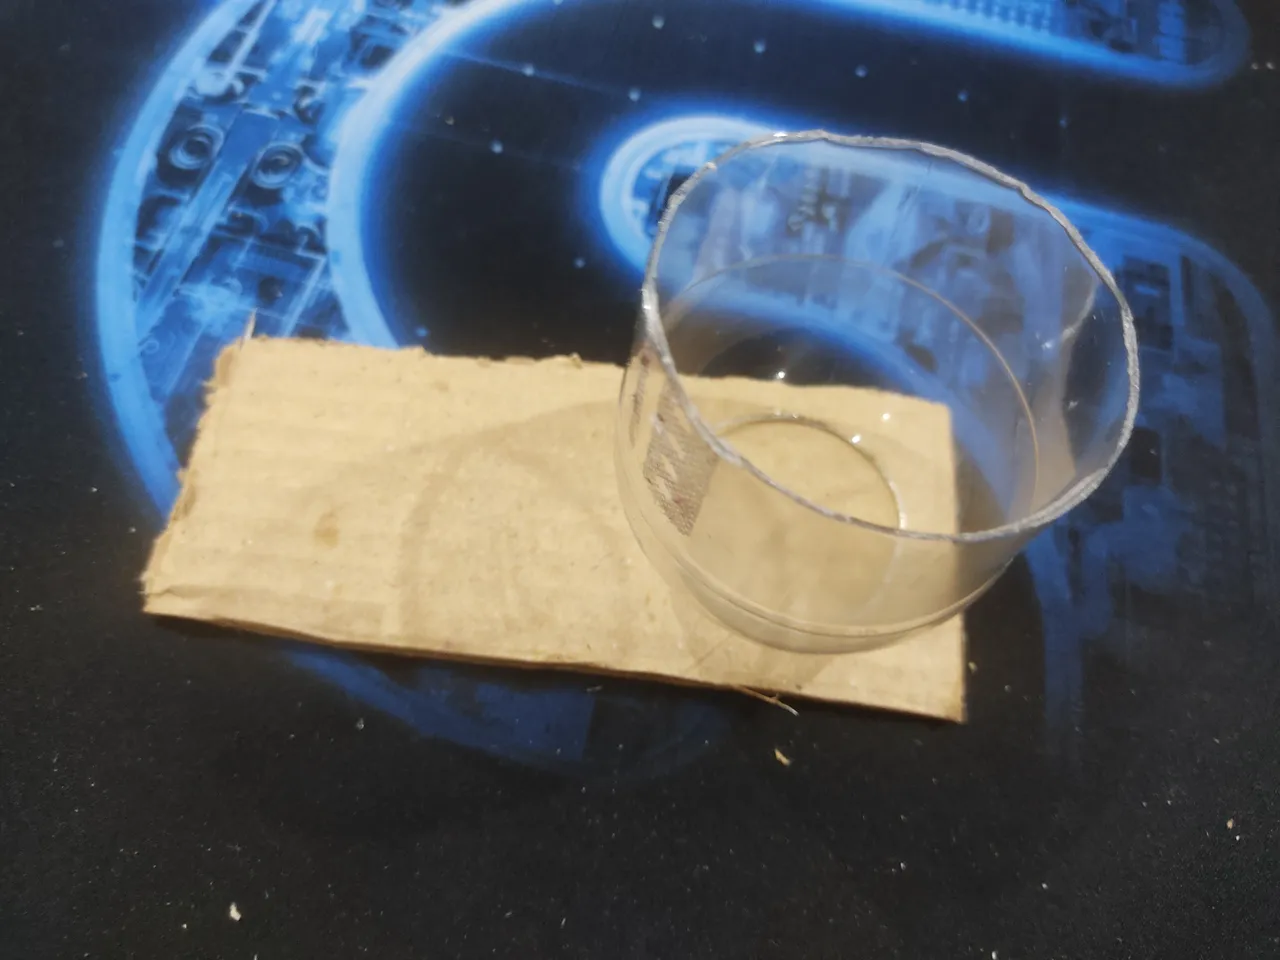
Then I cut the bottle in three parts and I used the medium part as the pot where I placed the candle. And I cut two circles according to the size of the lower hole.
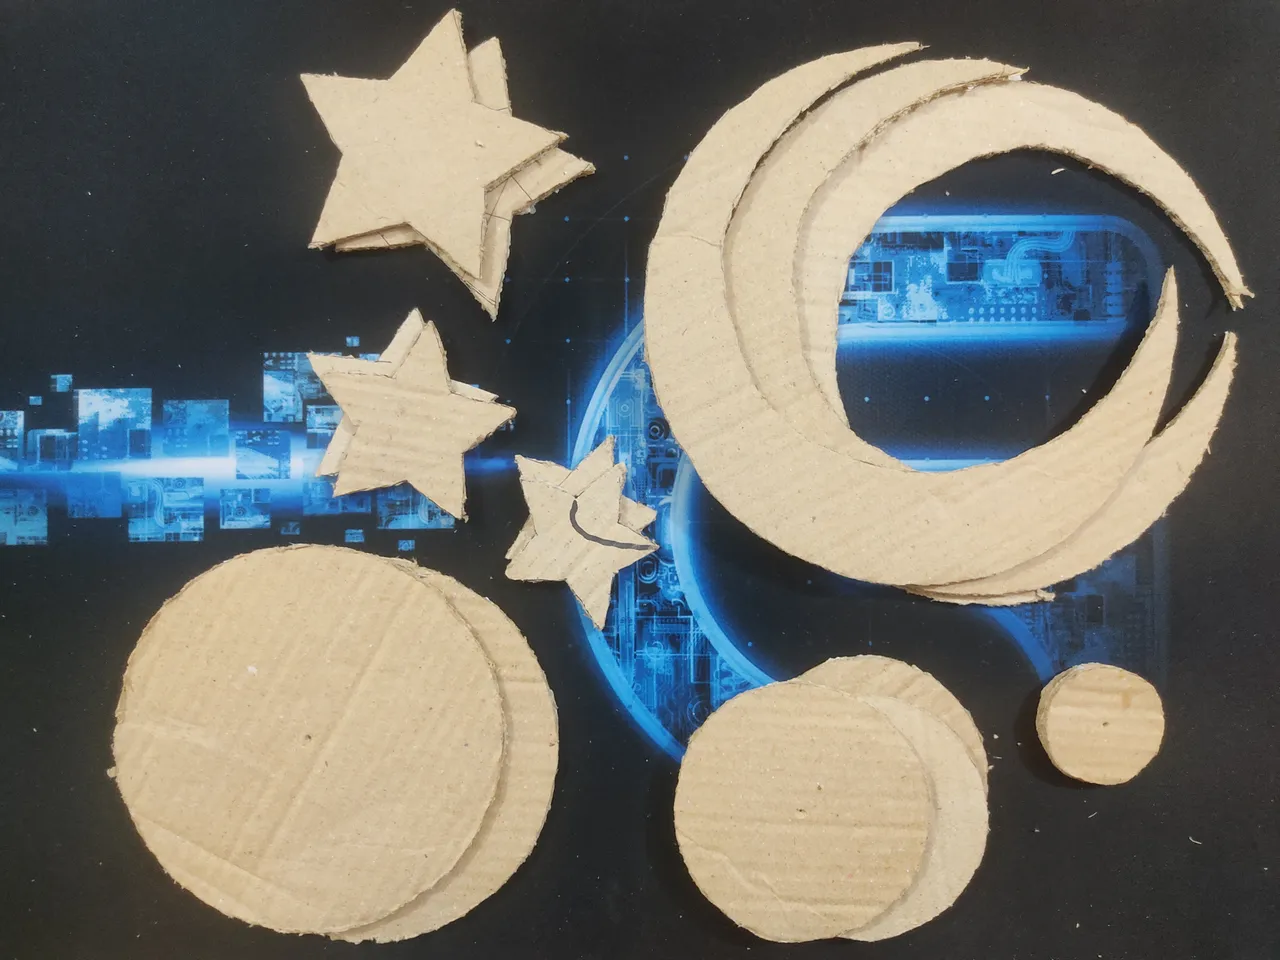
And here we are having all the cardboard shapes that I needed and trust me it was a hard job to cut all these shapes in different sizes and in multiple pieces maintaining the original shape.
 |  |
|---|
Its time to do some gluing. So I glued one moon and attached another and then I attached all 3 and made them a single moon which was much weigher than a single piece.
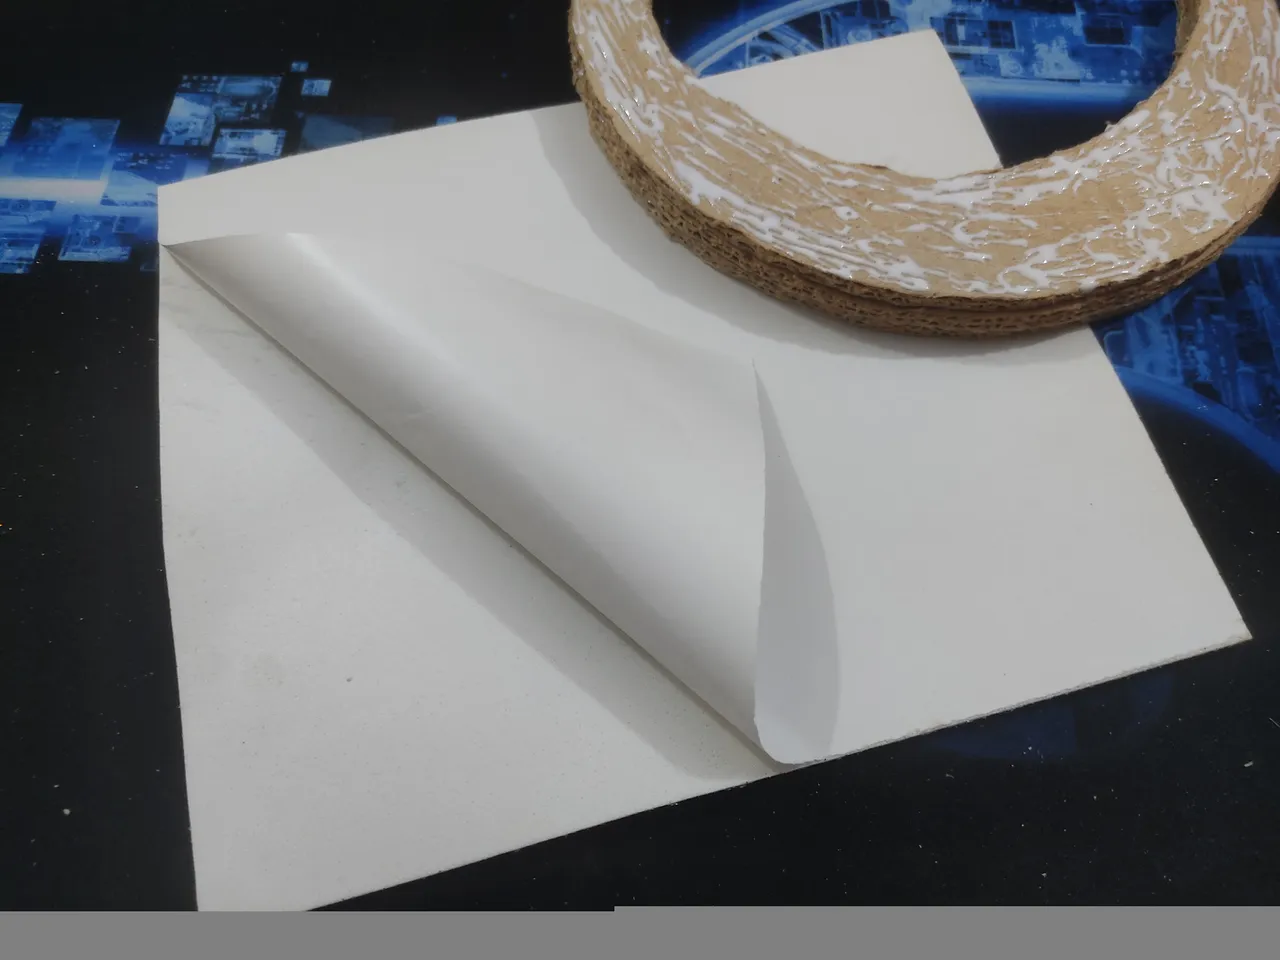
And then I started using the glitter foam and I was surprised to know that these foams are adhesive, I mean they have glue on the other side which means I don't need to glue them all but since I glued the moon already, I placed it and attached it with the foam and I did that on both side of the moon.
I also attached foam on the thin parts of the moon and on the stars as well.
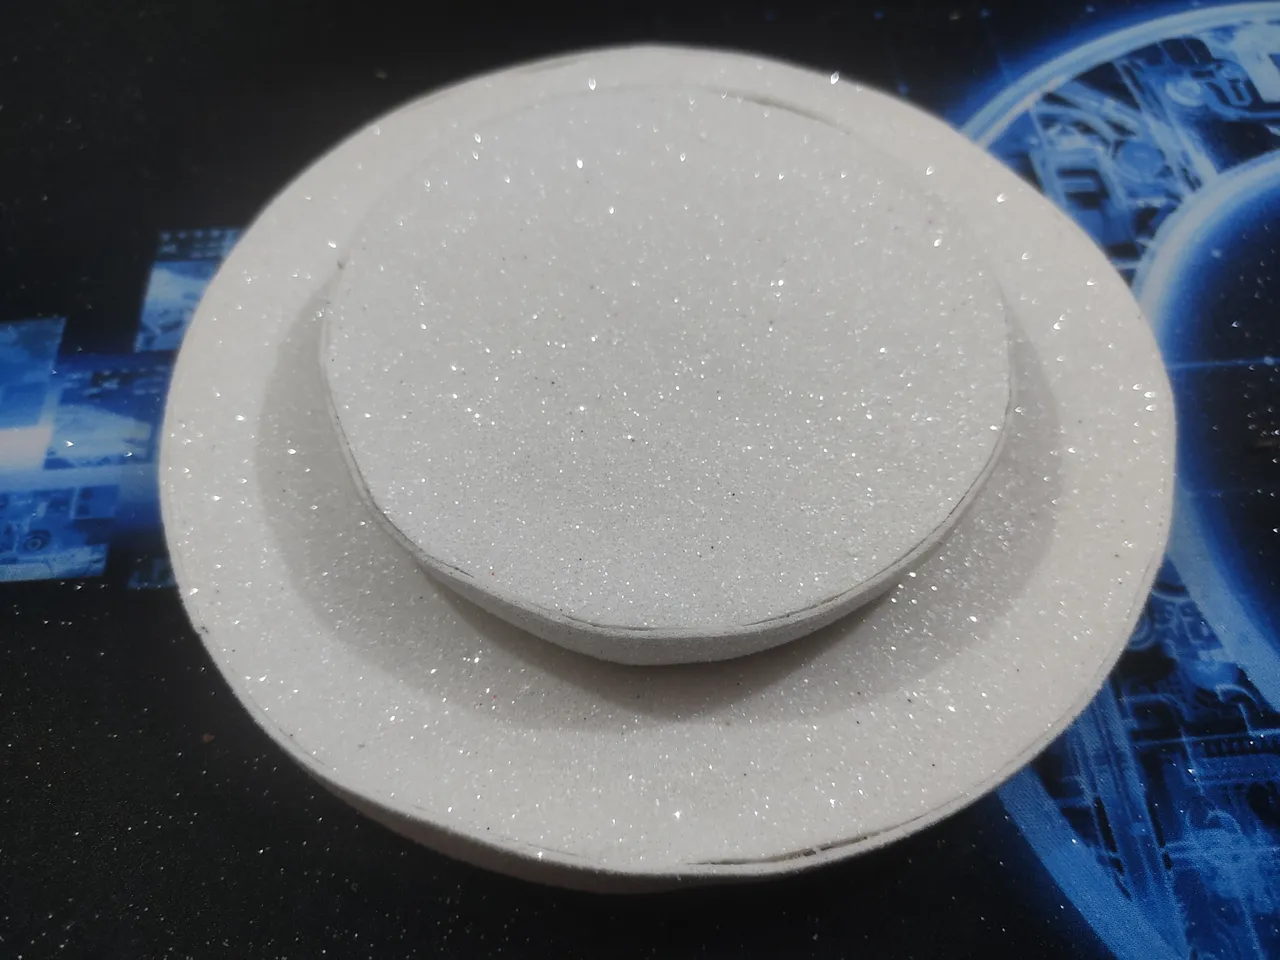
Then after attaching foam on the circles, I attached the small circle on the big one so they look like stairs.
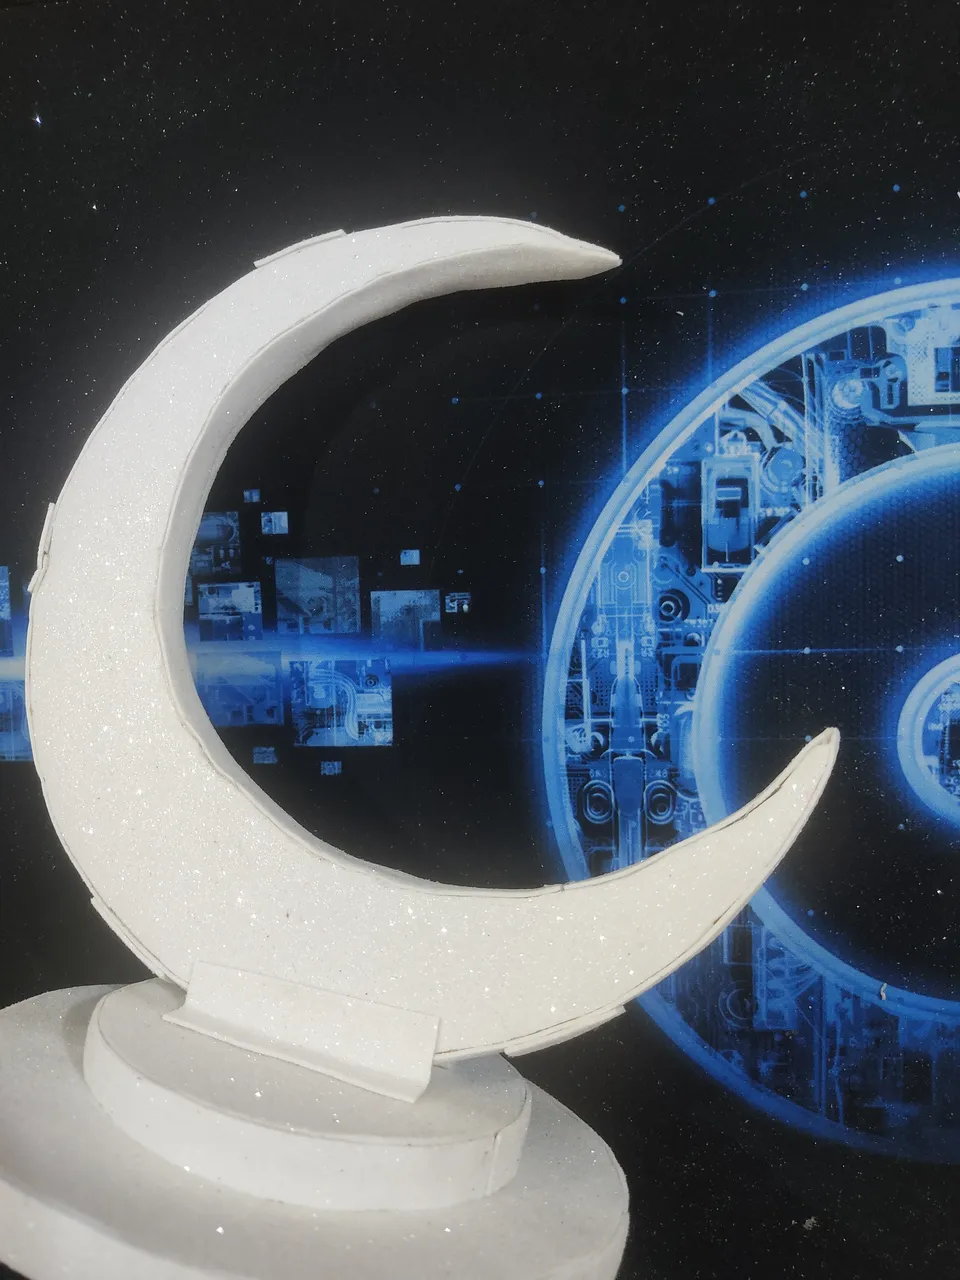
And then I attached the moon on the stairs and I used some foam as support so the moon don't fall in a side or backward. But the support wasn't enough so later I glued the moon with the supportive foams using the hot glue gun.

After raping the bottle part with foam, its time I attach the tiny circle that I cut according to the lower size of the bottle and I used hot glue gun for that so that it don't fell off later.
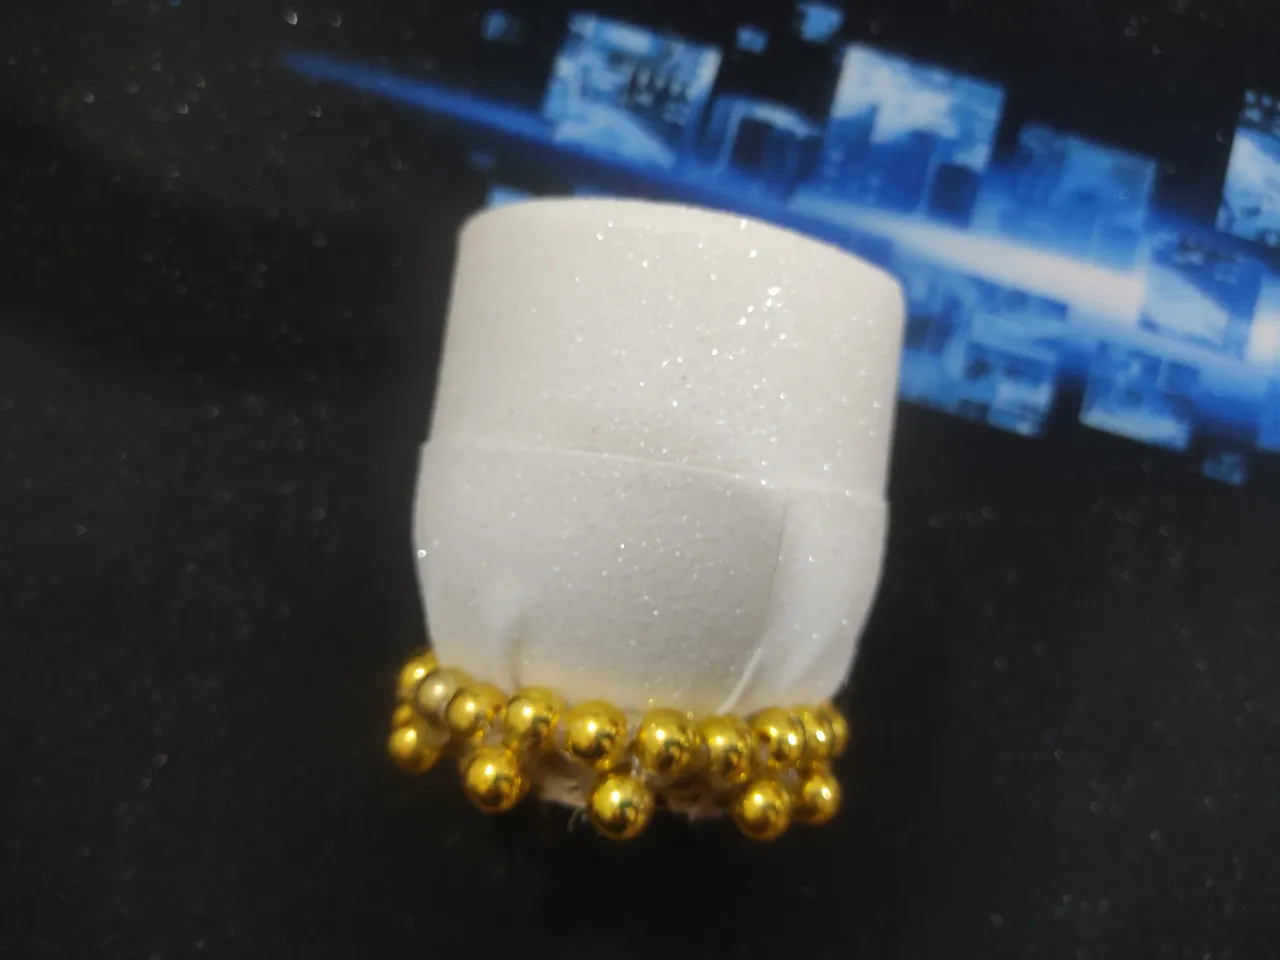
And I glued the big sized beads on the lower part of the candle holder pot.

Now its time I stitch some small sized beads altogether in order to use them on the pot.
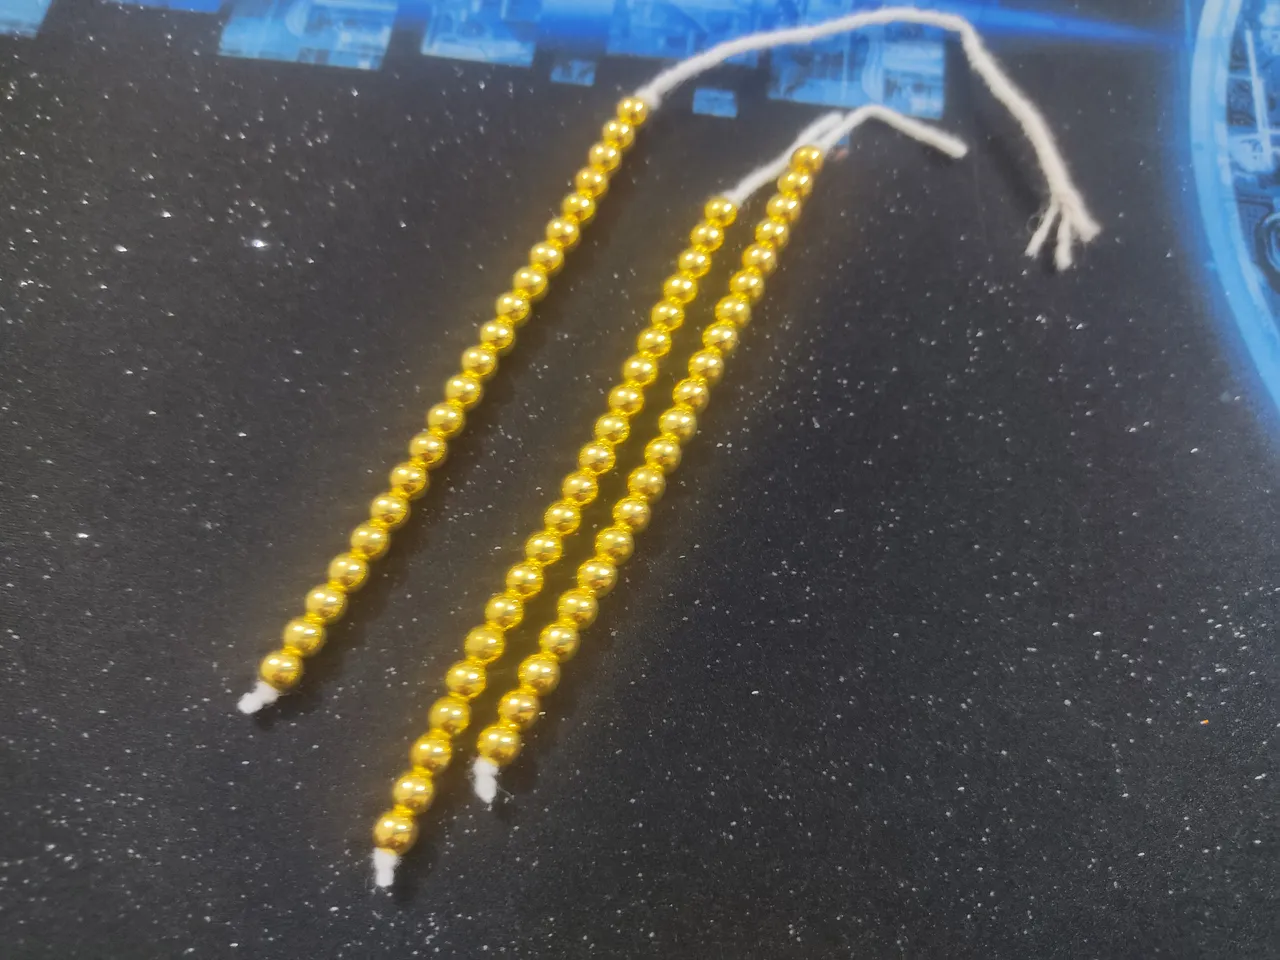
I got 3 lines of them where each of them had 21 beads.
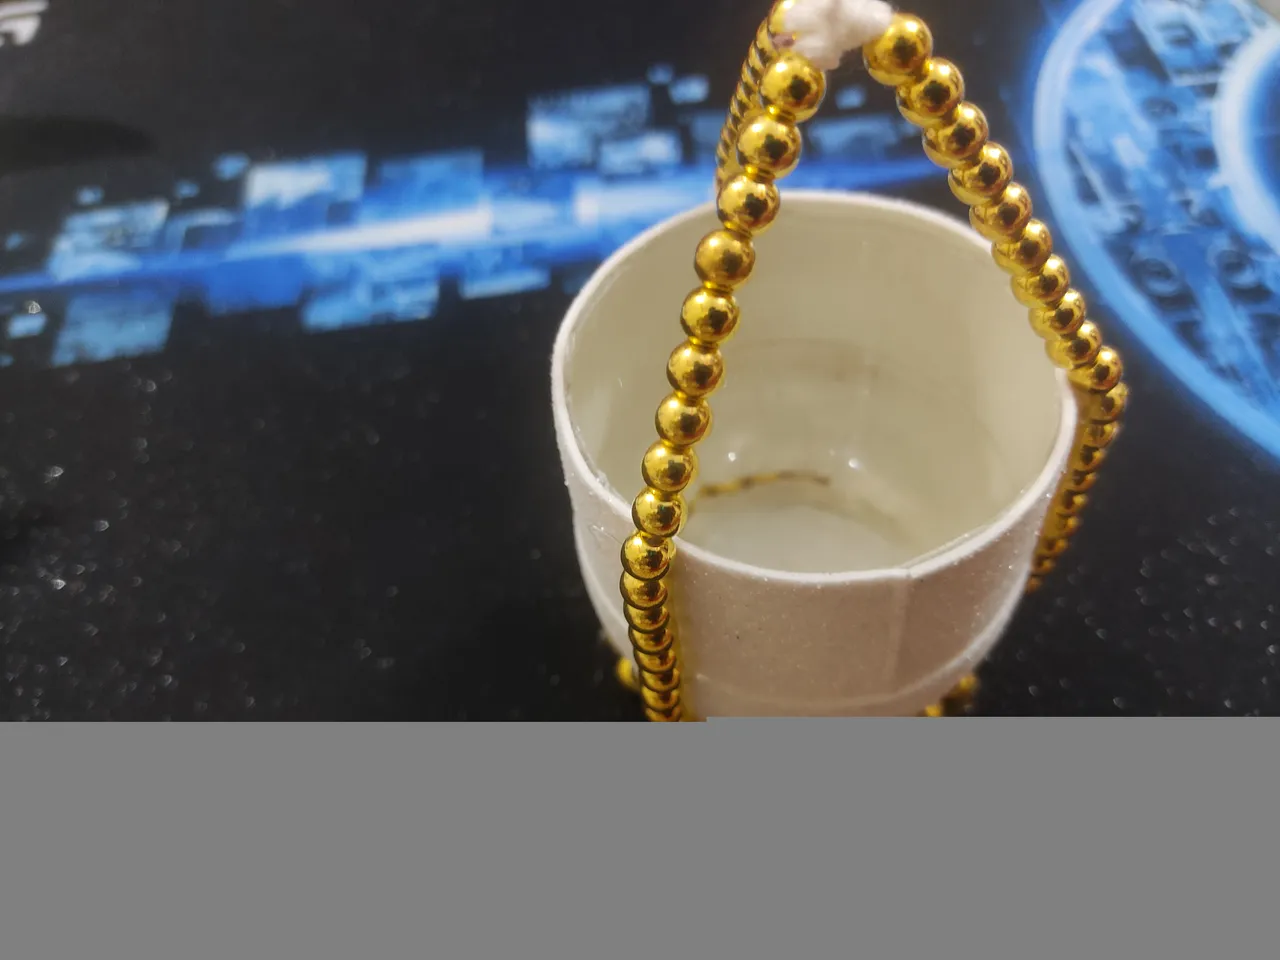
And I attached them on the pot using the hot glue gun.
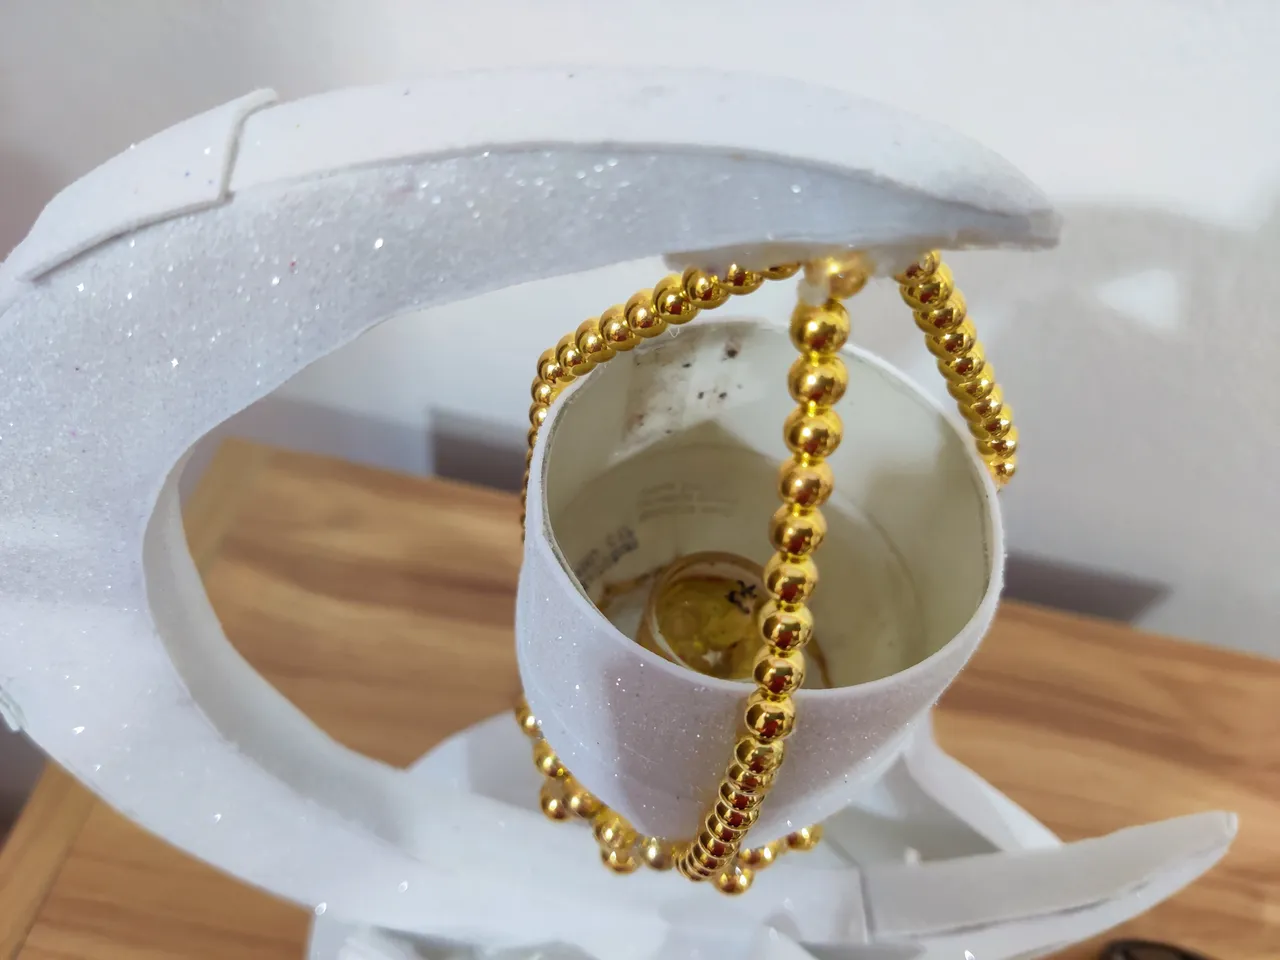
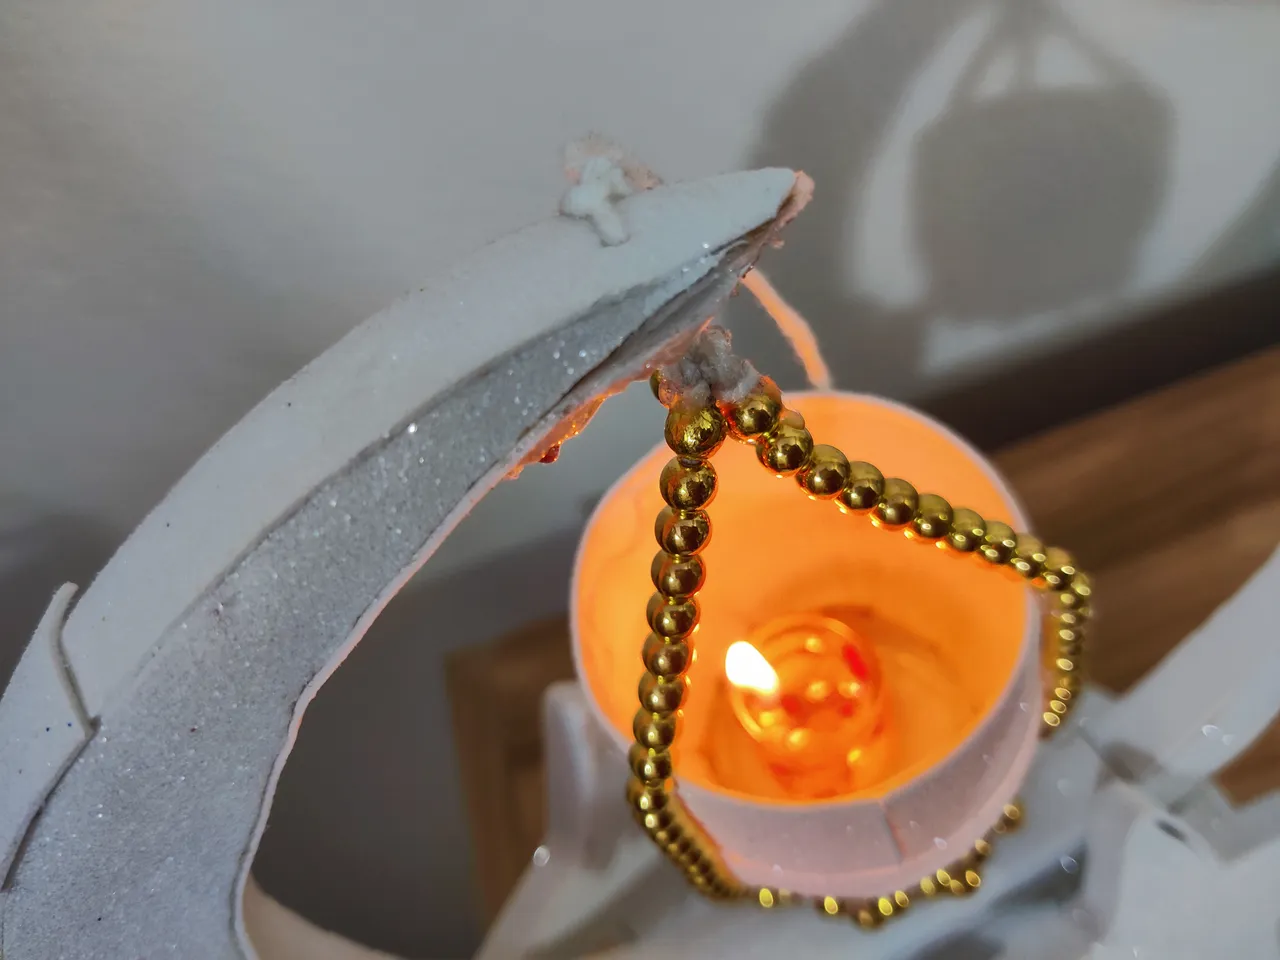
Then I attached the whole thing on the moon using hot glue gun and I placed a real candle inside of it although the YouTube video shows a fake candle and using the fake candle was the brilliant thing to do and I'll say the cause a bit later.
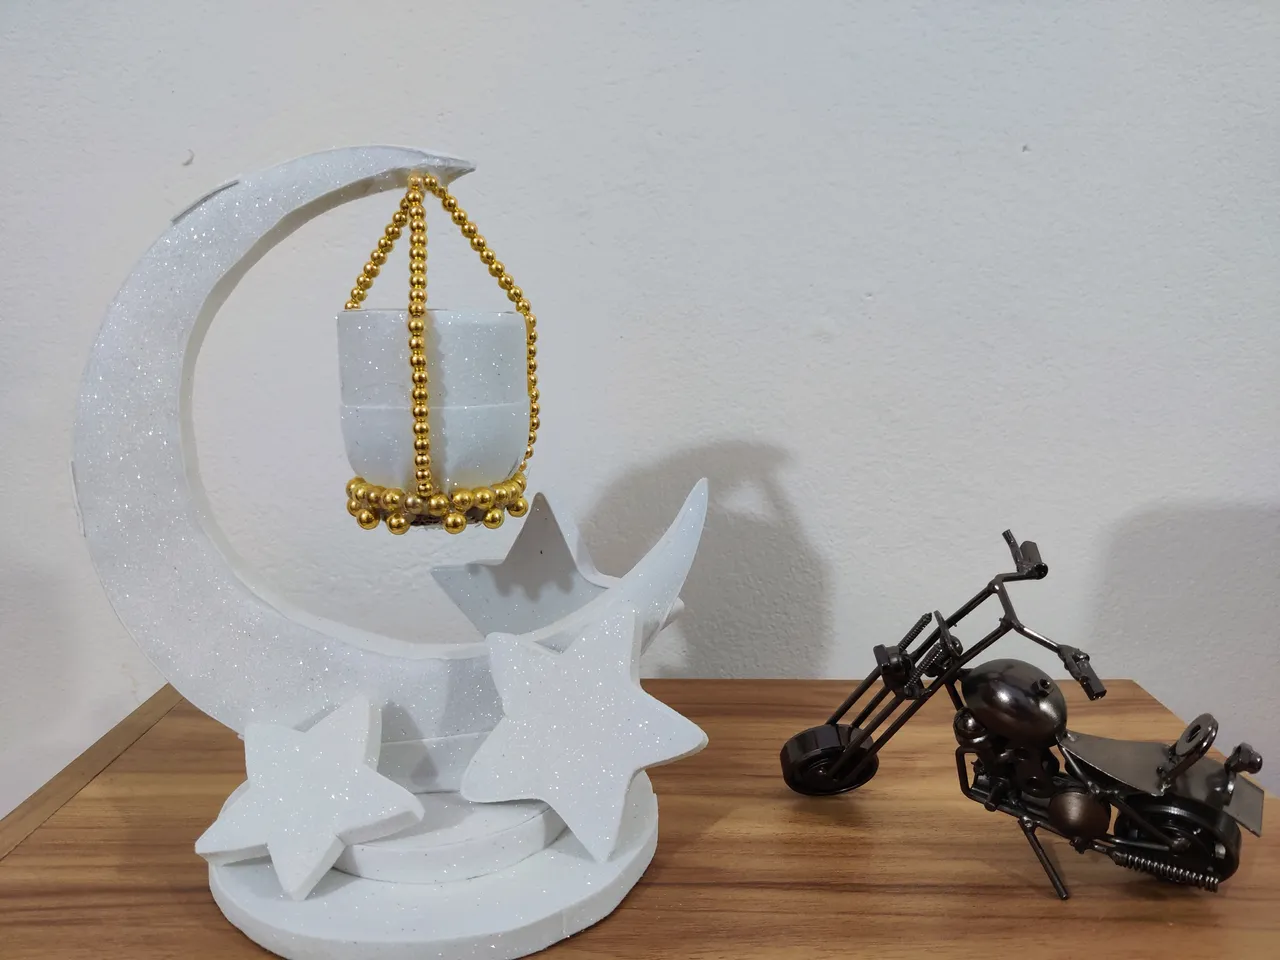
And the whole thing looks like this that I placed on my desk right beside the metal bike. Don't it look good? Btw, I placed all the stars beside the moon as you can see and they're not glued.
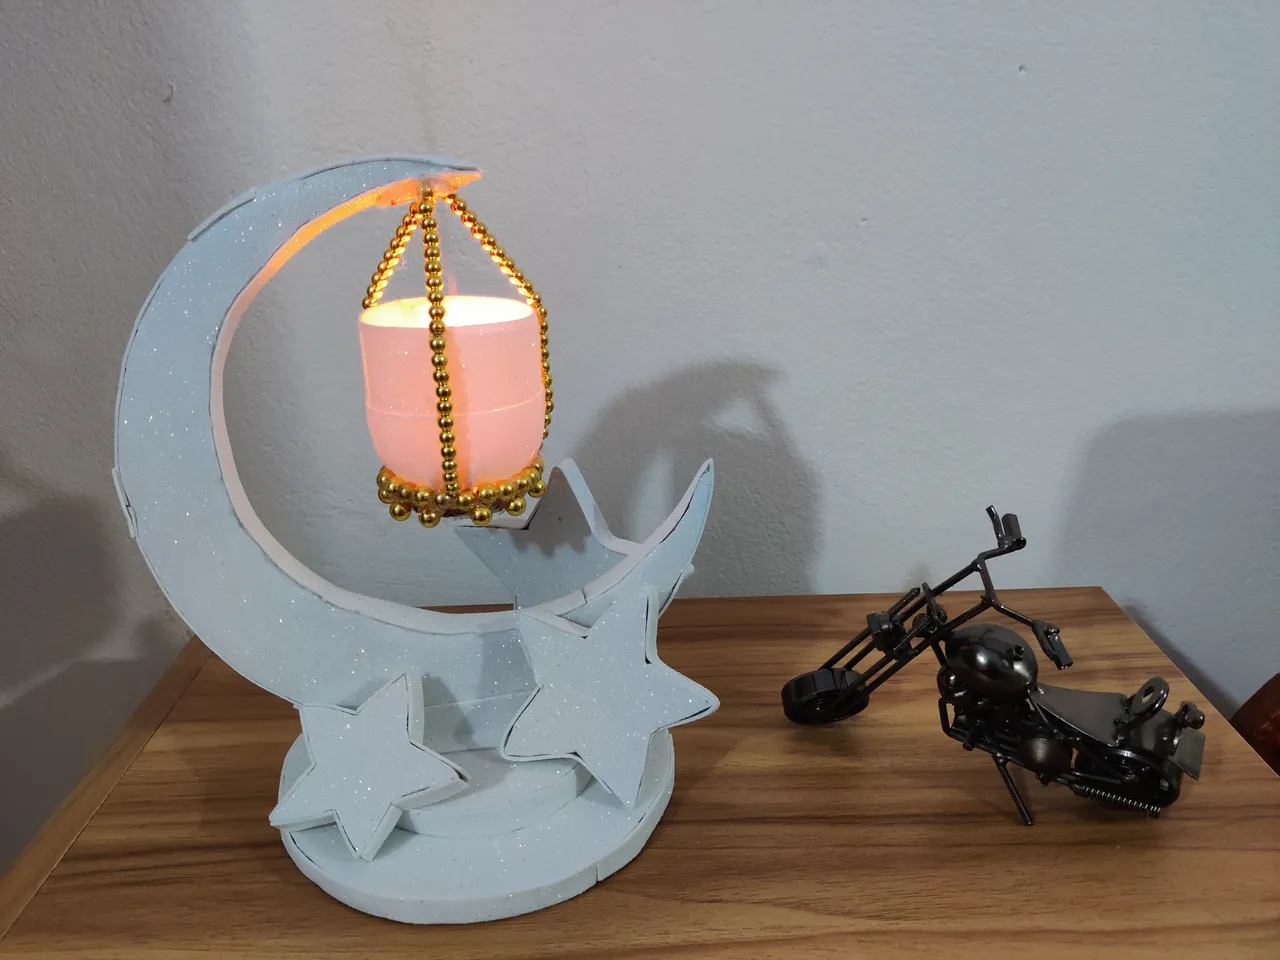
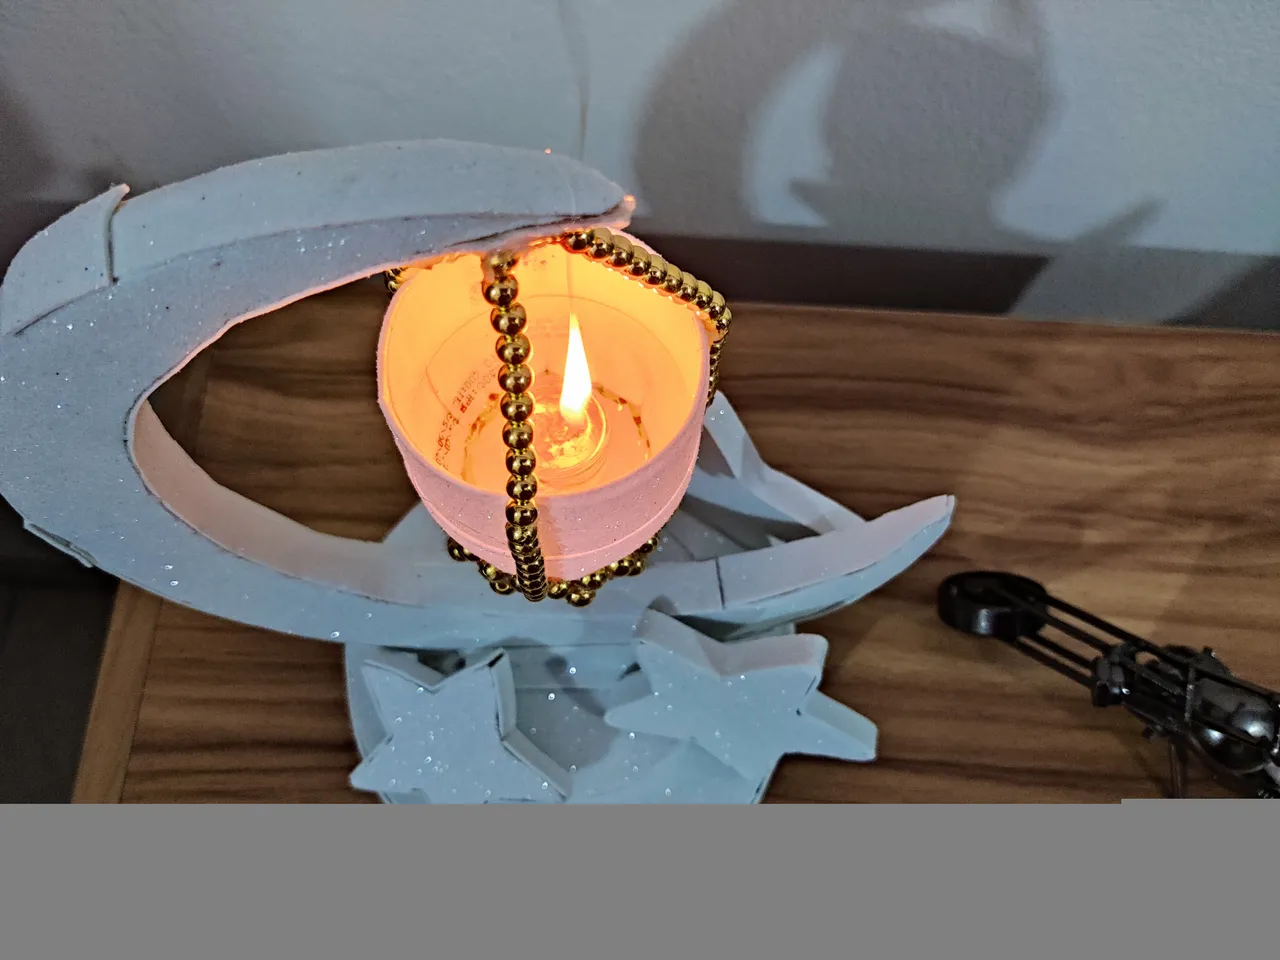
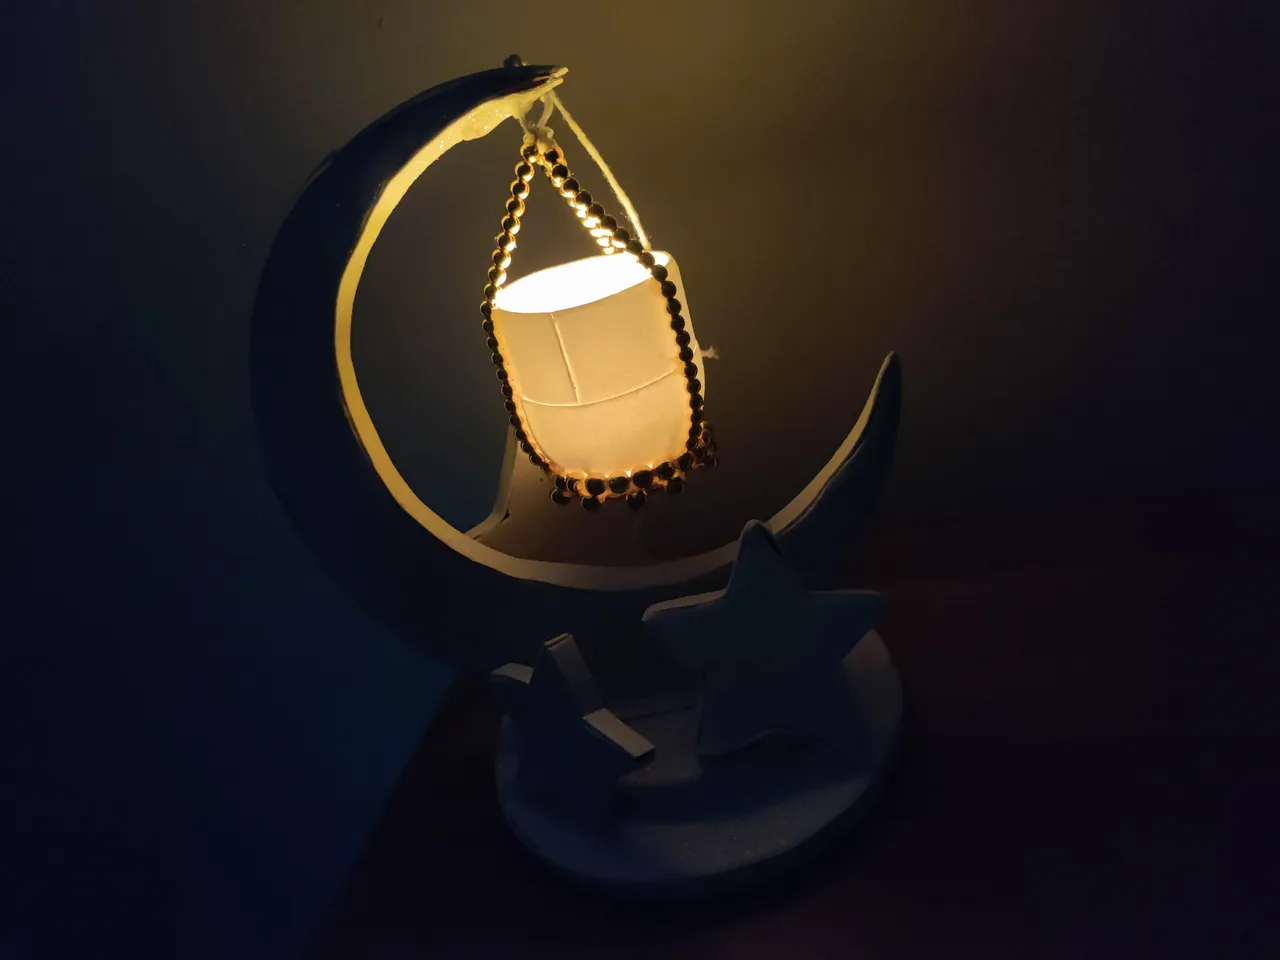
And I couldn't wait to fire up the candle and as you can see, the pot gives a different color with the fire that looks sweet.
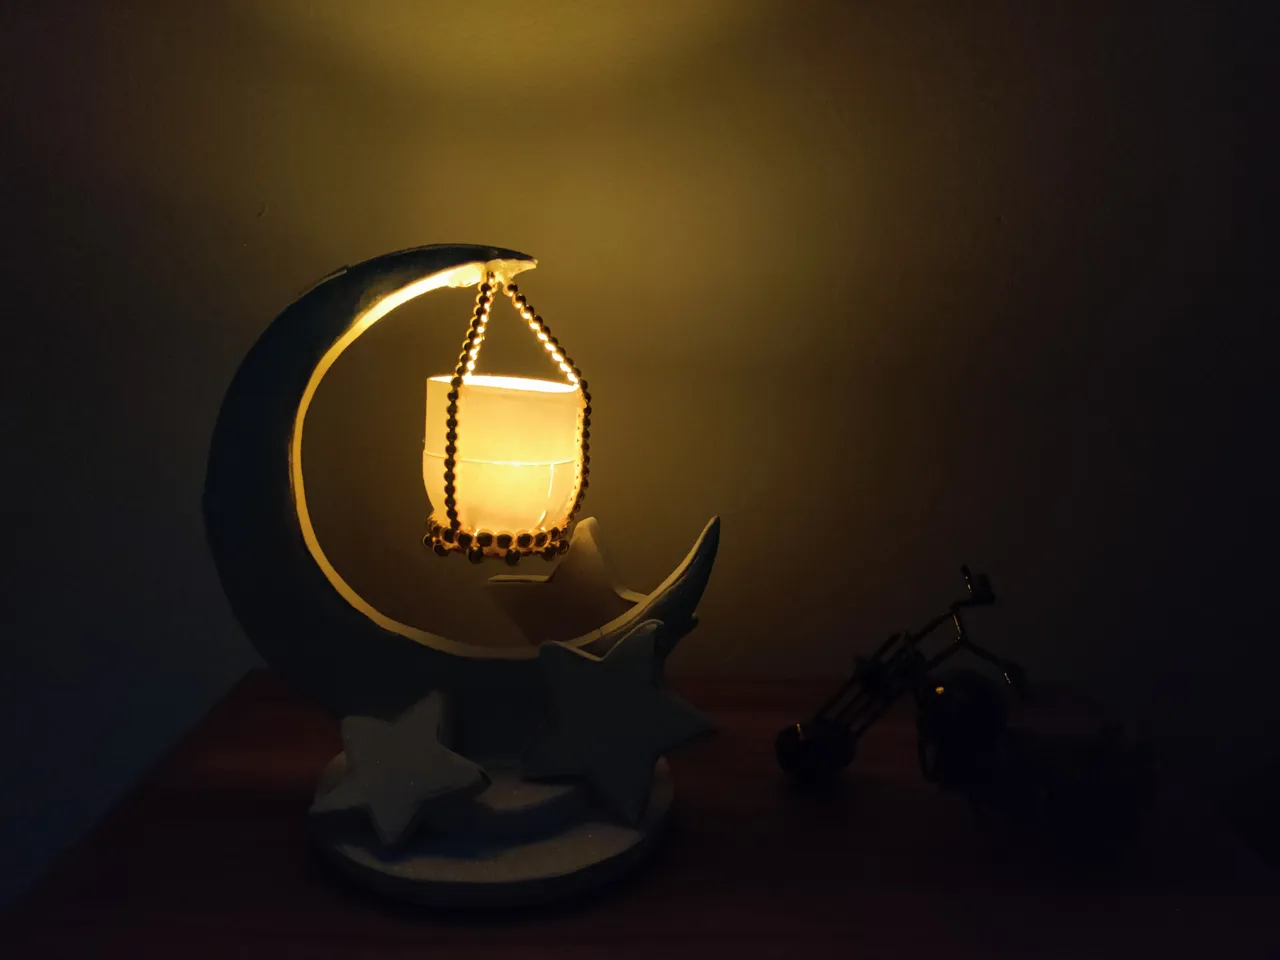
Then I turned off the light to see how it glows when the light is off and as you can see, it started glowing in a beautiful way. I was a little confused thinking if the fire might glows outside properly as the pot was covered up with foams but everything went well in that perspective as you can see.
And then I noticed that there was a mistake from my side which was attaching the pot with the moon using hot glue gun cause the glue started melting down from the heat of the candle. LOL.
So I stitched it up using the needle and thread and made it stronger and I don't think its gonna fall down soon.
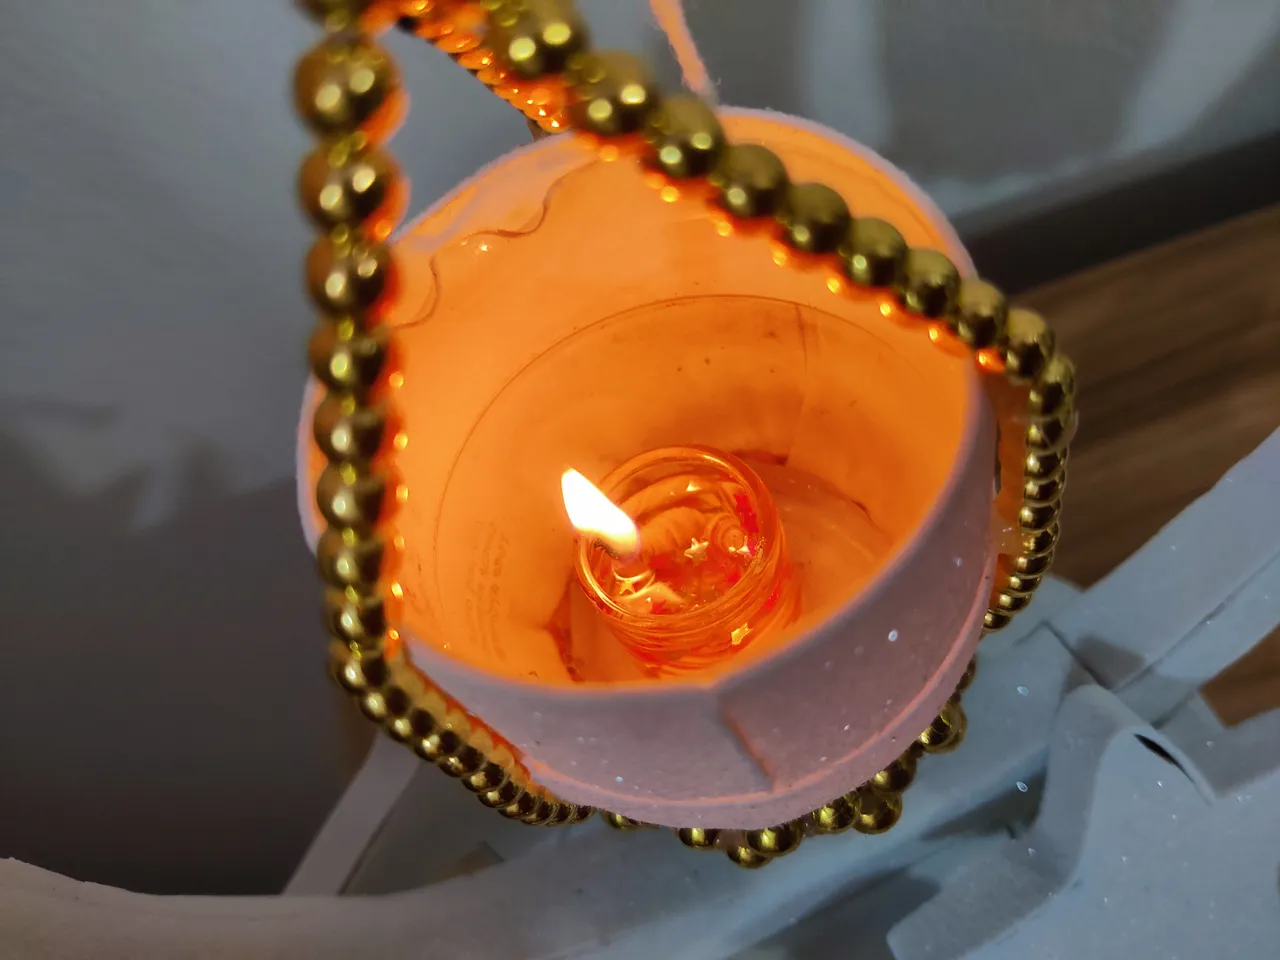
Later I found out that there's another problem. I mean, the bottle part started melting down with the heat of the candle, LOL LOL LOL. I think I'm gonna need to use place the candle at the center so the fire goes straight up and don't effect the plastic part and if it continues to melt down the plastic part then I may do something else but later.
And once again, I witnessed the beauty of this creation for a bit.
And here's a GIF video of my product, you may find it interesting and cute.
We came to the finishing lime of this DIY post. I didn't check on time but I think the whole process killed around or more than 5 hours of my life. Yes, freaking 5 hours.
I may show more of my DIY practice later if I find something interesting to try on. Don't forget to pray for me for the result of the contest.
All photos are my own except for the line breakers that I borrowed from the contest post page and I hope that's okay with the DIYHub team.
SEE YOU.