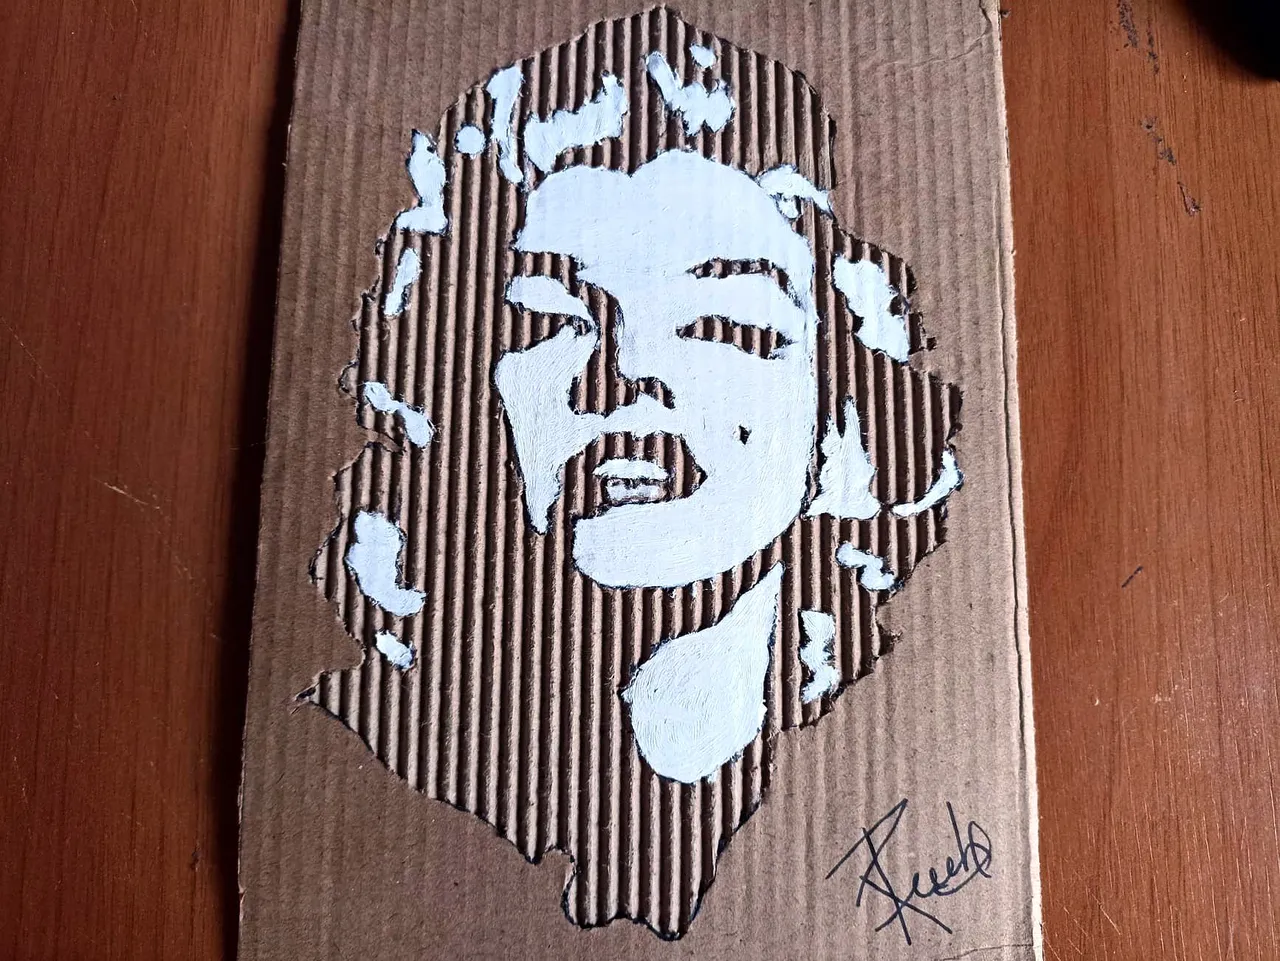
Hello friends, I hope you are very well spending these days, which in many countries are usually on vacation due to the tradition of Easter, wherever you are, I hope you are very well. I want to share with you a portrait I made of the beautiful Marilyn Monroe, one of the most beautiful faces that could exist, her iconic smile has been immortalized in thousands of photographs. I made this portrait on a cardboard sheet, which I cut to get the figure of the face and I painted it with acrylic paint so that it would look like a stencil. Hope you like.
Hola amigos espero que se encuentren muy bien pasando estos días que en muchos países suelen ser de vacaciones por la tradición de Semana Santa, donde sea que se encuentren espero que esten muy bien. Quiero compartir con ustedes un retrato que hice de la hermosa Marilyn Monroe, una de los rostros más hermosos que ha podido existir, su sonrisa tan icónica ha sido inmortalizada en miles de fotografías. Este retrato lo hice sobre una lámina de cartón, el cual corte para sacar la figura del rostro y lo pinté con pintura acrílica para que quedara como un stencil. Espero que les guste.

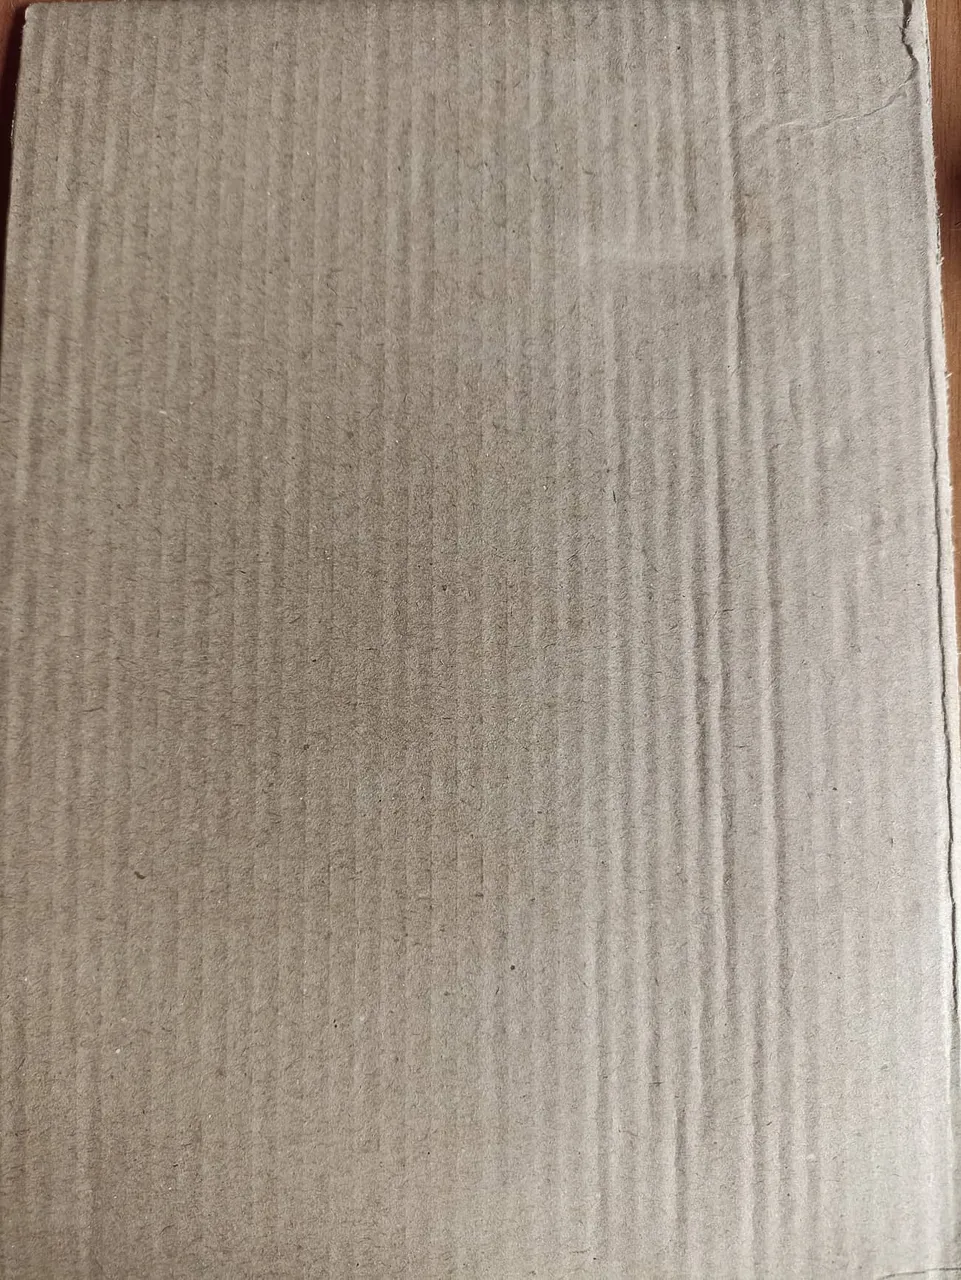
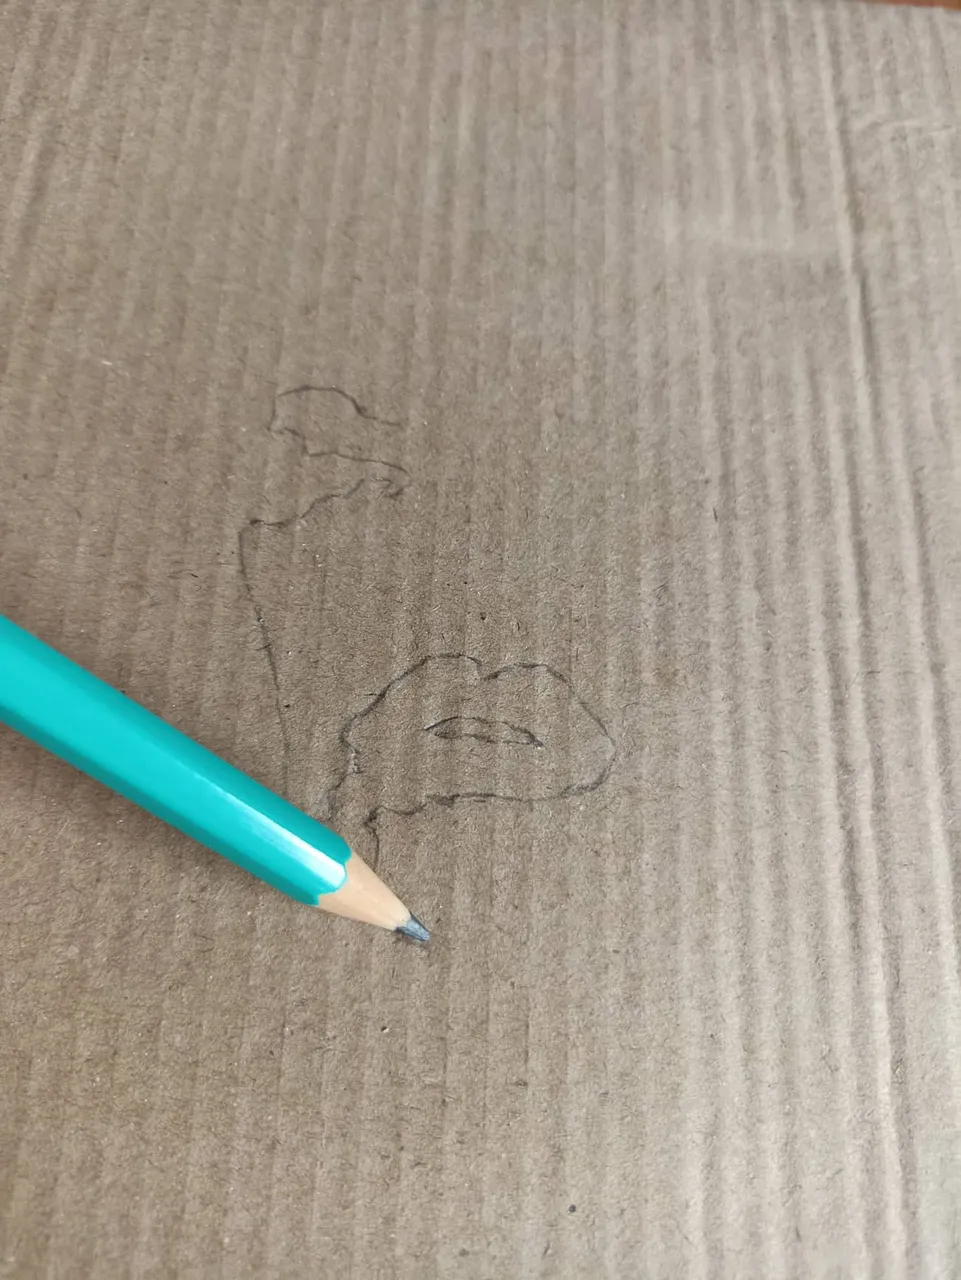
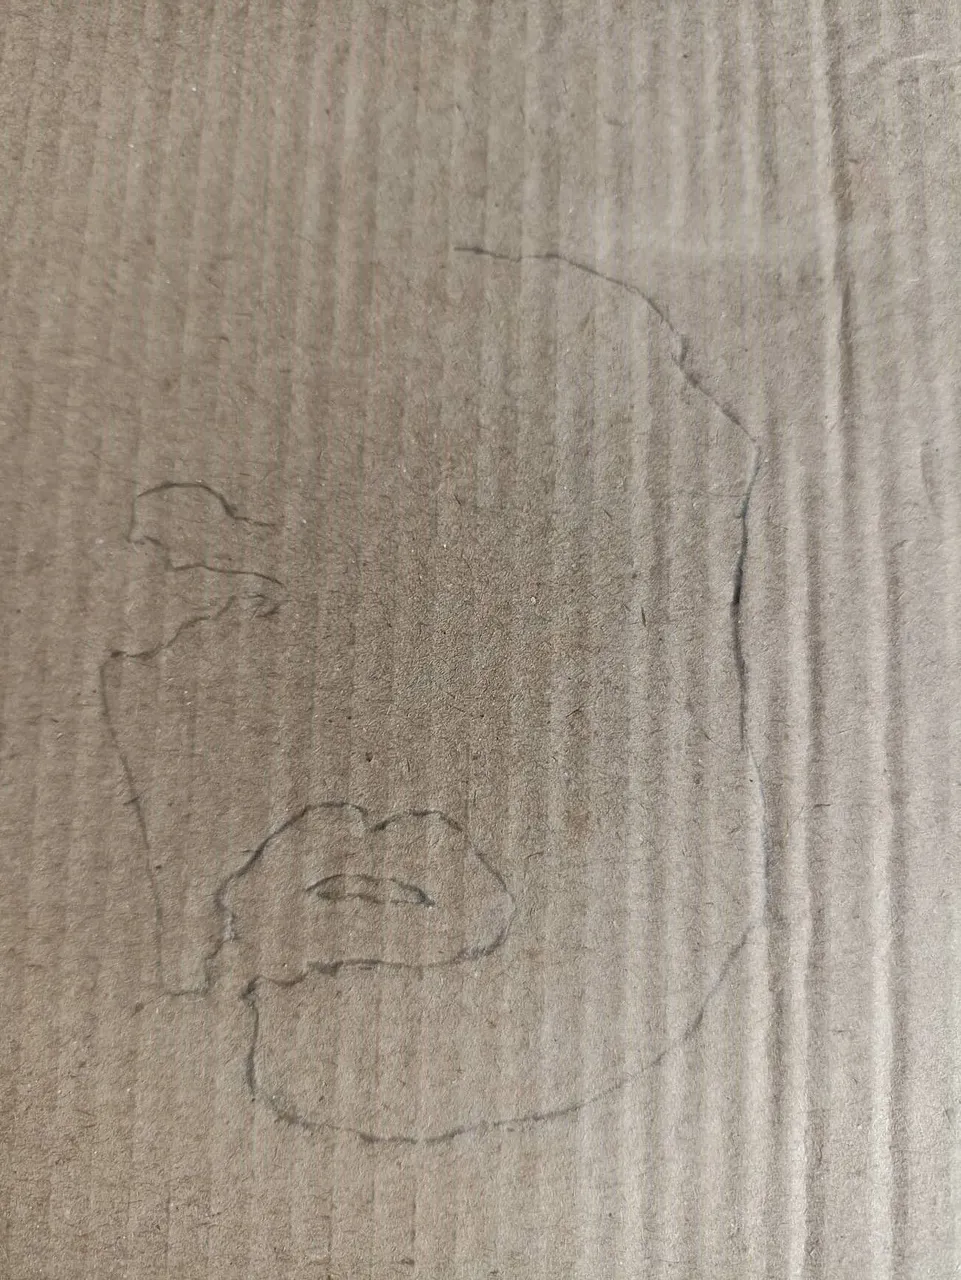
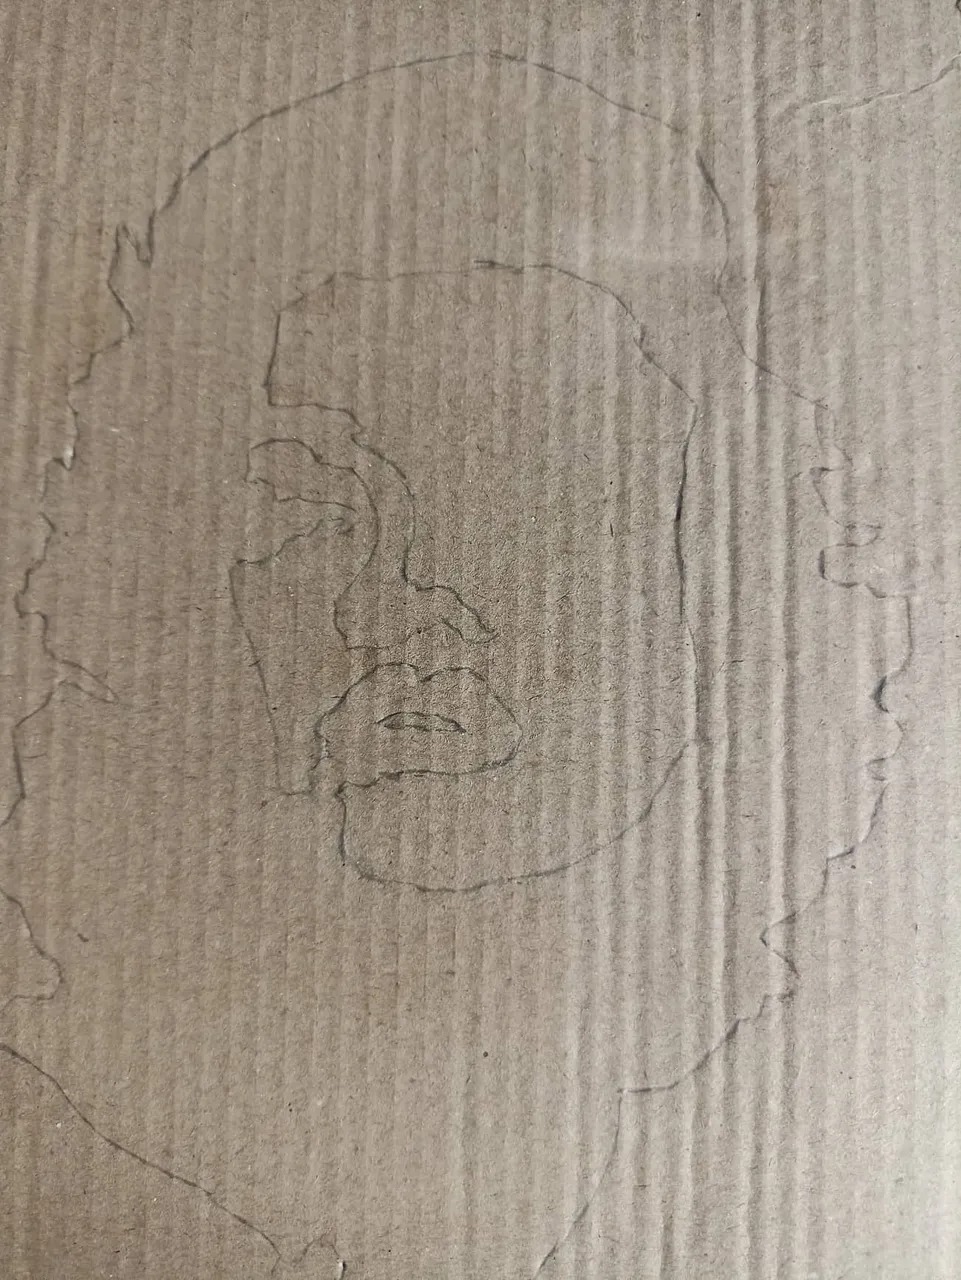
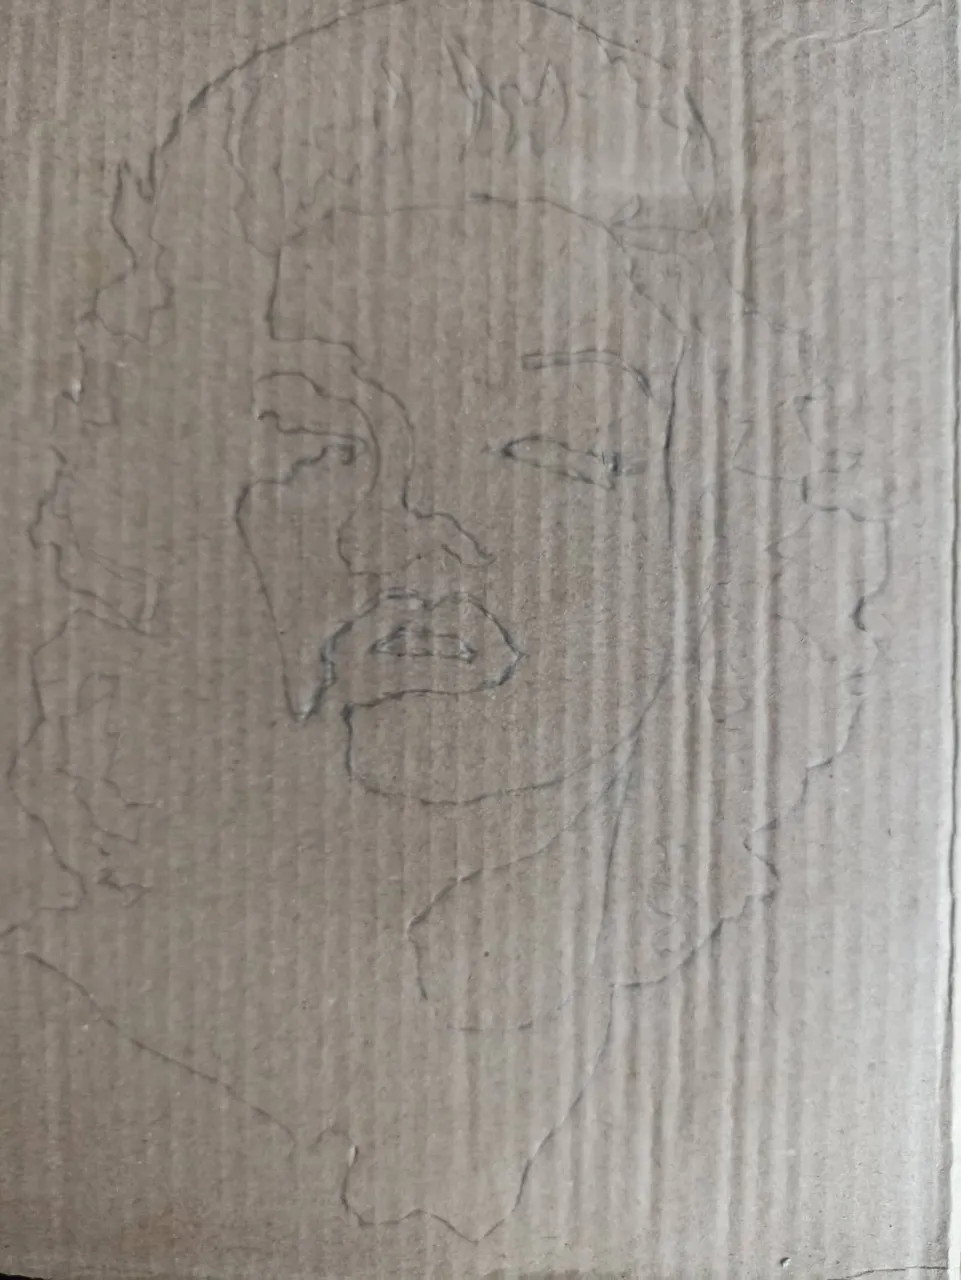
The first step is to get a catrón that is in good condition, that is not damaged so that we can cut it without problems. I found this one that measures 20 centimeters long by 13 centimeters wide. We start by drawing the silhouette of the face, we can be guided by a stencil image that can be found on google. With a hard lead pencil we make the silhouette little by little without much detail.
El primer paso es conseguir un catrón que esté en buen estado, que no esté estropeado para que podamos cortarlo sin problemas. Yo encontré este que mide 20 centímetros te largo por 13 centímetros de ancho. Comenzamos dibujando la silueta del rostro, podemos guiarnos una imagen stencil que en google se pueden encontrar. Con un lápiz de mina dura hacemos la silueta poco a poco sin mucho detalle.
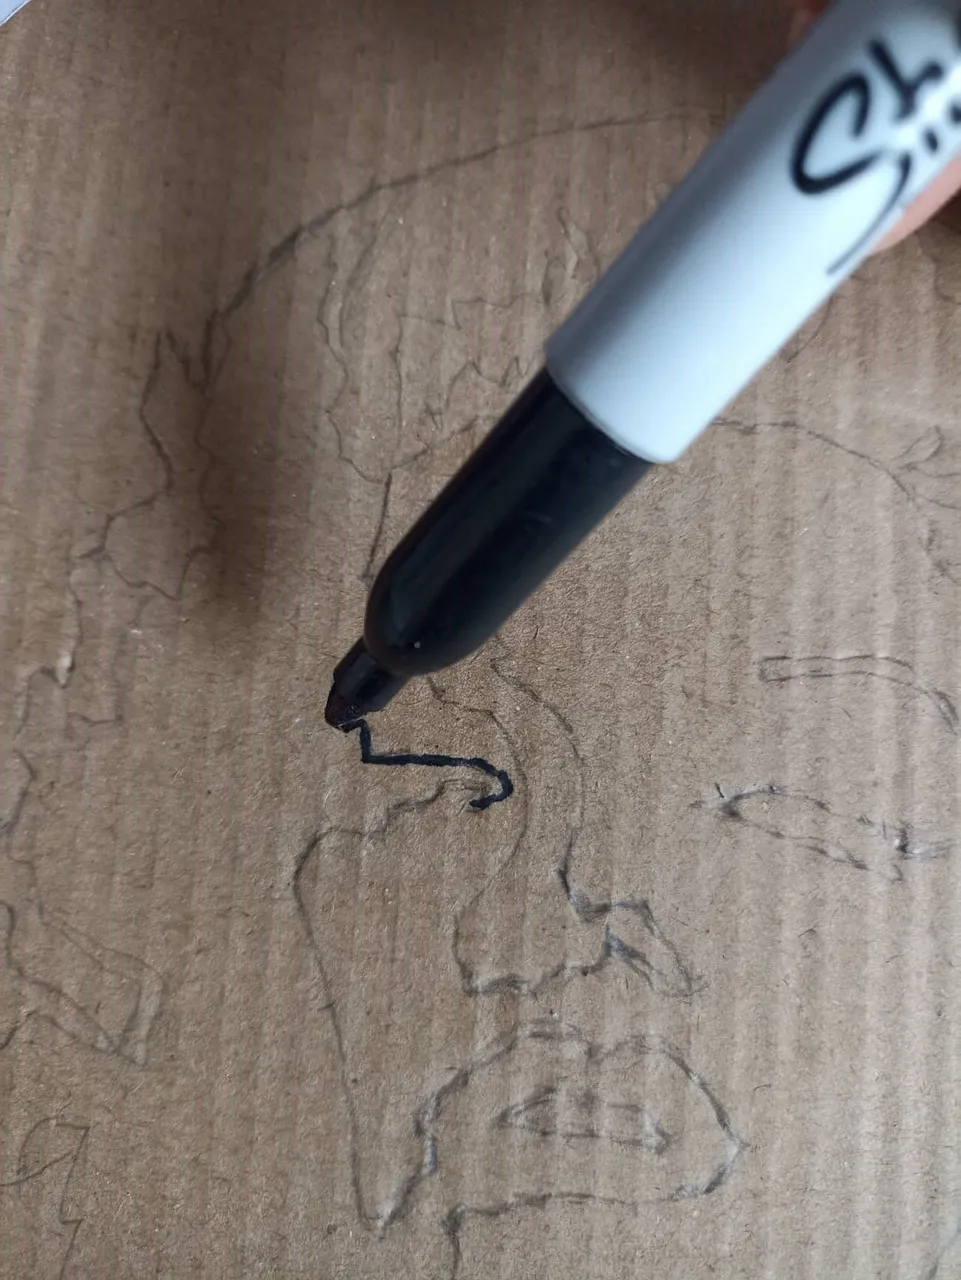
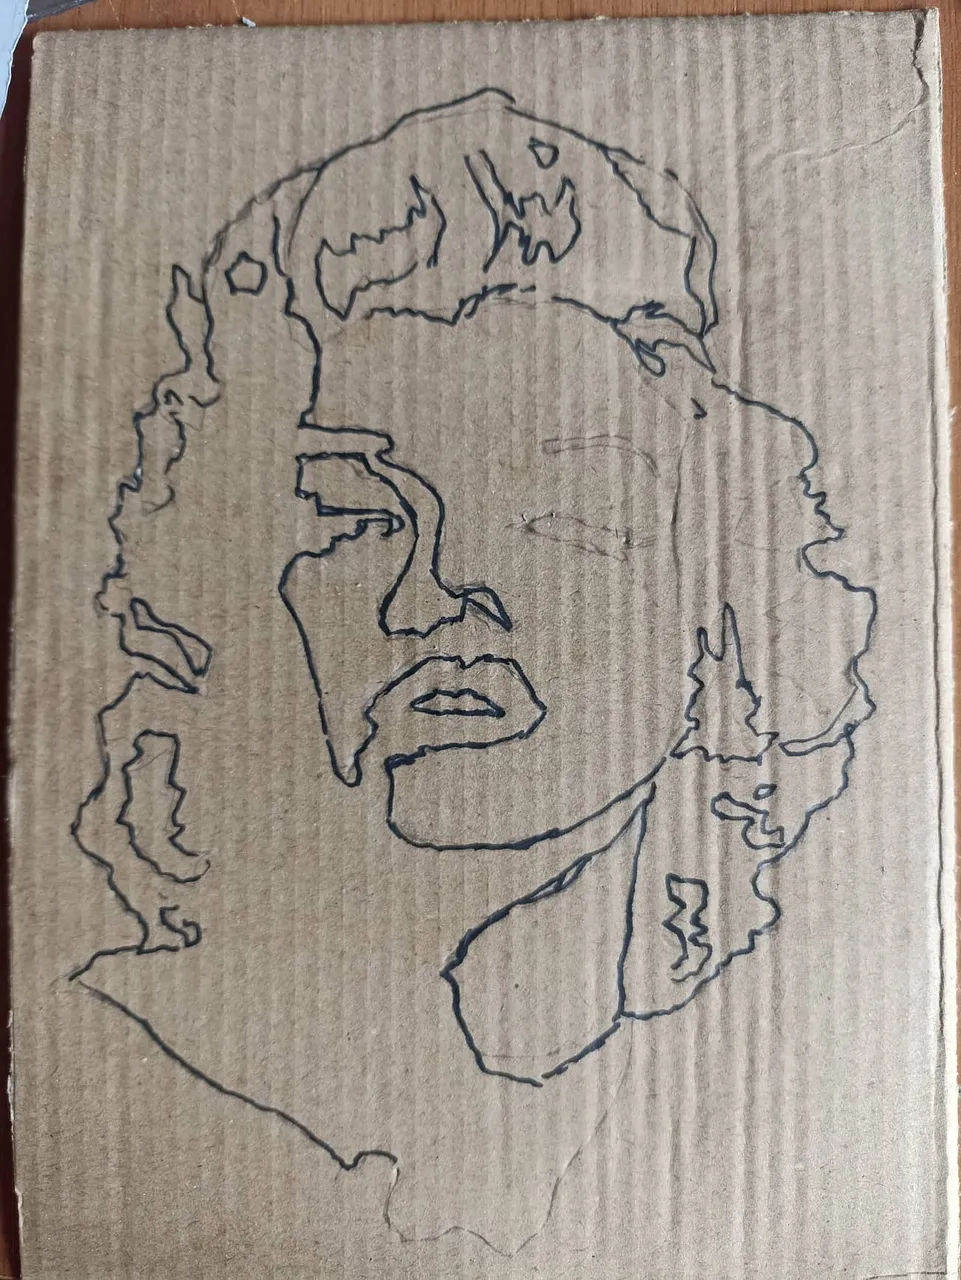
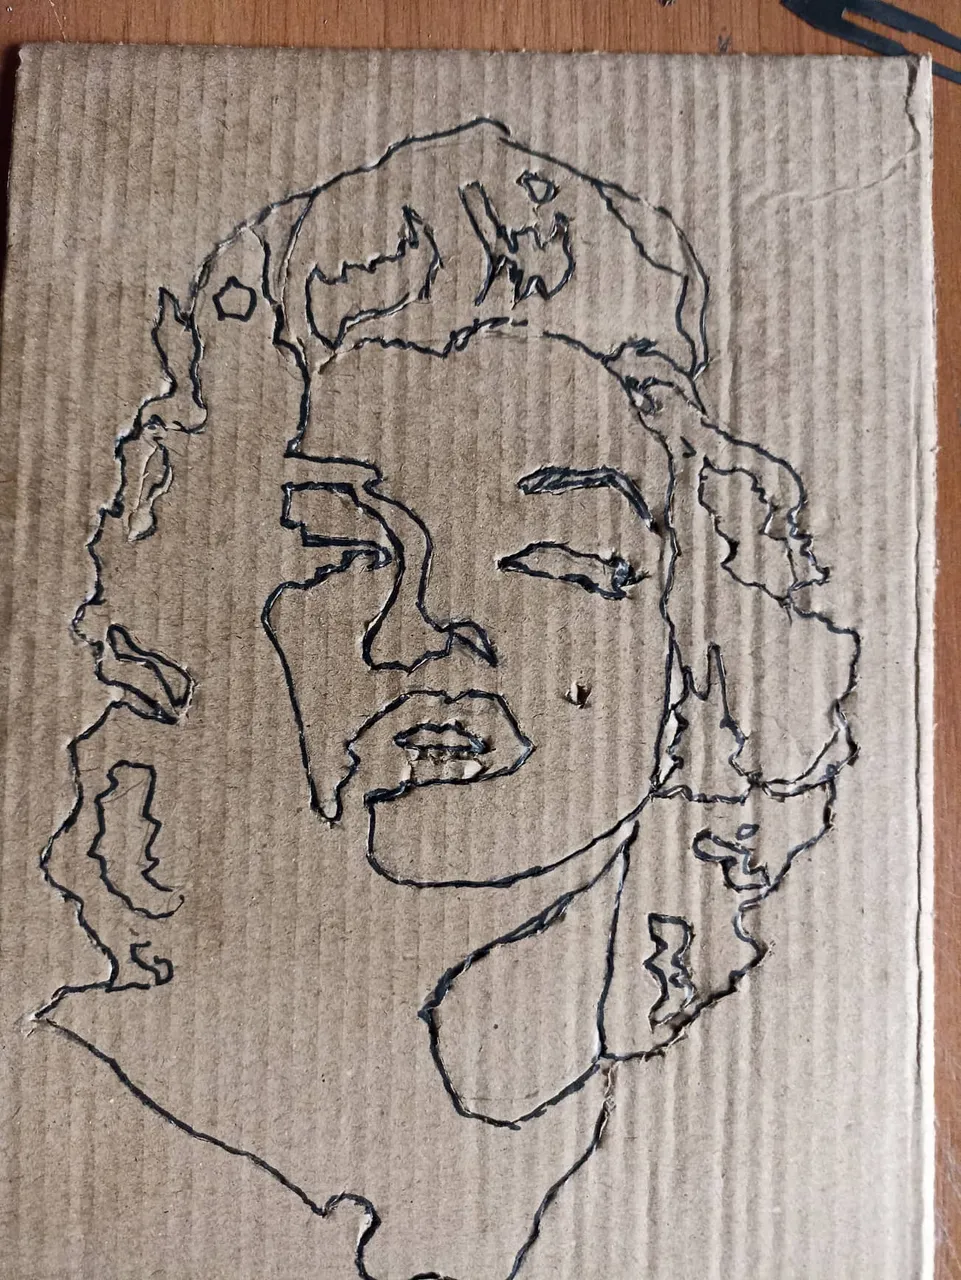
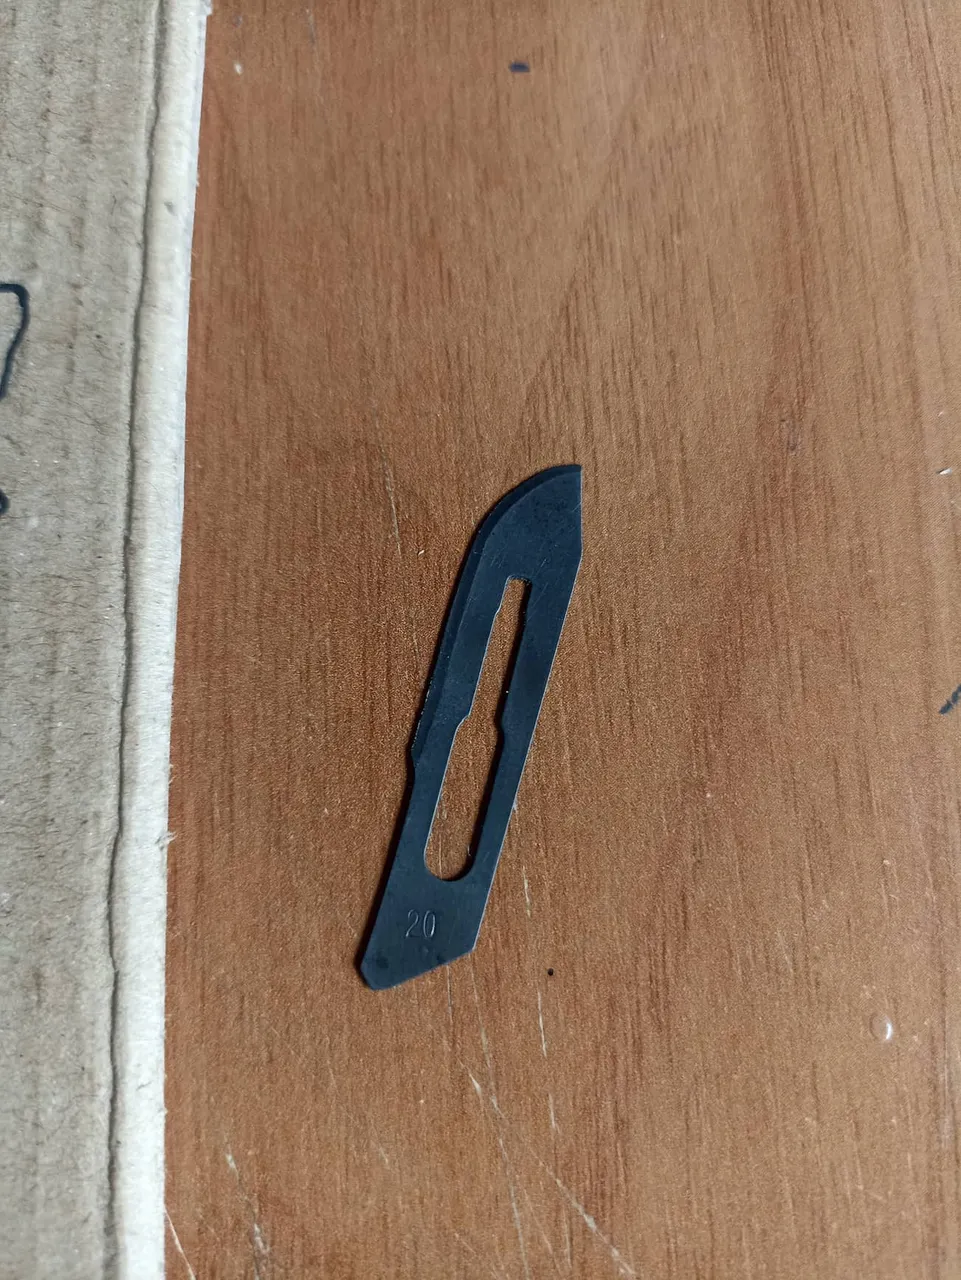
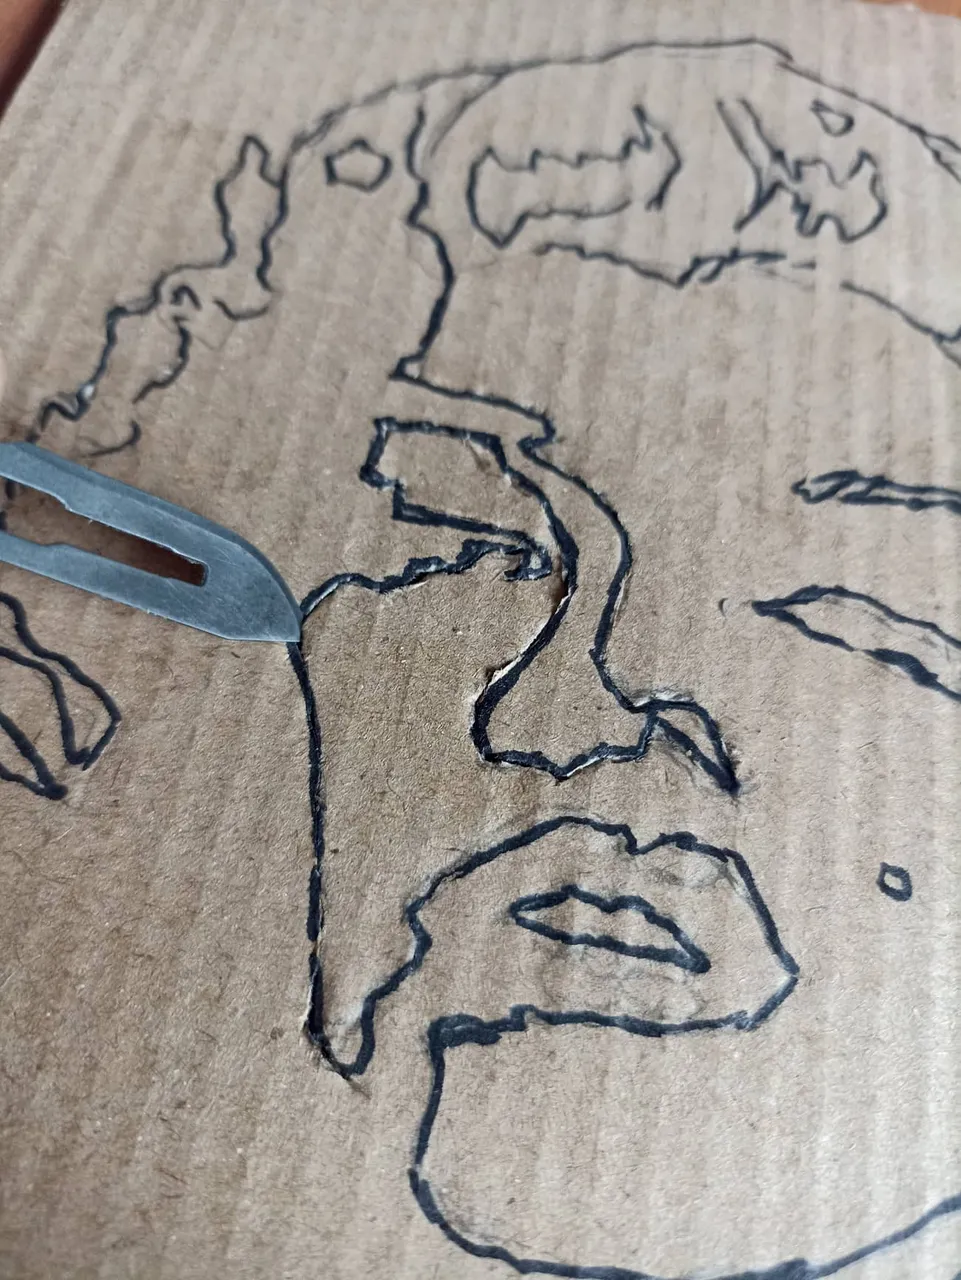
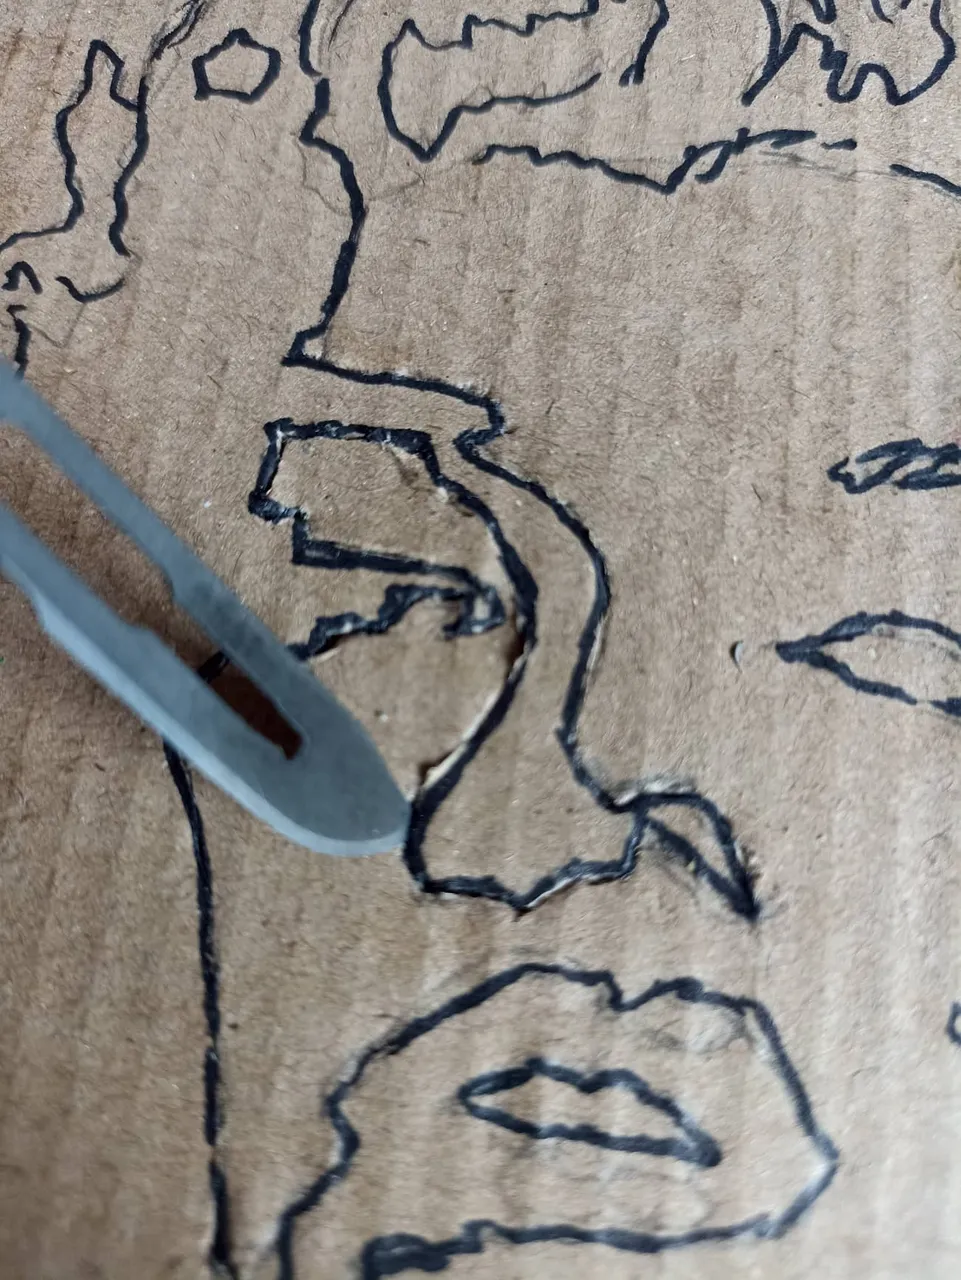
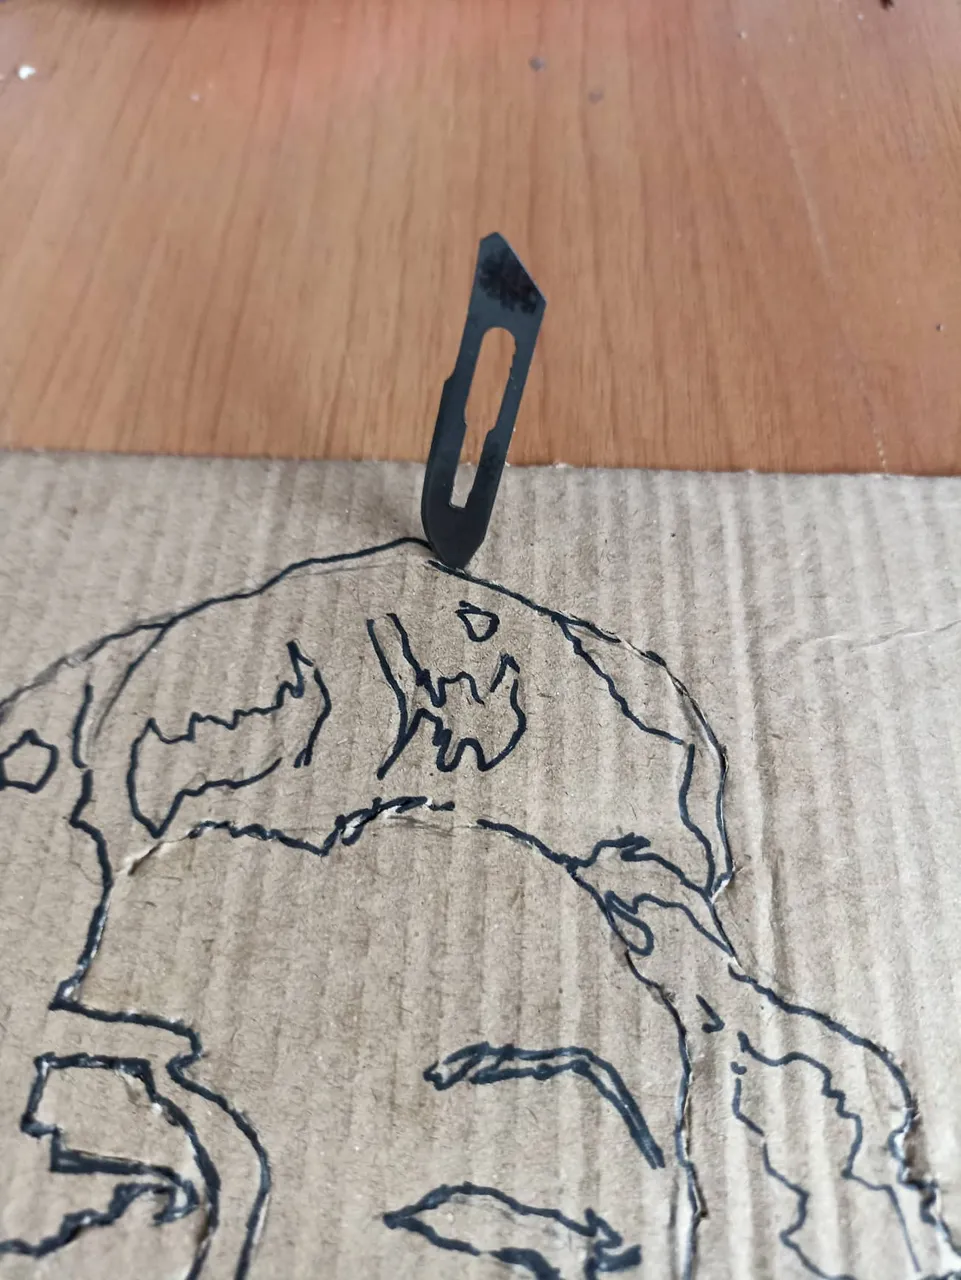
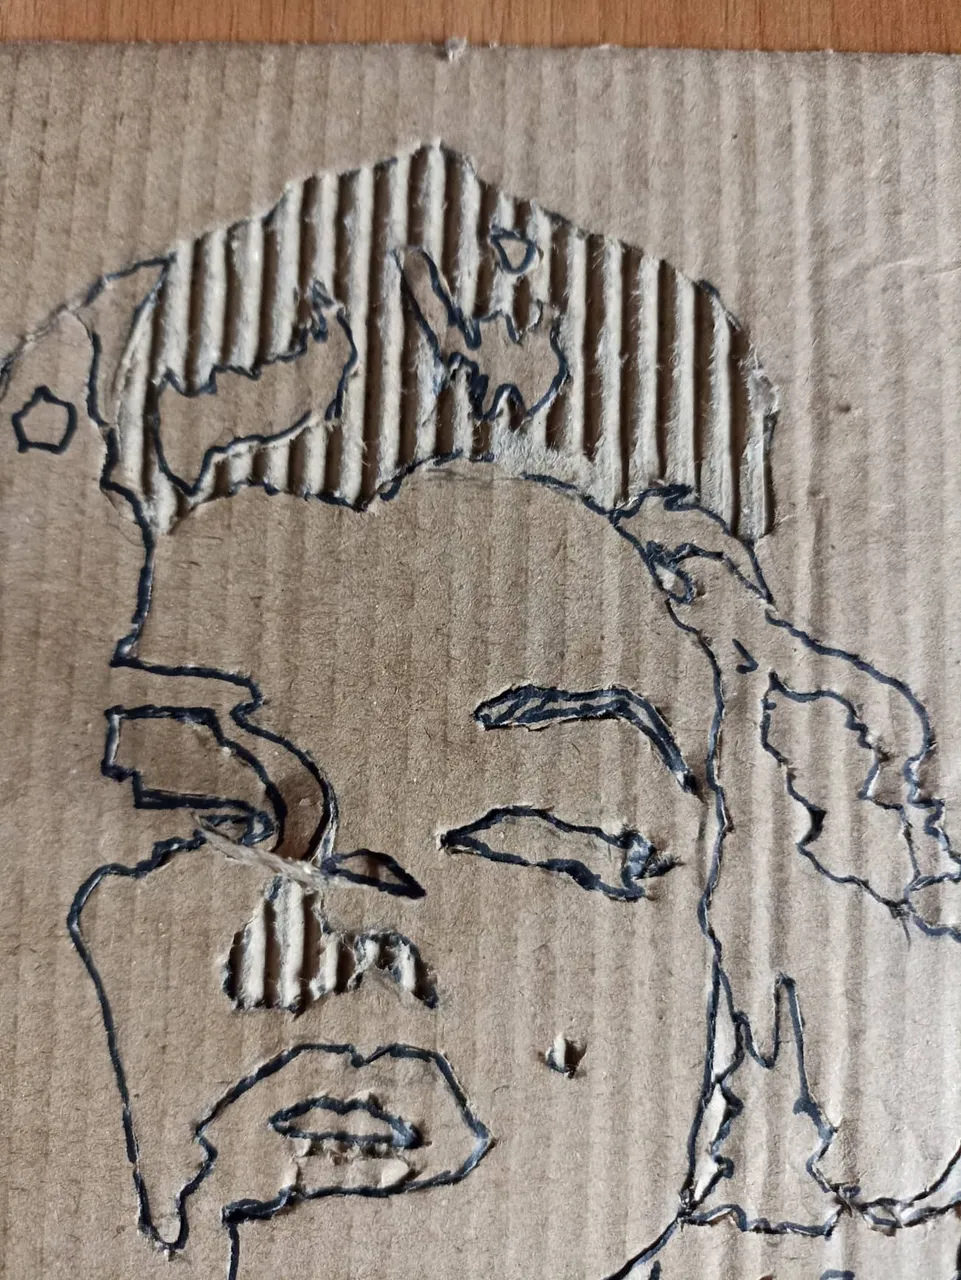
The second step is to cover the entire previous line using a fine-tipped black marker, we do this with the purpose of marking the lines very well and giving them a better shape and also to make the cut better. After that, with a paper scalpel, we begin to cut the entire drawing, little by little, following the black line that we drew before. We are introducing the blade and making the cut until completing the entire face.
El segundo paso es cubrir todo el trazo anterior utilizando un marcador negro de punta fina, esto lo hacemos con el propósito de marcar muy bien las líneas y darle una mejor forma y tambien para efectuar mejor el corte. Luego de eso con un bisturí para papel comenzamos a cortar todo el dibujo, poco a poco siguiendo la línea de color negro que dibujamos antes. Vamos introduciendo la hojilla y haciendo el corte hasta completar todo el rostro.
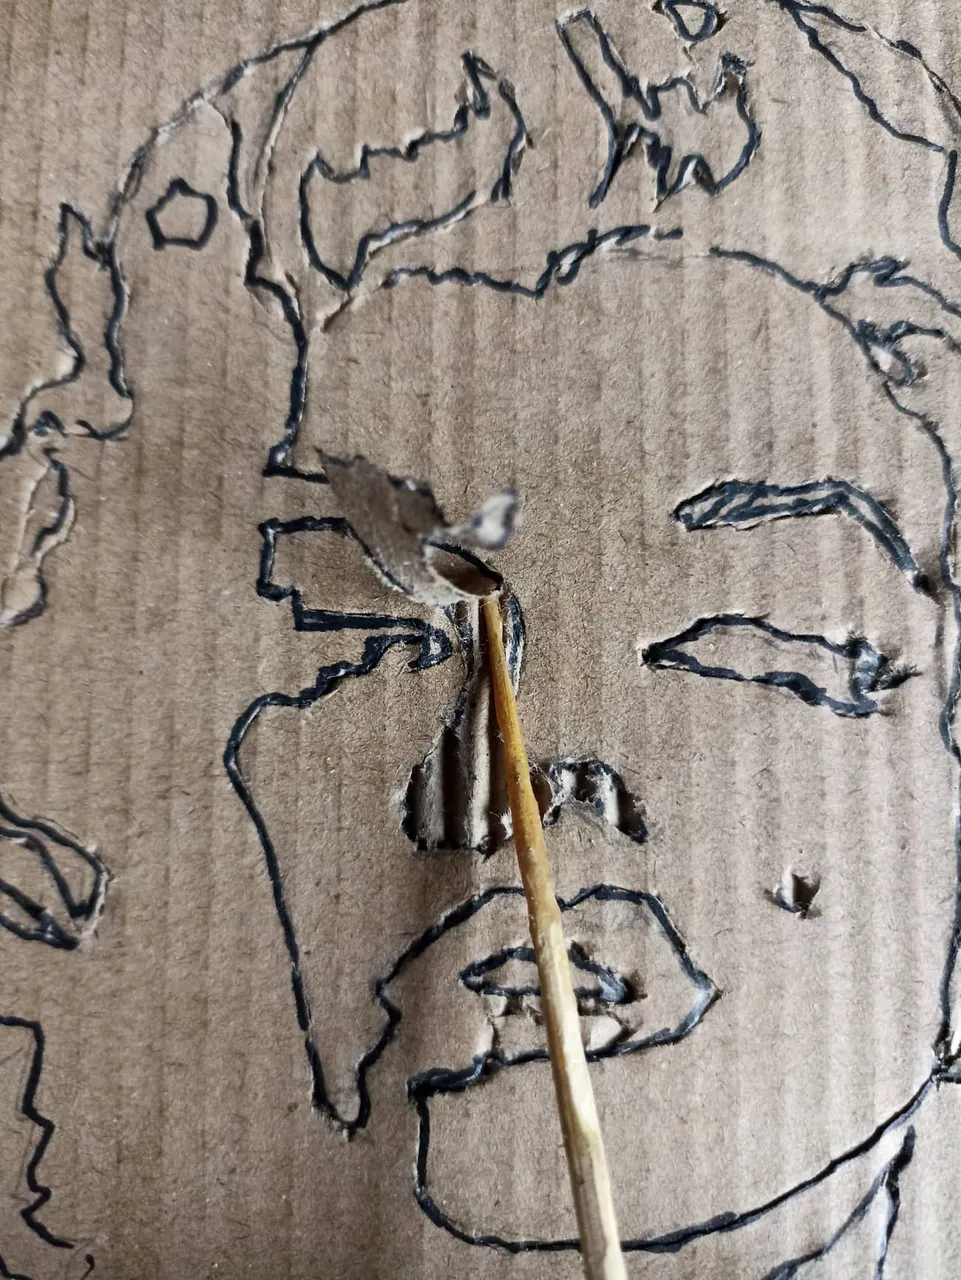
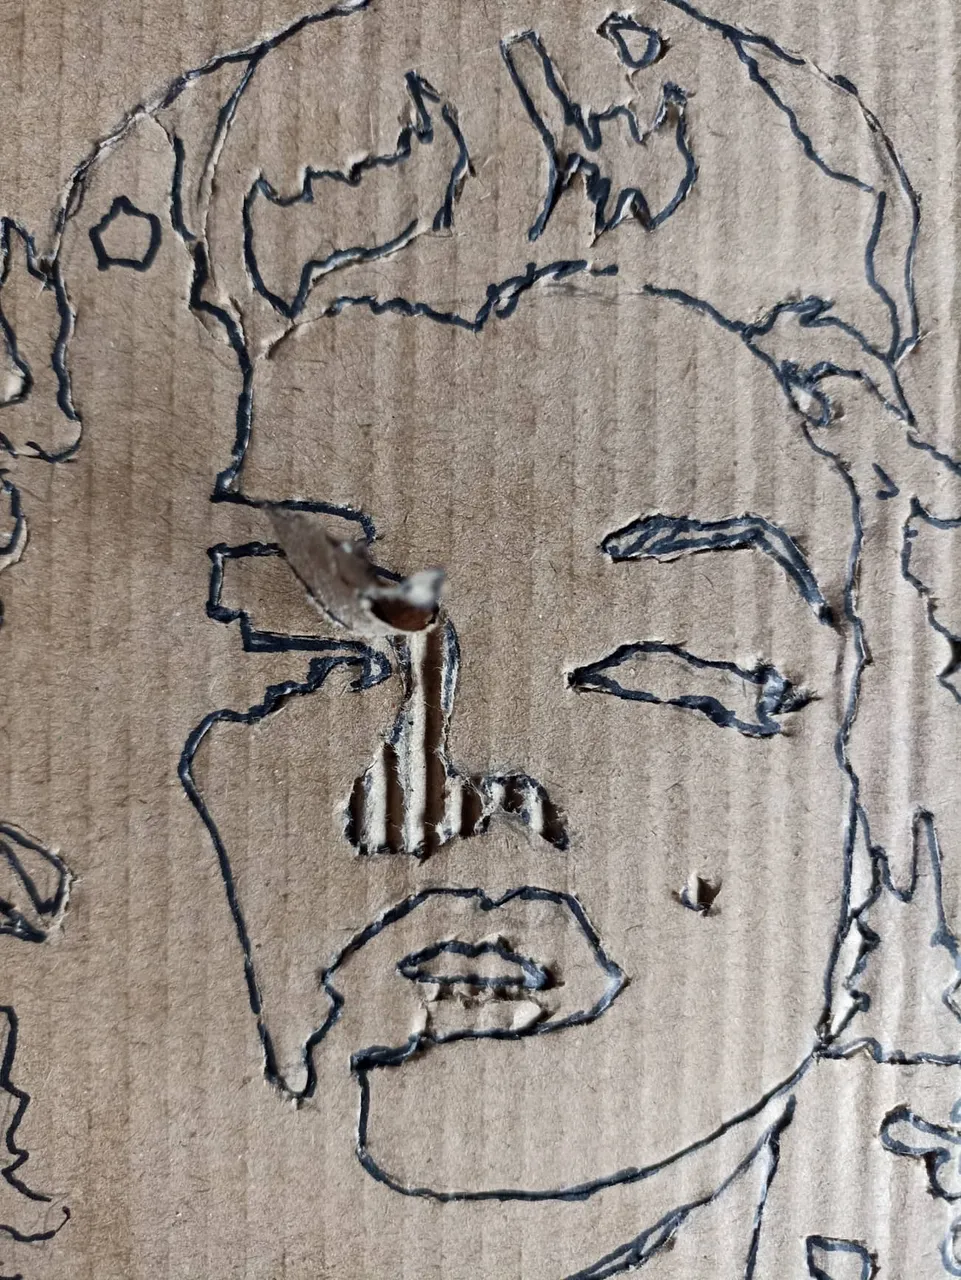
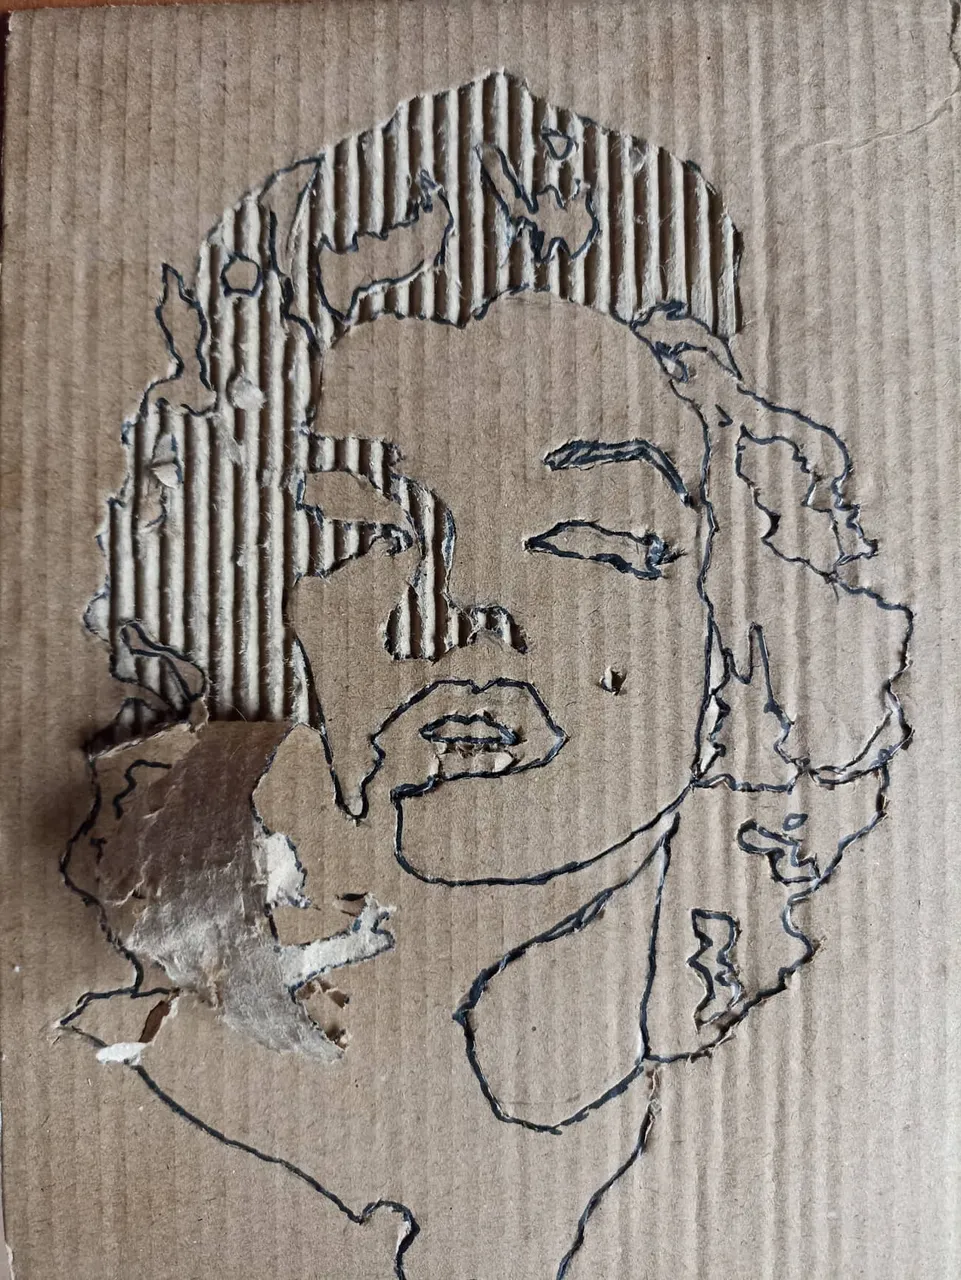
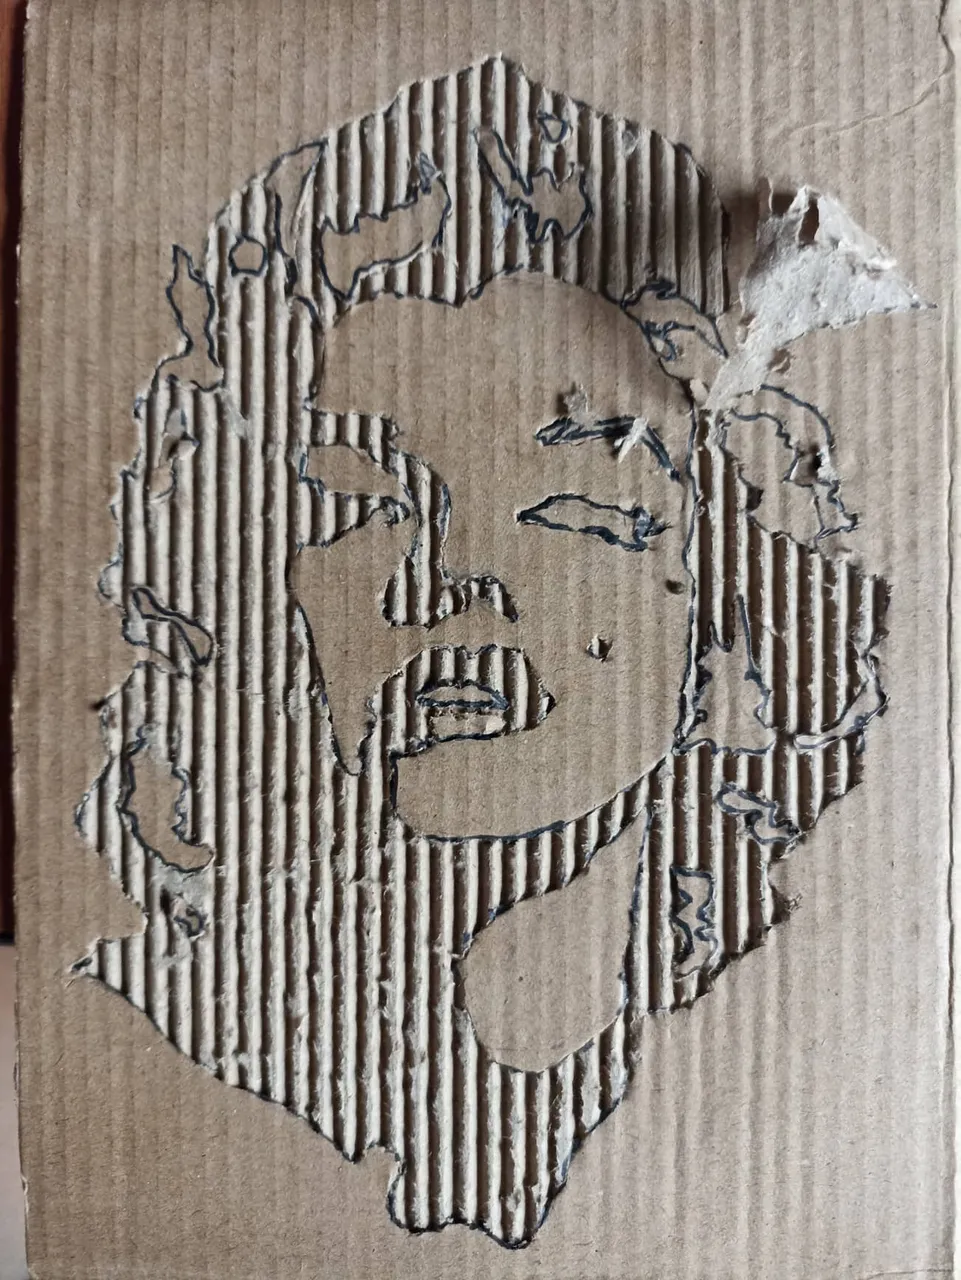

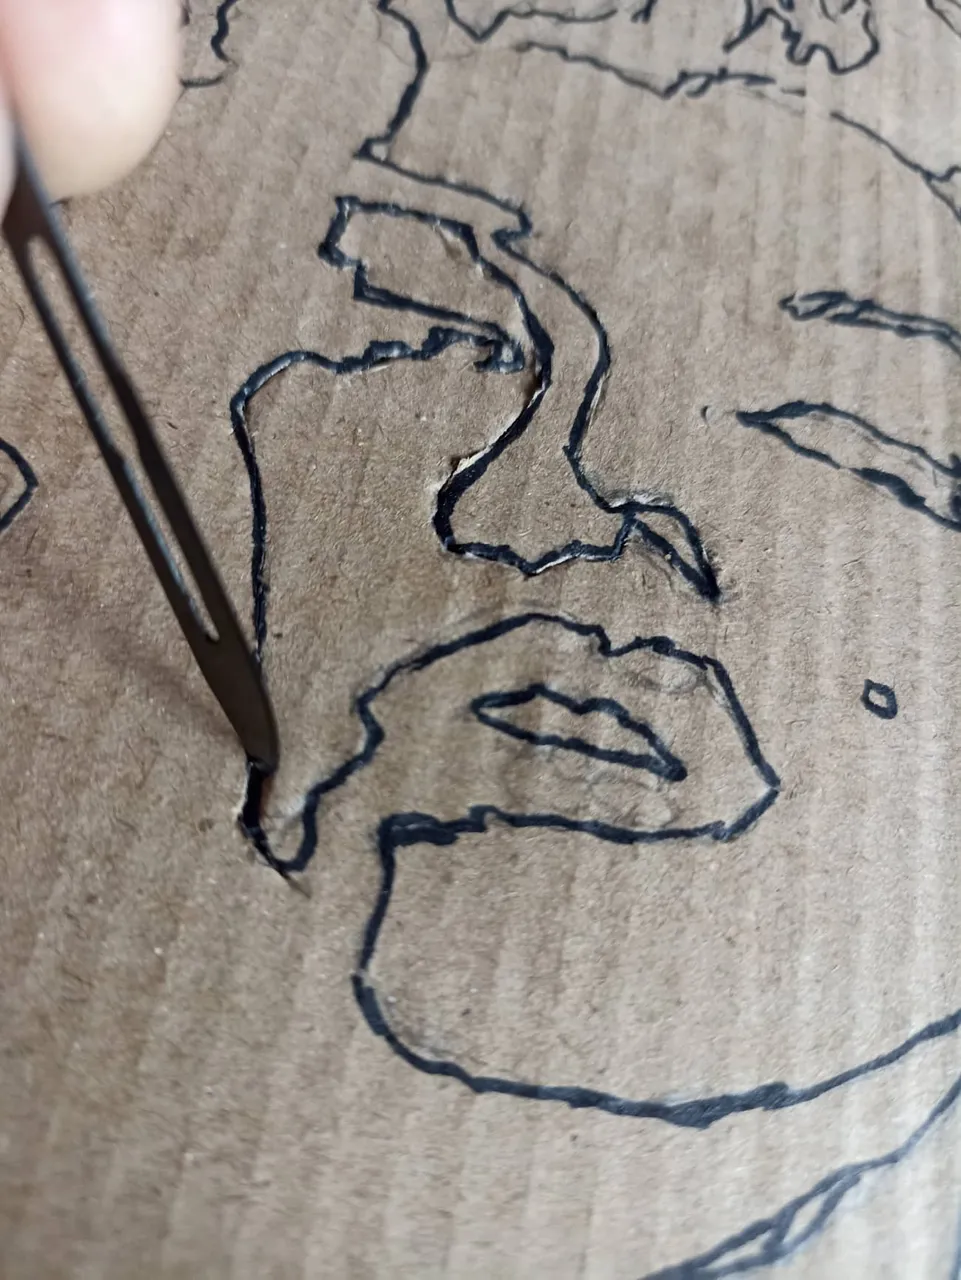
Now we begin with the most important step, which is to remove the layers of paper that we will not need to expose the internal relief of the cardboard. With a wooden stick we begin to remove from the part of the nose that in this case all we will remove will be the shadow of the face, so then we move to the upper part of the hair, then the sides and neck and finally the right part of the drawing. We must do it carefully so that we do not spoil it and that the drawing is not deformed.
Ahora comenzamos con el paso má simportante que es retirar las capas de papel que no necesitaremos para dejar el relieve interno del cartón a la vista. Con un vara de madera comenzamos a retirar desde la parte de la naríz que en este caso todo lo que retiraremos será la sombre del rostro, así luego pasamos a la parte superior del cabello, luego los costados y el cuello y por último la parte derecha del dibujo. Debemos hacerlo con cuidado para nos estropearlo y que el dibujo no quede deforme.
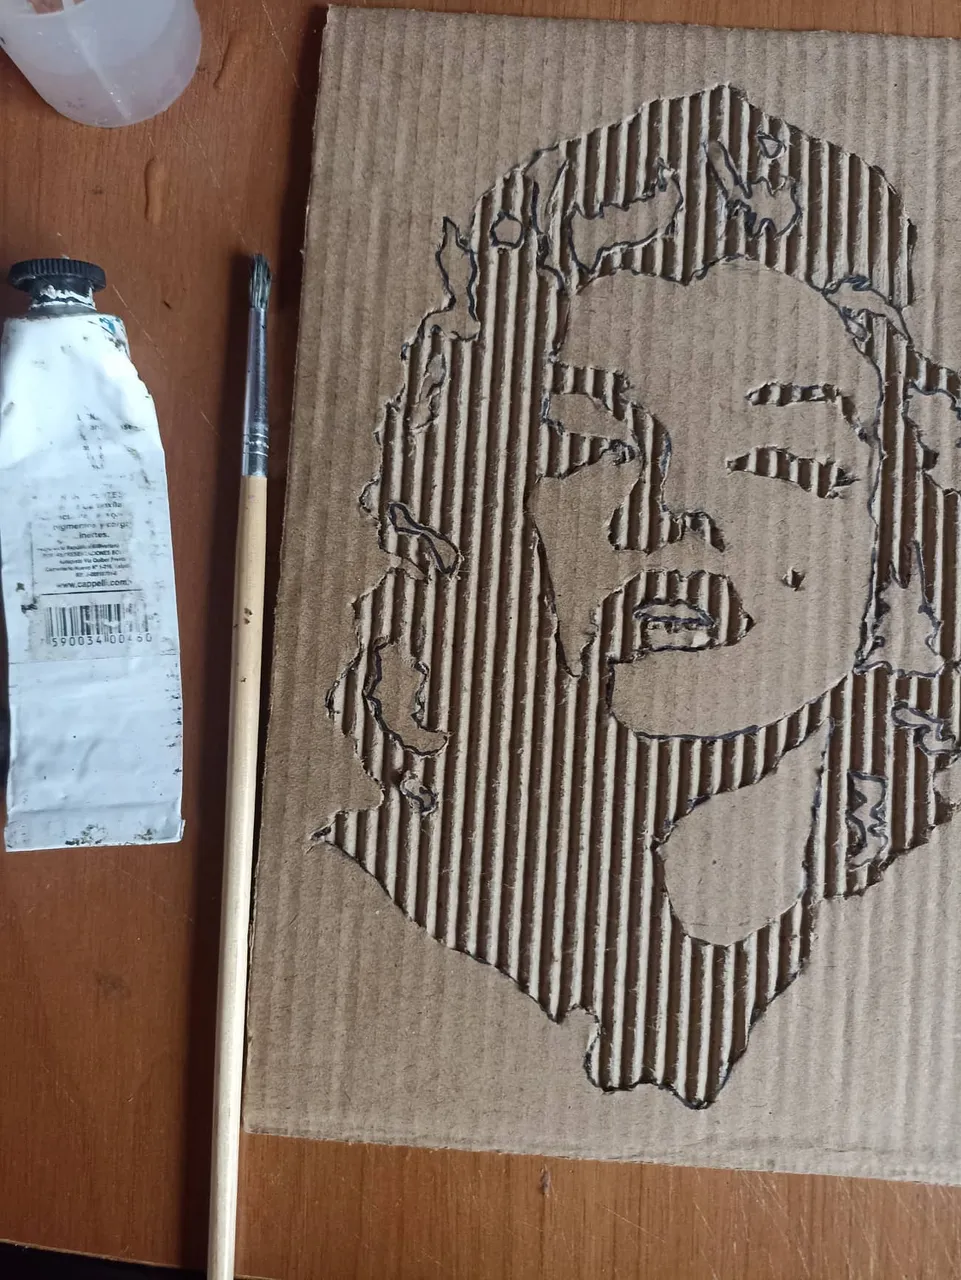
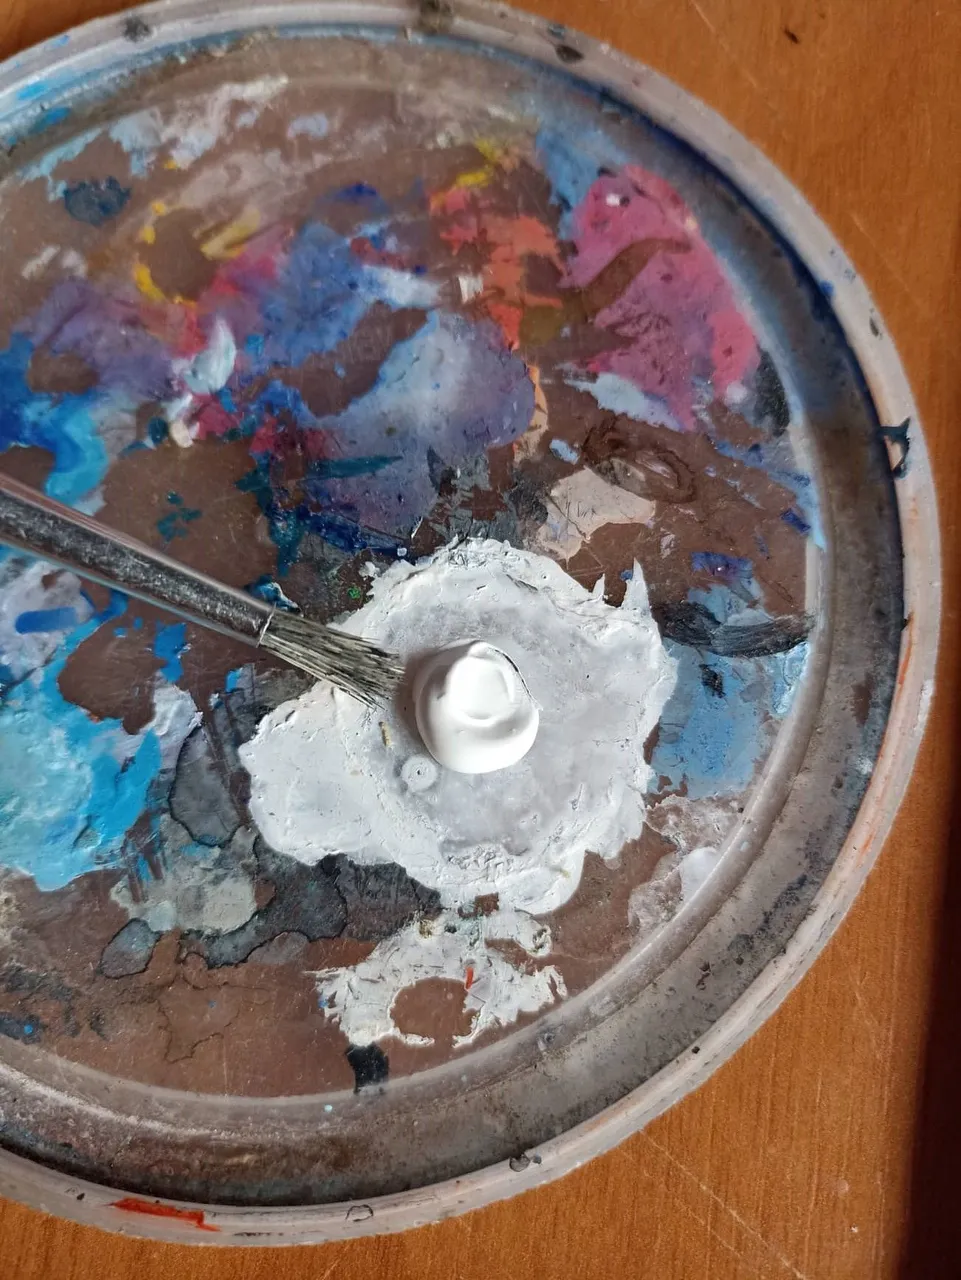
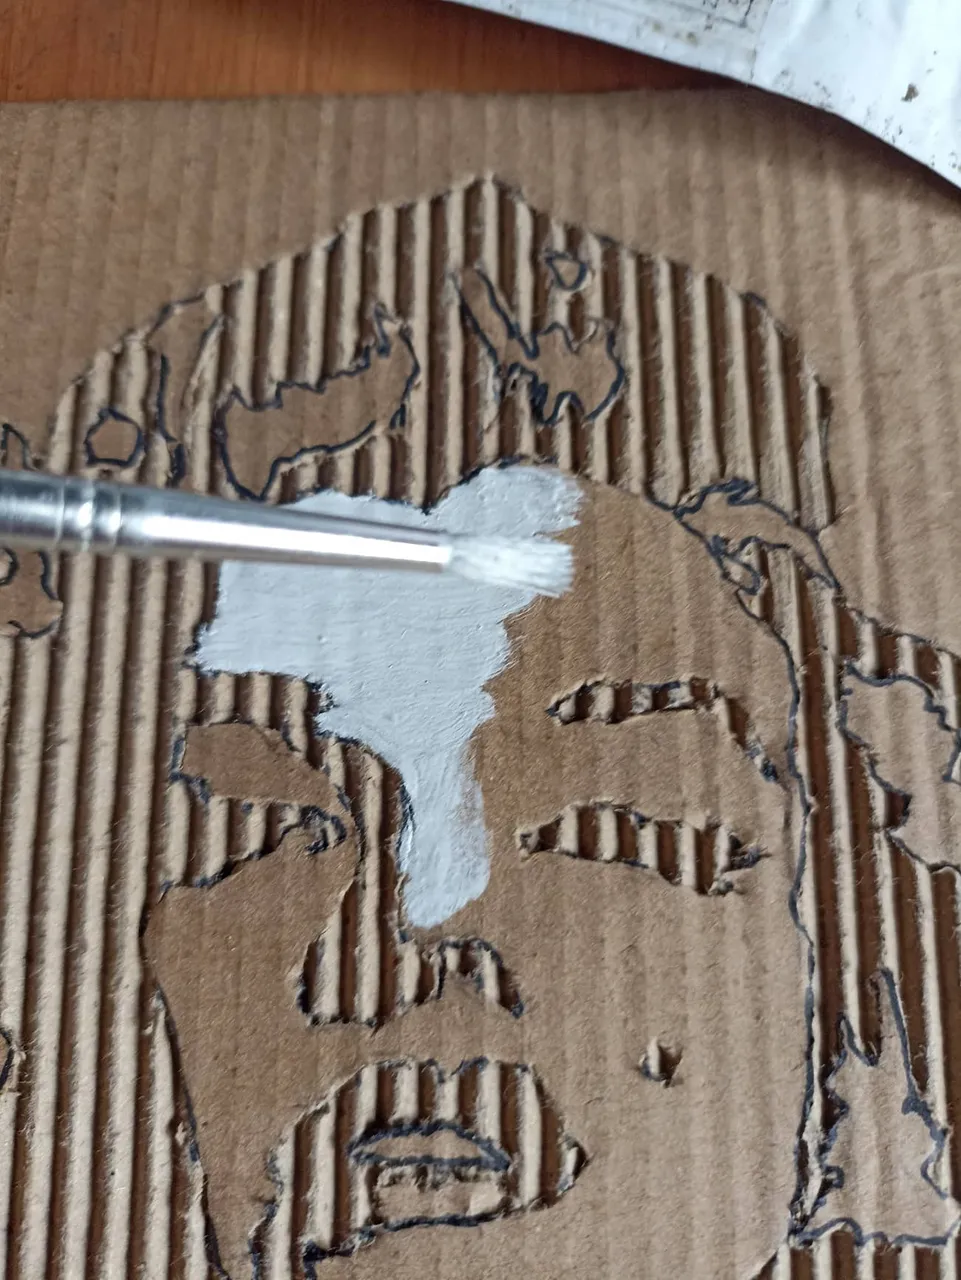
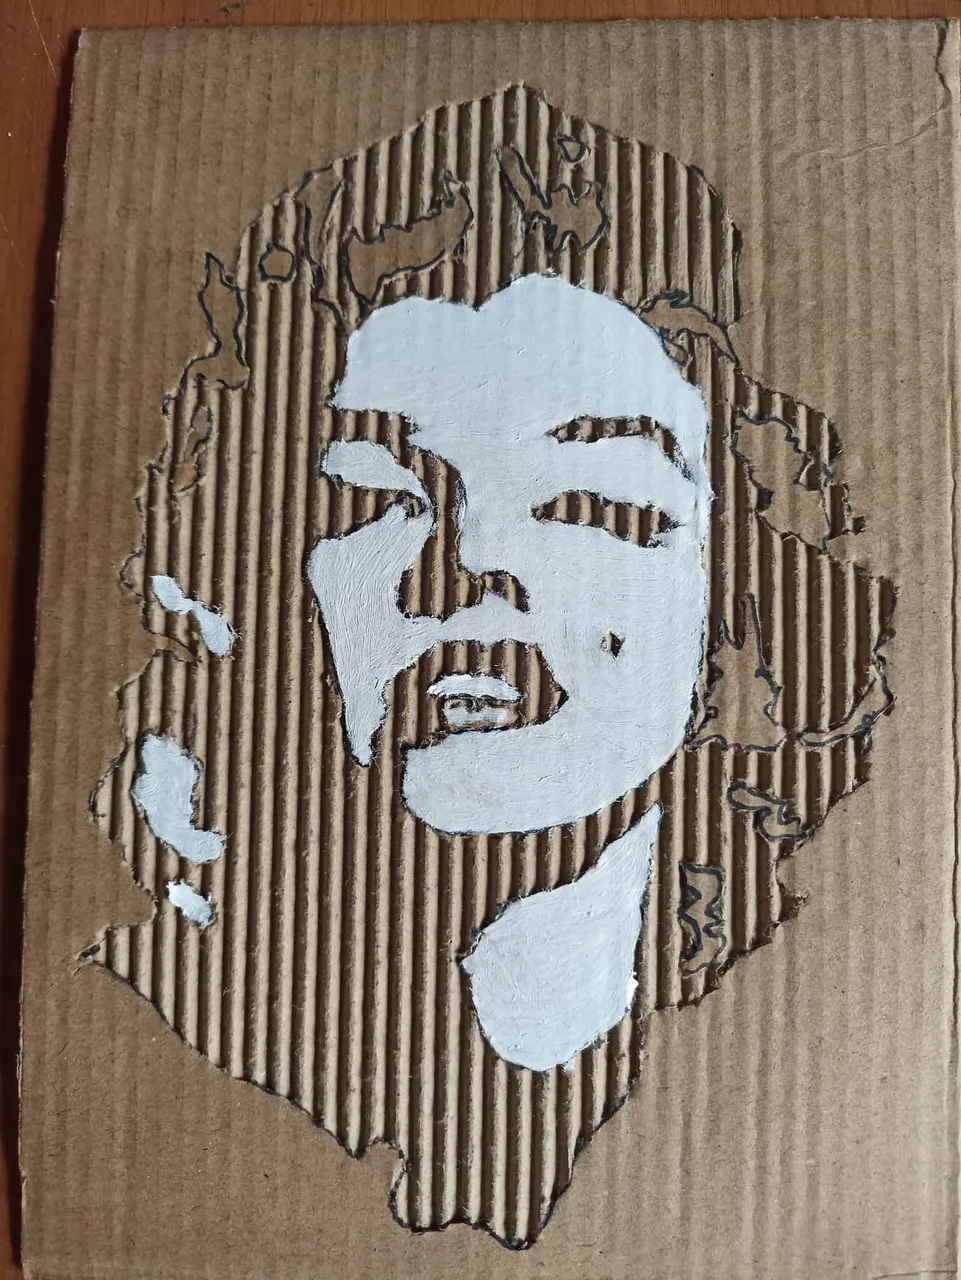
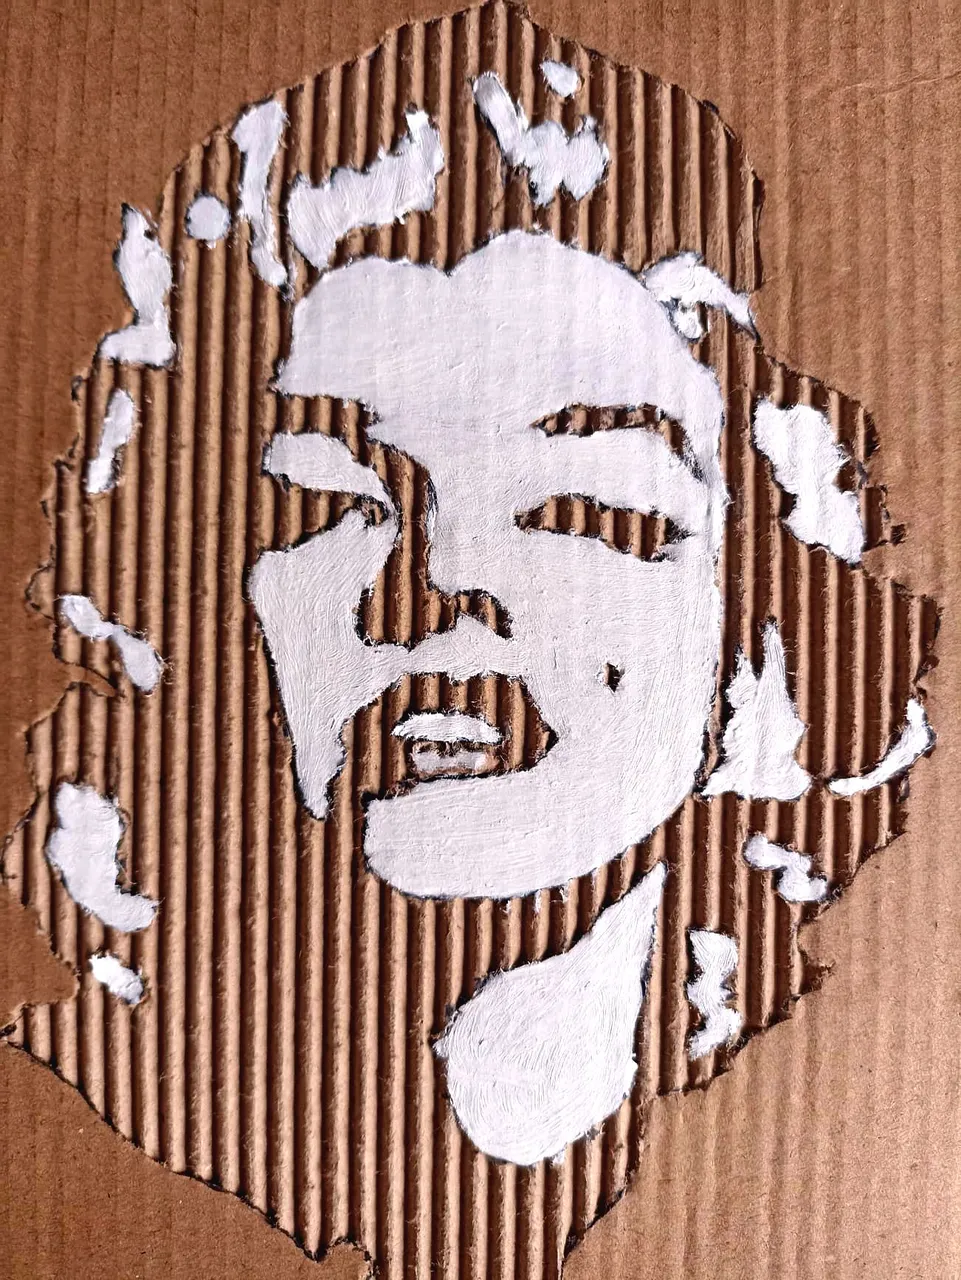
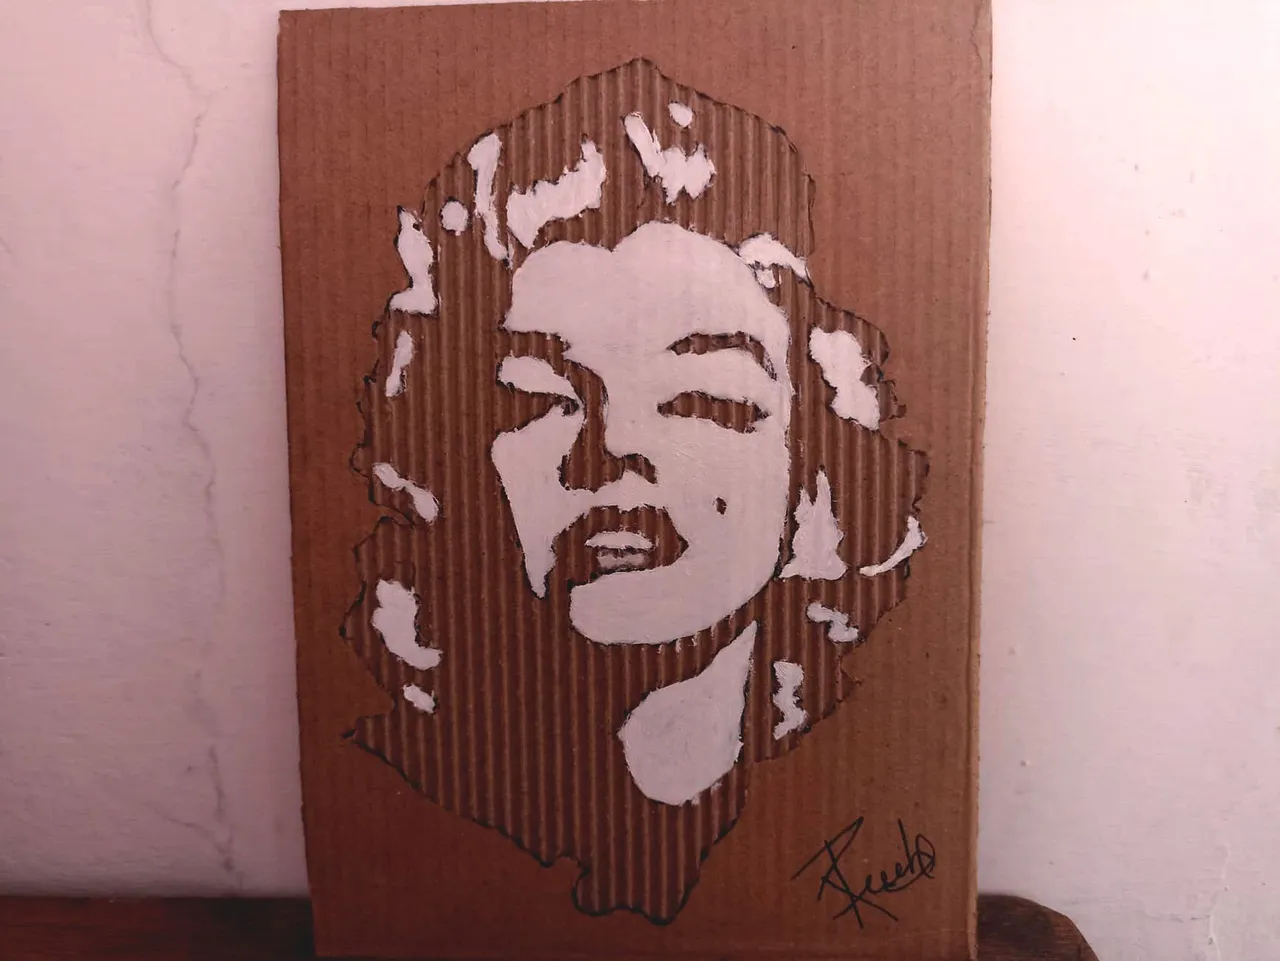
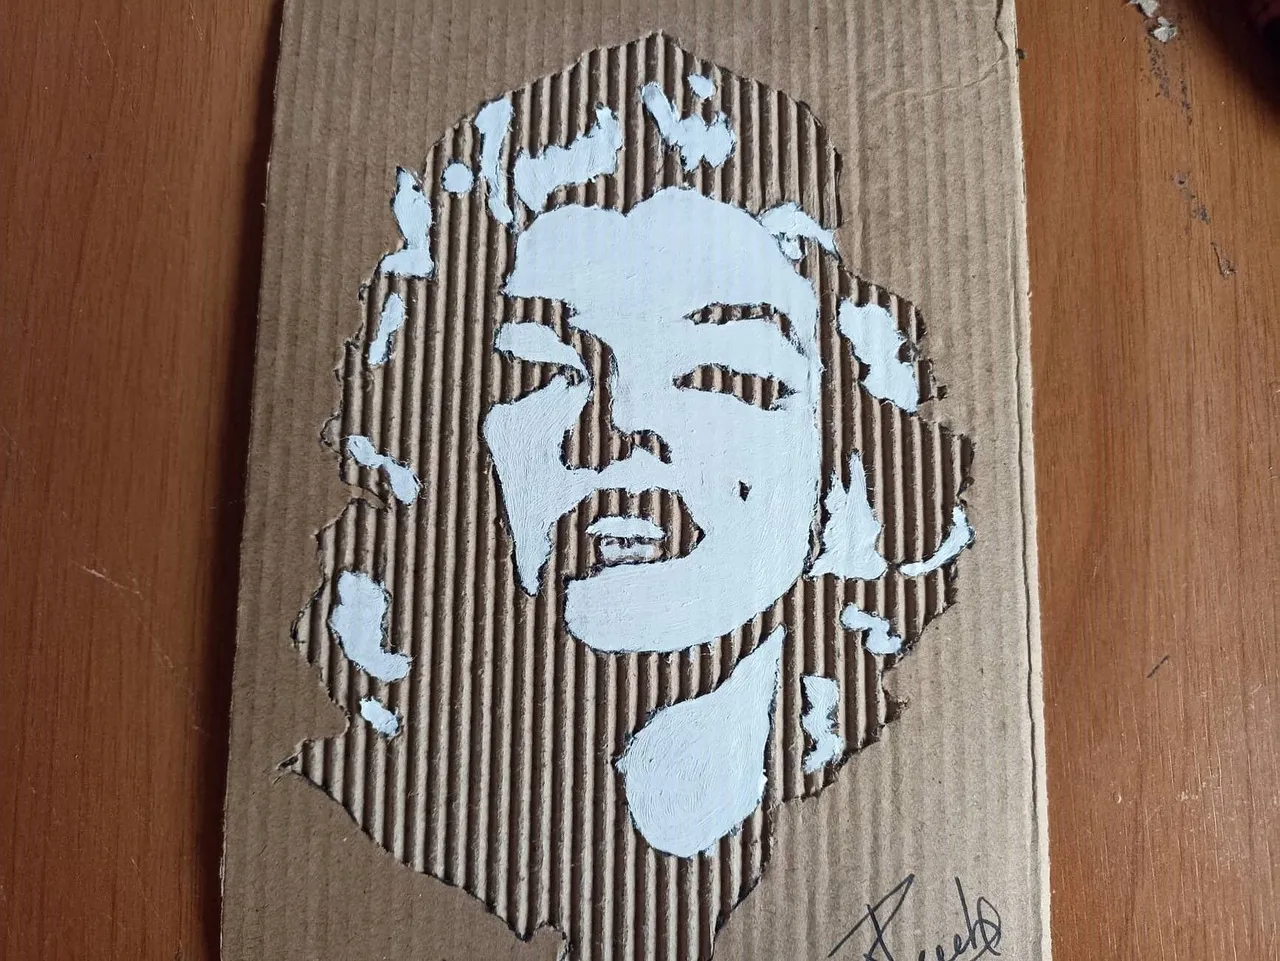
To finish then we begin to paint with white acrylic paint using a soft round brush. We begin to paint the part of the face and as we paint we can see how the face is taking shape in contrast to the part that has been cut. Then we paint the light reflections that are in the hair area, also the neck and thus we will have finished the portrait.
Para finalizar entonces comenzamos a pinatr con pintura acrílica de color blanco utilizando un pincel redondo suave. Comenzamos a pintar la parte del rostro y a medida que vamos pintando podemos ver como el rostro va tomando forma en contraste con la parte que se ha cortado. Luego pintamos los reflejos de luz que estan en la zona del cabello, también el cuello y así habremos finalizado el retrato.
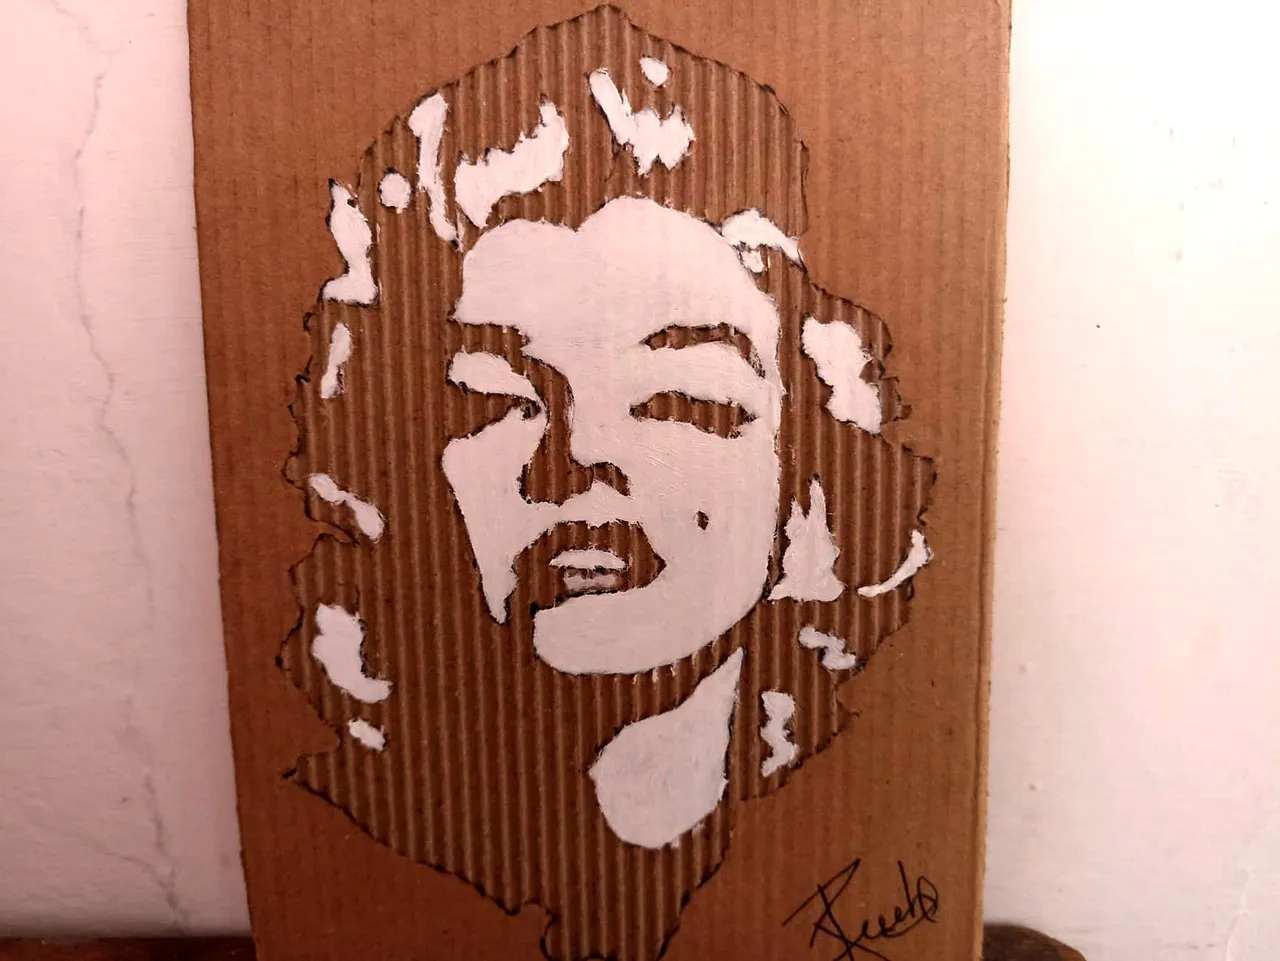
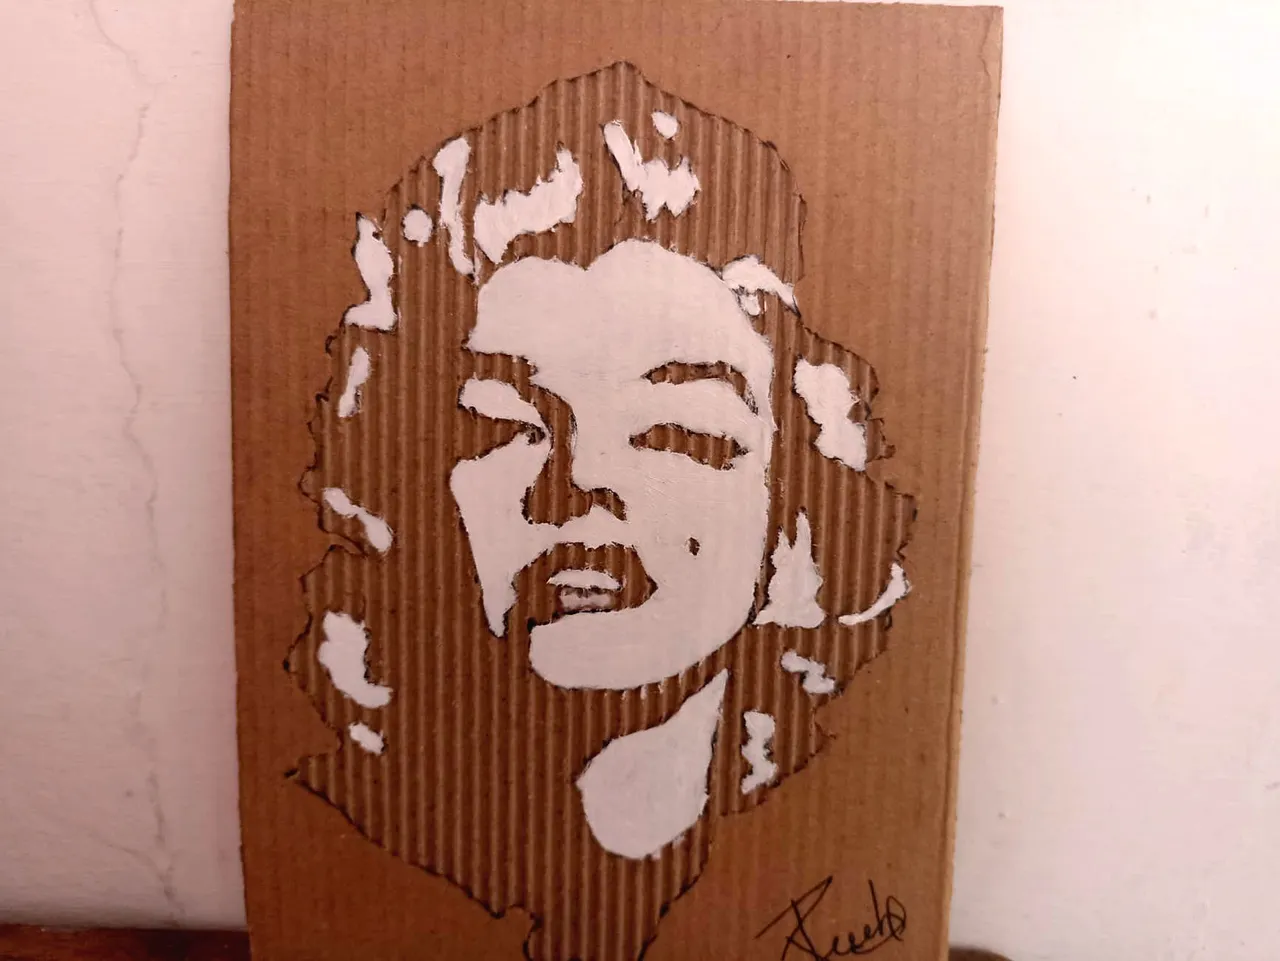
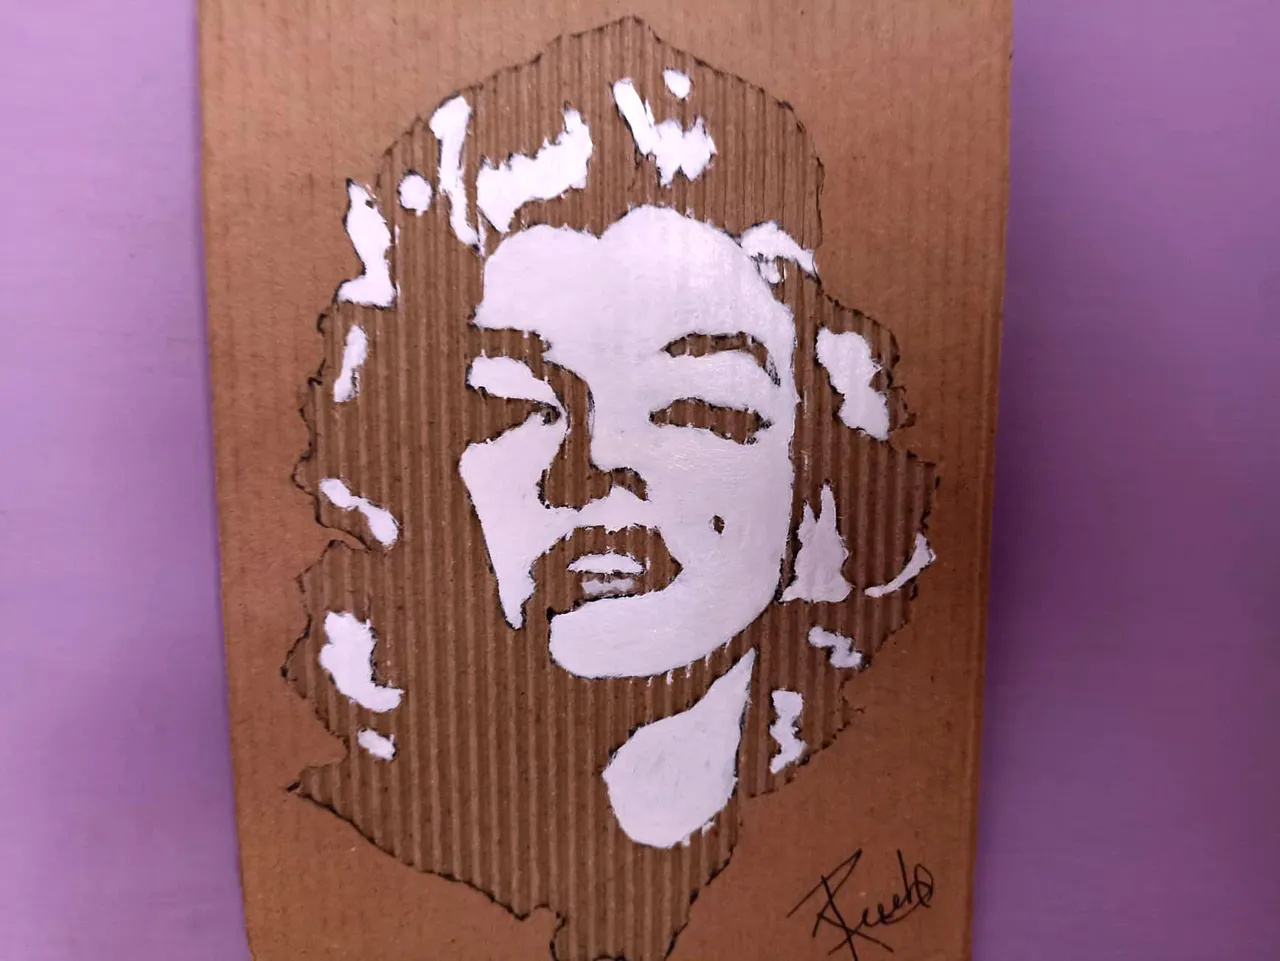
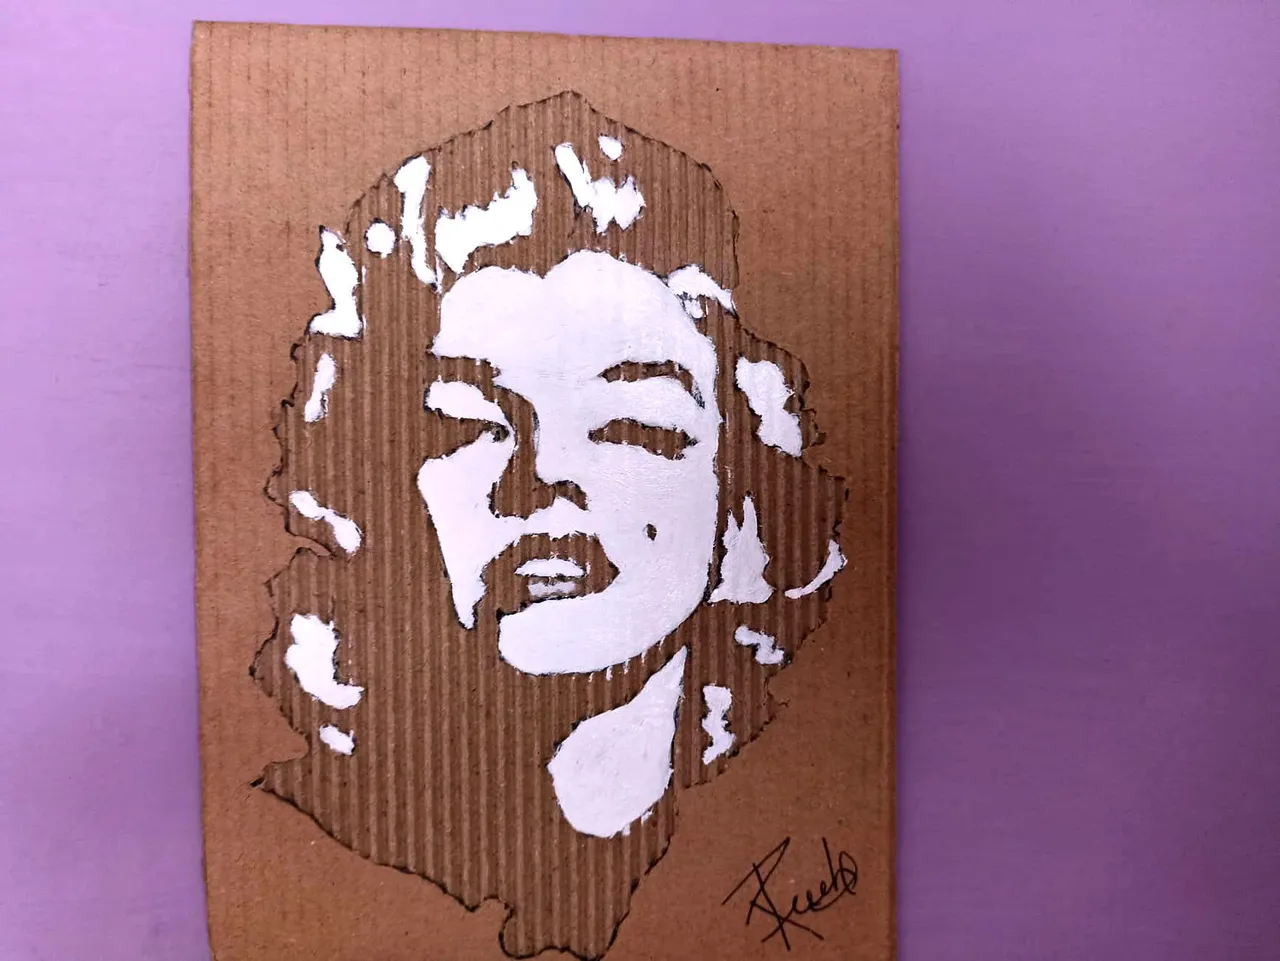
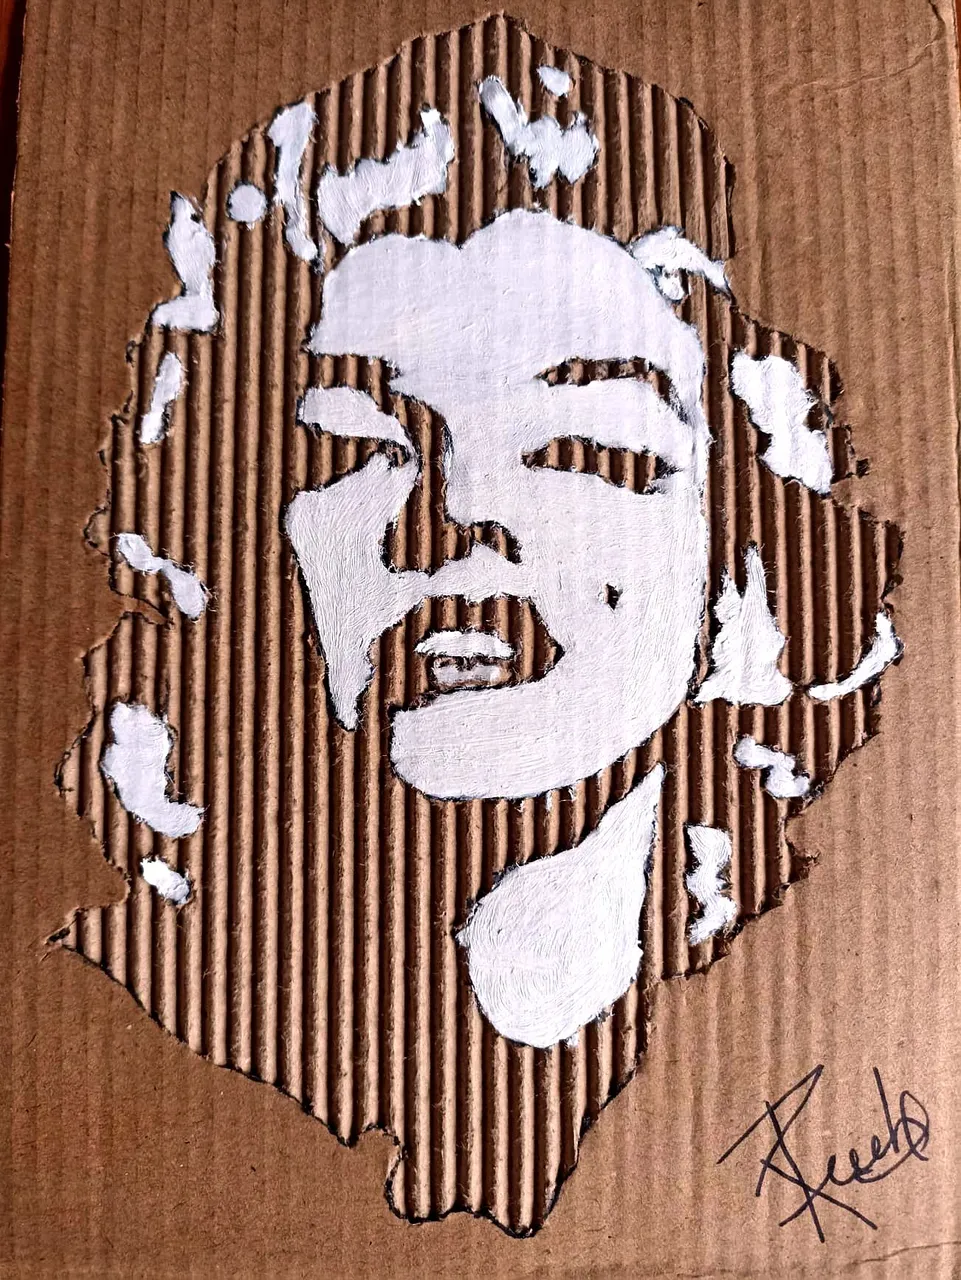
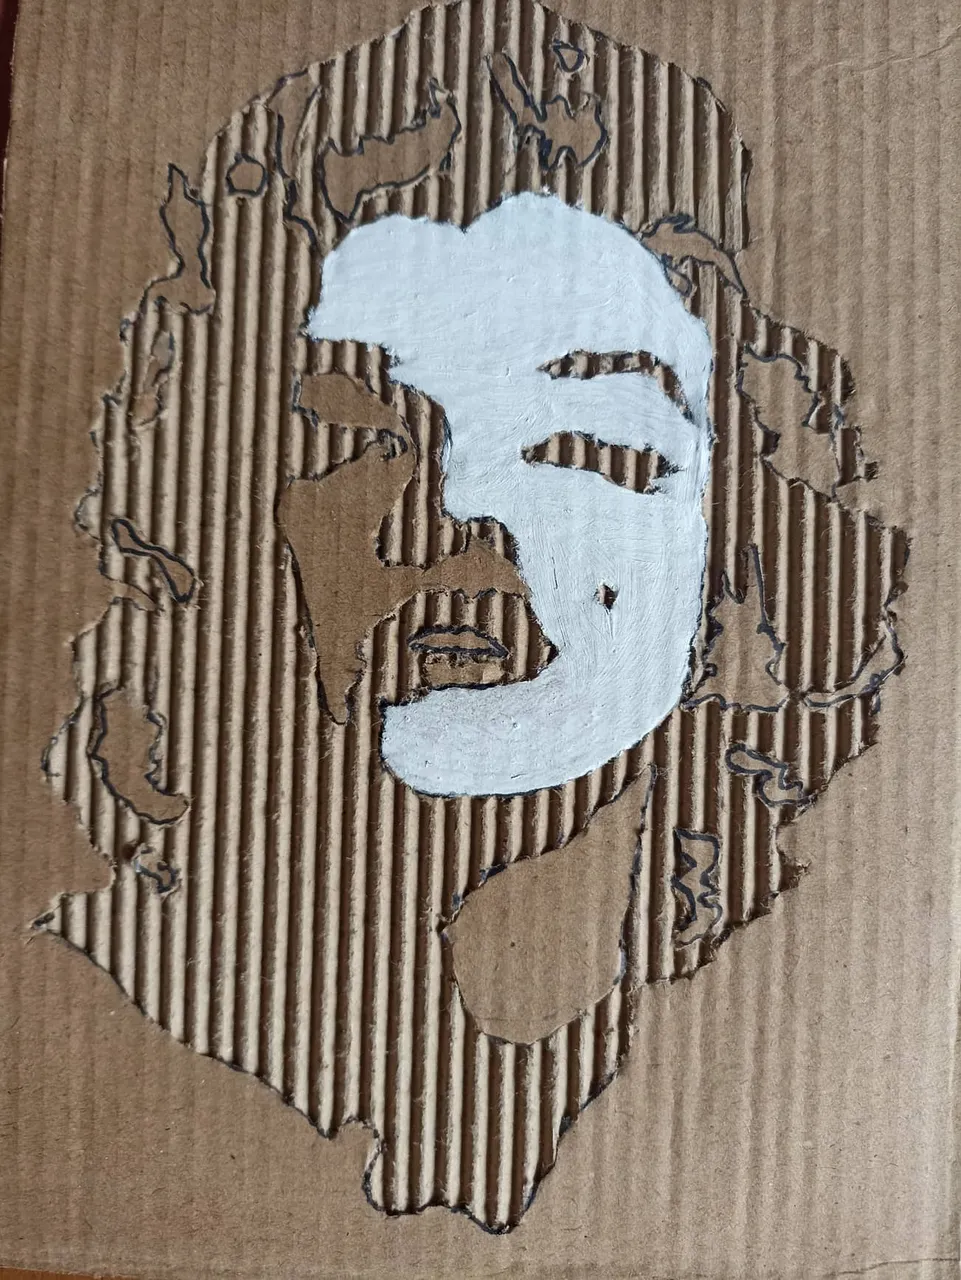
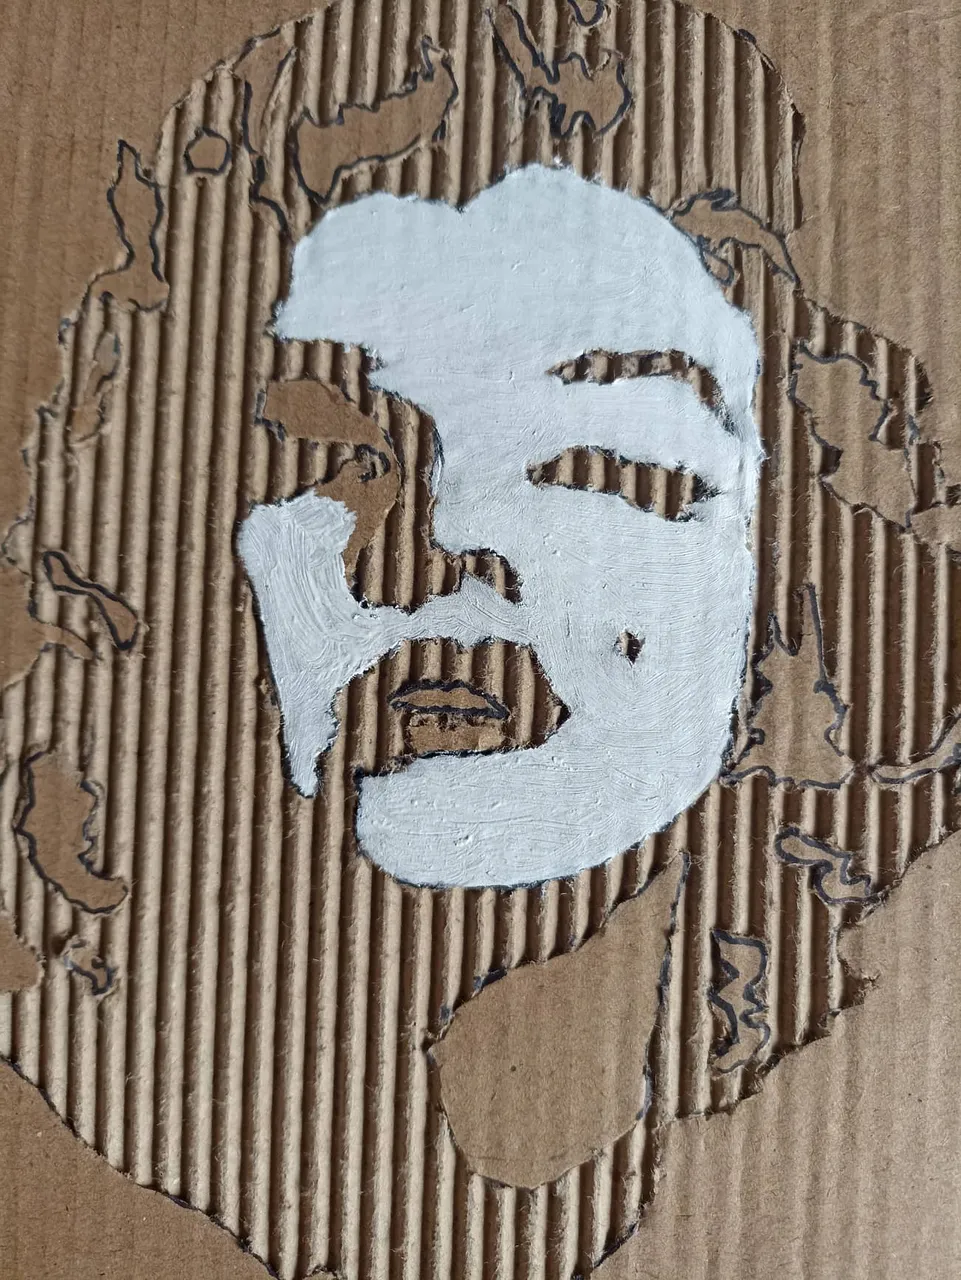
This is the final result after making some final touches to the portrait of Marilyn Monroe, I really like doing this style using cardboard, I think it looks very creative. I would like to find larger pieces of cardboard so that the portraits are huge. I hope you liked my explanation and since I did it step by step, I hope you are encouraged to try it, you always have to leave creativity free. I say goodbye soon. Have a great time. Greetings!
Así ha quedado el resultado final luego de hacer unos últimos retoques del retrato de Marilyn Monroe, me gusta mucho hacer este estilo utilizando el cartón, pienso que se ve muy creativo. Me gustaría encontrar piezas de cartón más grande para que los retratos me queden enormes. Espero que les haya gustado mi explicación y como lo hice paso a paso, espero que se animen a intentarlo, siempre hay que dejar libre la creatividad. Me despido hasta pronto. Que la pasen muy bien. Saludos!