Hello friends...
☺☺☺
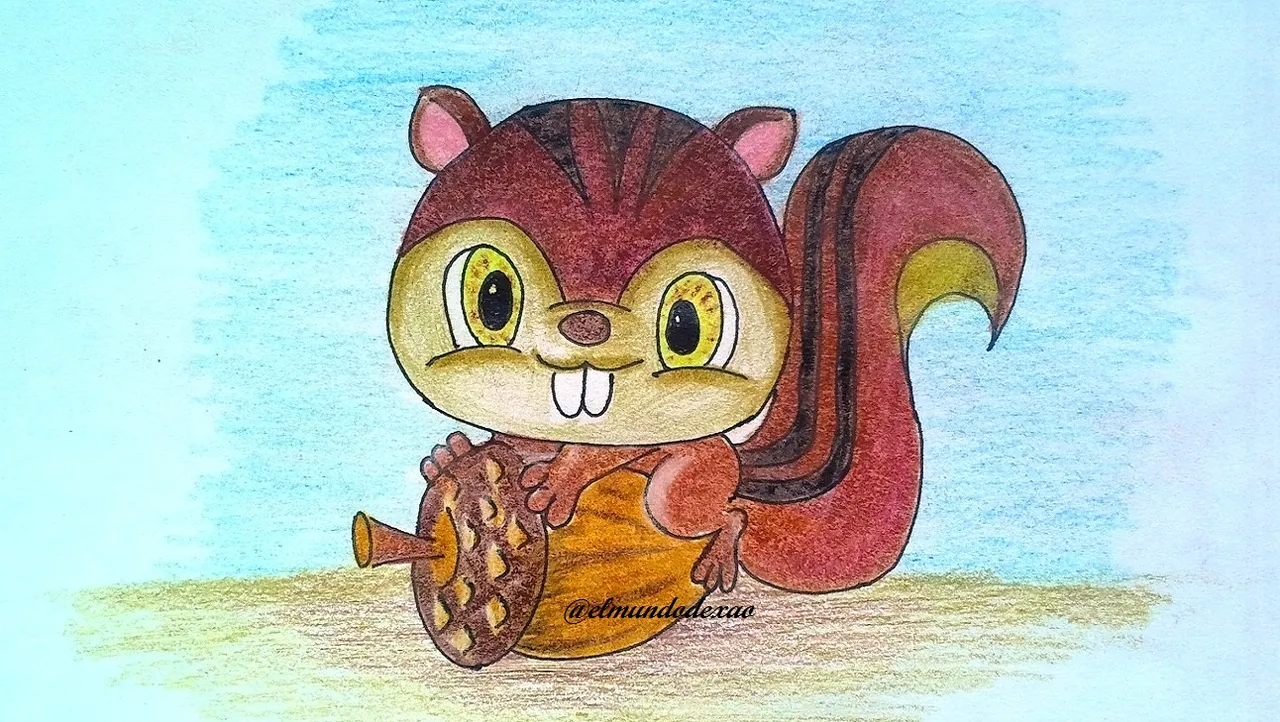
Welcome to my blog friends I hope you are having a great Sunday. The drawing I will share today is a little squirrel hugging an acorn. I hope you like it.
Here are the materials used: White bond paper, 0.5 mechanical pencil, 0.5 marker, eraser and colors (Variety of brands and colors).
Before continuing I remind you that at the end I will leave you the link I used on this occasion.
Let's start with the step by step drawing:
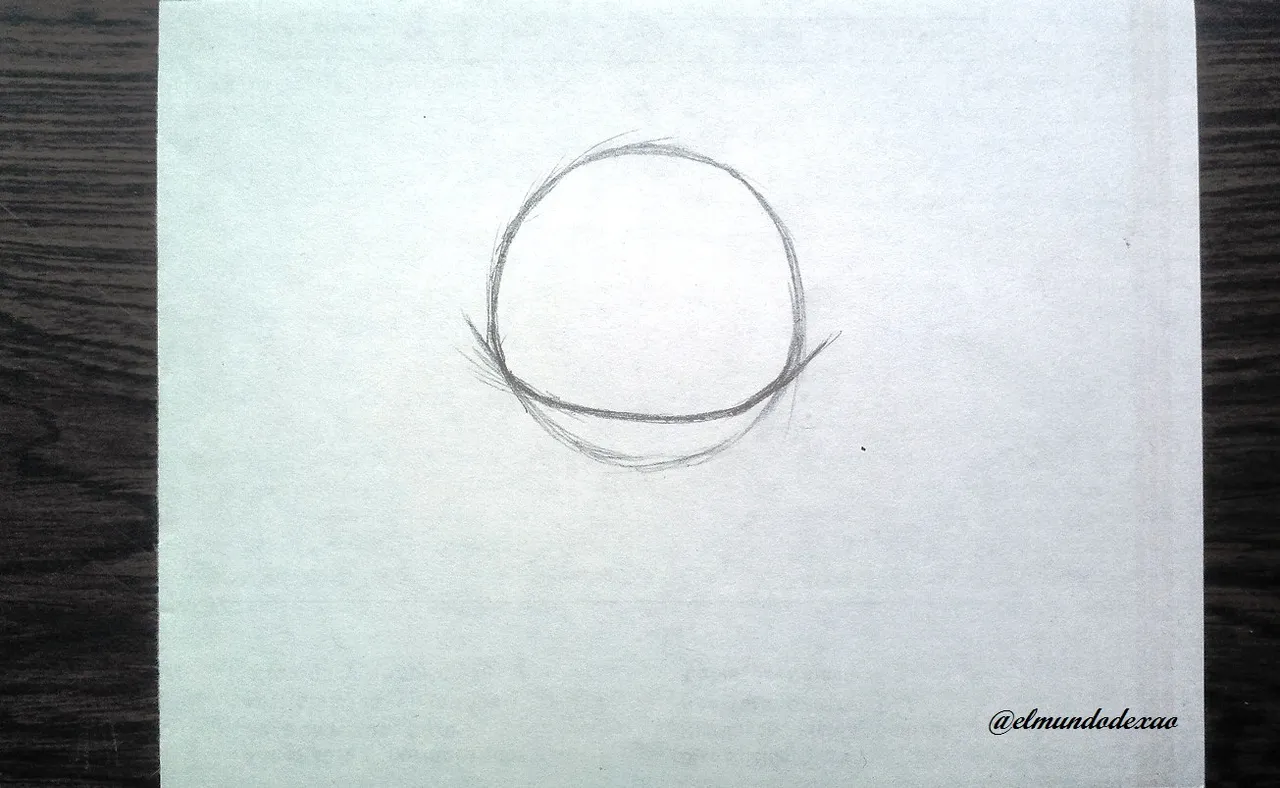
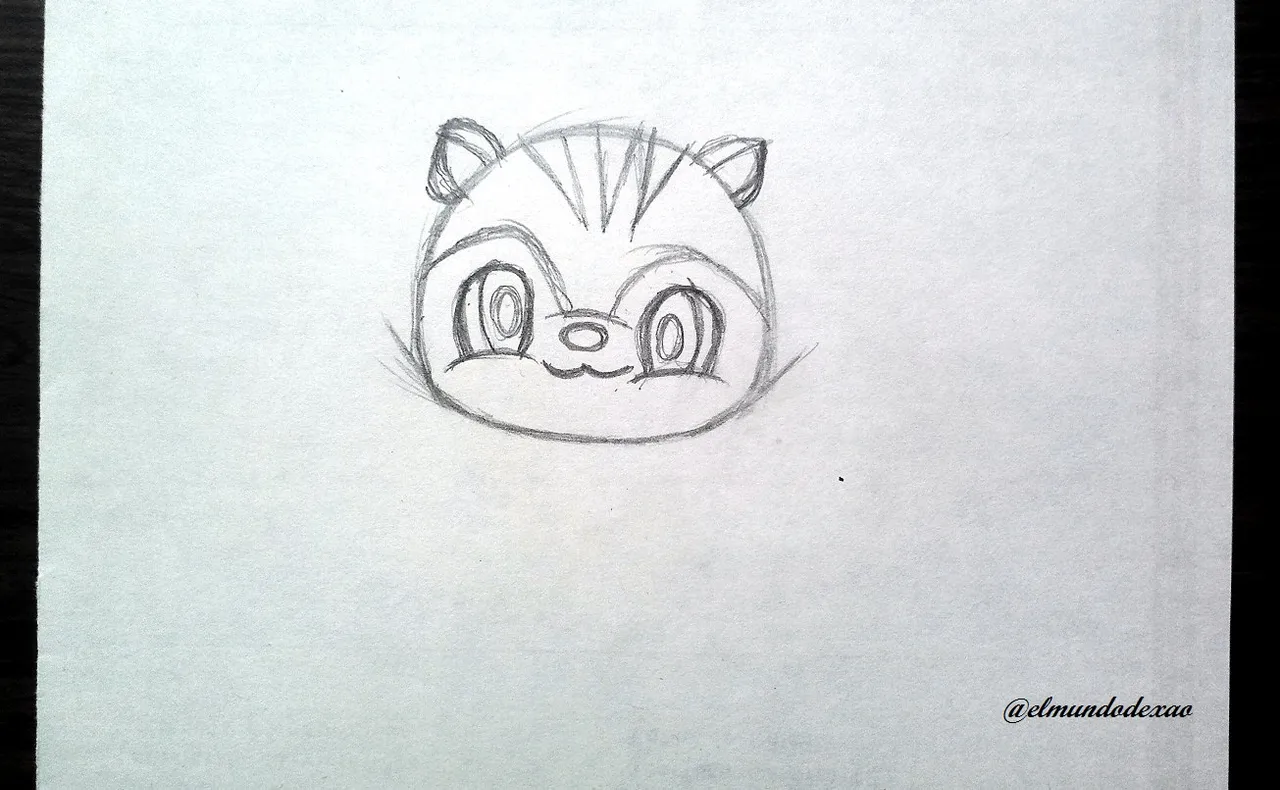
Step # 01: To start I draw a circle and then I make it a little flatter at the bottom by drawing an arched horizontal line, this way I can define the cheeks. I also make the ears and draw some arched lines just above the eyes; this is for the separation of the colors.
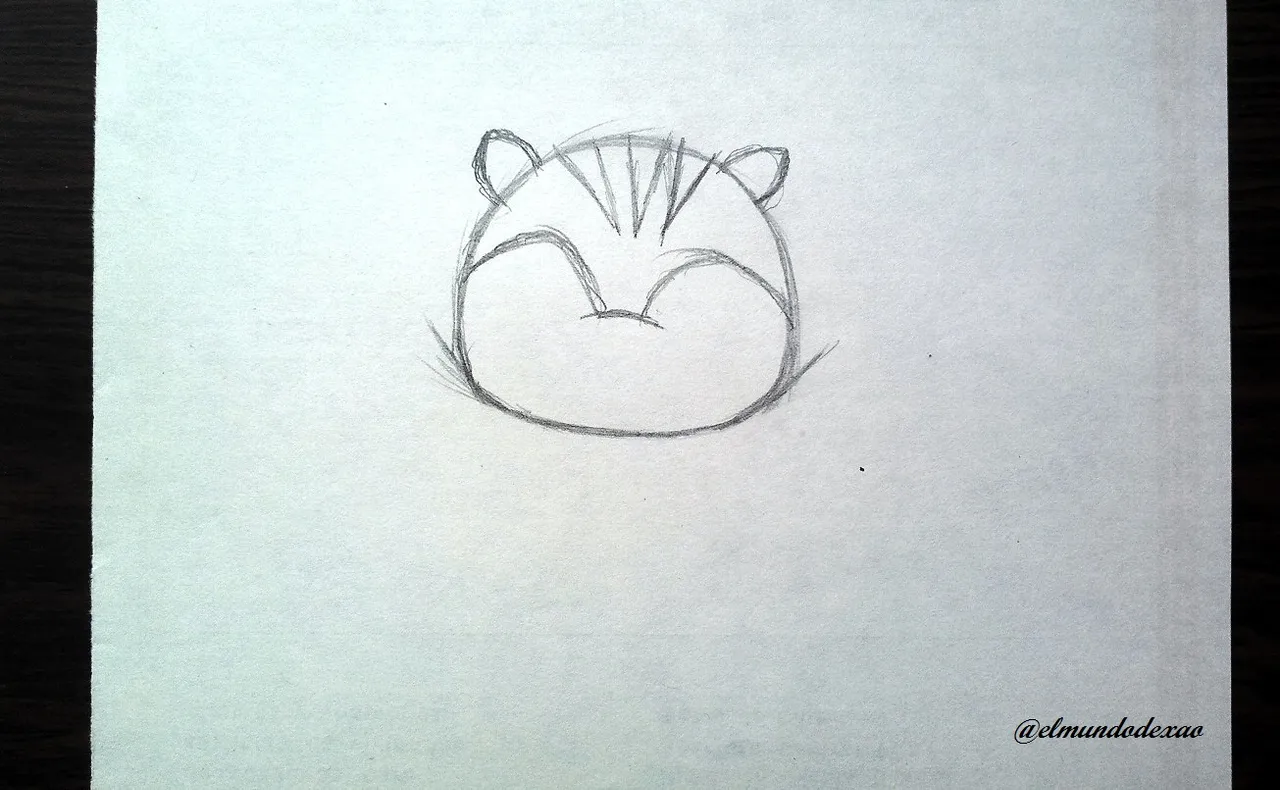 Step # 02: Now I will draw the eyes; it will be enough with a couple of unfinished ovals at the bottom and closing them with an arched line that will be the cheeks; I define the muzzle and make the pupil of the eyes.
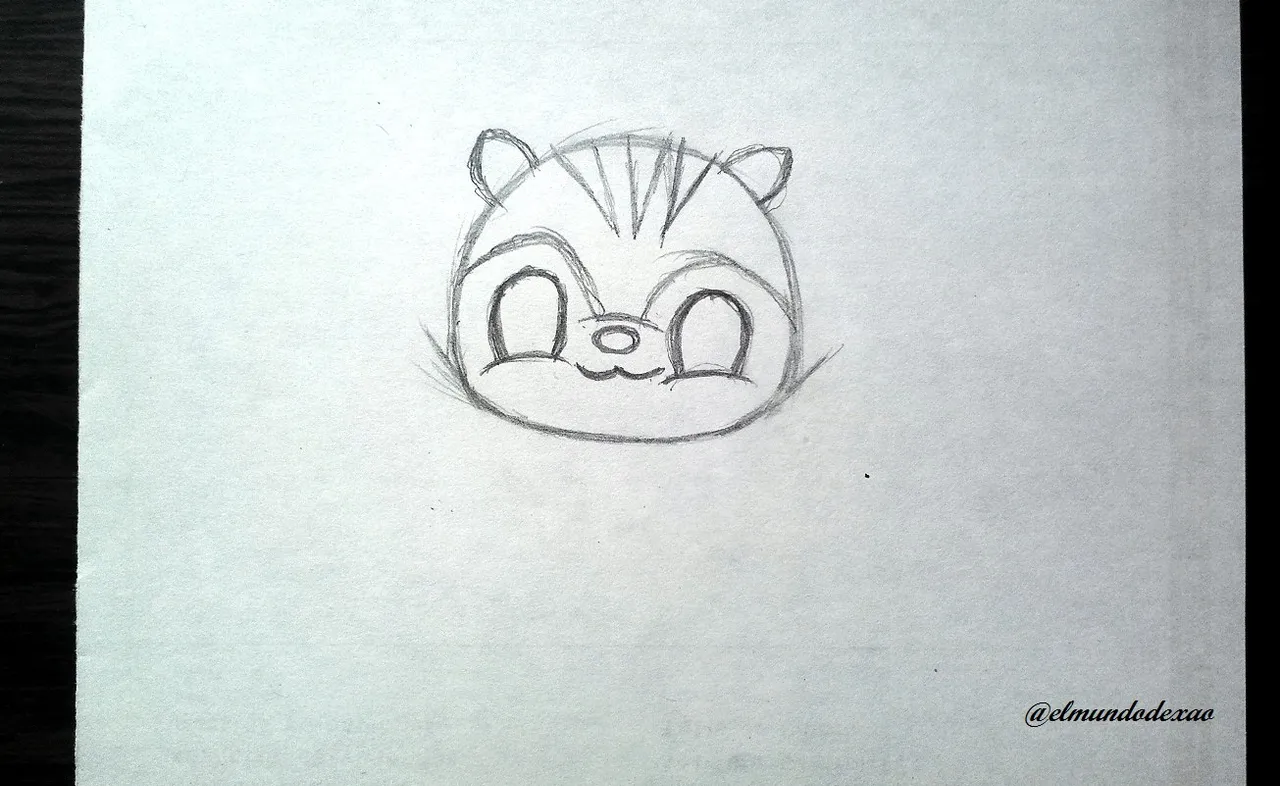
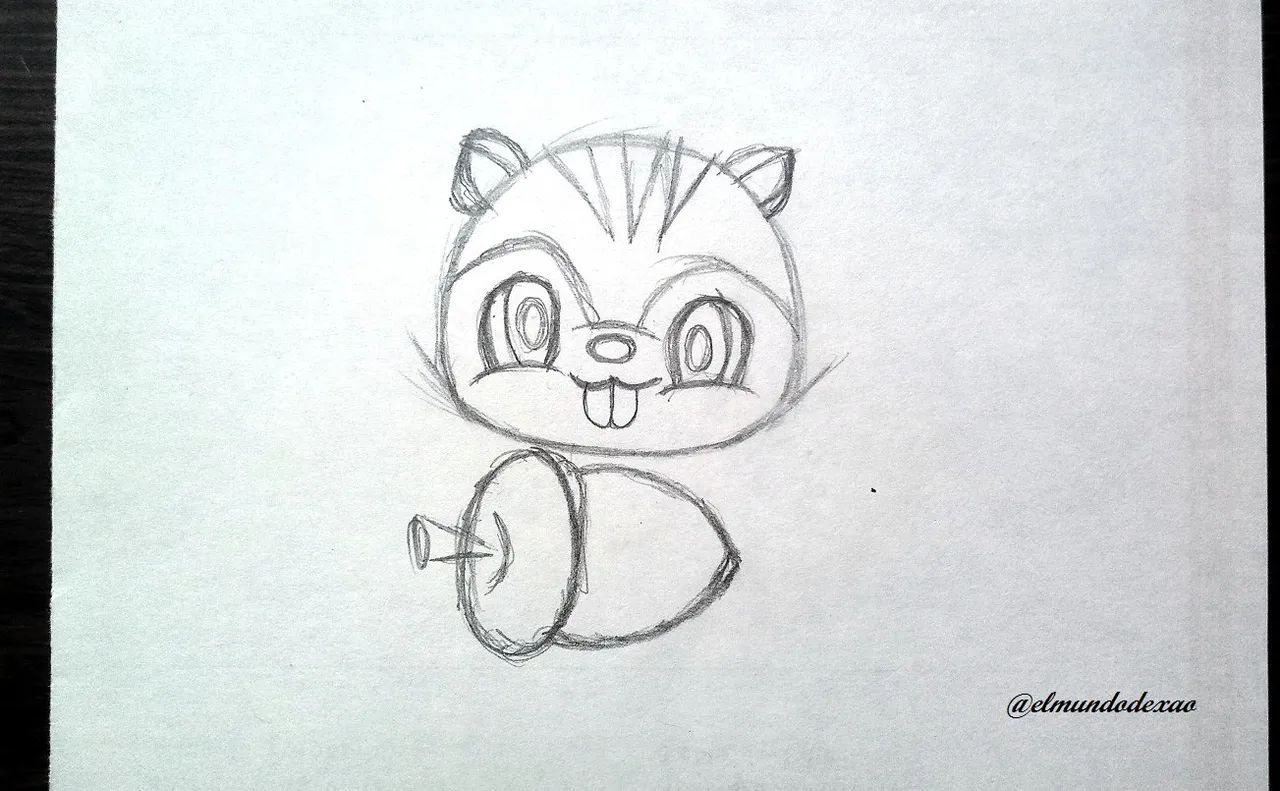
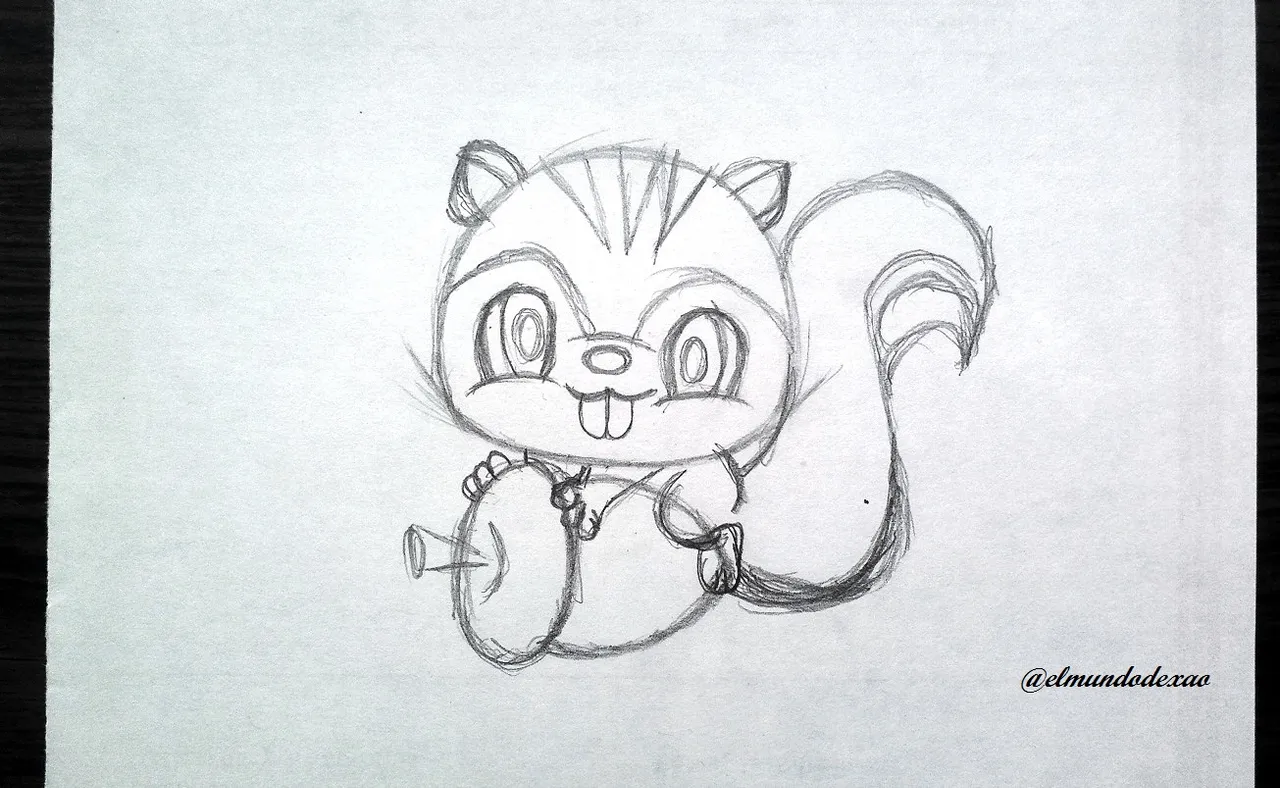
 Step # 03: Since the most difficult part of the little squirrel is ready now I draw the acorn and as you can see below we only have to draw a vertical oval and a horizontal one of course we leave it pointed on the right side. Then I take care of the body, a couple of arched lines for a back leg, then one of the front legs and the toes of the other leg on the edge of the acorn and finally the tail.
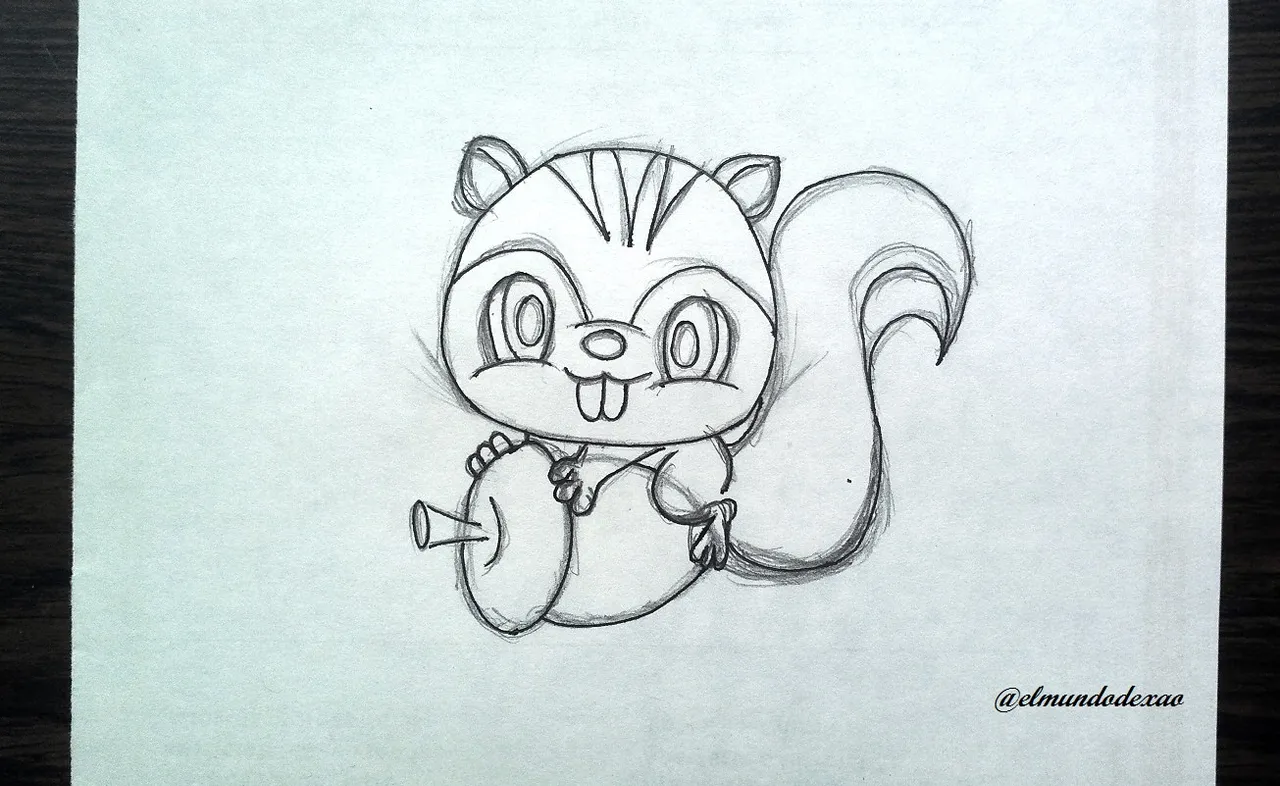
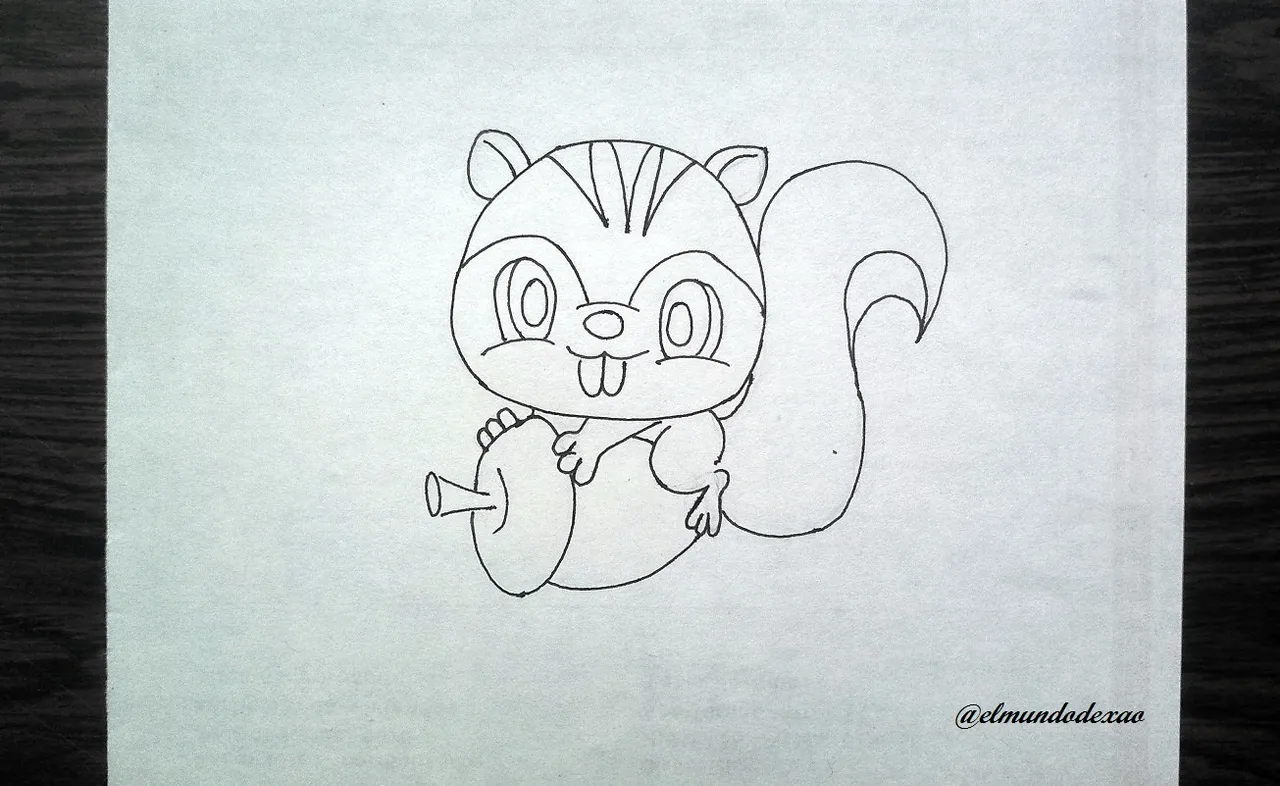
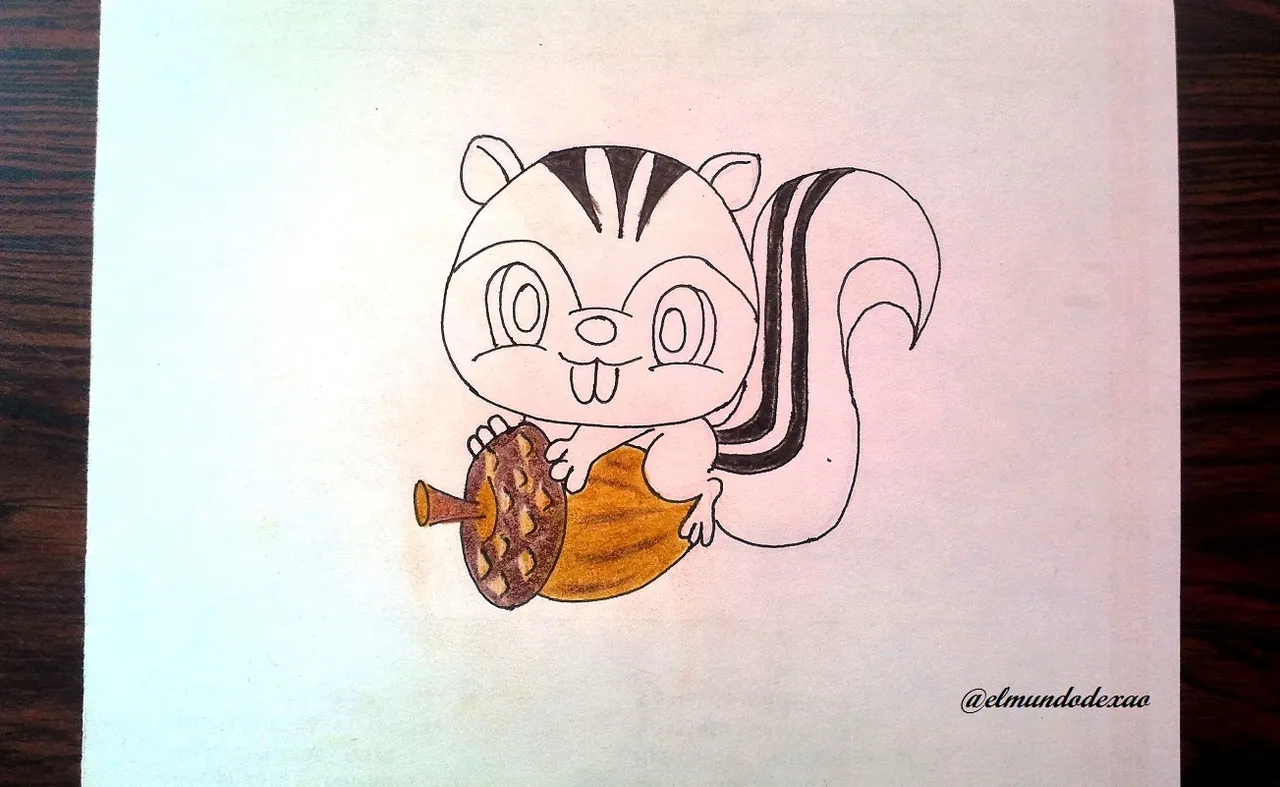
 Step # 04: I proceed to ink, which on this occasion is a little tedious since I had to make many strokes to choose how it looked better since some things I do on my own; then I erase all the graphite and clean.
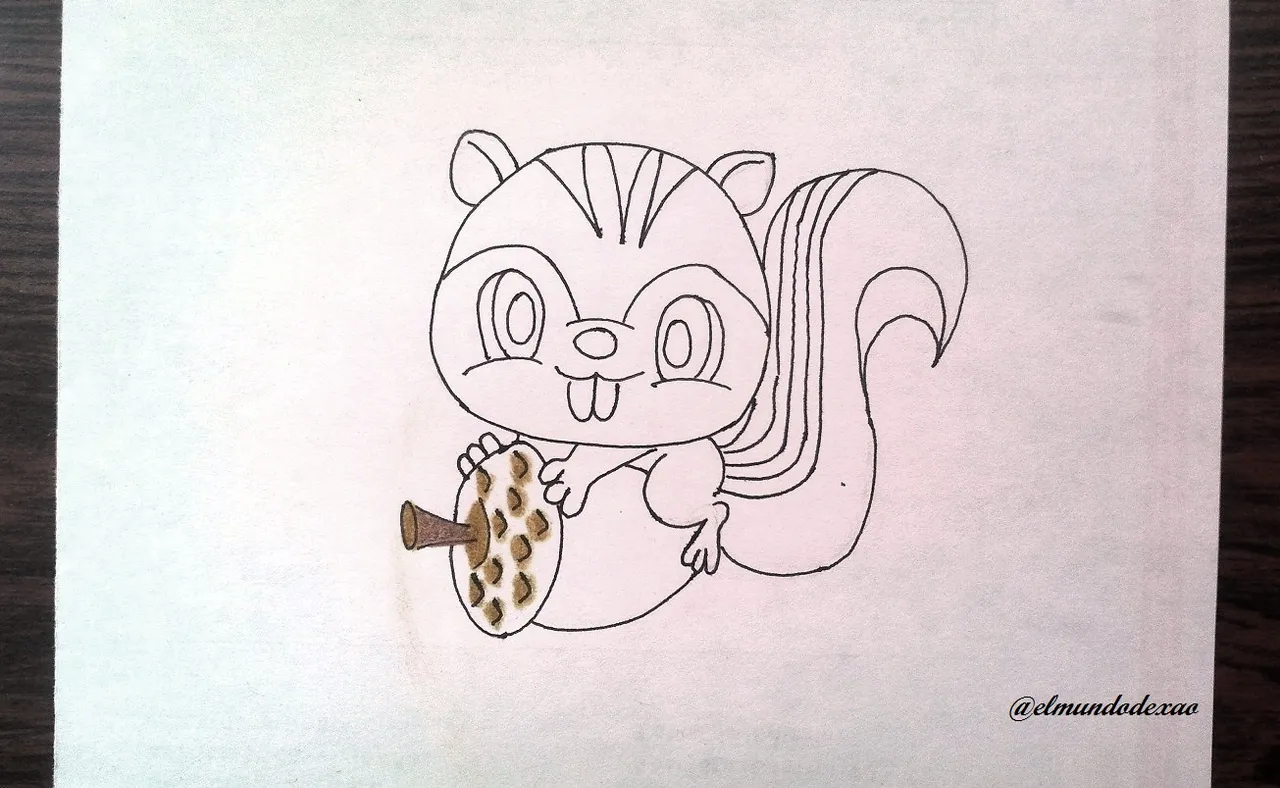
 Step # 05: Coloring; I am going to start with the top part of the acorn giving some light tones to the little spikes and a darker tone around them, leaving some lines of the same tone on the bottom part and then fill in with a light ocher.
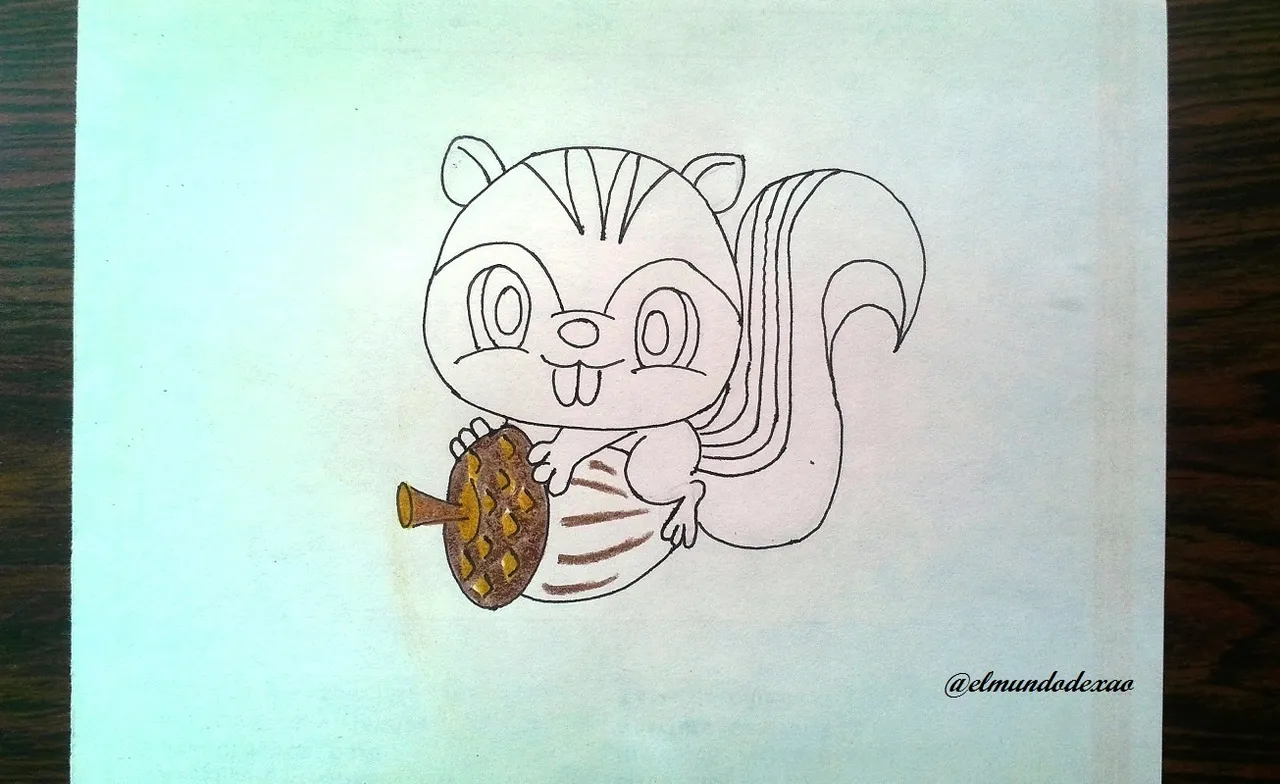
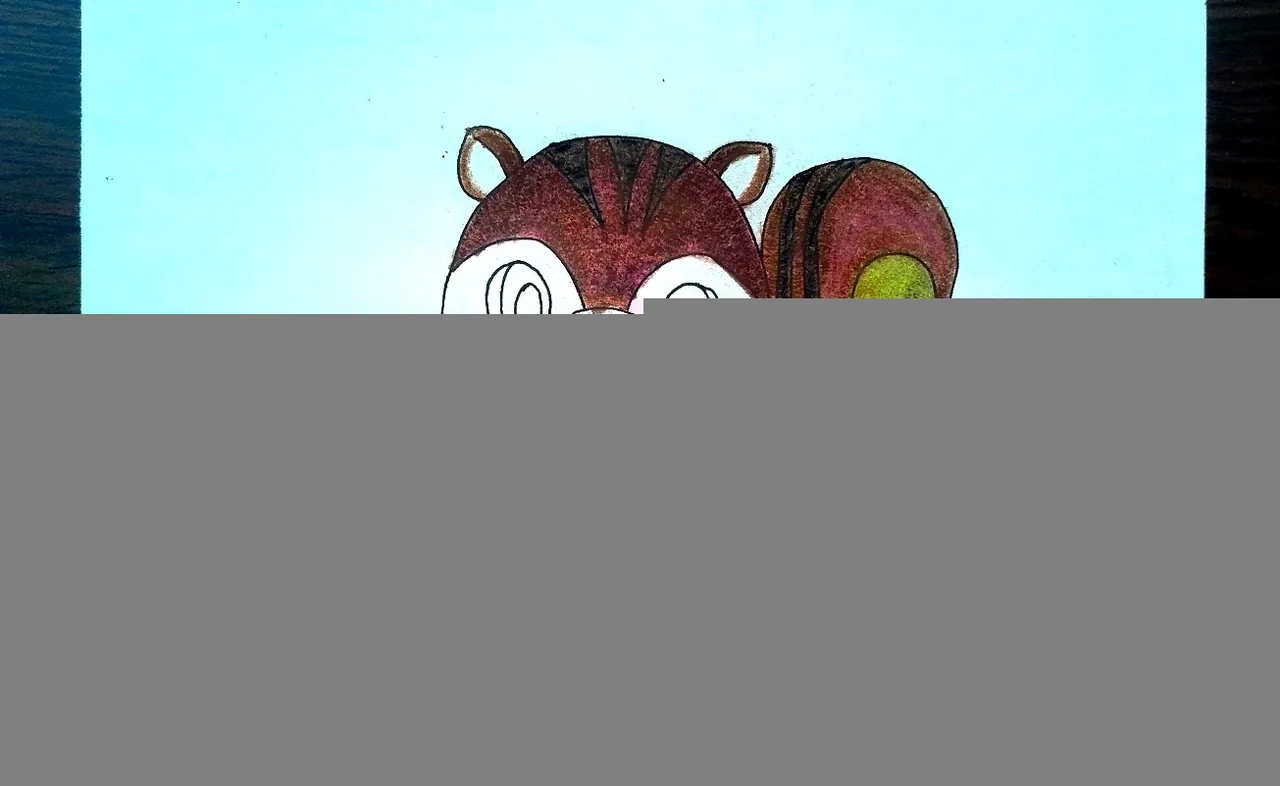
 Step # 06: Now I go with the squirrel, first I color the lines above it with a dark brown and for the rest of the body I will use a light brown as background then a little purple and then a darker brown and in this way I achieve that tonality. In some parts like the legs I used a little white to lighten the lightest places.
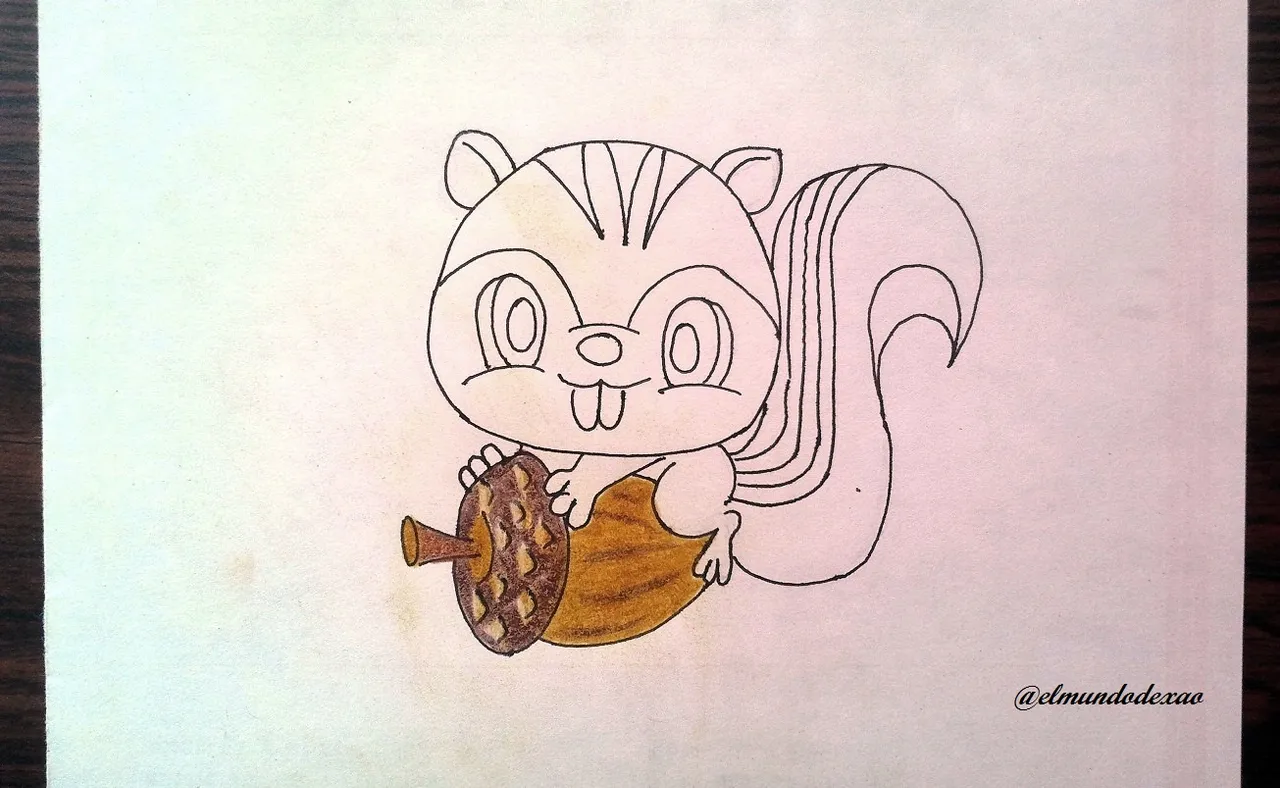
 Step # 07: Finally the eyes; I will give them a yellow color with brown stripes and the face a greenish ochre with light and dark shades and I'm done.
I thank you for your visit and to say goodbye I wish you a nice morning, afternoon or evening depending on your location.
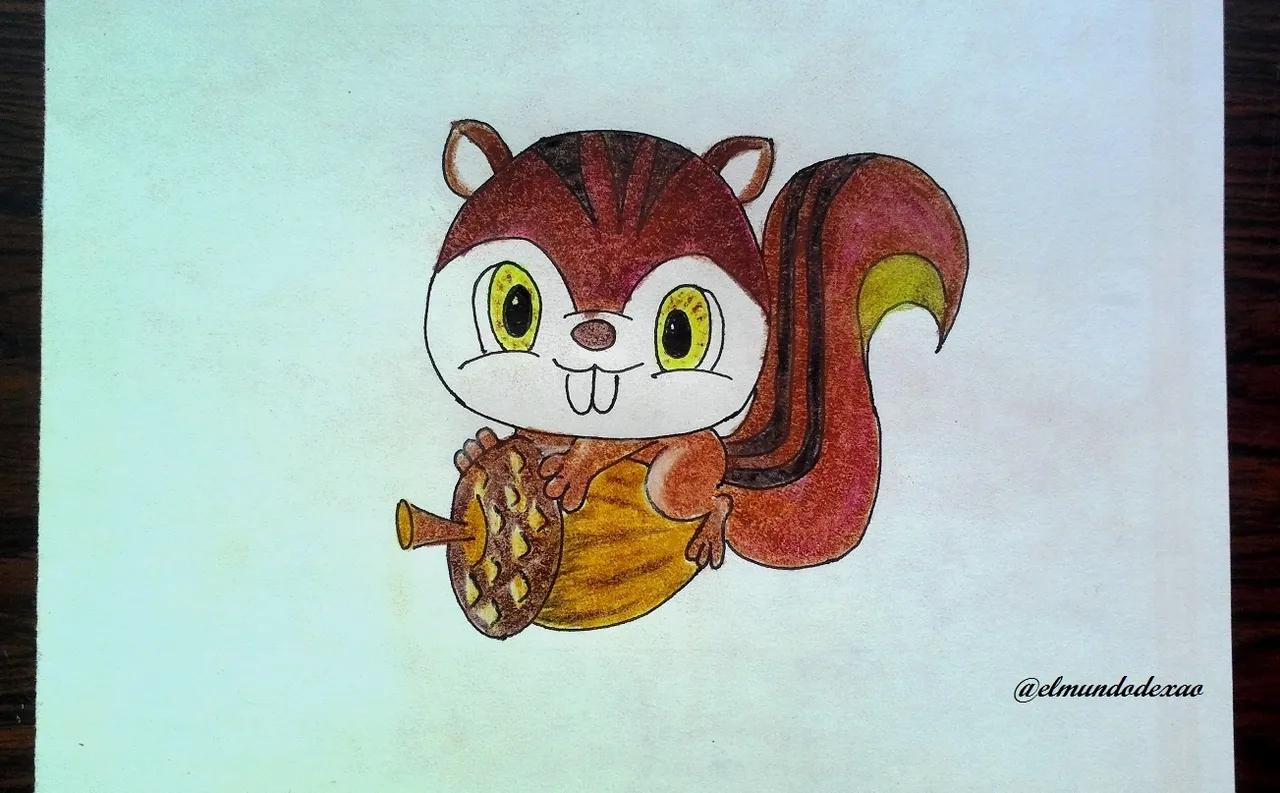
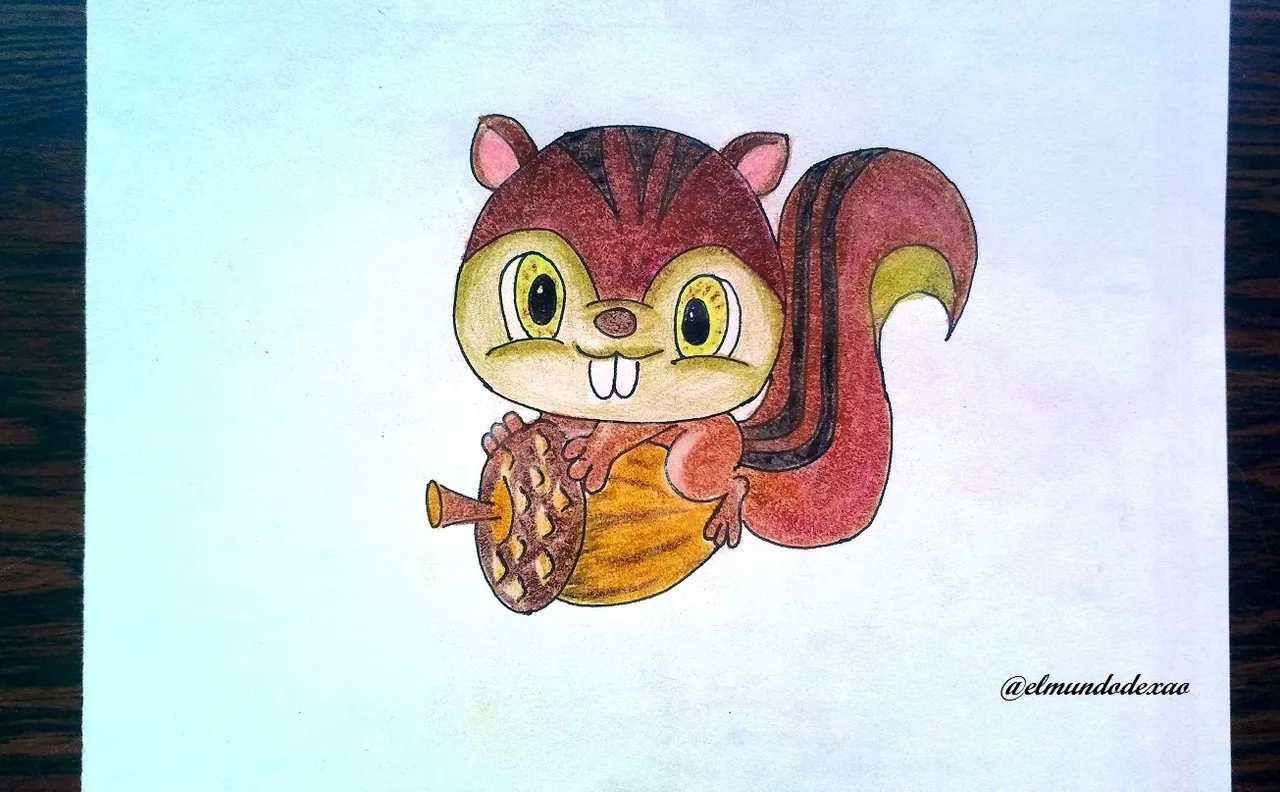
Photo Source: Own photos captured with a Síragon camera.
Modified size: With the Paint Program.
Thanks for visiting my Blog… AH! Don't forget to vote, reblogear, and comment.
Translated with:


Arte Kawaii “Dibujando Una Ardilla”.
Hola amigos…
☺☺☺
Bienvenidos a mi blog amigos espero estén pasando un día domingo genial. El dibujo que compartiré hoy es una pequeña ardilla abrazando una bellota. Espero les guste.
A continuación menciono los materiales utilizados: Papel bond blanco, portaminas 0.5, rotulador de 0.5, borrador y colores (Variedad de marcas y colores).
Antes de continuar les recuerdo que al final les dejare el enlace que use en esta ocasión.
Comencemos con el paso a paso del dibujo:
Paso # 01: Para comenzar trazo un círculo y luego lo dejo un poco más chato en la parte de abajo trazando una línea horizontal arqueada, de esta forma puedo definir las mejillas. También hago las orejas y trazo unas líneas arqueadas justo por encima de los ojos, esto para la separación de los colores.
Paso # 02: Ahora dibujare los ojos; bastara con un par de óvalos sin terminar en la parte de abajo y cerrándolos con una línea arqueada que serán las mejillas; defino el hocico y hago la pupila de los ojos.
Paso # 03: Ya que lo más difícil de la pequeña ardilla ya está listo ahora dibujo la bellota y como pueden ver a continuación solo debemos trazar un ovalo vertical y uno horizontal por supuesto lo dejamos puntiagudo del lado derecho. Luego me encargo del cuerpo, un par de líneas arqueadas para una pata trasera, luego una de las patas delanteras y los dedos de la otra pata en el borde de la bellota y por último la cola.
Paso # 04: Procedo a entintar, lo cual en esta ocasión es un poco tedioso ya que tuve que hacer muchos trazos para elegir como quedaba mejor ya que algunas cosas las hago por cuenta propia; luego borro todo el grafito y limpio.
Paso # 05: Colorear; voy a comenzar por la parte de arriba de la bellota dándole unos tonos claros a los piquitos y un tono más oscuro alrededor, dejando algunas líneas de este mismo tono en la parte de abajo para luego rellenar con un ocre claro.
Paso # 06: Ahora voy con la ardilla, primero coloreo las líneas que tiene por encima con un marrón oscuro y para el resto del cuerpo utilizare un marrón claro como fondo después un poco de morado y luego un marrón más oscuro y de esta forma logre esa tonalidad. En algunas partes como en las patas utilice un poco de blanco para aclarar los sitios de mayor luz.
Paso # 07: Por último los ojos; les daré un color amarillo con rayas marrones y a la cara un ocre verdoso con tonalidades claras y oscuras y listo he terminado.
Les agradezco por su visita y para despedirme les deseo una linda mañana, tarde o noche según sea su ubicación.
Fuente de Fotos: Propias capturadas con una cámara Síragon.
Modificado el tamaño: Con el Programa Paint.
Gracias por visitar mi Blog… ¡AH! No se olvide de votar, rebloguear y comentar.