Greetings friends, we continue practicing with the art of origami, being something wonderful and it is incredible the amount of paper figures that can be achieved. Where we continue with the theme of animals and this time we had to make an animal, very large and perfect for eating, known as a pig. I haven't seen one for a while, I remember when I was little I visited an animal park and there was one of these animals, which are characterized by always lying in mud, however, today we are going to take creativity to another level in order to recreate the closest thing on paper. So don't miss this origami procedure.
Saludos amigos, seguimos practicando con el arte del origami, siendo algo maravilloso y es increíble la cantidad de figuras de papel que se pueden lograr. Donde continuamos con la temática de animales y esta vez nos tocó hacer un animal, muy grande y perfecto para comer, conocido como cerdo. Tengo algo de tiempo que no veo uno, donde recuerdo que cuando estaba pequeño visité un parque de animales y allí había uno de estos animales, la cual se caracterizan por siempre estar acostado en lodo, sin embargo, hoy vamos a llevar la creatividad a otro nivel para así poder recrear lo más parecido en papel. Así que no te pierdas este procedimiento del origami.
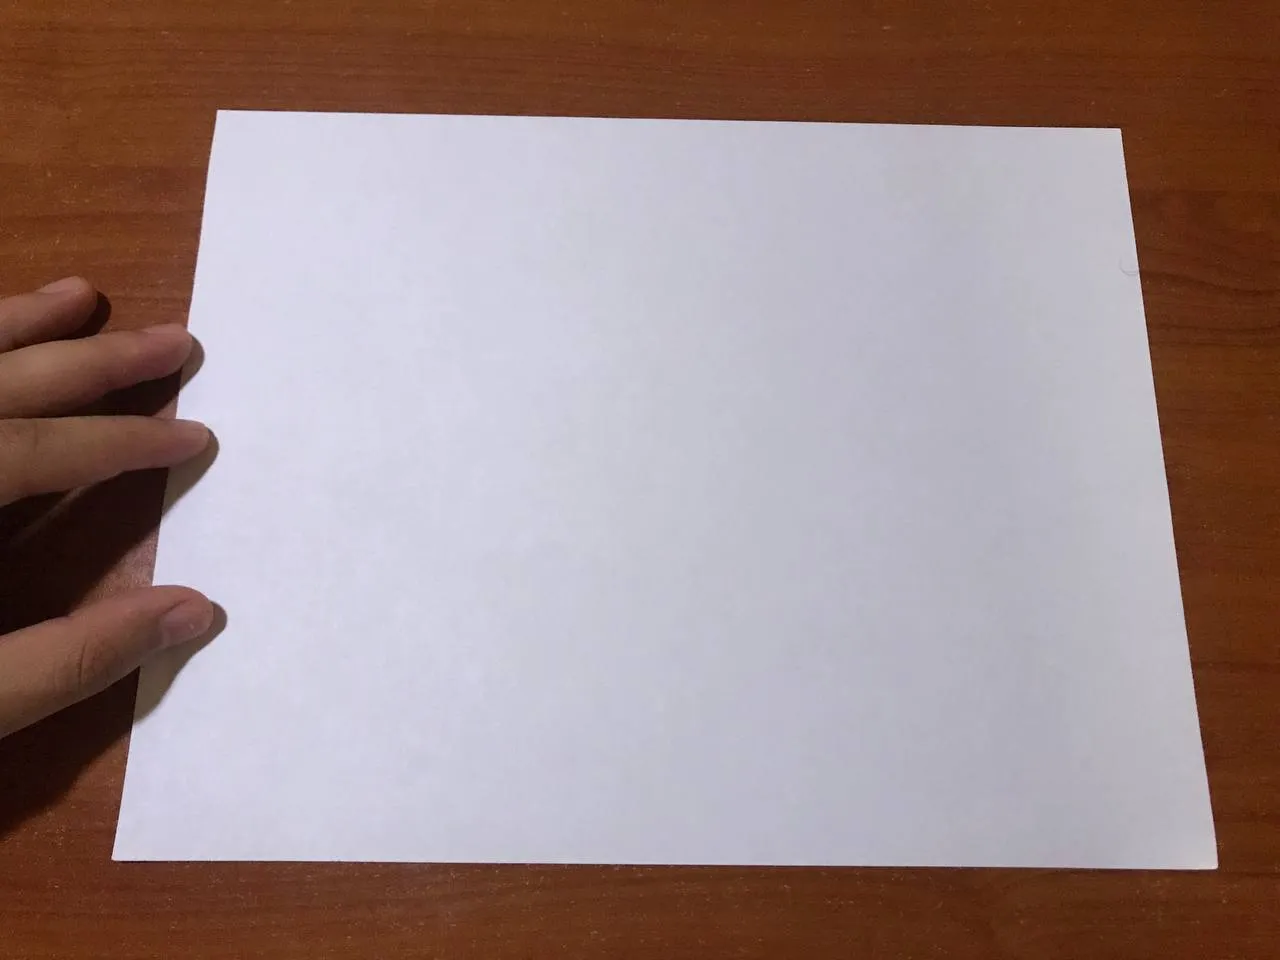
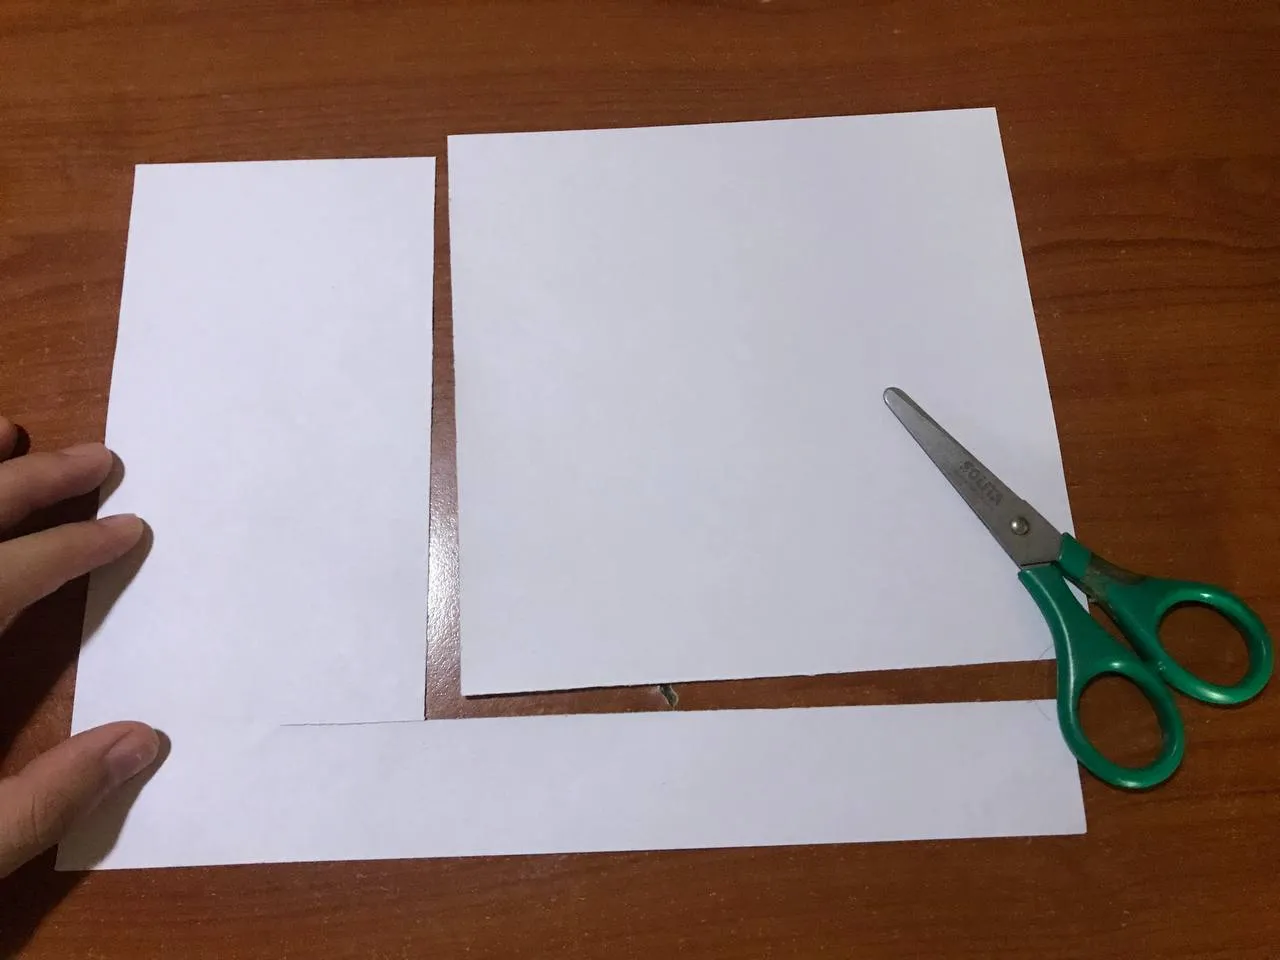
The first thing we have to do is to take a sheet of any color of our preference and thus be able to assemble this origami, where we will measure the paper 18*18 cm and with the help of a scissors we will cut the excess. Once that is ready, we are going to make the different folds.
Lo primero que tenemos que hacer es tomar una hoja de cualquier color de nuestra preferencia y de esa manera poder armar este origami, donde vamos a medir el papel 18*18 cm y con la ayuda de una tijera vamos a cortar lo sobrante. Una vez listo eso, vamos a realizar los diferentes dobleces.
|
 |
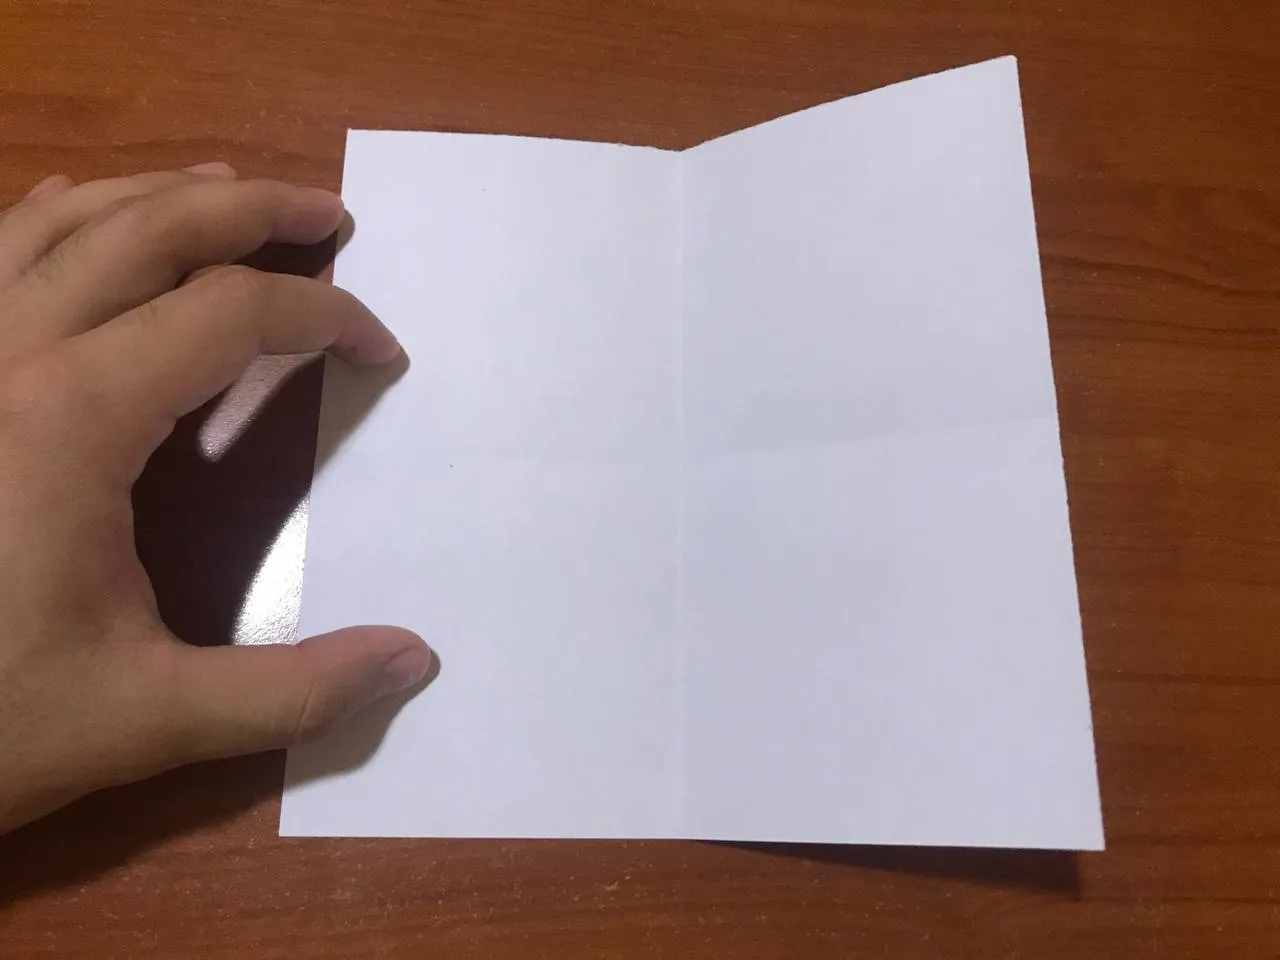
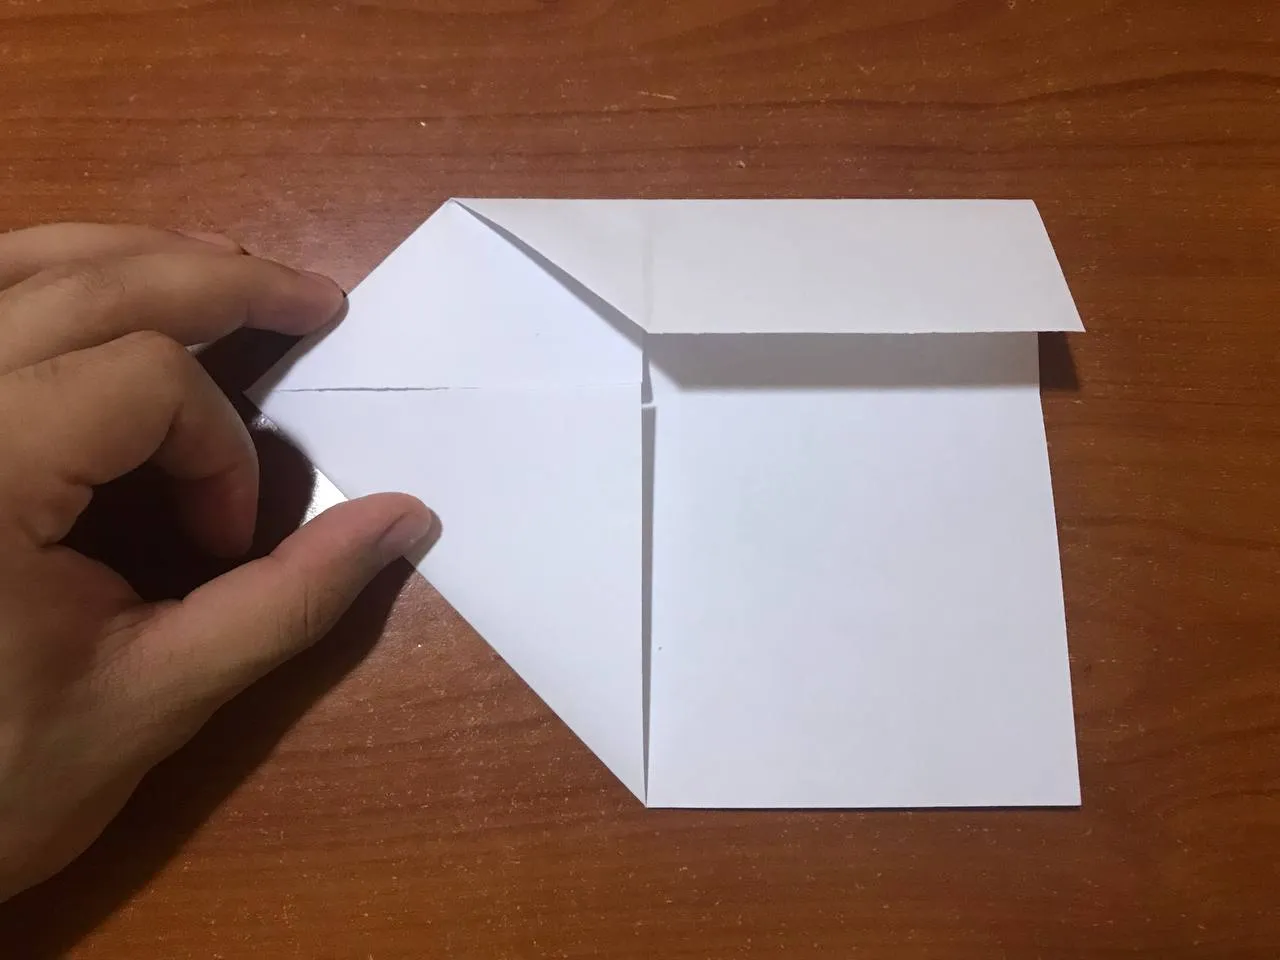
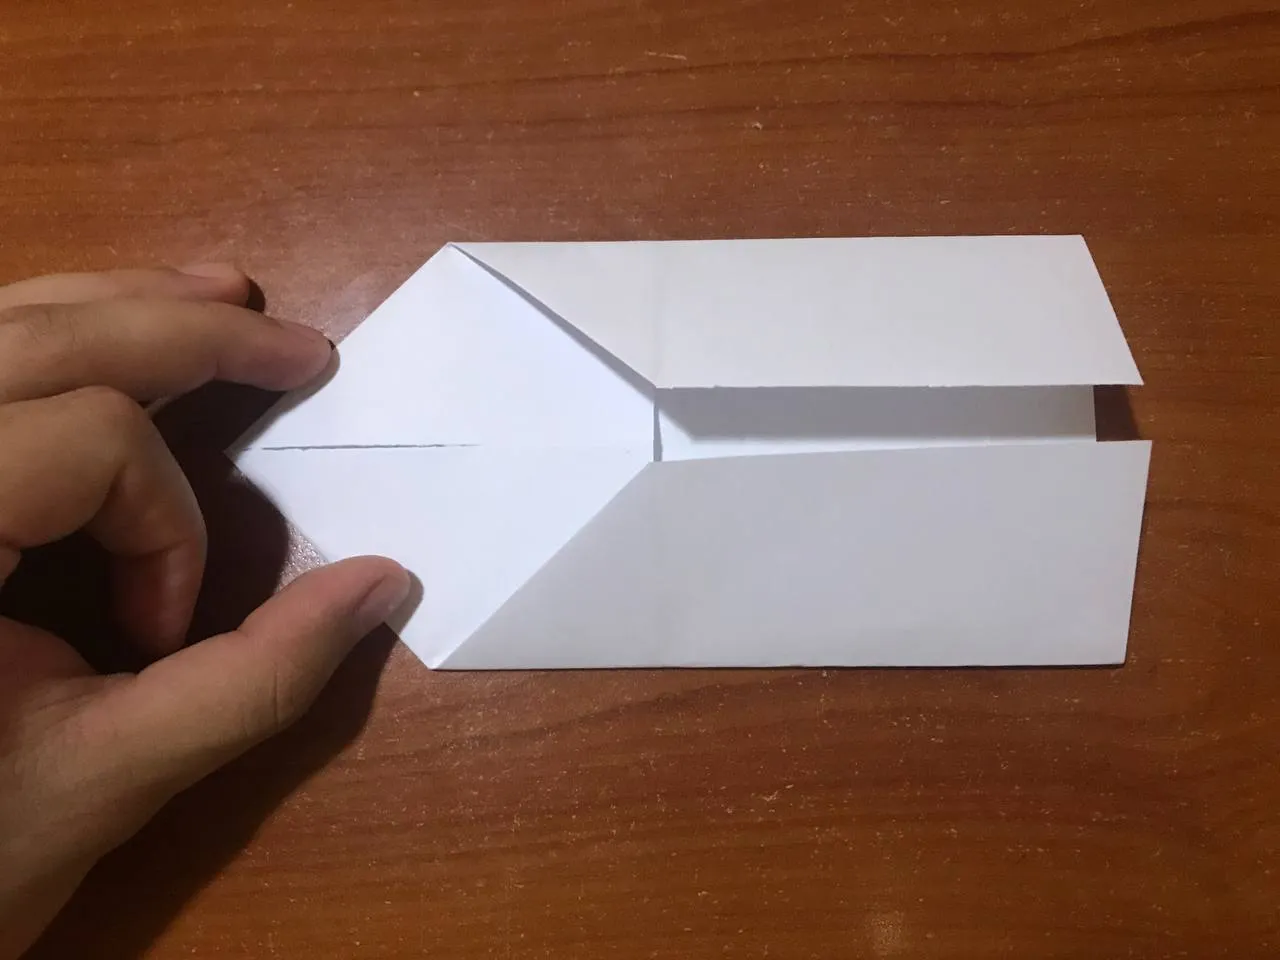
Next, we are going to fold our sheet vertically and horizontally, to mark the lines on the paper very well. Then we are going to bring two ends of the sheet towards the center, folding it very well, which will leave us a kind of triangle at the top. Then we turn the sheet horizontally and we will bring the ends towards the center, as shown in the photos.
Seguidamente, vamos a doblar nuestra hoja de la forma vertical y horizontal, para marcar muy bien las líneas sobre el papel. Luego vamos a llevar dos puntas de la hoja hacia el centro, doblando muy bien, la cual nos quedará especie de un triángulo en la parte de arriba. Allí mismo volteamos la hoja de forma horizontal y vamos a llevar los extremos hacia el centro, como se nota en las fotos.
|
 |
|
 |
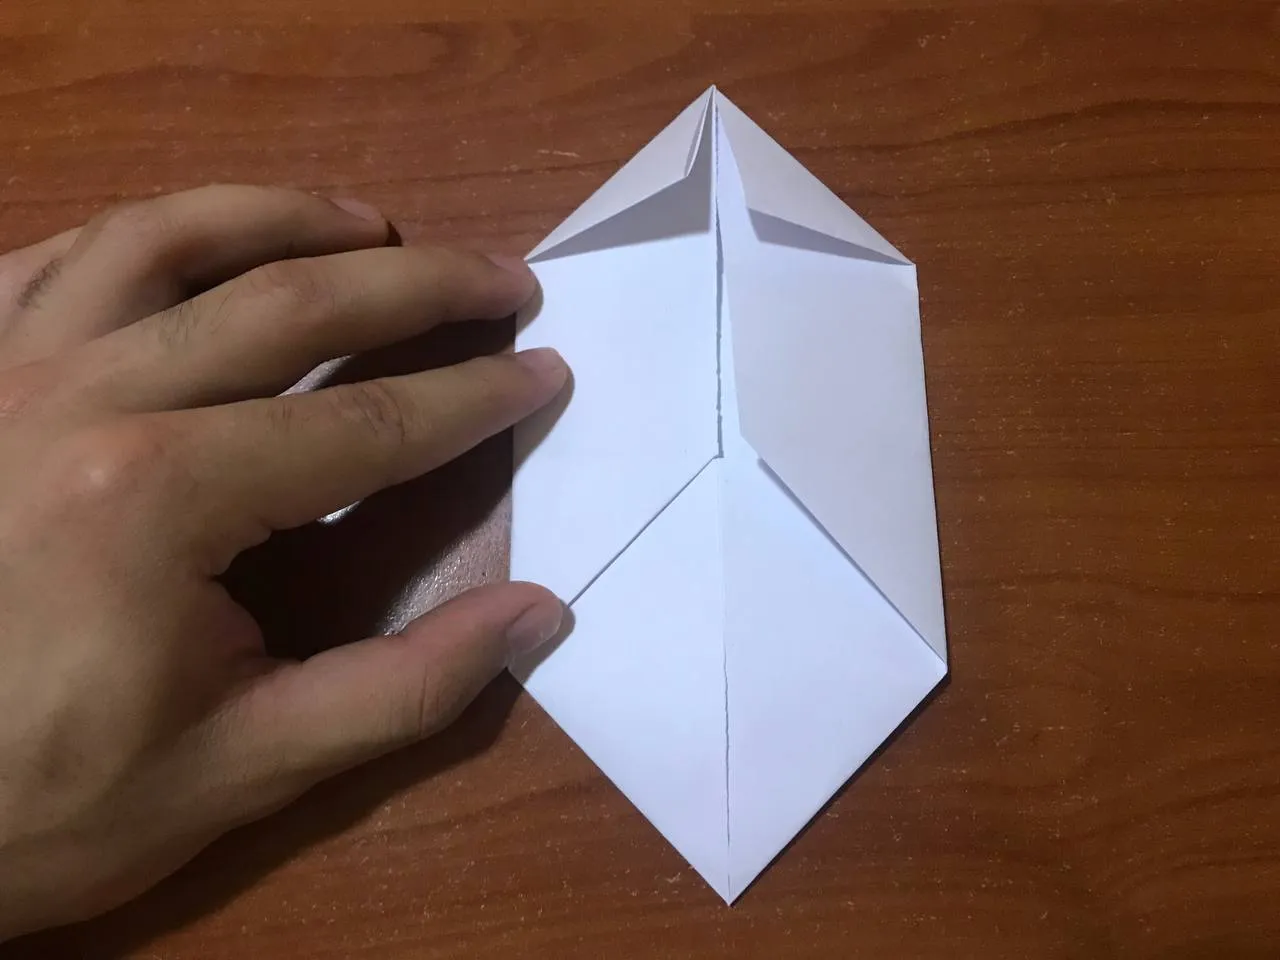
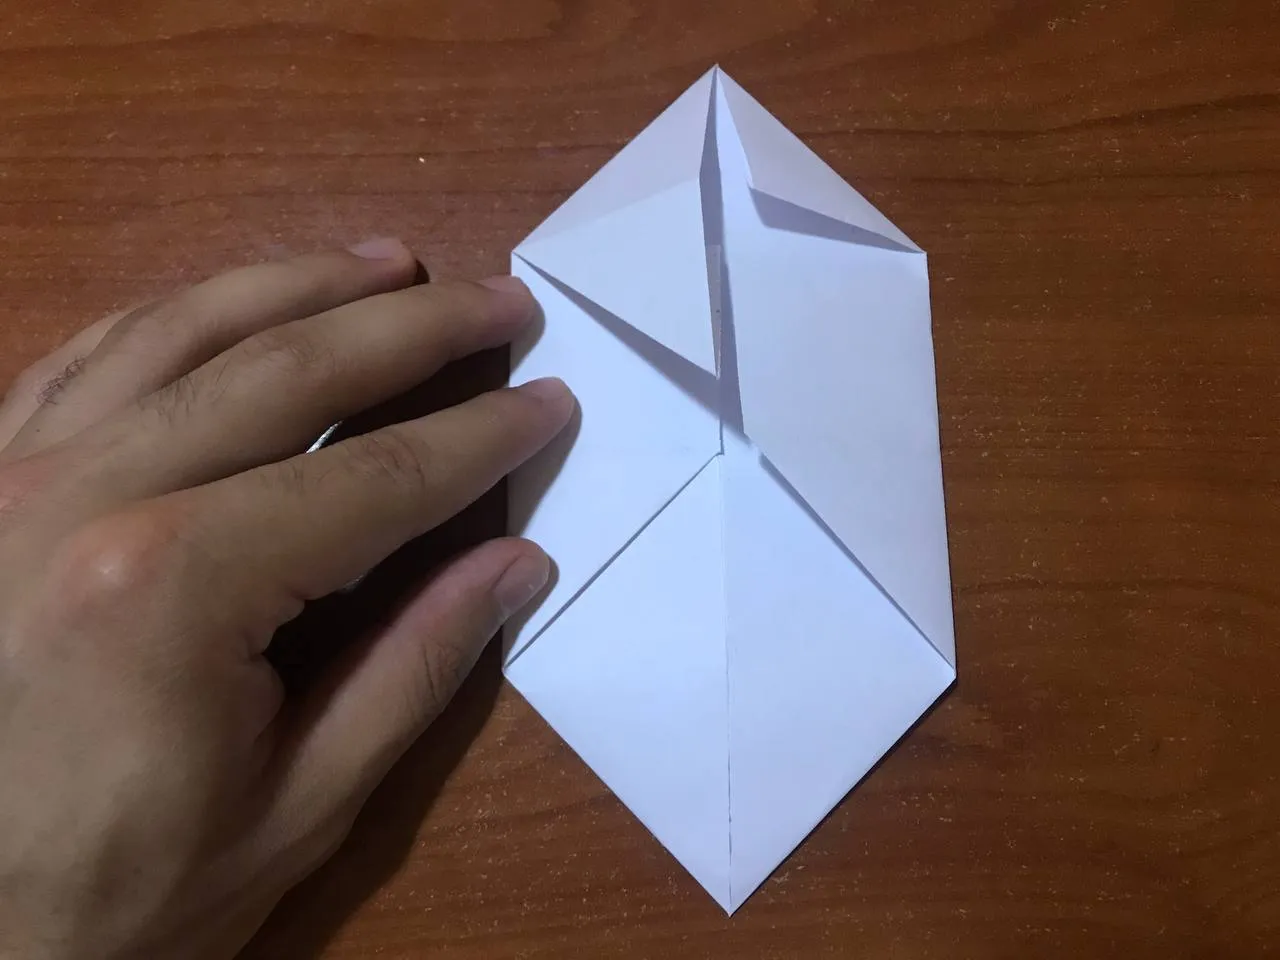
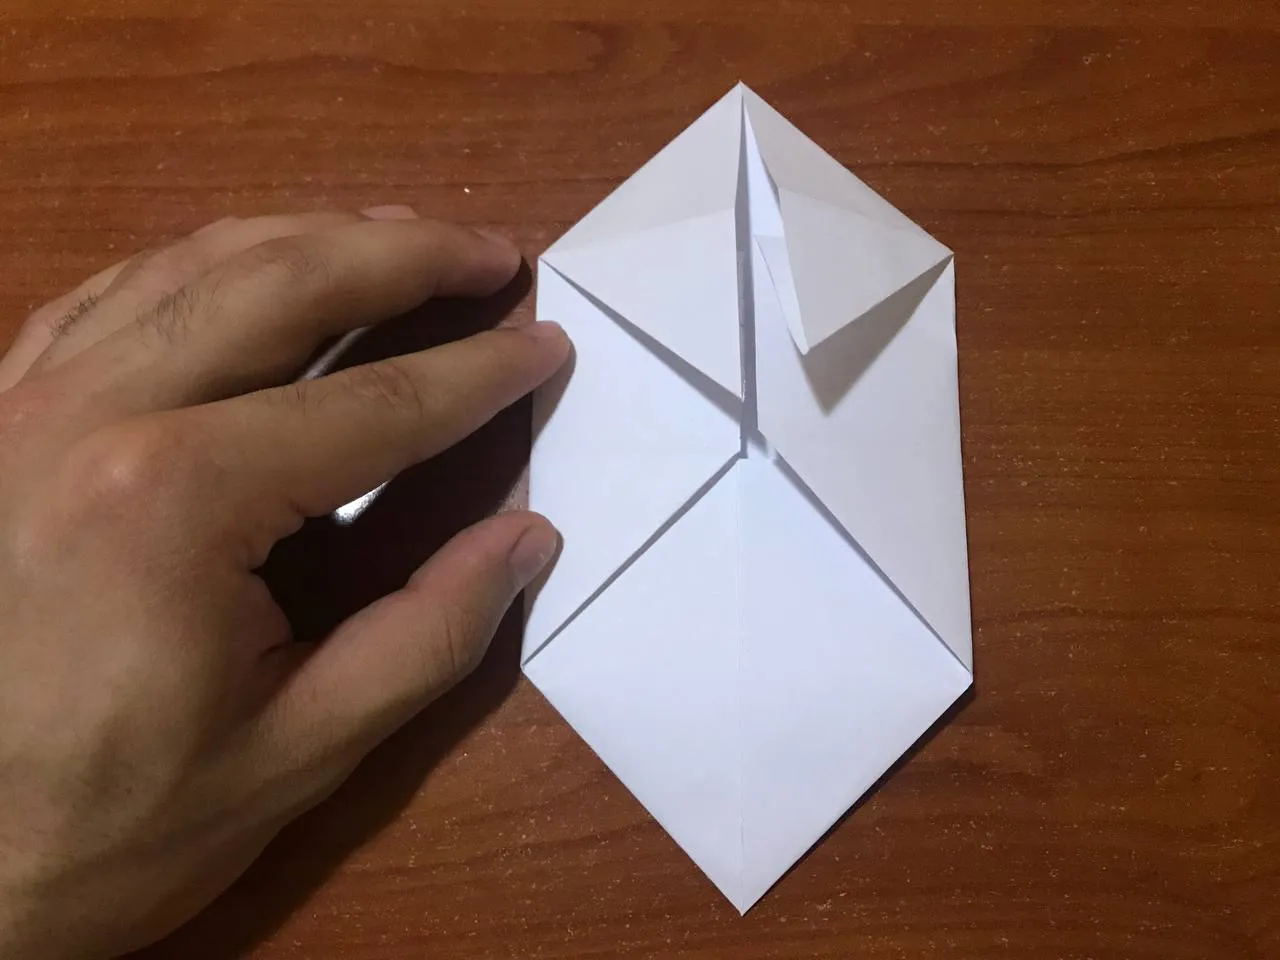
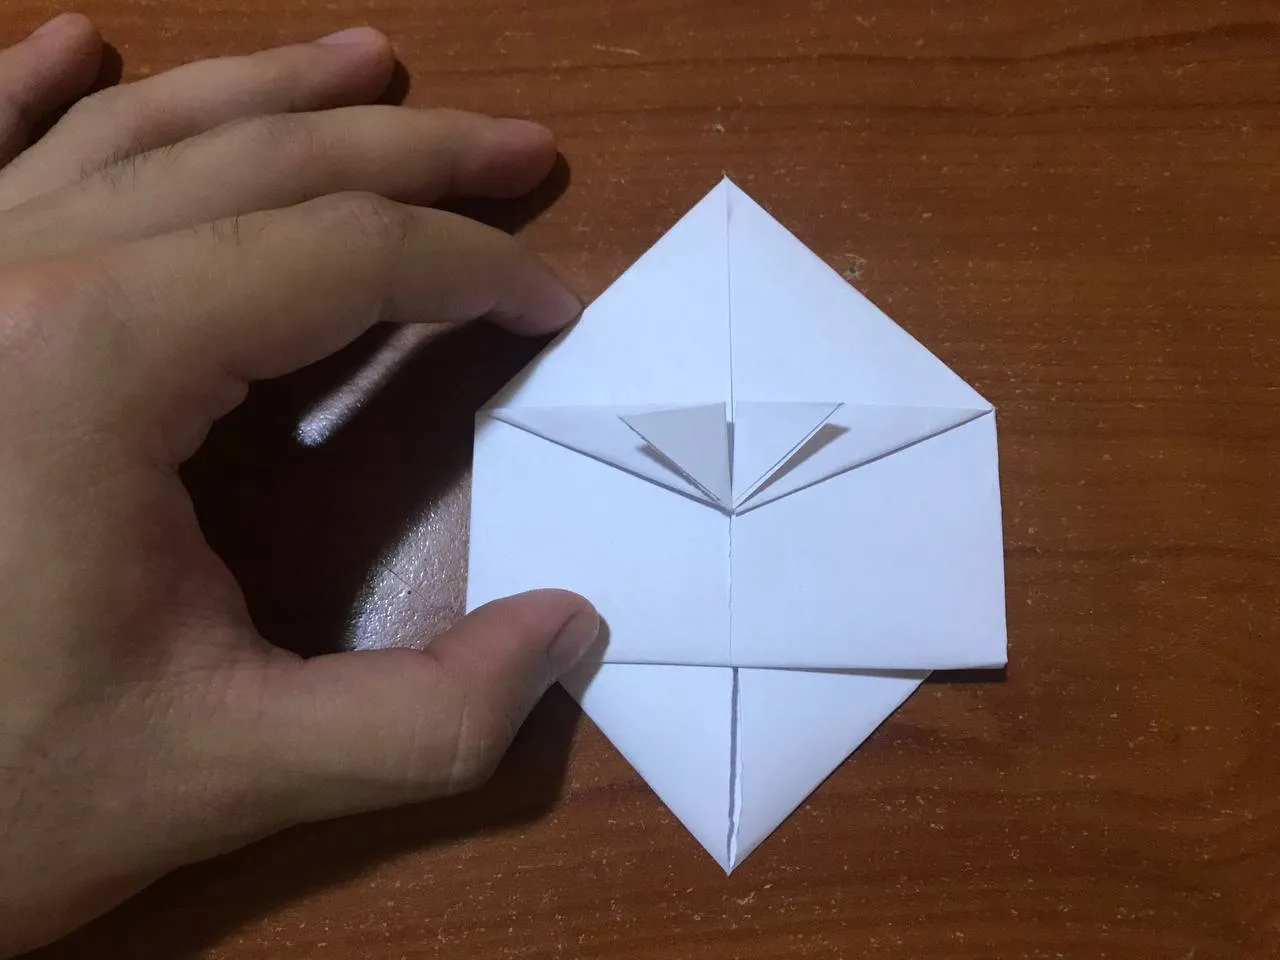
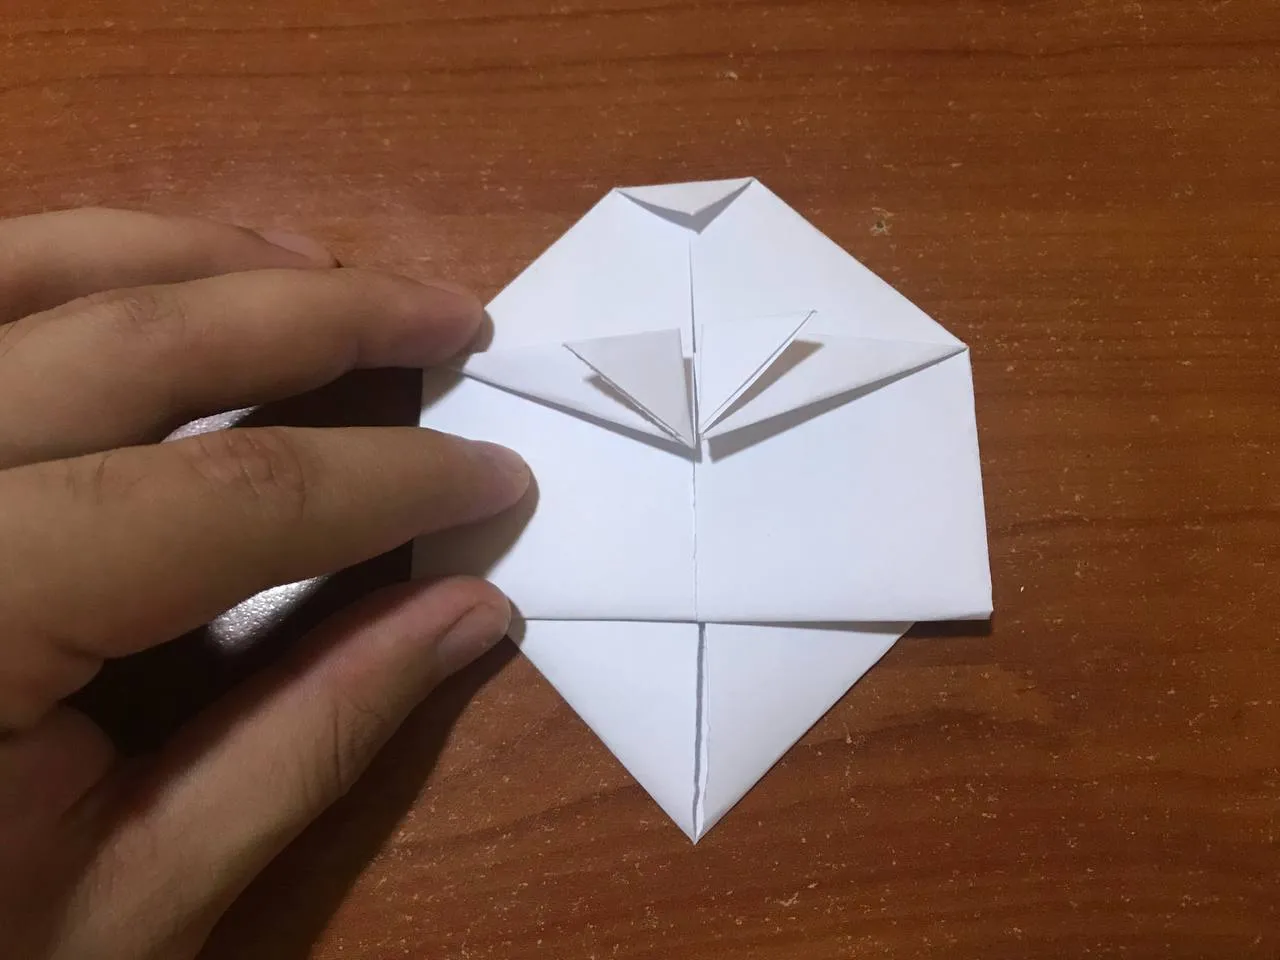
We place the paper vertically and at the top we will take the two ends towards the center, where two small triangles will come out on the sheet, with the idea of being able to make a fold in the same part of the sheet very carefully so that it does not disassemble, we repeat the same thing in the other triangle.
Colocamos el papel de formar vertical y en la parte de arriba vamos a llevar los dos extremos hacia el centro, donde saldrán dos pequeños triángulos a en la hoja, con la idea de poder realizar un pliegue en esa misma parte de la hoja con mucho cuidado para que no se desarme, eso mismo lo repetimos en el otro triángulo.
|
|
|
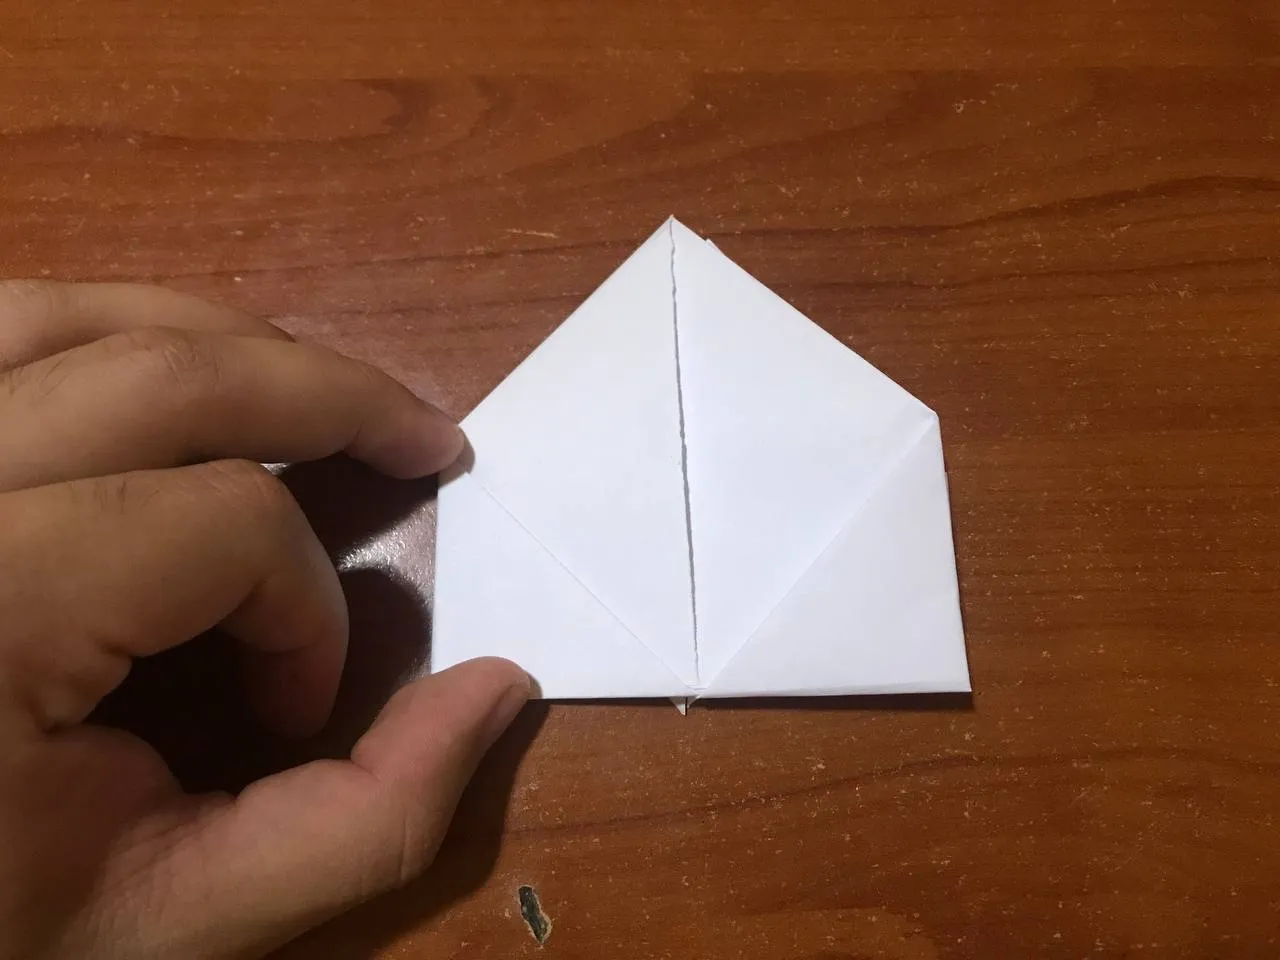
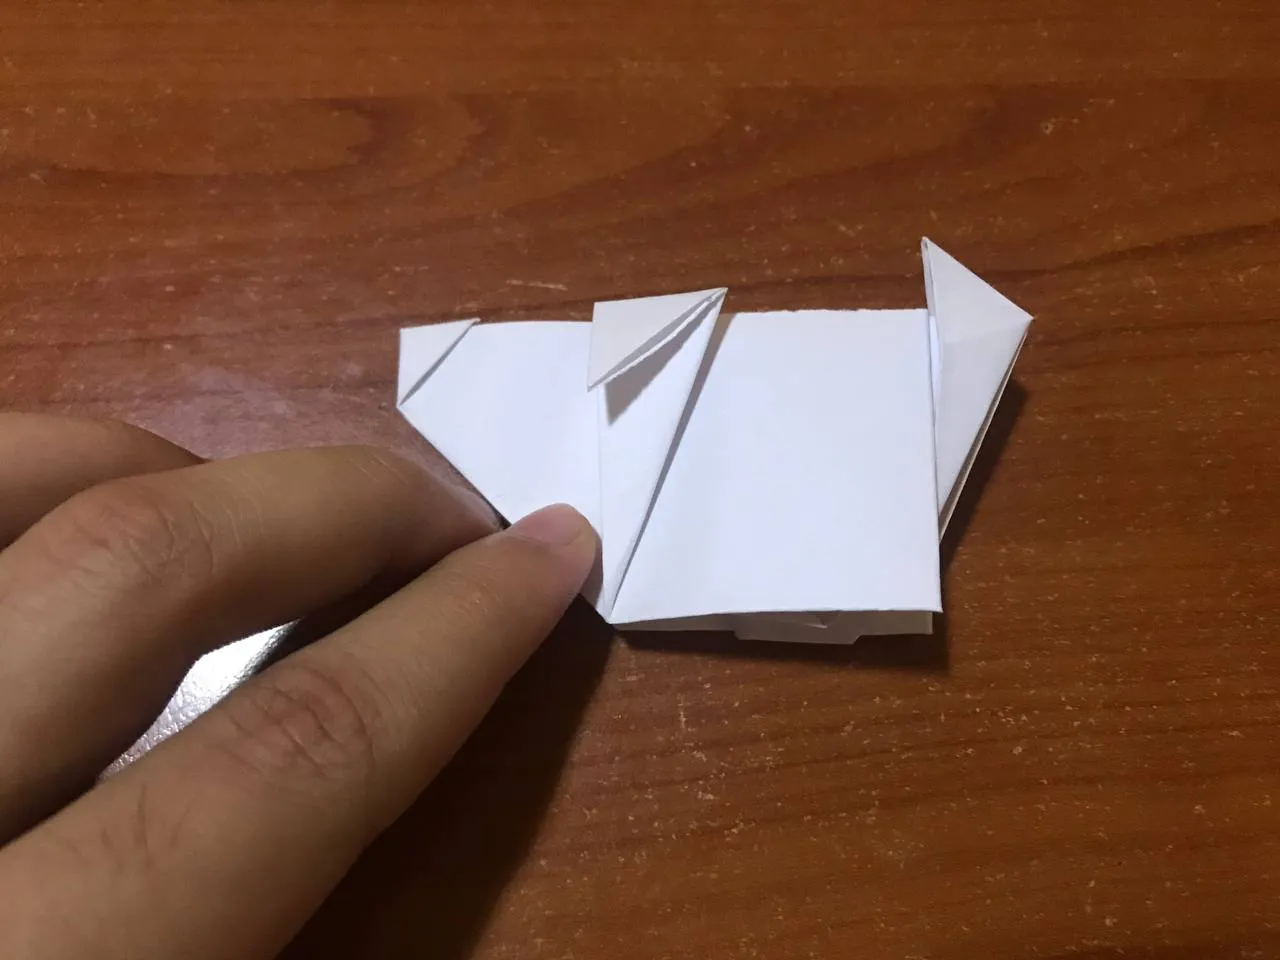
Once all these steps have been completed, we are going to turn our sheet over so that we can fold it in half. Right there we are going to fold again one of the sides of the sheet upwards, while the other one we are going to leave it the same. You have to be very careful not to confuse them.
Una vez completados todos esos pasos, vamos a voltear nuestra hoja para así poder doblarla por la mitad. Allí mismo vamos a volver a doblar una de las caras de la hoja hacia arriba, mientras que la otra la vamos a dejar igual. Se tiene que tener mucho cuidado para que no se confundan.

|
|
|
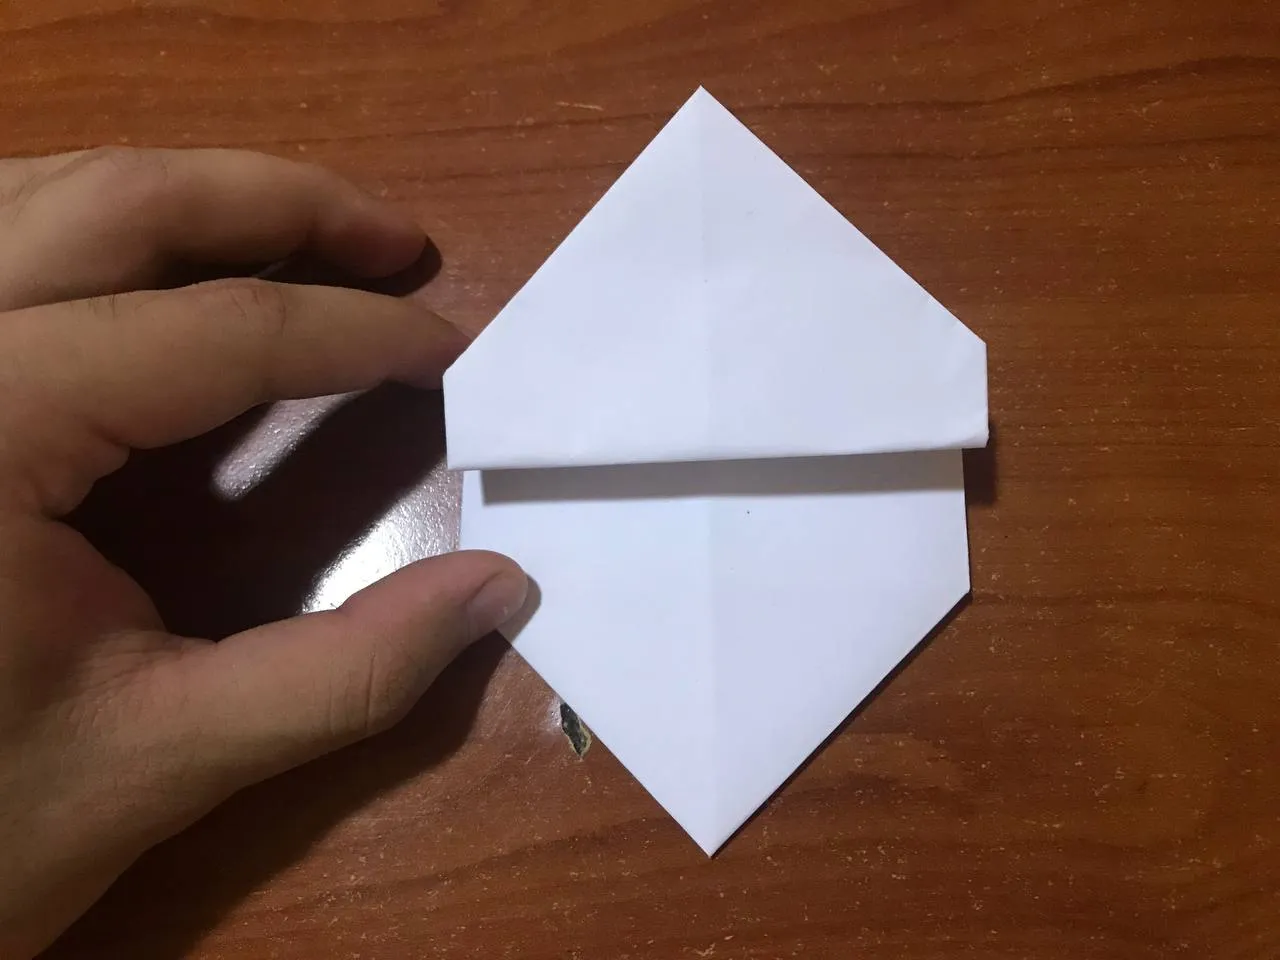
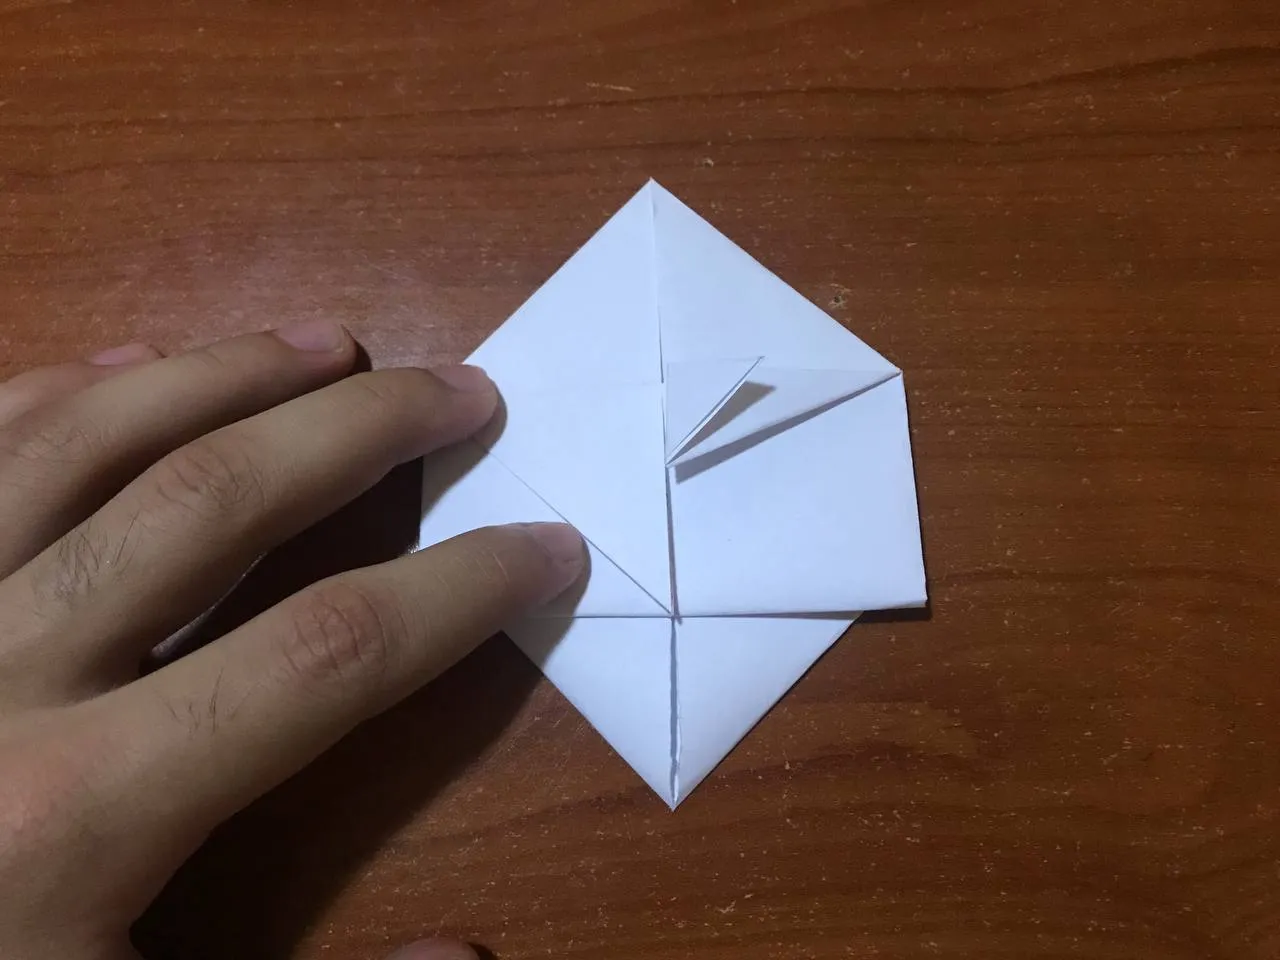
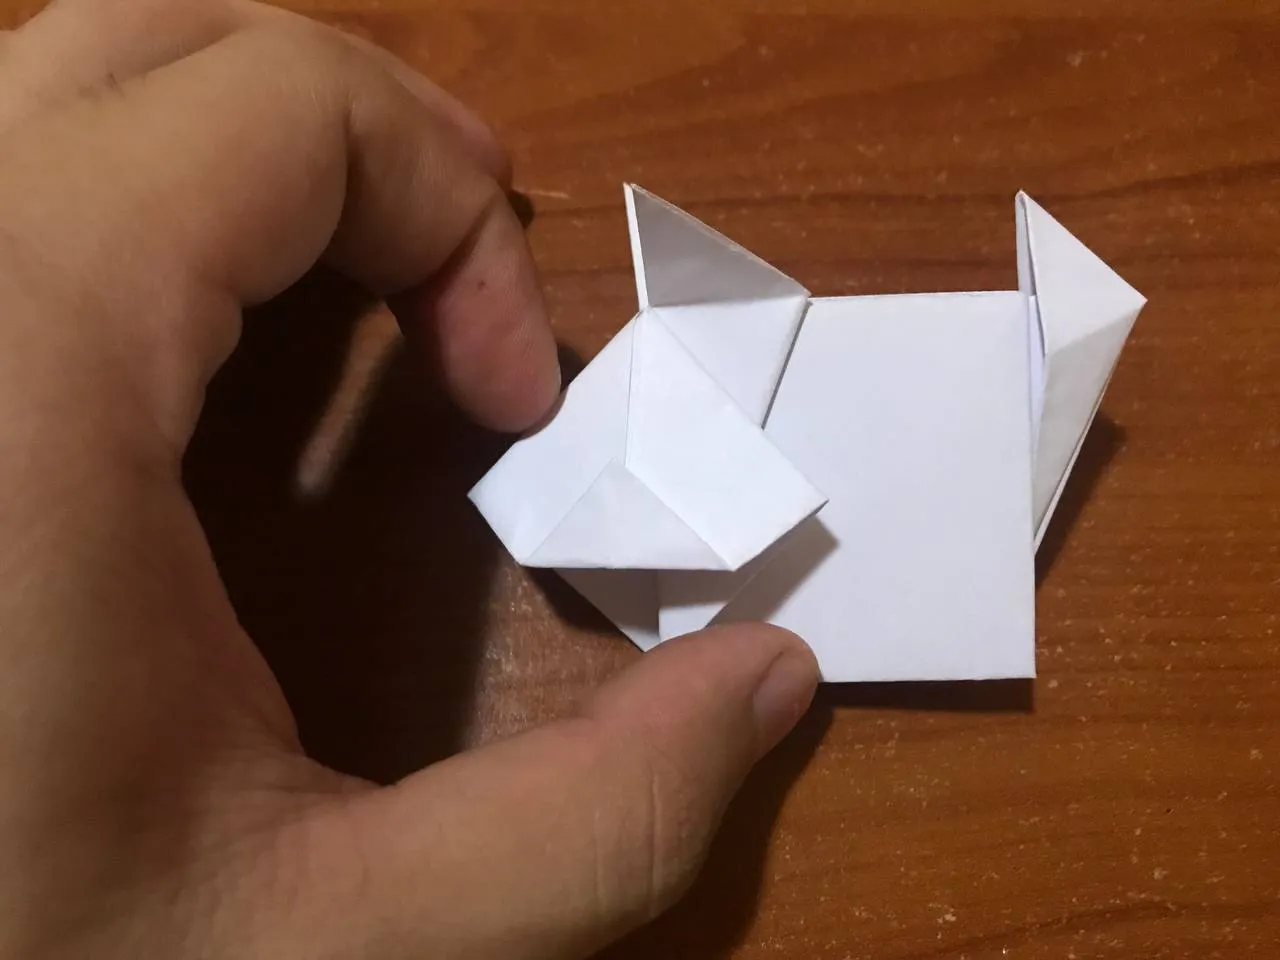
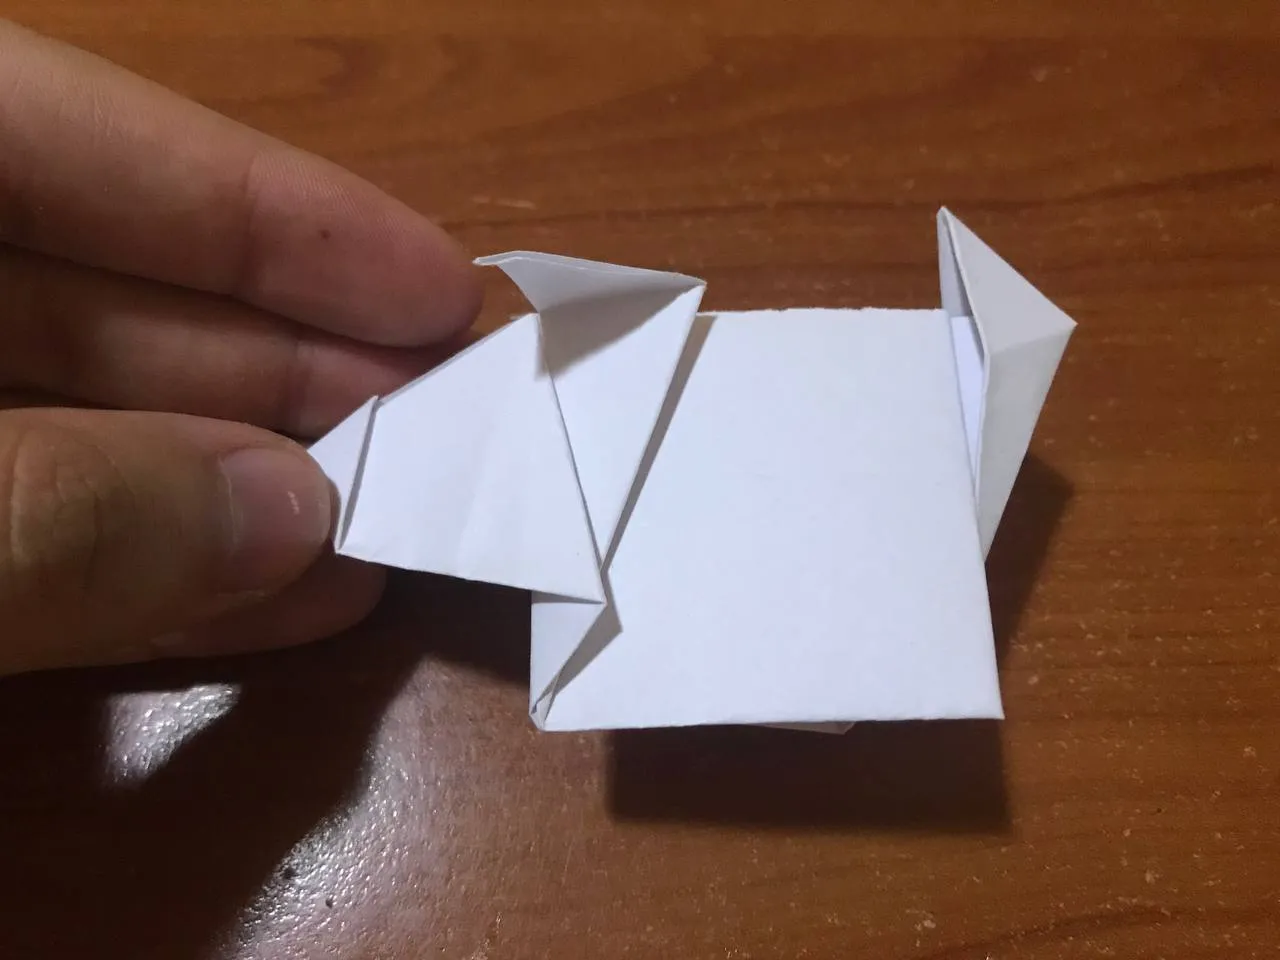
With the other side of the leaf that was not folded, you can notice that we have two small free triangles on our leaf, which both triangles we are going to fold upwards very carefully, since they will be part of the body of this pig. Also on the top of the leaf we are going to bend the tip of the leaf downwards a little bit very carefully.
Con la otra cara de la hoja que no se dobló, se puede notar que nos quedaron dos pequeños triángulos libres en nuestra hoja, los cuales ambos triángulos los vamos a doblar hacia arriba con mucho cuidado, ya que serán parte del cuerpo de este cerdo. También en la parte de arriba de la hoja vamos a doblar un poco la punta de la hoja hacia abajo con mucho cuidado.
|
|
|
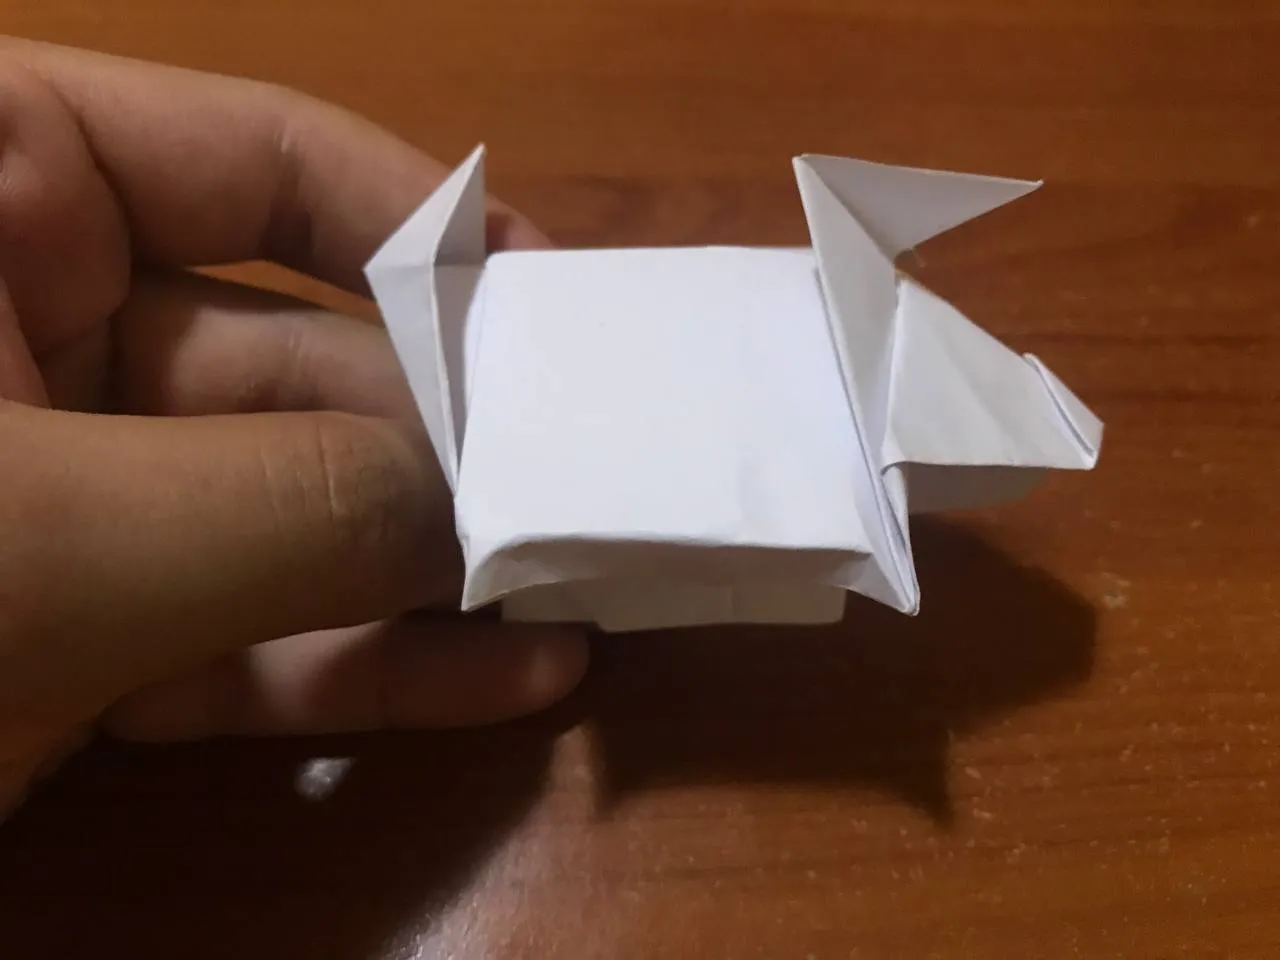
After having folded each of the corresponding triangles, we are going to fold our sheet in half, being careful not to disassemble anything, where some parts of this pig can be noticed. To make the face, we are going to take the larger side, which we are going to fold inwards, to make a small fold right there in order to give a little volume to the face.
Luego de haber doblado cada uno de los triángulos correspondientes, vamos a doblar nuestra hoja por toda la mitad, con cuidado para que no se desarme nada, donde se pueden ir notando algunas partes de este cerdo. Para hacer la cara, vamos a tomar el lado más grande, el cual vamos a doblar hacia adentro, para allí mismo realizar un pequeño pliegue para así poder darle un poco de volumen a la cara.
|
|
|
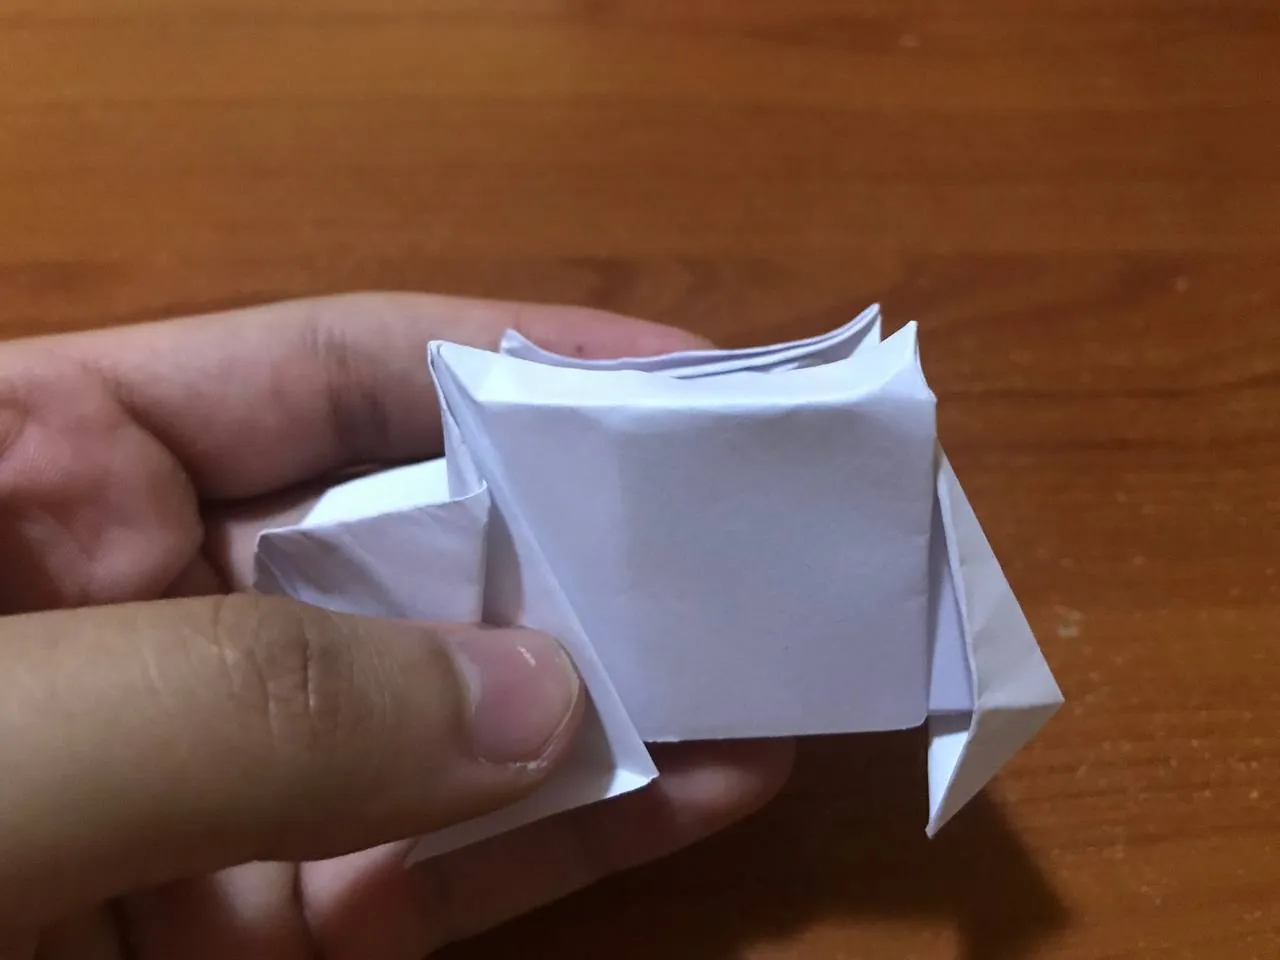
Finally, we are going to make the legs of this fence and what we have to do is to bend the bottom part inwards a little bit and the tips of that same part, take them out a little bit, as if it were a kind of a tip. We are going to repeat the same thing on the other side of the leaf. With this we finish this great paper pig.
Por último, vamos a realizar las patas de este cerco y lo que tenemos que hacer es doblar un poco la parte de abajo hacia adentro y las puntas de esa misma parte, sacarlas un poco, como si fuera especie de una punta. Esto mismo lo vamos a repetir en la otra cara de la hoja. Con esto damos por terminado este gran cerdo de papel.
|
 |

Resultado // Result
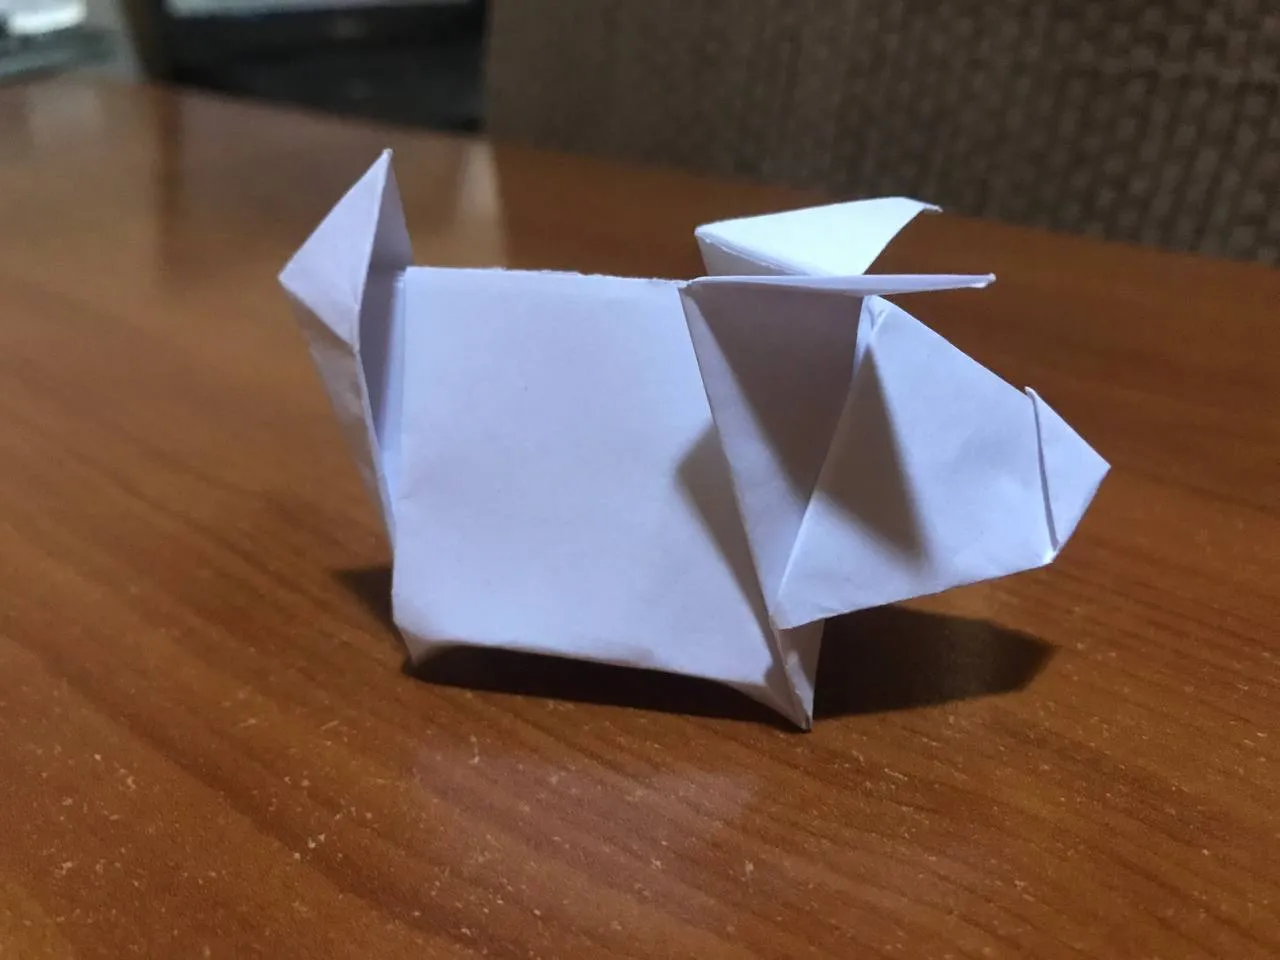
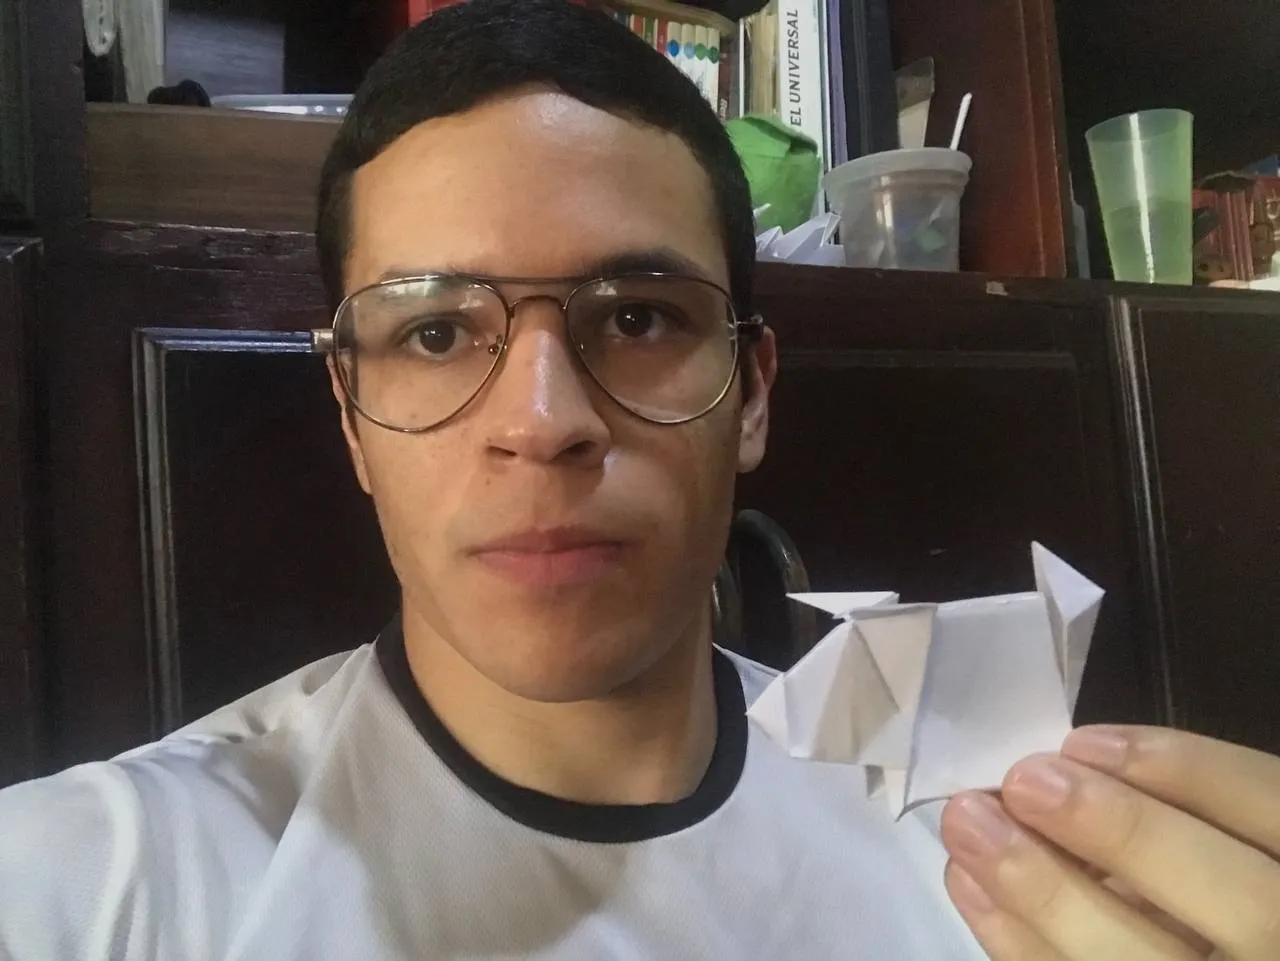
An origami that gave me a lot of work, since it was getting smaller and smaller and required many doubles to achieve each of the parts of the pig, but the result was certainly achieved. So this paper origami will serve you for many things, you can vary the size and thus achieve a large collection of pigs. So see you next time with another origami.
Un origami que me dio bastante trabajo, puesto que cada vez se volvía más pequeño y requiere de muchos dobles para lograr cada una de las partes del cerdo, sin duda se logró el resultado. Así que este origami de papel te servirá para muchas cosas, puedes variar el tamaño y de esa manera lograr una gran colección de cerdos. Así que nos vemos en la próxima con otro origami.
Fotos tomadas con un Iphone 7 // Photos prises avec un iPhone 7.