Welcome to my guide on how to stake your NIX without needing to have your wallet open and PC running all the time.
Needed Software
Additional Needed Ressources
- low-cost VPS
I used Vultr for this guide. You can sign up with my partner link here.
Contents
- Introduction
- Exporting your wallet.dat
- Setting up your VPS
- Installing NIX Core on the VPS
- Import your wallet.dat
- Start staking
- Afterword
1) Introduction
This guide assumes that you are a total beginner. If you have any questions, message @dacx1337 on the NIX Discord. As always, I am not responsible for anything.
Please make sure you have encrypted your wallet.dat before starting with the following steps. You can encrypt it in your wallet software: Settings > Encrypt Wallet.
Please note that I use my partner link for Vultr in this guide. If you sign up via that, you support me for my work and give something back. There are no costs for you so yeah, you might as well be so kind.
2) Exporting your wallet.dat
We have to copy the encrypted wallet.dat with the NIX to our VPS. To easily do so, we use the integrated export function in our wallet: File > Backup Wallet > name it wallet.datand export it to our Desktop. We will import it at a later stage of this guide.
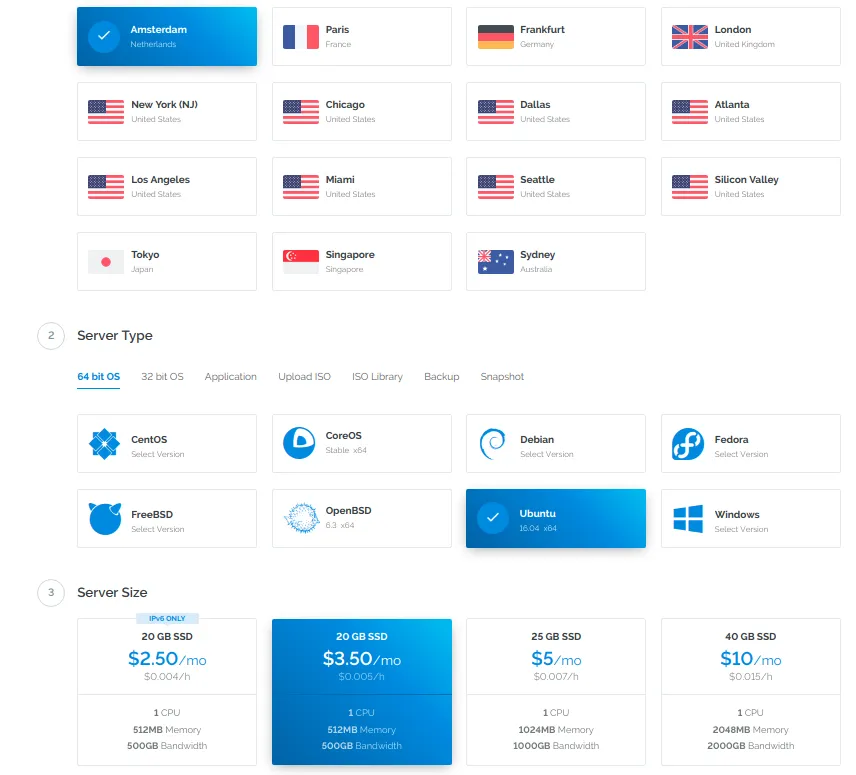
3) Setting up your VPS
Sign up at Vultr and add funds to your account ($10 is enough). Once you are done, we can set up our staking server. Head over to the deploy menu and deploy the following server for $3.50/month:
any location, ubuntu 16.04, 512MB RAM
4) Installing NIX Core on the VPS
Now that we have rented ourselves a VPS, let's connect to it. Click on the Servers tab in your Vultr admin panel and click on the new server after it says Running.
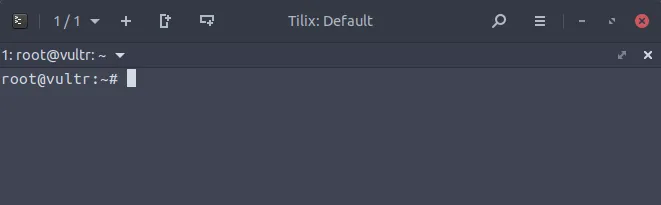
You can now see your IP and root password. We use this to connect to the server. Open PuTTY (Windows) or the Terminal (Linux, MacOS) and connect to the IP. Use root as user and copy the password from the panel. PuTTY provides an easy interface for you, if you are at a terminal, type: ssh root@IP and enter the password afterwards.
You should see a command line now, something along these lines:
We will use the easy-install script from CryptoSharks to install all dependencies and the wallet. This is usually for ghost nodes but we can use it as well with some tweaks afterwards.
Type the following commands in order into your terminal:
wget -q https://raw.githubusercontent.com/cryptosharks131/Ghostnode/master/nix_install.sh
bash nix_install.sh
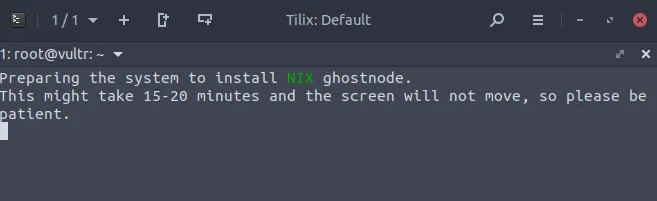
The terminal will tell you that it's preparing the system and look like this:
It will ask for an input afterwards and say Enter your NIX Ghostnode GenKey. Leave it blank to generate a new Ghostnode GenKey for you. This input is intended for ghost nodes, just hit ENTER once and wait until you see the following screen:
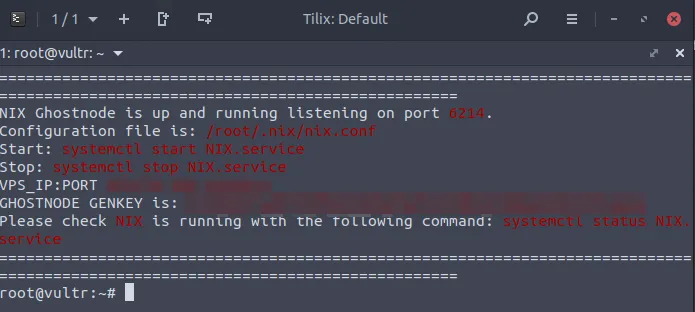
Now type systemctl stop NIX to stop the NIX server, we need to do some modifications. Edit your config file with: nano .nix/nix.conf, remove the last three lines and hit CTRL+O > ENTER > CTRL+X.
Everything is now installed, we can connect with FileZilla and import the wallet.
5) Import your wallet.dat
Open FileZilla and locate the Quickconnect input fields at the top. Enter the following information and connect:
- Host: sftp://IPOFYOURVPS (like sftp://136.102.136.11)
- Username: root
- Password: YOURROOTPASSWORD
- Port: leave empty
Hit OK when the pop-up comes and you are now presented with the files of your VPS. Double-click on .nix on the right side to enter the folder. Locate your wallet.dat on the left side:
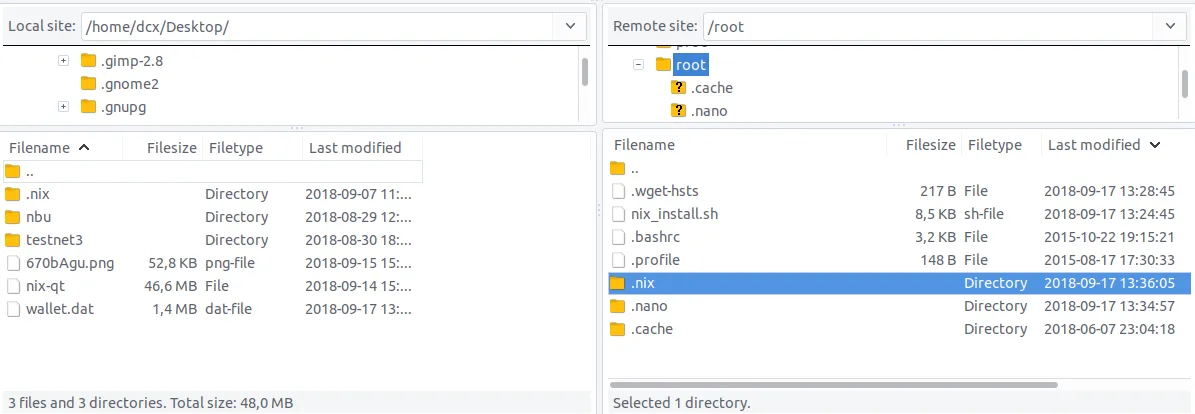
Drag your wallet.dat over and replace the existing one. You can now close FileZilla because you have successfully imported the wallet. Great job!
6) Start staking
Let's start the NIX server again and check if we did everything right: systemctl start NIX. If you type nix-cli listaddressgroupings you will see all mature funds of your wallet.
To unlock your wallet for staking now, type the following: nix-cli walletpassphrase YOURWALLETPASSPHRASE 0 true. After you unlocked your wallet, check the status with nix-cli getstakinginfo. It should look like this:
{
  "enabled": 1,
  "staking": 1,
  "errors": "",
  [...]
}
Exit the communication with the server and delete your history (because you entered your password): cat /dev/null > ~/.bash_history && history -c && exit
You are now successfully staking on your VPS! You can close your PuTTY/terminal and lean back while the server rakes in your staking rewards. If you don't want to use your server for staking anymore, just destroy the server in the Vultr admin panel.
7) Afterword
I hope everything went well and you didn't encounter any problems. If you did, let me know on Discord and I will assist you.
Should you want to throw some NIX in my personal tip jar, here is the address: NPfnvVZZTAh7CXkNj3KuykrjCP29JYzMxc
Thank you!