
We're on the workshop with the pending repairs. So far one of the instrument has gotten off the table so it leaves its room to another one. Let's take a look at some final fixes on the instrument that goes back to my teacher and keep advancing on the maintenance of Embla. Don't forget to check out the previous entry by clicking here.
Time to jump to it!
Bridge on
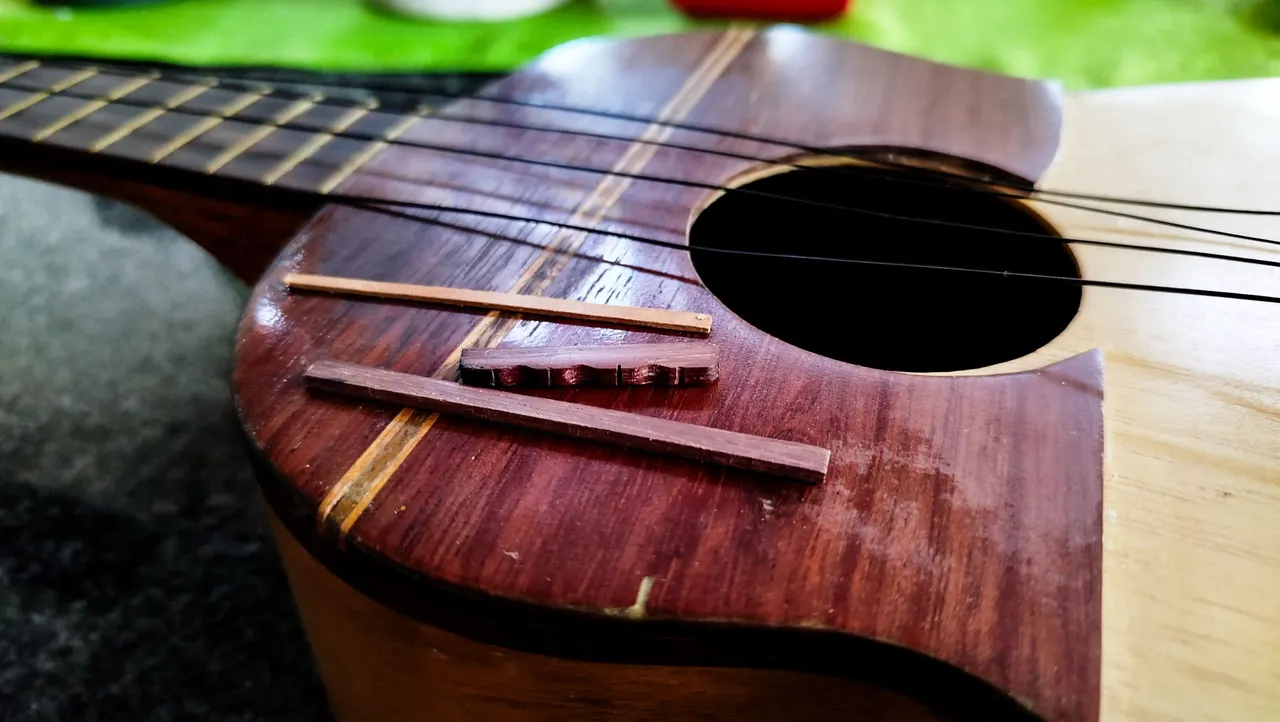

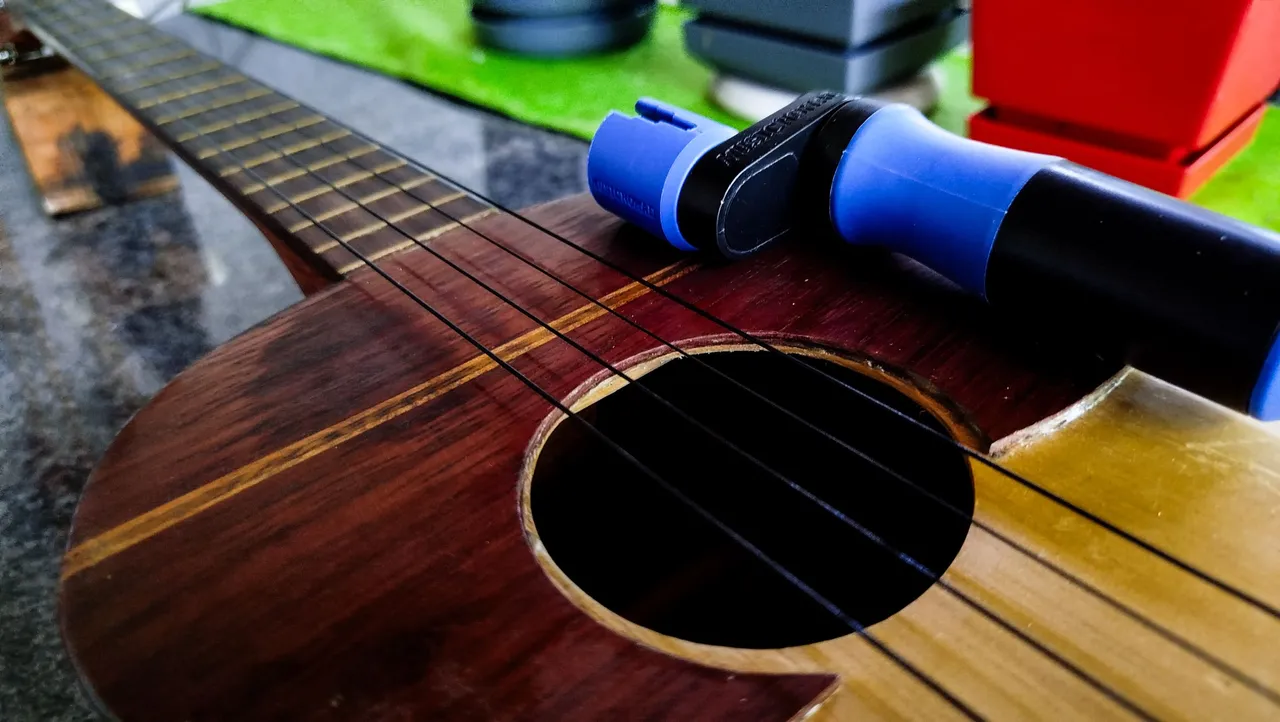
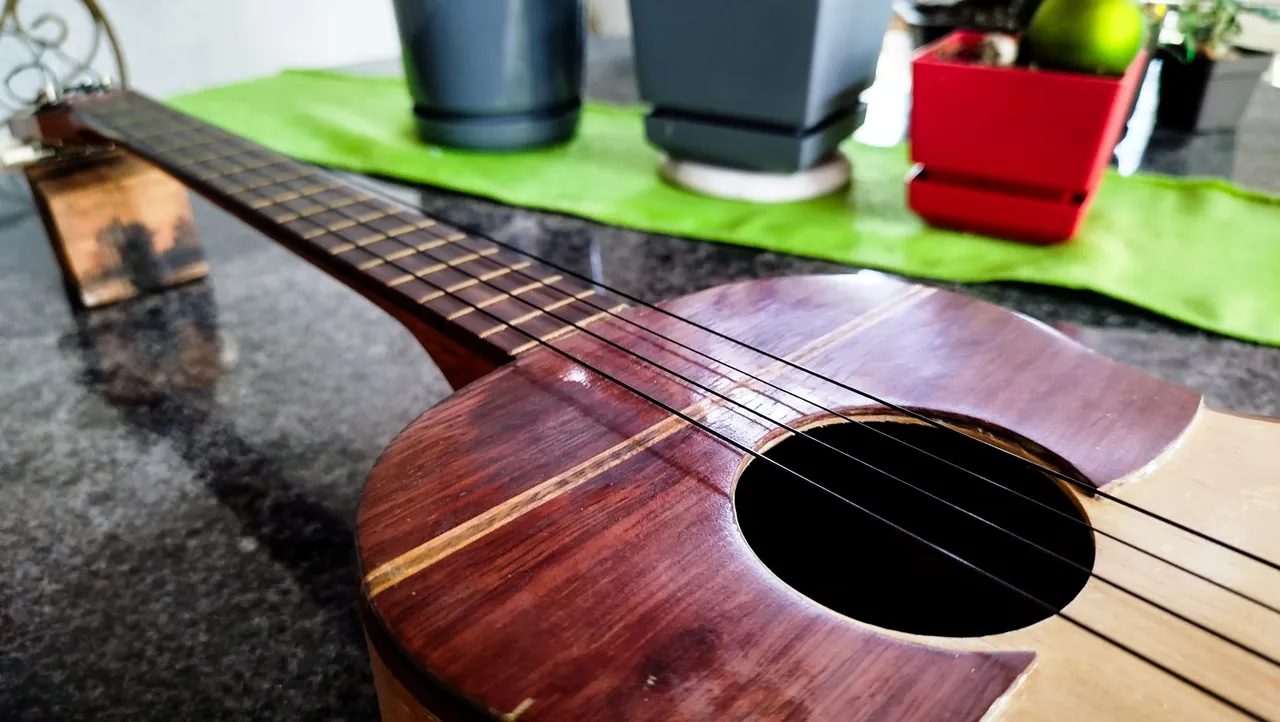
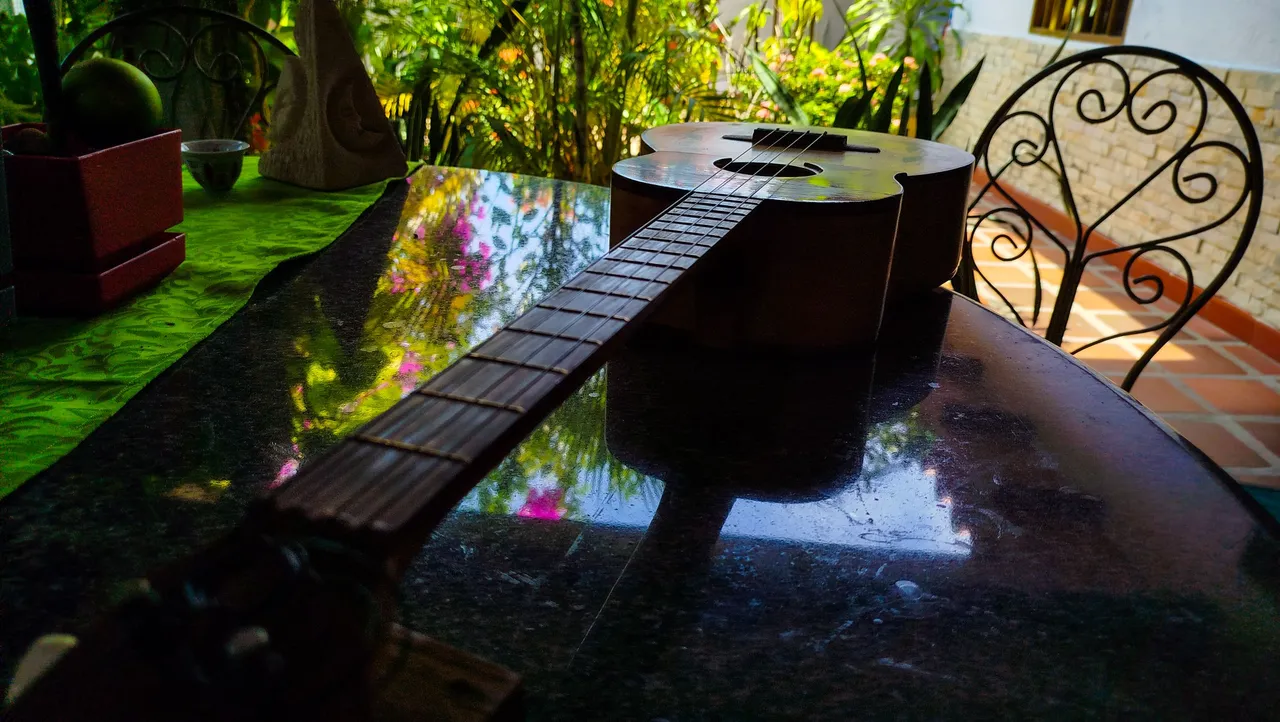
After leaving the clamp up for a day and waiting 48 hours to add any tension, we finally have this one ready for tuning. I was waiting a long time to see how the weather affects the glue. It's been particularly hot this month and the previous and that might have a bad effect of the resistance of the kind of glue I use. That's the reason of the extreme precautions with this instrument.
Nevertheless, while I was winding the strings, there was no weird crack sound coming from the bridge. The instrument got into tune with ease and there wasn't much to address besides the usual going out of tune since the strings were without tension for a long time. After repeating the process for a few days, the instrument got to work once again.
With all the work on the bridge, it's even more comfortable than it was before and it didn't lose any of its volume. So that's a plus!
Finish and Frets

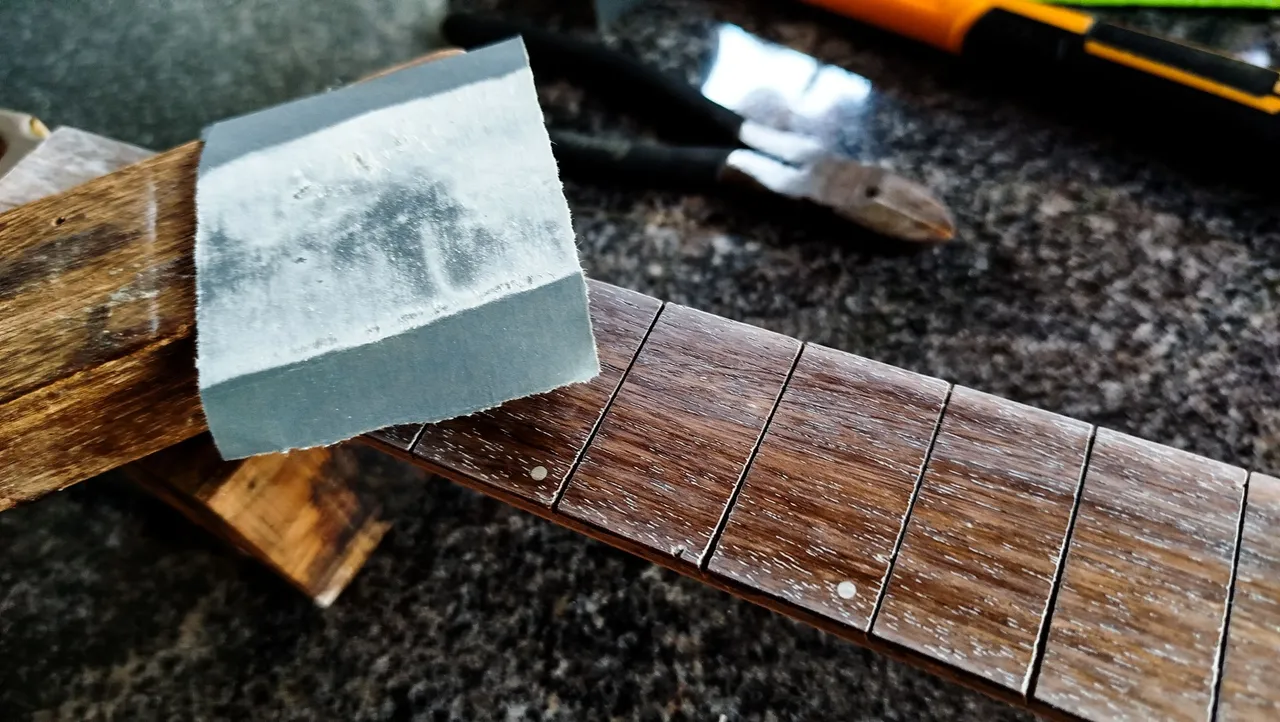
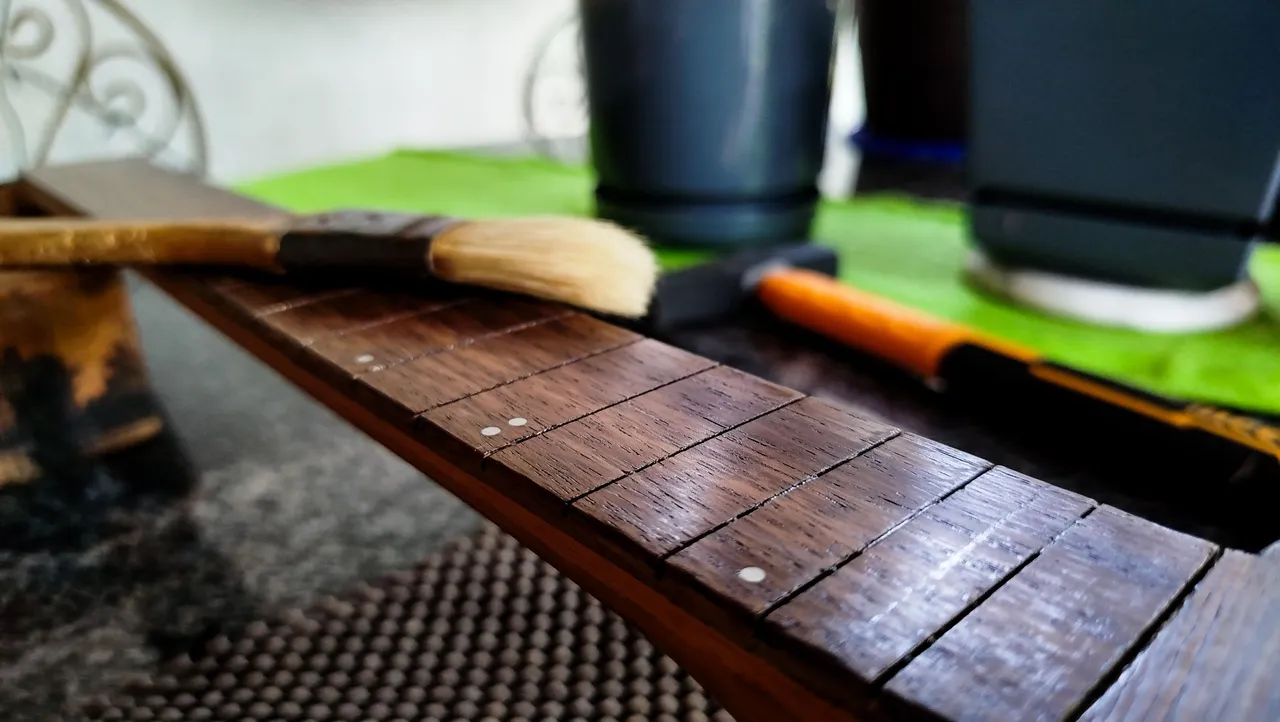

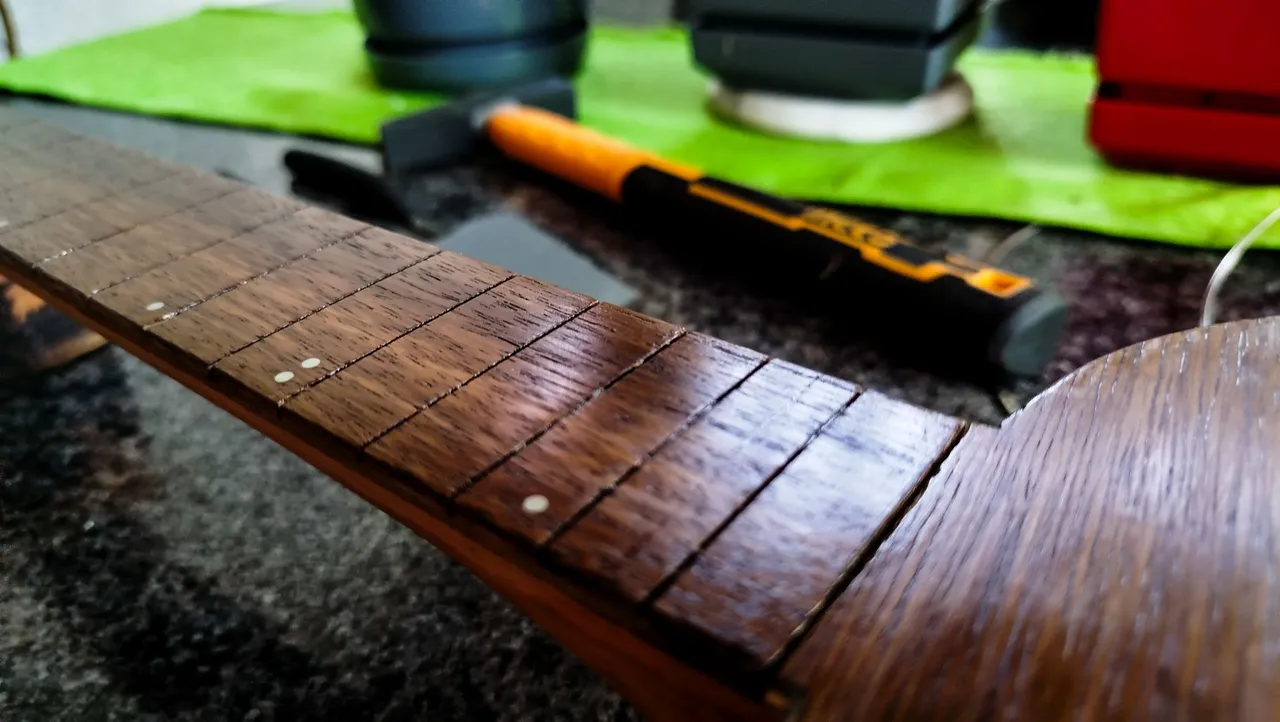
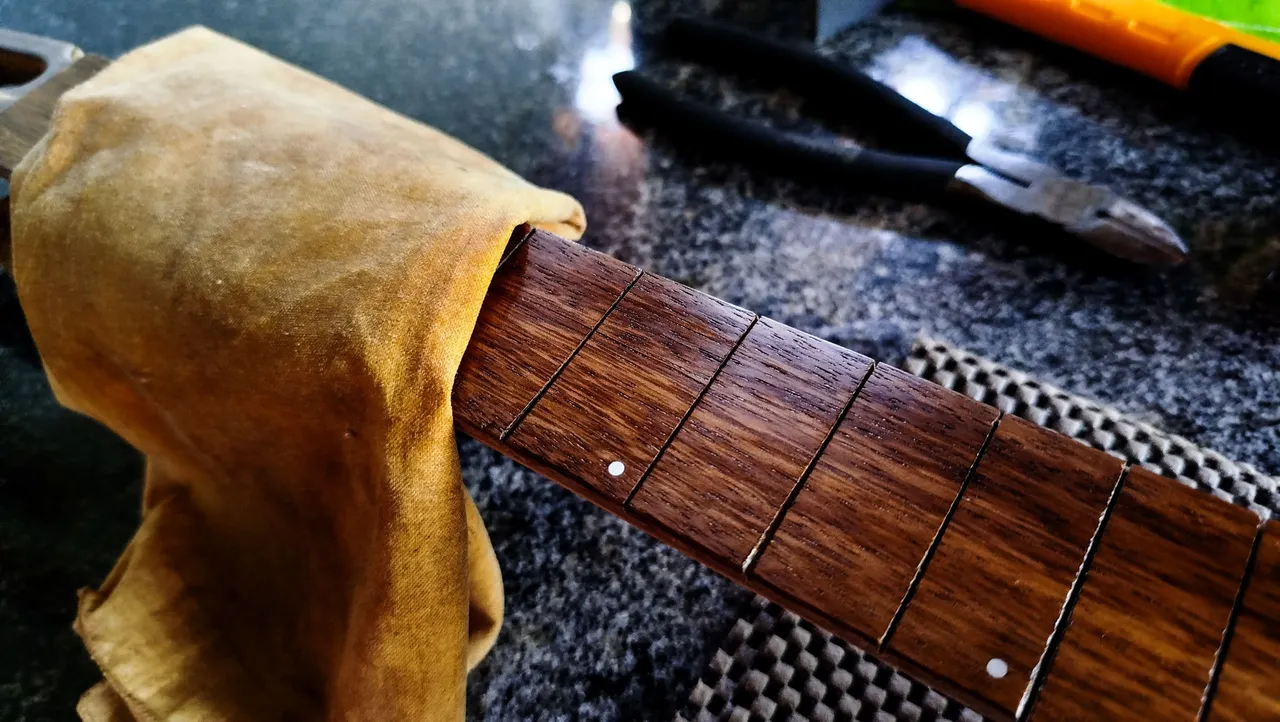


Back with this one, we are currently working on the fretboard. Last time, we applied the whole layers of finish to this part and were waiting to start a light sanding plus applying some teak oil to then get to the process of placing the frets.
And that we did, sanding a little pit until we had this layers of white dust on top. Then, dusting it off with a brush. Finally, applying the coat of teak oil to add an extra layer of protection. And never forgetting to use a mask while we perform these tasks. The dust from sealant is on par with sawdust on the things that can damage our lungs.
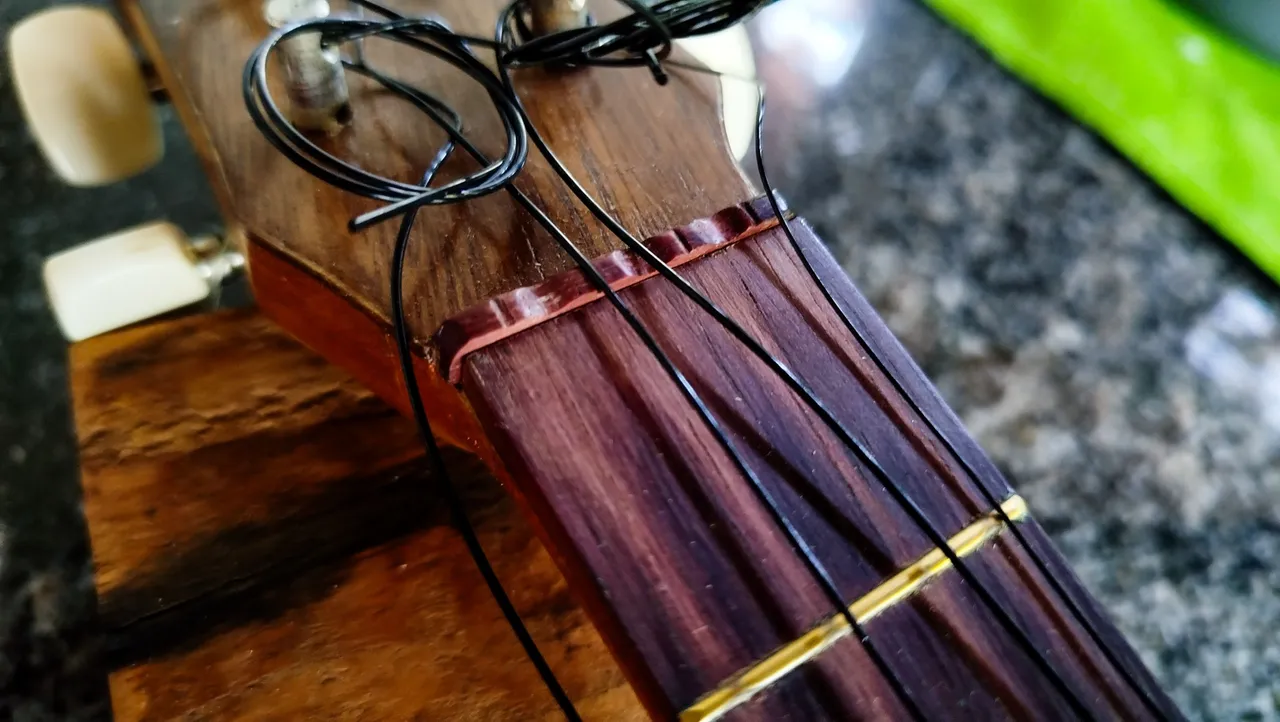
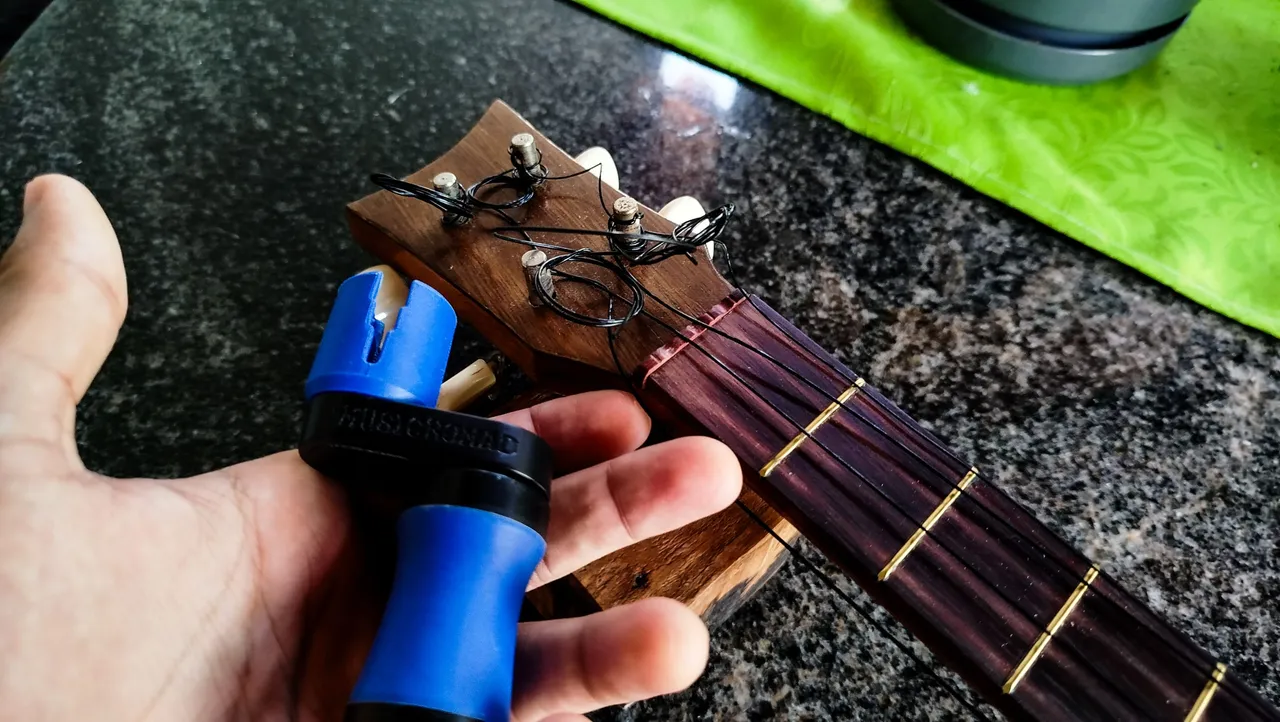
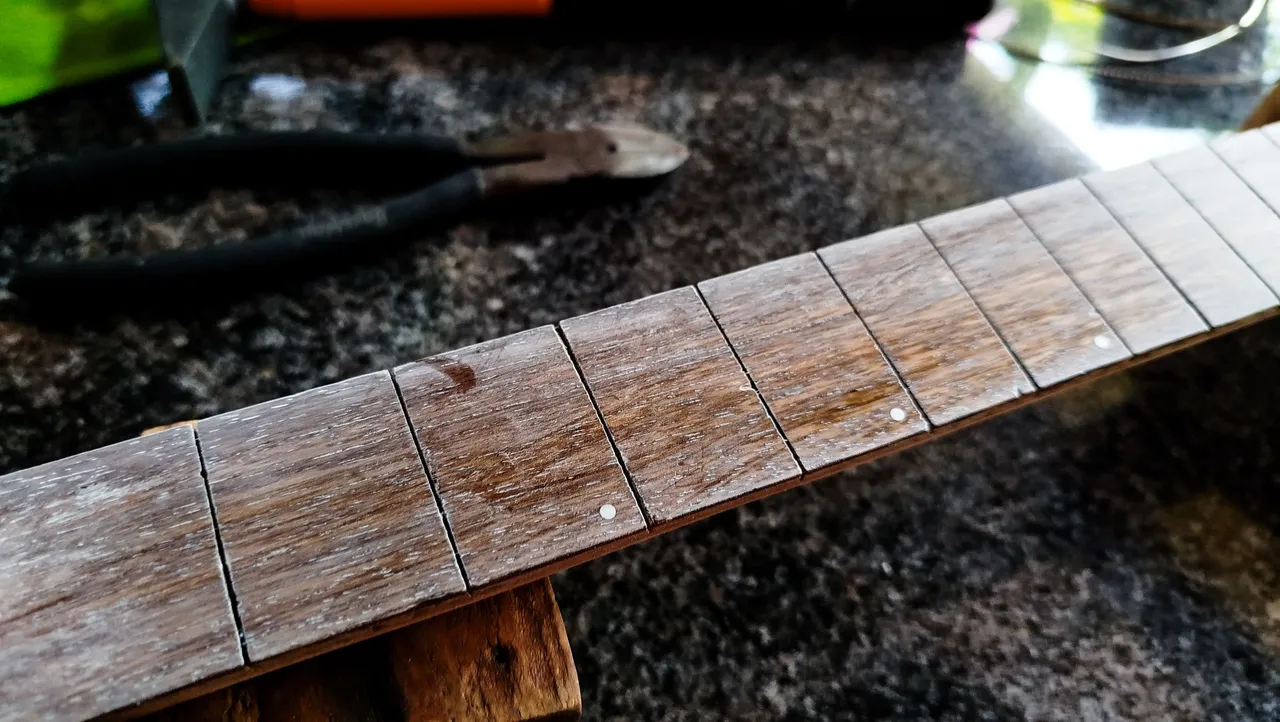
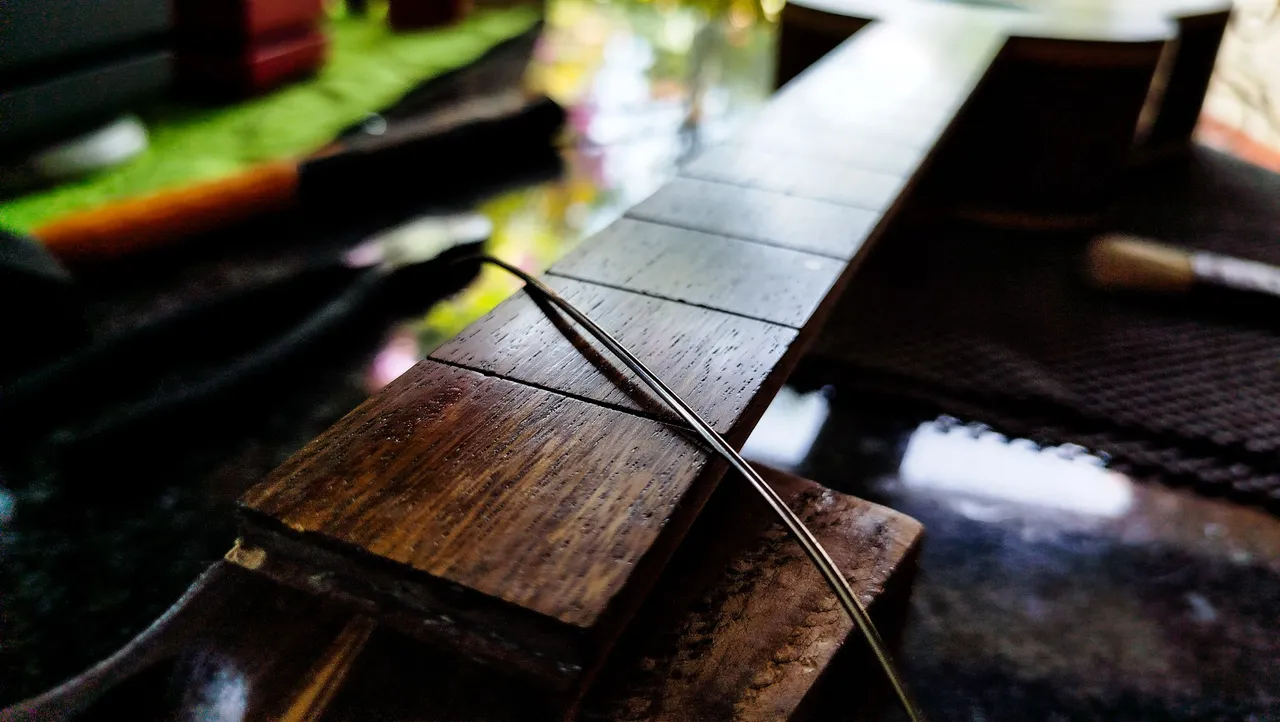
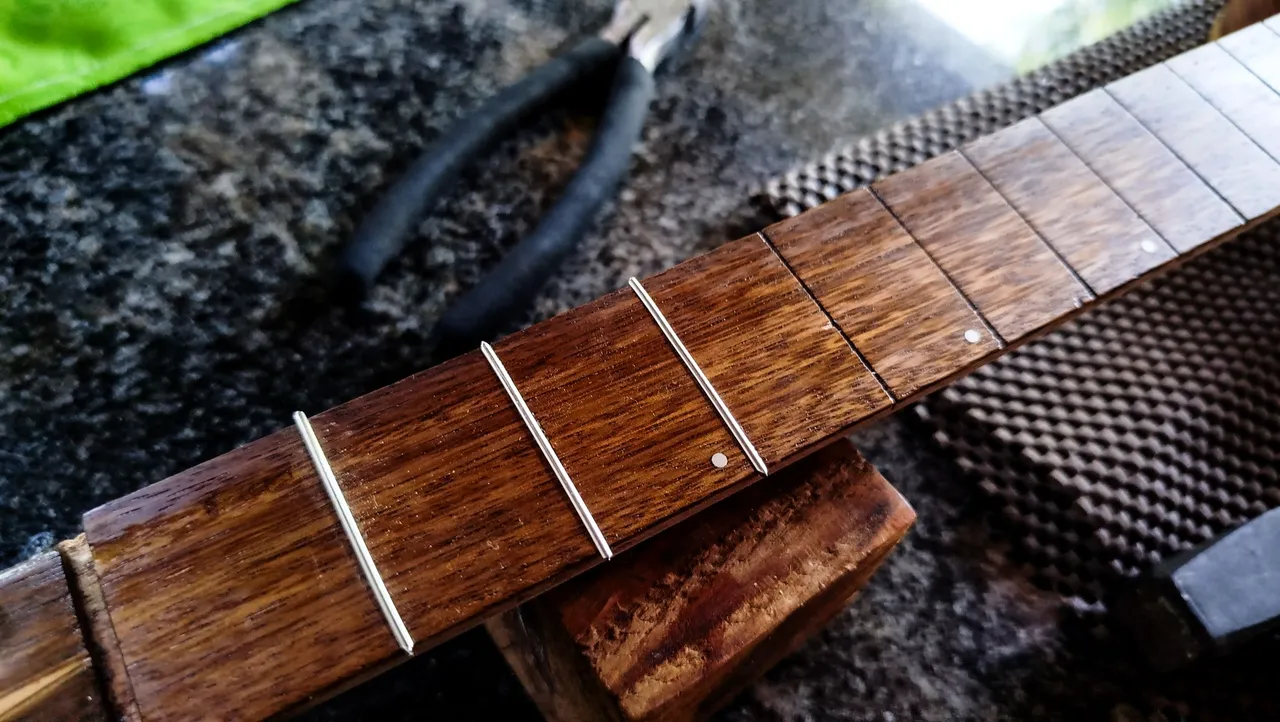
Afterwards, we start the process of placing the frets. Since the wire is a bit long, we need to measure and cut for each one of the pieces. So, we get the wire on top and cut a little bit more than we actually need. That way, we have some room for error since the fret needs to be straightened to get into place. The process is rinse and repeat. Fret goes in place. Hammer it using a piece of wood on top to protect the metal. And it goes on until the last one is placed.
The added challenge here is that since we're replacing bigger frets some might need some extra help. For those, we use a little bit of cyanoacrylate. That way the can keep the fret down on the places were its foot might not have any room to hold in place. And thus we finish this task.
Next time, we'll start on the finish for the whole instrument and start the repairs for the other Venezuelan Cuatro that had its back broken by a very clumsy fall.
Thanks for reading. See you next time!
Fotos/Photos 📷: taken by me (Redmi Note 13)
Portada/Thumbnail 🖼️: by me, created with Canva.
Edición/Editing 🎬: by me, made with Adobe Photoshop Lightroom.

Follow me on Instagram for enquires and commission.
If you'd like to help the workshop grow, you can make a donation here. You can find me at discord as bertrayo#1763