I have made an automated MOON Phase display using an esp8266 as the brain and using a few LEDs and reusing an old cardboard box.
Items used
- NodeMCU(esp8266)
- Bunch of LEDs
- A couple of insulated wires
- Tissue Paper
- Glue
Steps
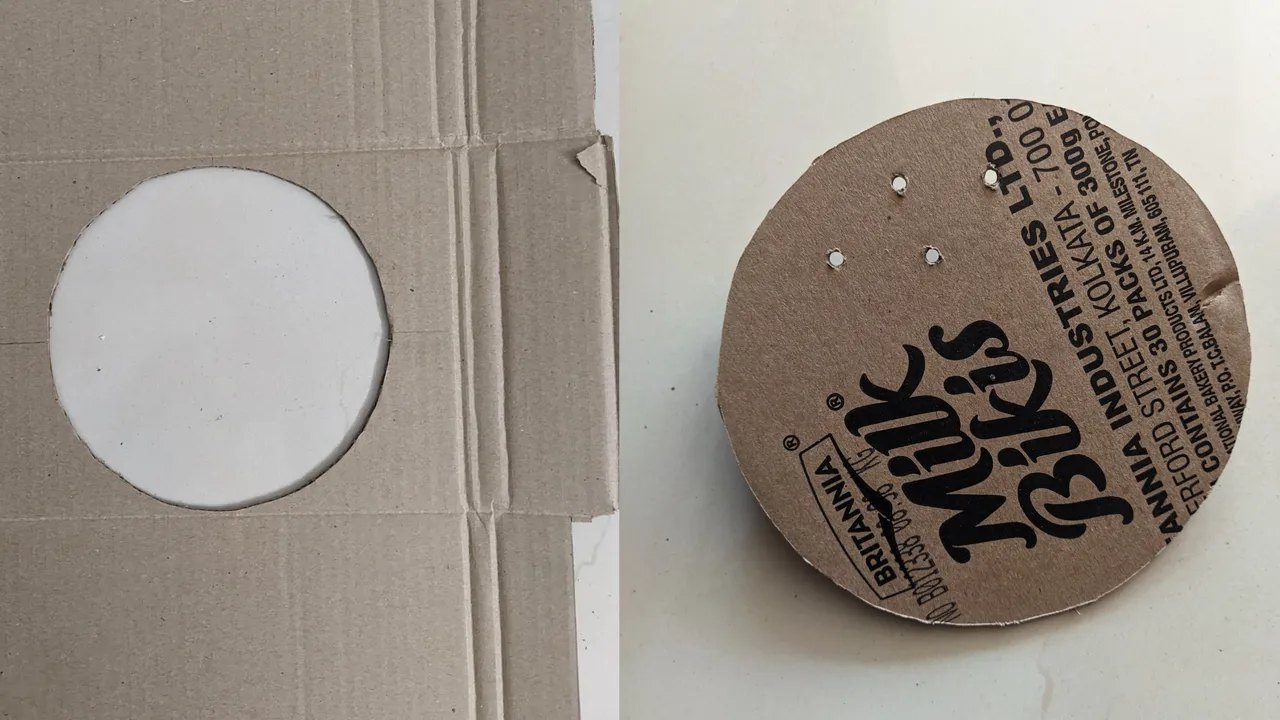
I started by cutting out a circle from an old cardboard box and putting some holes to hold the led that we will add later
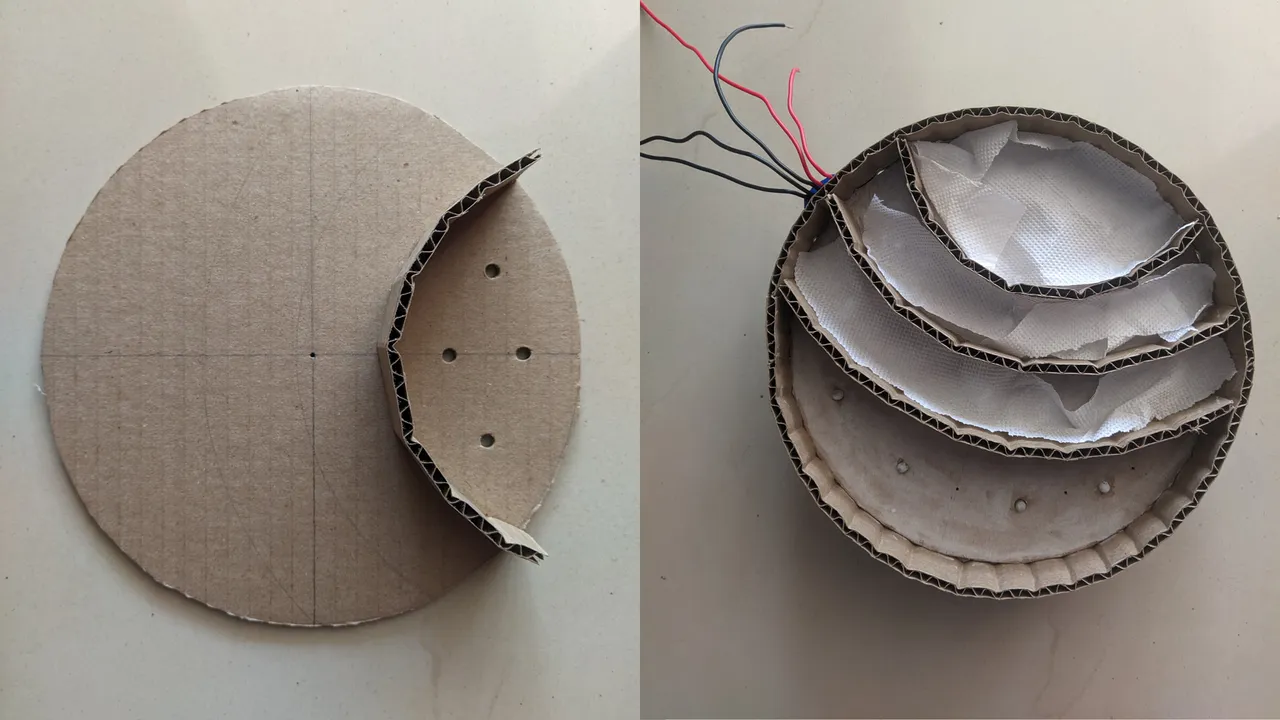
Then I went on to divide the circle to make some crescent-shaped divisions and added led and used some tissue paper to spread the light within shapes.
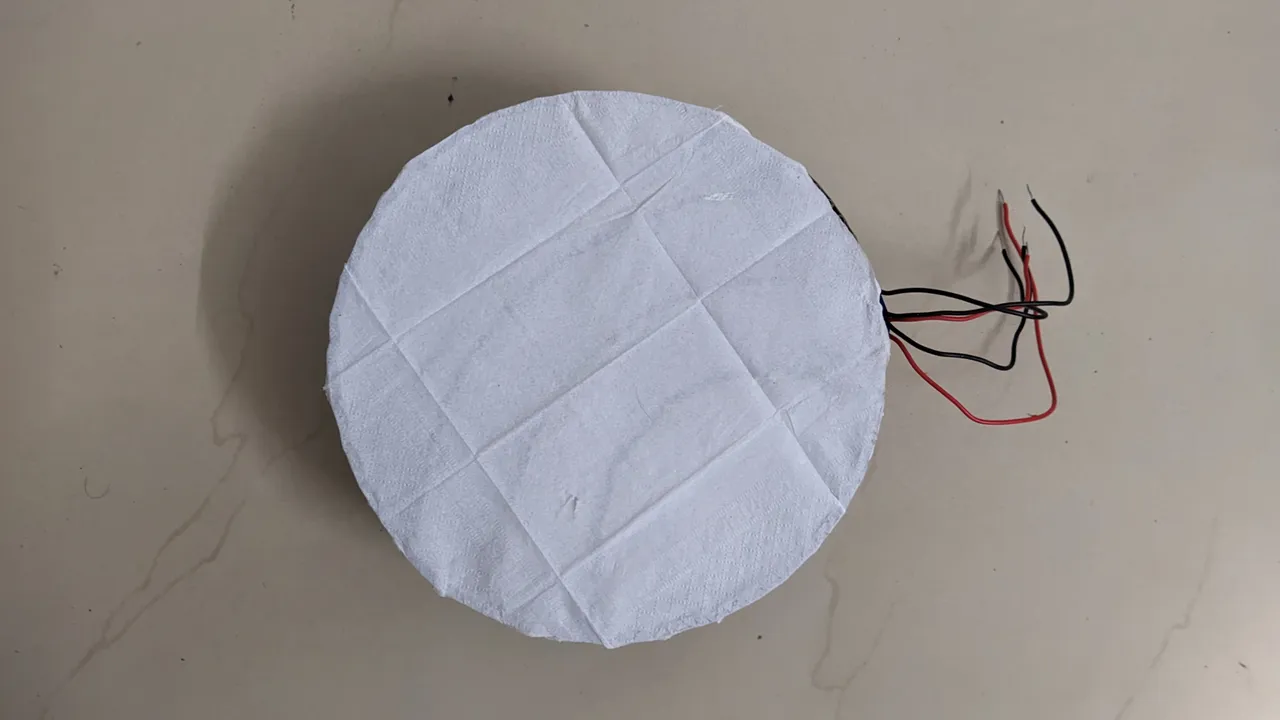
Finally, I closed the whole face using another tissue paper and some glue, I used tissue because it kinda gives the texture of the moon's surface and it glow well when everything is lit.
Wiring
The is quite simple I use a couple of LEDs in parallel connection and connected the anode to the GPIO pins in esp8266 and cathode to a common GND pin. Here, I use micropython to write the code that manages the automation.
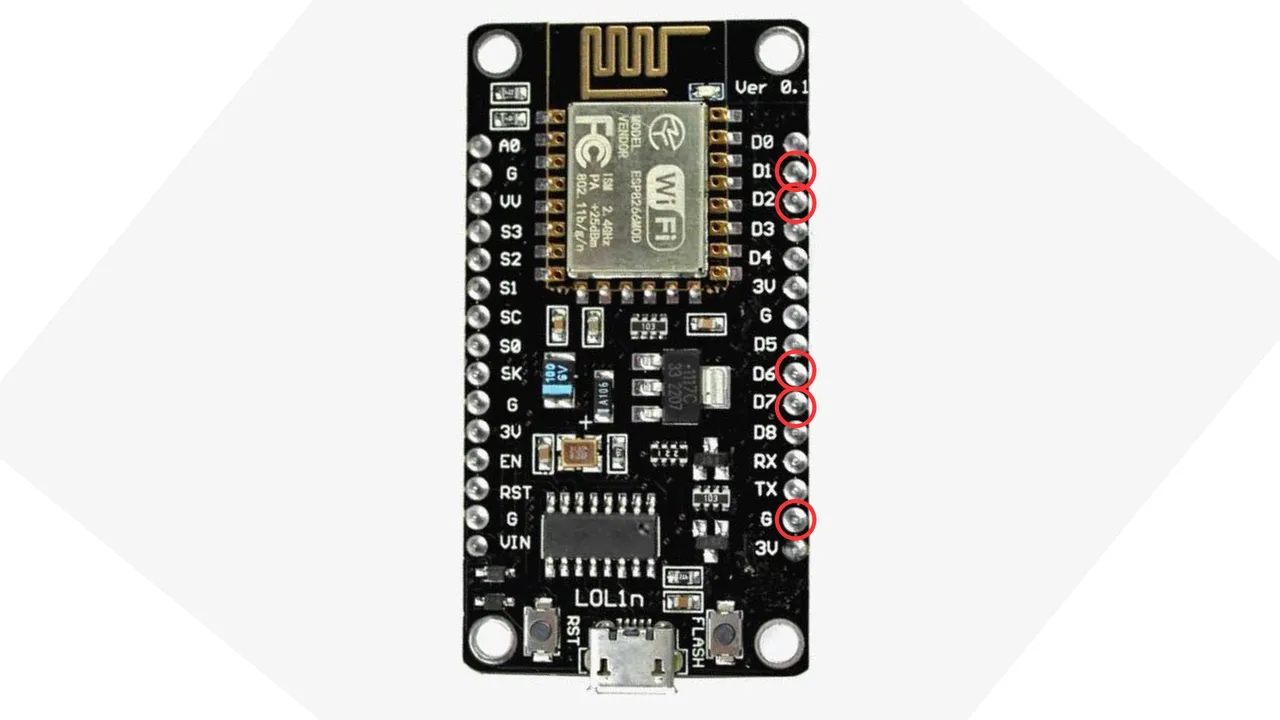
I have used these pins for connections, each anode to the D1,D2,D6 and D7. Then I used the G pins to common ground all the cathodes.
Code
As I've said before the code is written in python as my board run on micropython.
from machine import Pin
import time

# create a pin object
pins=[5,4,12,13]

while True:
   for pin in pins:
      pin = Pin(pin, Pin.OUT)
      pin.value(1)
      time.sleep(1)
   for pin in pins:
      pin = Pin(pin, Pin.OUT)
      pin.value(0)
      time.sleep(1)
Nothing fancy here, Simple loop to trigger the GPIO pins which inturn lights various sections.
Result
This is how it looks in a dark room, don't expect a lot of light from this but looks cool in my opinion, thank you for reading.