Hola mis apreciados amigos de diyhub! Les saludo con mucho cariño, deseando que tengan una excelente noche con la paz de Dios. Estoy muy contenta por qué nuevamente les visito, trayendo una nueva idea de hacer accesorios para el cabello utilizando los retazos de tela que siempre nos queda. Este textil que he utilizado es excelente, ya que es gruesa y de un color vino haciendo muy elegante el accesorio. Si les gusta la idea pueden acompañarme hasta el final del tutorial.
Hello, my valued diyhub friends! I greet you with great affection, wishing you a great night with the peace of God. I am very happy because we visited you again, bringing you a new idea of making hair accessories using the scraps of fabric that we always have left over from the work we do. This textile that I have used is excellent, since it is thick and wine-colored, making the accessory very elegant. If you like the idea, you can follow me to the end of the tutorial.
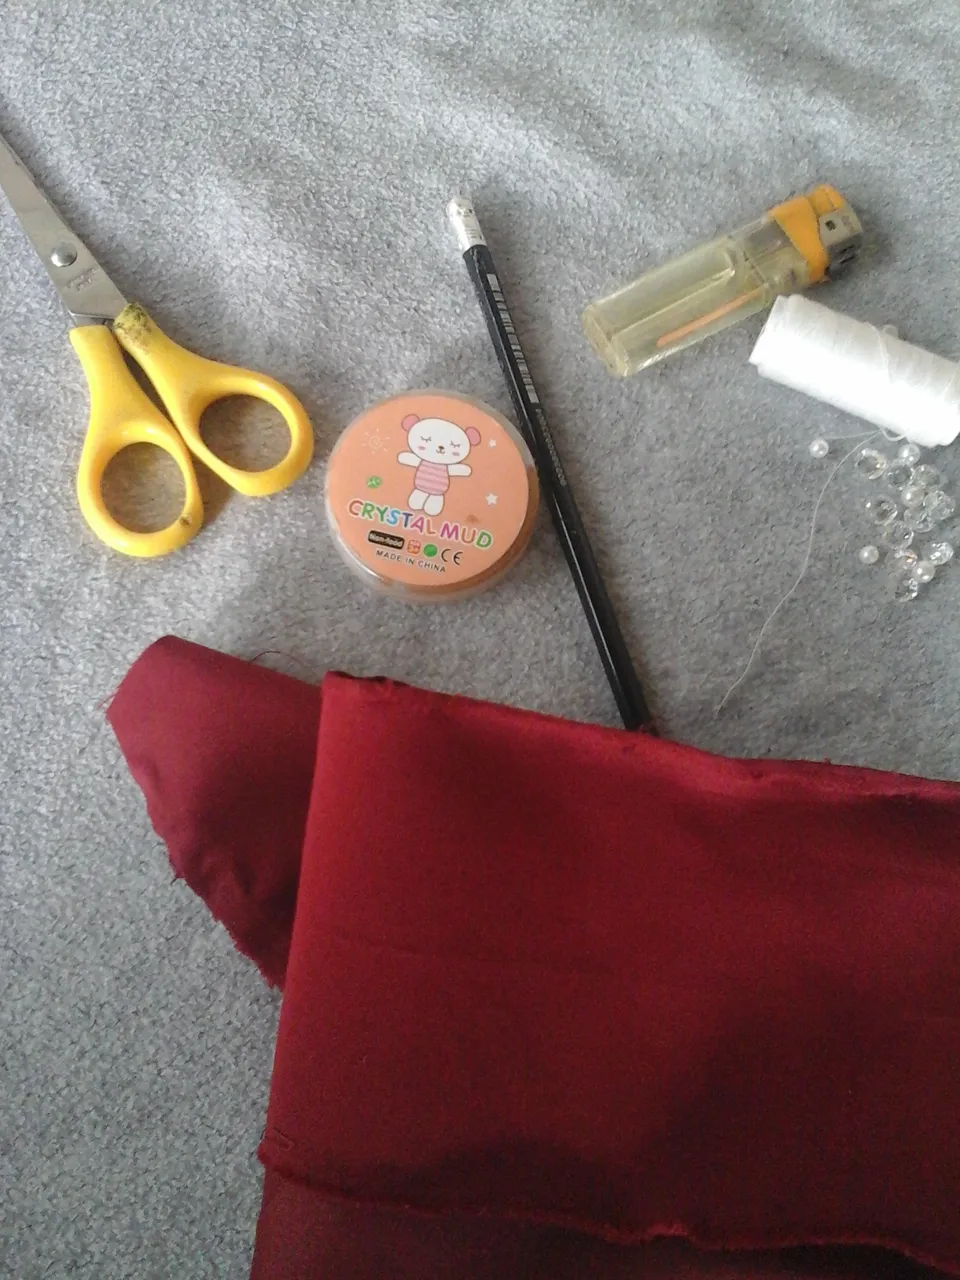
Materiales que utilice.
- Tijera.
- Retazos de tela.
- Aguja e hilo.
- Pedrería.
- Una cola elástica o pinza.
- Una tapa de plástico.
- Lápiz.
- Un encendedor.
- Hilo chino y silicona si lo deseas.
Materials to use.
- Scissors.
- Pieces of cloth.
- Needle and thread.
- Rhinestones.
- An elastic tail or clip.
- A plastic cap.
- Pencil.
- A power on.
- A power on.
- Chinese thread and silicone if you wish.
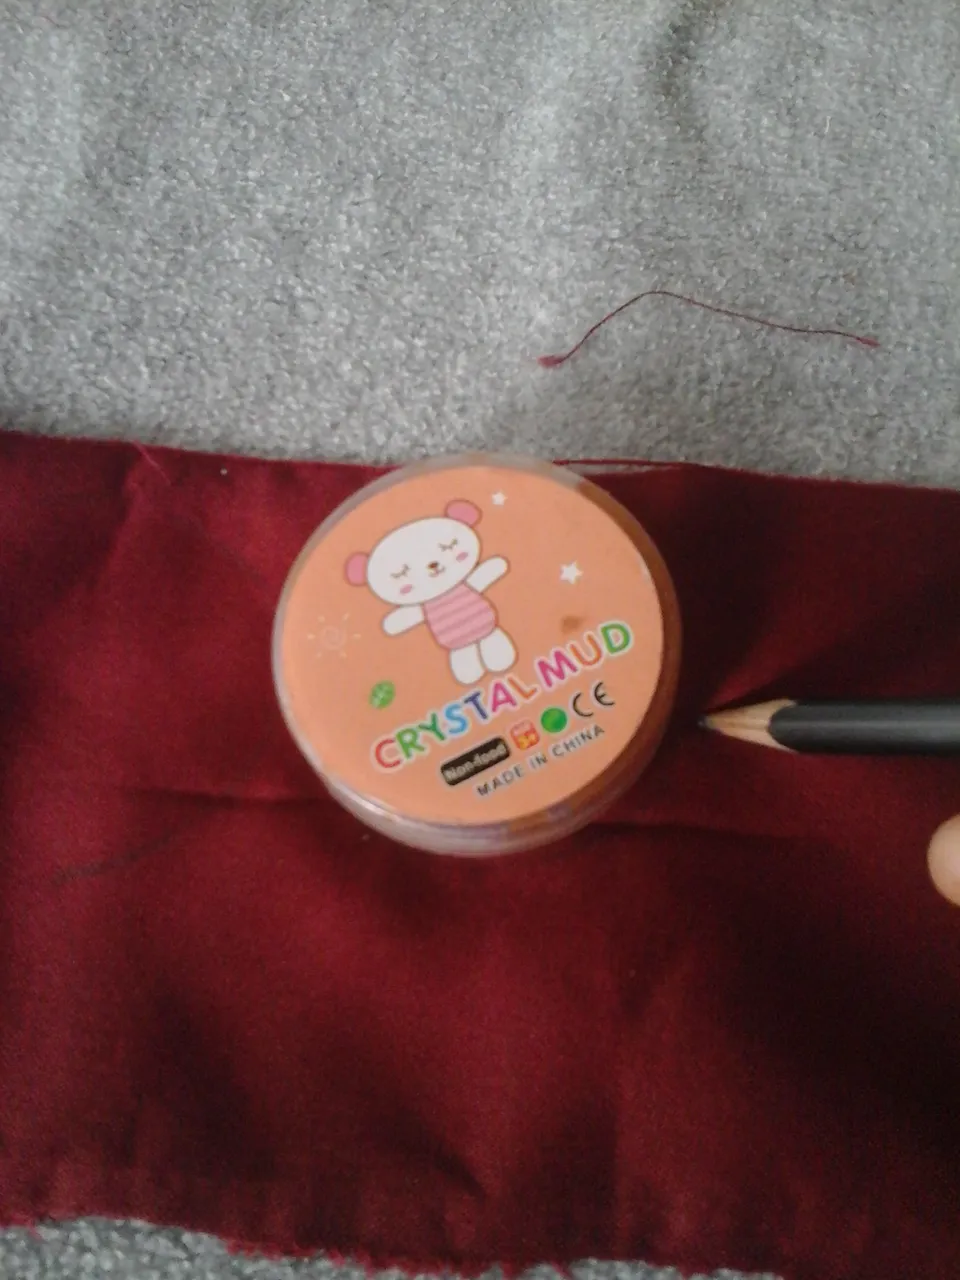
Paso 1.
Para comenzar a elaborar este accesorio, lo primero que debemos hacer es recortar los pétalos para hacer las flores. Colocamos la tapa de plástico sobre la tela y con ayuda del lápiz marcamos.
Step 1.
To start making this accessory, the first thing we must do is cut out the petals to make the flowers. We place the plastic cover on the fabric and with the help of the pencil we mark.
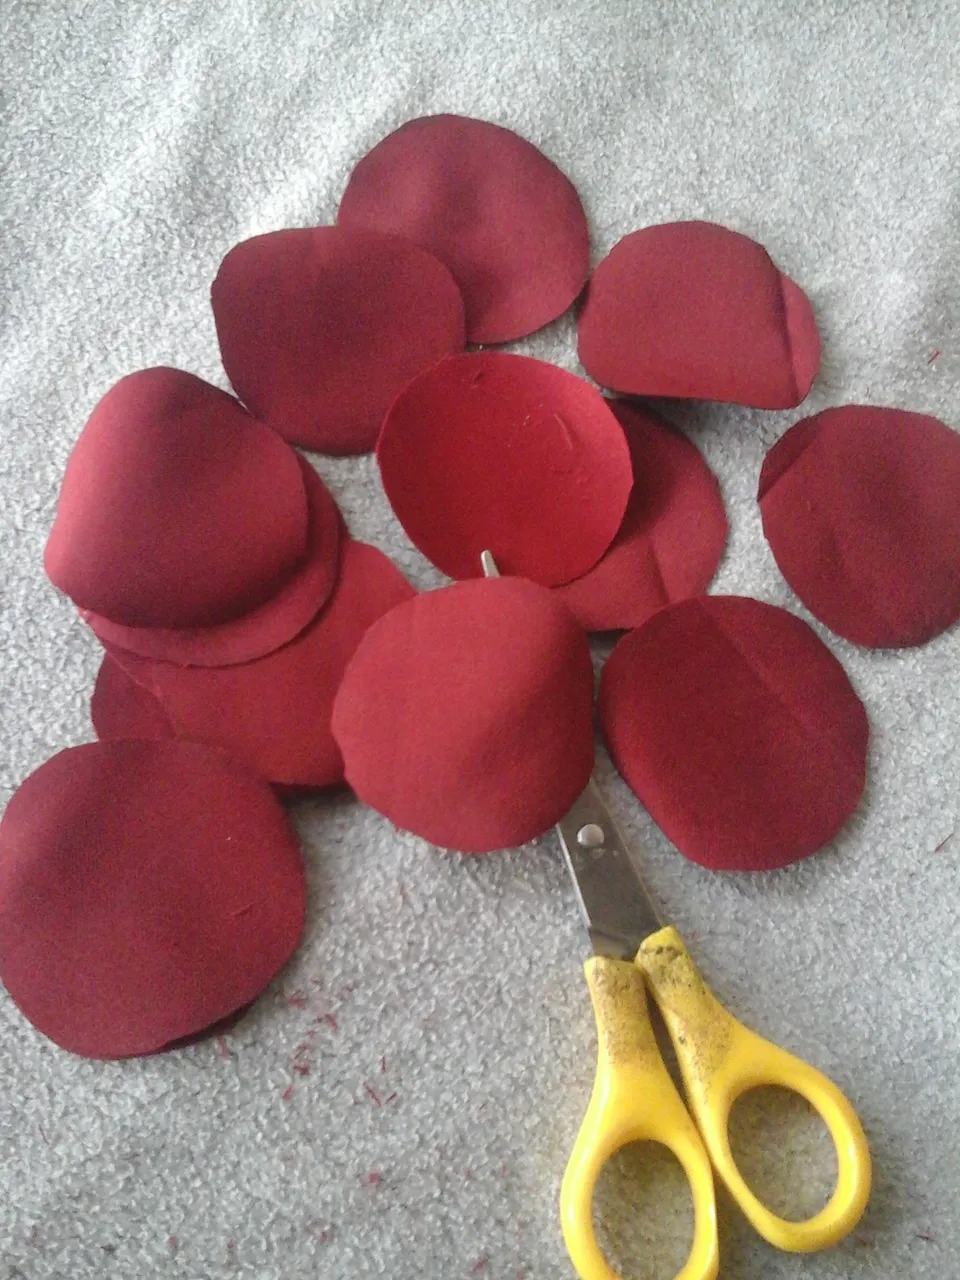
Paso 2.
Marcamos 15 o 16 círculos, dependiendo las flores que querramos hacer. Recortamos los círculos con ayuda de la tijera.
Step 2.
We mark 15 or 16 circles, depending on the flowers we want to make. We cut out the circles with the help of scissors.
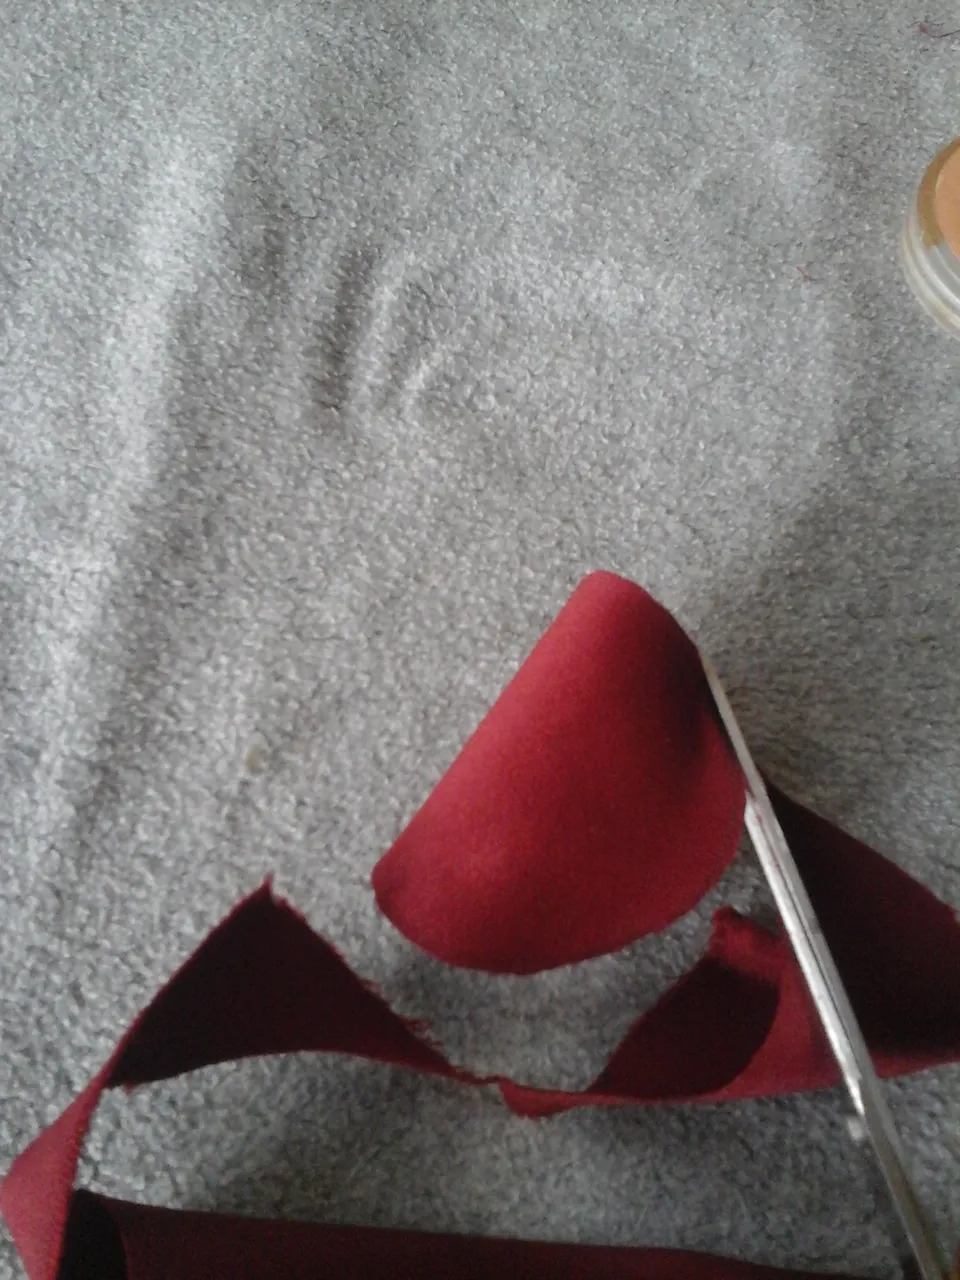
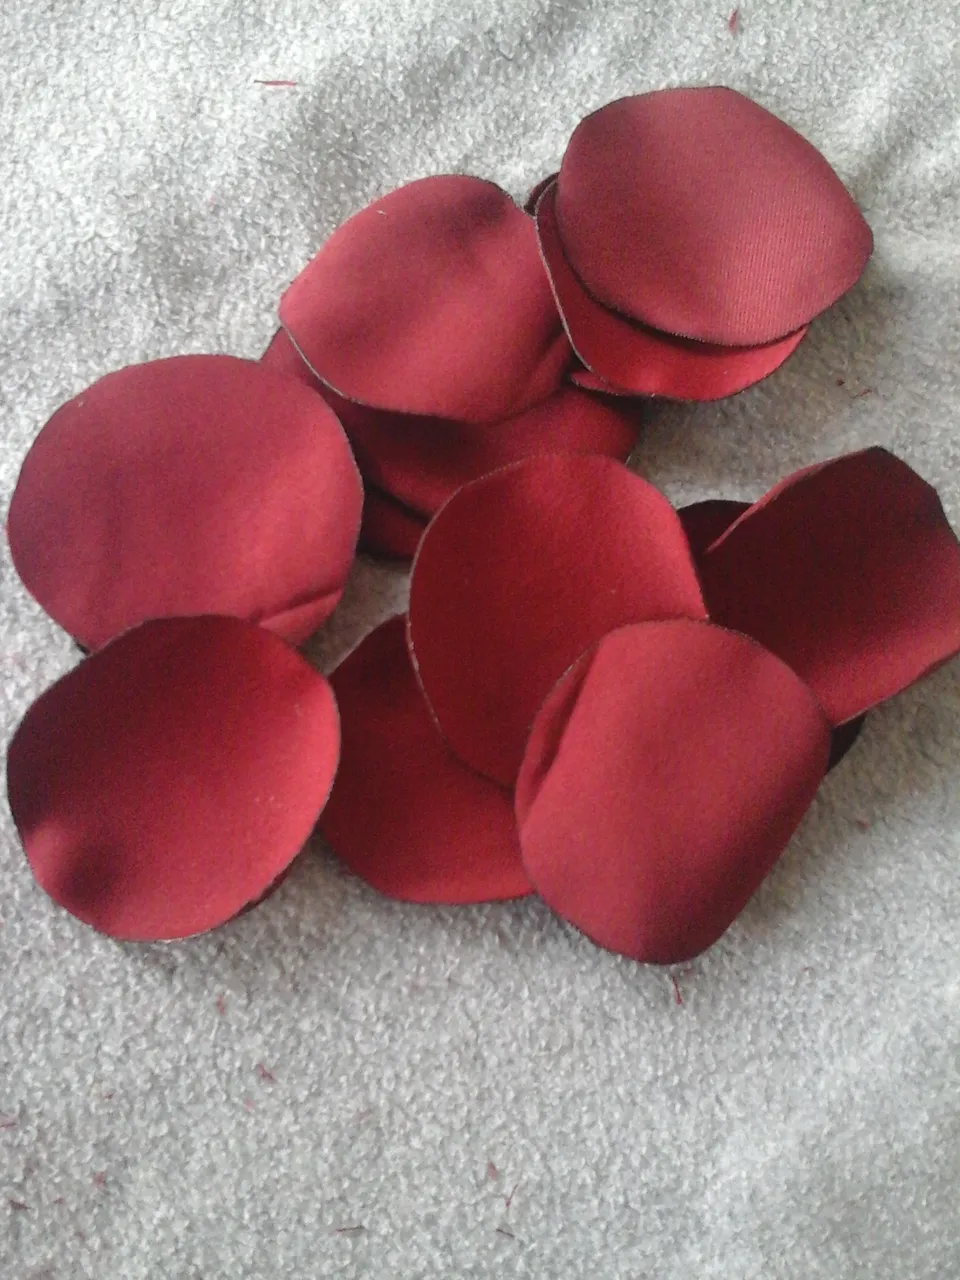
Aquí les muestro que he recortado unos 15 círculos aproximadamente, cómo les dije antes pueden recortar más círculos si así lo desean.
Here I show you that I have cut out approximately 15 circles. As I told you before, you can cut out more circles if you wish.
Paso 3.
Ahora con el encendedor vamos darle un poco de calor a los bordes de cada círculo para así evitar que se deshilachen.
Step 3.
Now with the lighter we are going to give a little heat to the edges of each circle to prevent them from fraying.
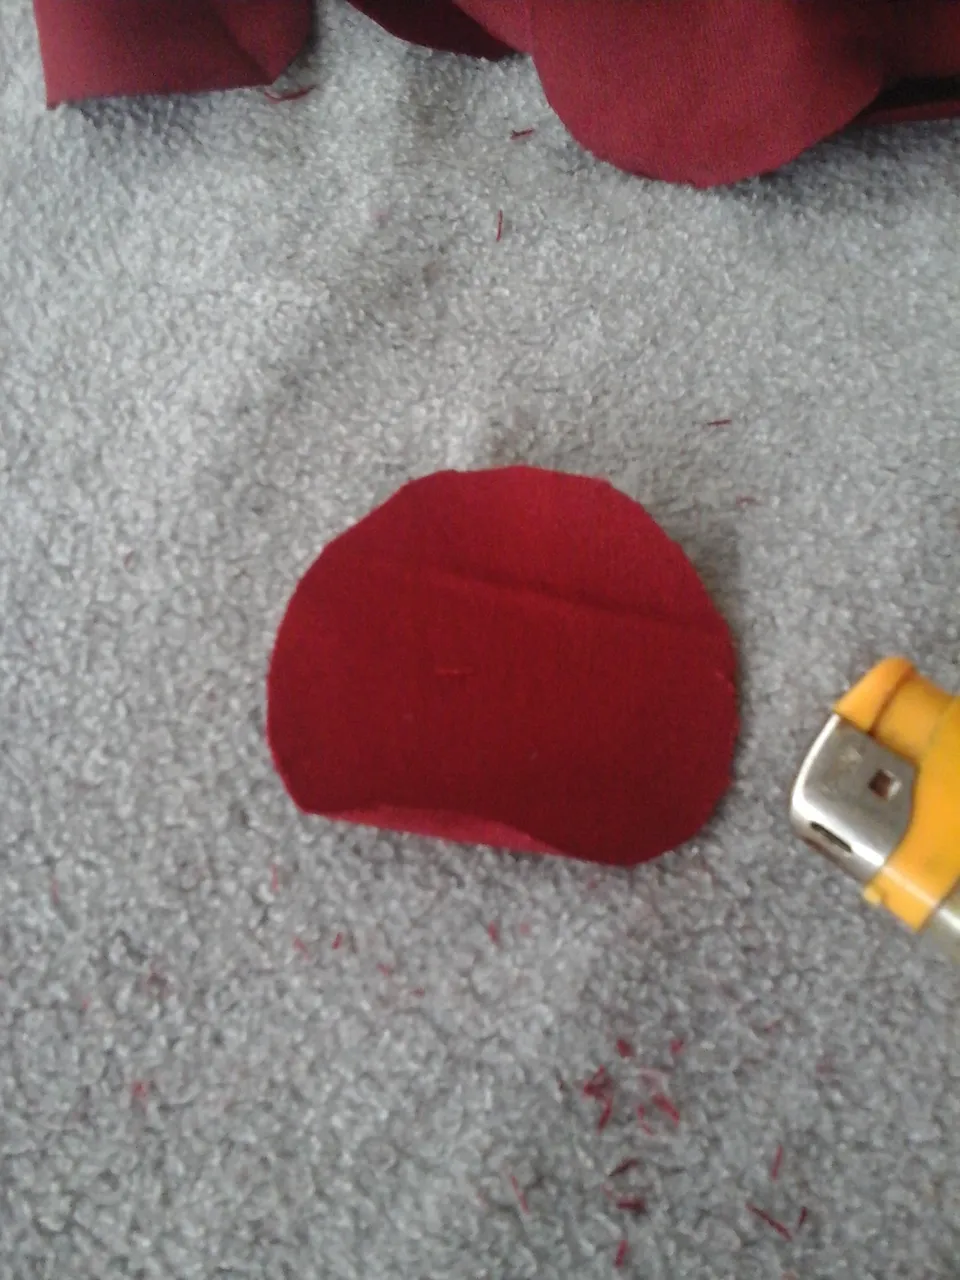
A todos los círculos les damos un poco de calor como les dije antes.
We give all the circles a little heat as I told you before.
Paso 4.
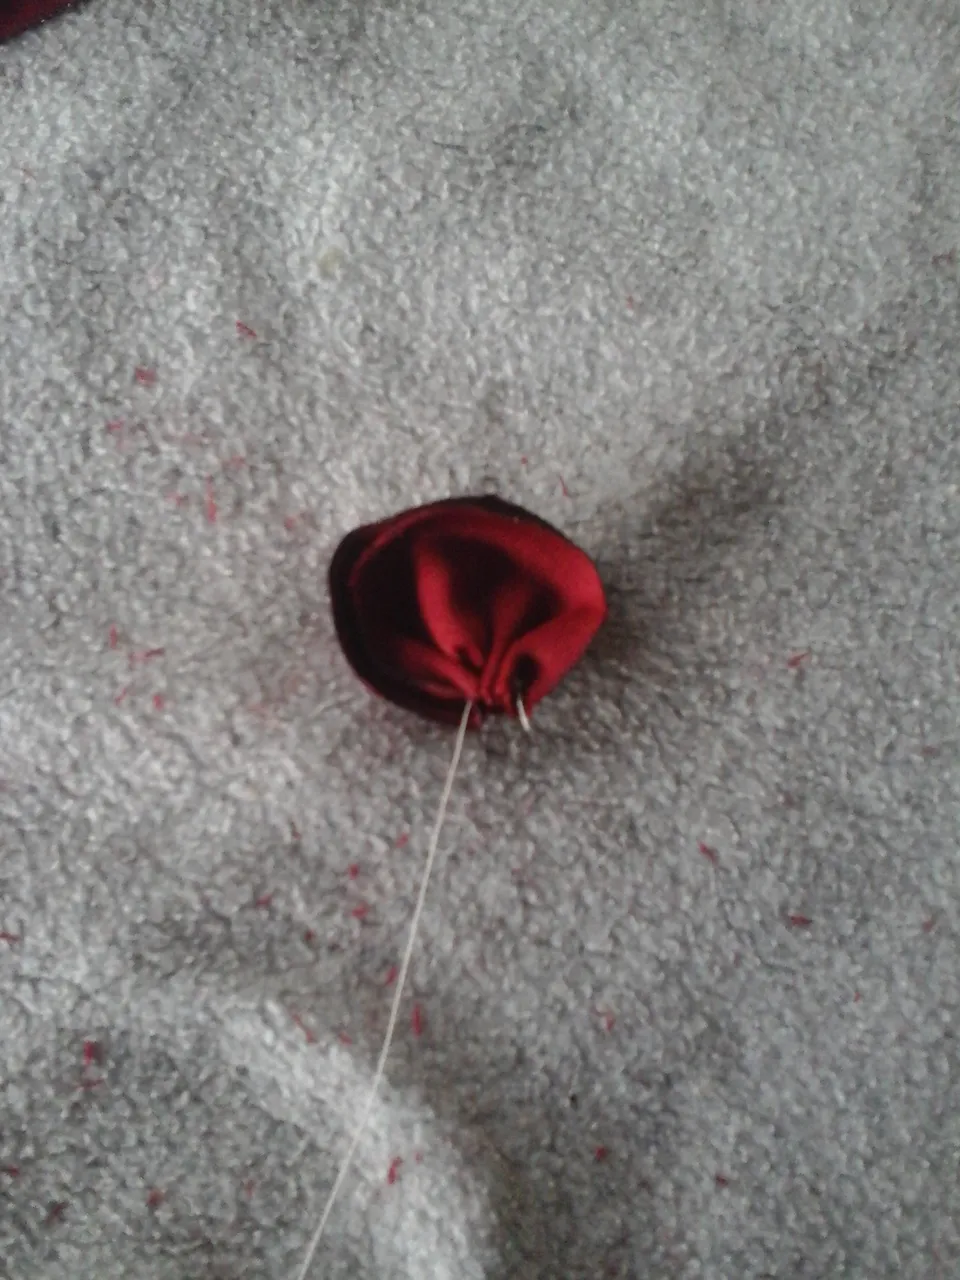
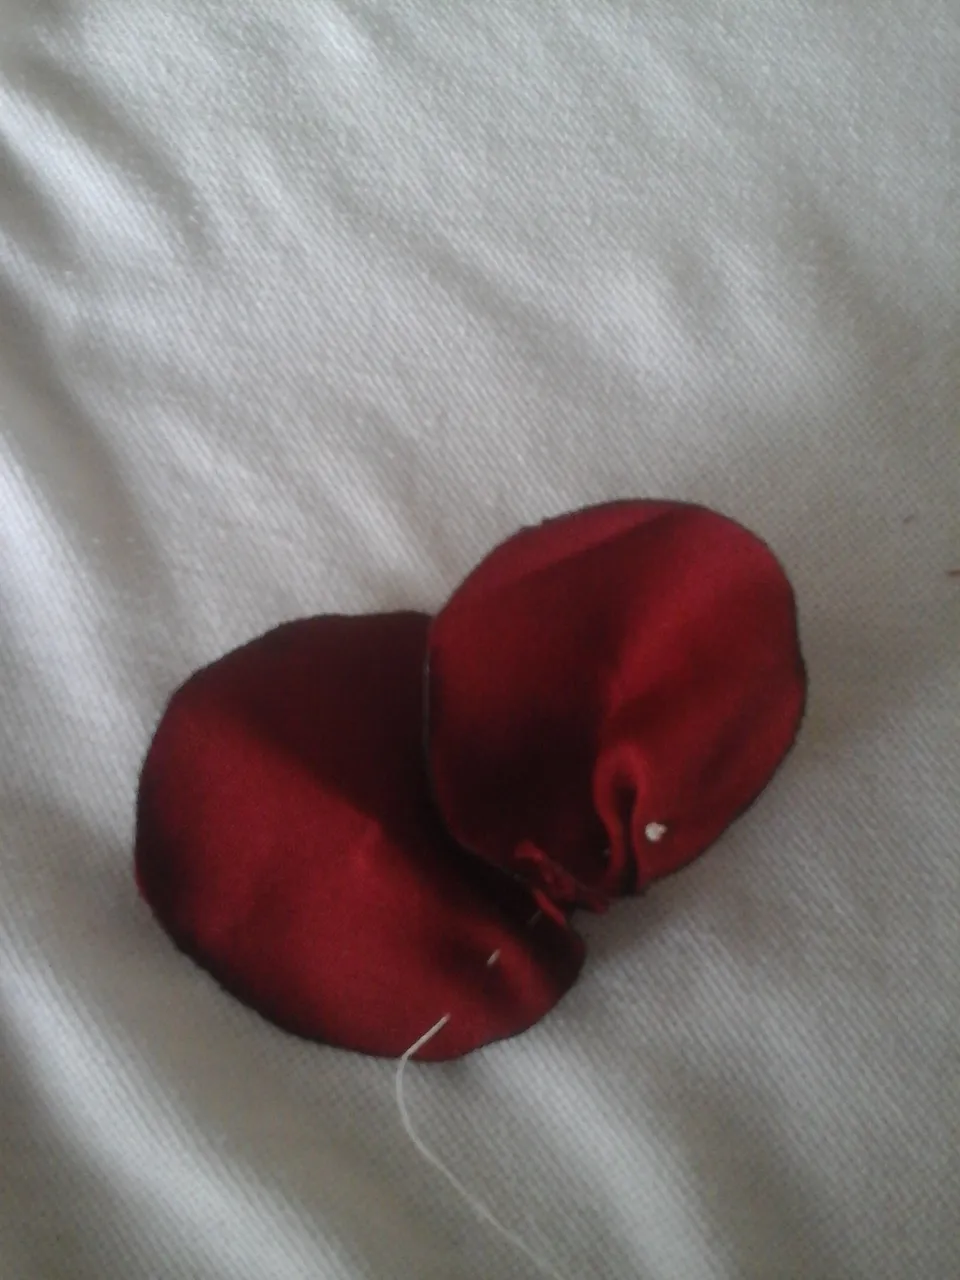
En este paso, doblamos el círculo de tela a la mitad formando una medía luna y con ayuda de la aguja y un poco de hilo hacemos una costura floja o bastilla.
Step 4.
In this step, we fold the circle of fabric in half forming a half moon and with the help of the needle and a little thread we make a loose seam or hem.
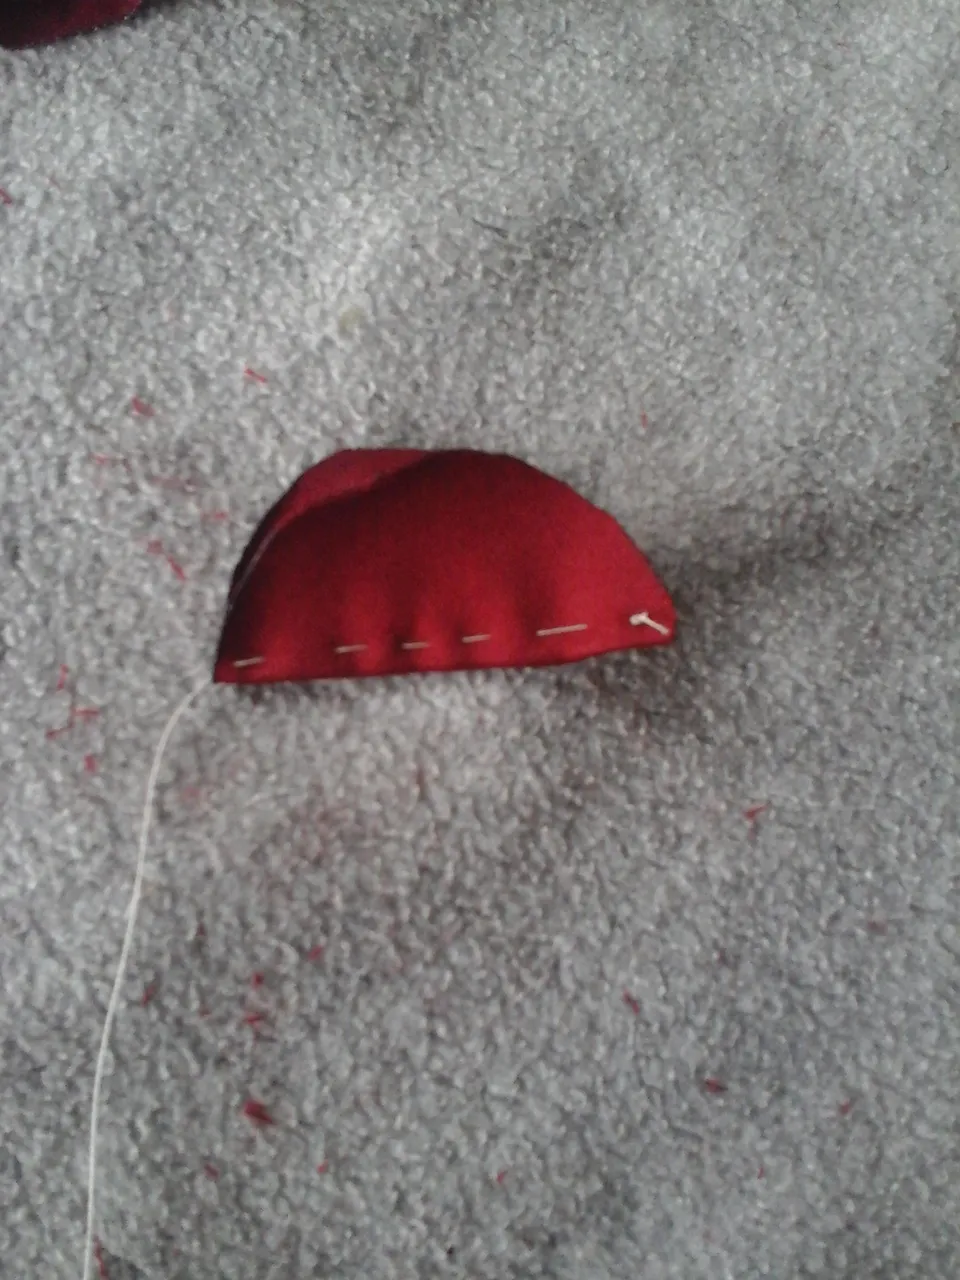
Halamos un poco el hilo para fruncir y formar el pétalo.
We pull the thread a little to gather and form the petal.
Paso 5.
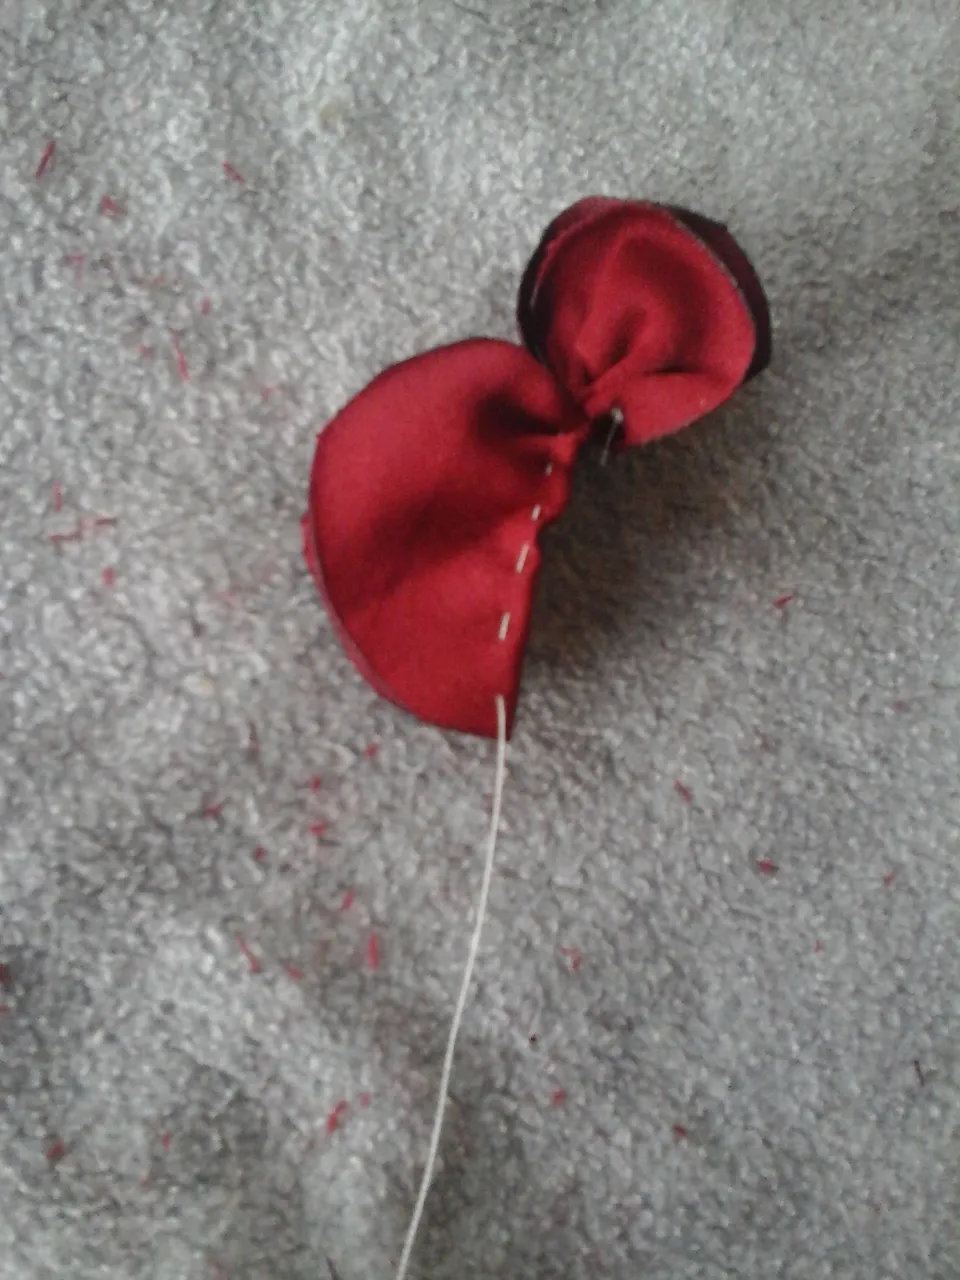
Seguidamente vamos colocando pétalo por pétalo y vamos frunciendo poco a poco.
Step 5.
Next we place petal by petal and gather little by little.
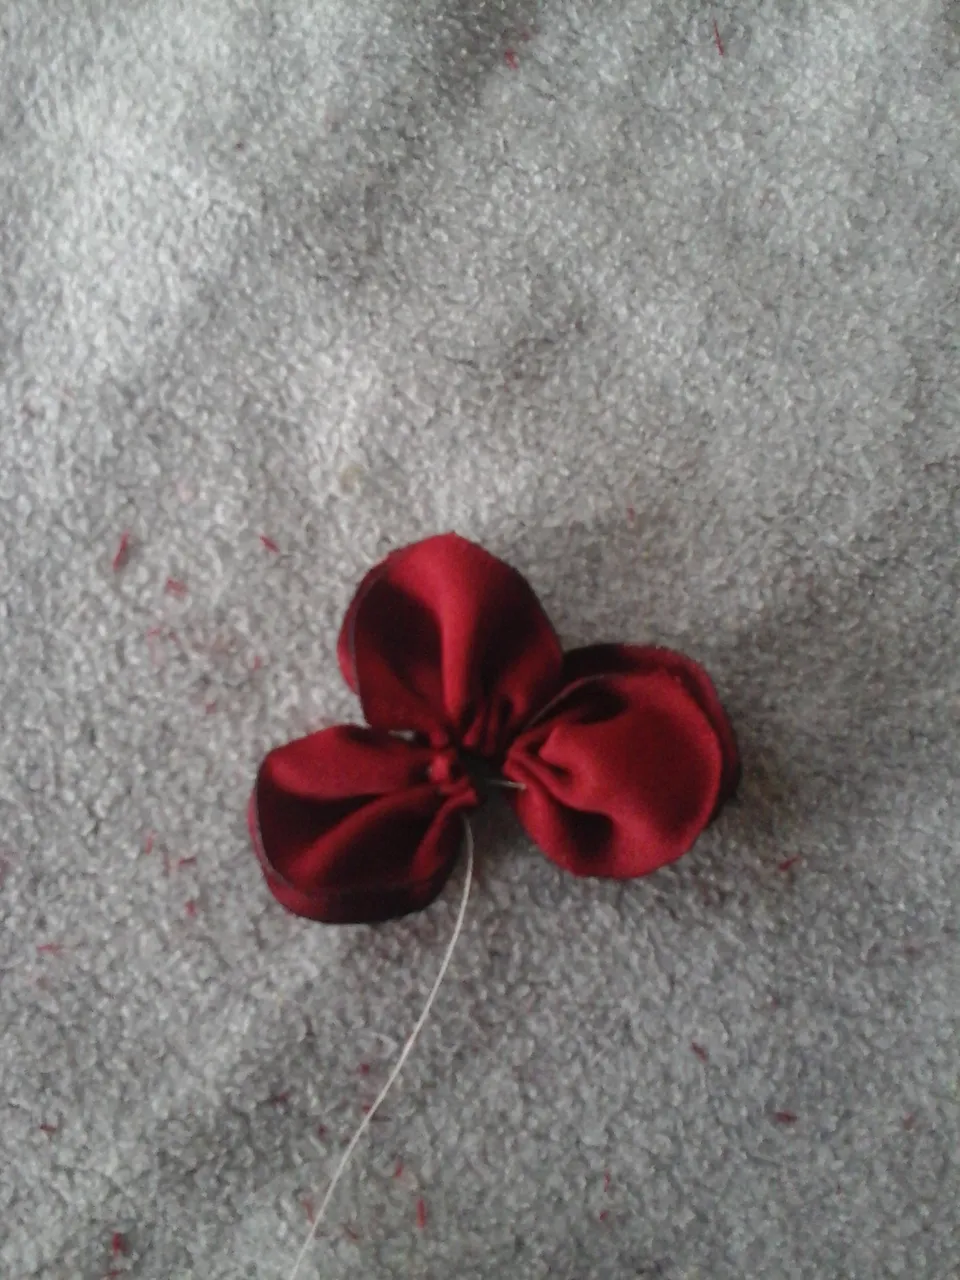
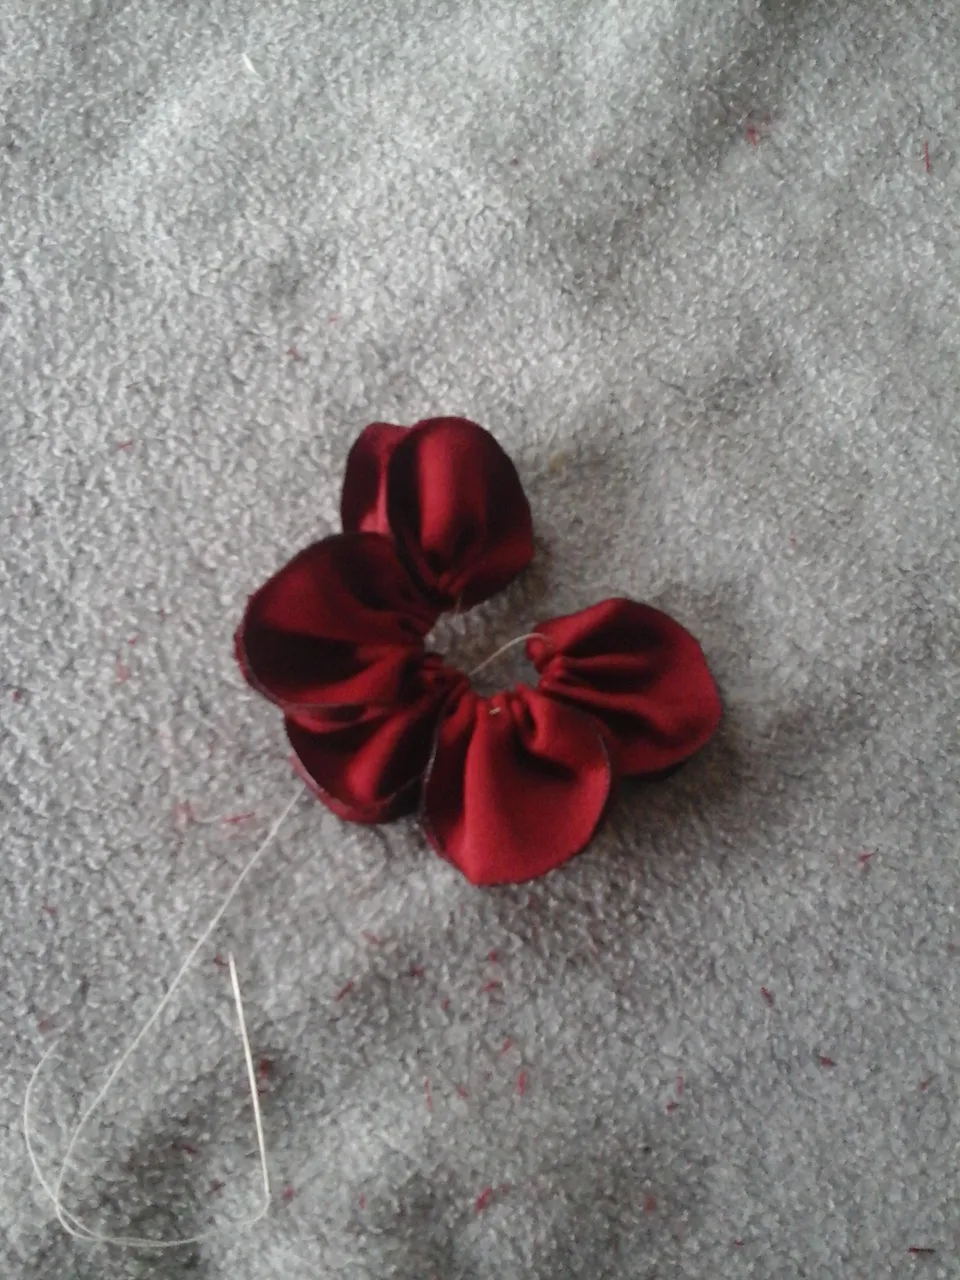
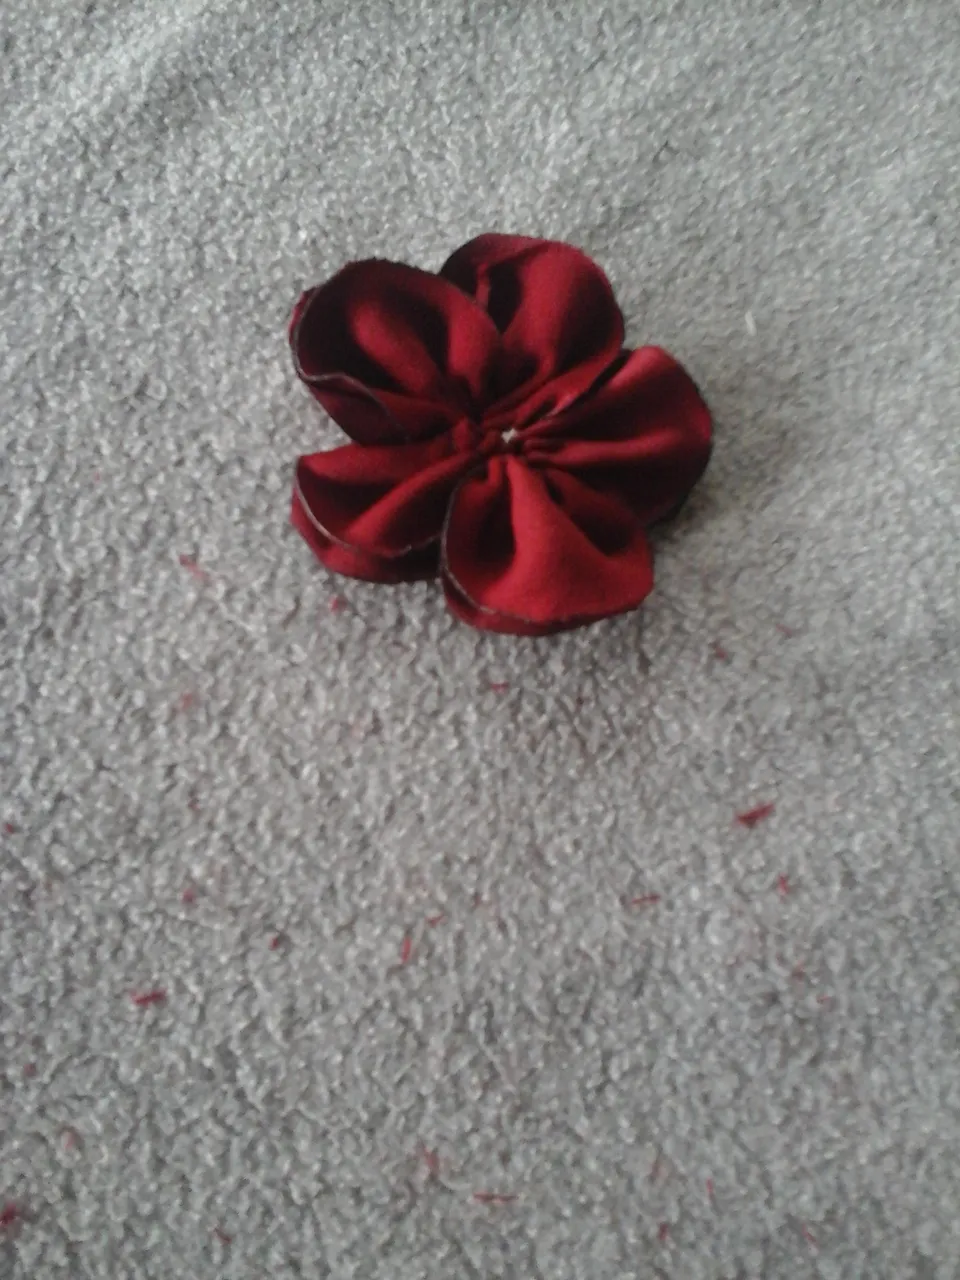
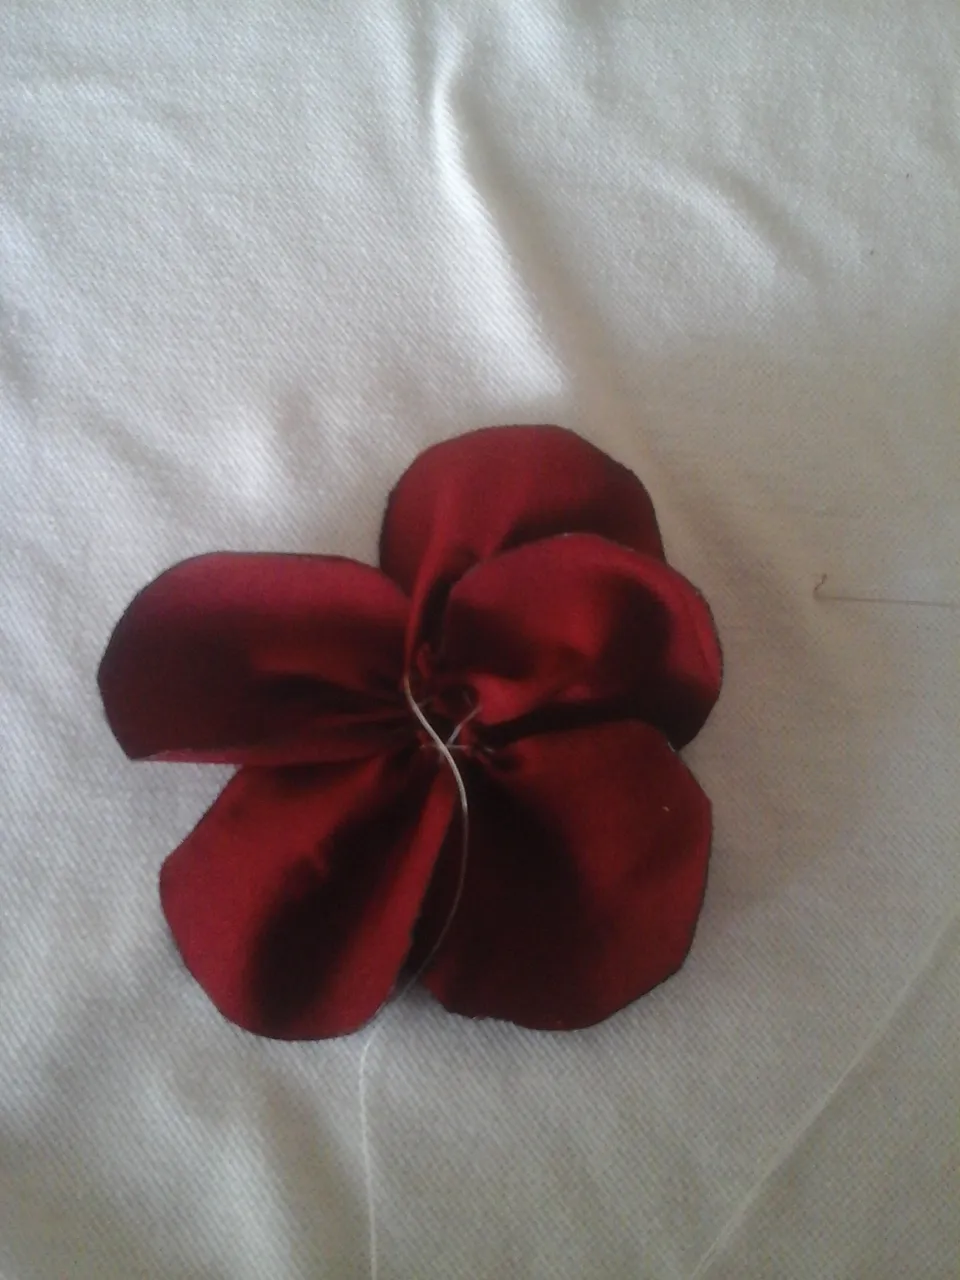
Aquí ya hemos terminado de colocar cada pétalo y formamos una linda flor.
Here we have finished placing each petal and we form a beautiful flower.
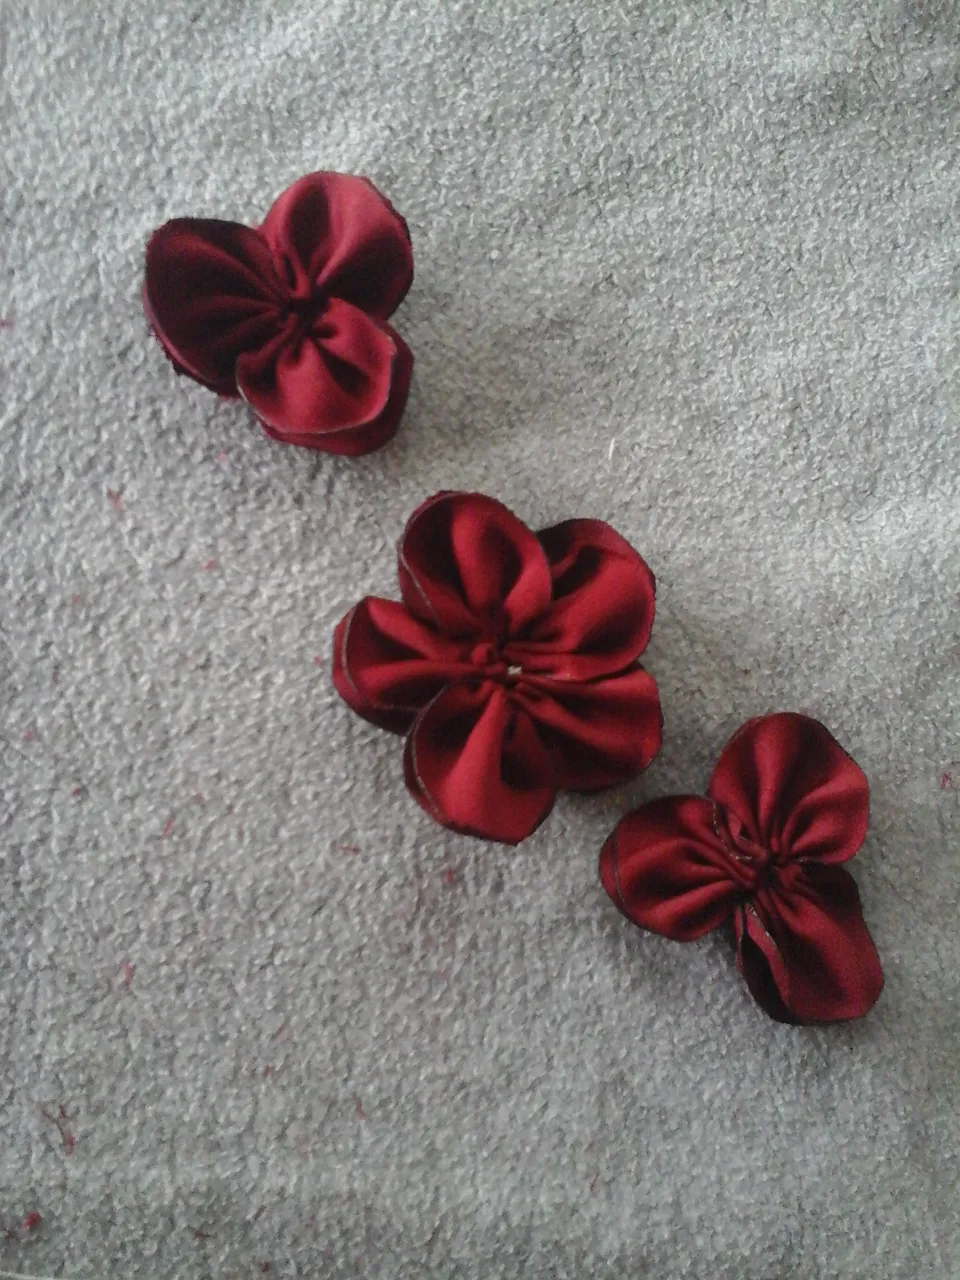
También vamos hacer dos flores más de tres pétalos. Para elaborarlas debemos hacer el mismo procedimiento anterior con la primera flor, solo que colocaremos tres pétalos.
We are also going to make two more flowers with three petals. To make them we must do the same procedure that we did with the first flower, only we will place three petals.
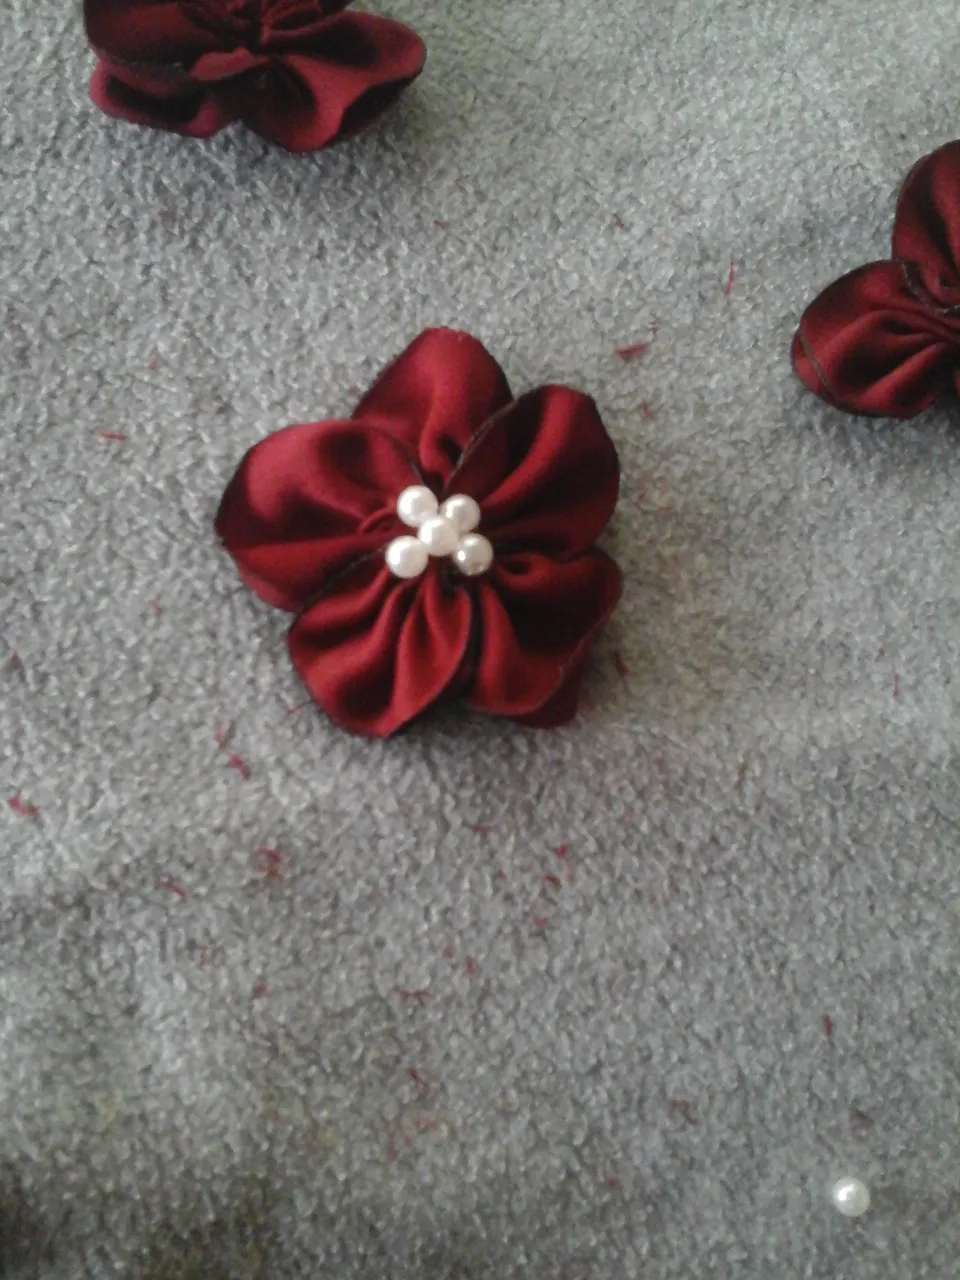
Paso 6.
Ahora comenzamos a colocar las perlas con ayuda de la aguja y con poco hilo vamos a ir colocando una a una. También colocamos perlas a las flores pequeñas.
Step 6.
Now we begin to place the pearls, with the help of the needle and with little thread we are going to place them one by one. We also put pearls on the small flowers.
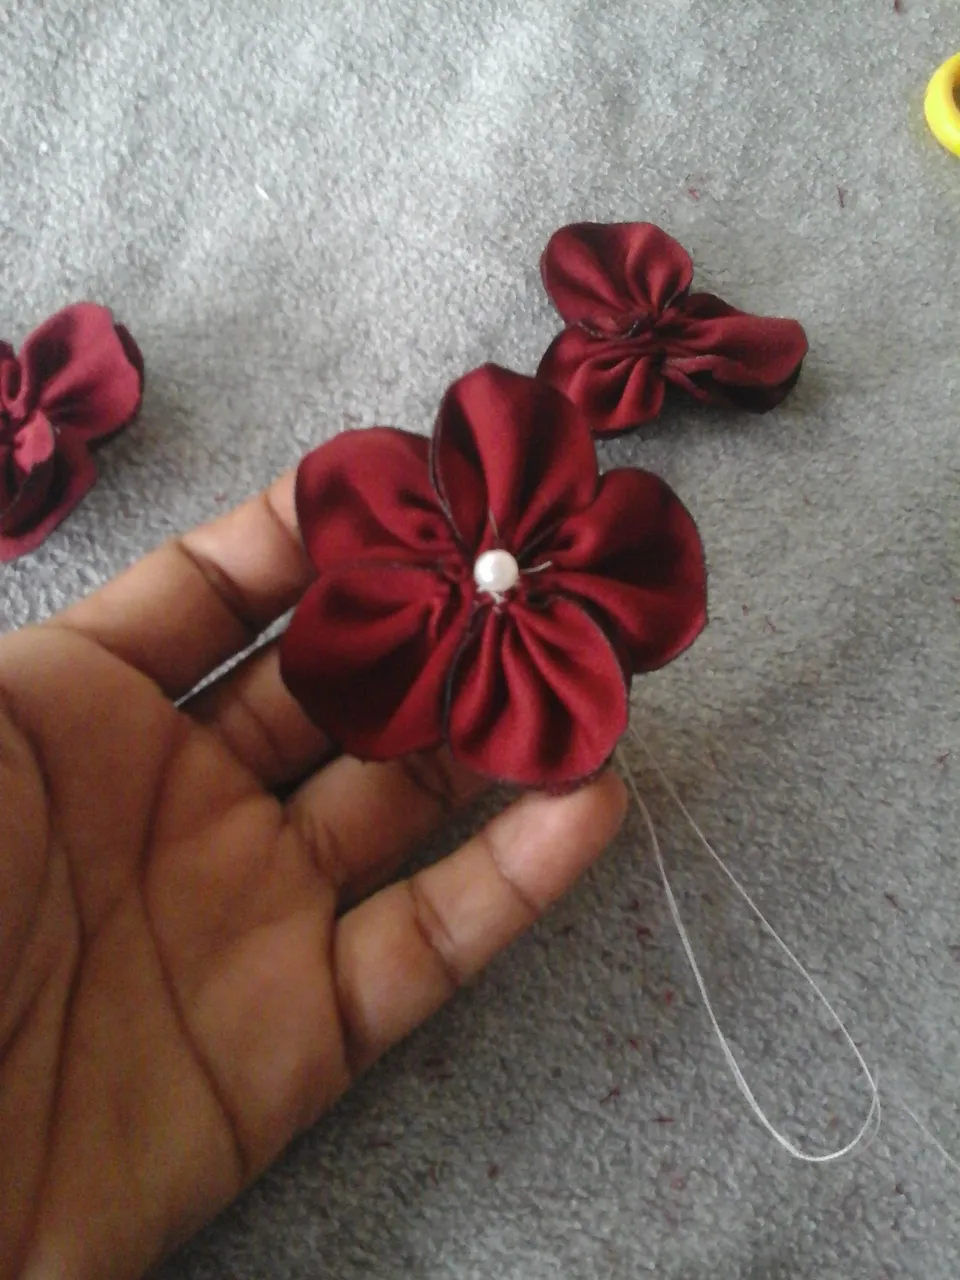
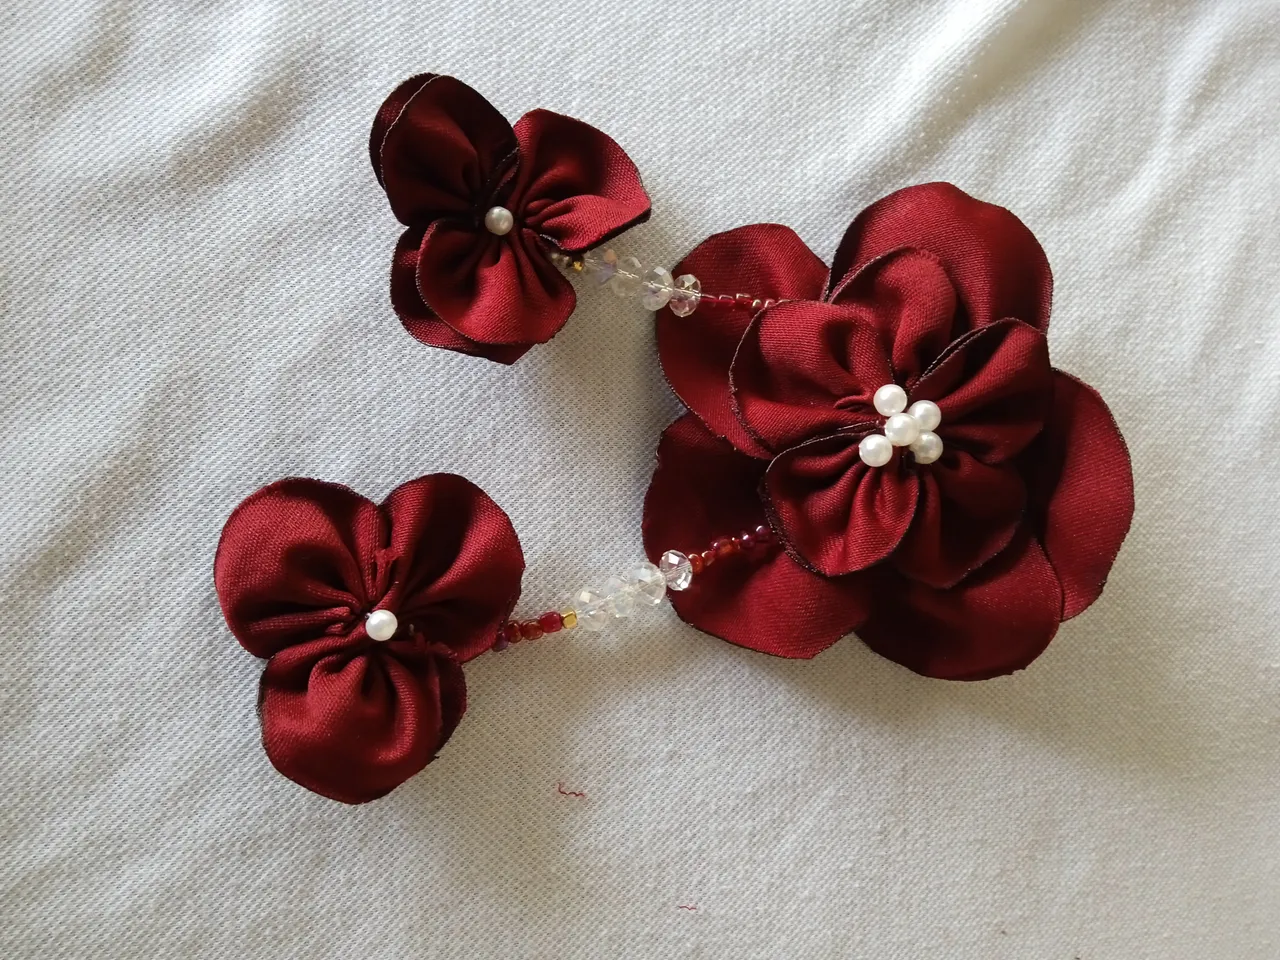
Paso 7.
En un trozo de hilo chino de 15cm de longitud, insertamos unos cristales y mostacillas, luego pegamos estás a la parte de atrás de cada flor pequeña y terminamos pegando la flor grande en el centro de ambas.
Step 7.
In a piece of Chinese thread 15 cm long, we insert some crystals and beads, then we glue these to the back of each small flower and finish by gluing the large flower in the center of both.
Paso 8.
Para finalizar hacemos unos pétalos grandes con el resto de los círculos que nos quedan. Sin doblar los círculos pasamos la aguja enhebrada por la parte inferior de cada uno y vamos frunciendo.
Step 8.
To finish we make some large petals with the rest of the circles that we have left. Without folding the circles, we pass the threaded needle through the bottom of each one and gather.
Paso 9.
Al finalizar vamos a colocarla debajo de l flor mediana para darle un poco de volumen a nuestra flor central y con un poco de silicona caliente vamos a pegar una pinza de metal para cabellos.
Step 9.
At the end we are going to place it under the medium flower to give a little volume to our central flower and with a little hot silicone we are going to glue a metal hair clip.
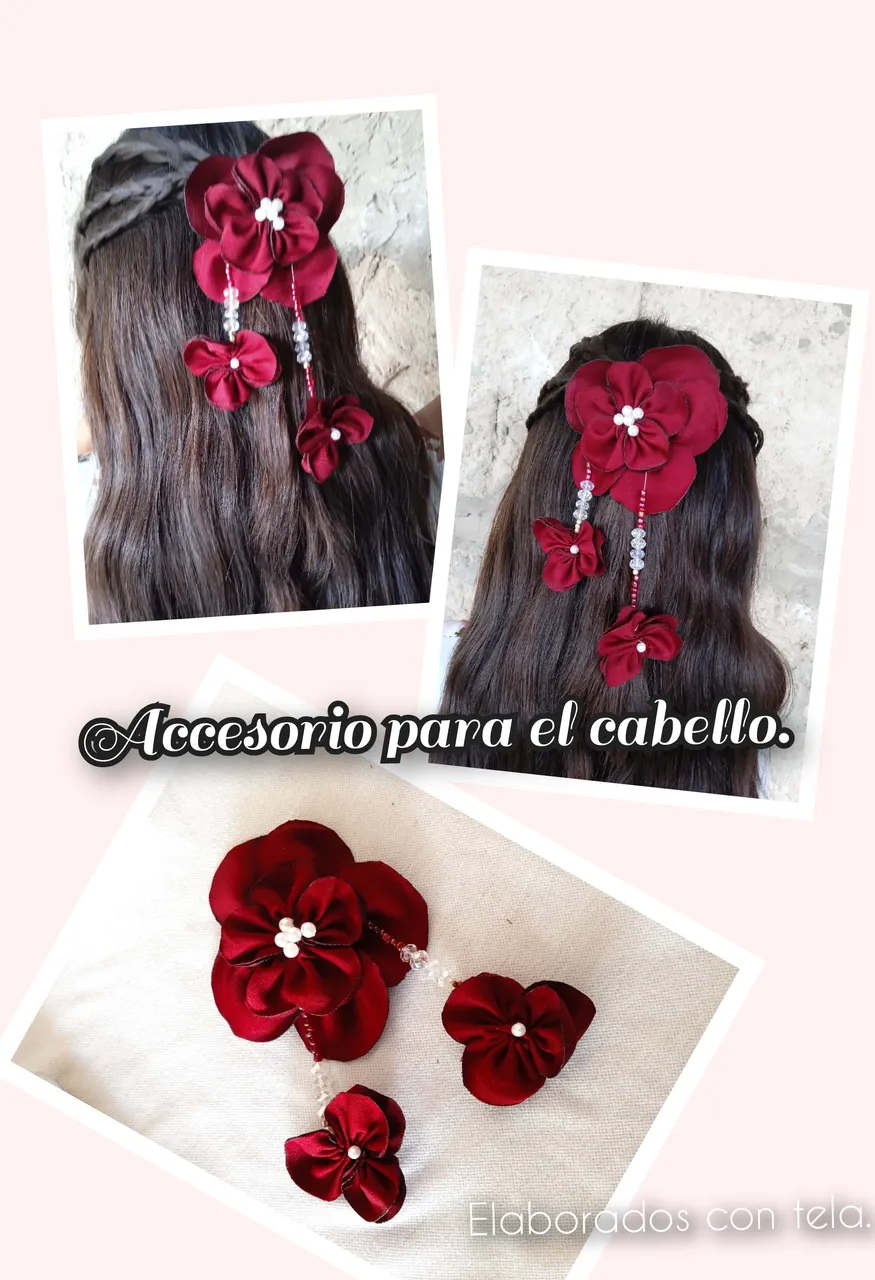
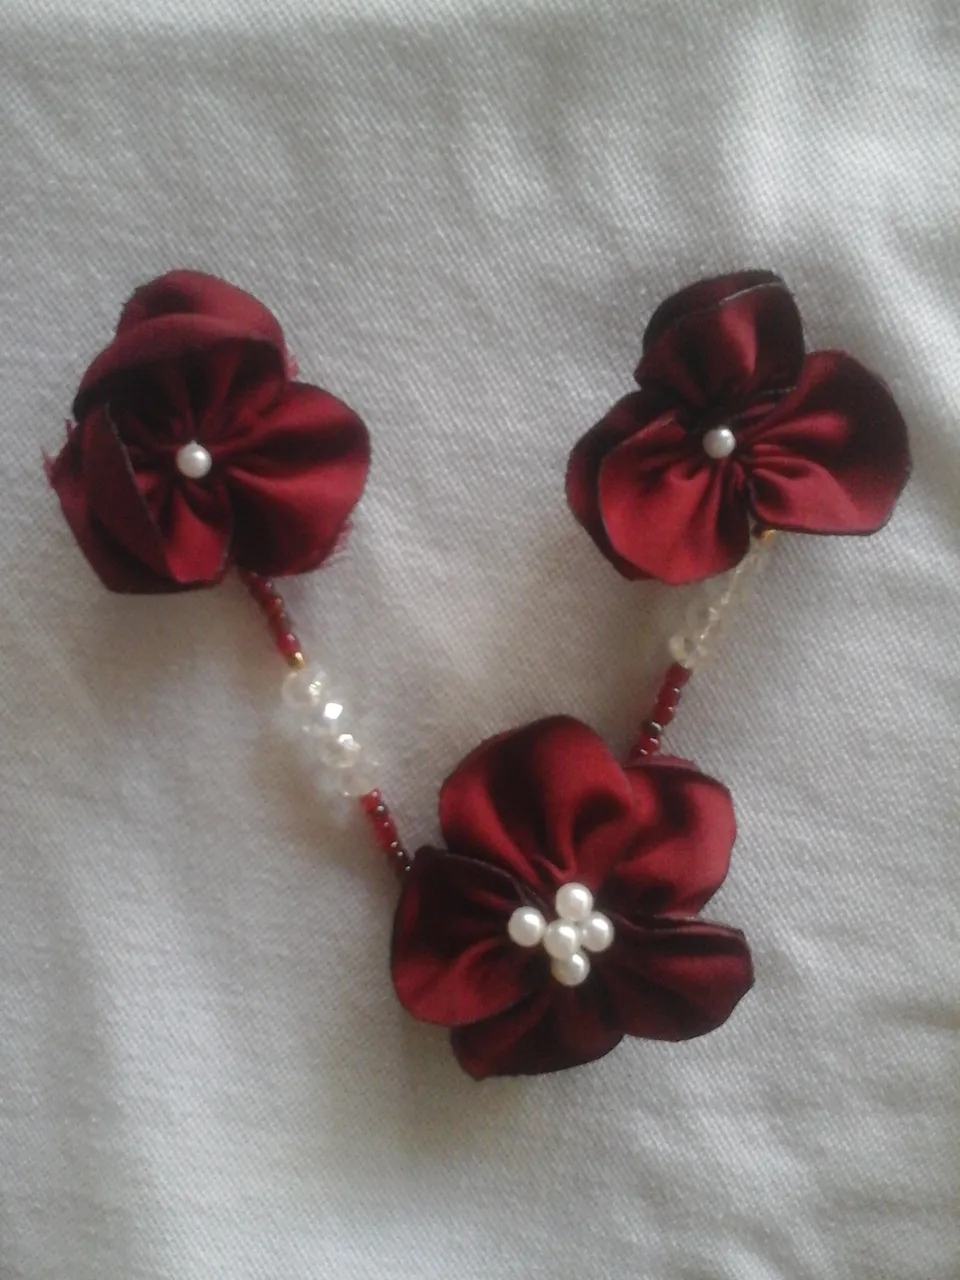
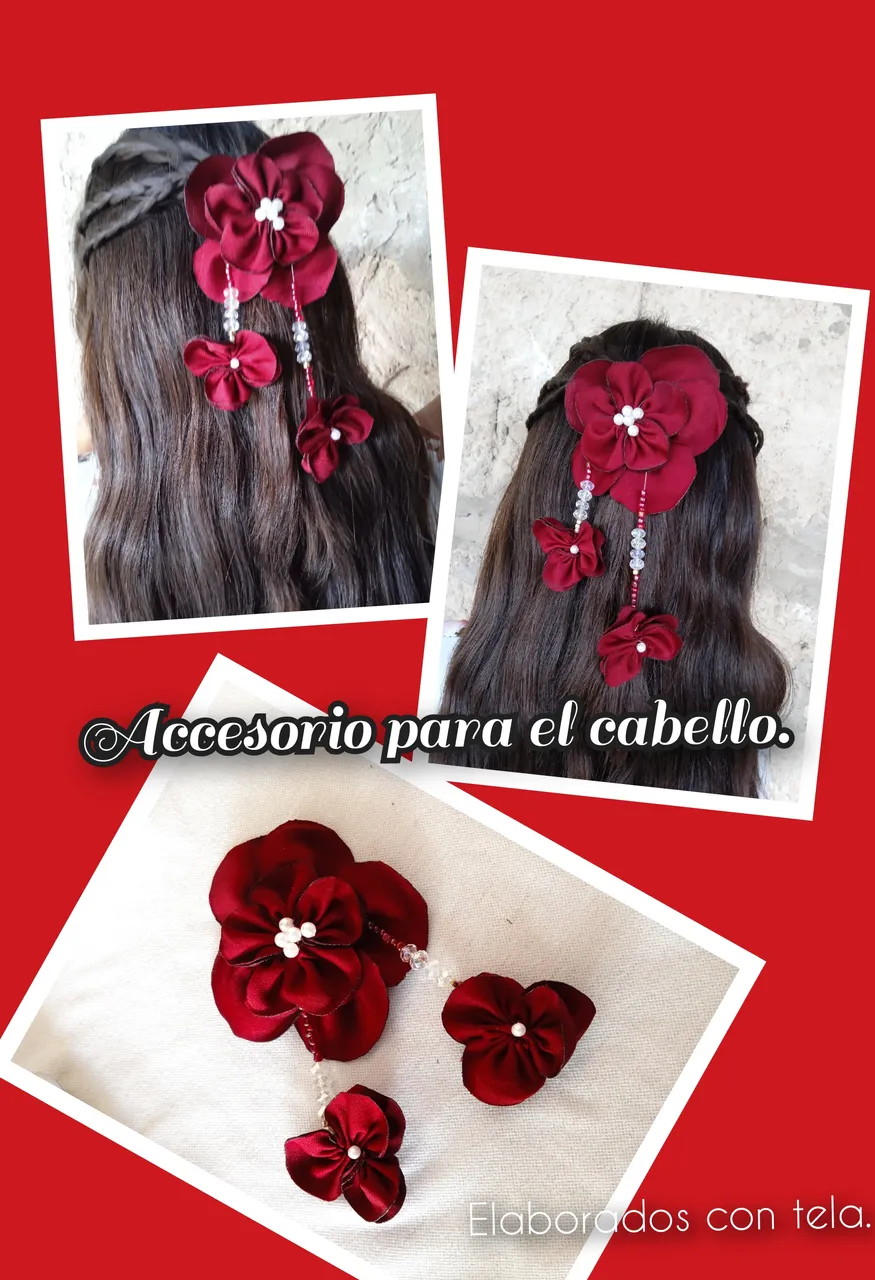
Este es el resultado final, un lindo accesorio para decorar tus peinados. Este es muy elegante ya que el color vino en combinación de perlas nunca falla para un buen para un buen accesorio. Espero les guste tanto como a mi.
This is the final result, a nice accessory to decorate your hairstyles. This is very elegant since the wine color in combination with pearls never fails for a good accessory. I hope you like it as much as I do.
 )
)Amigos ha Sido un placer haber compartido este lindo tutorial con todos ustedes. Espero que nos volvamos a leer en nuevo post, sin más, me despido deseándoles muchas bendiciones, cuidense mucho y les envío un fuerte abrazo. Adiós!!!!🙏
Friends, it has been a pleasure to have shared this nice tutorial with all of you. I hope we see each other again in a new post, without further ado, I say goodbye wishing you many blessings, take care of yourselves and I send you a big hug. Goodbye!!!🙏
Todo el contenido y las fotos son de autoría.
Edición: GridArt y photocollage.
Traductor: Google.com
All content and photos are copyrighted.
Edition: GridArt and photocollage.
Translator: Google.com