Good day, everyone.
I hope we all are doing well.
This is the first time I am publishing a post in DIY community. I am elated to find the current contest going on in the community.
Here I am with my participation. It is a
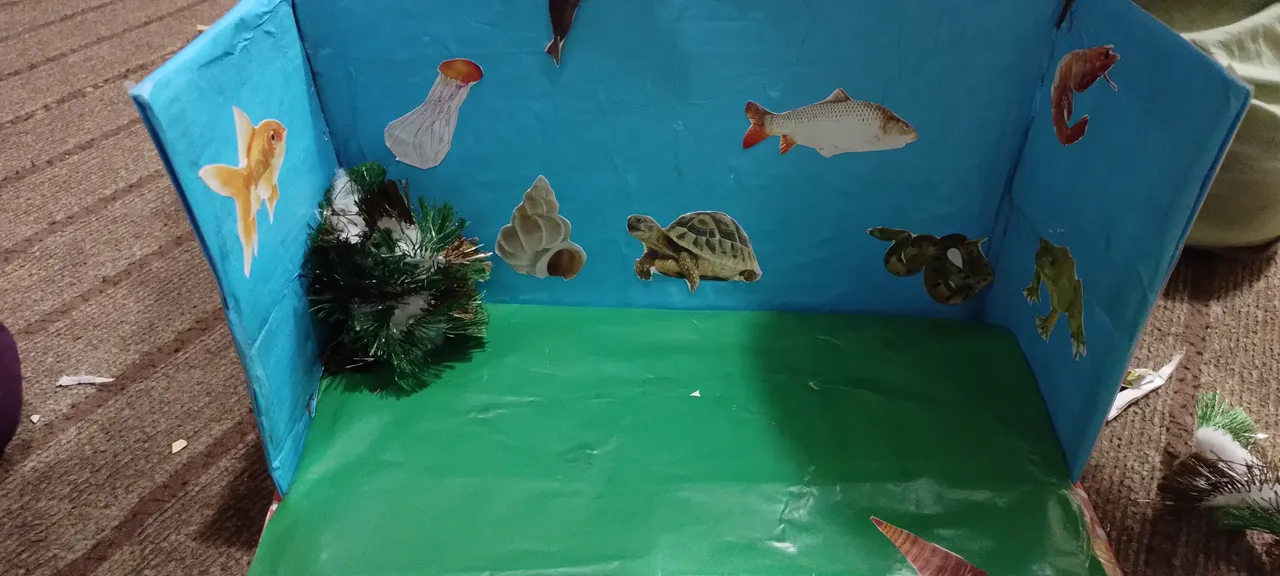
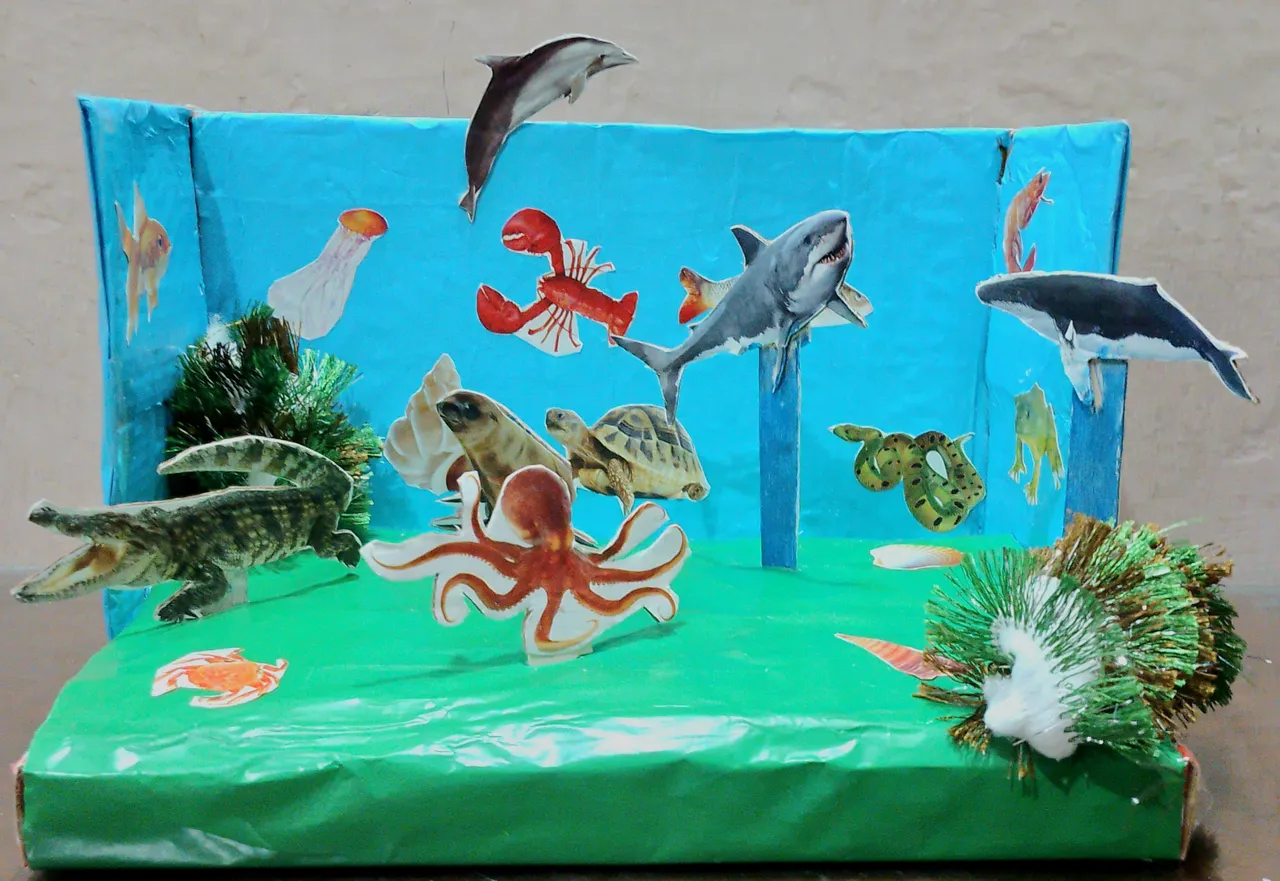
Marine Habitat Model
Some time ago my son got this assignment from his school. Of course, he couldn’t do it alone. I helped him. I think 95% of the work was done by me 😉. Here is the final product we prepared.
Before moving on to the procedure, let me tell you that I didn’t buy many of the items needed but took them from scrap or useless things present in my house such as card sheets, thermocol, hair band etc. It means you can modify the model according to the availability of items in your home.
Let’s move to the explanation of how the model was prepared
Material Needed
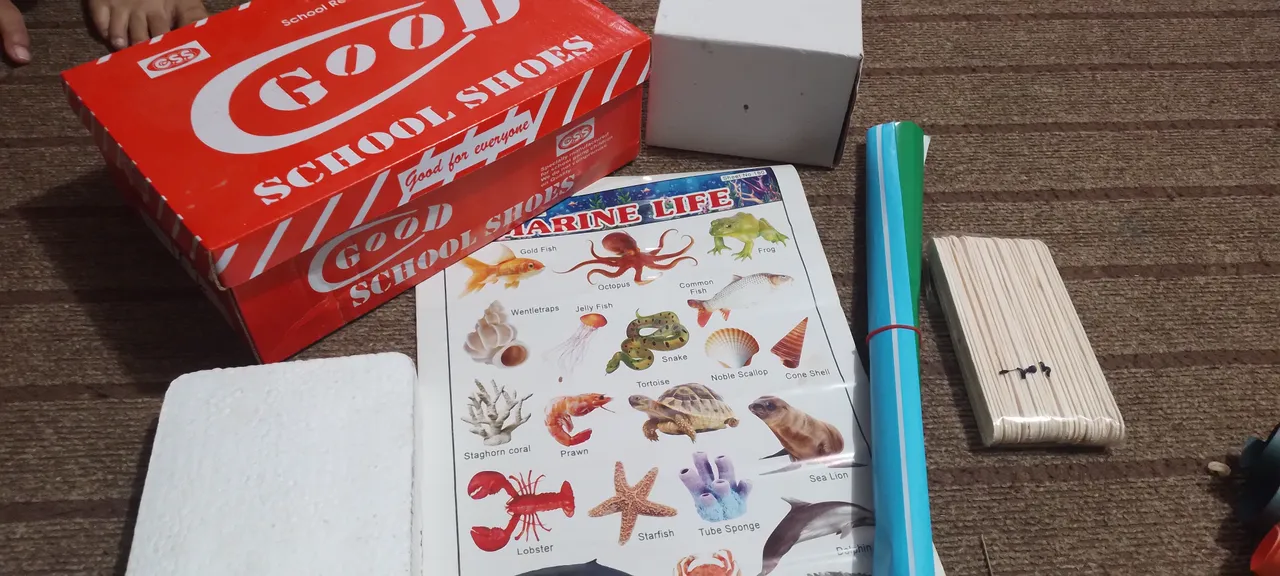
● Card boxes (I used 1 shoe box, and 1 gift box 2 mm thick)
● Stickers chart for ocean animals
● Glaze paper (green and blue)
● Ice-cream sticks
● Thermocol sheet
● Water color (blue)
● Scissors
● Glue
● 1 furry Hair band
Procedure
● Remove the lid of shoe box and keep it aside.
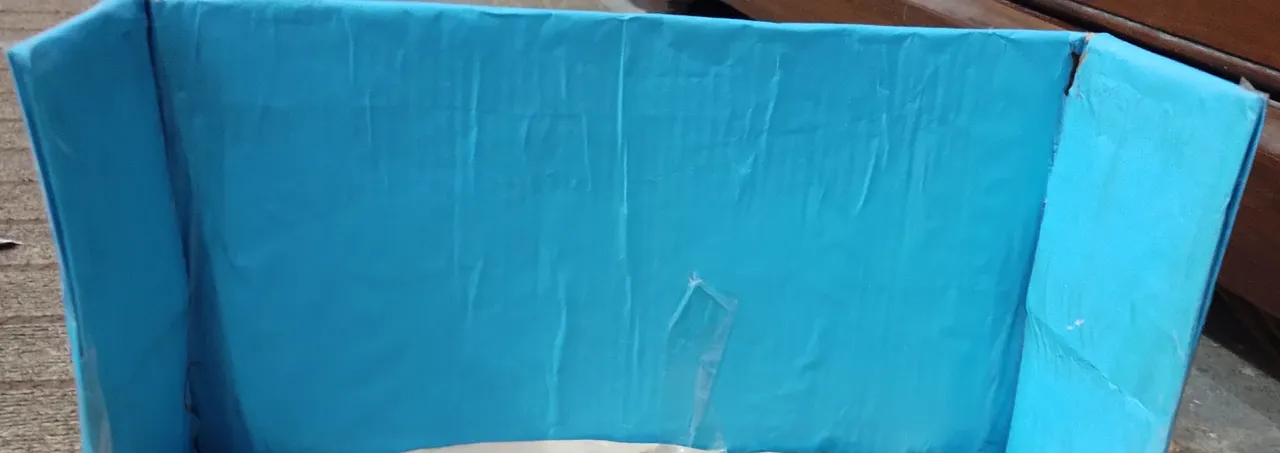
● Put the shoe box in standing position and remove the upper side of the box (by cutting it with the help of scissors)

● Cover the box with blue glaze paper.
● Put the box on its lid.
● Cut the thermocol sheet of the lid's size. (Unfortunately, I didn’t have a plane sheet while making the project. I used pieces of thermocol taken from inner protective coverings of different products 😉). The method of cutting a thermocol is by heating a knife and cut the sheet with it.
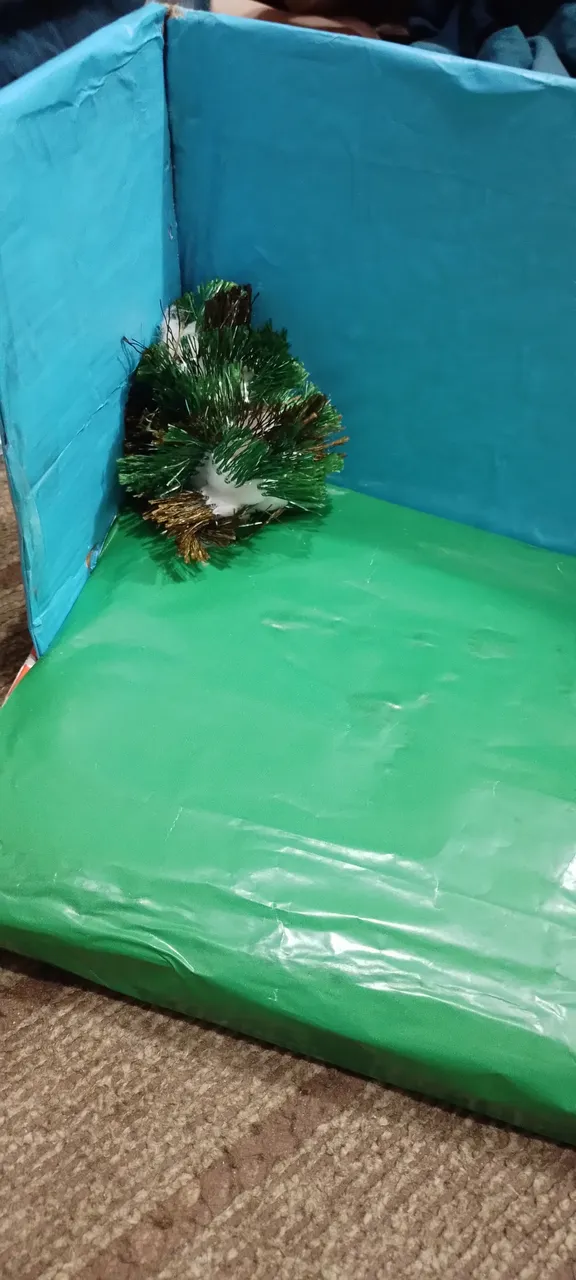
● Wrap the thermocol sheet with another glaze paper. (I initially used brown but it was looking dim so I replaced it with green).
● Apply some glue on the lid. Then fix the wrapped thermocol sheet on it.

● I had a furry hair band with green and brown threads. It was giving the appearance of sea grass. I cut it into two halves. Folded them and stuck them on the box with the help of glue.

● Then we cut some animals from the sticker chart and pasted them at several places of the box.
● Now it was the time to give 3D effects to the model. I opened up the gift box (that I took as card sheet.)
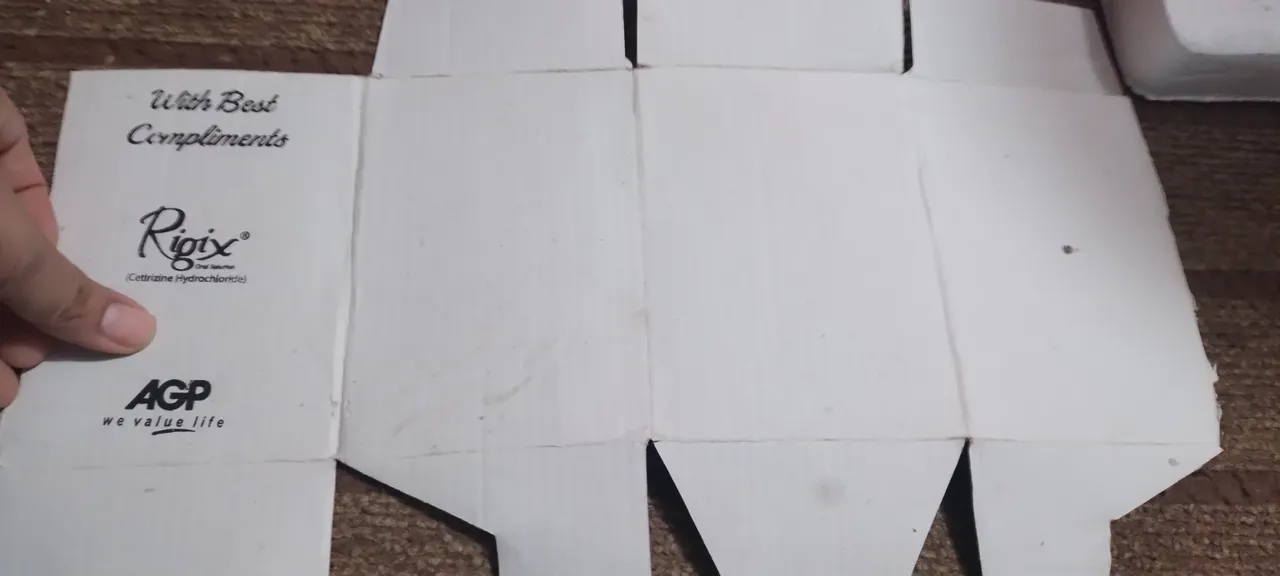
● Cut the stickers (not finely cut at the borders) of required animals and pasted them on the sheet.
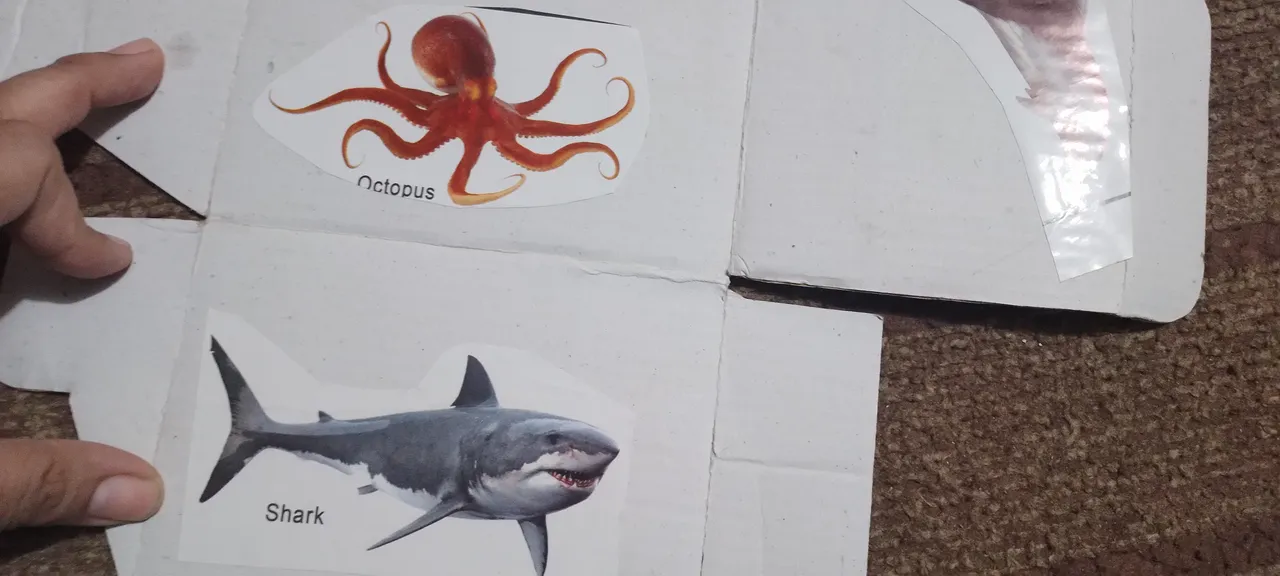
● Afterwards, I cut the animals finely at their borders. In this way the card sheet was also cut in the same shape.

● With glue, an ice-cream stick was pasted at the backside of the animal cuttings (on card sheet).
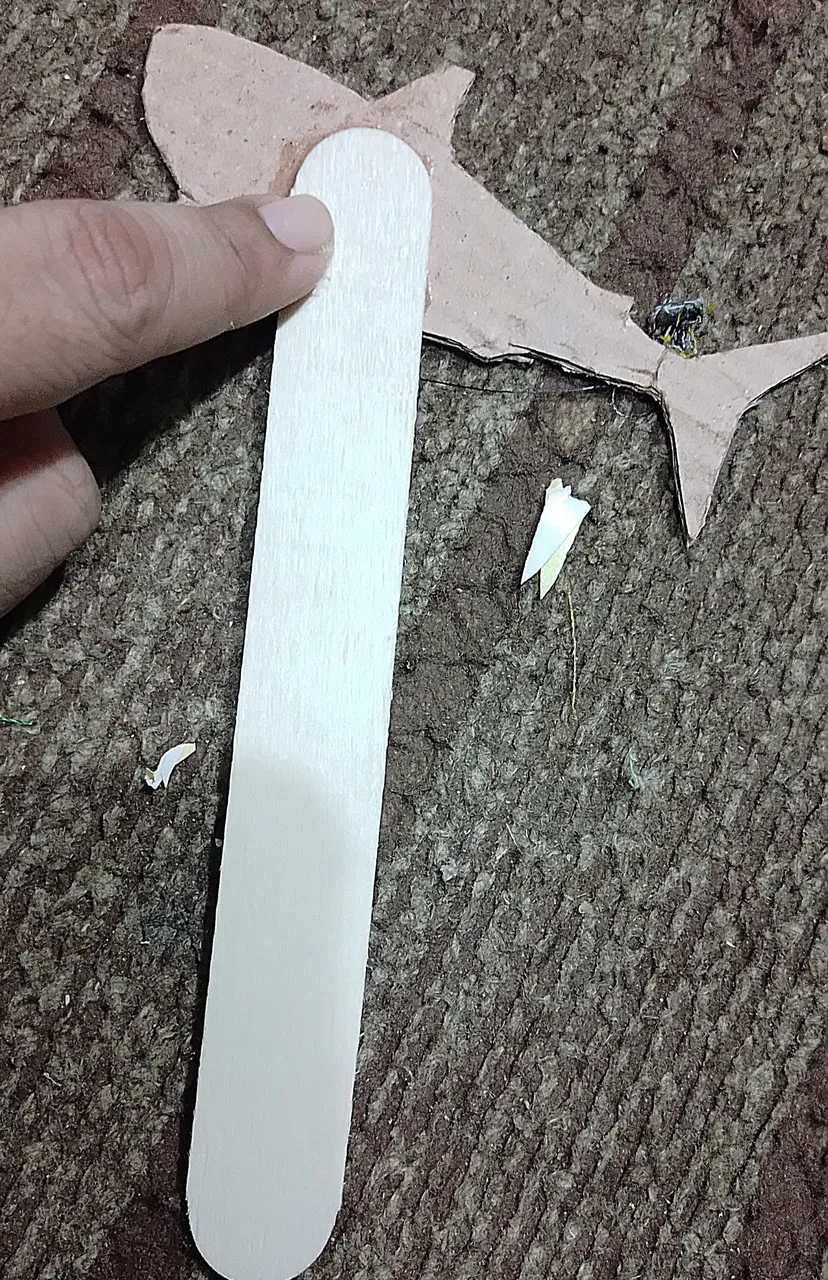
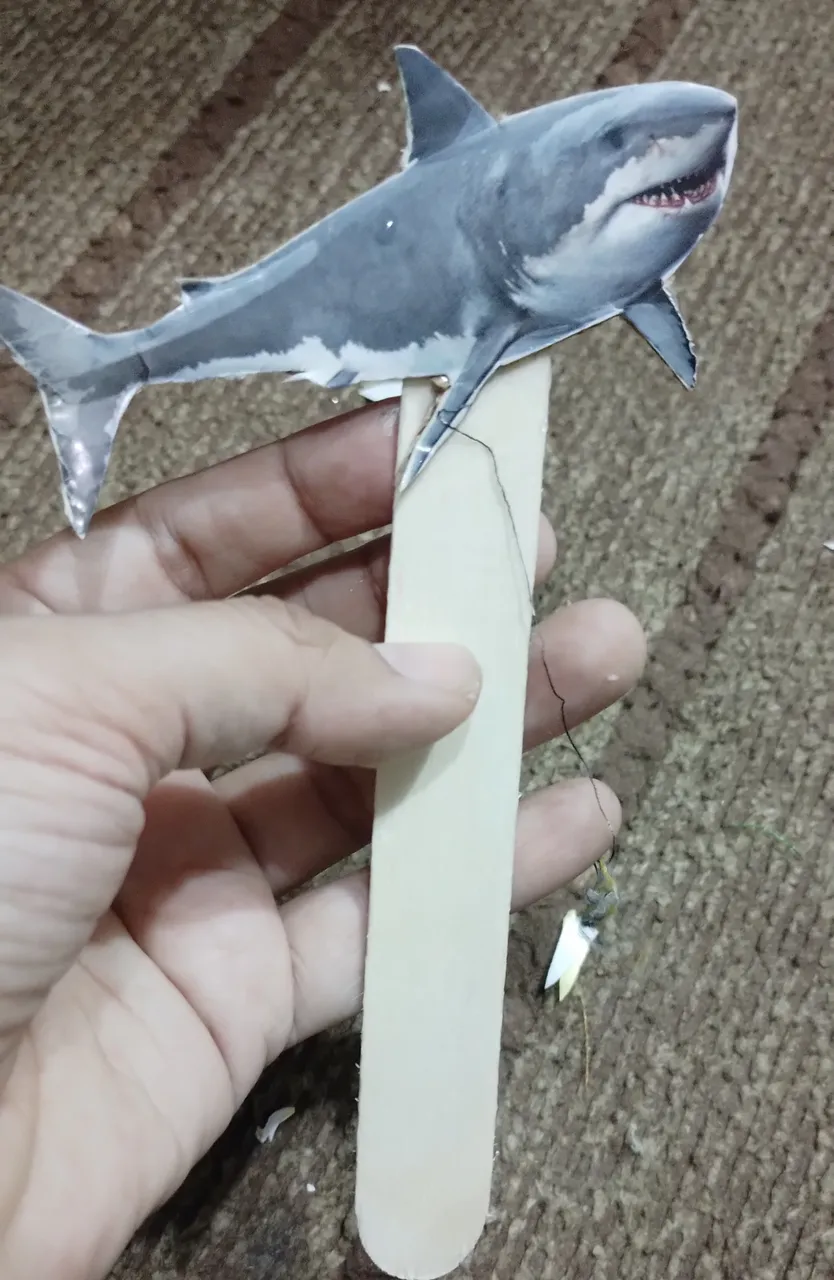
● The ice-cream sticks were painted blue with water color so that they may camouflage with the surroundings.
● After giving a small cut on the base of the box, the ice-cream sticks (having animal stickers on them) were settled on it.
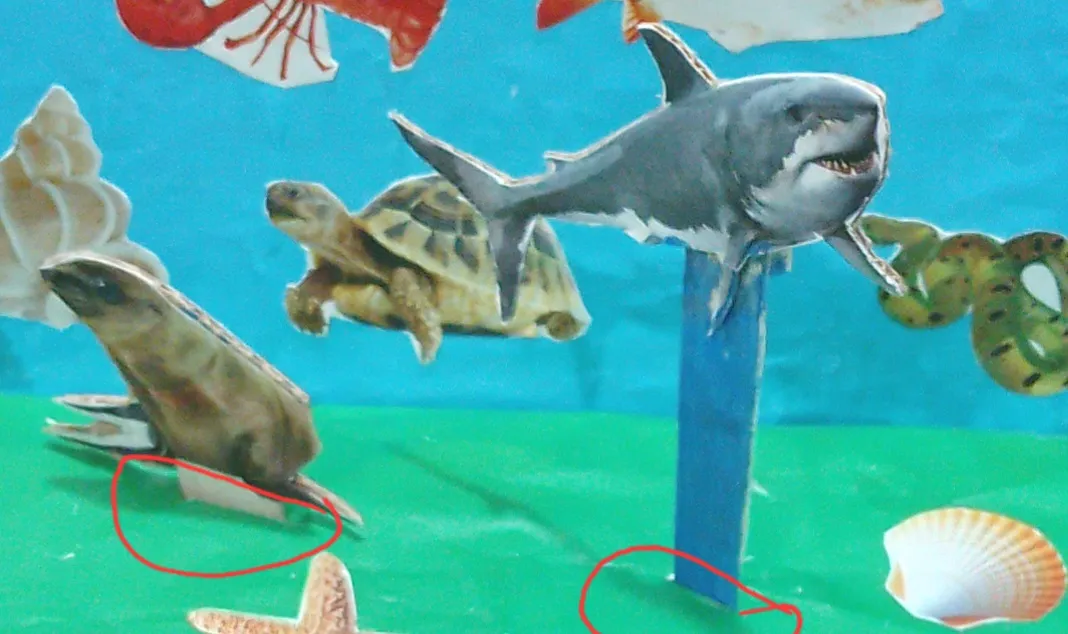
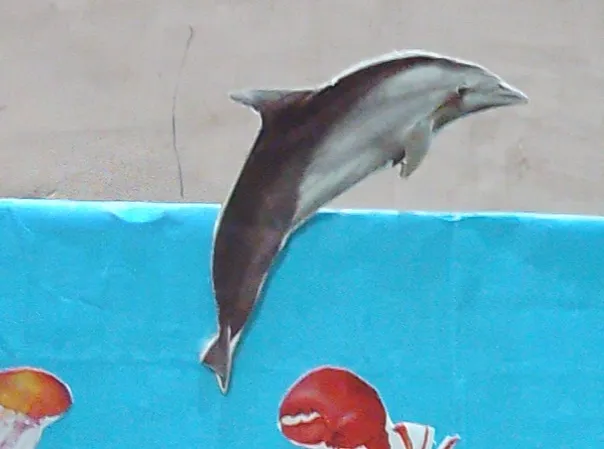
● One of the stickers (a fish) on card sheet was pasted on the wall coming a little of the box. (The purpose was to give better 3D effects)
● We pasted more stickers on the base where it was looking empty.
● Finally our model was ready.

That’s it for today. Don’t forget to give your feedback in the comment section.
Have a nice day 🌹.
All images are taken by me via my mobile camera.
The GIF is prepared using free version of Viva video app.