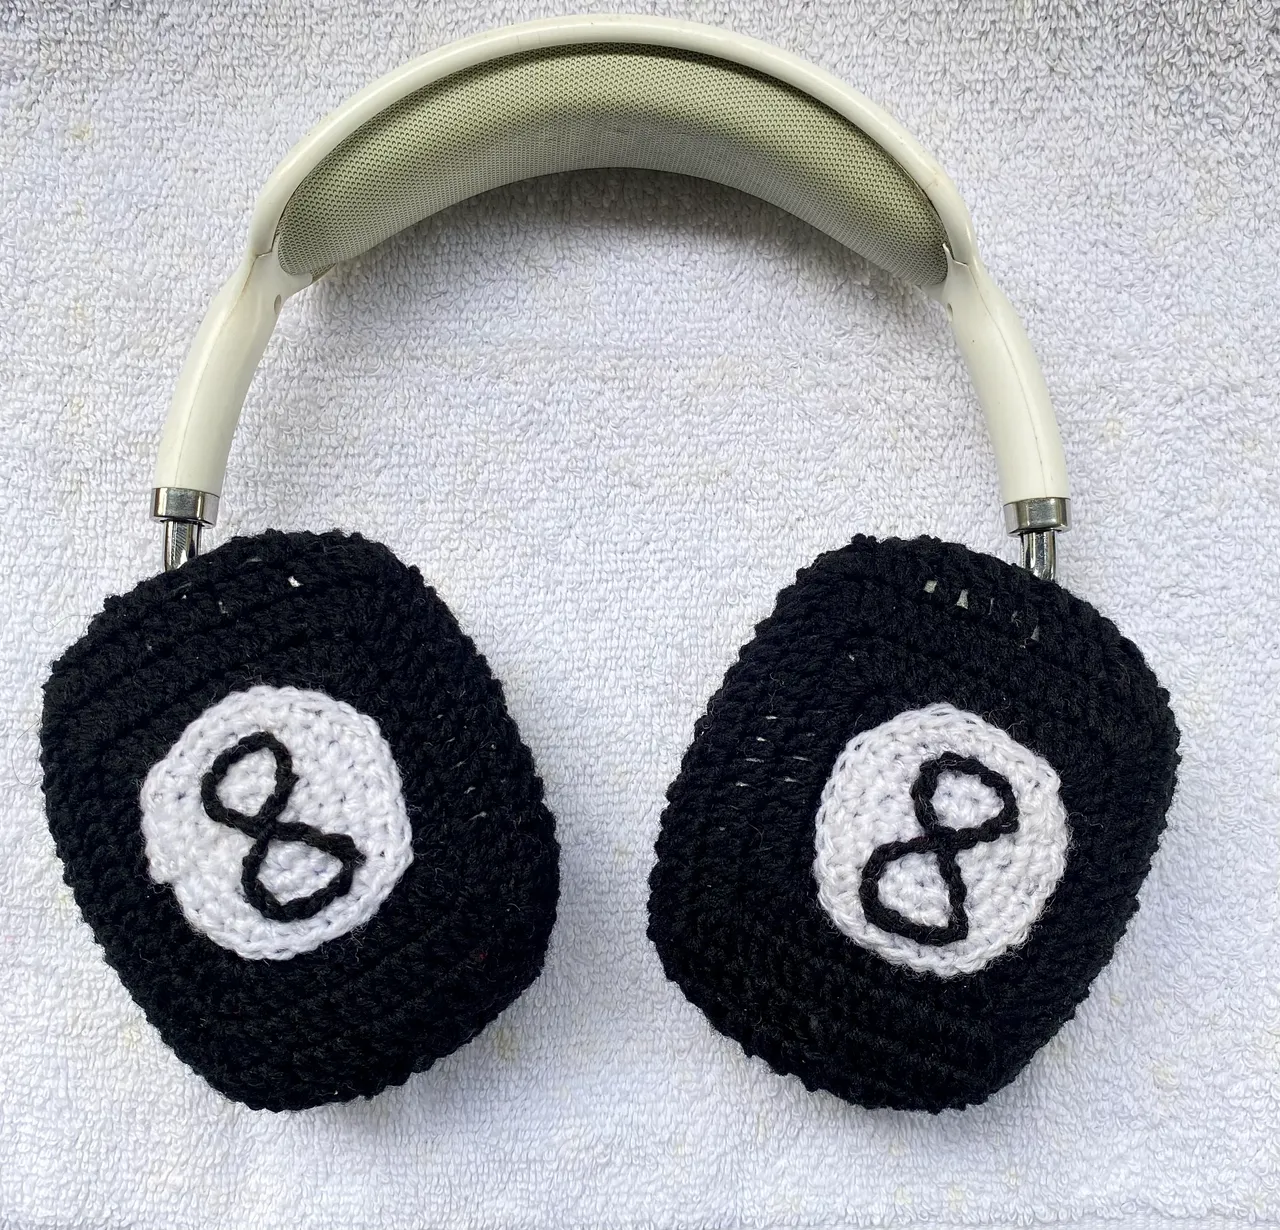
Hello everyone, I am here to share this 8 ball(🎱) headphone cover I crocheted. The last time I made a headphone cover, it was girl themed. So this time, I decided to make it male themed and I chose 8 ball because the person I planned on making the cover for was my brother. He loves playing 8 ball pool.
I have come to understand that his hobby is disgracing me on igames in 8 ball pool. Growing up, I played so many games with my brother but for some reason I never liked playing 8 ball pool until I grew up. Anyway, the cover was easier to make than I expected. The only challenge was when I was remaking the 8. I spent about 2 hours making this and that’s because I crochet very slow when using black. It hard to see black stitches.
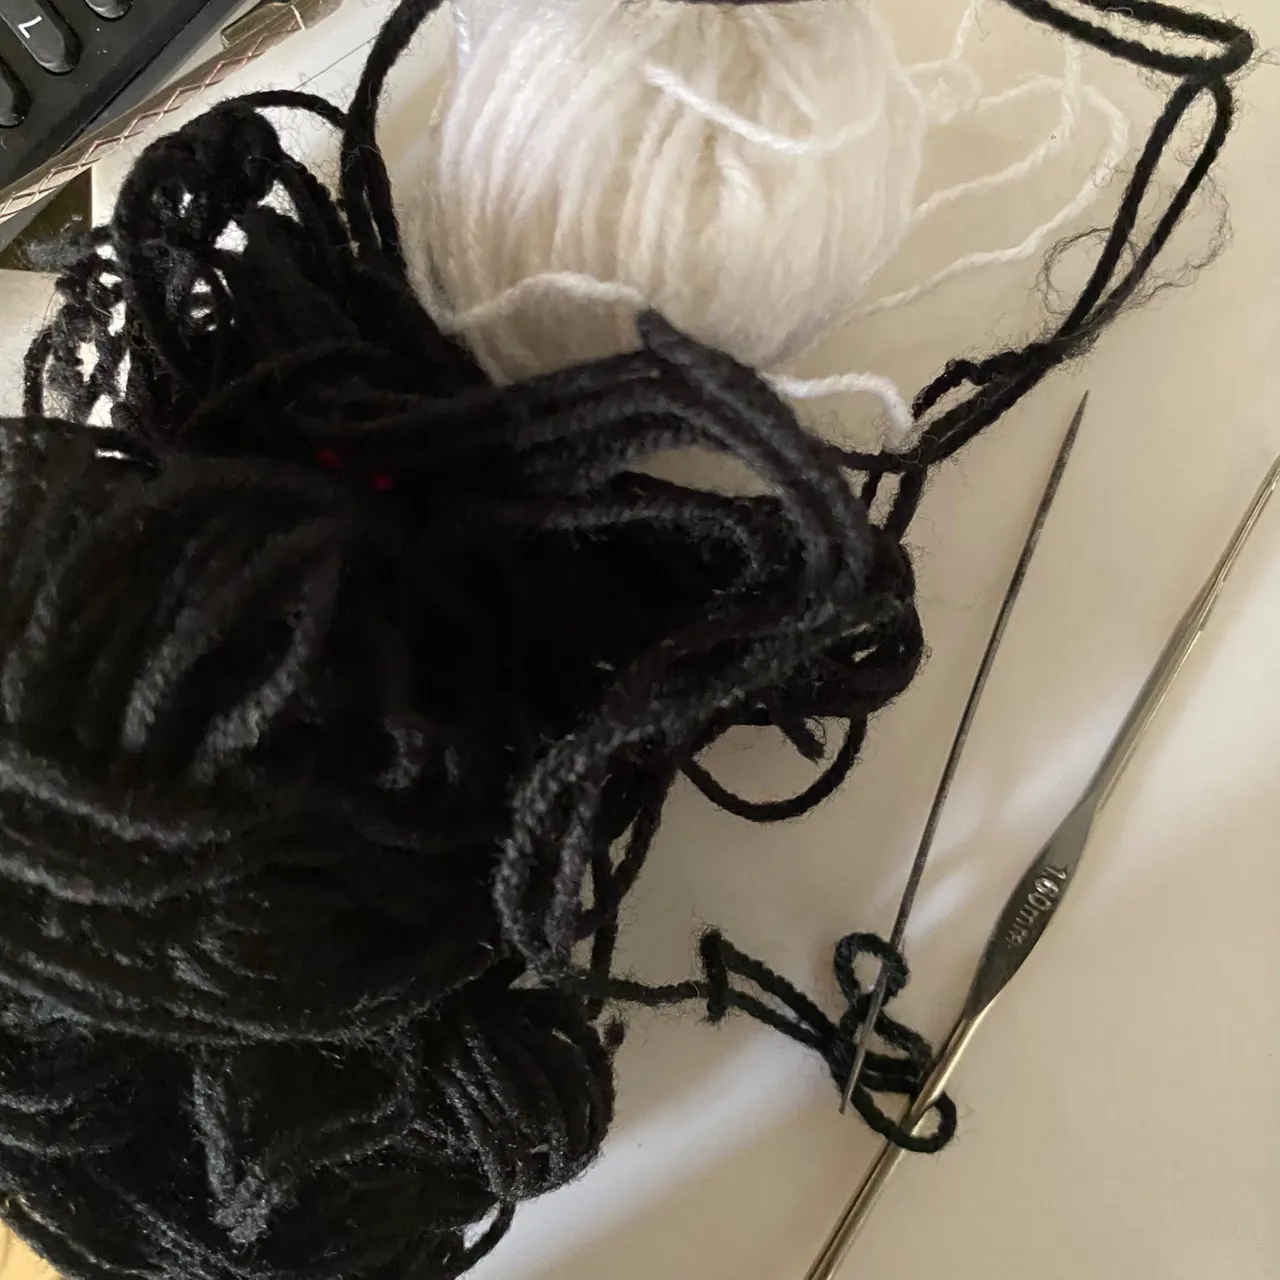
The materials I used:
• Black and white leftover yarn
• 1.60mm crochet hook
• Sewing needle
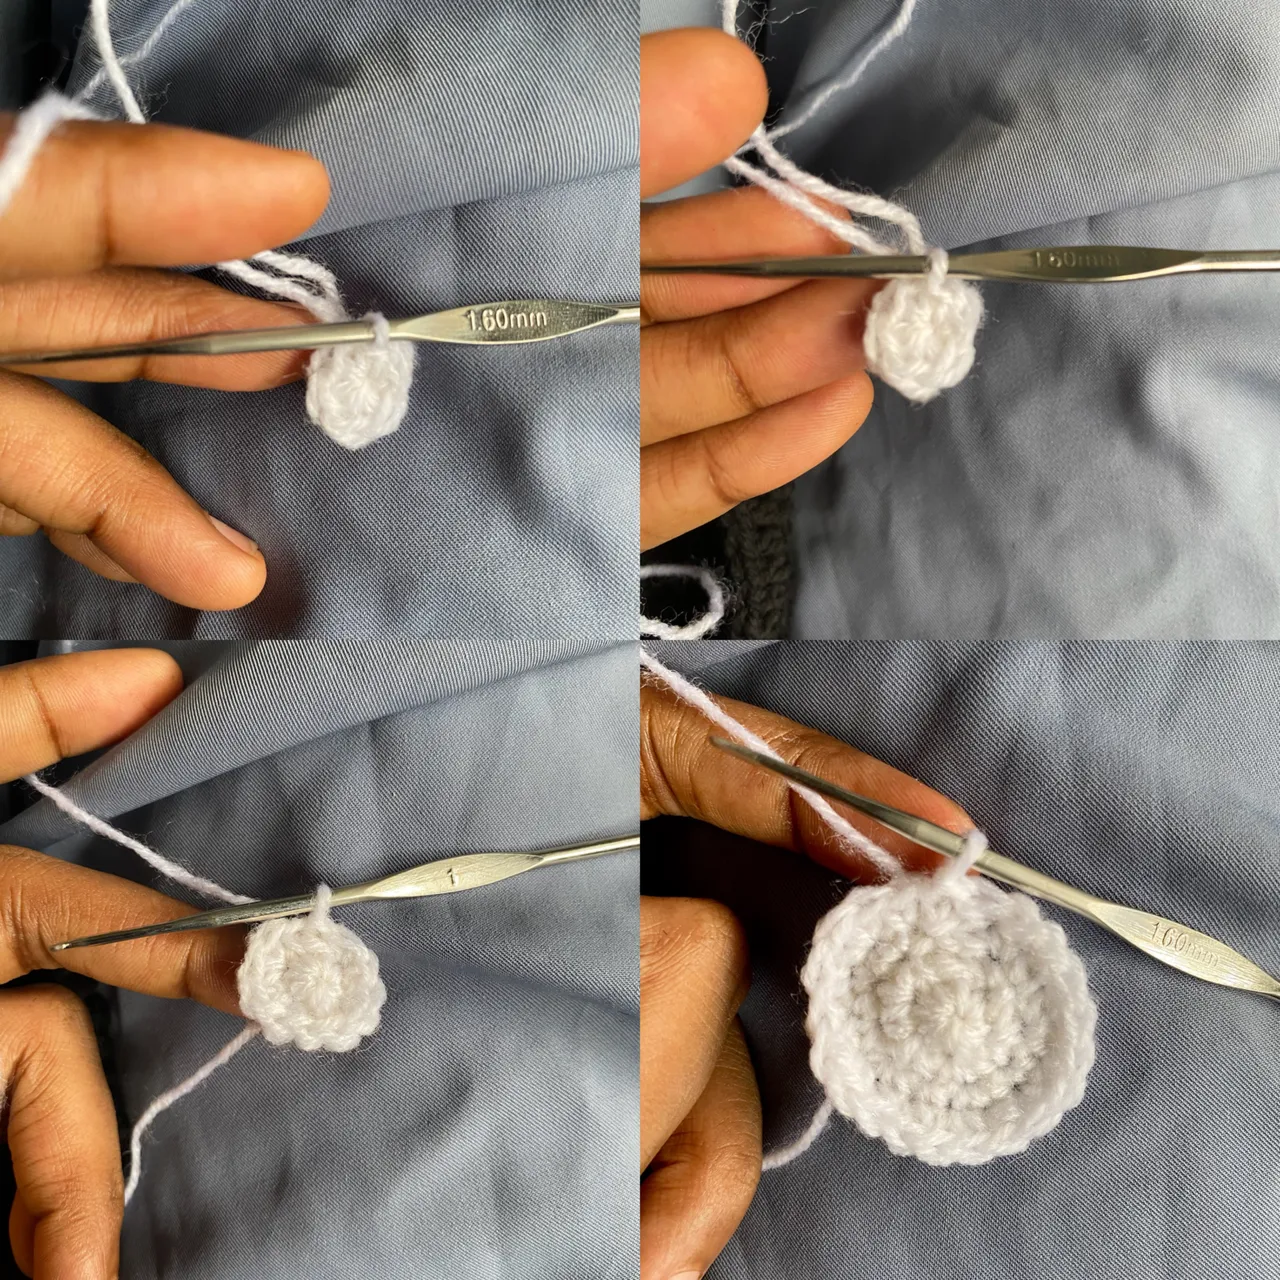
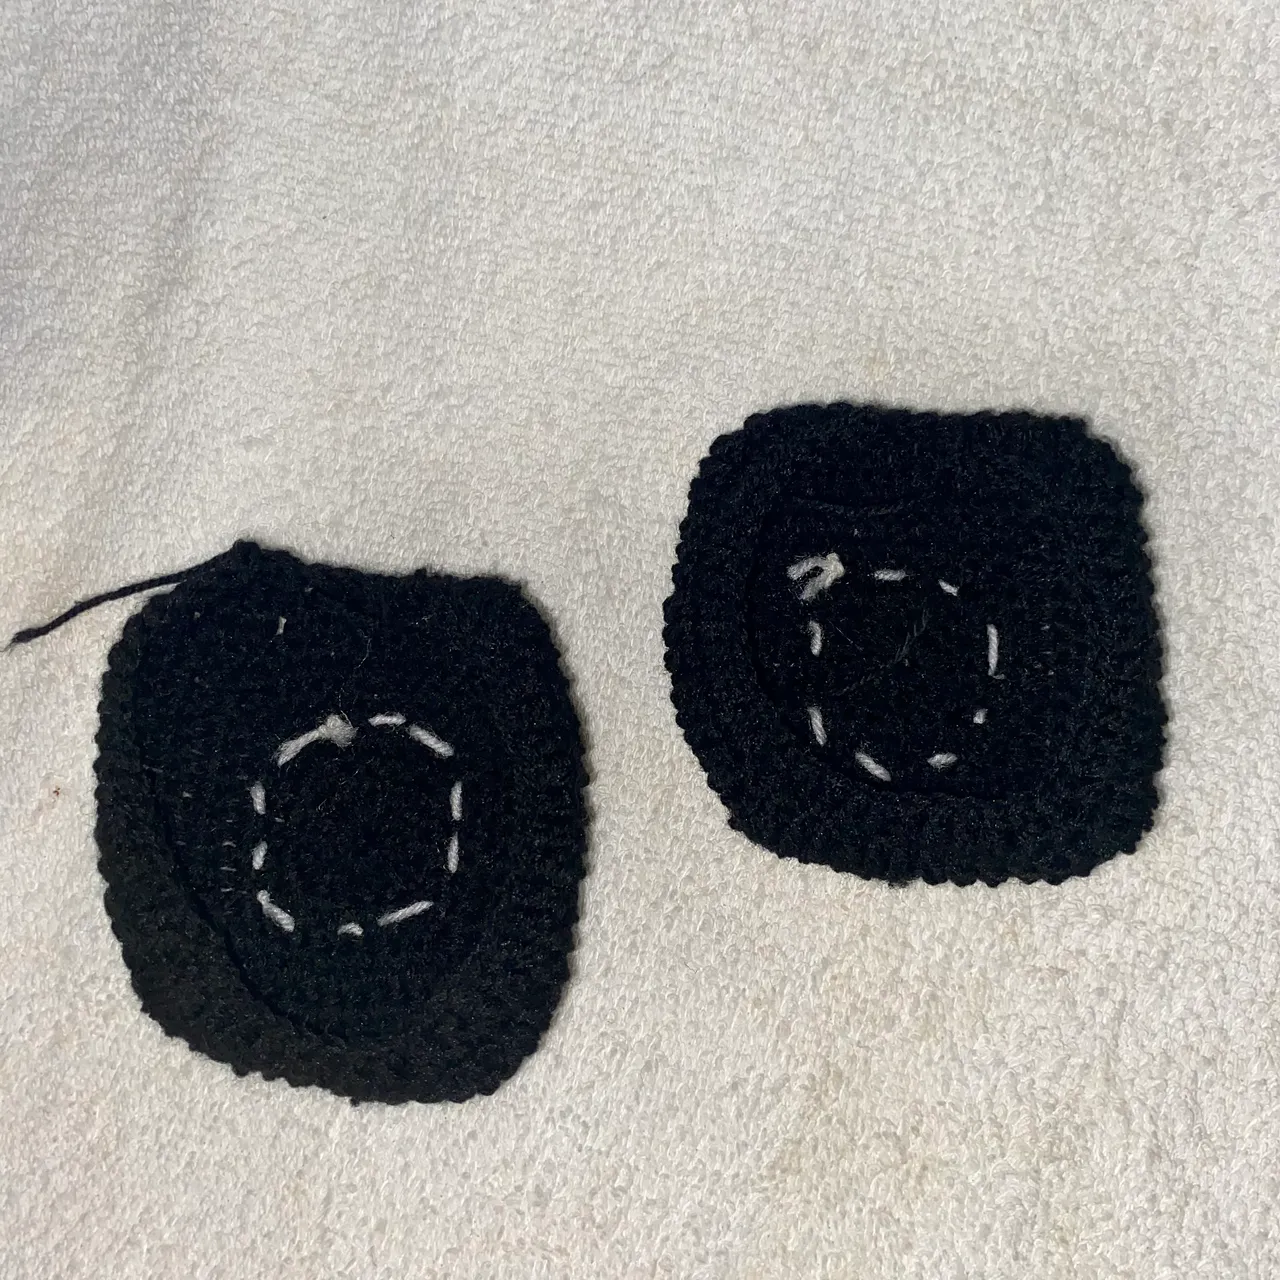
I started by making the white part. I made a magic ring and then made 6 single crochet in the ring. I then increased it by making 2 single crochet in each of the stitches and then kept on increasing. I moved to one single crochet, two single crochet in the next stitch. Two single crochet in the first two stitches and then two in the next stitch. I repeated this till the end of the row.
In the next row, I made three single crochet in the first three stitches and then two single crochet in the fourth stitch.
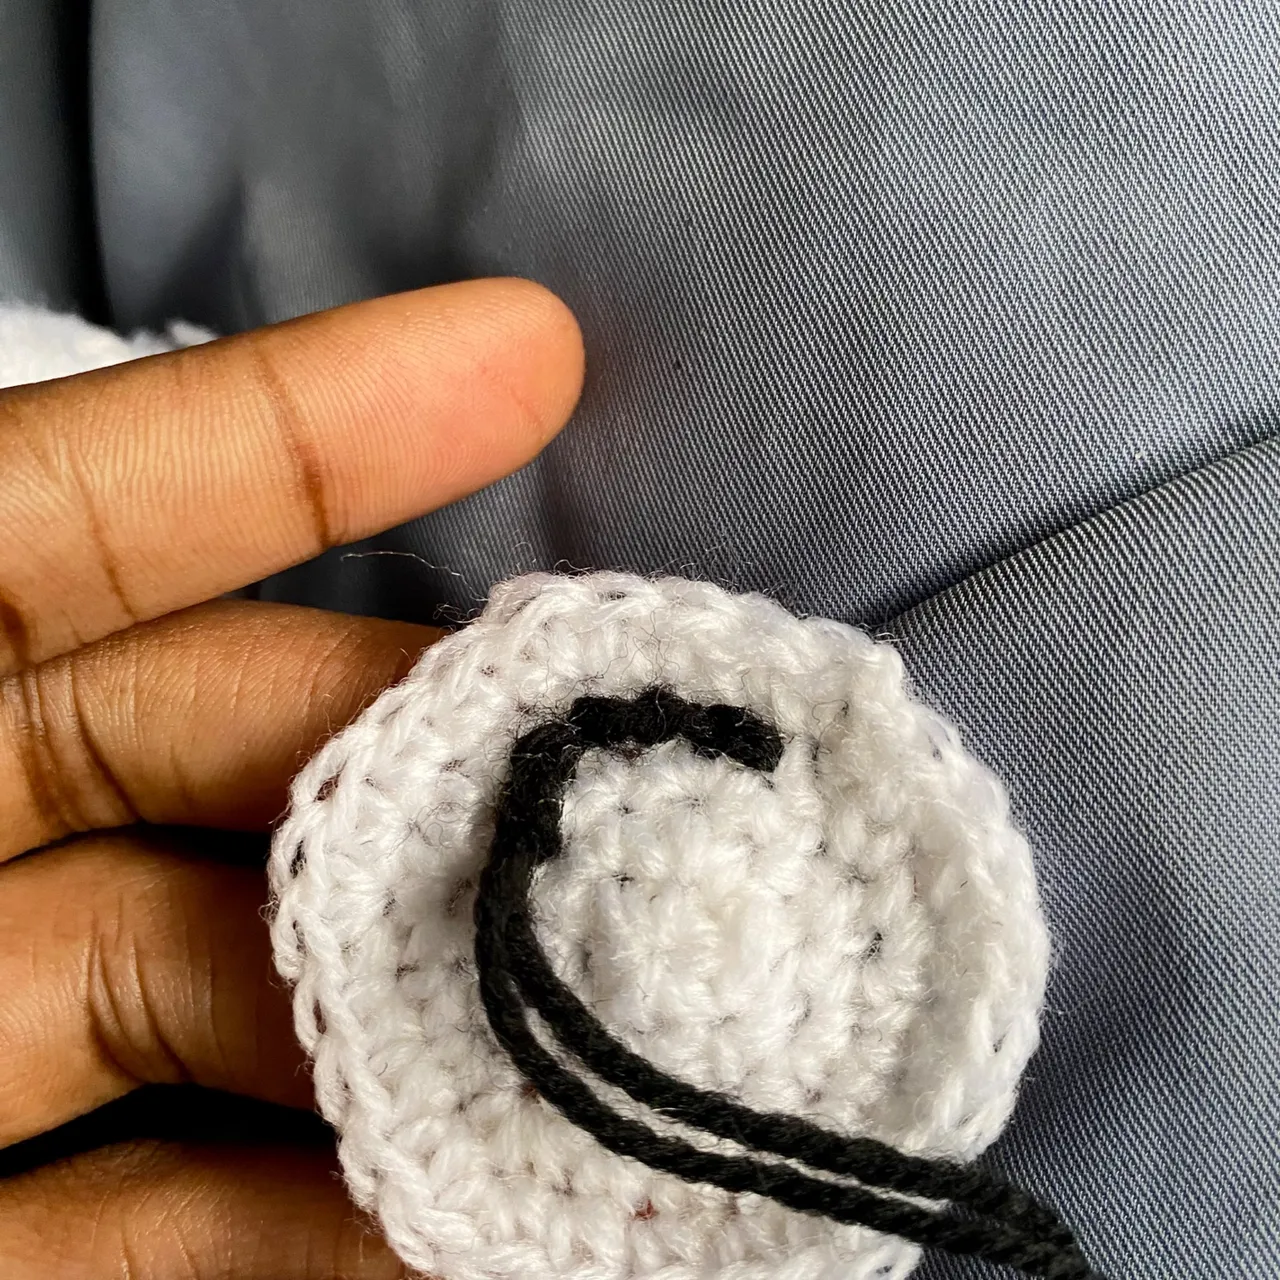
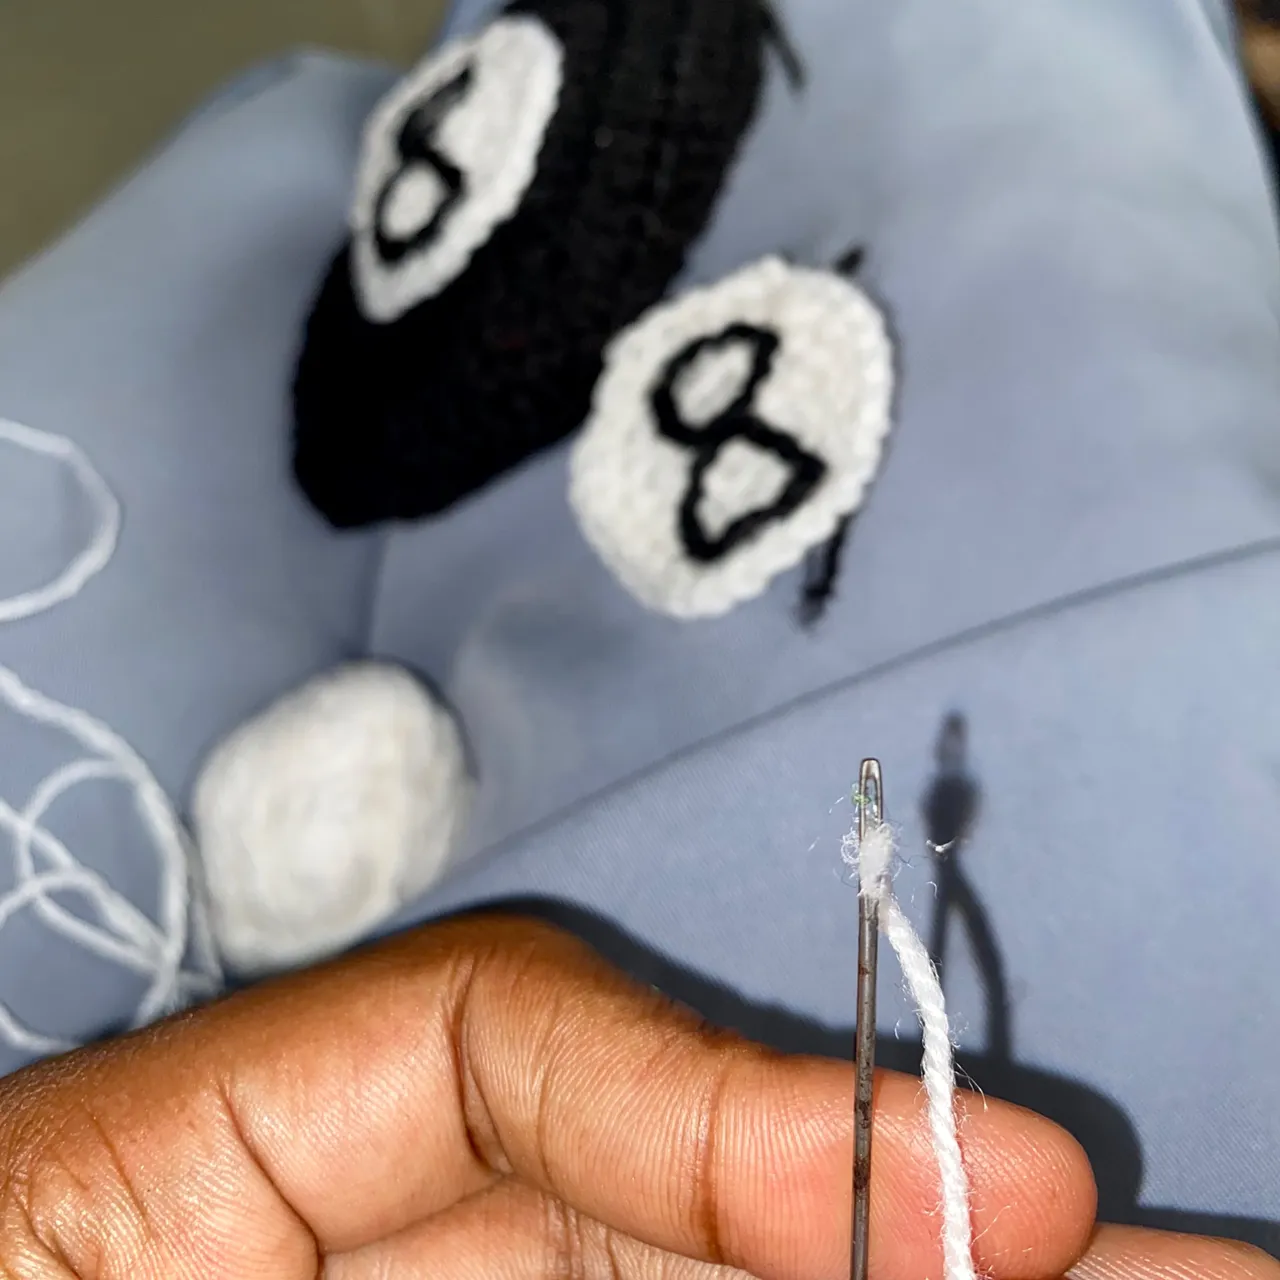
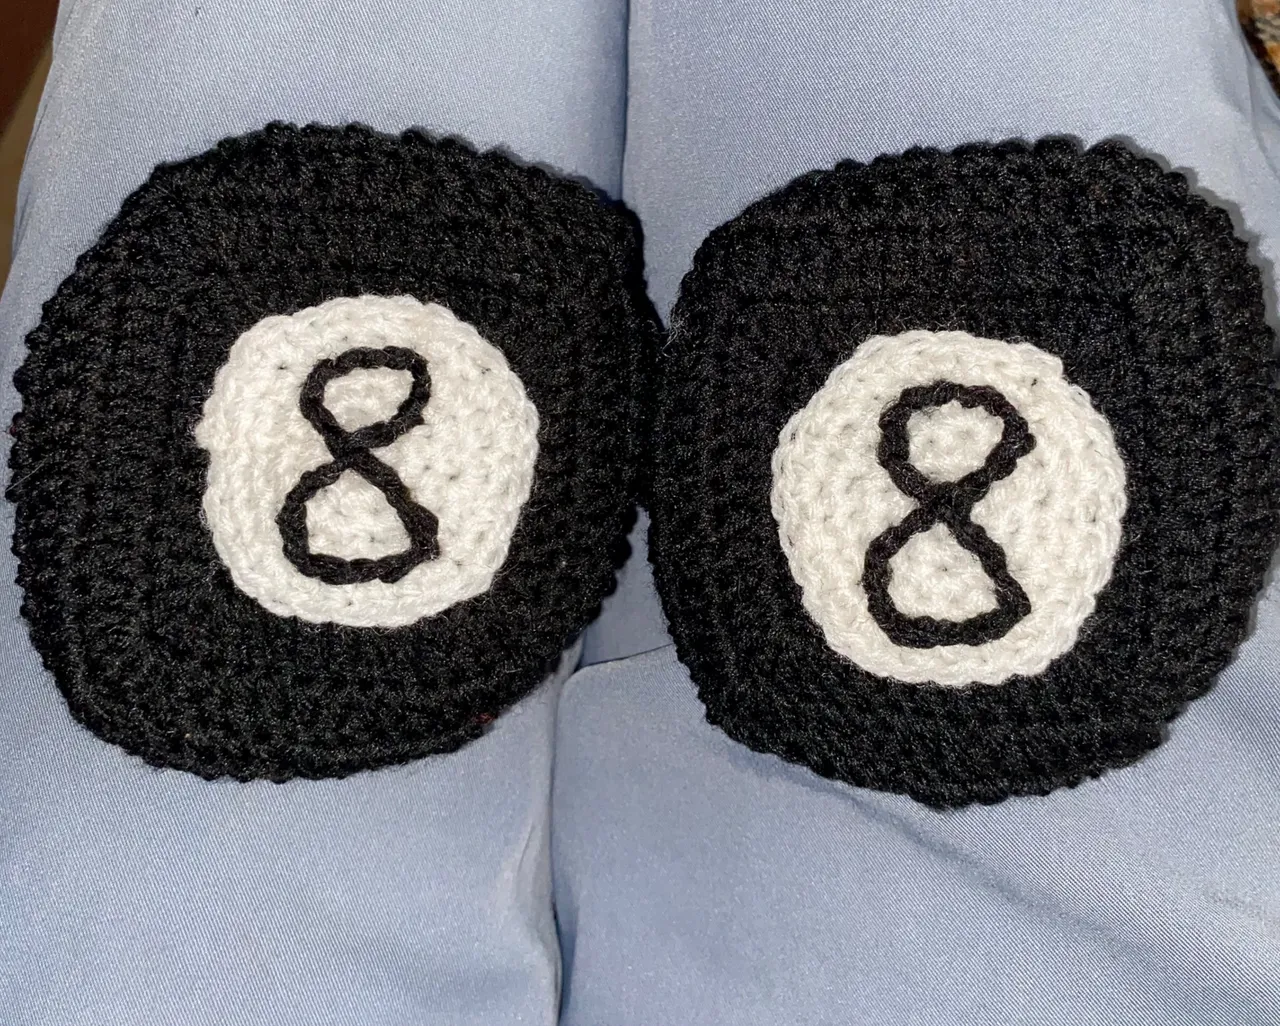
I moved on to make the 8 in the white. I used yarn and needle to sew the 8 in the white circle.
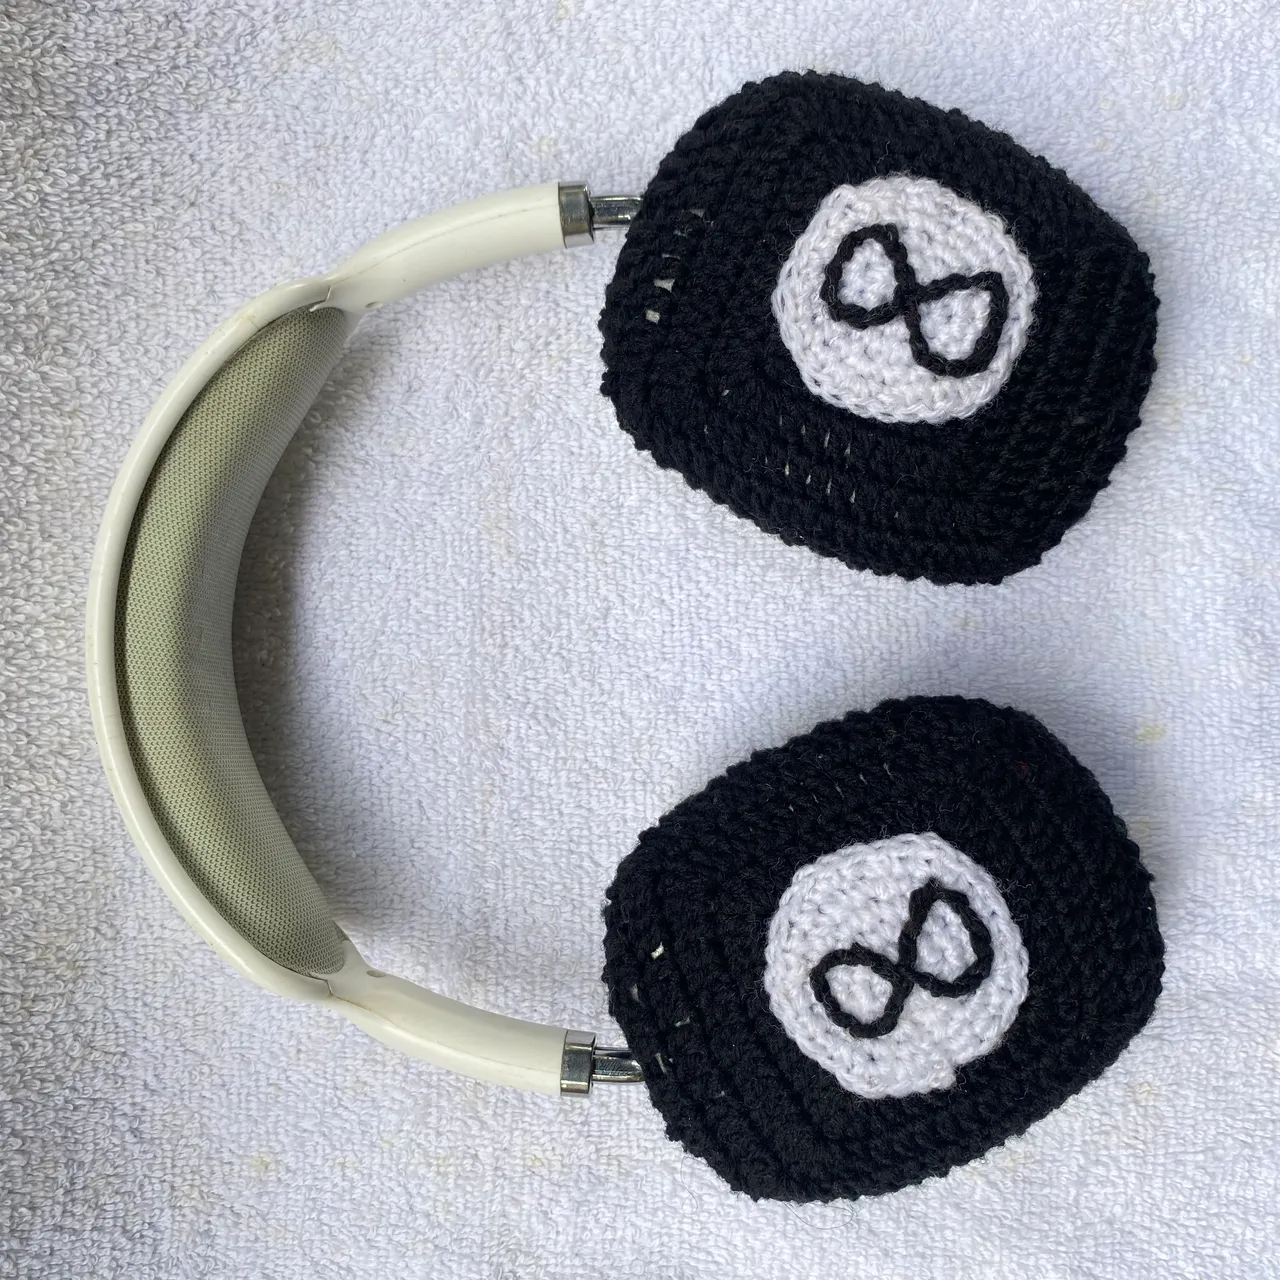
I moved on to the main cover. I made it in a solid granny square. I started with a magic ring and then made 4 chains and three double crochets. I repeated this three times and slip stitched it to the beginning. I built on this with double crochet and then two double crochet, one treble crochet and two double crochet at the corners. I did this for all the row until the last two rows. I made a decrease in the last two rows so it fits the headphone like a glove.
I achieved that by skipping some stitches to cause the decrease. 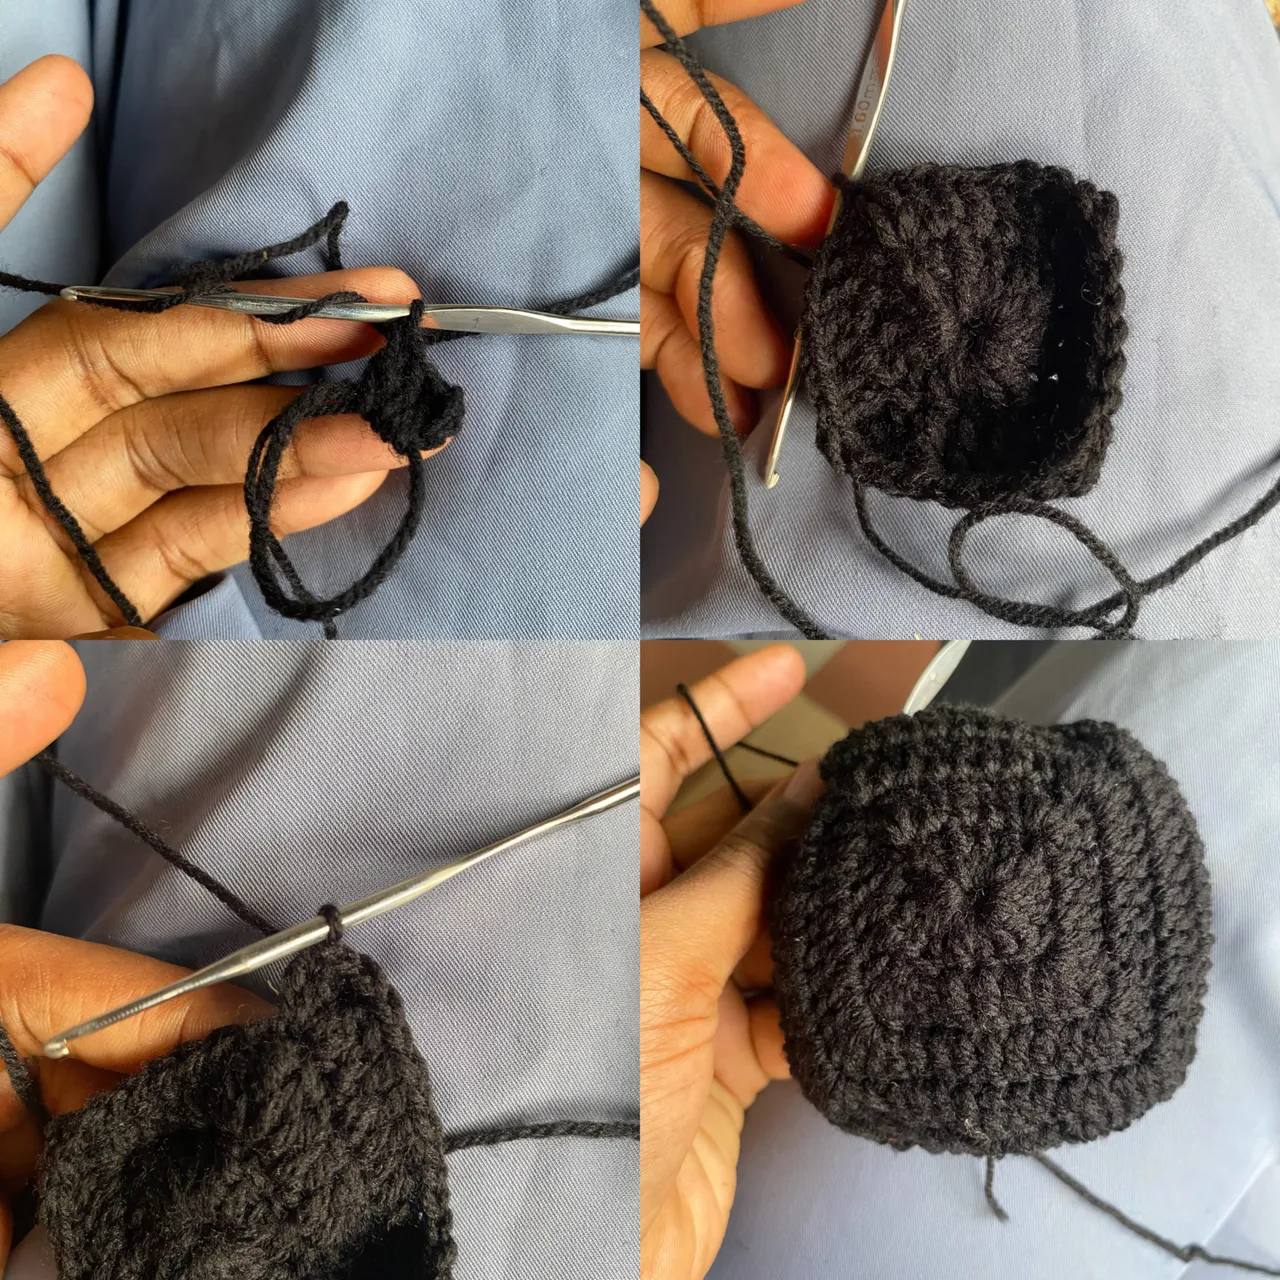
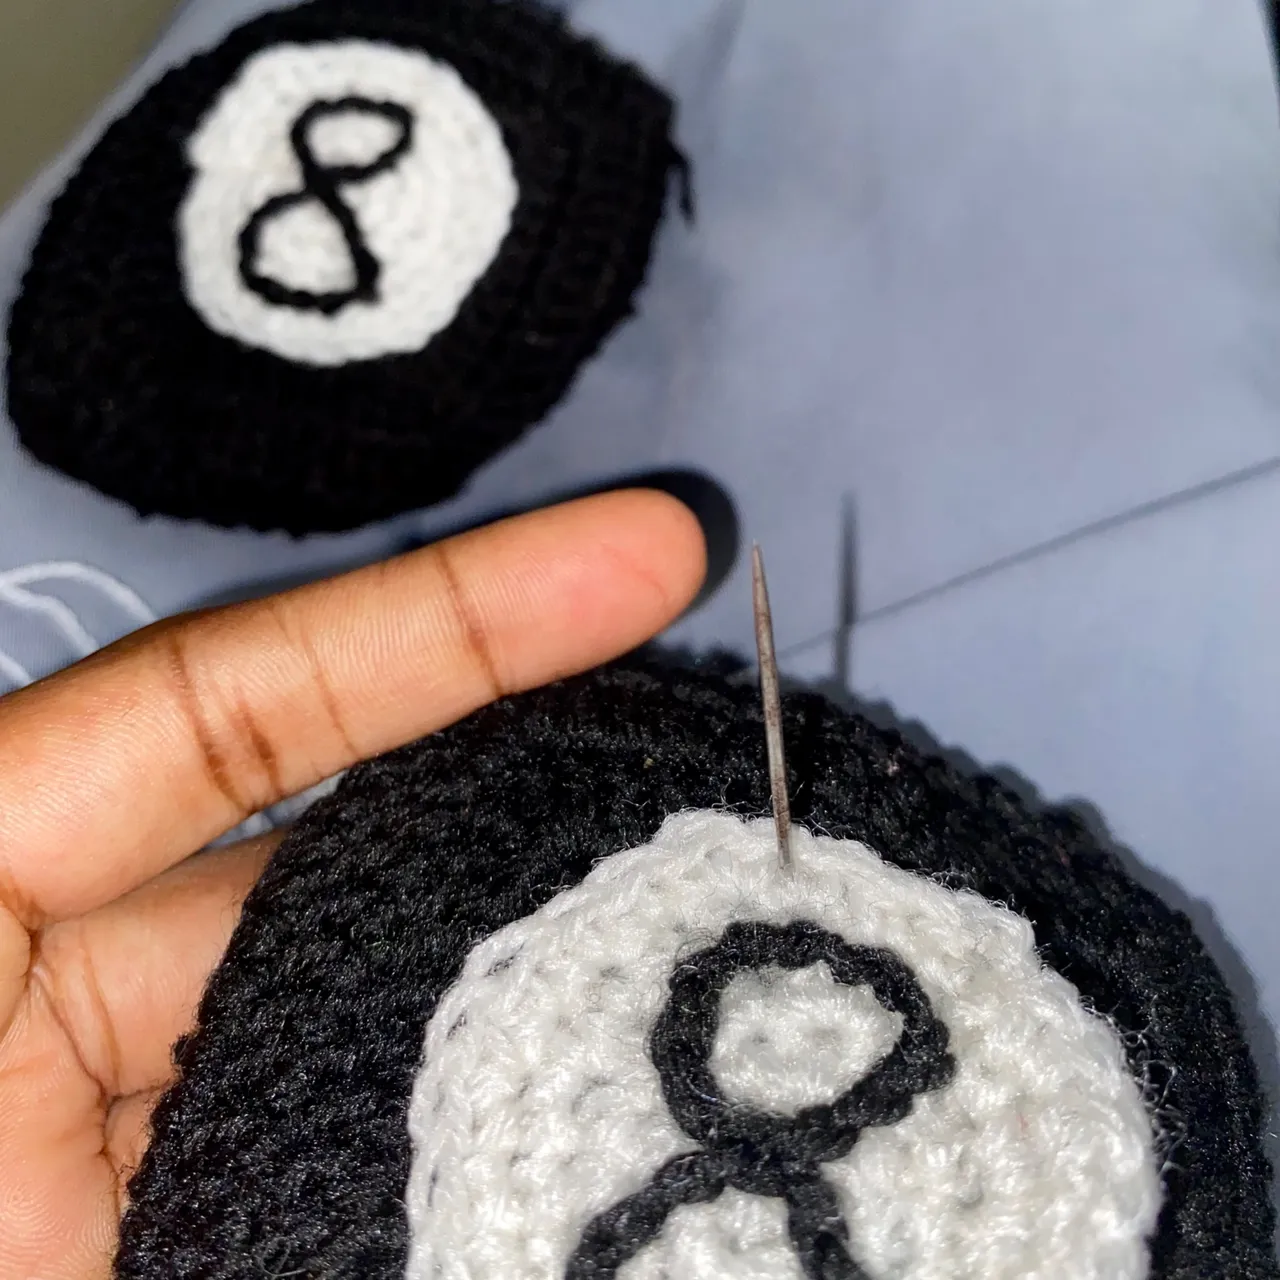
I attached the white circles to the the main cover with yarn and needle and I was done.
The result
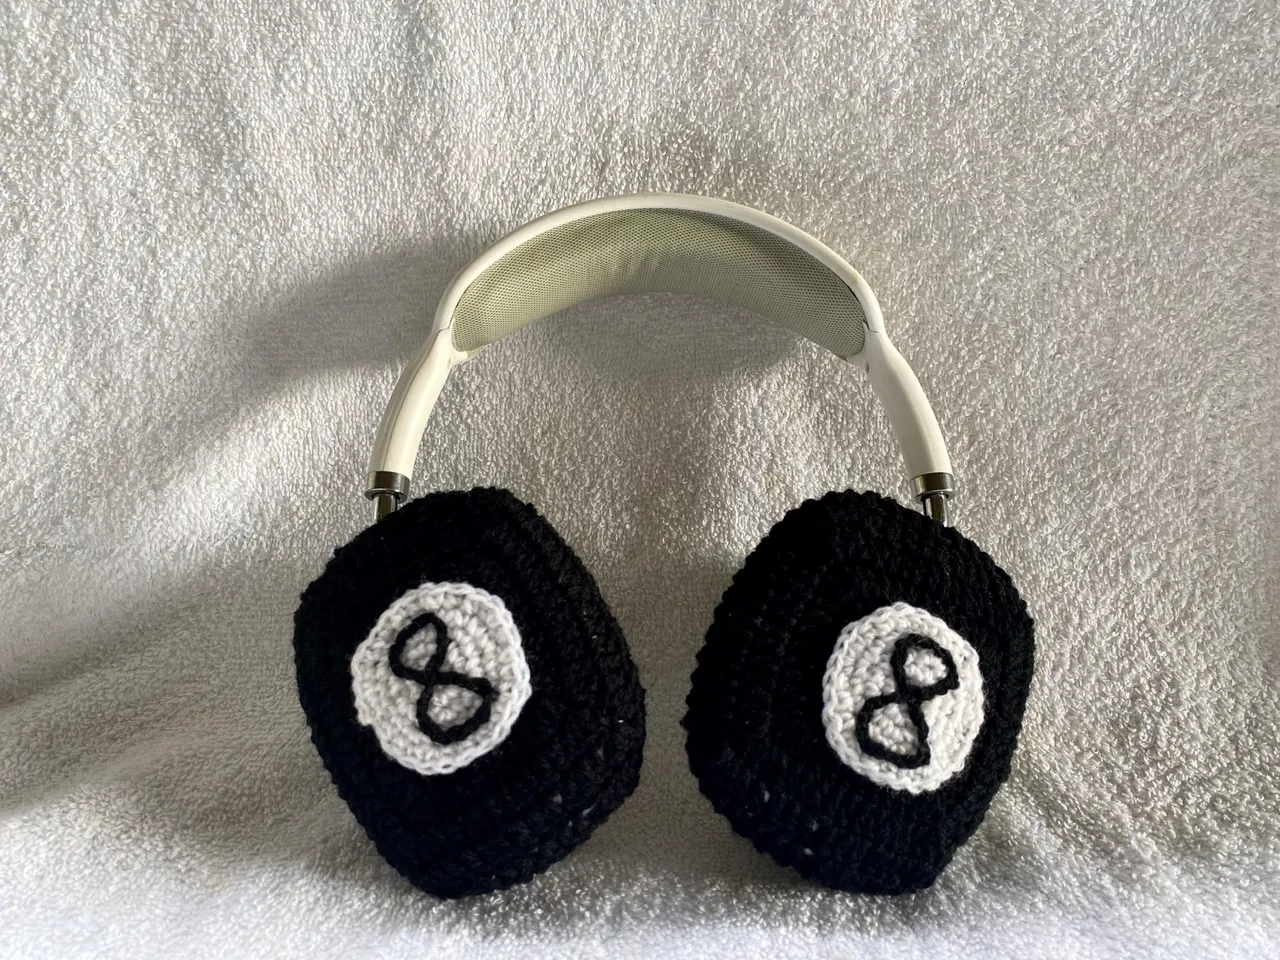
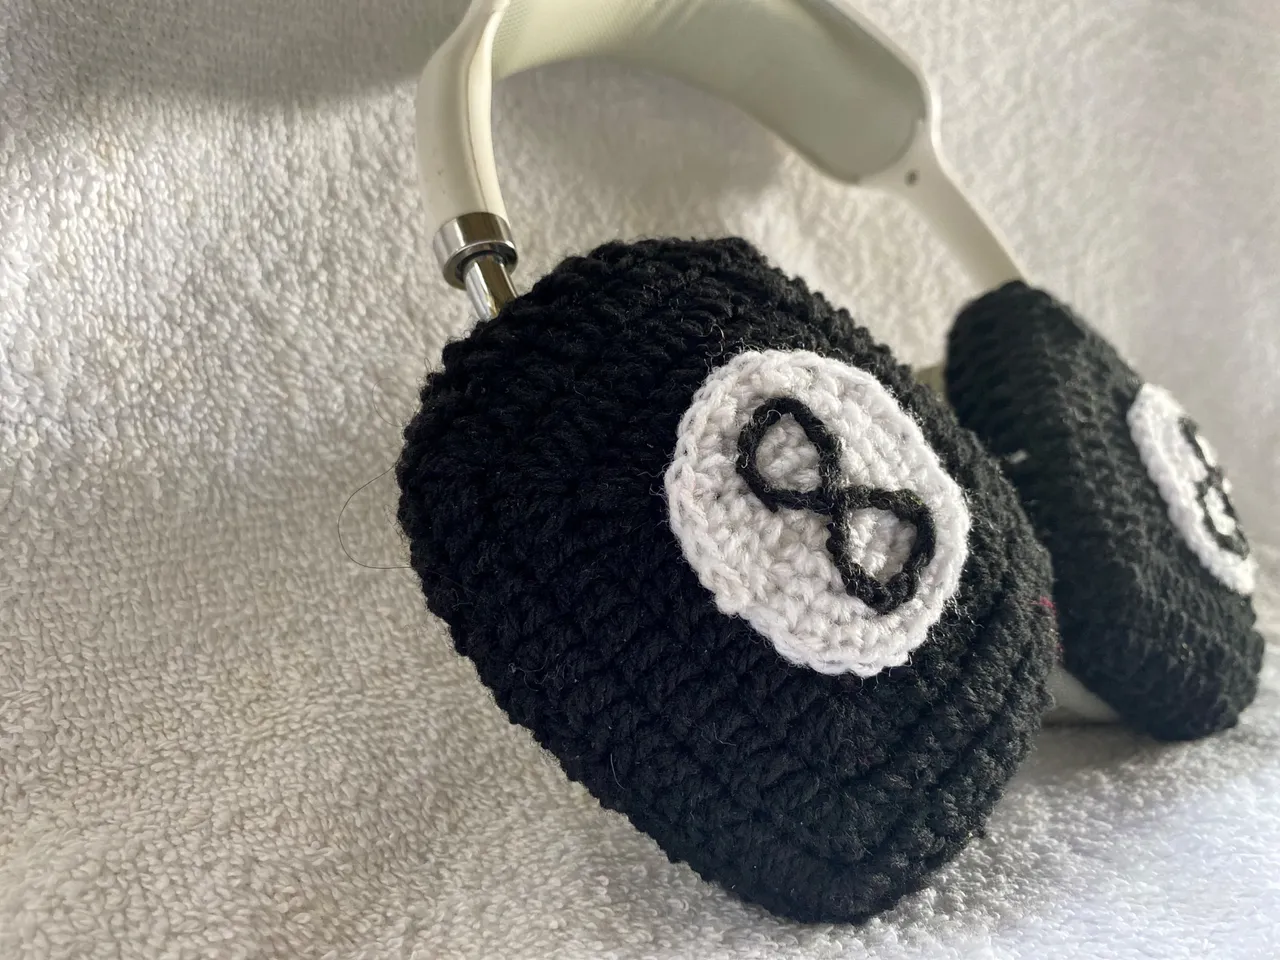
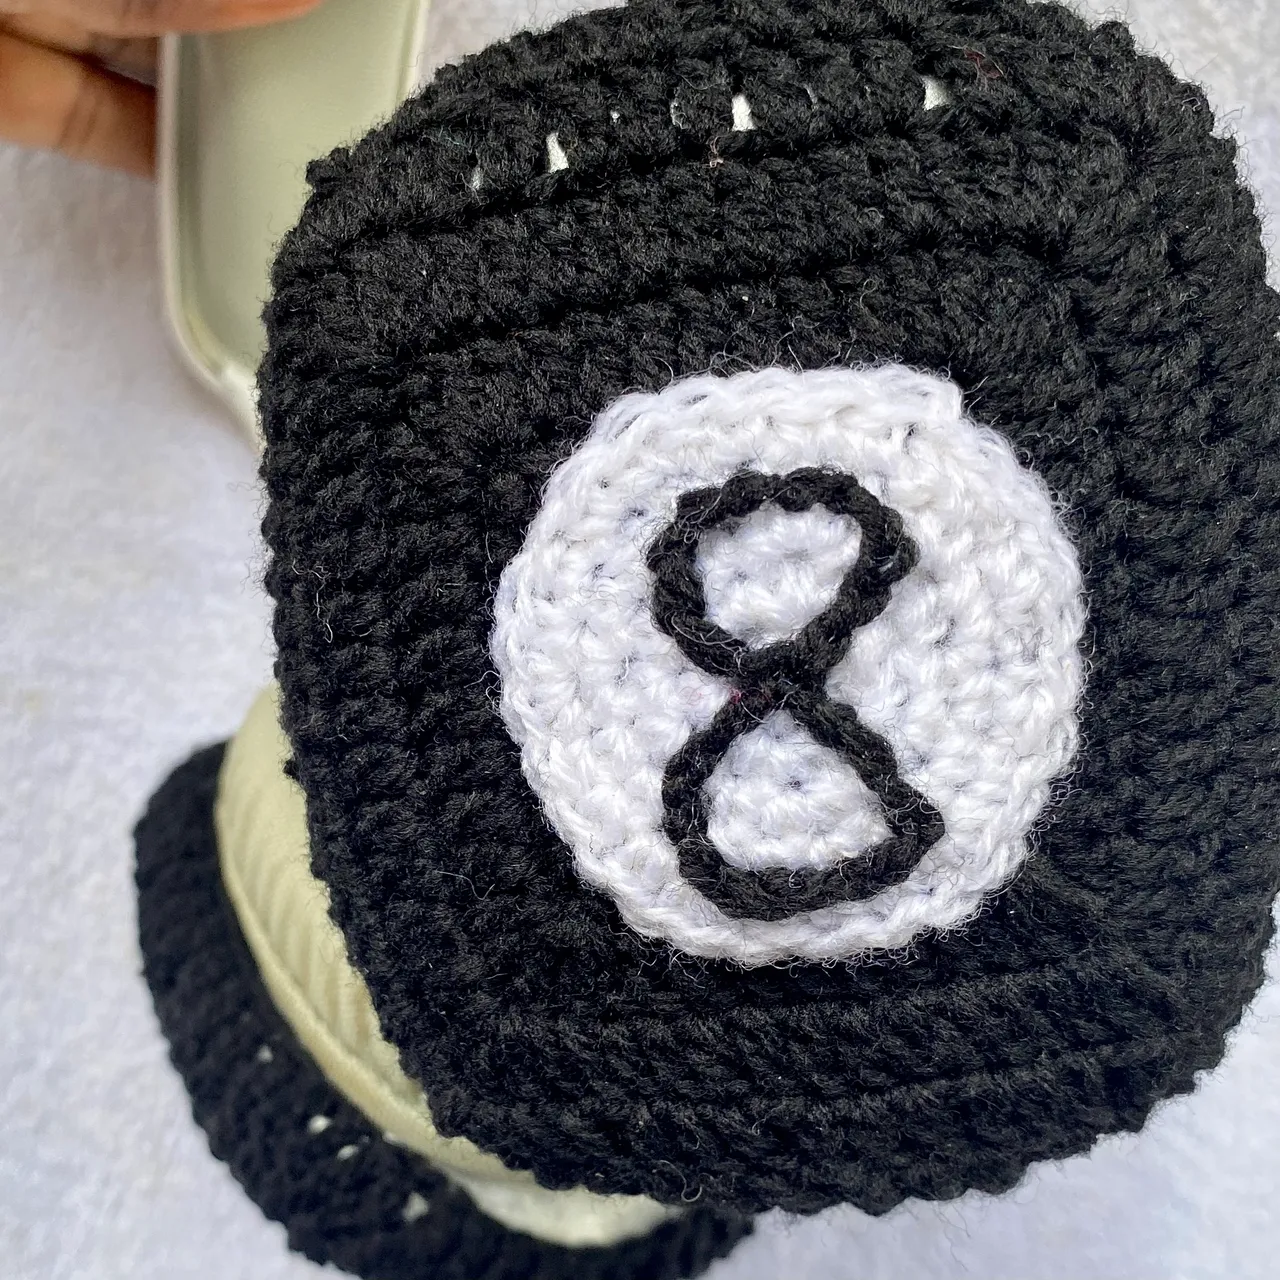
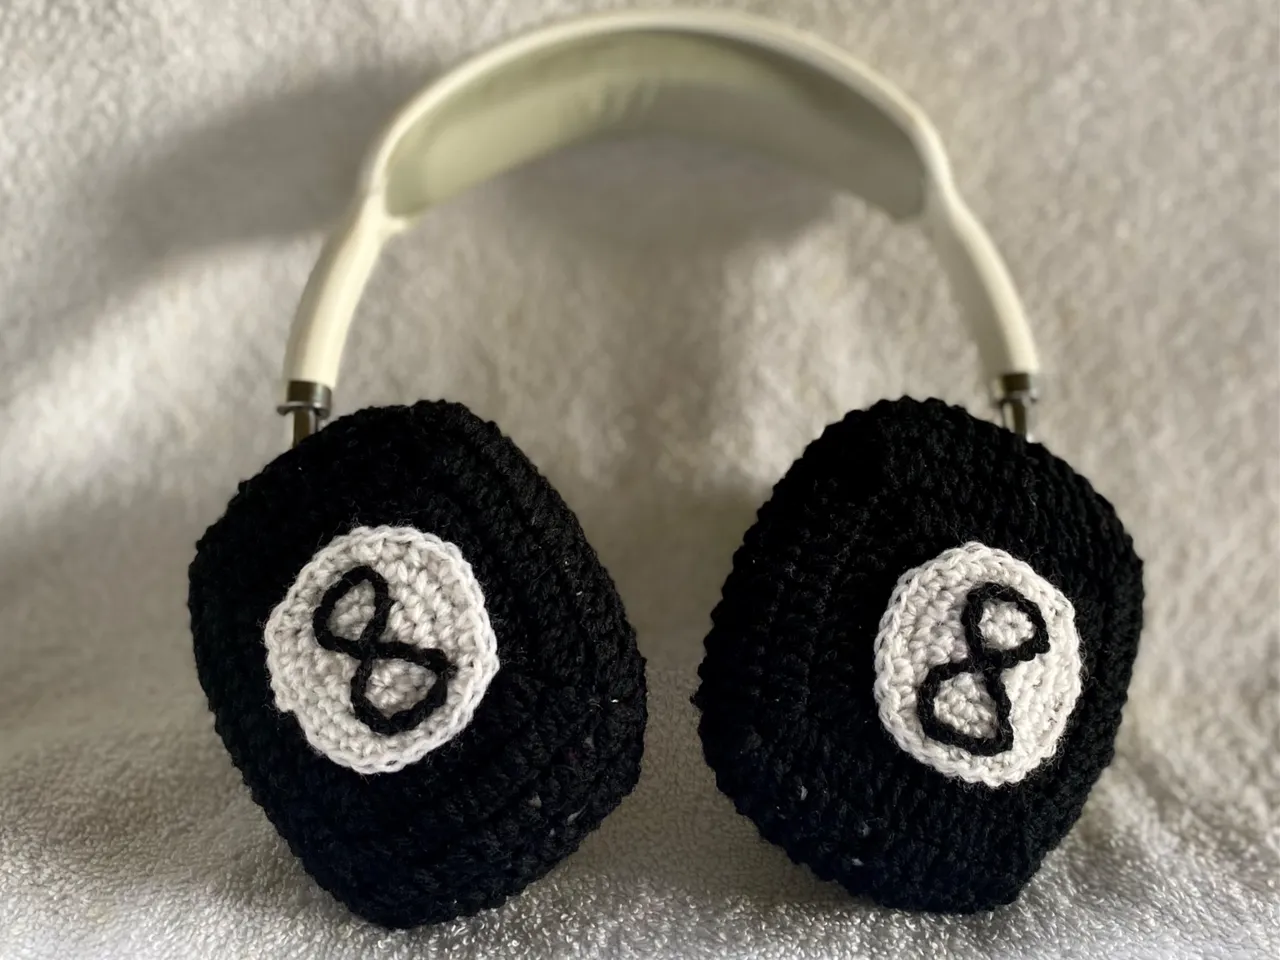
As I said, the challenging part was when sewing the 8. It is always a challenge when I have to repeat something with my free hands as a crocheter. It was fun doing this. I absolutely fell in love with the result right after I was done and I can’t wait to see the look on my brother’s face when he sees this. Thank you for your time.
All images are mine
Grids were done with photogrid