Hey Hivers!
I want to talk a bit more about some of the retro games photography I do as it's becoming a bigger part of my daily routine. I've always loved gaming, I remember getting my first ever console the Sega master system 2 with Alex Kidd built on Christmas day. I think I was a bout 5 and had no idea what it was until my mum turned it on a it just blew my mind. It wasn't just me and my sister playing it though, I remember coming down stairs as a kid to find my mum awake after an all nighter on it.
Any way I digress... I started photography properly back in March when lockdown came into effect. I started with photographing pretty much everything, but mainly portraits.
I've always been a retro gamer but with work being busy I'd not had chance to play anything for ages, so again in lockdown, wanting to learn photography and a lot more time on my hands I dug out my collection and I set myself the task of doing one retro photo a day.
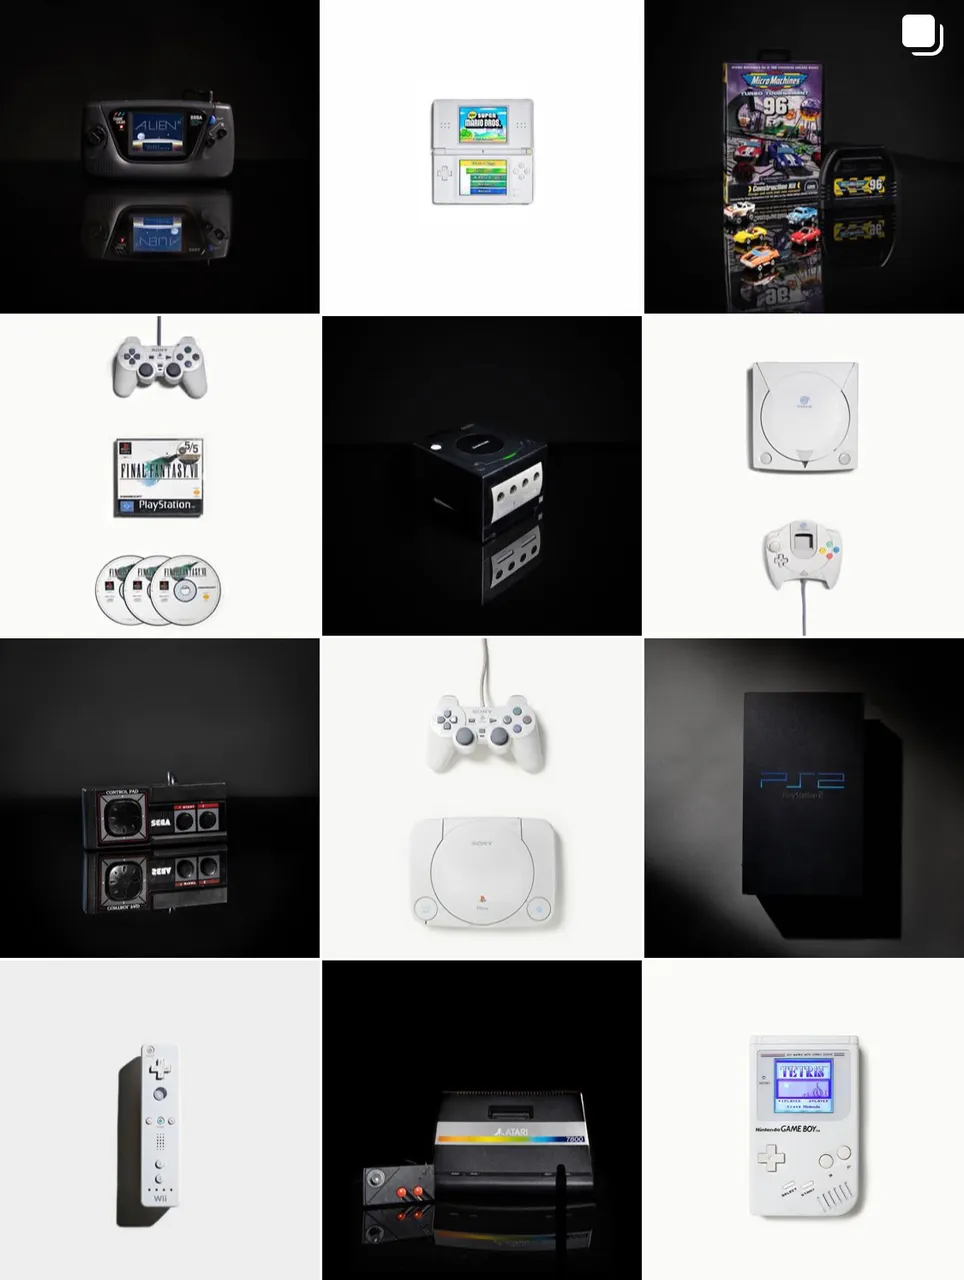
I started posting them originally on my personal instagram account but i'd built up a bit of an audience with my portrait photography I thought it best to start up its own separate instagram account and so....Retro_masterfrost was born on instagram.
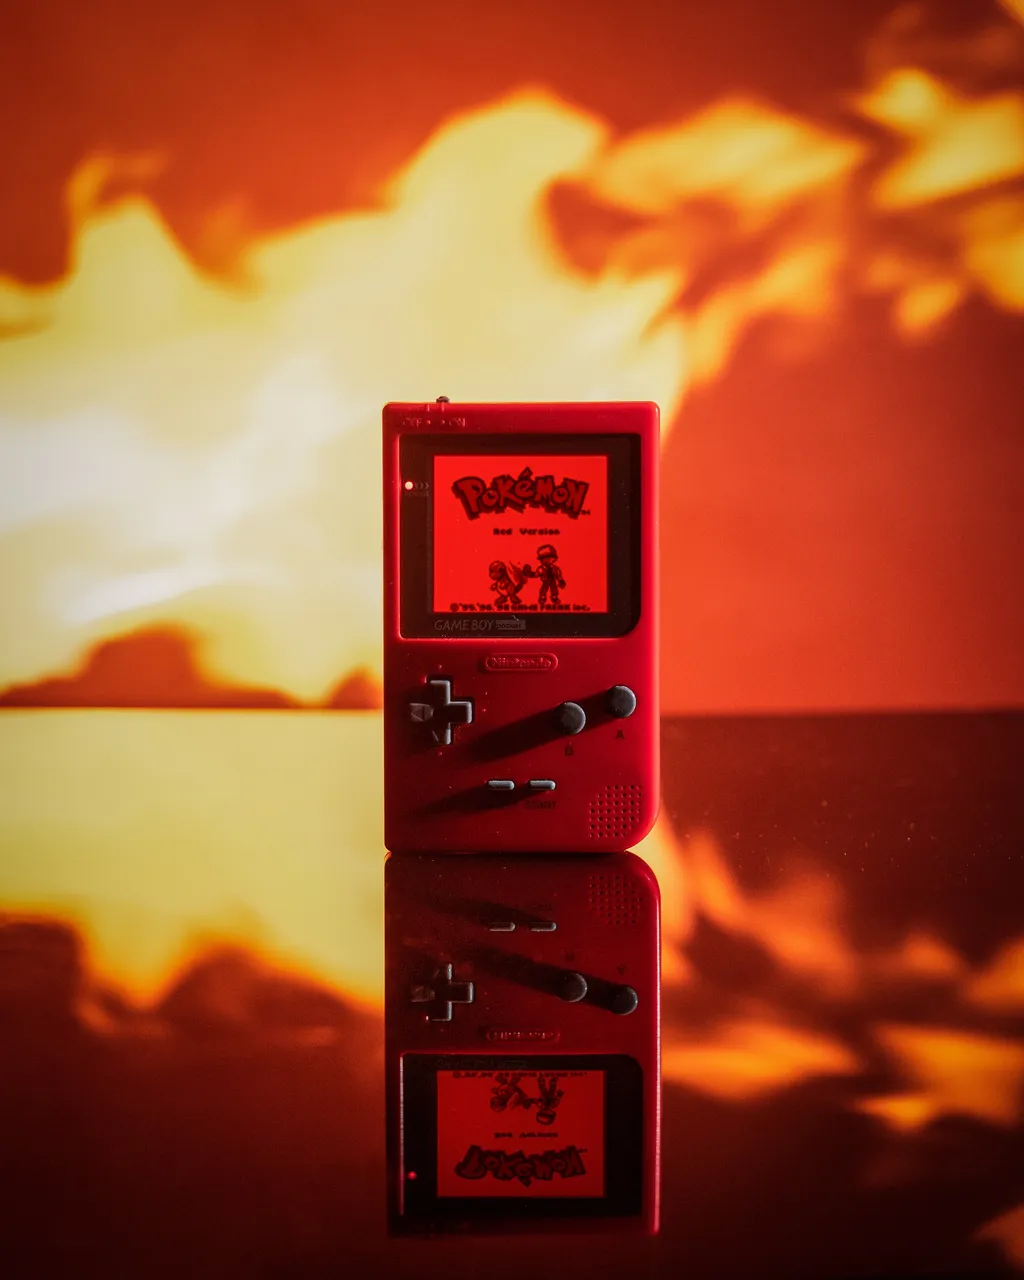
Elemental theme
So the elemental theme. I like my instagram to be aesthetically pleasing even when you're just looking at my profile. I find if I set myself a theme it challenges me to be creative. So yesterday I started shooting my next theme The Elements. I intend to do 3 shots for each element and I may even go a bit captain planet and do love as an element, but we'll see haha
So here is a quick overview of one of the water element shots from yesterday.
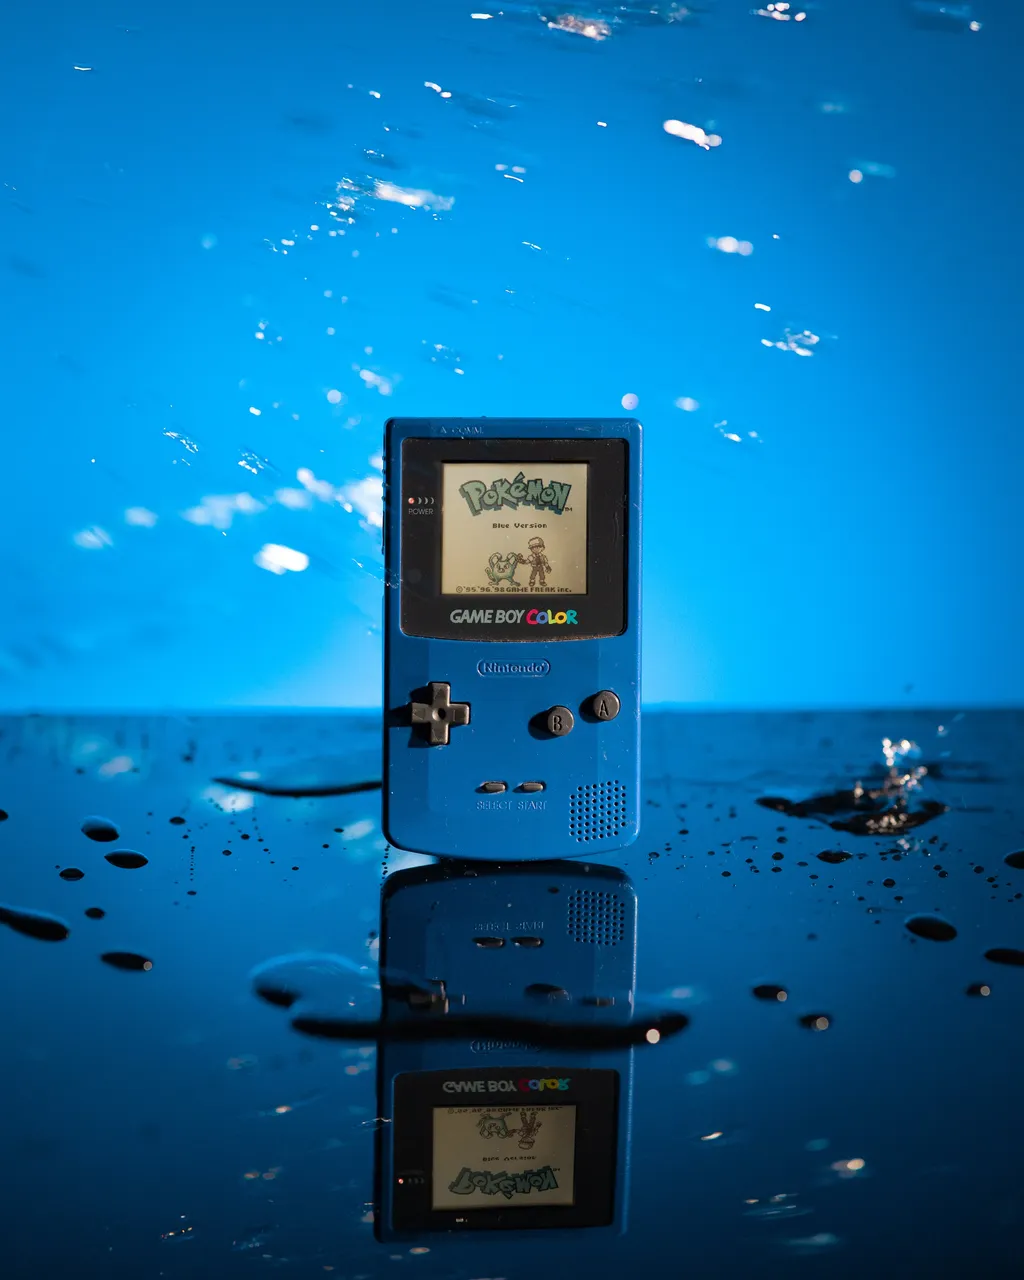
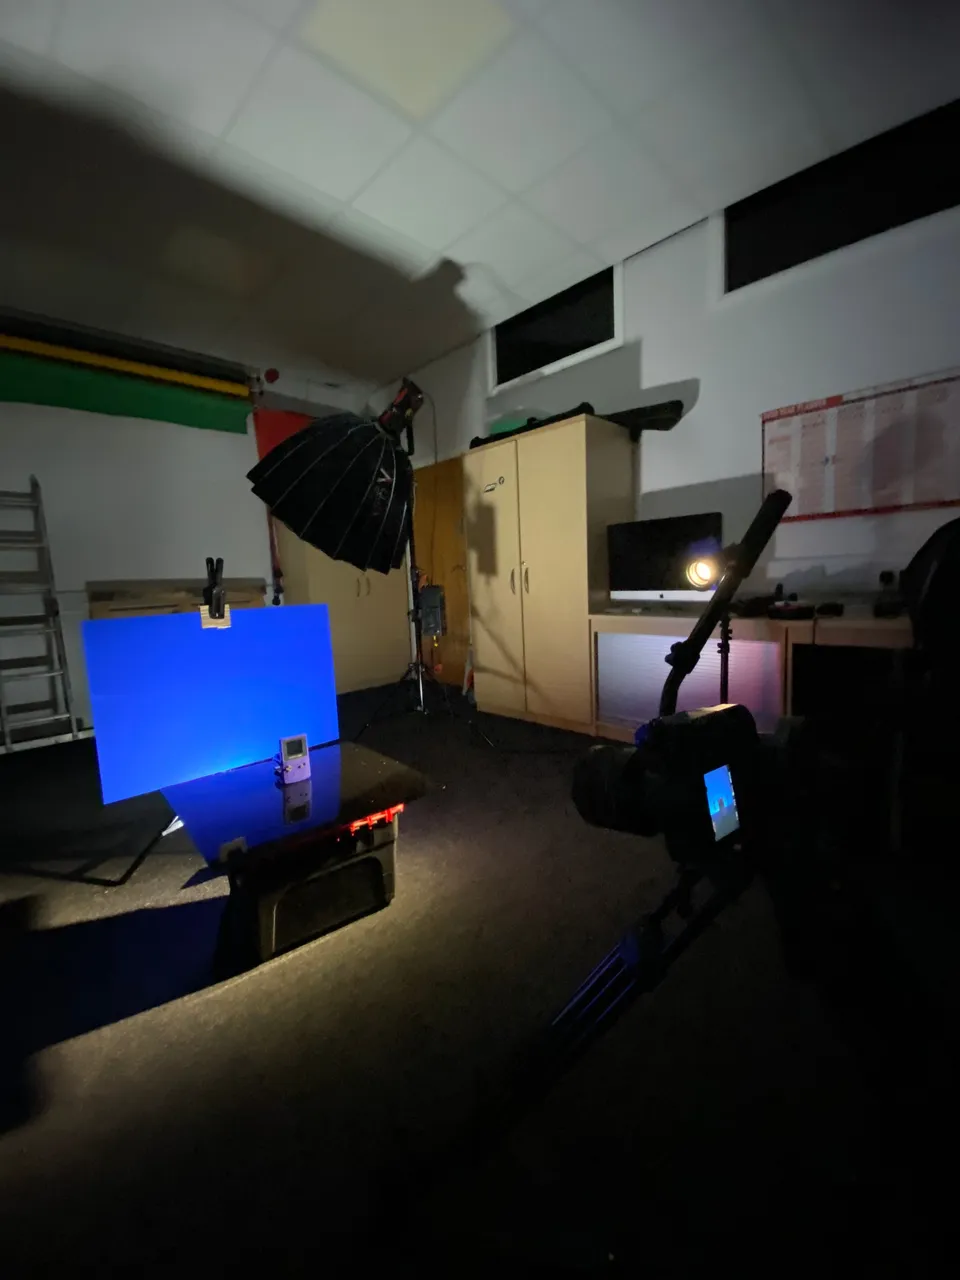
So how did I shoot it?
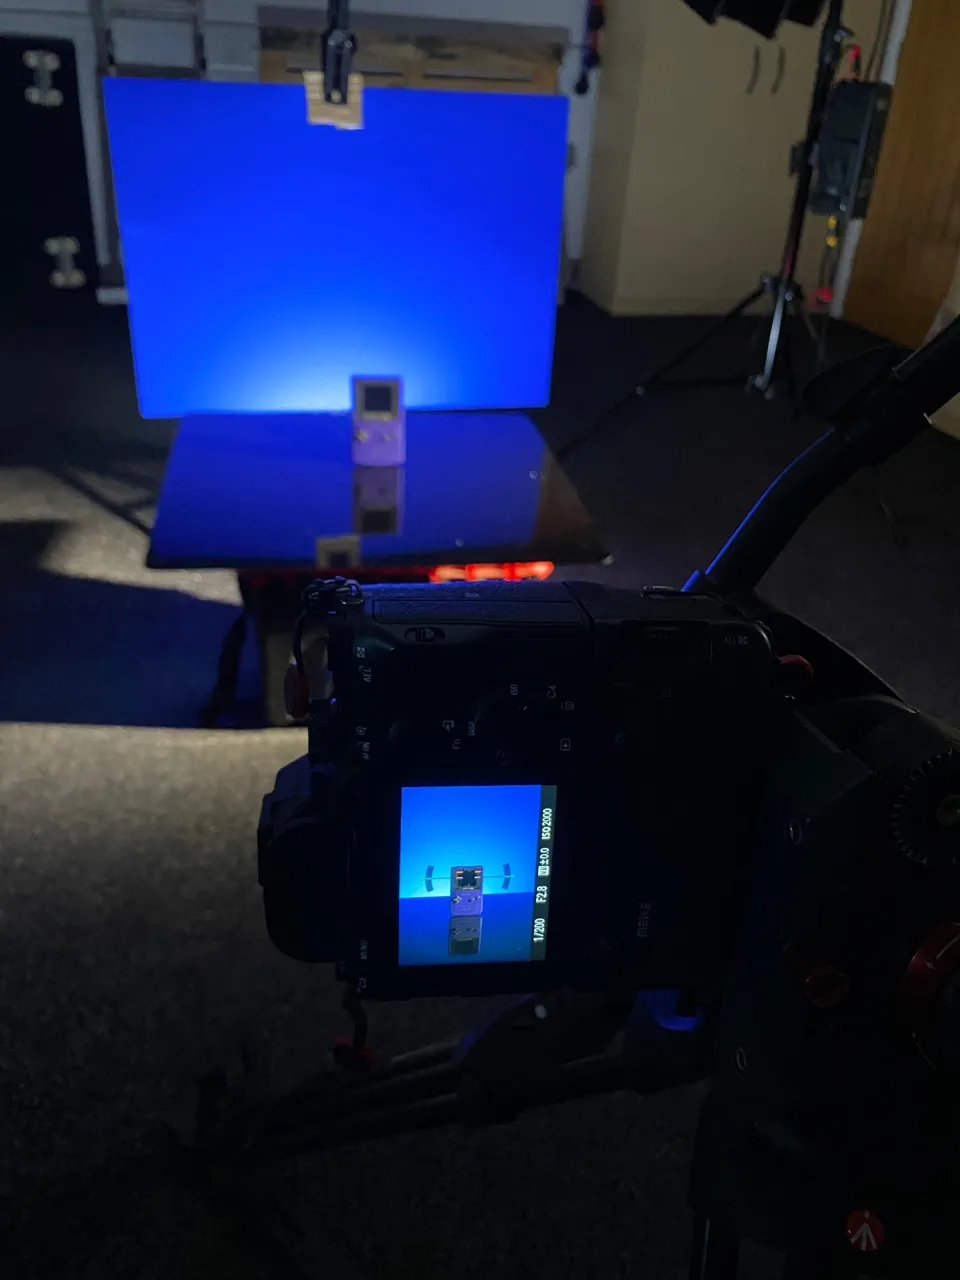
Firstly you're probably better doing the water ones outside.....I didn't, the studio got wet...Sorry @ashtv
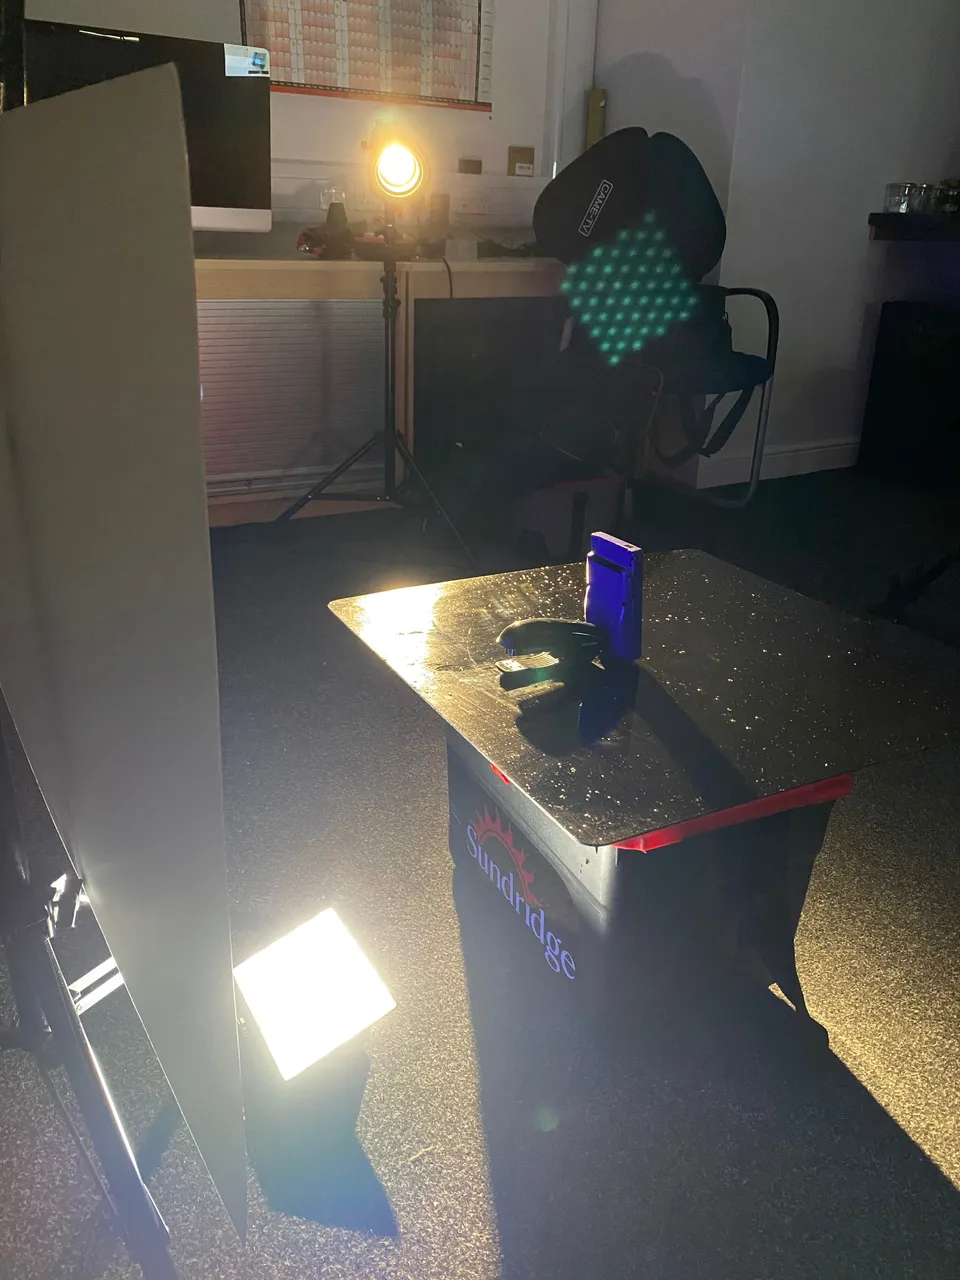
I set up a piece of black Perspex on a box (for height) just to give a nice reflective look to the base. For the background I used a piece of blue A1 Mount board I picked up from craft store for about £3. I clamped the mount board to a stand. Next I positioned the camera so I had the full reflection of the gameboy color on the perspex. Some times you find the card my be clamped too high so make sure you check in camera that there is no gap between the perspex and card.
Lighting
For this shot I used 2 lights; The first one was a spot light on the gameboy from almost 90degrees to the right of the camera.
As water is transparent I needed to find a way of lighting it, I also didn't want to cover the gameboy in water so I moved the background card back about a foot and put a panel light on the floor facing up which I covered with a clear plastic bag as not to get it wet. This also doubled up as a backlight /vignette light.
Now for the fun bit!
First I set up the camera;
Camera: A7ii
Lens: Samyang 85mm prime
Apature: f2.8
Iso: 2000
Shutter speed: 200
I set the camera on a 5 second timer to shoot 5 photos and partially filled some mugs with water.
5 4 3 2 1... I then threw water everywhere!!!!....
and I missed a few times. My advice would be to persevere and check in camera where you should be aiming the water.
So thats 1 of 3 of the water elements photos done.
All there was left was to polish it up in light room and crop it for instagram and we're away!