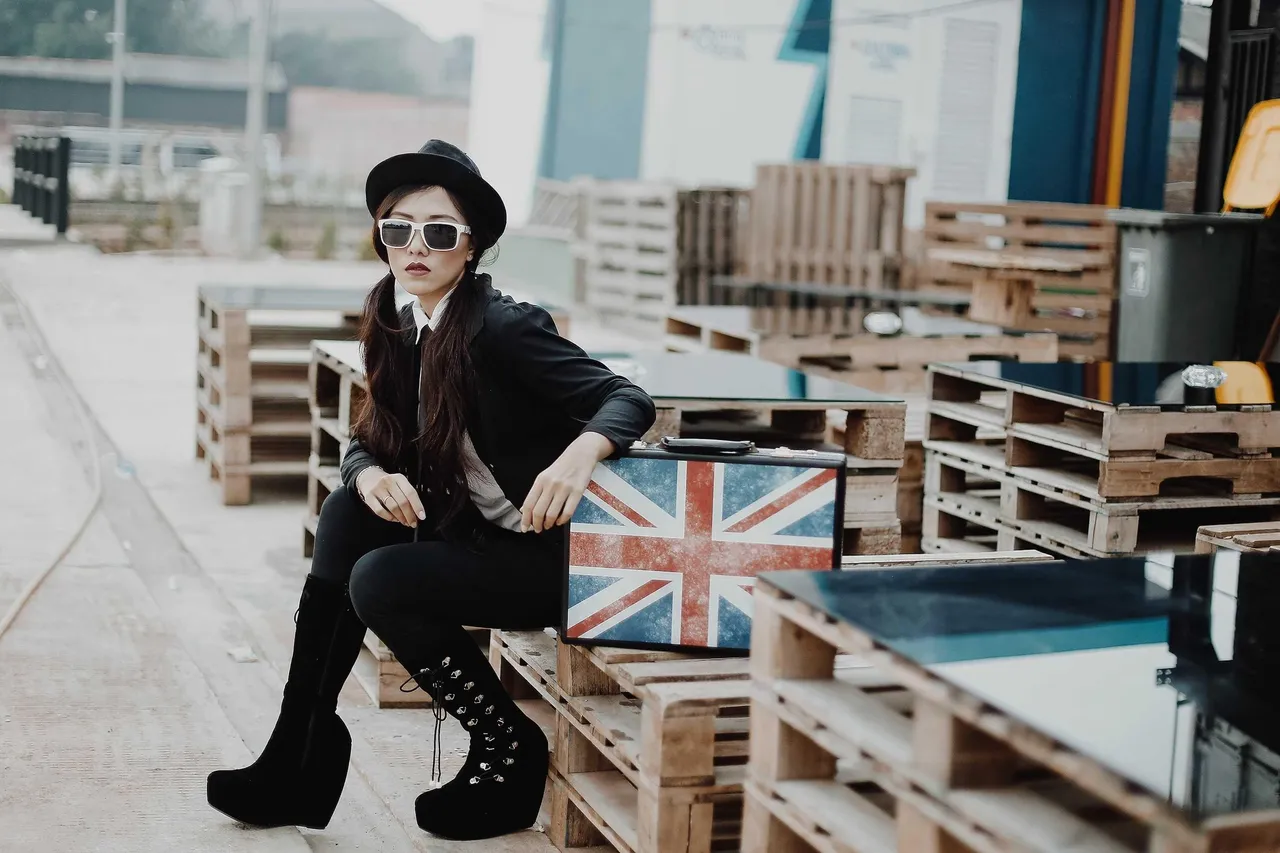
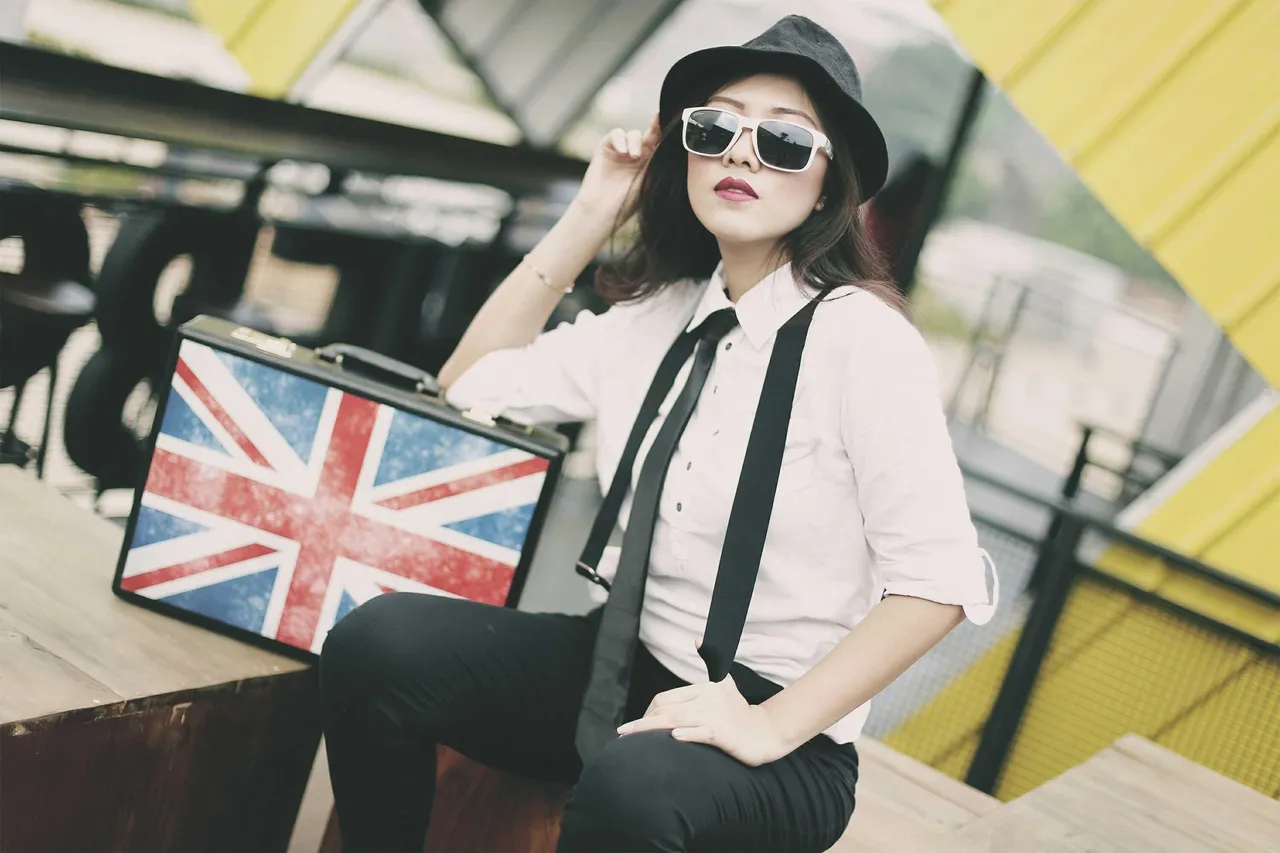
Giving a vintage feel to the photo at the same time giving a soft impression is the trend that is currently on the rise. Photographs with a soft vintage impression overall bring a warm and close atmosphere to the photos.
Step 1. Open the image file
Quick way: Drag and drop the photo file you want on PS CS 6.
Step 2. Adjustment in Photoshop RAW
Since I want a lot of freedom for photo correction, most of my photo file type settings in camera are RAW. so if I drag and drop RAW files of the photos that I select, then the command prompt camera RAW 7
Especially in this photo I will make some changes first in RAW to provide a better platform for soft vintage effects later. Changes in RAW 7 is in principle up to you. If you think your RAW photos do not need to be changed then you do not need to change them.
Changes I made only in basic:
Changes to basic, adjust to what you want to achieve. in this photo, i want a lighter highlights because there is sunlight behind them which i want to emphasize.
and details:
Changes to details I do in noise reduction only in the luminance slider. I do noise reduction because the camera and lens I use has a high enough noise level especially when the ISO has reached 400. Be careful with the use of luminance not to excess because it can look too soft in the photo.
Once satisfied with the edit in RAW 7, click open image to open the file in photoshop.
Step 3. Curve Adjustment in Photoshop
The first edit I did on the curve. Kurve I increase the highlights because I want a brighter hightlight. the correction is adjusted only on your photo, because each photo has a different condition. Edit this I do by clicking the curve adjustment.
then sya up the curve at the right to the top while the curve on the left parallel to the line.
The purpose of the curve changes above is so that the highlight appears to be brighter while the shadow looks normal.
Step 4. Create a Layer Overlay
Create a new layer by clicking the New Layer button in the lower corner on the right then right click the Gradient Tool button. When a small selection appears, select the paint bucket tool (bucket image). Make sure the paint bucket button appears on the left side of Photoshop.
Step 6. Repeat Create Overlay Layer Again
Click new layer.
click the color picker. A dialog box appears. Choose a blue color. If I use color # 4567f8. If want to use the same color with me, just enter the numbers as in the picture and click ok.
Then click in the middle of the photo, then the photo will be closed again. Next you just change the opacity to number 11 but the blending option exclusion:
Done.
Your photos are very vintage style and soft impression.
Thank you for following me, good luck