When you get the urge to go on a photo trip, how does someone plan for all the possibilities?
How can I be the most effective with the short time I have as a hobby photographer traveling on my PTO? or how as a full-time photographer do I research an area I haven't been to?
Let's chat about my plan for planning a trip.
Step 1: Who? What? When? Where? Why?
Who are you going with?
What is the purpose of the trip? (ex. exclusively photography? family? business?)
When is the trip going to be taking place?
Where are you going on this trip?
Why are you going on this trip?
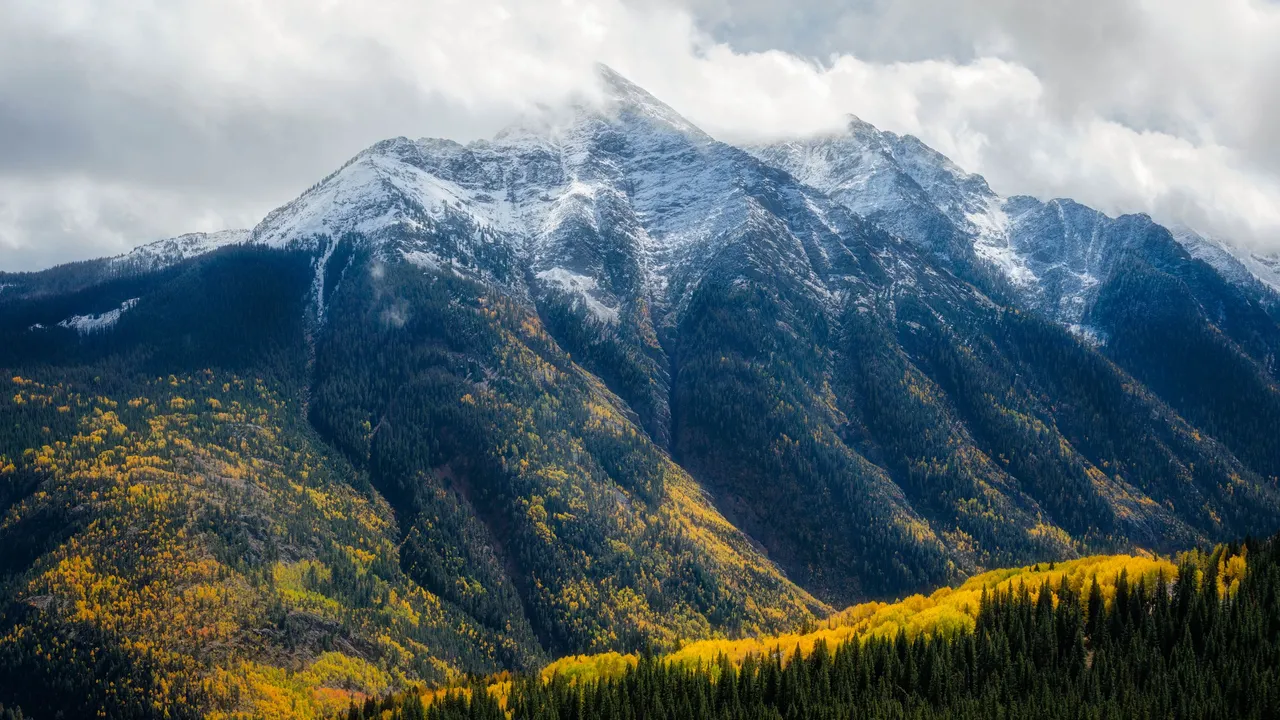
It's important to know all of these steps when planning the trip. Your why determines your mission at your where and when you will go. The who and what will determine the time you spend focusing on photography. For example, if I want to take a trip to photograph the Rockies in autumn, I need to research when to go as well as locations! Knowing these steps when beginning research will be key!
Step 2: Familiarize yourself with the area.
When you begin researching an area, begin by researching popular spots. By doing this at the start you are beginning at the widest (most popular) part of the funnel and then you can drill down into the lesser known landmarks of the area.
Practically, this plays out for me in lists. I create documents in the cloud where I just begin listing locations. From here, I can pin them on the map and begin comparing distances from one landmark to the other. I also research sunrise/sunset times, moon cycle and other potential weather forecasts.
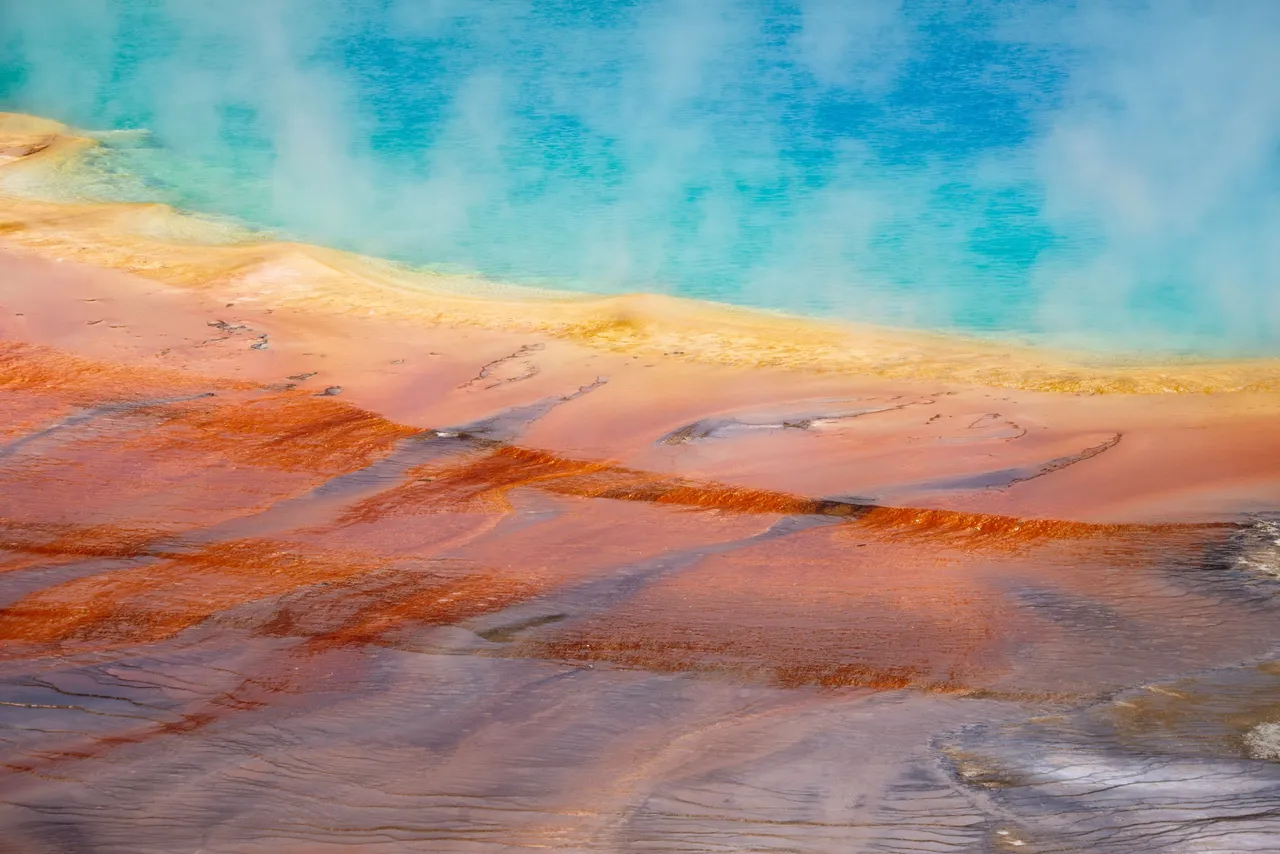
I can use forecasts, previous photographs of the area and tools like Google Earth to determine what conditions will be best to fulfill my mission to the area. For example, in 2019 I was headed to Yellowstone I wanted to shoot Grand Prismatic Springs in peak conditions. Traditionally, the best light for most subjects is found at sunrise or sunset but for this particular location it is best to shoot midday when the sun shines directly down into the pool bringing out maximum color!
By familiarizing myself with the area, distance and time from destinations and the forecast, I am able to begin making plans for each day I am on location.
Step 3: Make a plan.
My Google Sheets app gets a workout when I am planning a trip. When I plan trips, I won't lock locations down to specific days but rather to other similar/nearby places of interest. When we look at the example of Yellowstone, I couldn't tie that shot to a specific day because weather could have been cloudy on that specific day and therefore it would be better if I went out and shot waterfalls or other subject matter that would perform better on a cloudy day.
Efficiently combining points of interest based on subject matter and condition to shoot have helped me be effective in short trips to cover large amounts of ground and make good shots.
Step 4: On location.
When you arrive on location, the planning isn't done. Now that your boots are on the ground you can apply what you learned in your research to the conditions and location. It's important to know what locations you can't miss when you are limited to those ideal conditions potentially only being there for one day.
Arriving early is key. I prefer to arrive at sunset and sunrise locations so that I arrive at least 1.5 hours to the location so I have plenty of time to get setup and find a composition before the best light arrives. Checking with staff can also be vital to knowing road conditions or potential closures of areas.
Being prepared can help you have a successful shoot. Above all, having fun and being safe are the two most important aspects of a trip. Even with the best of planning, conditions could not cooperate for your dream shot but it's always good to have backups and contingencies to create new opportunities!