I had been attempting to show you guys how I make my things. The problem in the past few days was that, I bought a clay that was just too difficult to condition. I spent about 2 hours attempting to make it into a texture that is easy to sculpt in. It is important for me to do that because, doing this helps me unwind. And, I really needed that right now because, there are simply too much that goes on in my life.
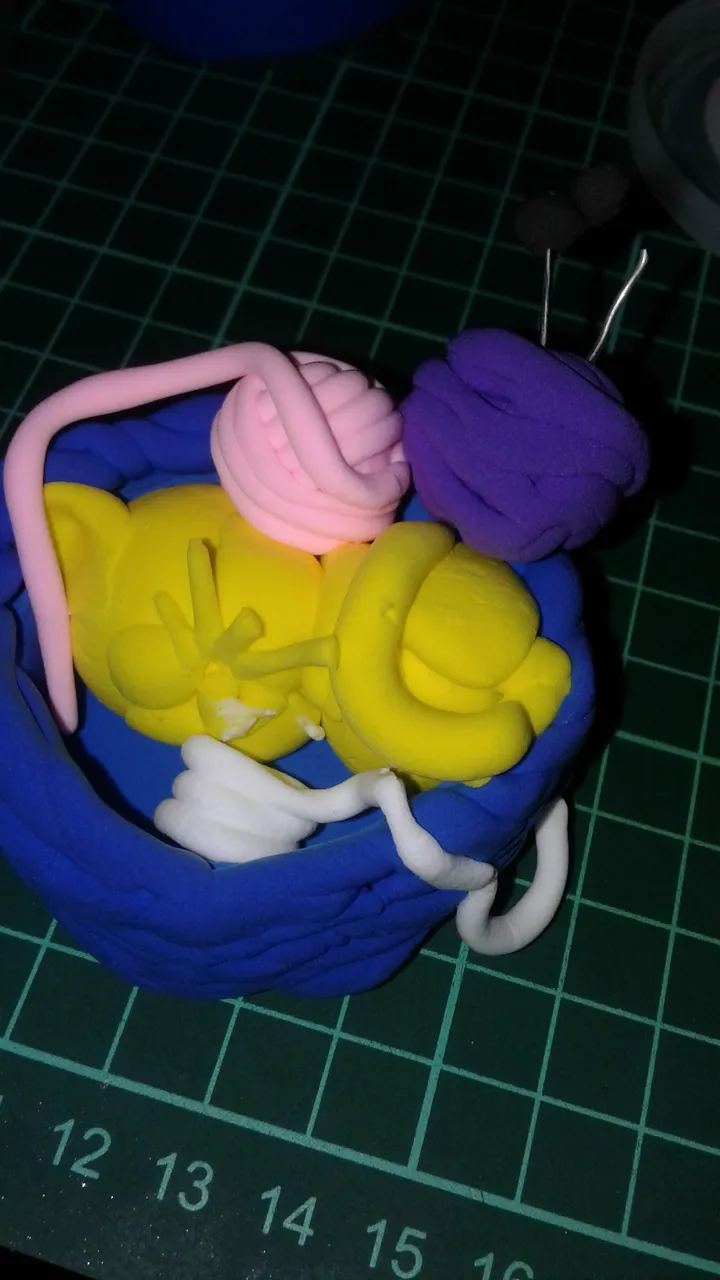
This piece is inspired by Milo, my friend's mischievous cat. I imagined him stumbling into my friend's knitting basket , got tired and fell asleep. I am not going to apologize about the color or the detail because, I want to transition back into using polymer clay. These are my "scrap" clay. I am just trying to maximize their use. I am not so keen with the detail at this point because what I have is either too soft or too hard.
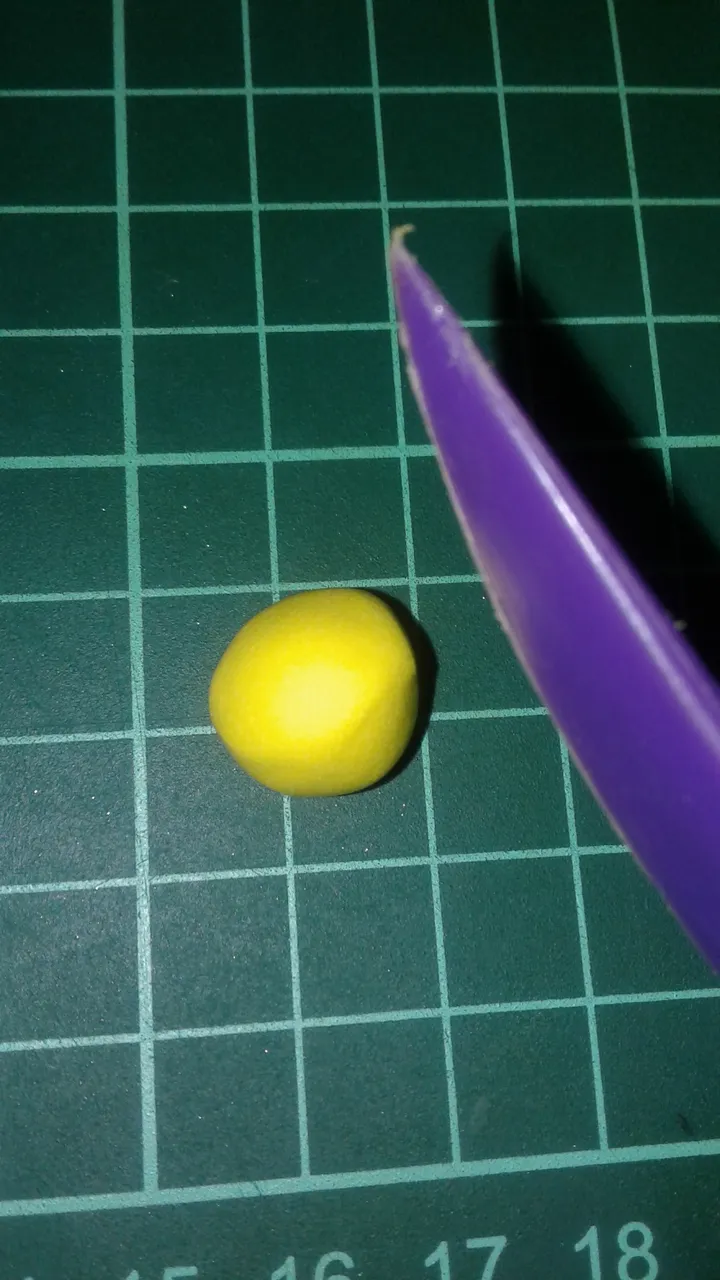
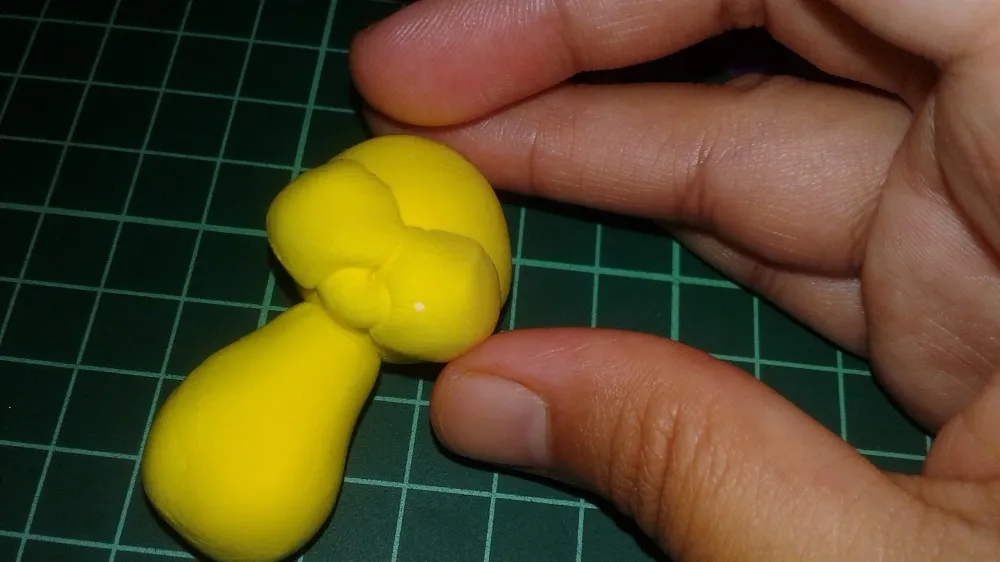
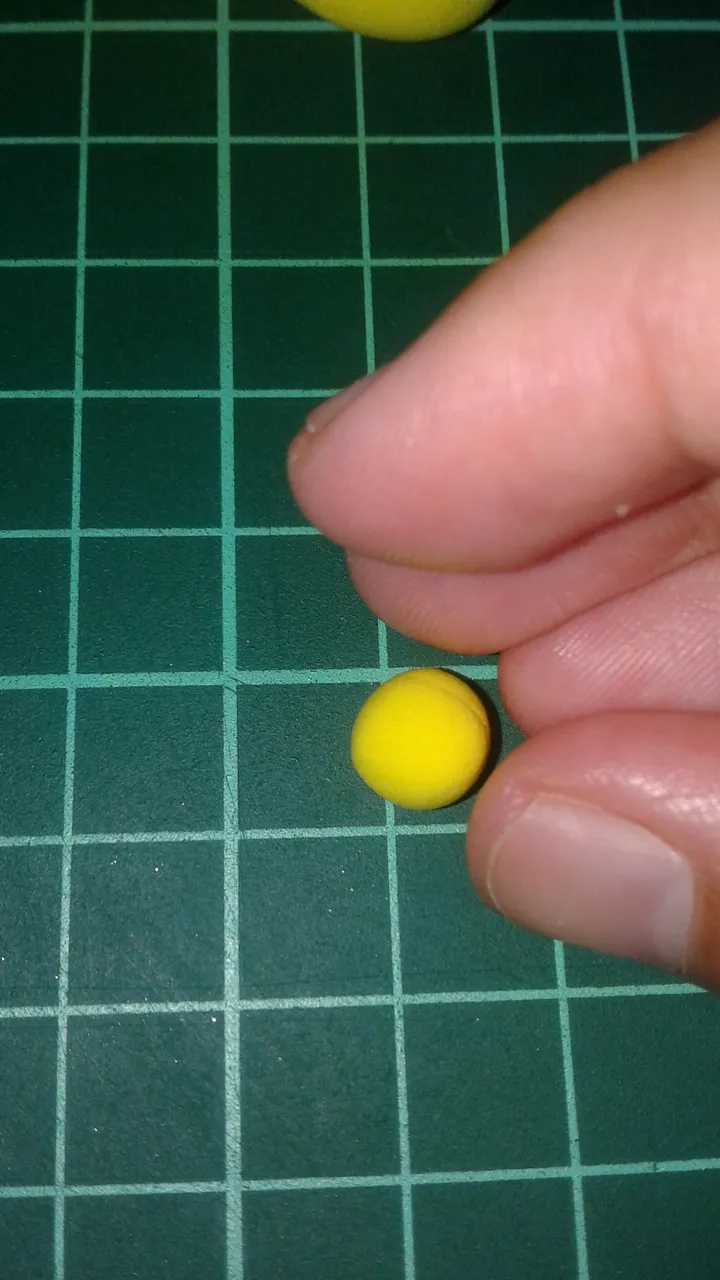
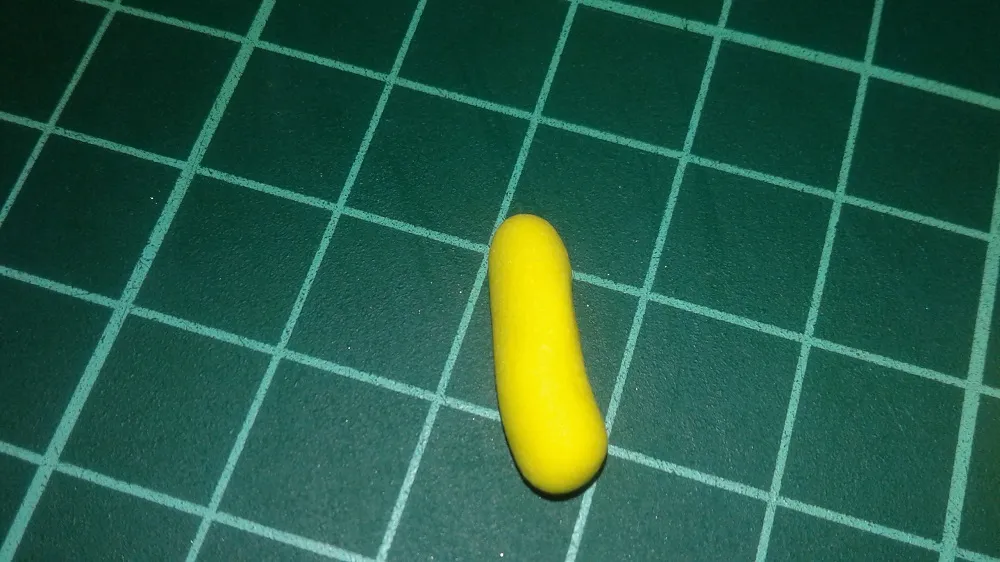
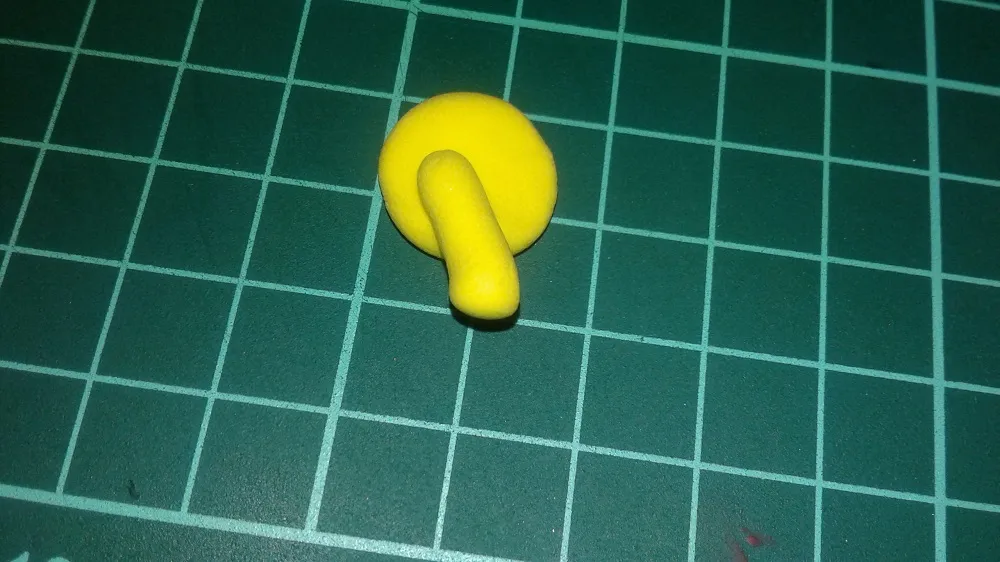
As I usually do, I started with a ball of clay and pinched one end.

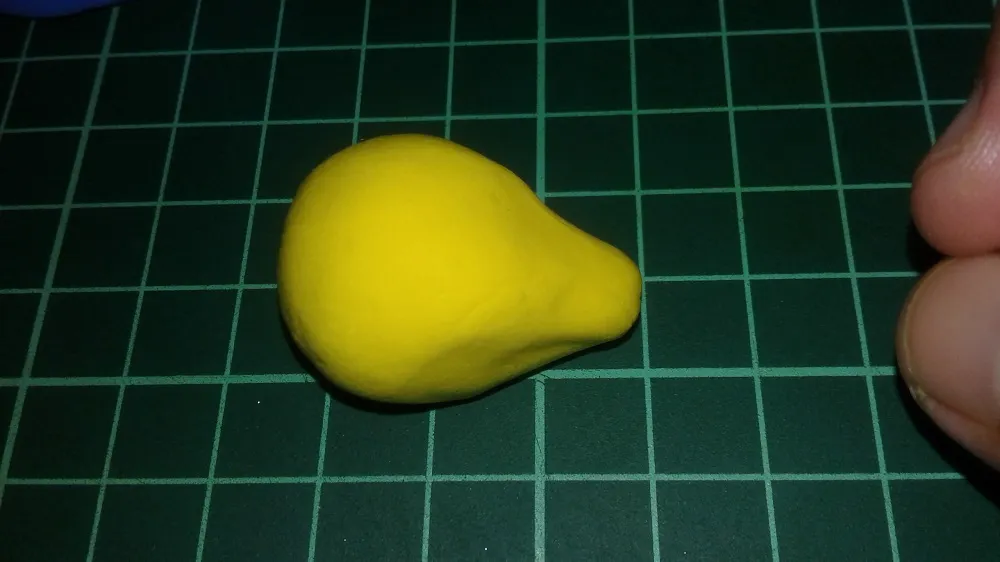
This will serve as the body. Set aside and get another ball of clay.
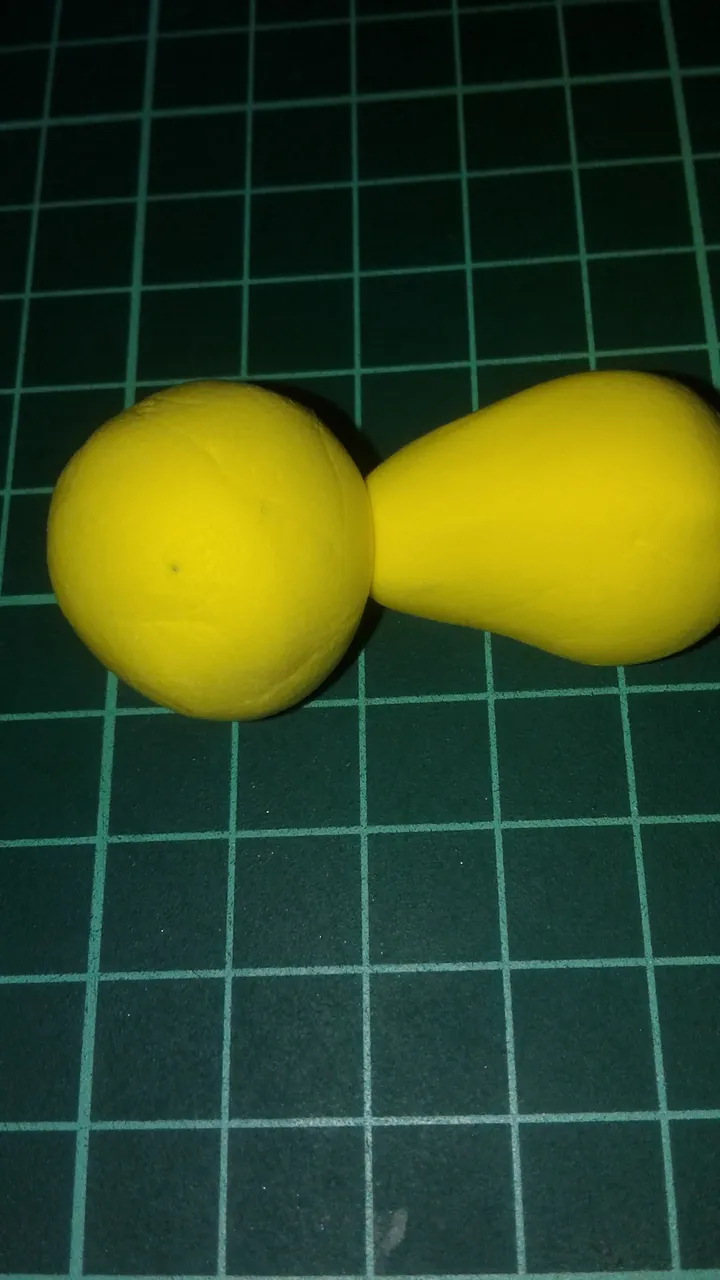
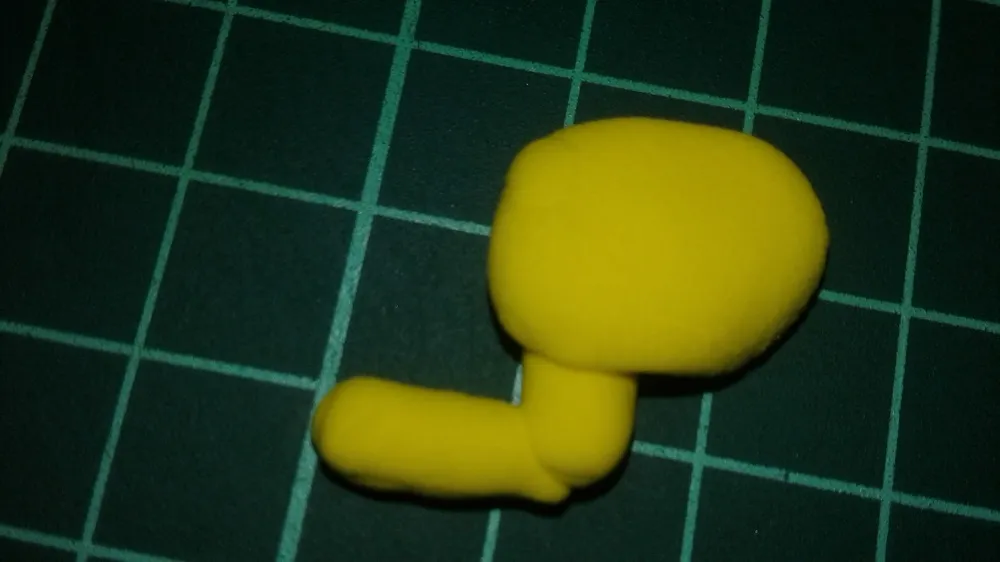
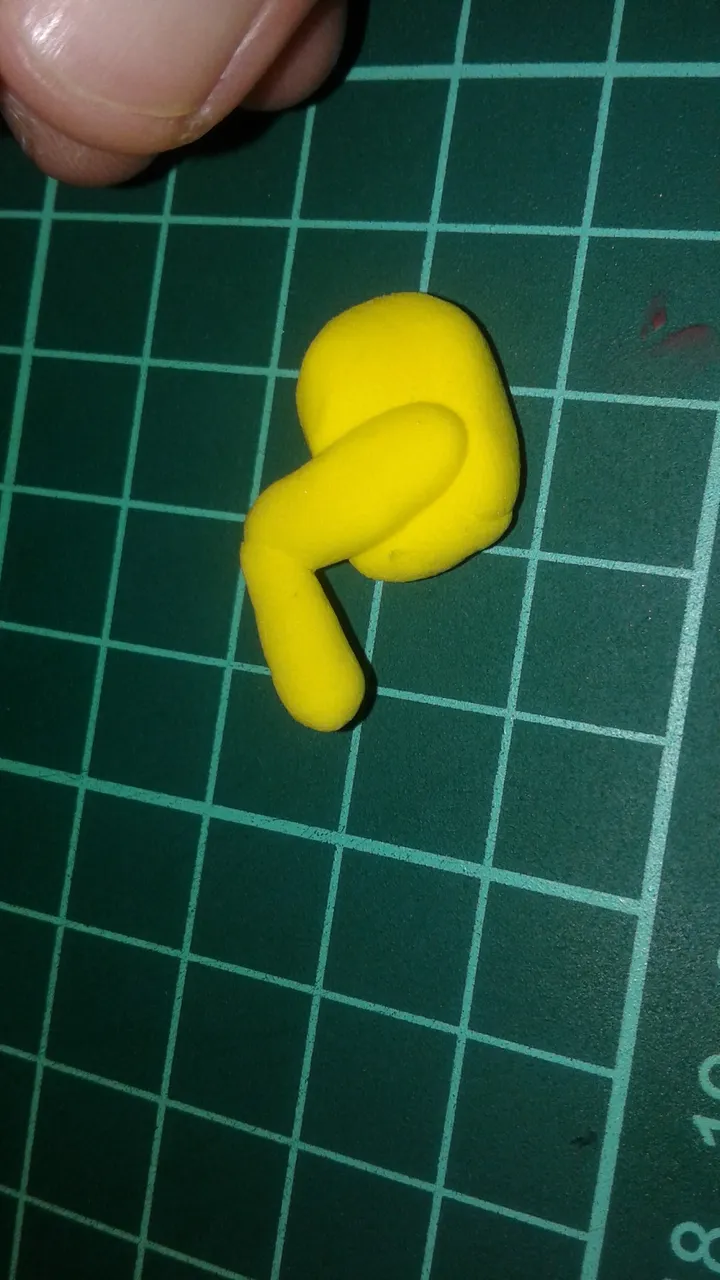
As you can observe, I did not use any armtures or reinforcements because, I wanted this piece to "sleep." I simply attached the two pieces together to arrive at this.
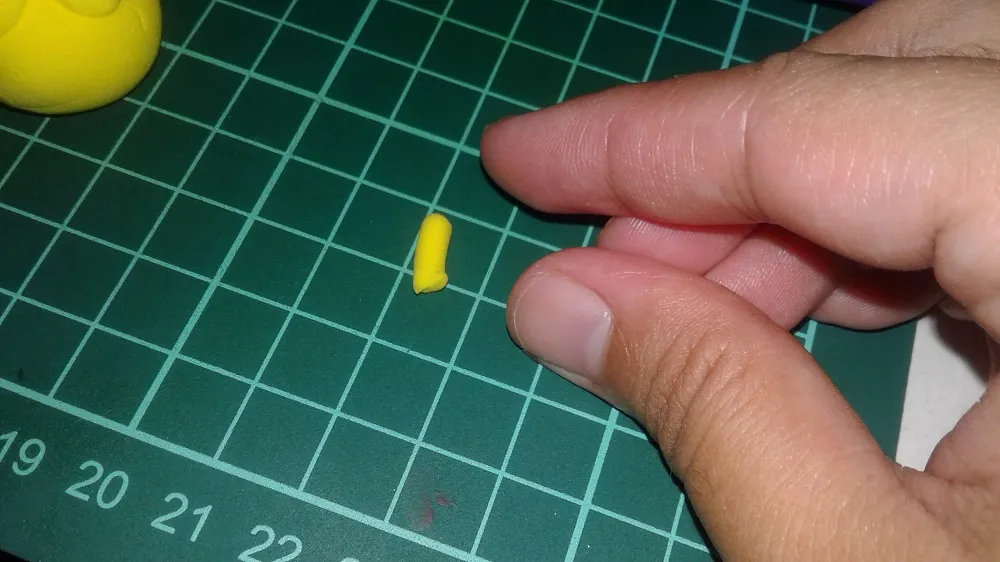
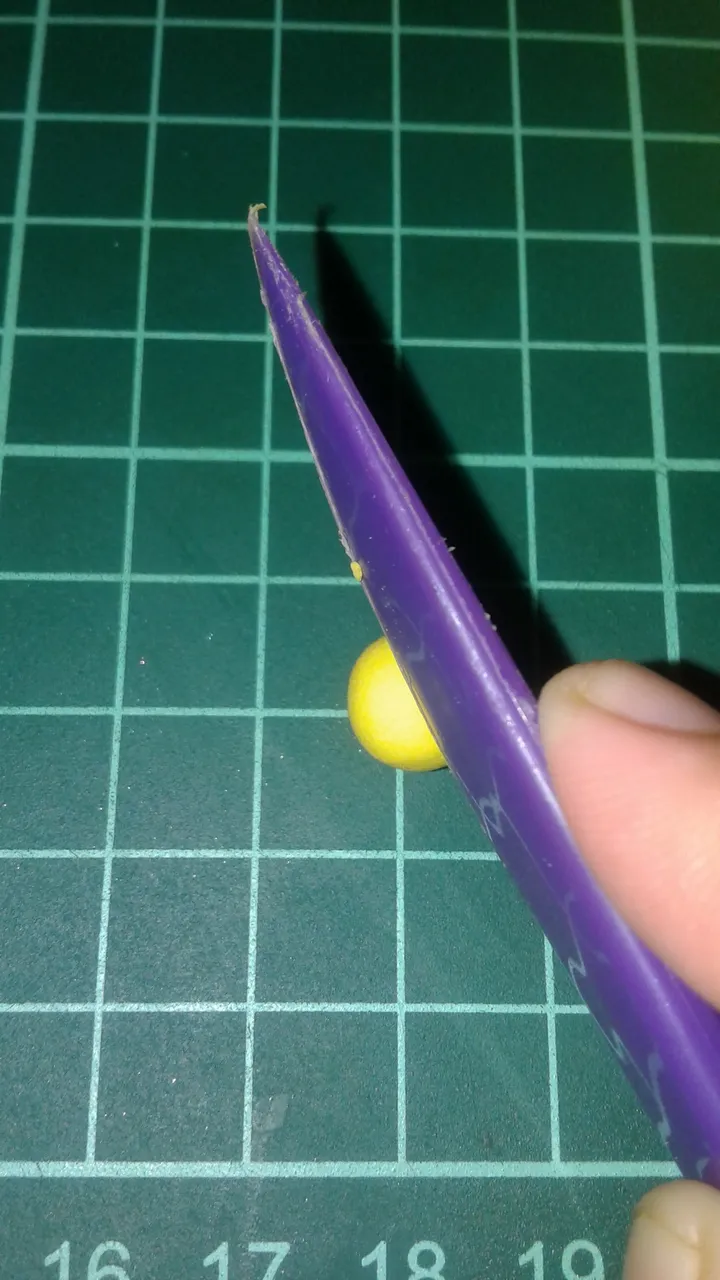
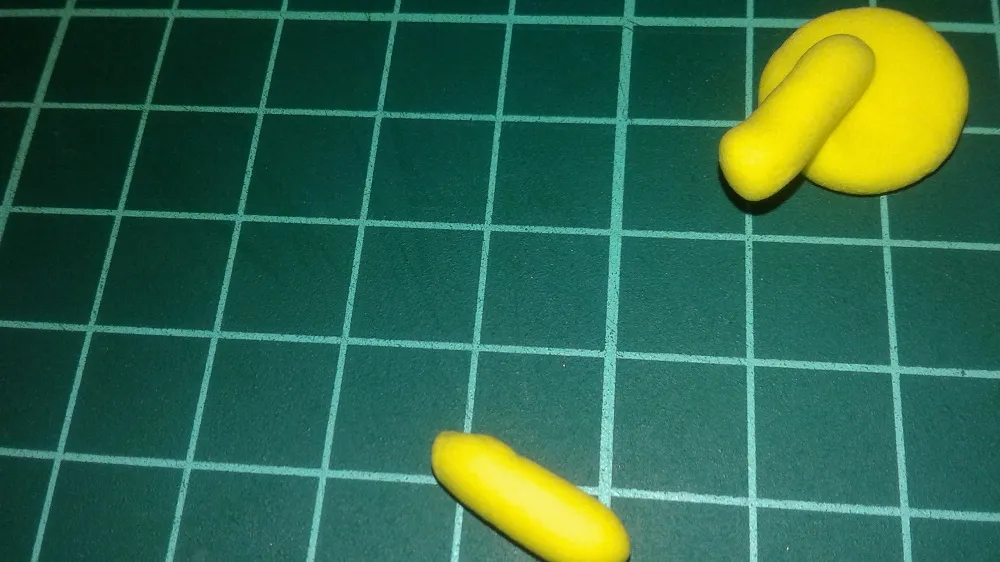
Get another ball of clay, cut.
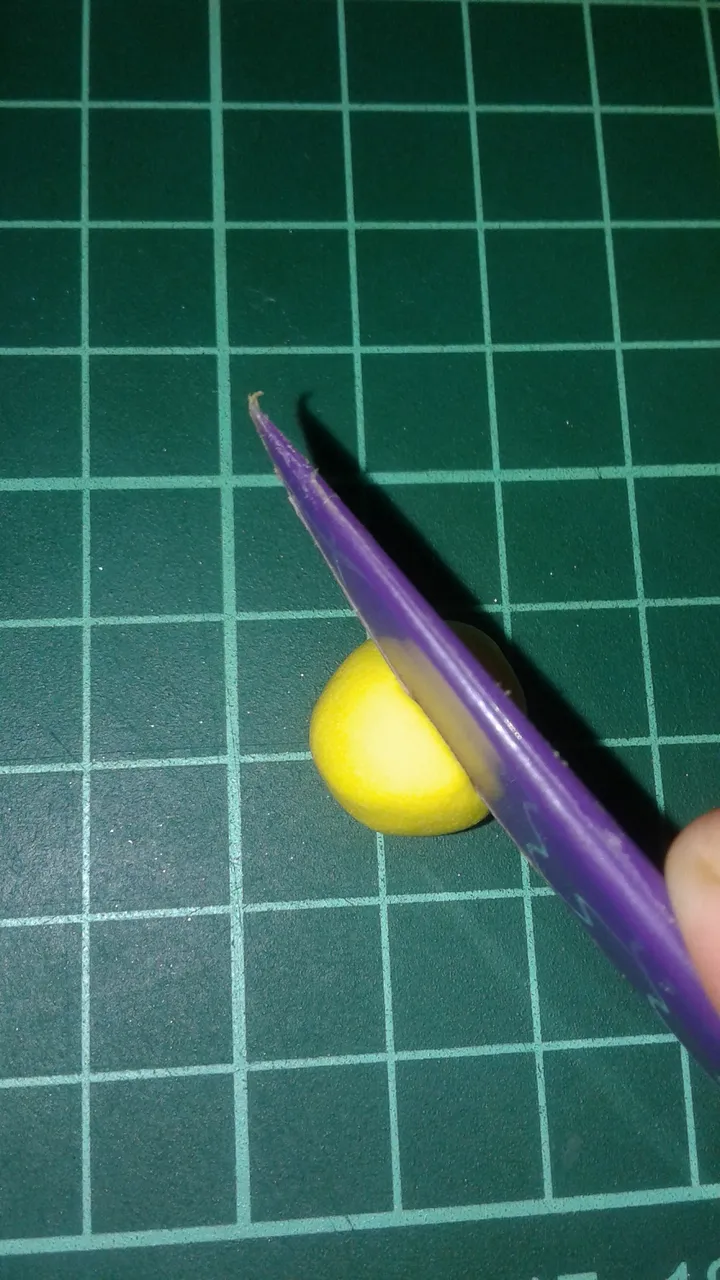
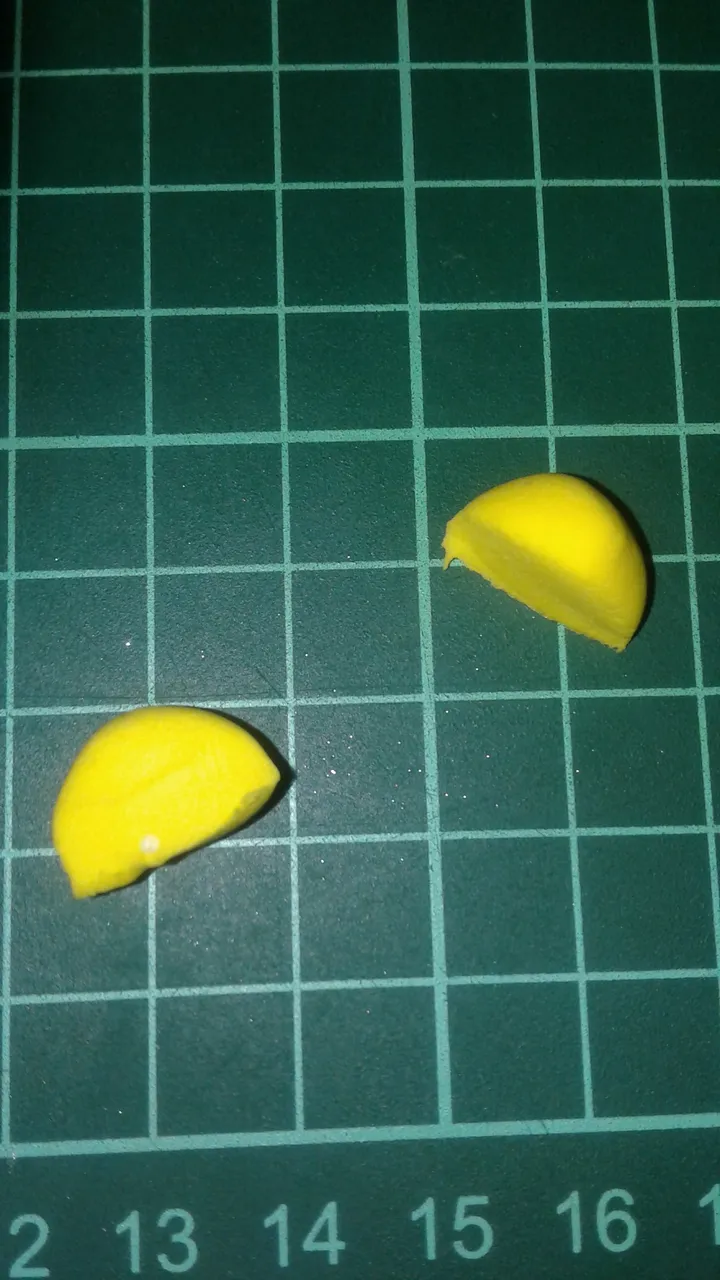
Get another small ball of clay, slice. And you'll have something like this. Set aside the other half. You will use it later on this project
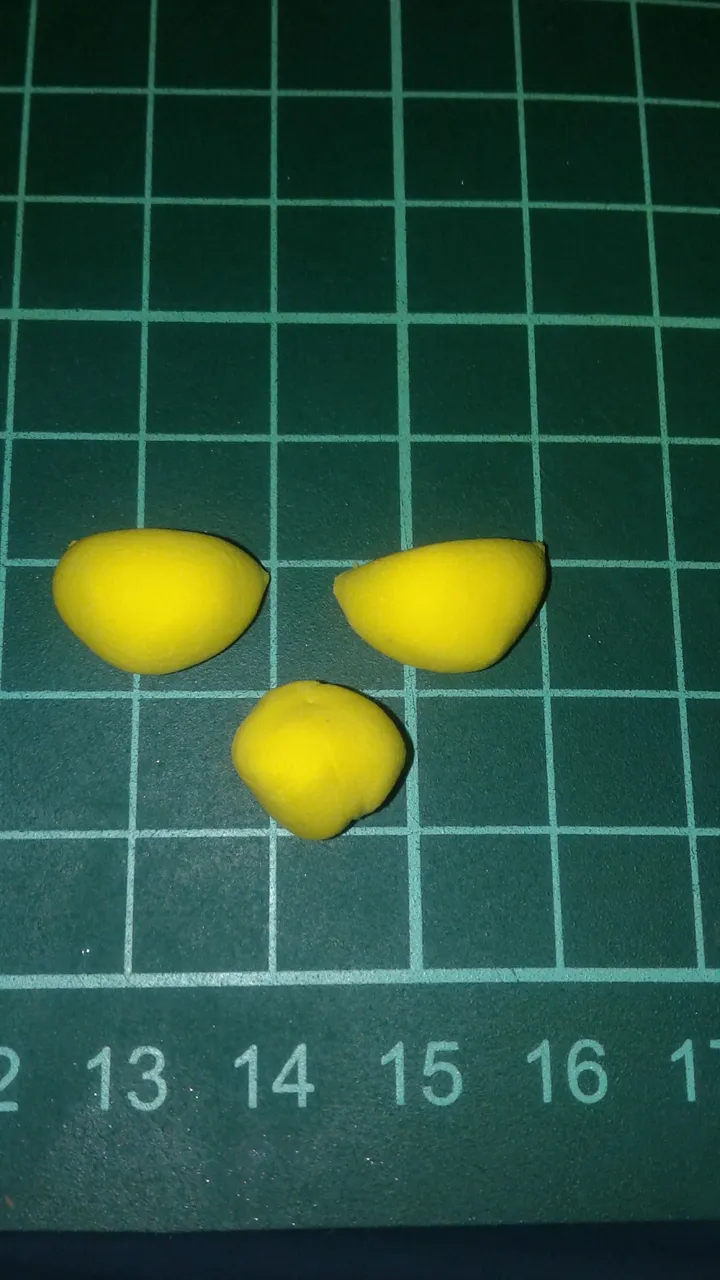
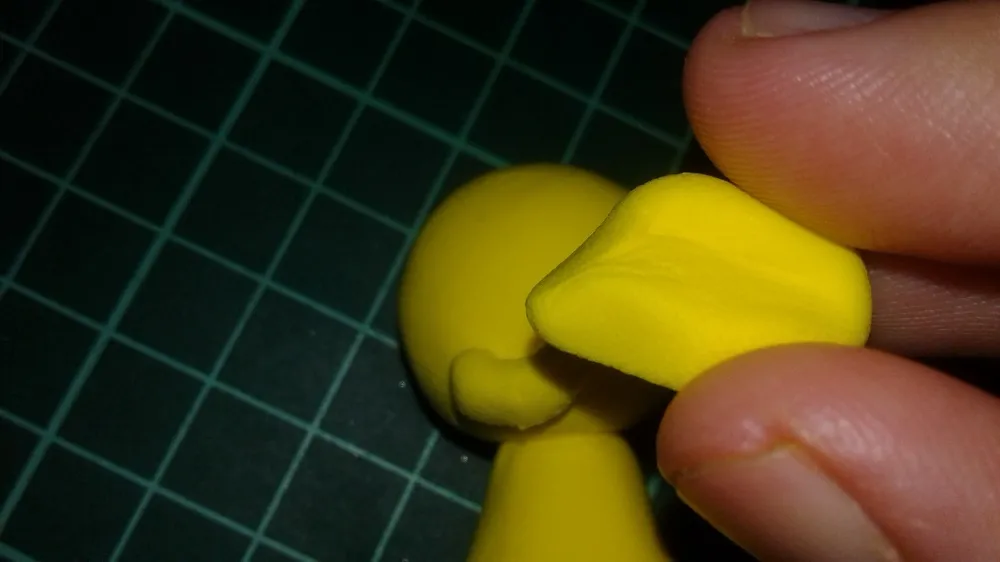
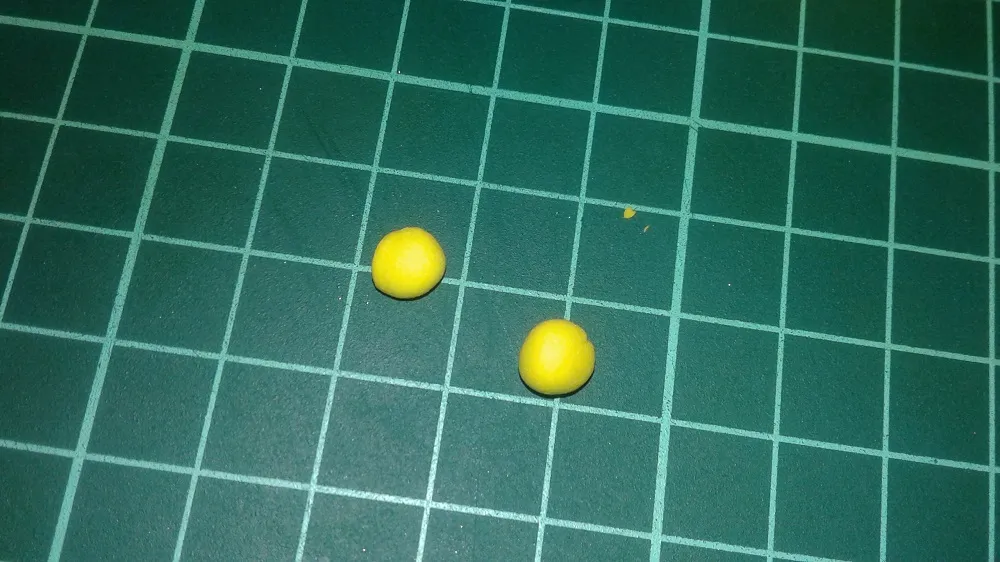
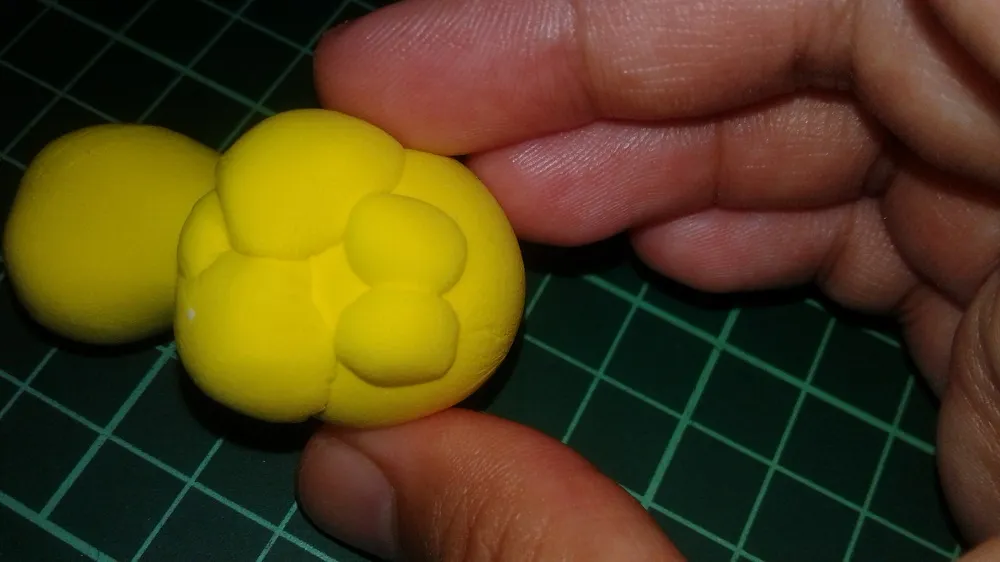
Press 2 pieces......
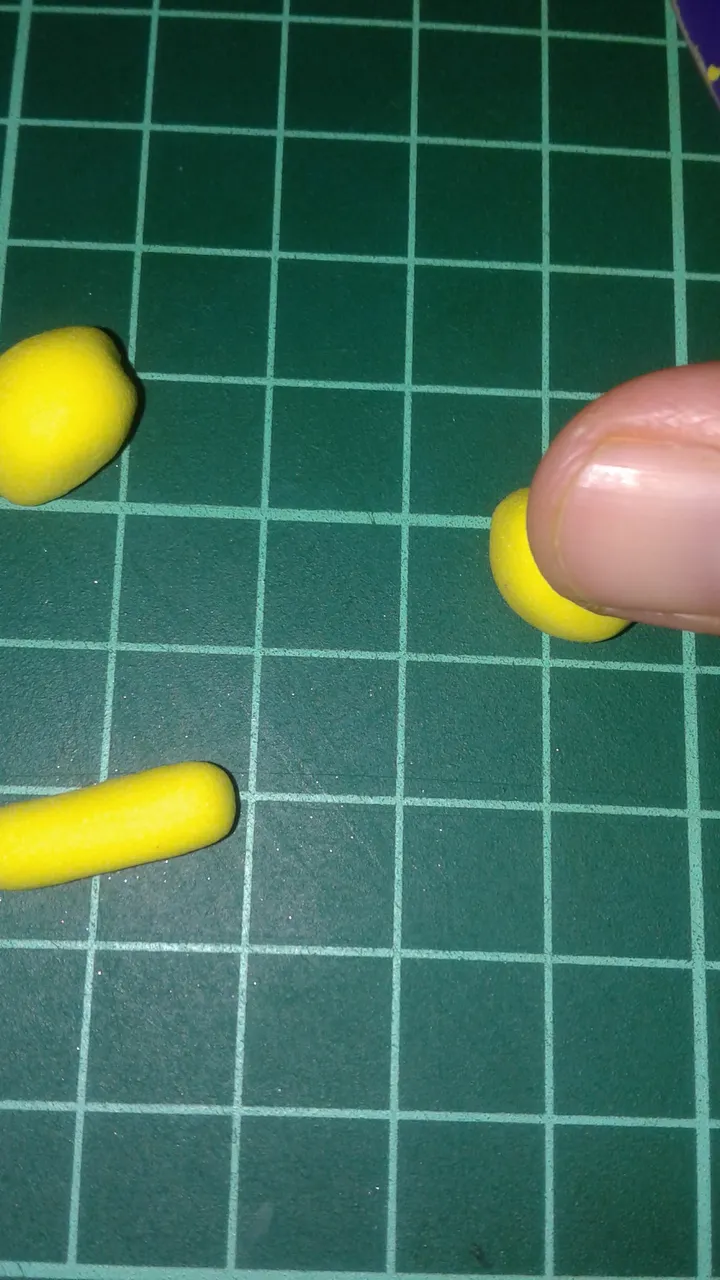
Roll the third one......
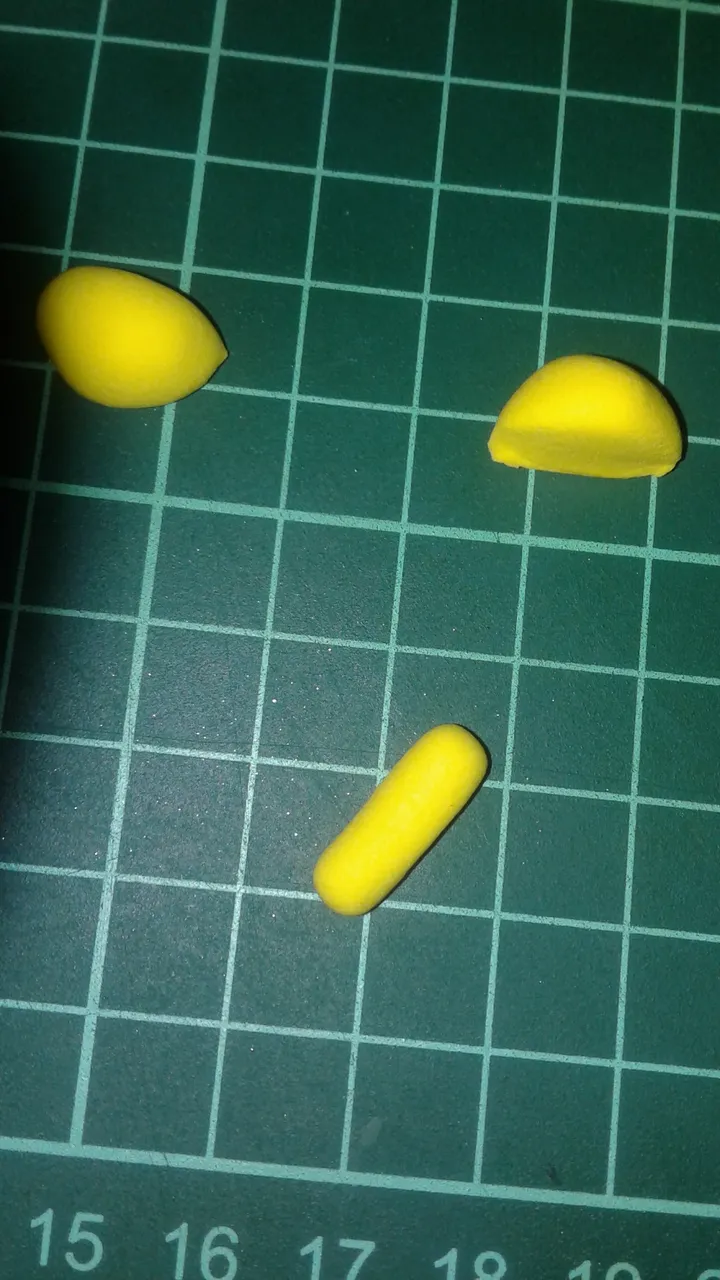
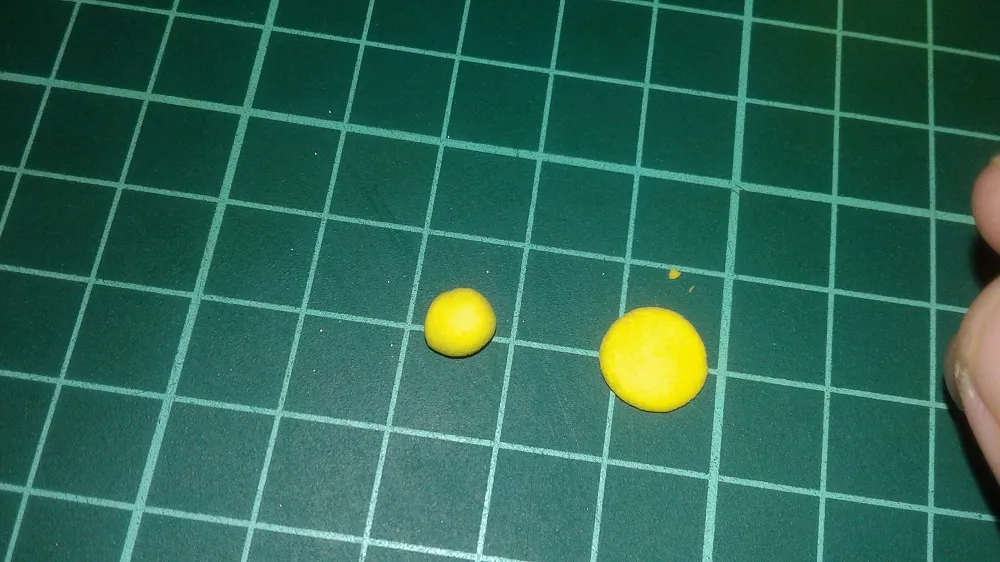
And you'll have something that looks like these......
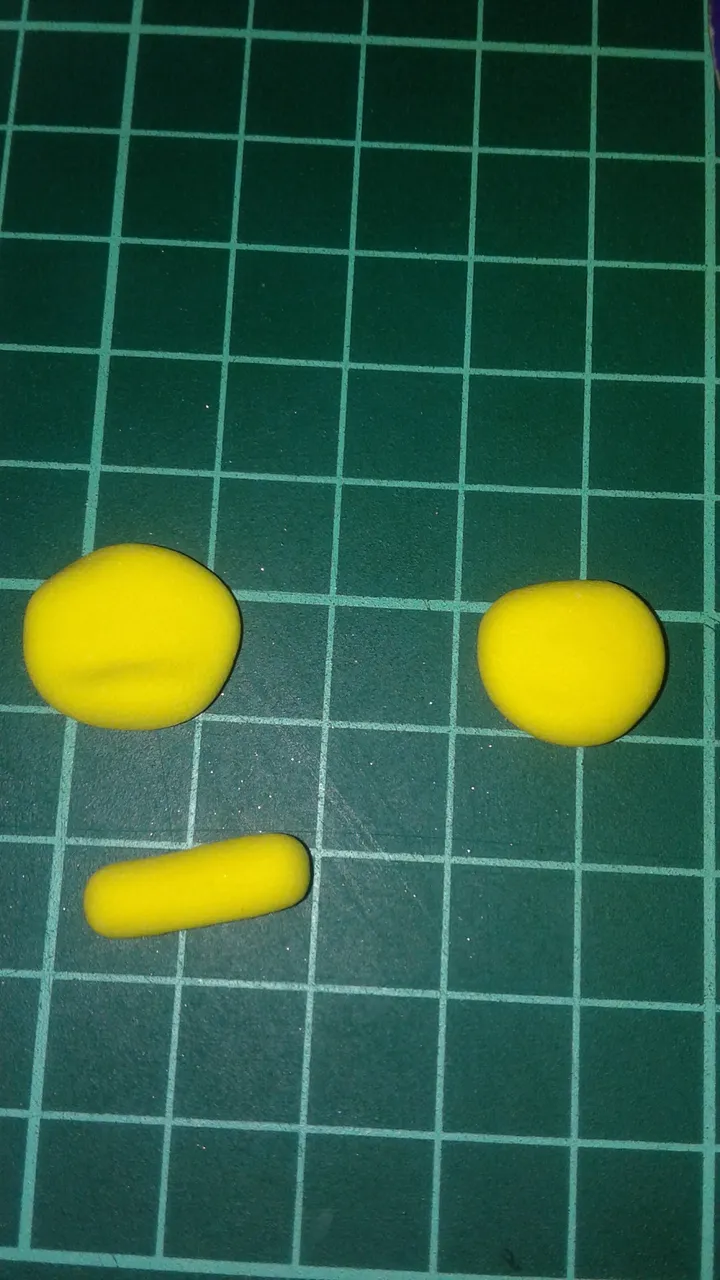
Pinch one end of the flat clay pieces...
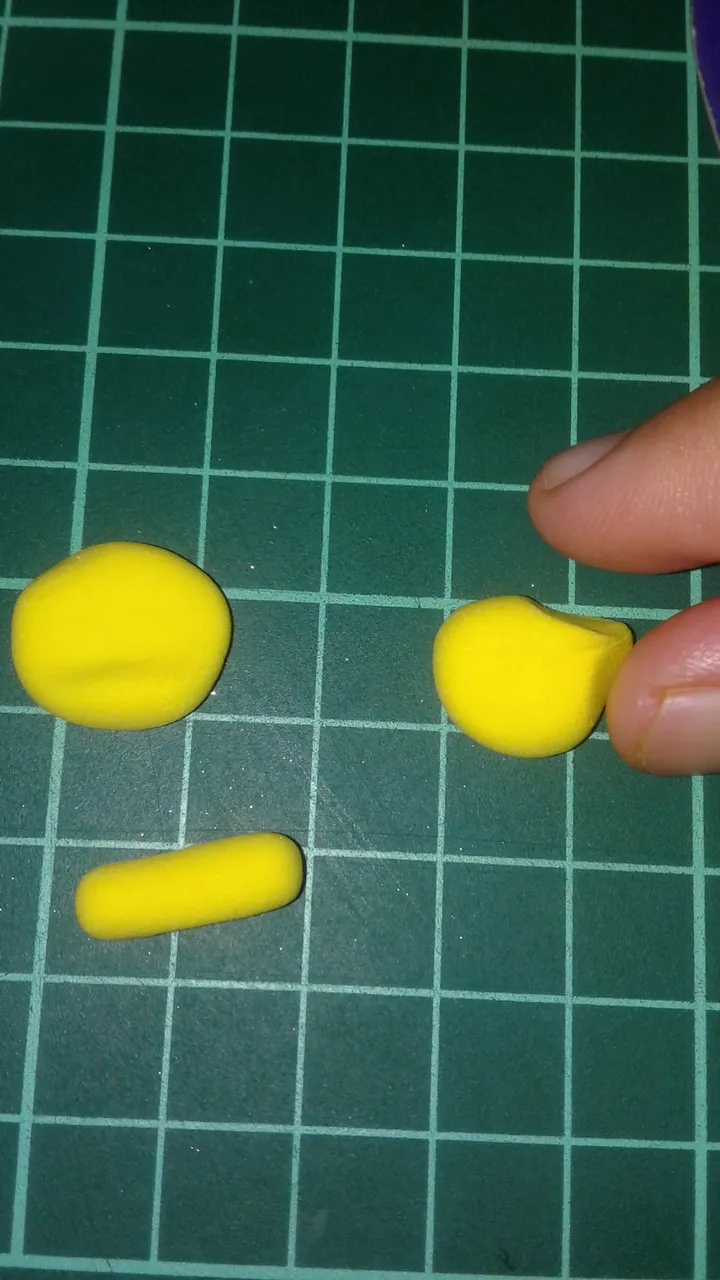
Attached the small, rolled clay.....
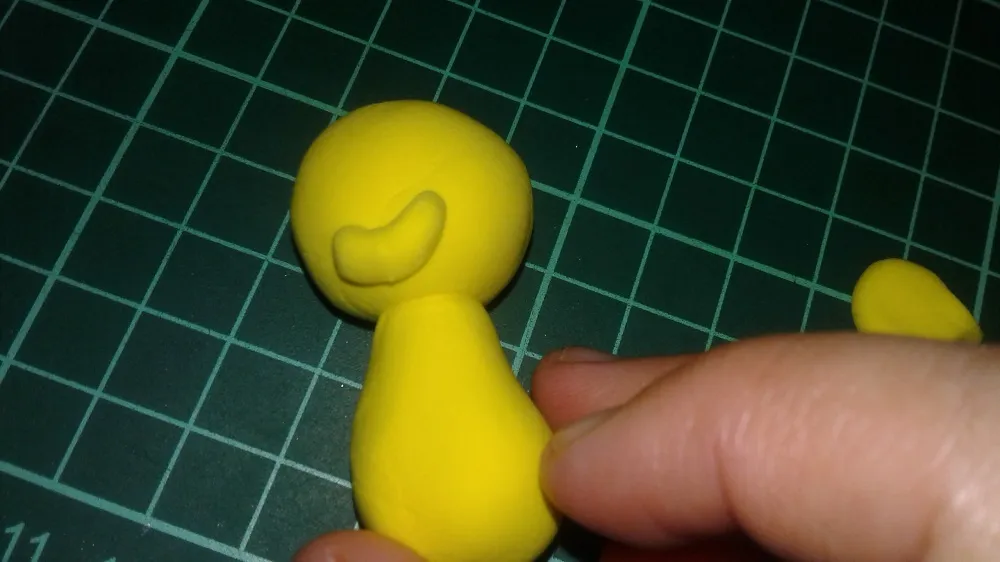
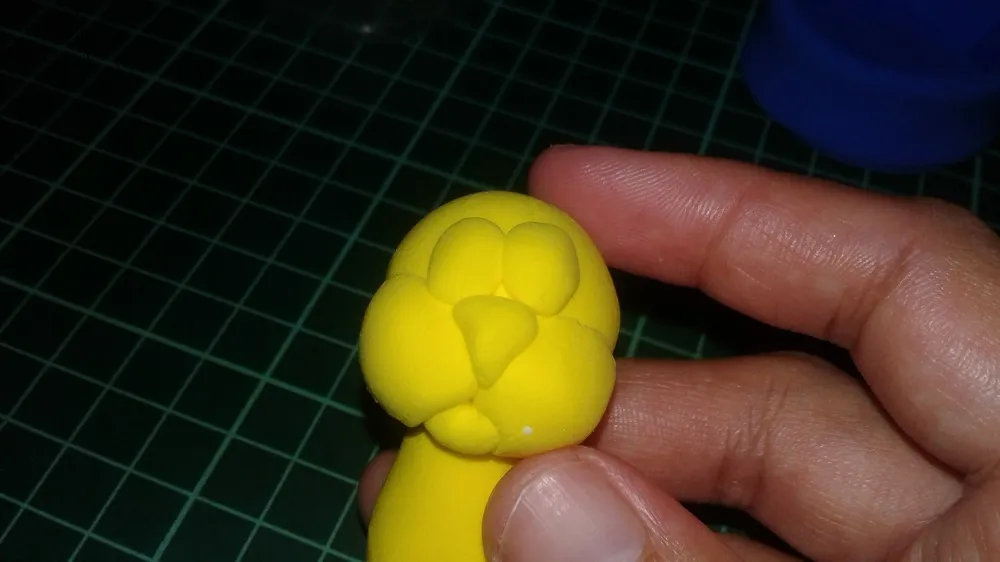
You'll have something that looks like this:
This is the basic cat face. Another view of the face.
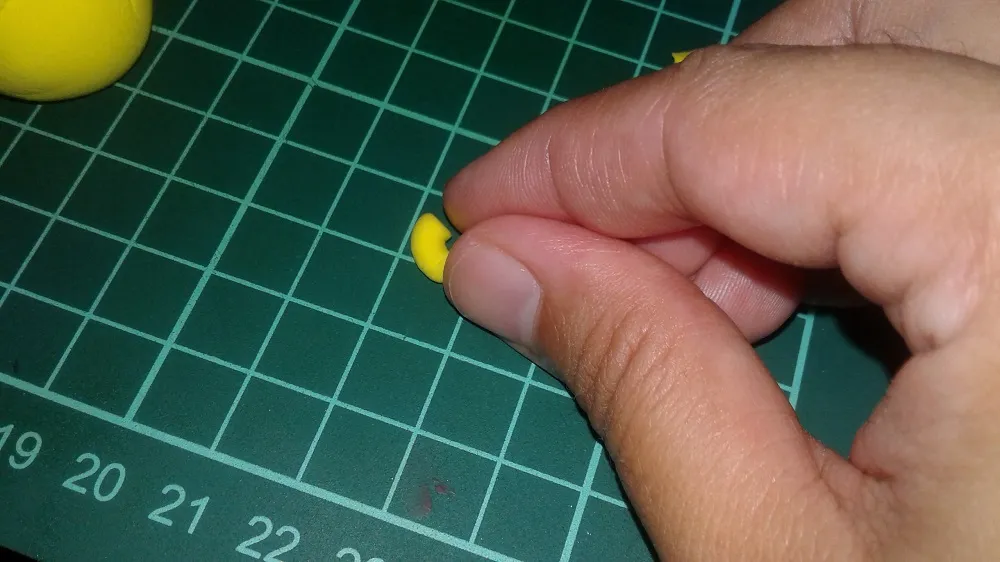
Remember the other half of the clay I told you to set aside? Roll it.
Pinch...
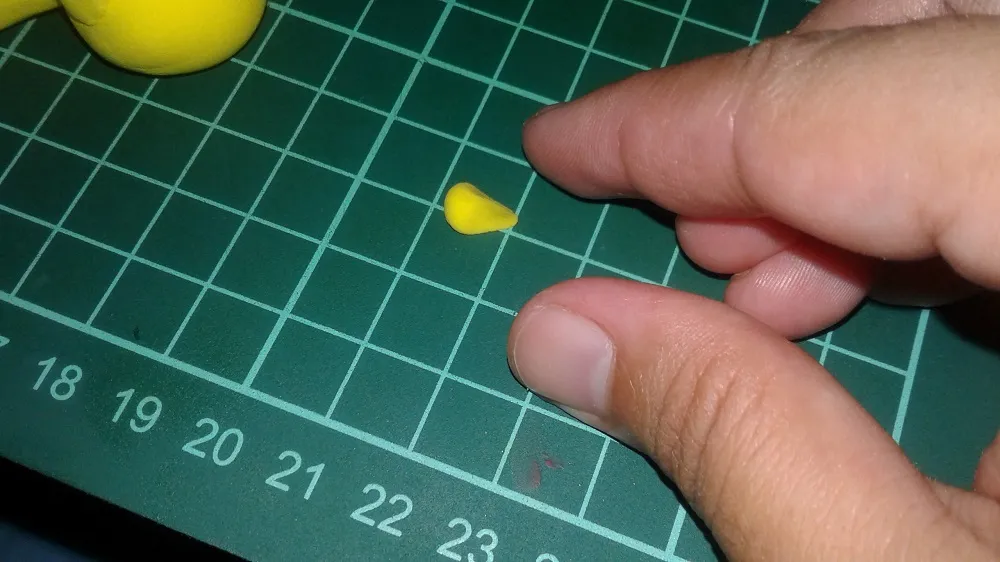
Set aside. I prefer to do the eyes before attaching the nose.So let's do the eyes....
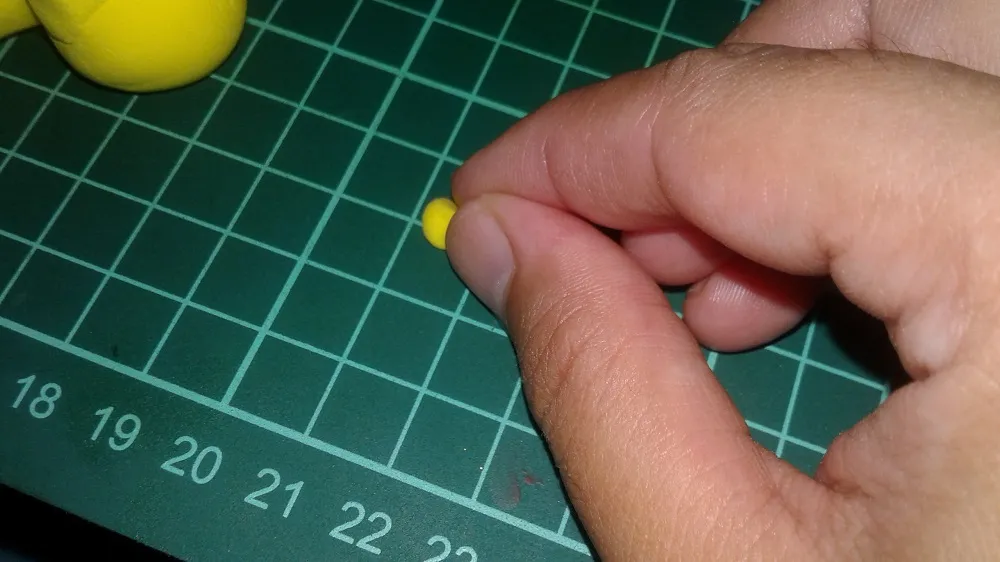
I always start with a ball of clay, cut it equally.....

Roll out 2 balls.....
Flatten them up.....
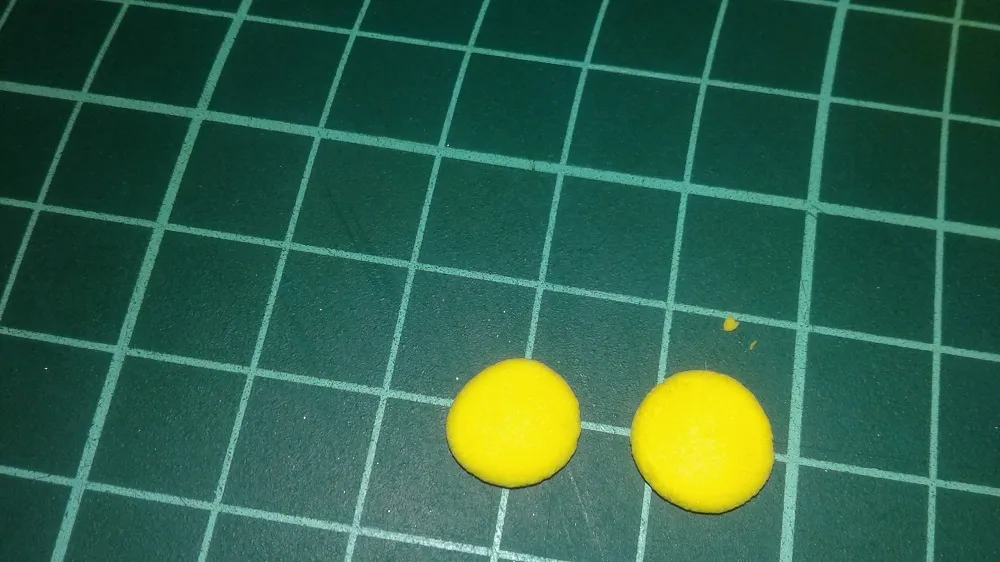
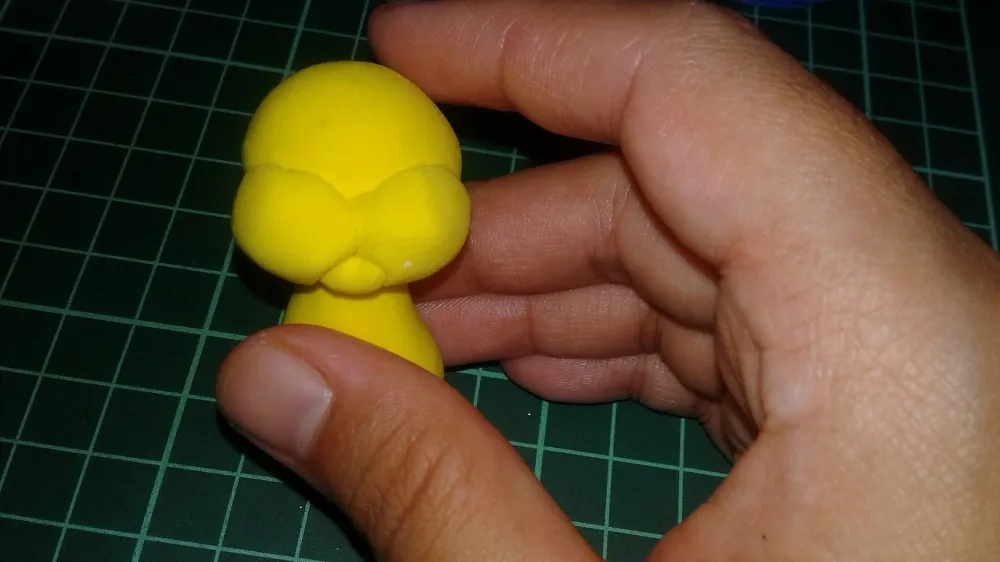
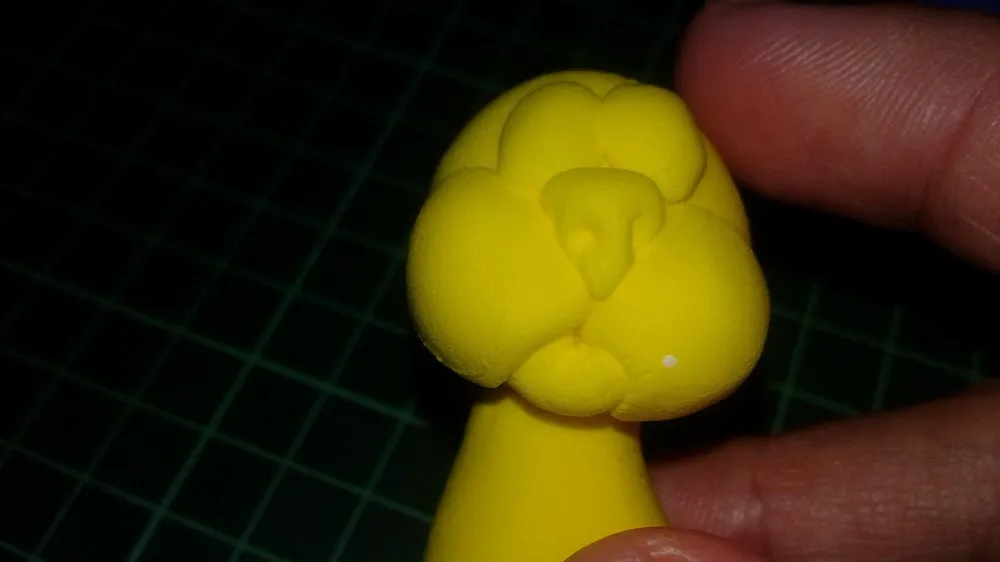
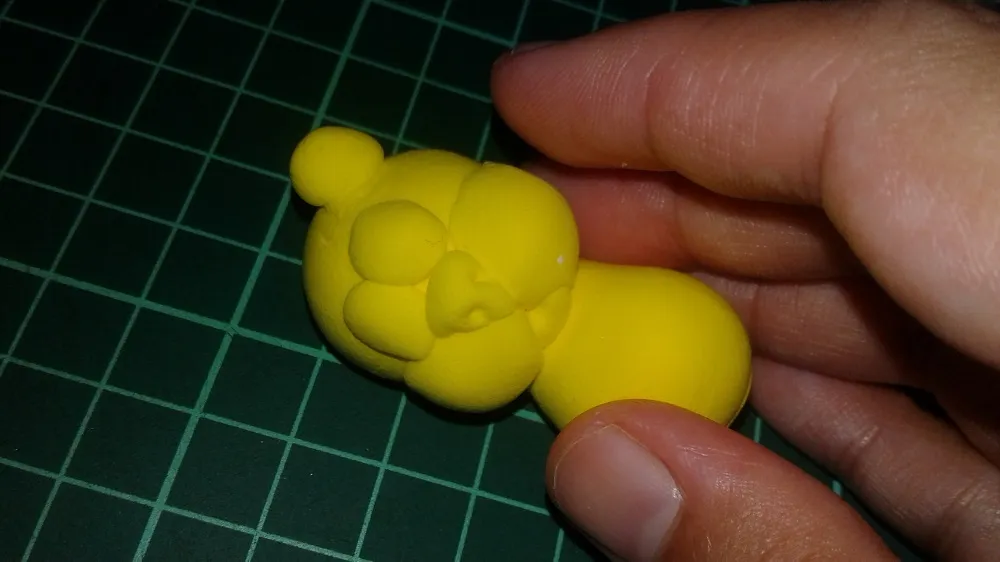
Attach them here and you'll have something that looks like this.
Remember the clay I asked you to set aside? Place it there and, when you're done, you'll have something that looks like this.
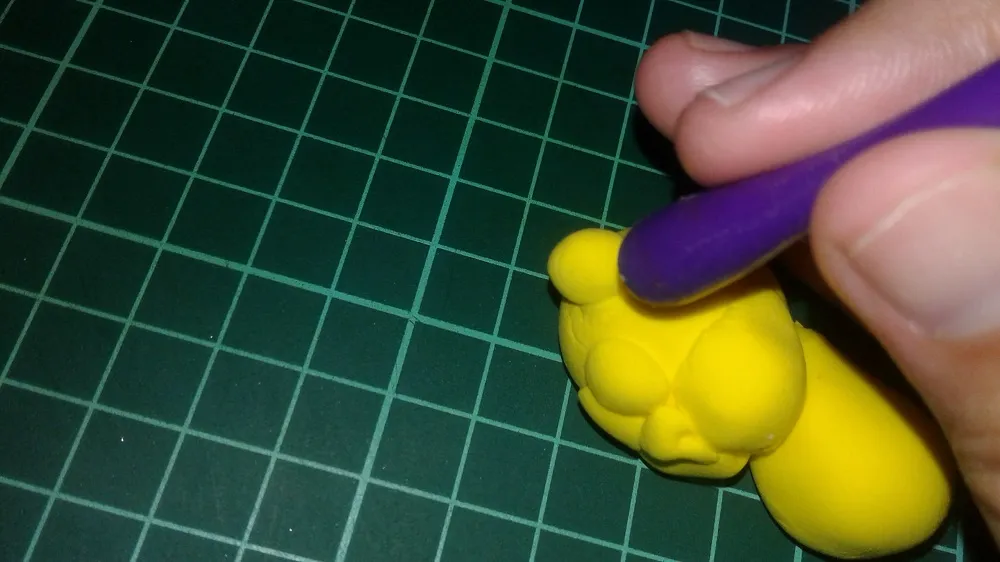
Put in some detail.If you do not have any clay tool, a pencil or a pen will do.
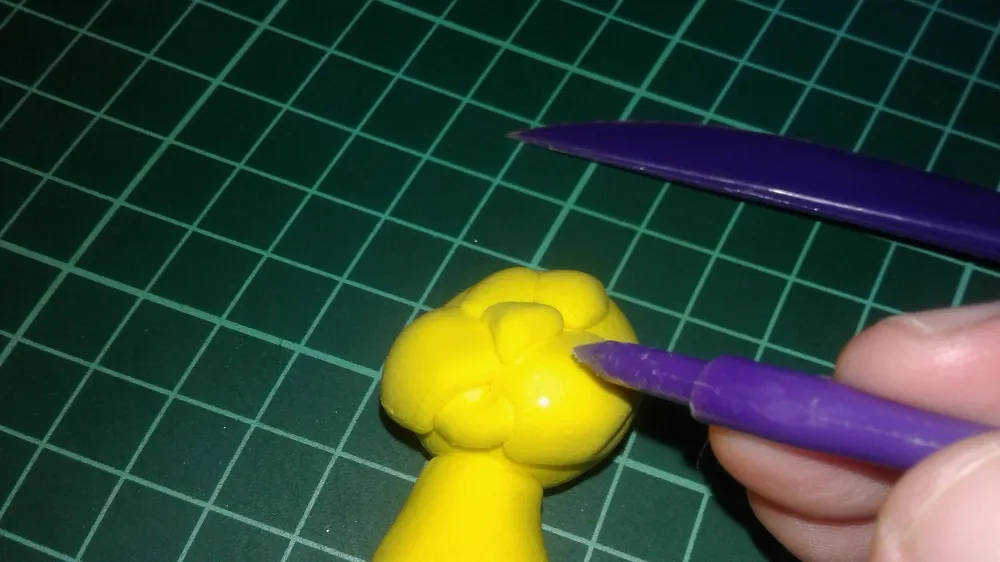
It will look like this:
Get another ball of clay.....
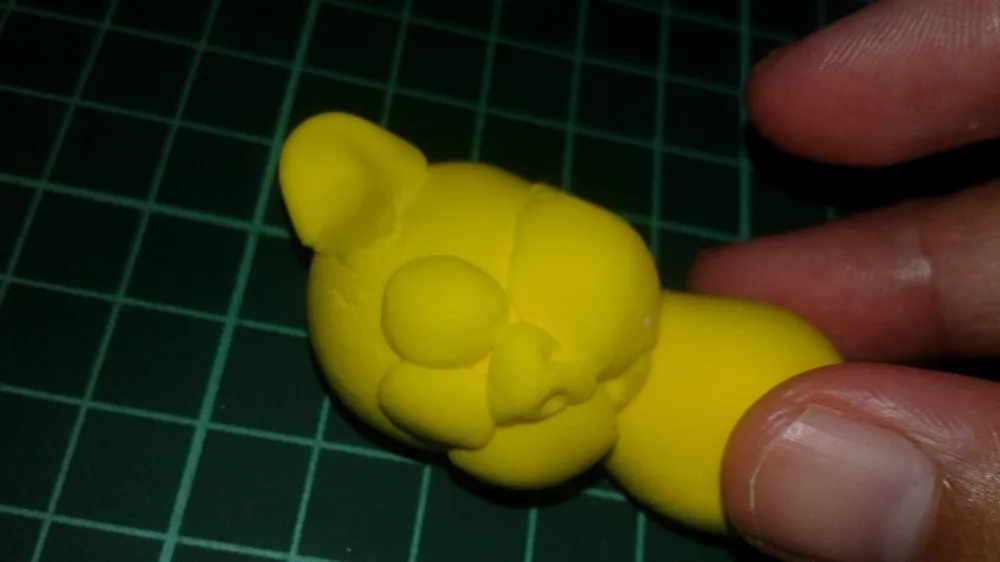
Add in some detail. I usually use the sharper end of my tool to make ears but, I wanted this to be wider and more "natural."
If you want to learn how to make this, click on this link:https://steempeak.com/payitforward/@nurseanne84/latte-clay-sculpture
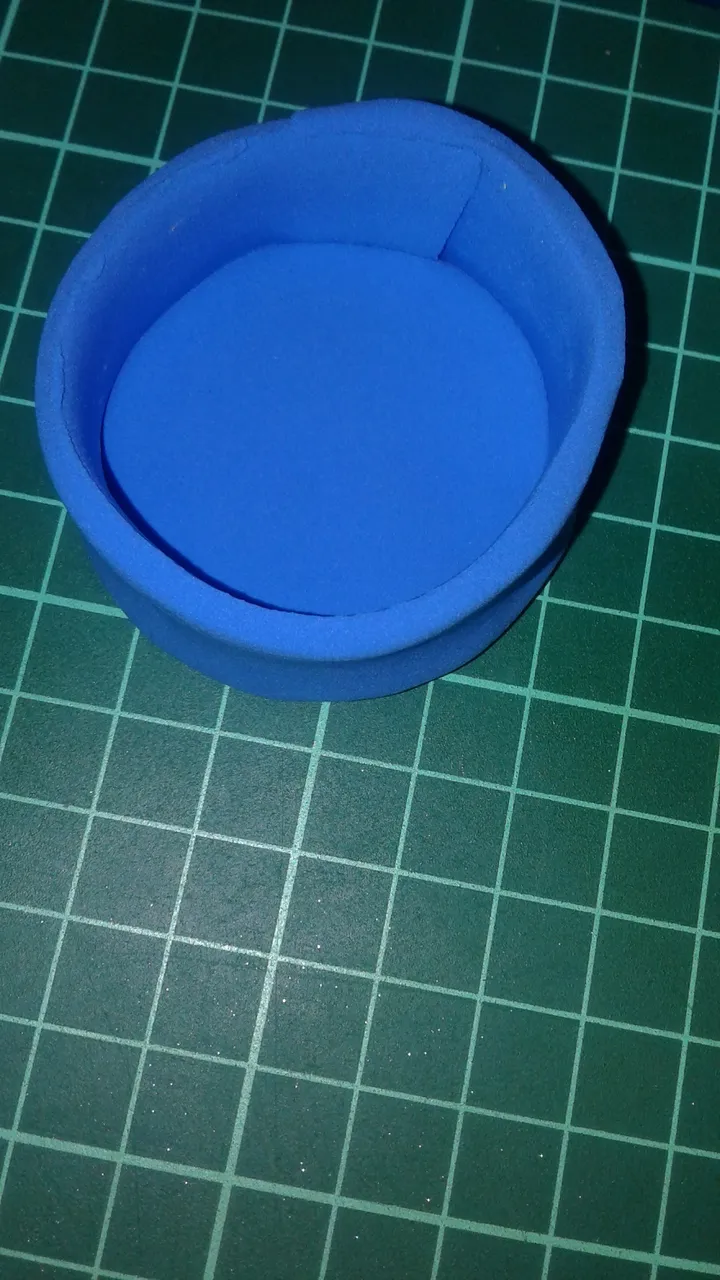
I made this exactly the same way I made the mug minus the handle.
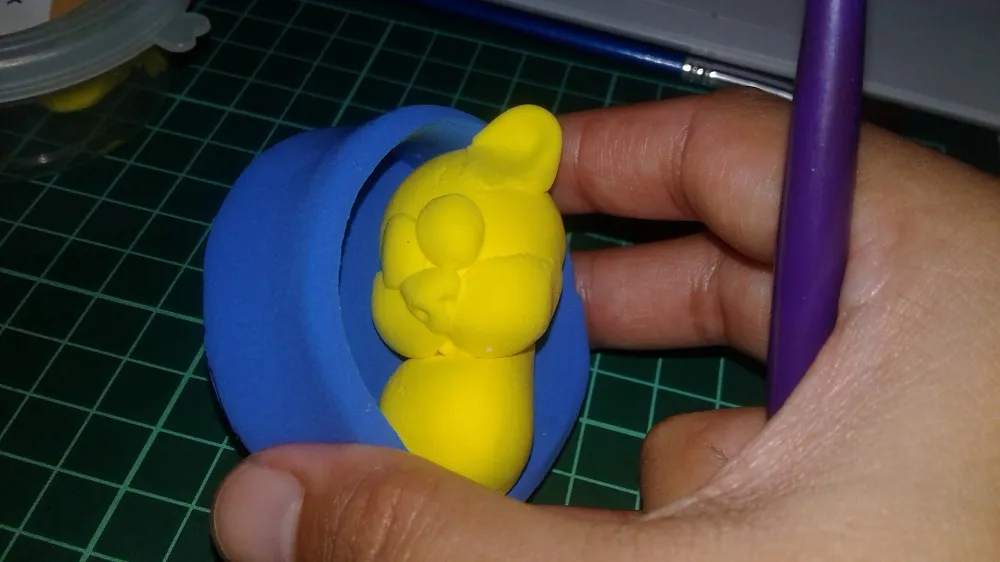
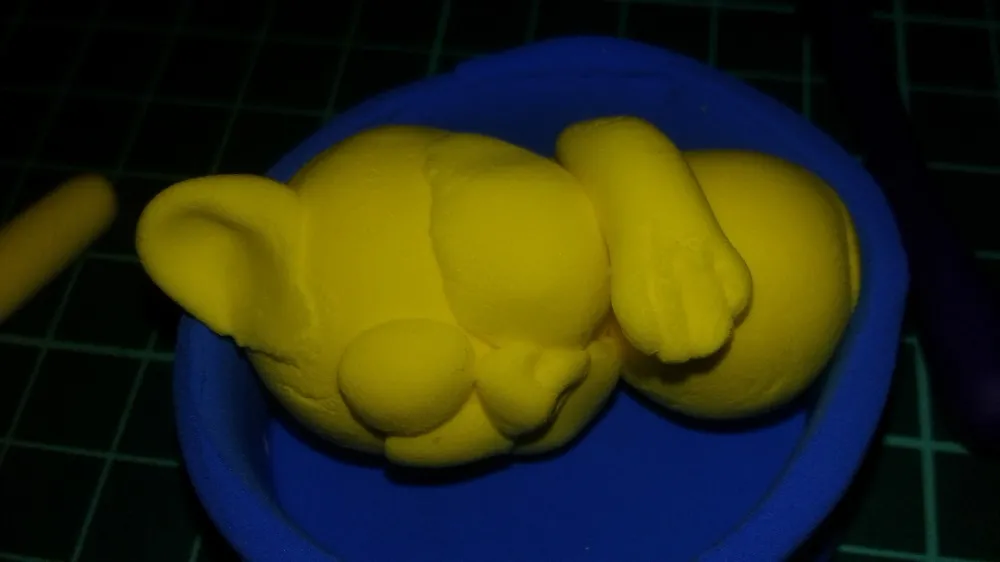
Place the cat inside.....
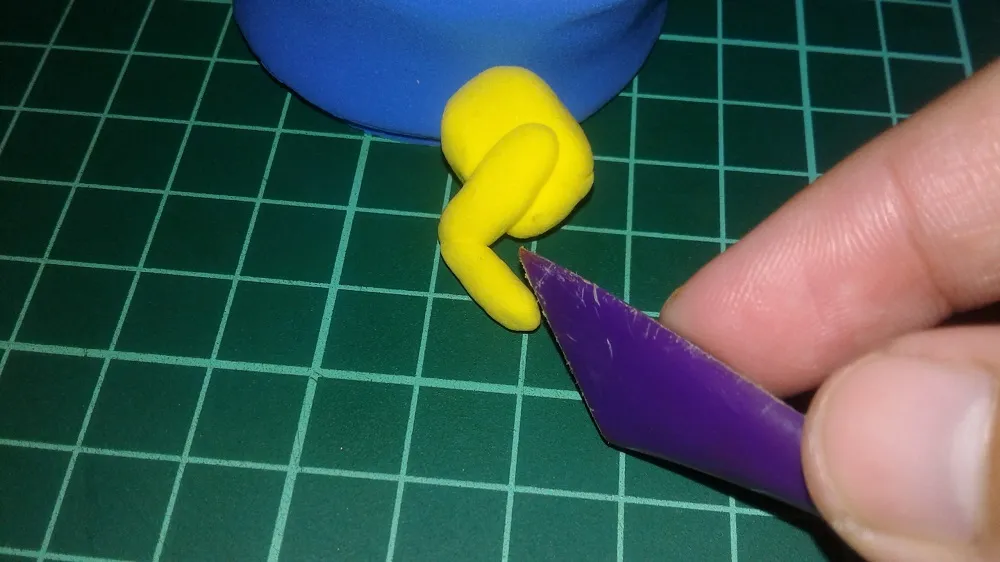
Roll out another yellow clay and cut.
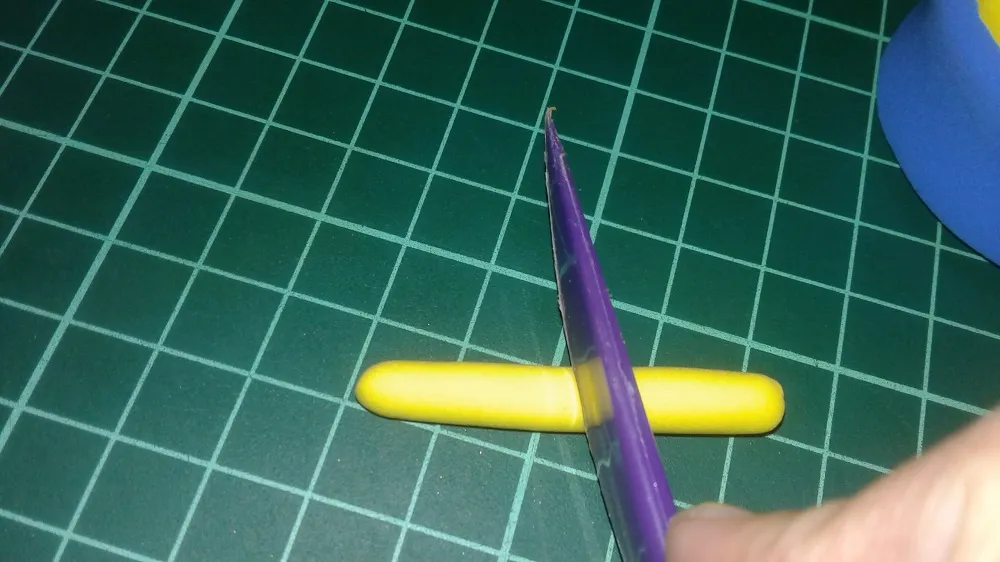
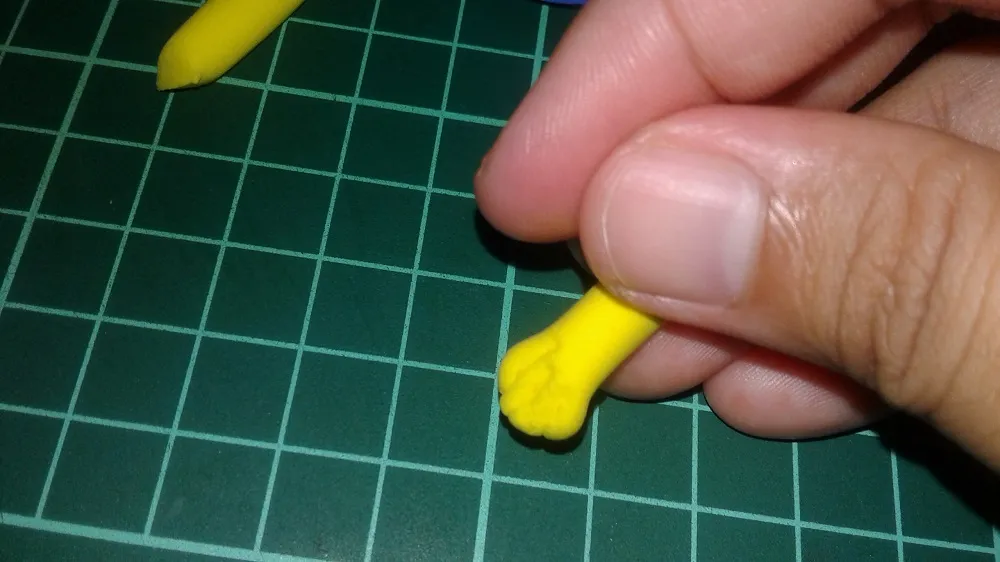
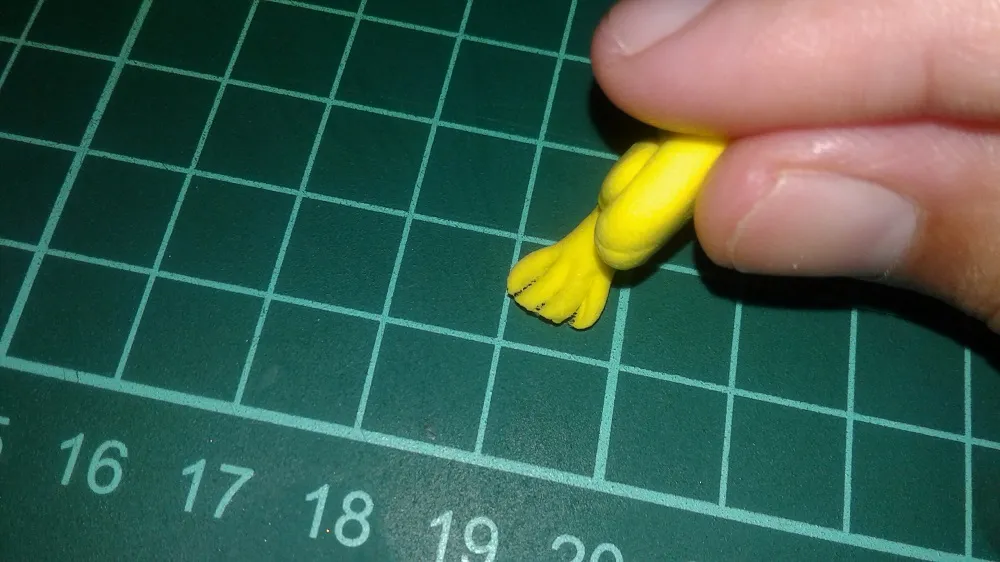
Make tiny cuts/ slices (I do not know the right term!) on one side..

Which will look like this when you're done.
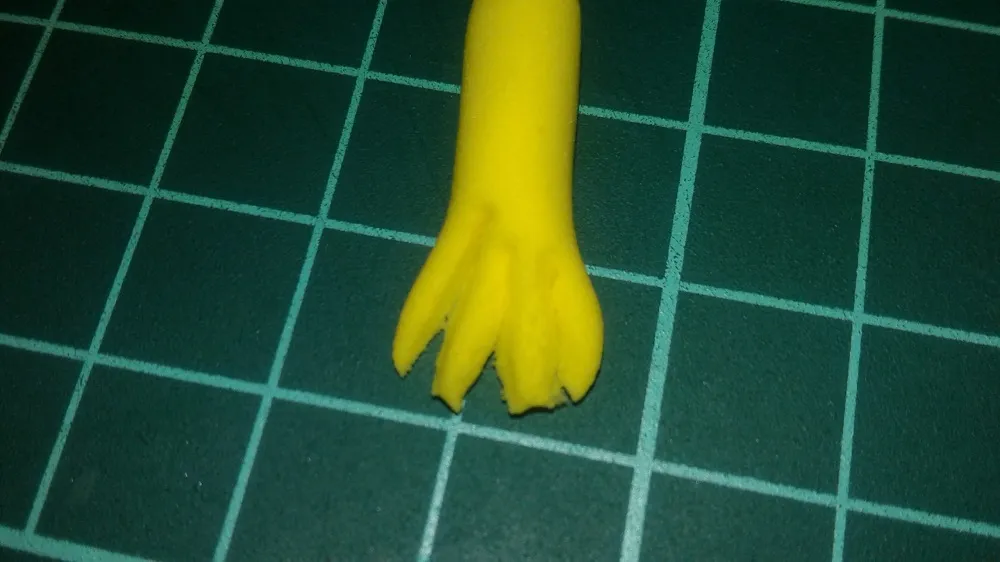
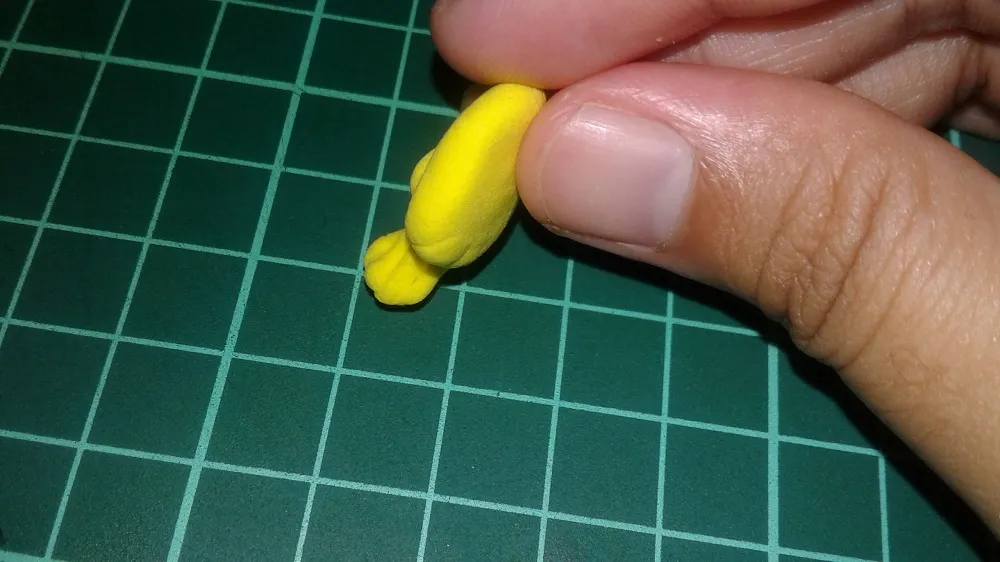
Push the "fingers" together to get this. No tools needed. Just your finger.
Another view.....
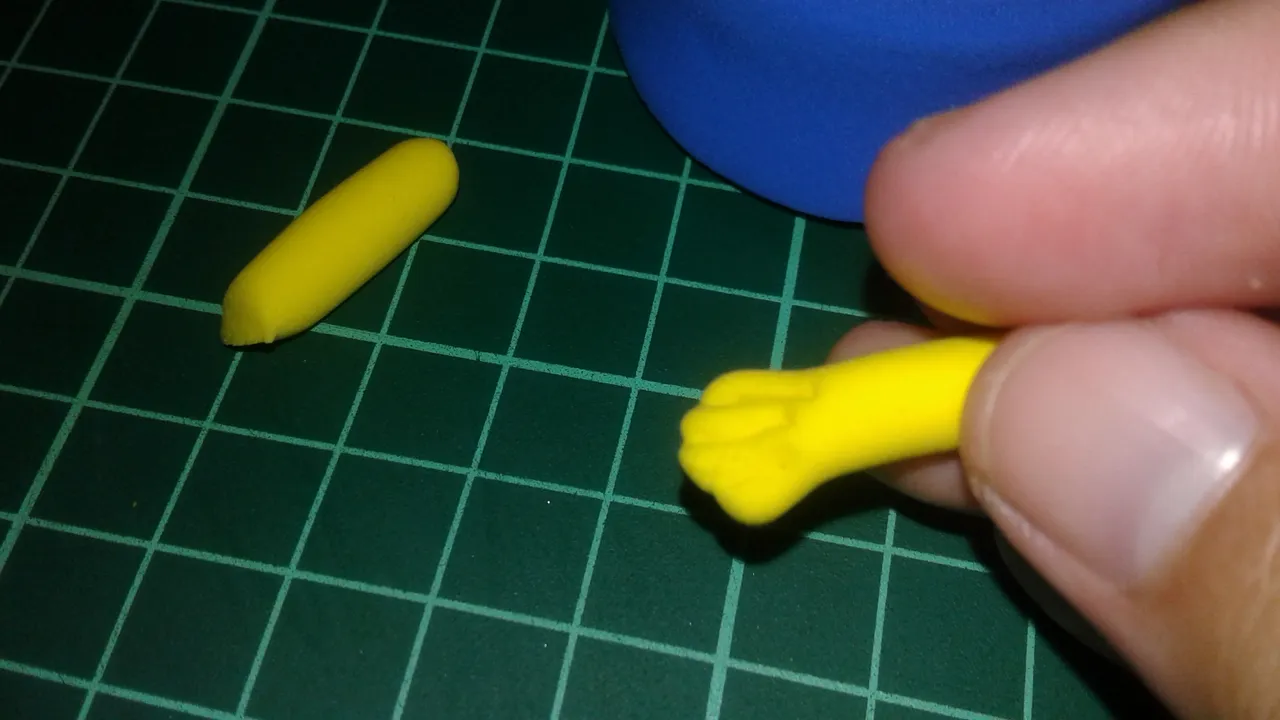
Attach to the cat.
Get another ball of clay.

Flatten then set aside. Roll another clay.
Attach the pieces together.
Then roll our another piece of clay.
And you'll have something that looks like this.
Another view...

I don't know what happened folks but, I cannot upload the rest of the picture.
Stay tuned! I am going to make another post!