
Time for some new models 😄
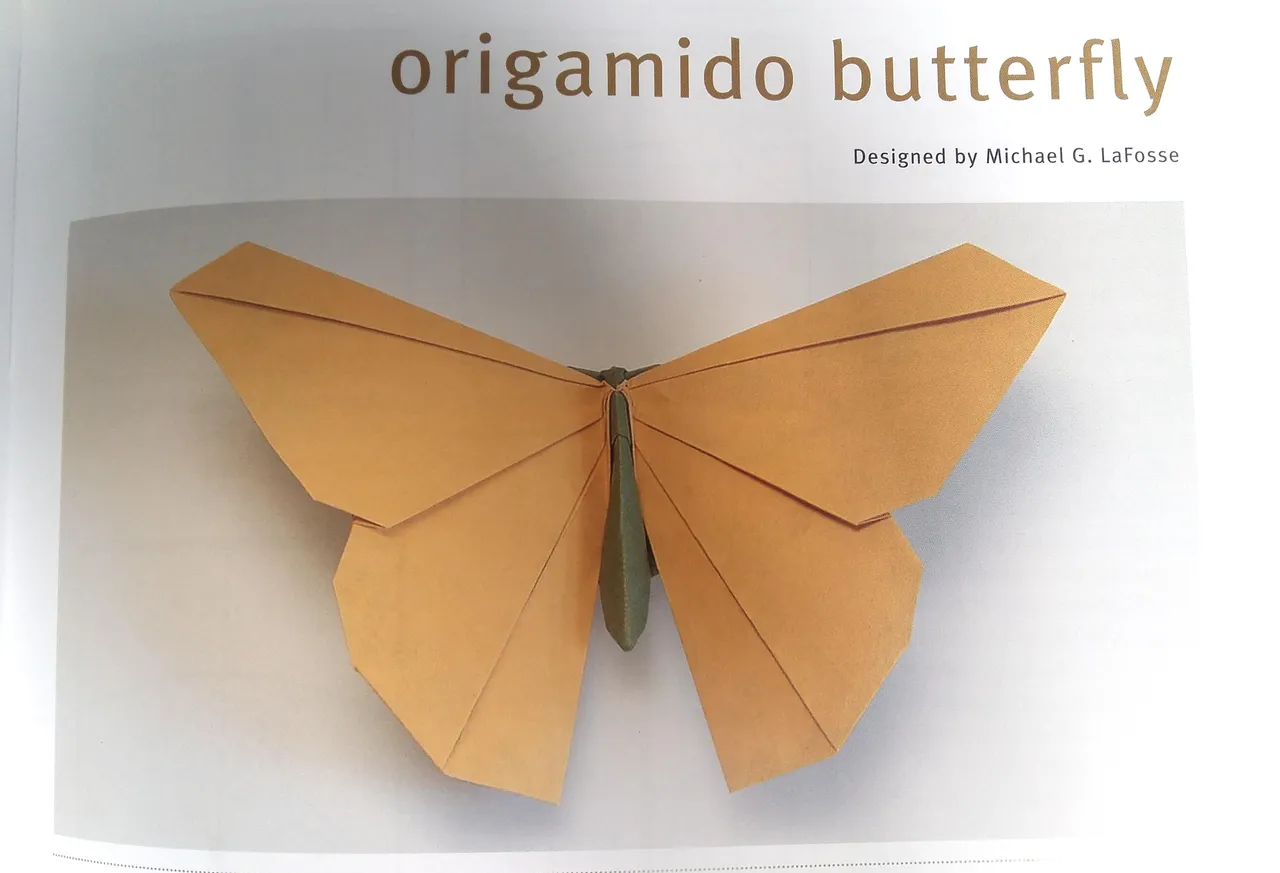
This is a butterfly from the cover of the book I'm using. I had a lot of issues and confusions with this model. Some steps are explained pretty terribly but that's because they're hard to explain and I wouldn't do a better job at it. Looking at the picture it's not too bad though. I was struggling on step 3-4 for way more time than I'd like to admit.
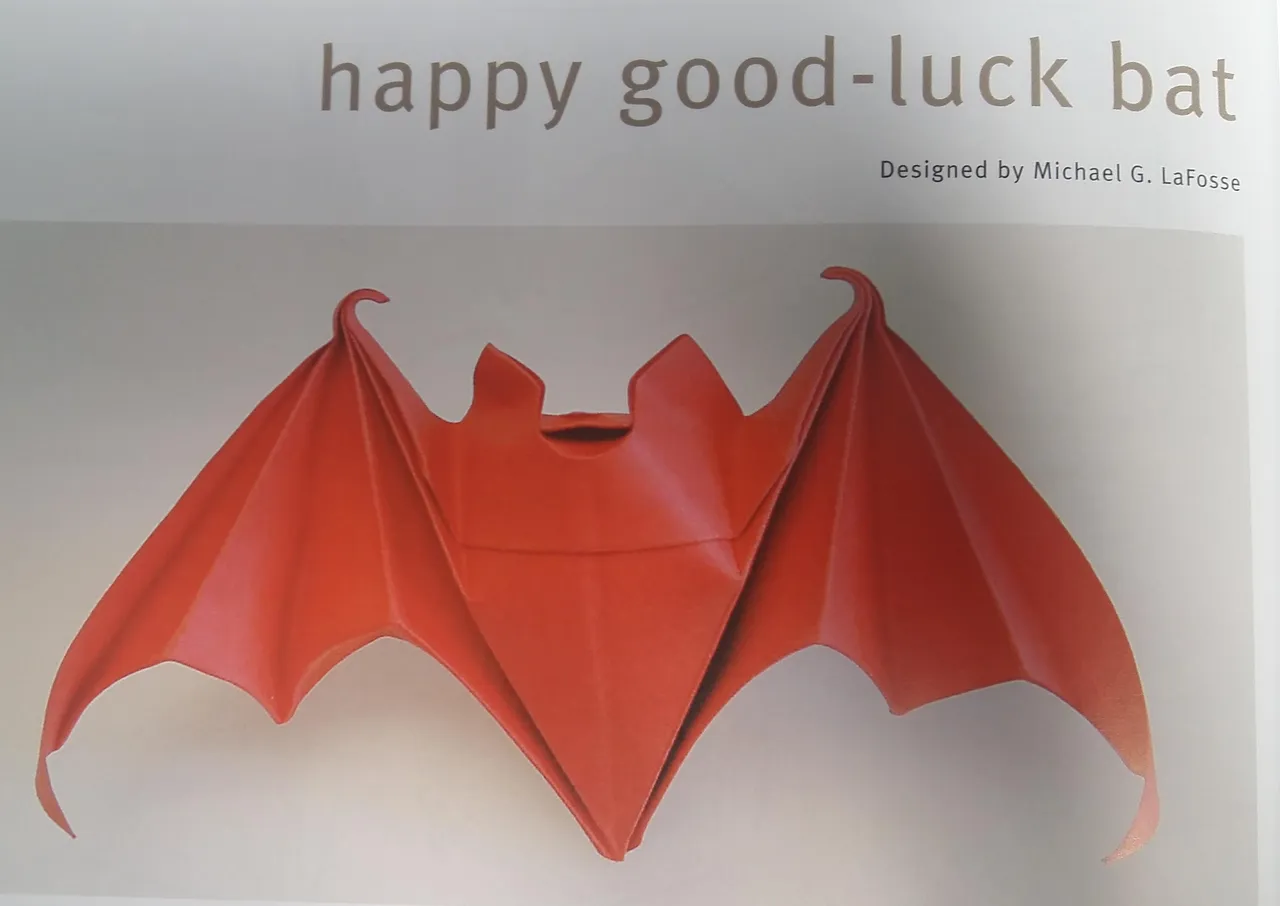

This is a really cute and interesting model. It uses a triangle instead of a square, very simple to make. This would make for a cool halloween decoration, doesn't take much time.
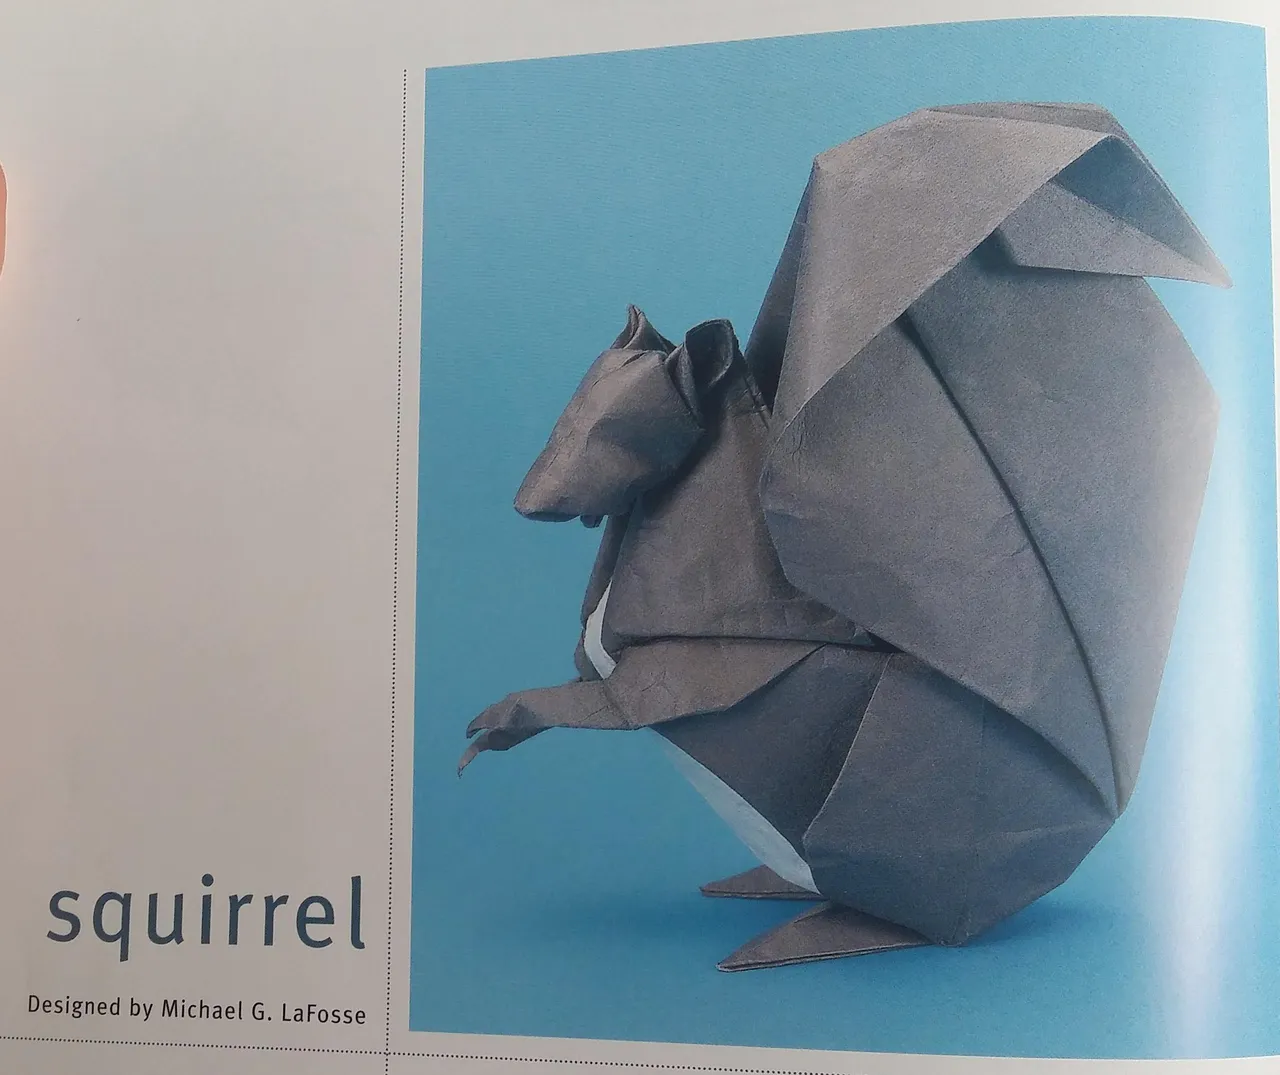
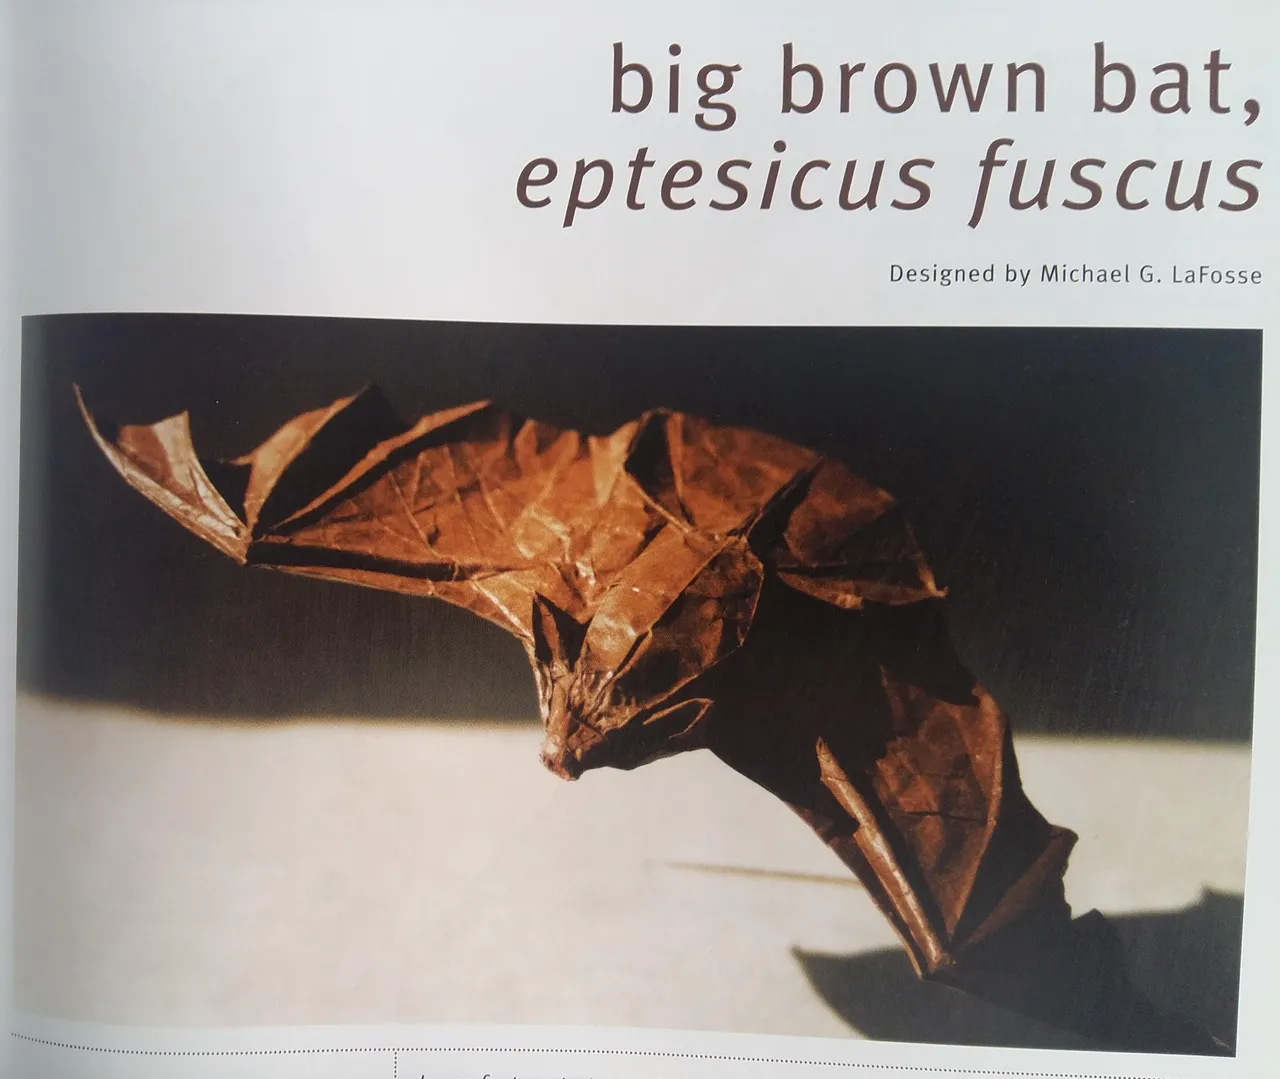
This is my favorite model in the whole book. It's not too complex and I wish to memorize it but it has quite a few steps, maybe some day.

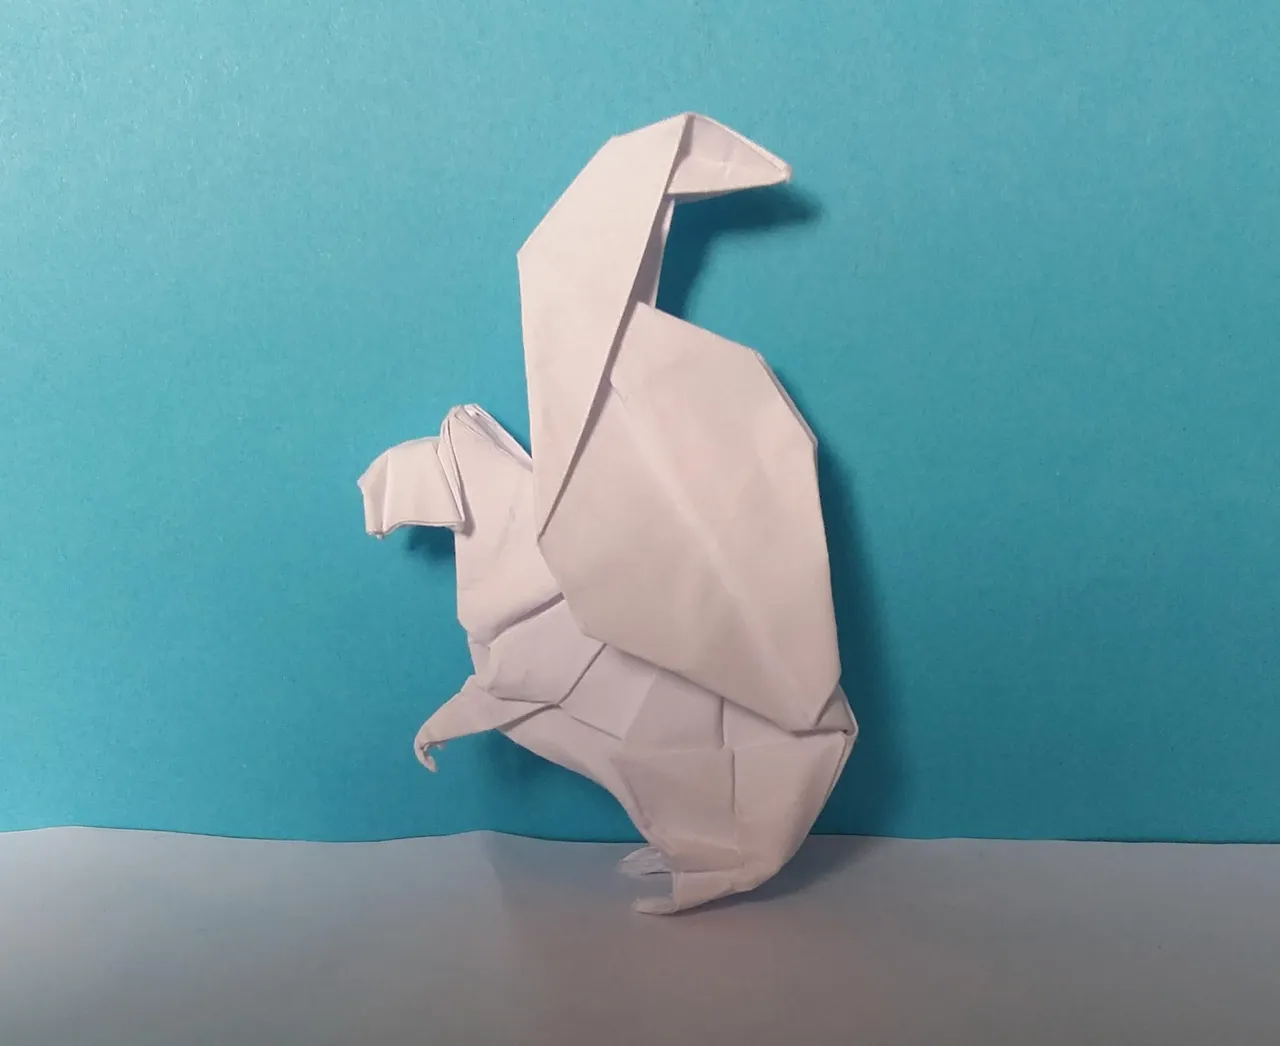
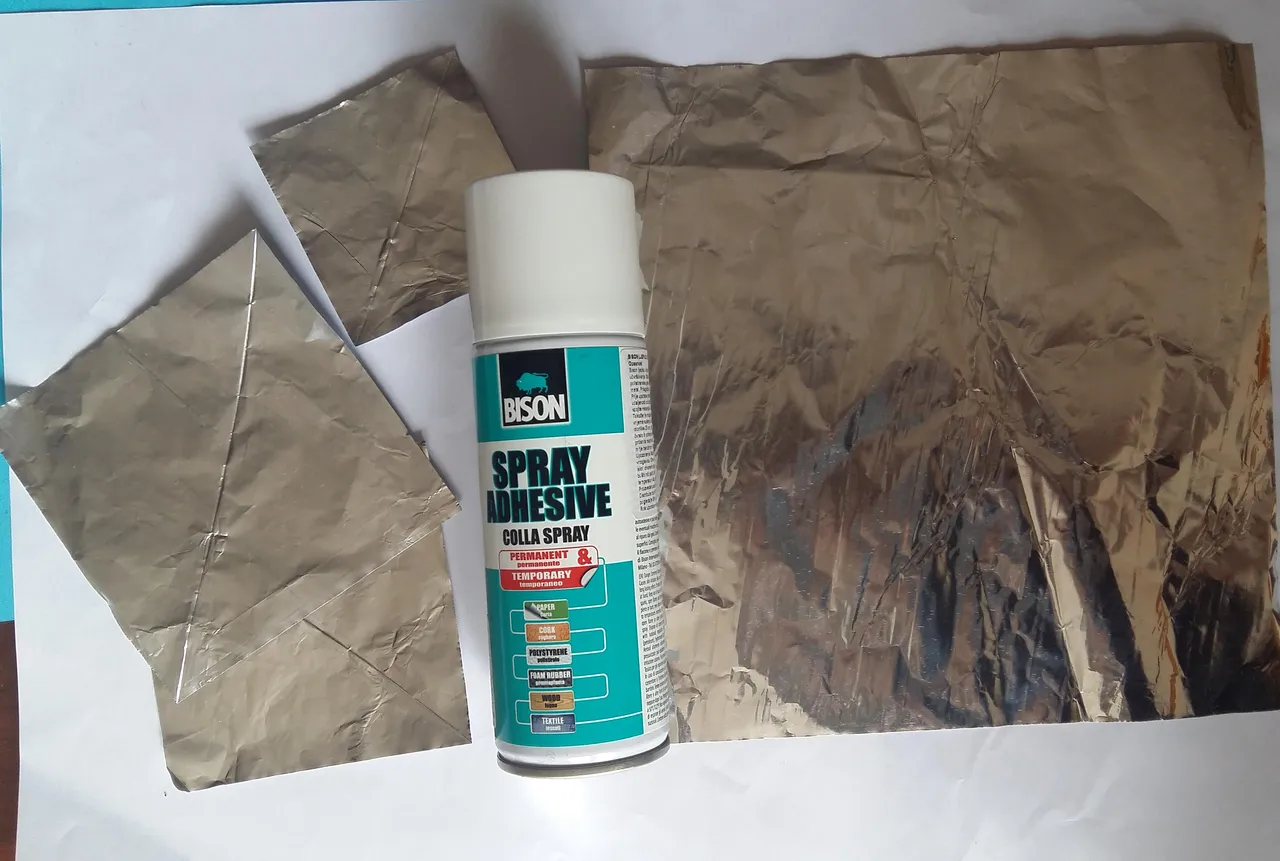
Now for the reason I put the image on top. That's a model made from tissue-foil paper. It's made by cutting out a square of aluminium foil and gluing tissue paper on top. I use spray adhesive, used to make a mix of white glue and water before finding where to buy some. It's a slightly hard to work with, unforgiving for mistakes but it's thin, durable and resistant to tearing. The biggest issue I have with it is reversing folds is a pain in the a$$.
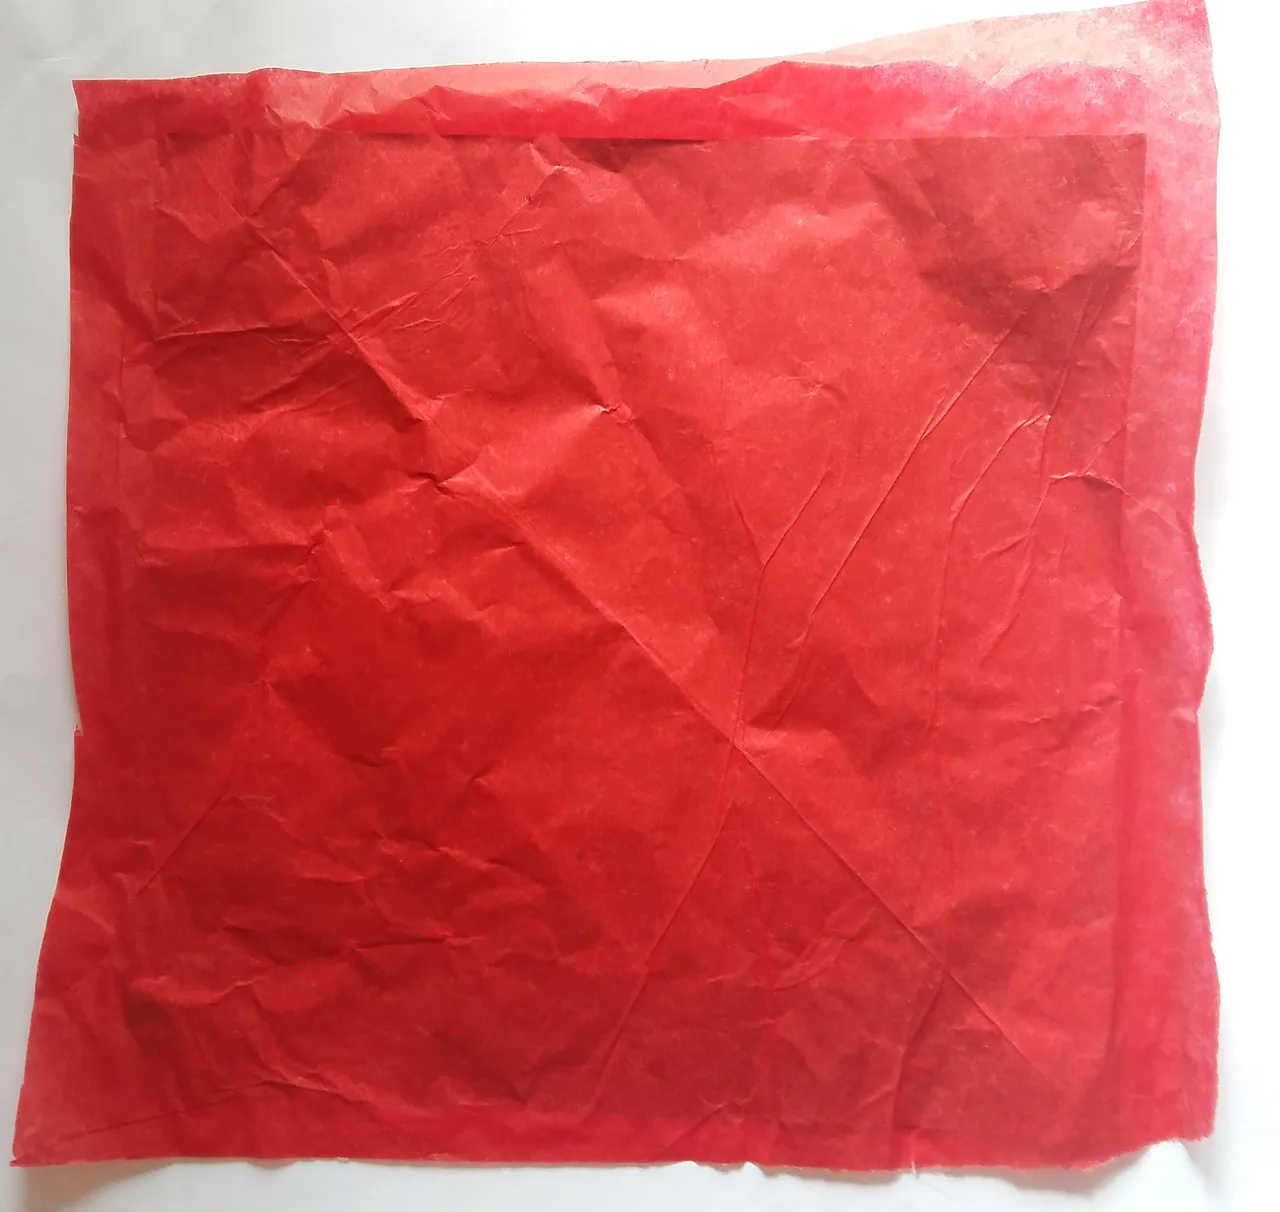
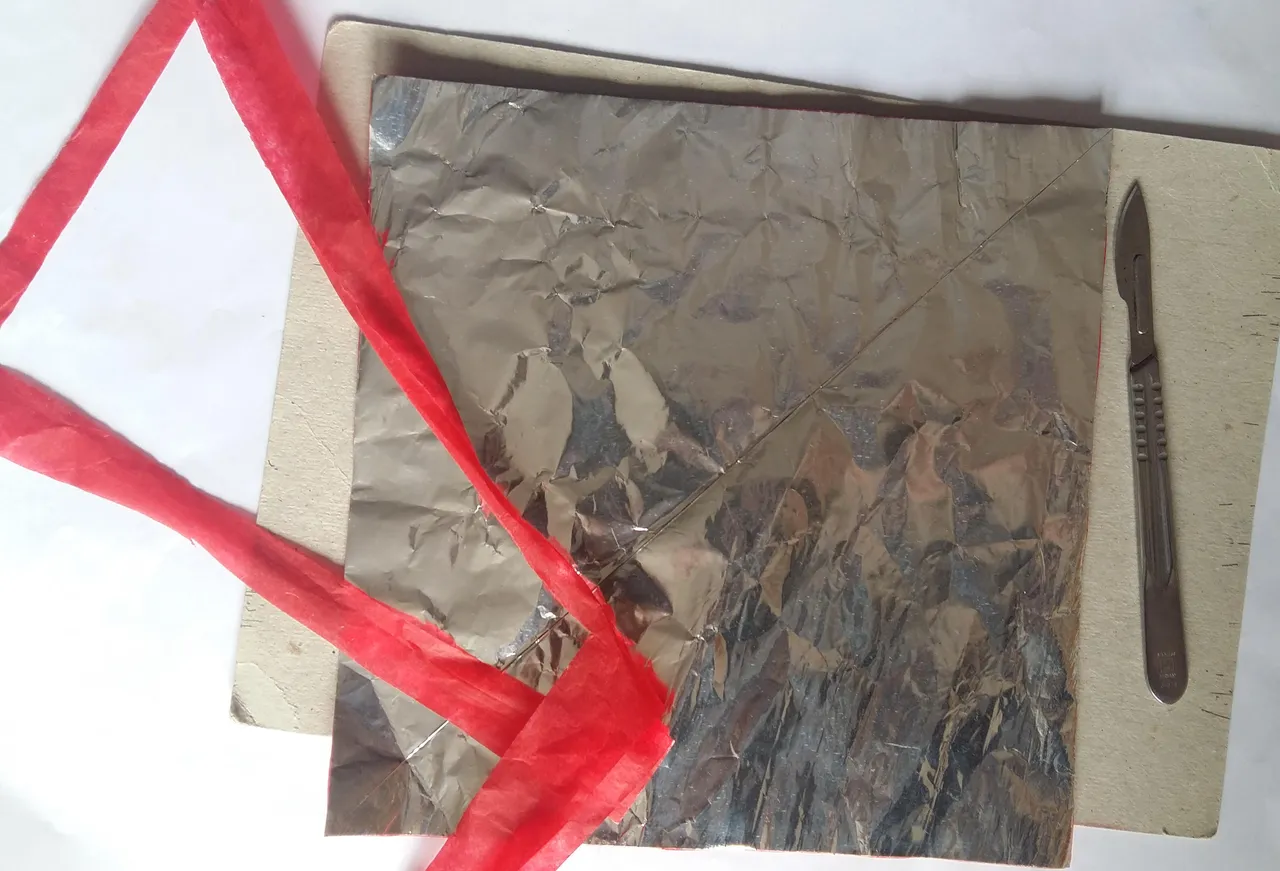
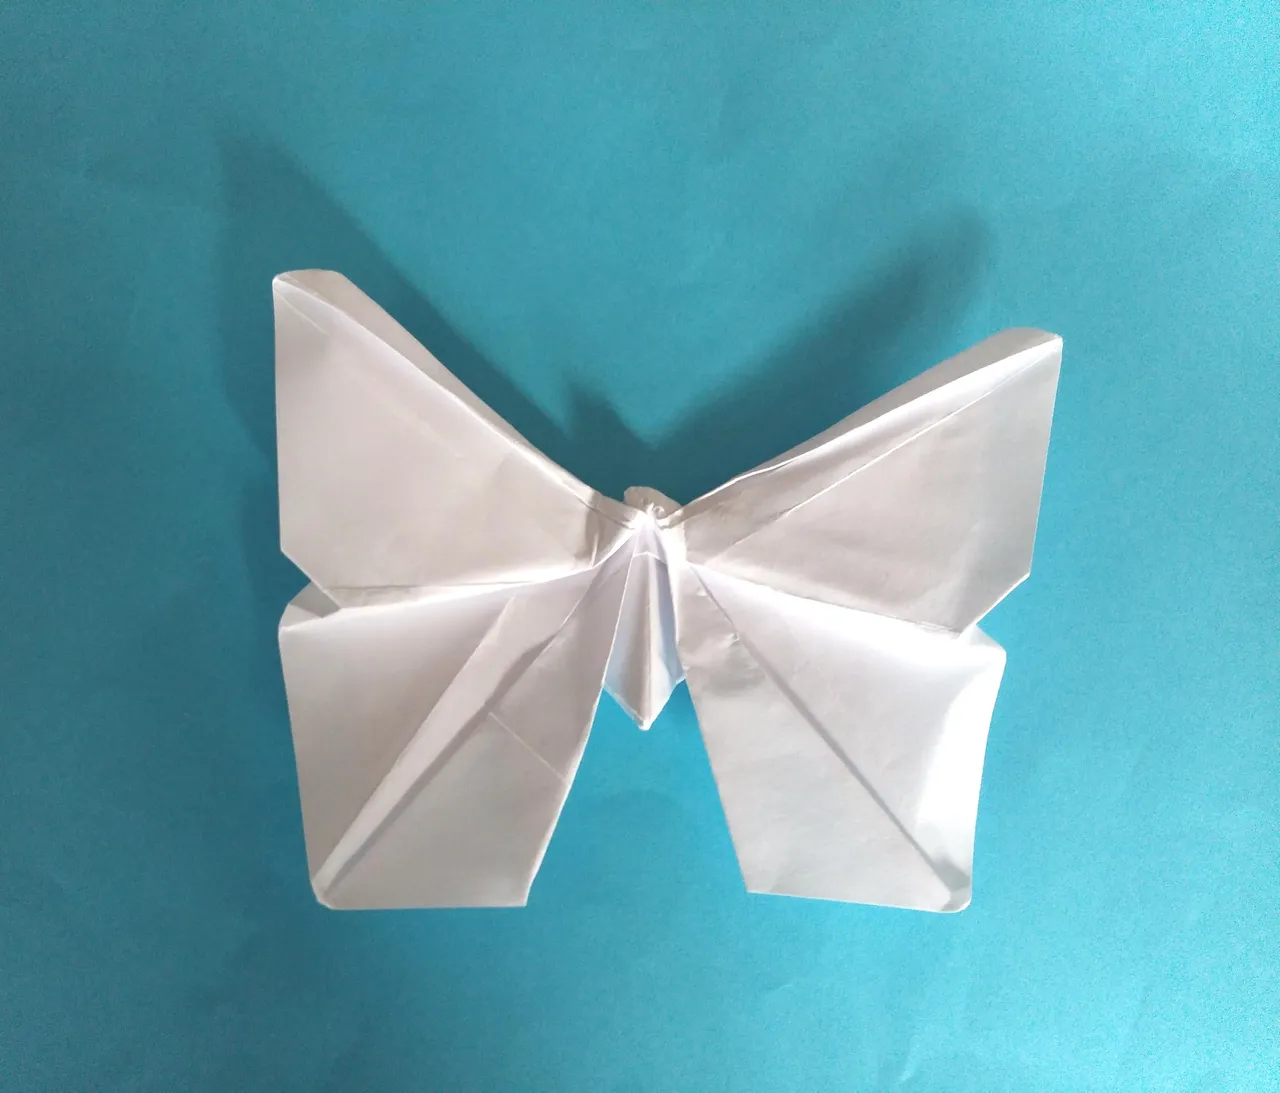
Here's the process of making it, don't use tissue paper that bleeds colors when wet(been there done that, it's a nightmare) and wait for it to dry completely before cutting otherwise you'll tear the wet tissue and end up with wasted materials.
And finally, this is why I made some of this paper, the next model in the book requires tissue-foil to retain the shape, wish me luck.
Thanks for reading, hope you're enjoying this as much as I am, and check out the last part:
Part 1