ENGLISH
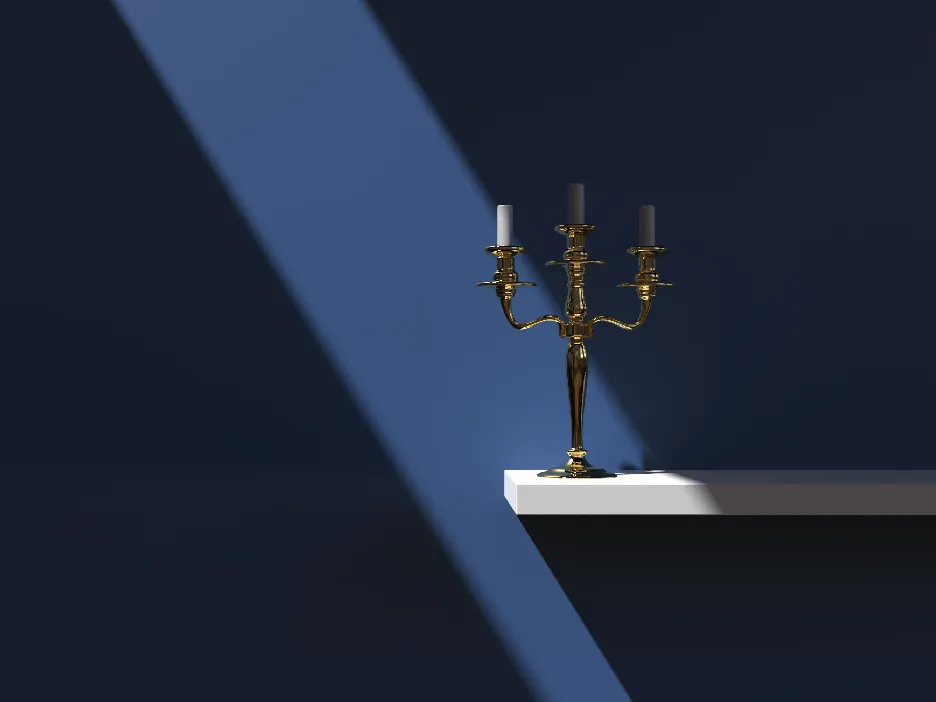
Today I tried to do a light beam from above in the keyshot. First of all, I modeled an candlestick and prepared the interior.
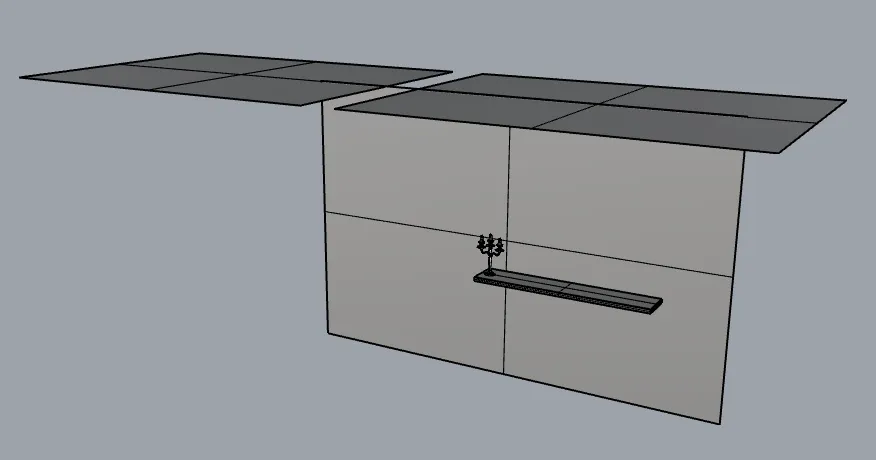
First we open the rhinoceros program and determine the object we will use. We can model this object ourselves. Or we can get it ready on web . I modeled myself according to a drawing I found in google. The revolve command was pretty easy. Then in the rhinoceros program, I modeled the background, the shelf and the part where the light would be filtered.

After this stage, we start to create the light event. First, we reduce the brightness of the environment so low. Then add a spot light to the top and reduce its size. Then we increase the brightness. So we get a strong light. By changing the coordinate of the light, we can change the direction of this effect.
TÜRKÇE
Bugün keyshotta yukarıdan bir ışık süzmesi yapmayı denedim. Bunun için bir öncelikle bir x modelledim ve iç mekanı hazırladım.
İlk olarak rhinoceros programını açıyoruz ve kullanacağımız nesneyi belirliyoruz. Bu nesneyi kendimiz de modelleyebiliriz. Deneme amaçlı hazır da indirebiliriz. Ben googleda bulduğum bir çizime göre kendim modelledim. Revolve komutuyla oldukça kolay oldu. Ardından rhinoceros programında arka planı , rafı ve ışığın süzüleceği kısmı modelledim.

Bu aşamadan sonra keyshota geçip ışık olayını oluşturmaya başlıyoruz. İlk olarak ortamın parlaklığını çok düşük olacak şekilde azaltıyoruz. Ardından tepeye bir noktasal ışık ekleyip boyutunu küçültüyoruz . Ardından da parlaklığını arttırıyoruz. Böylece güçlü bir ışık elde ediyoruz. Işığın açısını değiştirerek bu etkinin yönünü değiştirebiliyoruz.