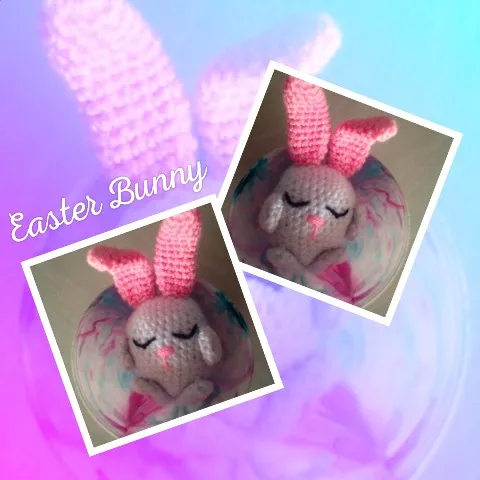
AMIGURUMI: Easter Bunny
Source: Photo taken by the author @xeliram on a cell phone
Hello, dear members of all communities particularly to #needleworkmonday and #ultimatecrochet, following the #amigurumis today I bring you the Easter bunny. The Easter Bunny is a character who according to legend brings baskets full of colorful eggs and candy to children's homes. Some of these eggs are decorated with images of Jesus and Mary in order to represent life and rebirth.
These eggs are usually hidden by the parents somewhere in the house, for the children to look for them. This game was introduced by President Rutherford B. Hayes in 1878, this search is also done in parks and gardens. The rabbit represents an animal appreciated for its reproductive capacity and the eggs represent the beginning of life, the hope of soil fertility and harvests. This tradition of giving eggs on Easter Sunday is very old and common in the countries of Central Europe, England and the United States.
Without further ado I show you the steps and images of the Easter Bunny making:
To make the Easter bunny you will need white, pink and black crochet thread, a knitting needle (1.45mm or 3), wadding and a wool sewing needle.
To Elaborate the Body
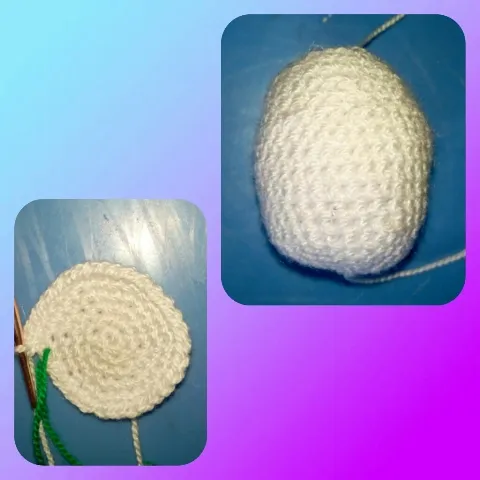 Source: Photo taken by the author @xeliram on a cell phone
- Lap 1. 6 sc in a magic ring. (6 points).
- Lap. 2. sc for each point (12)
- Lap 3. 1 sc, 1 inc (18)
- Lap 4. 2 sc, 1 inc (24)
- Lap 5. 3 sc, 1 inc (30)
- Lap 6-8. 1 sc for each point (30)
- Lap 9. 4 sc, 1 inc (36).
- Lap 10-13. 1 sc for each point (36)
- Lap 14. 4 sc, 1 dec (30)
- Lap 15-17. 1 sc for each point (30)
- Lap 18. 3 sc, 1 dec (24)
- Lap 19. 2 sc, 1 dec (18)
- Lap 20. 1 sc, 1 dec (12)
Fill
- Lap 21. 6 dec
For Making Legs
Perform two
In the lap one, realize a magic ring with 6 low points (sc), the second lap to weave 1 low point and an increase, in the turn 3 weave a low point for each point, turn 4 to weave 2 low points and an increase repeat until finishing the turn, turn 5 and 6 weave a low point for each base point, for the last turn weave a low point (sc) and a decrease. Close and leave thread to sew.
To Make the Hands
For the first lap make a magic ring with 6 low points, in lap 2 to 5 weave a low point for each stitch, close and leave yarn to weave.
I show the images with the elaboration of the pieces:
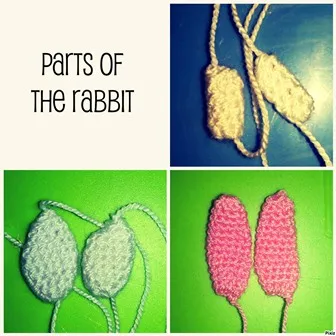
Source: Photo taken by the author @xeliram on a cell phone
To Finish
We sew the legs and the ears
Performing the eyes and nose
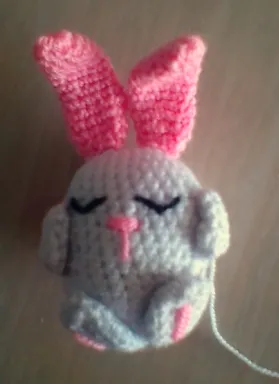
Source: Photo taken by the author @xeliram on a cell phone
I am Marilex Porteles, Mathematics teacher, researcher, dreamer, I like weaving, swimming and I am the mother of a beautiful girl.
Give UPVOTE if you like, COMMENT and RESTEEM for others to know THANK YOU.

Give UPVOTE if you like, COMMENT and RESTEEM for others to know THANK YOU.