The minty sheep looked up, happily bounced two steps forward and said “määääh” but his best friend was of a completely different opinion. It shook its head vehemently and sternly commented “möh!”. Now everything was said.
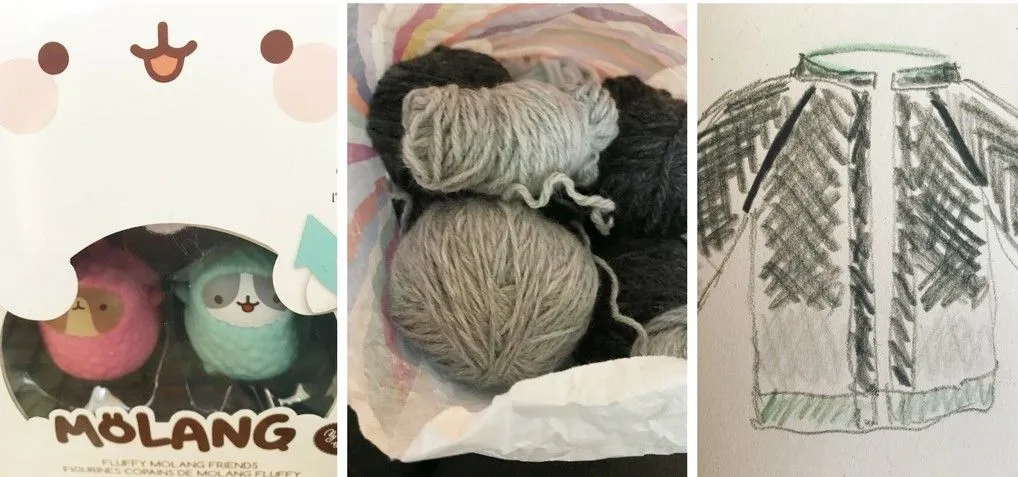
I think I have two sheep in my head, one is fluffy, endearing, and cuddly. It has a lovely soft mint fleece and smells a little bit like a lemon cheesecake. This sheep appears when I am well rested, fed, and warm. Because I get hungry very fast, this sheep is seldom in command… The other sheep which lives inside my head is also very fluffy but with pink curls, and its cute appearance is deceptive. It acts like a real ram, running head first into walls, people, and sheep. Stopping everyone with a resolute “möh!” it makes its own way.
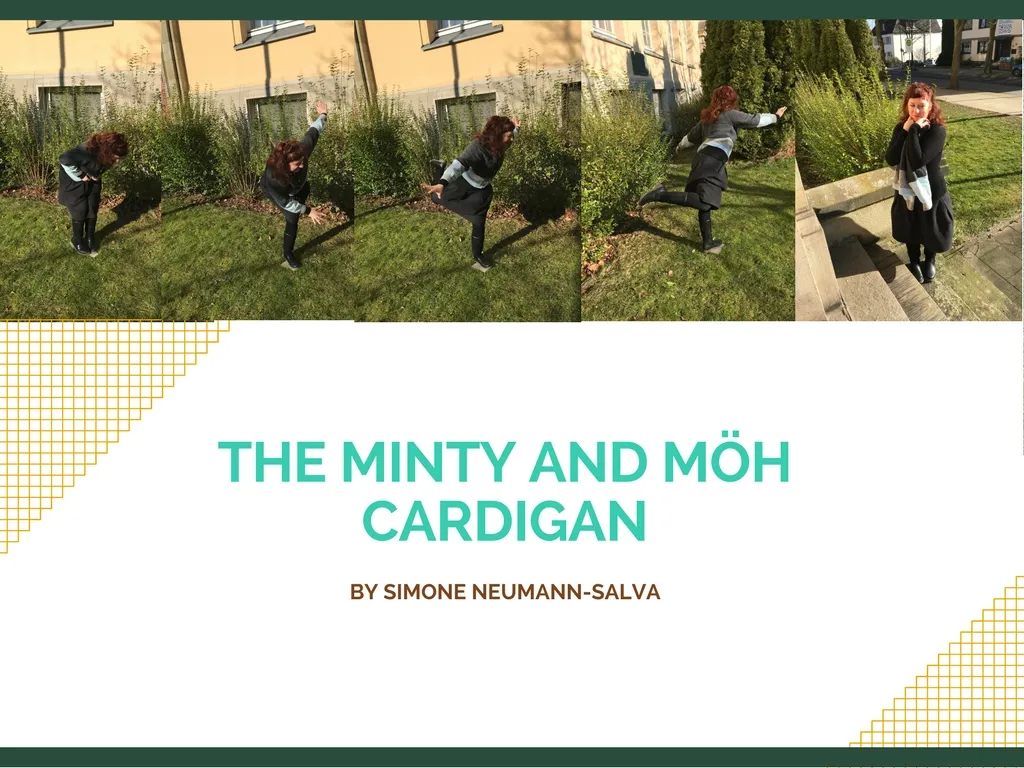
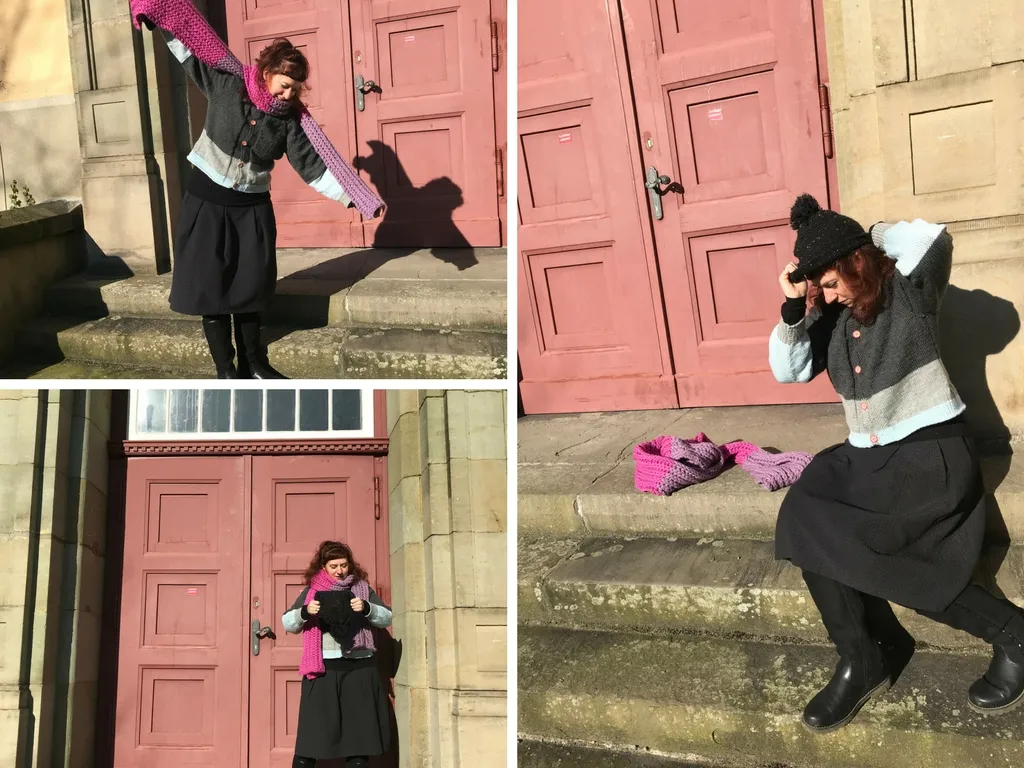
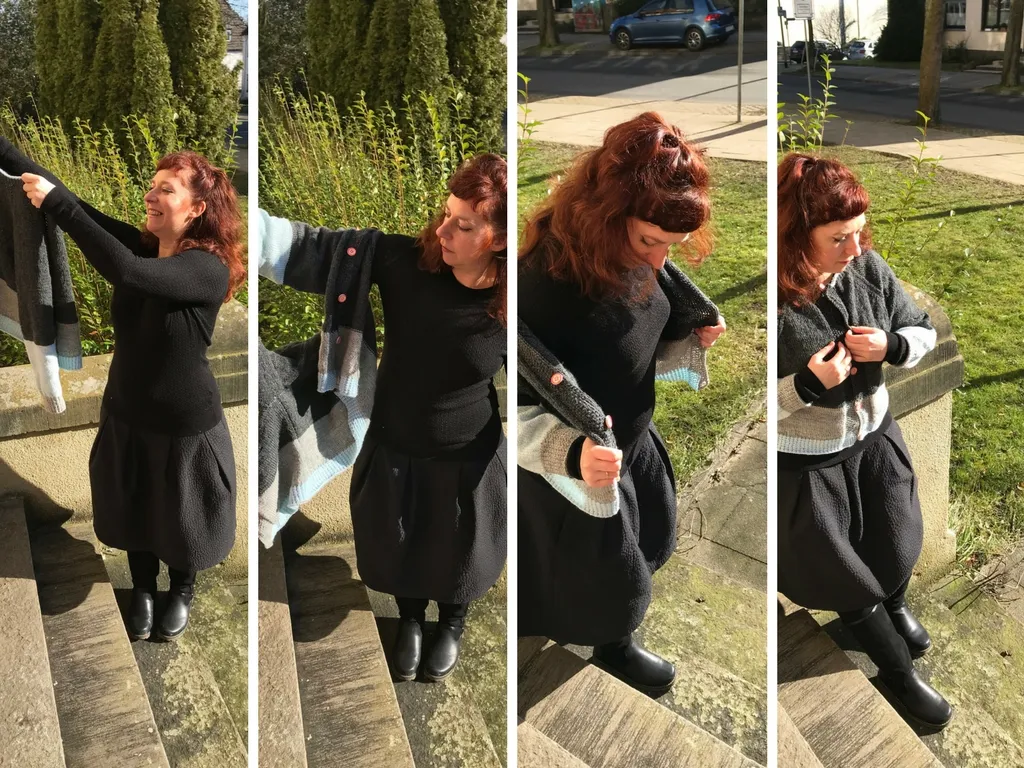
I designed this easy top-down cardigan for those days when you cannot decide if you are Minty or Möh, if you want to cuddle or hit someone. Just wrap yourself in this warm cardi and find a sunny pasture to run wild.
Construction
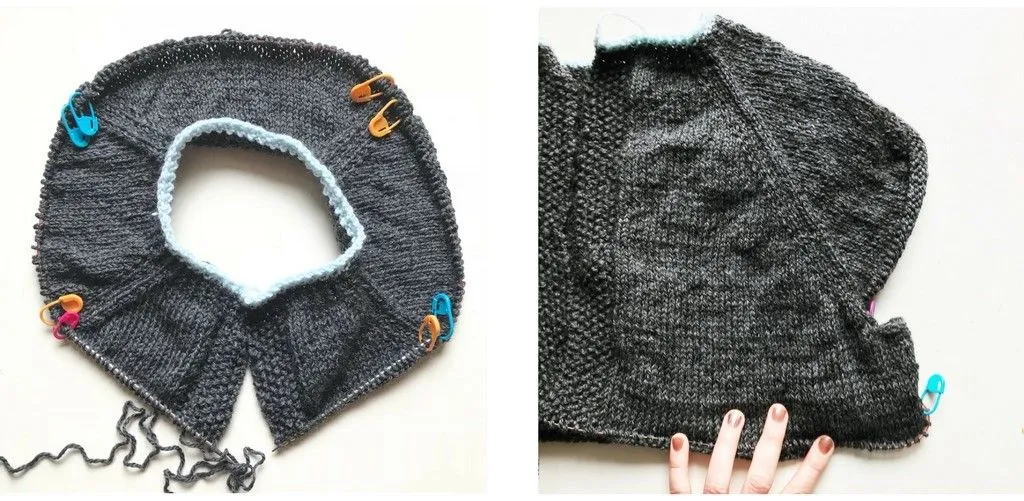
The cardigan is knitted from the top down. It is increased on four raglan lines over the complete yoke. You will start with the ribbed neckline and then work increases on four points. When you reach your bustline and the sleeves are wide enough, the stitches of the sleeves are put on spare yarn or a big stitch-holder. Now the body is knitted. Afterwards the sleeve-stitches are picked up and knitted flat and seemed afterwards. The cardigan has a seed stitch border and an optional crocheted buttonband.
Fit
The cardigan is slightly tailored and reaches my hip bones (not sure if yours are on the same place :-D). So, you can wear it casual over jeans but also with a high waisted skirt. Because the sheep always want to play and jump around, the cardigan has a lot of ease, especially in the sleeves.
Material
Needle
US 6 - 4.0 mm
US 2½ - 3.0 mm
Yarn
The cardigan weights 500 g
Wolle Rödel Soft-Merino 100 g / 50 m in
031 anthrazit
009 light grey
034 mint
Scissors
Darning needle
Stitch marker
Gauge
19,5 stitches and 27 row are 10 x 10 cm in stockinette
Size and numbers
Width
Front hem (with closed buttons) 50 cm
Waist 48 cm
Bustline 50 cm
Neck opening 17 cm
Sleeve (widest part) 20 cm
Sleeve cuff 10 cm
Heigth
Hem 4 cm
Armhole to hem 29 cm
Total heigth 52 cm
Sleeve length (cuff to neckline) 65 cm
Sleeve cuff length 6 cm
Skills used / Abbreviation
Casting on
Binding off
R = row
P1 = Purl one stitch
K1 = Knit one stitch
M1 = Increasing 1 stitch (I picked up the bar between stitches, but every method works)
K2tog = Decreasing 1 stitch by knitting two stitches together
Sewing
Optional for the buttonband
Sc = single crochet
One thing after another….
Neckline Ribbing
Needle 3 mm and wool in mint
R1: cast on 109 stitches
R2: k1, p1 and so on
R3: as the stitches appear
R4: change to anthracite and work the stitches as they appear
R5-10: as row 4
Yoke
Change to needle 4 mm and work with the anthracite wool
R11: Raglan set up
k1, p1 4 times (8 stitches for seed stitch border) knit 11 (Front), set marker, knit 1, make 1, knit 1, set marker, knit 18 (sleeve), set marker, knit 1, make 1, knit 1, set marker, knit 27 (Back), set marker, knit 1, make 1, knit 1, set marker, knit 18 (sleeve), set marker, knit 1, make 1, knit 1, set marker, knit 11 (front), p1, k1 4 times (8 stitches seed stitch border)
R12:
k1, p1 4 times (8 stitches for seed stitch border) purl 11, slip marker, purl 1, knit 1, purl 1, slip marker, purl 18, slip marker, purl 1, knit 1, purl 1, slip marker, purl 27, slip marker, purl 1, knit 1, purl 1, slip marker, purl 18, slip marker, purl 1, knit 1, purl 1, slip marker, purl 11, p1, k1 4 times (8 stitches for seed stitch border)
R13:
k1, p1 4 times (8 stitches for seed stitch border) knit 10, make 1, knit 1, slip marker, knit 1, purl 1, knit 1, slip marker, knit 1, make 1, knit 16, make 1, knit 1, slip marker, knit 1, purl 1, knit 1, slip marker, knit 1 make 1, knit 25, make 1, knit 1, slip marker, knit 1, purl 1, knit 1, slip marker, knit 1, make 1, knit 16, slip marker, knit 1, purl 1, knit 1, slip marker, knit 1, make 1, knit 10, p1, k1 4 times (8 stitches for seed stitch border)
repeat row 12 and 13 up to row 65 (a purl row) in the next row - a knit row - the underarm divide is made
R66:
Knit to the first marker and remove the marker, knit the next three stitches and remove the next marker, slip all sleeve stitches on a spare cable with stoppers (or on scrap yarn or stitch holder), remove the next marker, turn work and cast on 6 stitches, place marker, cast on one stitch, place marker, cast on 6 stitches, turn work and knit the back, repeat with the second sleeve.
Body
The stitch between the marker is always knitted to create a fake seam and to have a good orientation for the de- and increases.
The border is always knitted in seed stitch: k1, p1 4 times and at the end of the row p1, k1 4 times.
R1:
Seed stitch, purl 48 stitches, slip marker, knit, slip marker, purl 101 stitches, marker, knit, slip marker, purl 48 stitches, seed stitch
R2:
Seed stitch, knit to marker, slip marker, knit 1, slip marker, knit to marker, slip marker, knit 1, slip marker, knit up to border, seed stitch
Repeat row 1 and 2 up to row 11 (purl row)
R12: (decrease 4)
Seed stitch, knit to three stitches before marker, k2tog, knit 1, slip marker, knit one, k2tog, knit to three stitches bevor marker, k2tog, knit one, slip marker, knit one, slip marker, knit one, k2tog, knit to border, seed stitch.
Repeat row 1 and 2 up to row 49 (purl row) and decrease in row 18, 24 and 28. In row 34 change to the lighter grey wool
R50: (increase 4)
Seed stitch, knit to one stitch before marker, make 1, knit one, slip marker, knit one, slip maker, knit one, make one, knit to one stitch before maker, make one, knit one, slip maker, knit one, slip maker, knit one, make one, knit to border, seed stitch
Repeat row 1 and 2 up to row 64 (knit row), increase in rows 54, 57 and 61
Hem Ribbing
The ribbing is made in mint, the border is still made of 8 stitches in seed stitch pattern.
R65: Seed stitch, knit to border, seed stitch, remove the marker
R66: Seed stitch, purl 1, knit 1, repeat, end with two purl stitches, seed stitch border
R67: Seed stitch, knit to border, seed stitch.
R68: Seed stitch, purl 1, knit 1, repeat, end with two purl stitches, seed stitch.
Repeat row 67 and 68 till row 78 (purl row)
R79: Cast of in pattern
Sleeves
Sleeves are worked flat
R1: Pick up 8 stitches, knit to end, pick up 8 stiches (90 stitches)
R2: Purl
R3: Knit
R4: Purl
Repeat row 3 and 4 up to row 96 ( a purl row). Decrease in each of these rows 13, 19, 15, 33, 37, 43, 49, 55, 61, 69, 77, 83, 91 two stitches (one at the beginning, the other at the end of the row)
In row 52 change to mint.
R97: Change to light grey. Knit all stitches. Decrease evenly 10 stitches. (54 stitches)
Ribbing
R 98: k1, p1 repeat
R99: knit
R100-116: repeat rows 98 and 99.
R117: k1, p1 repeat
R118: bind of in pattern
Finishing instructions
Sew the sleeves together and then seem in all loose ends.
Buttonband
Right now, we have a Game of Thrones like winter, all snow, and freezing temperatures. Blocks of ice fall of the roofs and the wind is howling around the corners. To protect your little sheep yourself, you can attach a buttonband, so you can close the cardigan. I distributed 83 single crochet evenly along the border. Then I crocheted two more rows of single crochet. On the opposite side I made the first row in single crochet. In the next row the buttonholes are placed. Therefore, I worked in stitch 5, 23, 42, 61 and 79 a chain. For the next row in every stitch a single crochet is worked.
Now you must sew on the buttons and are ready to graze go.
By the way @colleenthurber has a wonderful tutorial for the seed stitch
https://steemit.com/knitting/@colleenthurber/knit-with-me-a-beginner-s-guide-to-seed-stitch and for casting on
https://steemit.com/needleworkmonday/@colleenthurber/knit-with-me-3-different-cast-ons
If you are like me and knit in combination style, you can find tutorials here:
https://steemit.com/needlecraftmonday/@neumannsalva/how-to-cast-on-for-combination-knitting-and-western-knitting
https://steemit.com/needleworkmonday/@neumannsalva/tutorial-for-combination-knitting
A big thank you to @giavellottista who took the beautiful photos
Happy #needleworkmonday to you all! I am sooooo curious if you like the pattern 💗 Feel free to ask everything. I will post this pattern also on my ravelry site
https://www.ravelry.com/designers/simone-neumann-salva