Hello friends of steemit, This tutorial is ideal for cold weather, it is a medieval style hat that besides having a fun design protects your ears, nose and mouth from the cold. Another step by step to continue doing crafts with your hands, I hope you like it and encourage yourself to do it too!
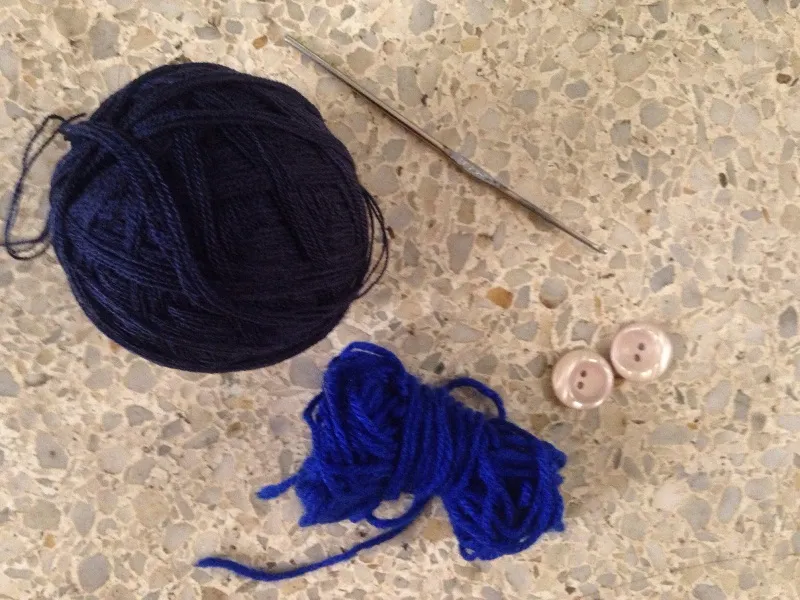
Materials
| Black wool | Knitting needle |
| Blue wool | Two big buttons |
| Sewing thread | Sewing needle |
Process
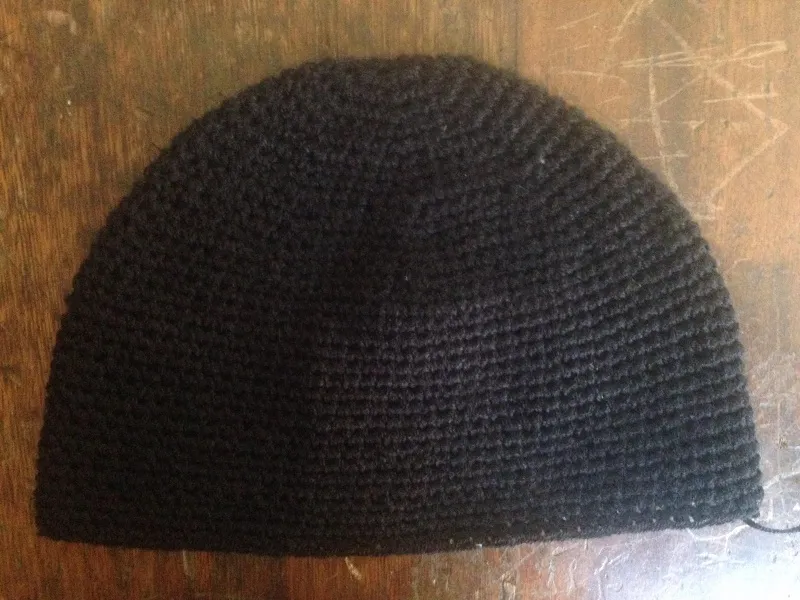
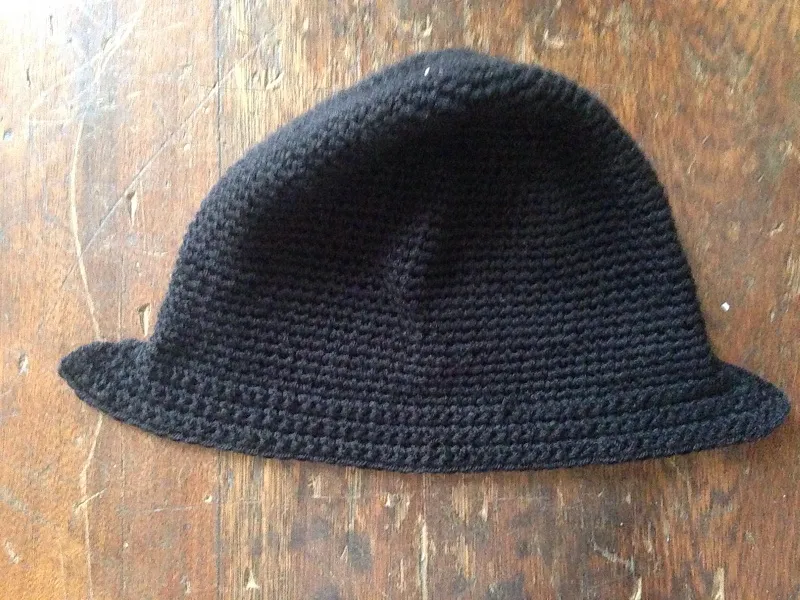
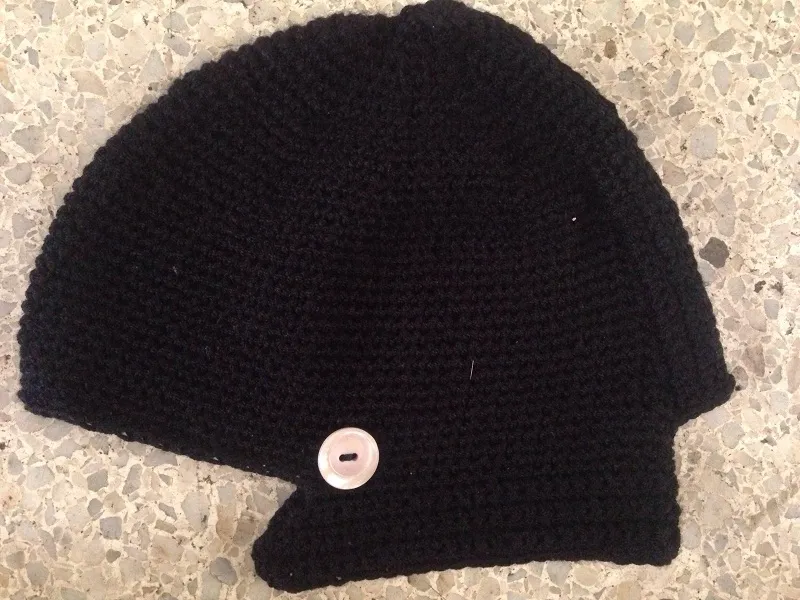
-The first is to make a basic hat, I used the same hat from the previous step in which I made a magic ring and make 8 single crochet stitch, make increases to get 8 single crochet stitch and an increase and then knit 21 row of single crochet stitch and this was the result. If you want to have more information on how to do it, I'll leave the link.
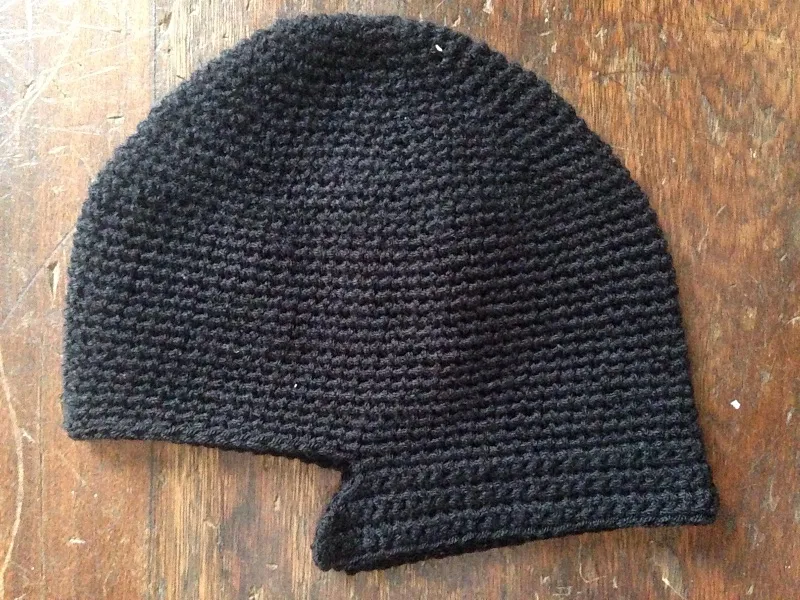
-Once the hat is ready, we will start making the peaks below the hat. The peaks will begin at the center of the hat and end at the other center of the hat, that is half a knitted hat. The first round will be only single crochet stitch. The second round will make an increase in each corner. From the third to the fifth we will make a single crochet stitch in each corner.
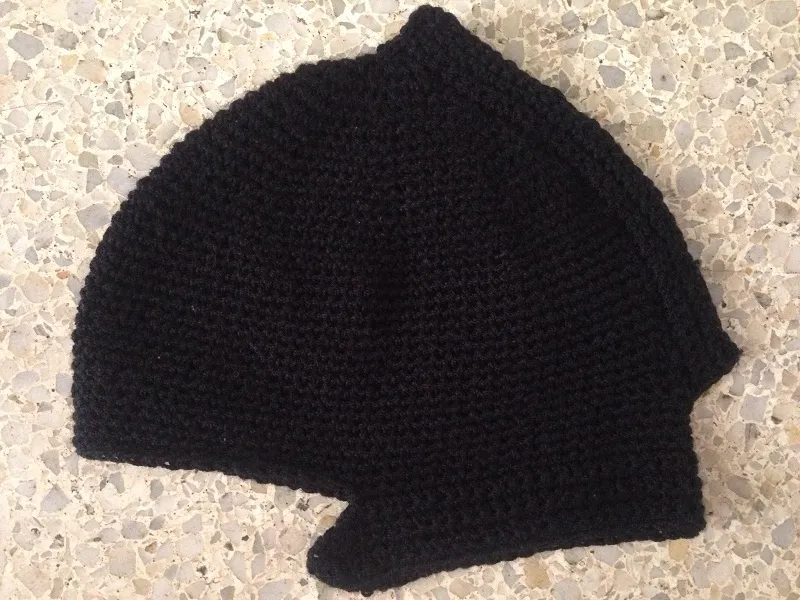
-Once finished we will see how a peak remains on each side. We will knit single crochet stitch starting in one corner and ending in the other around the edge.
-For the ridge we will make a row of single crochet stitch in the hat from where the basic hat ends to the tip of the hat, we will make 4 rows and cut yarn. We leave a minimum space and repeat the process having two parallel lines.
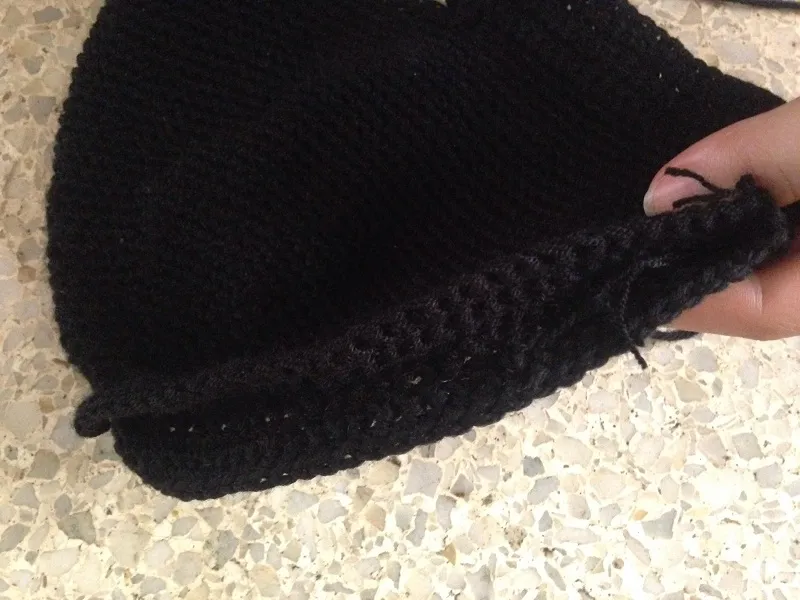
-We join them with a slip stitch all over the edge.
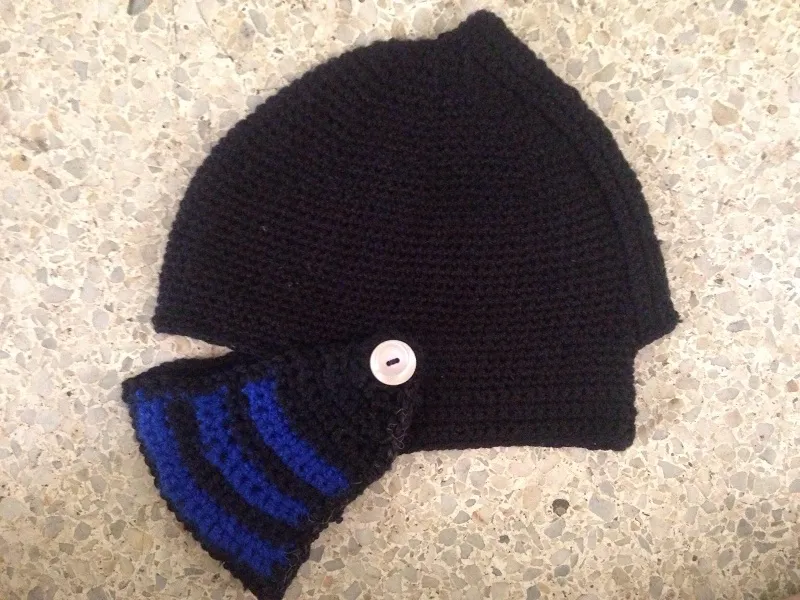
-To finish with the body of the hat, we sew with thread and needle the buttons on each side of the hat.
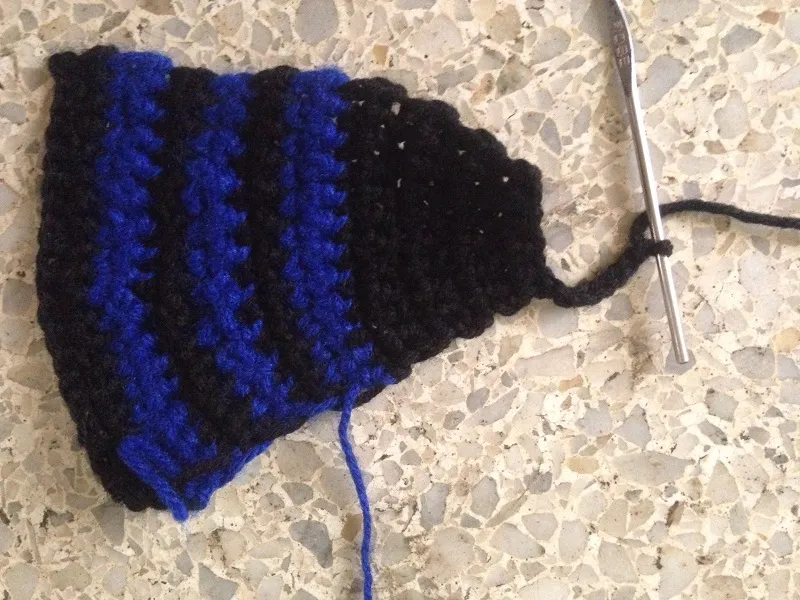
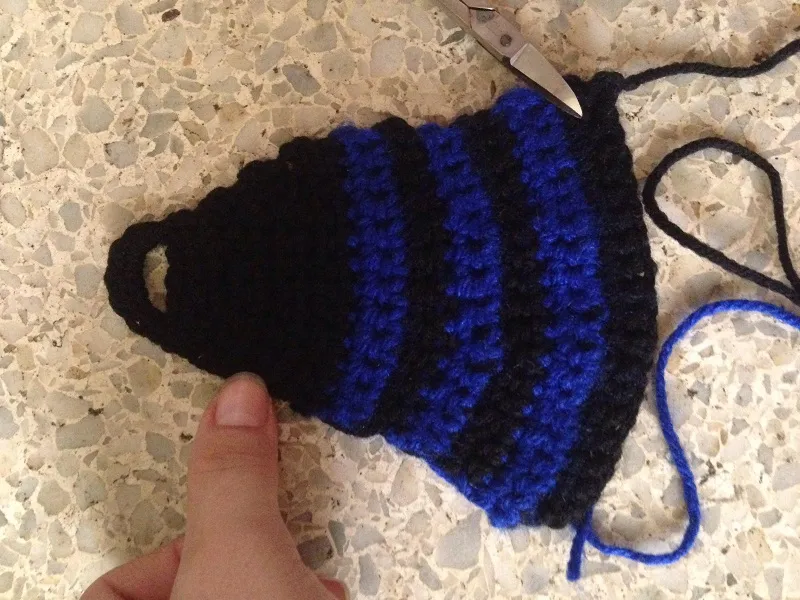
-Now let's do the part that covers the mouth. I started from the middle doing a simple chain in which I made 20 single crochet stitch with black wool, the second round was the same, the third round changed to blue. In the fourth I began to make reductions would be three, one in a corner another in the center and the last in the other corner. The fifth, sixth, seventh and eighth will be the same procedure of the third and fourth round, changing color every two rows and with decreases. From the ninth to the 15th only single crochet stitch, the 16 of two decreases in each corner, 17 only single crochet stitch, and we repeat the same in the 18 and 19 with decreases and single crochet stitch To finish we will make 5 simple chains in the air in one corner.
-Close the simple chain with a slip stitch in the other corner and we return by making 7 single crochet stitch inside the simple chain.
-Repeat the same procedure on the other side of the cover mouth, inserting the needle into the tissue where we started making 20 black single crochet stitch. Once you have all the fabric, with black wool knits single crochet stitch around the cover mouth, from end to end.
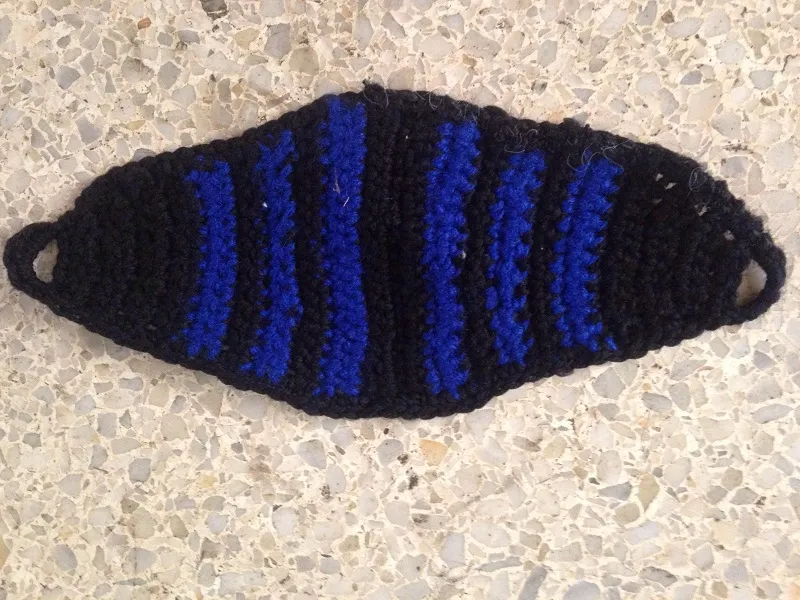
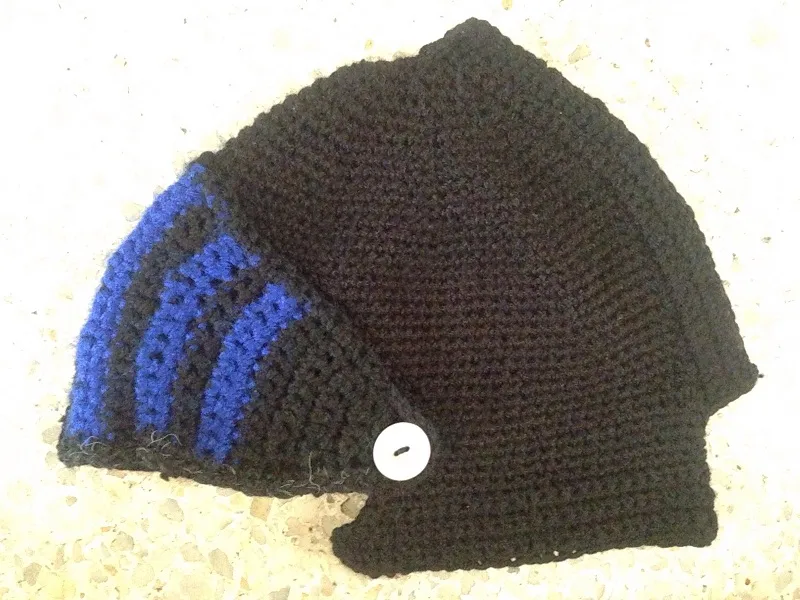
Once ready the cover mouth, place it inside the two buttons that we previously sewed and ready, we have our hat finished, this cover mouth you can put on your head or covering your mouth as it has mobility. I hope you liked it, this was all for today.