At the Earthship Academy in Taos, NM they teach how to use tires effectively and safely in wall structures, in theory and practice. Since Earthships consist of a lot more than tire-walls, I won’t be taking away anything from this comprehensive course if I wrap up the basics in this short post.
Tires are frequently used, especially around here, but not always in the safest way. The results, both pics are from not too far from where we’re building, range from tolerable to frighteningly dangerous. Though the basics of building a decent tire-wall are not too hard to explain.


Come Prepared

The Tools You Need

Choosing the Right Tires
Tires come in all sizes, indicated on their side. What’s most interesting for using them in walls is their width, which could be 195, 205, 215, 225, 235, etc. millimeters. Obviously, the bigger ones should go on the bottom, to carry the smaller ones, and a course should have tires of the same sizes to create a flat, level surface to build the next course on.
Positioning the Tire
Once you got your right sized tires, you lay them flat on the ground. But not just about anywhere! They should be in a straight line, which is frustratingly difficult to judge by the eye. So setting a string at exactly where the wall should end is essential. Also, keep in mind that the wall will not be plumb – it cannot be for its nature. Instead, it should slope back uniformly, by placing each course 4 cm (an inch and a half) further back. This calls for lots of backfill on the other side.
Lining the Tire

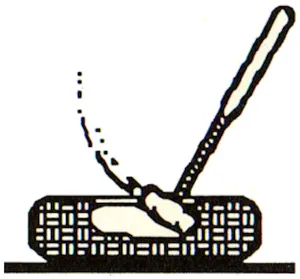
Filling the Tire

Before pounding the living daylights out of it, we can make it easy on ourselves, and simply push the dirt into the huge pocket the tire forms all around by its very nature. This can be done by hand first, in the second round it may be easier to lift up the edge with the pick or the sledgehammer and kick the dirt in with your boots.
Once you’ve reached the third or fourth bucket of dirt, the tire will be quite full already… or so it may seem. Once you’ve given it a good pounding, it’ll look half-empty again. When pounding a tire, you don’t want to hit the rubber itself. You’ll notice when it happens, bringing the compacted dirt out towards the center again. Instead, you pound the dirt in the middle diagonally towards the inside. After a while you notice the edges expand and get firmer with each hit. This is exactly what you’re aiming for.
Leveling the Tire


All You Need to Get Started
So this should be enough theory for trying tire-pounding in practice. I suggest to experiment with a small project at first, such a garden bench or a small wall. If you find a liking to it, you’ll be glad to know that this construction method will give you a very thick (thremic) wall, safe from fires, floods, earthquakes, and radiation. Of course, it will have to be covered properly with concrete or clay plaster, to avoid off-gassing. And not lastly, they are fun to build, giving you a decent work-out. However, as this is was my first week of physical activity in a year, the picture of me looks more like wear-out.