Hi Steemitarians,
Its been a very interesting and productive first week on Steemit and i have had a great response of support on my blogs so far including being added to the top 20 steemit new Authors by Luckysteem. As perhaps the first or at least on of the few audio engineers on steemit at the moment, please share these blogs with your friends who want to know some recording tricks. I would Like to thank everyone who has supported me on my arrival and thank you for your feedback and taking the time to read my blogs. Please always upvote pr promote my blogs if you feel you or others have or can gain from any information in these blogs as audio can be tough to work with at times.
Today im doing a summary of what has been covered in this series and coming up soon i will be adding more content including some video demonstrations on recording from pt 4, micing instruments and mic set up, and will show you how the different recording formations sound, that will be tomorrow if time allows. From there i will start moving to the Software /DAW side of things and also from time to time get more technical on other industry equipment, live recording and much more! plenty more to discuss people and you can find it here on Audio-nrg. You can also check out my website (Link is in my headline steemit page www.audionrg.com, which i'm progressively updating as well and for other content, my YouTube Channel AudioNRG.
Well enough house chat, lets refresh,
We started the series by looking at DAW's or Digital Audio Workstations. This is software that allows you to record music and live recording projects through your compouter as a home recording studio. many of the software packages come with Plugins that are apps to help you improve your recordings such as compressor tools and EQ, Spatial tools like reverb and Delay, and sonic enhancements such as expanders, field wideners, chorus effects, and filters and distortion tools such as bit crushers, phases, flangers and pitch shifters. We will look more into how to plugins in some later parts of the series.
Next we looked at tools called Sound cards or Audio interfaces. This is hardware that allows does a few very important yet amazing things. Audio interfaces allow your instrument or vocal recordings, or even Midi instruments to be captured and recorded and then converted into the proper format for a computer to read as information, and then sent out of your computer to your speakers so you can live record and hear the playback of your music in real time without latency. The music you record into your interface is converted into very small samples for the computer to read. The sound passes through your audio interface pre-amps, these are different based on the brand and manufacturer, but help your audio retain the quality possible where possible and depends on your computer to translate the information, but an audio interface helps to to do this with greater speed and convenience.
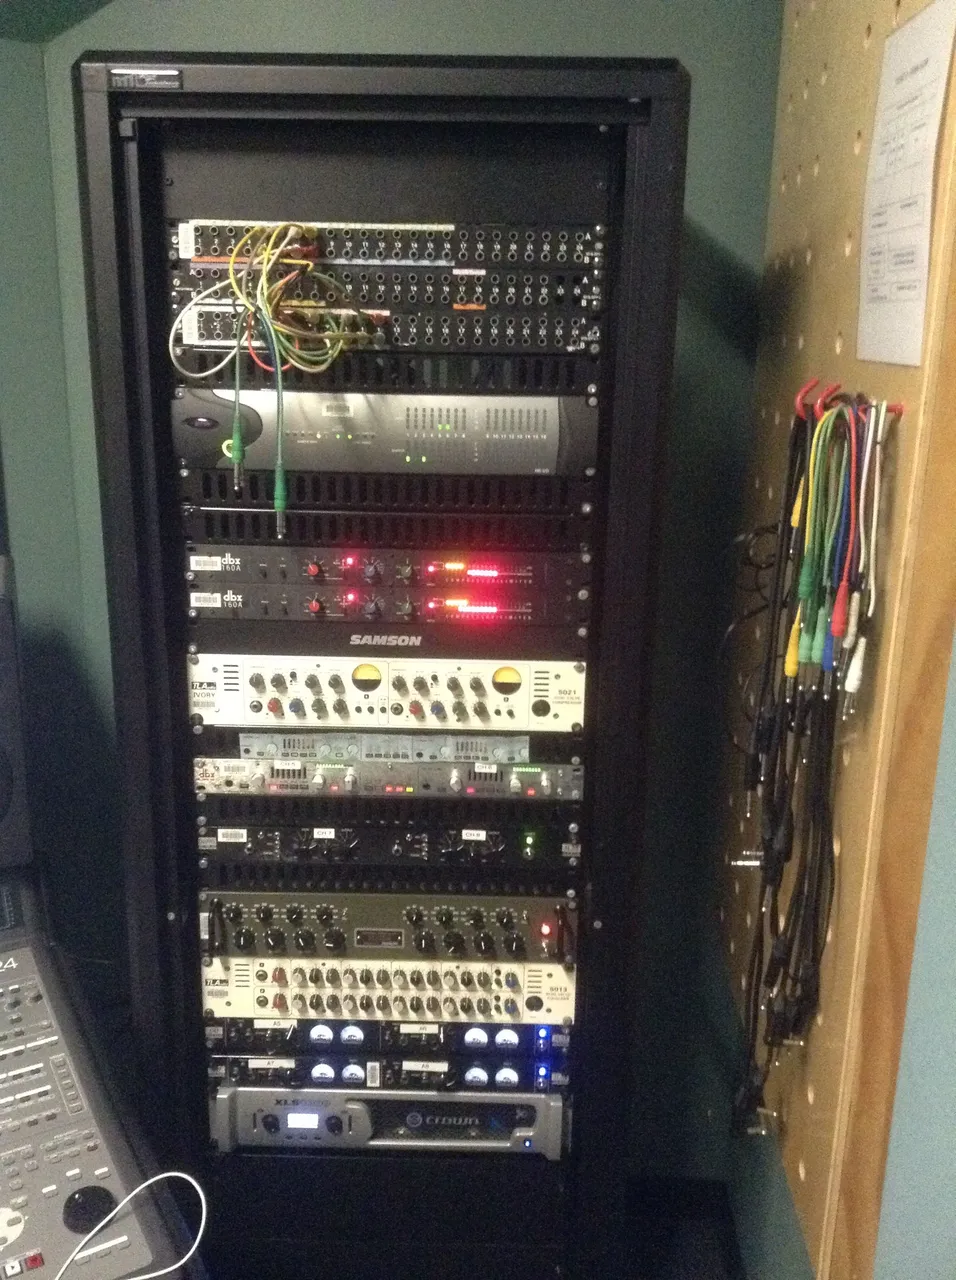
An example of a basic rack with patch-bay, compressors, FX some Amplifiers and Avid HD audio-interface (for protools) in studio 3 2 JMC 2015.
We have also looked at some of the tools of the trade, the most important being Microphones. As we saw in part three there are many many types of microphones to choose from but they can be reduced into 3 main sections, these are Dynamic mics, Condenser Mics and Ribbon Mics. Each type has benefits and drawbacks and a careful selection should be made based on your recording environment, style, needs and performance type. Each different mic type capture the acoustic sound wave you create from your voice or instrument ( the voice is actually an instrument but i just keep the ideas separate for clarity). For instance, the dynamic mic requires a diaphragm inside a magnetic field to move from the exposure to sonic vibration or sound-waves and the acoustic pressure of those sound waves will determine the variations in level when received by the microphone and sent to the audio interace and then to the computer. In other-words, if you scream into a dynamic mic, its diaphragm will move fast and violently inside the magnetic field and make your audio wave you record, very broad and large, for instance.
IN part 4 we looked at a few ways of setting up your microphones, specifically for stereo spatial recording techniques. The purpose of these set ups was specific in getting a desired sound outcome compared to using a regular microphone into one input. Stereo recording aims at capturing a broader sound field from the environment the music is being created in, or in other words, it is about capturing and recreating the spatial effect and influence of the recording environment providing a greater experience of fullness for the listener. While not all mic set ups were discussed, the following stereo field designs included:
The Spaced Pair aka the A/B formation
The ORTF formation (spaced at 110deg and no more than 20cm apart
The XY formation (The diaphragms are placed perpendicular over each other at 45deg opposing)
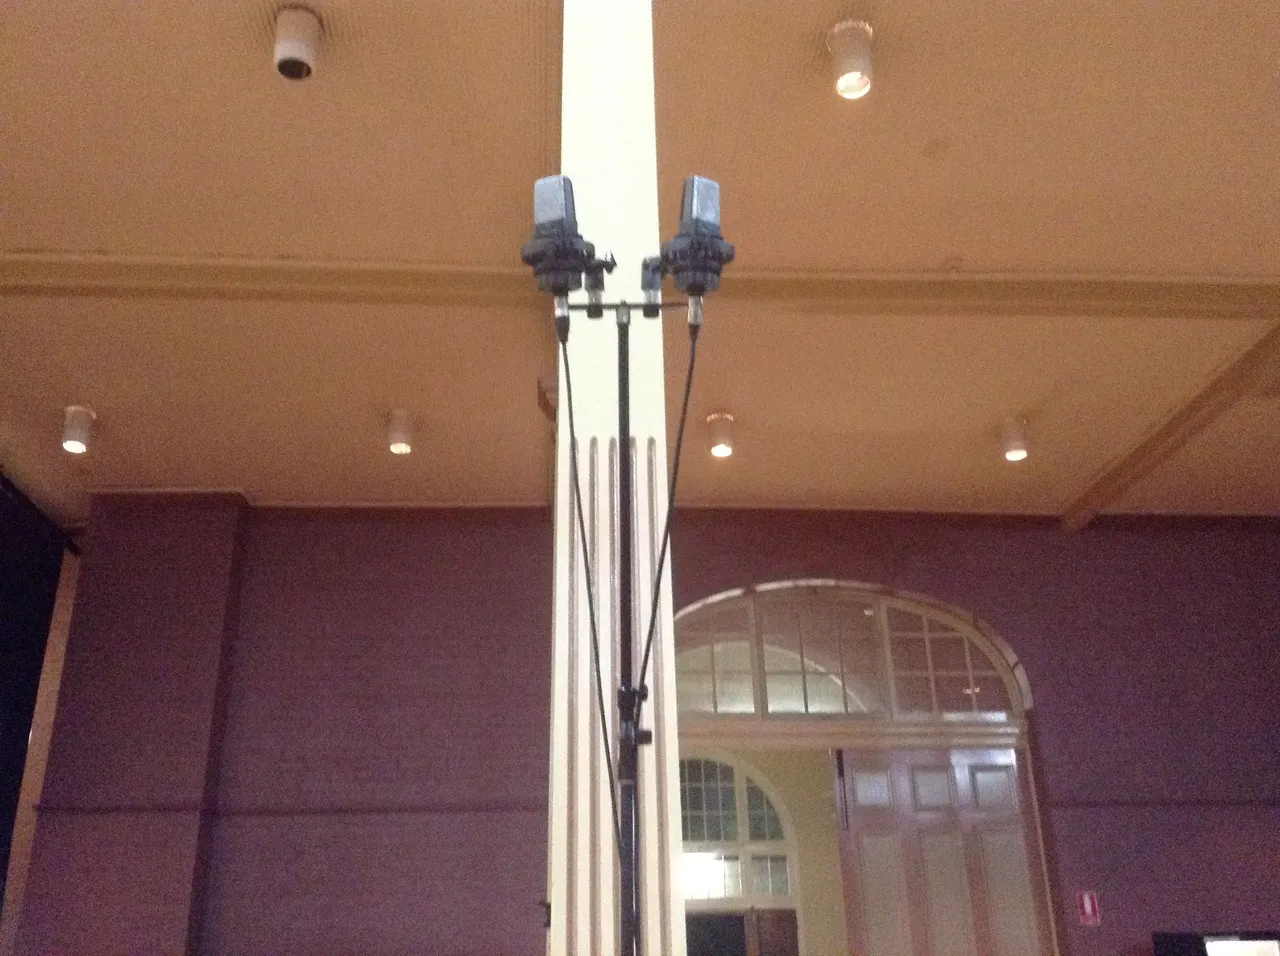
Bellow: An example of ORTF with 2 AKG 414's we used when recording the Qld Jr Orchestra April 22nd 2016
Each of these designs will broaden or tighten the stereo field in some way and in the next episode i will demonstrate some sound sample examples for you to listen to along with running your mics into the audio interface and setting up your DAW.
One other little aspect we covered was the use of some important little gadgets when you need to record. The first was the stereo bar. This tool allows you to mount two two mics on your mic stand for a stereo mic set up. You also need some proper mic clips and the internal 2 size screw in fitt-ins that are usually part of these packages. Other important devices you should consider is a DI Box, XLR cables for a good balanced signal between your instrument, the DI box and the Audio,interface, comfortable chairs to sit in while you record and mix your work and other VST plug in suites that you can use to help support your recordings such as Drum programs, basses and so on.
So hopefully this Summary has been useful for you to refresh the last number of tutorials and the information in them and have a nice flow of how you can prepare your work area for your first recording project. The next few parts in the series will include sound samples, setting up your DAW for audio and running your Audio Interface in your DAW to receive audio and more.
So get ready for the next exciting episodes, please share these with others and upvote or promote these blogs! thanks again for your support so far and see you real soon!
regards
Shan the Sound Man.!
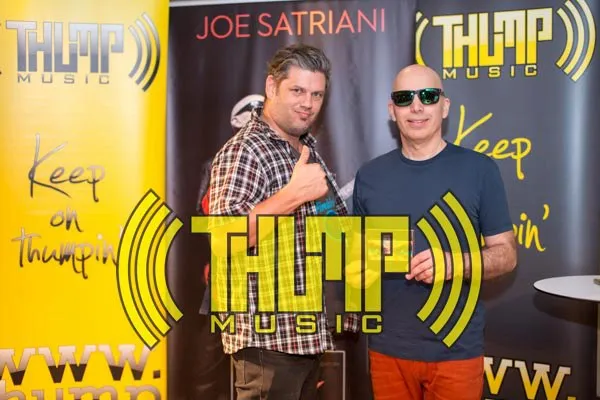
Me and the Master- Joe Satriani at his Master class, Brisbane Qld in 2014 (i think it was)