After a long time, I'm back to the music production, for a while I wasn't able to produce, but now my time has come.
Last friday we had an interesting session where I needed to teach a friend about the basic things in Ableton Live and all together to learn Ableton push( great stuff )
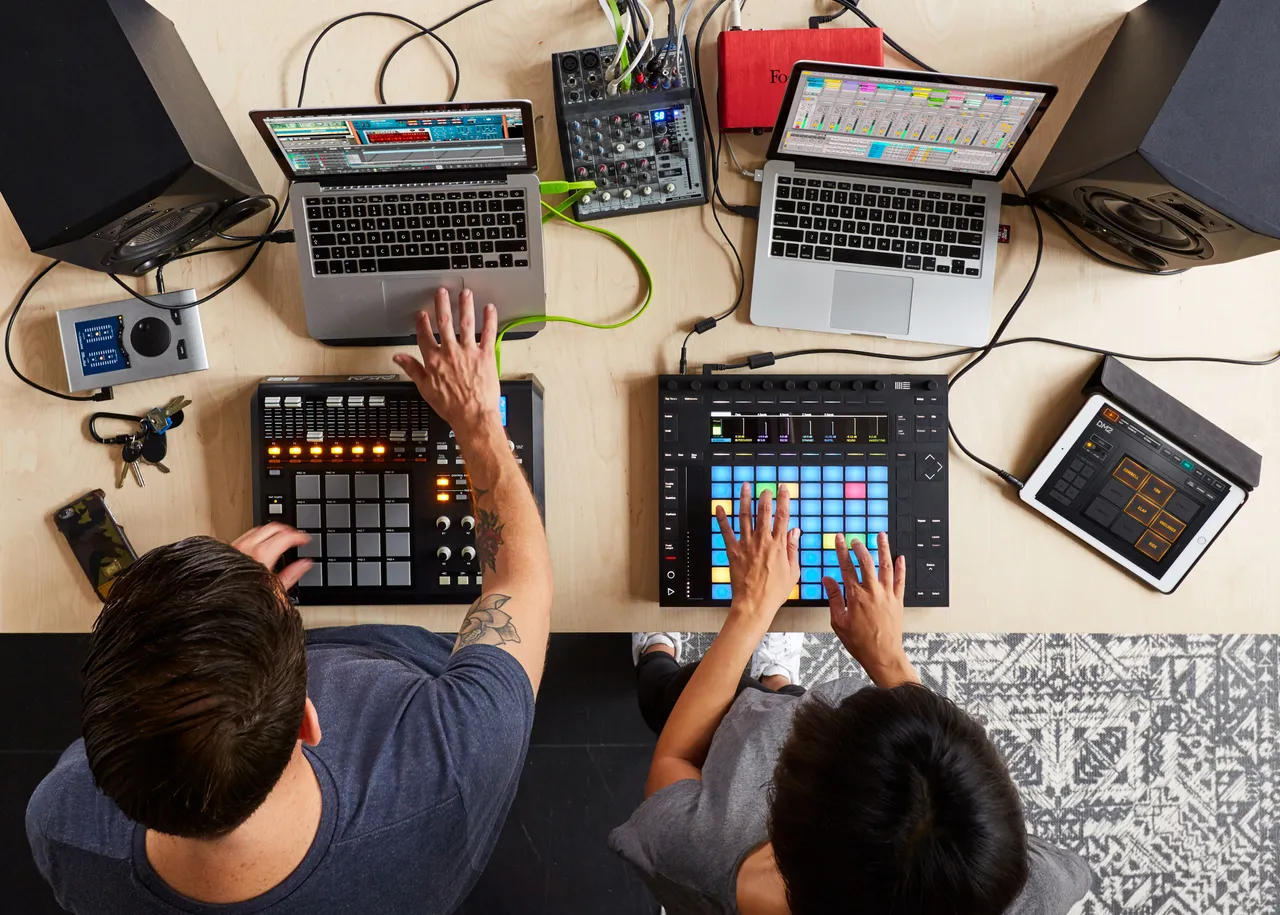
Image Source
At the end of the day, we made an interesting track, some kind of lo-fi hiphop which will be published in the next post.
All that learning made me to write this post, some things that would make it easier and faster to produce. This isn't a post about how to make a song but to get the idea you have in your head faster and not to kill your creativity with the unnecessary search for the samples and sounds you need. I figured that we were looking for samples and sounds for a long time and there came the first 2 tips.
Set up your Ableton Live daw like real studio.
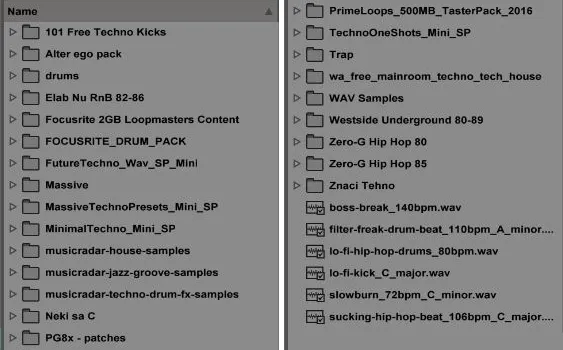
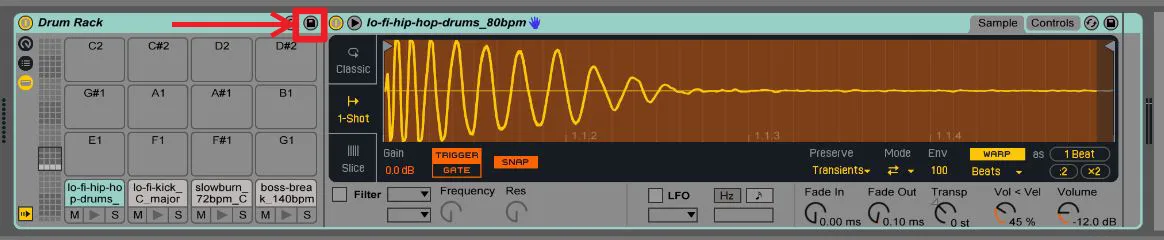
1. Saving samples to a drum rack!
Add your favorite samples in drum rack (for example, kicks) and save them with some recognizable name for them. Simple and easy. You don't have to save all the samples at once, save that you are using now and after, while you're working on the track, you can make some new drum racks or add it to an already saved drum rack. Same thing you can do with effects in Audio Effect Rack.
2. Make your own template
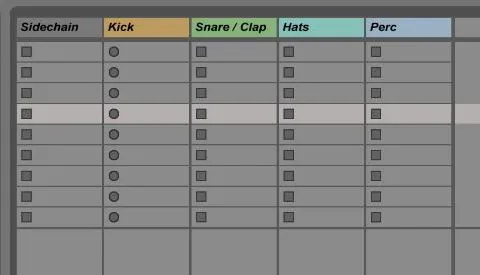

3. Color and name your midi/audio channels
In order to make it easier to navigate through the channels, give them names and colors. This is important if you performed live set in Ableton Live. Right Click - Rename or Ctrl+R. If you want to rename channel next press Tab ↹ .

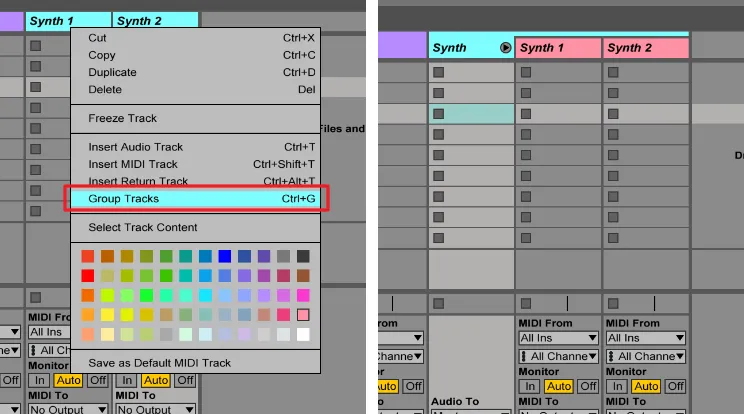
4. Group Tracks
If you have multiple channels that use the same effect or if they are similar to multiple kinds of kicks / snares etc, group them and of course, give them name and color.
Just select them by holding ⇧ Shift - right click - Group Tracks or Ctrl+G.
Now add effects to this group channel that are the same in both tracks.
5. Don't waste your time and don't lose your creativity!
Don't waste your time searching for the right drum sample ect., Move on. As you work, you will find everything you need in the process of creating. I often used to work on some elements in two or three hours after which I revealed that half of what I imagined I did not do. I'm not telling you to do them half-way but stay away for later if you can't make it right now. Ideas disappear very quickly if we are bothered by such things that may not be relevant to what we are doing.
That would be it for second music production post, I hope I helped you improve your workflow! Leave feedback if this post helped you in some way.
Till next post about music producing here's one post for total beginners in this - Music Production? How to start? What do you need? Can everyone do it today?
