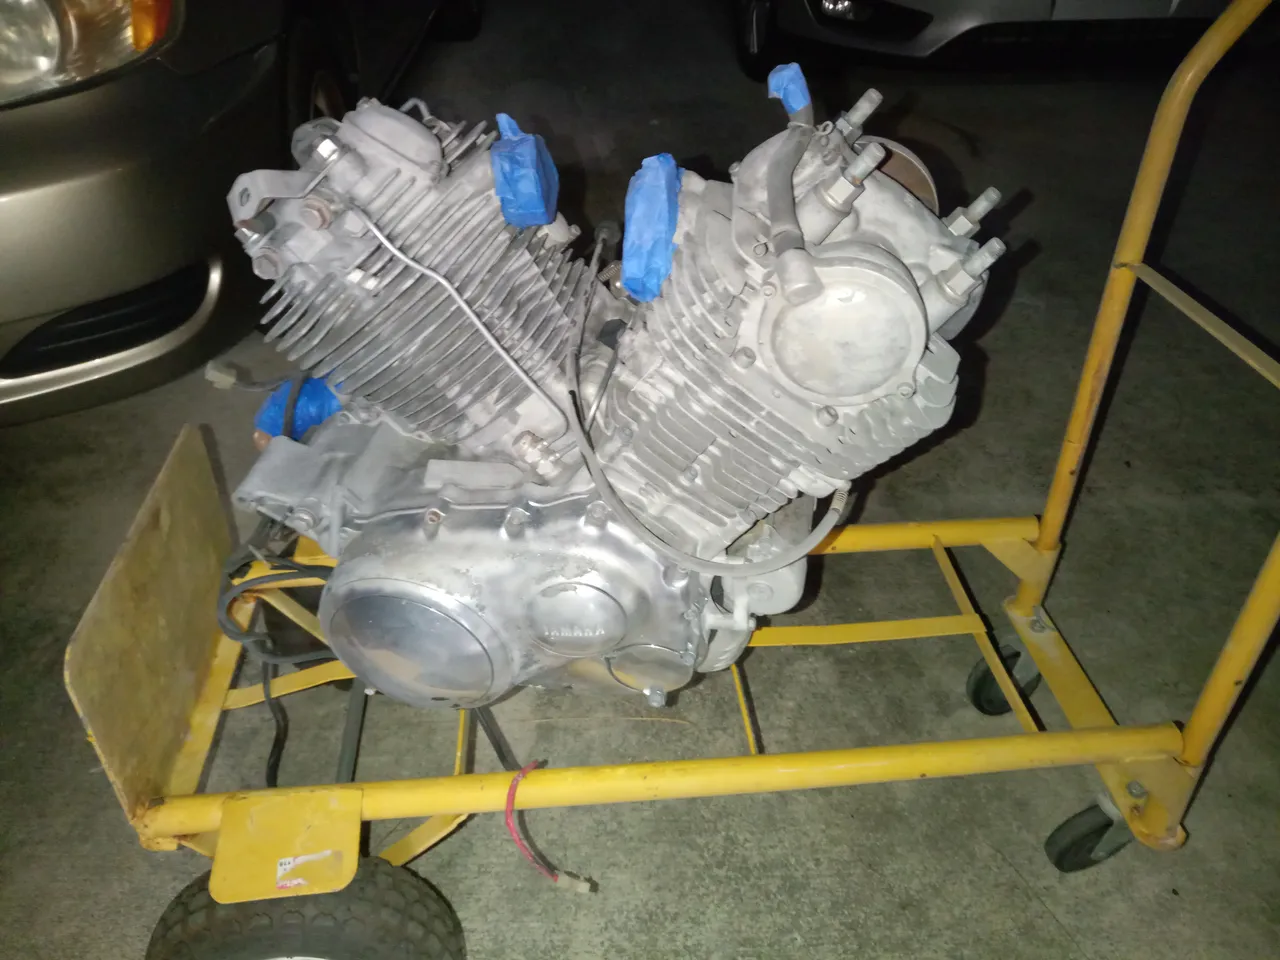
For today's update, I'm showing the process I used to prepare the virago engine for painting and coating. When I sand blasted the engine, that process took it all the way down to the bare aluminum so now it's time to dress it up with the new look. Here is what it looked like when I finished sand blasting:
I want a specific look for this conversion. A subtle, non-flashy kind of understated look. For this I only want minimal shiny metal showing so I masked off the areas that will not get painted. When I'm finished painting, I'll peel off the masking to reveal the metal underneath, then apply a clear, satin finish, heat resistant top coat to seal everything up and prevent corrosion. Here is a picture of the engine in the middle of the masking process:
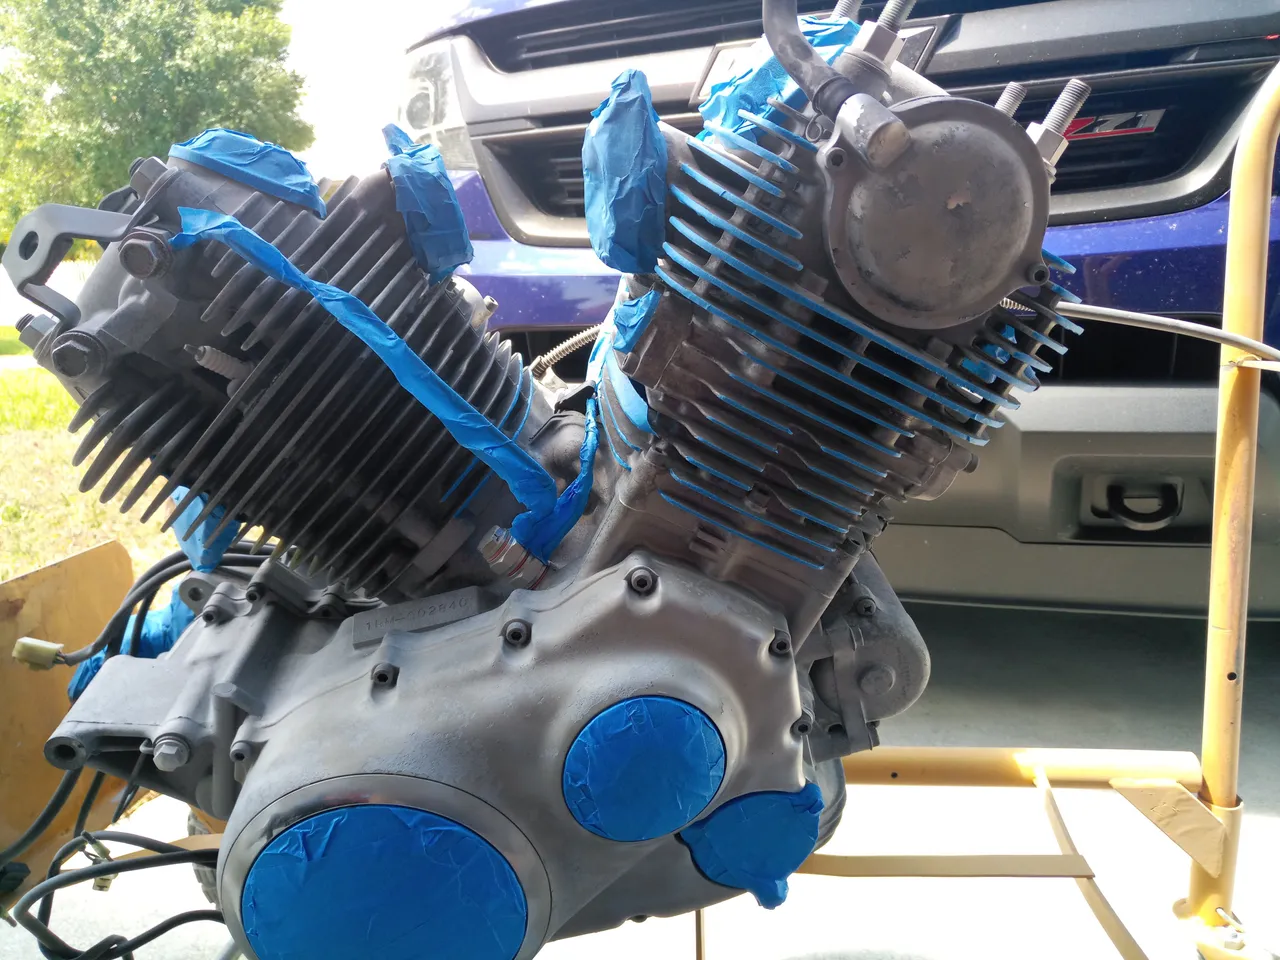
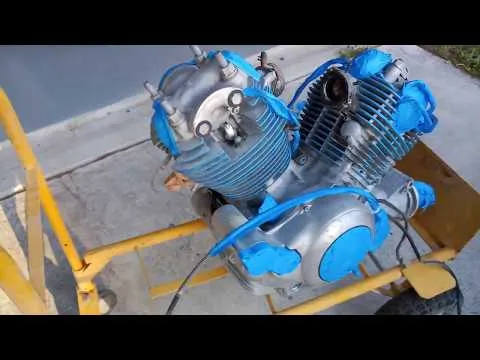
For the cooling fins, I laid the masking tape over the ends of the fins and then came back with a razor blade and cut away the overhanging pieces. This resulted in just the ends of the fins getting masked. Here it is all done:
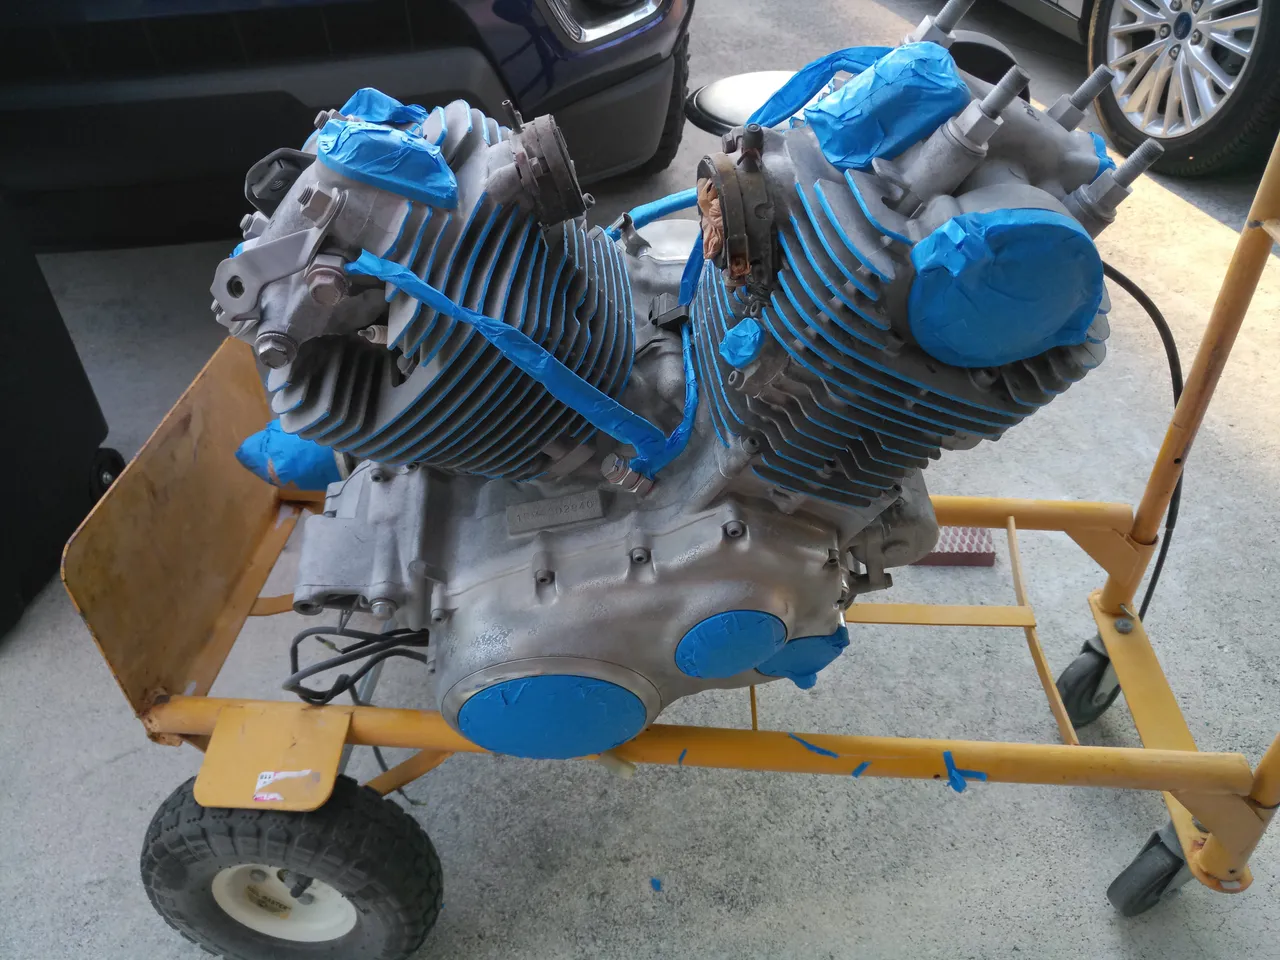
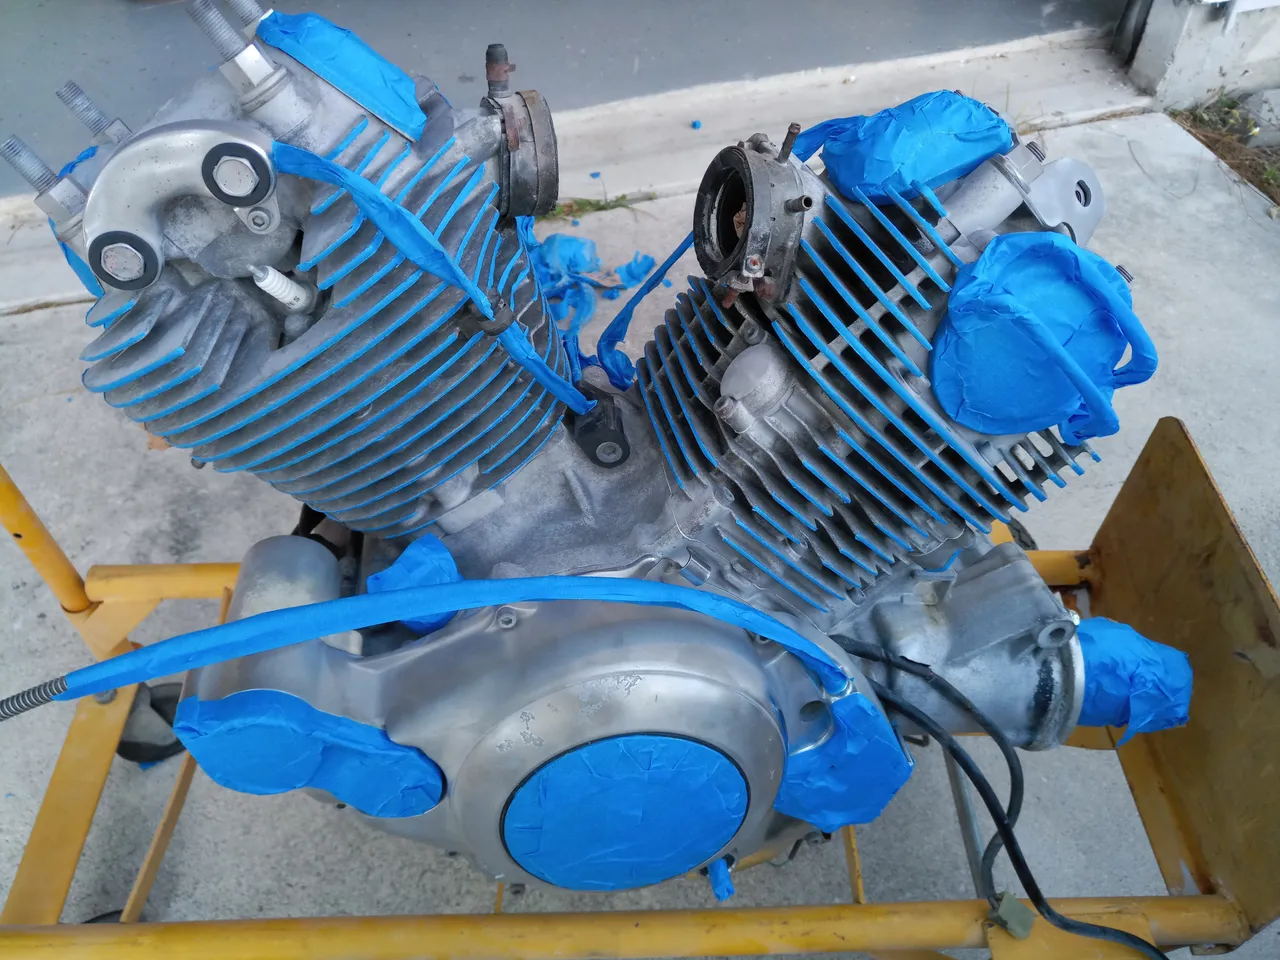
And the other side:
Here is a video walk around:
On the next installment, I'll show the engine being painted, the masking being removed and the after shots.