If you've missed out on a DASH masternode, don't fret. #Bitcloud has been climbing and is still within the affordable range of $4k - $6k USD per Masternode (vs $300-$400k for #Dash).

So let's get cracking, and get that physical wallet cracked open as you'll be spending some cash. Currently Bitcloud #Masternode owners are earning around 180 BTDX per day. That's up to $108 per day, or over $3k per month! If you're a genius, you can use the earned coins to roll into a second, third or fourth masternode in a few months time, increasing your earnings exponentially!
Head to Coin Exchange and signup for an account (Nova Exchange should be coming soon as well, so check there as well). (Remember to right-click on these links and open them in new tabs).
UPDATE: Coin Exchange Wallet is under maintenance. Cryptopia and Trade Satoshi will be listing the coin soon.
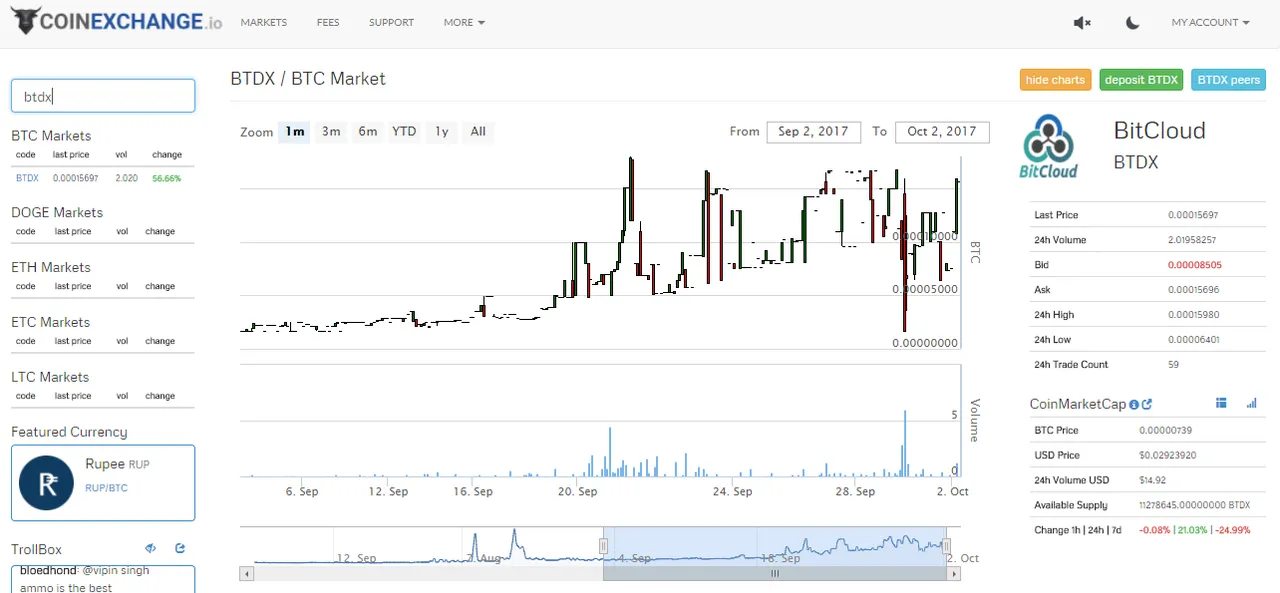
In order to buy 10010 BTDX (get more to cover Exchange,network fees, and snafu) you will need to get the trading pair first. For coinexchange.io this would just be good ole $BTC aka Bitcoin. Calculate how much you'll need, and get some BTDX.
With your BTDX sitting in the exchange, download and install the Bitcloud wallet on your PC from the lastest release on github.
Install it, run it, and let it sync. While it's syncing, let's get a VPS.
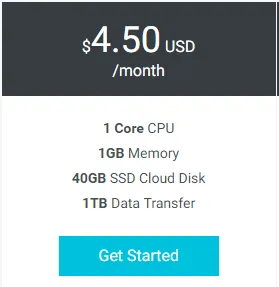
I'm using Alibaba Cloud. It's cheap ($4.50/mo), there's a promo, and it meets all the current needs for a #Bitcloud node.
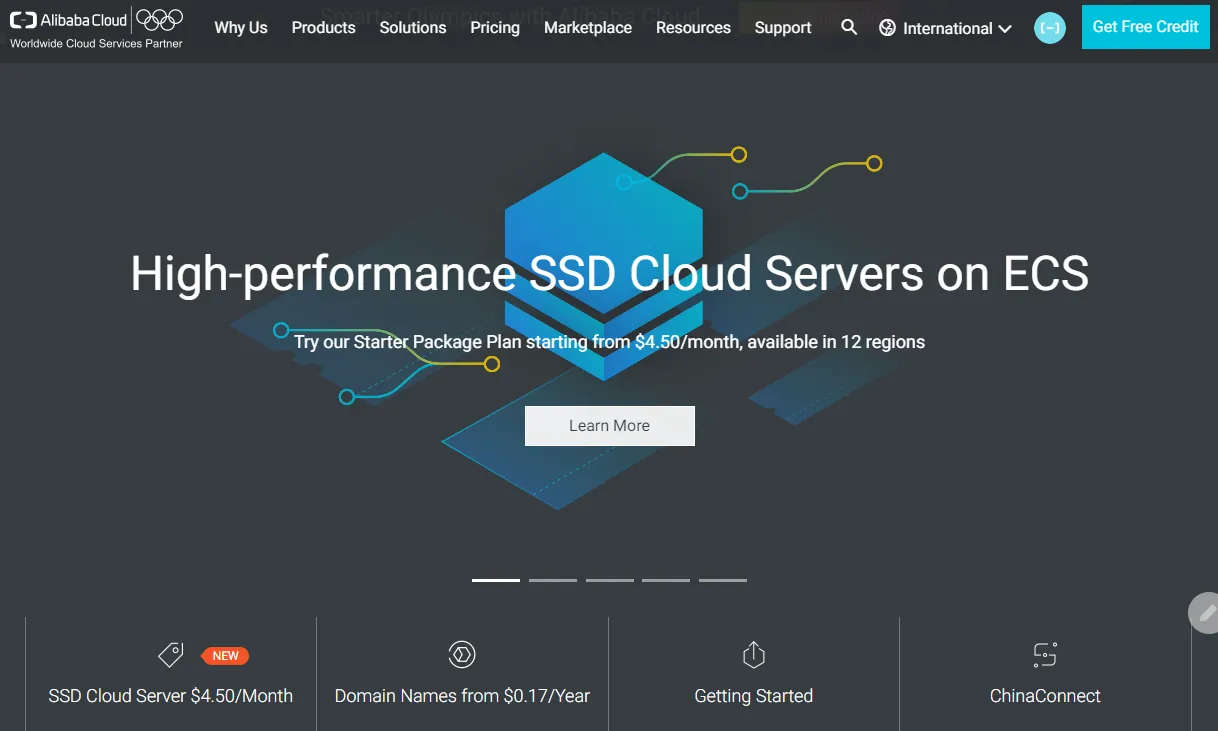
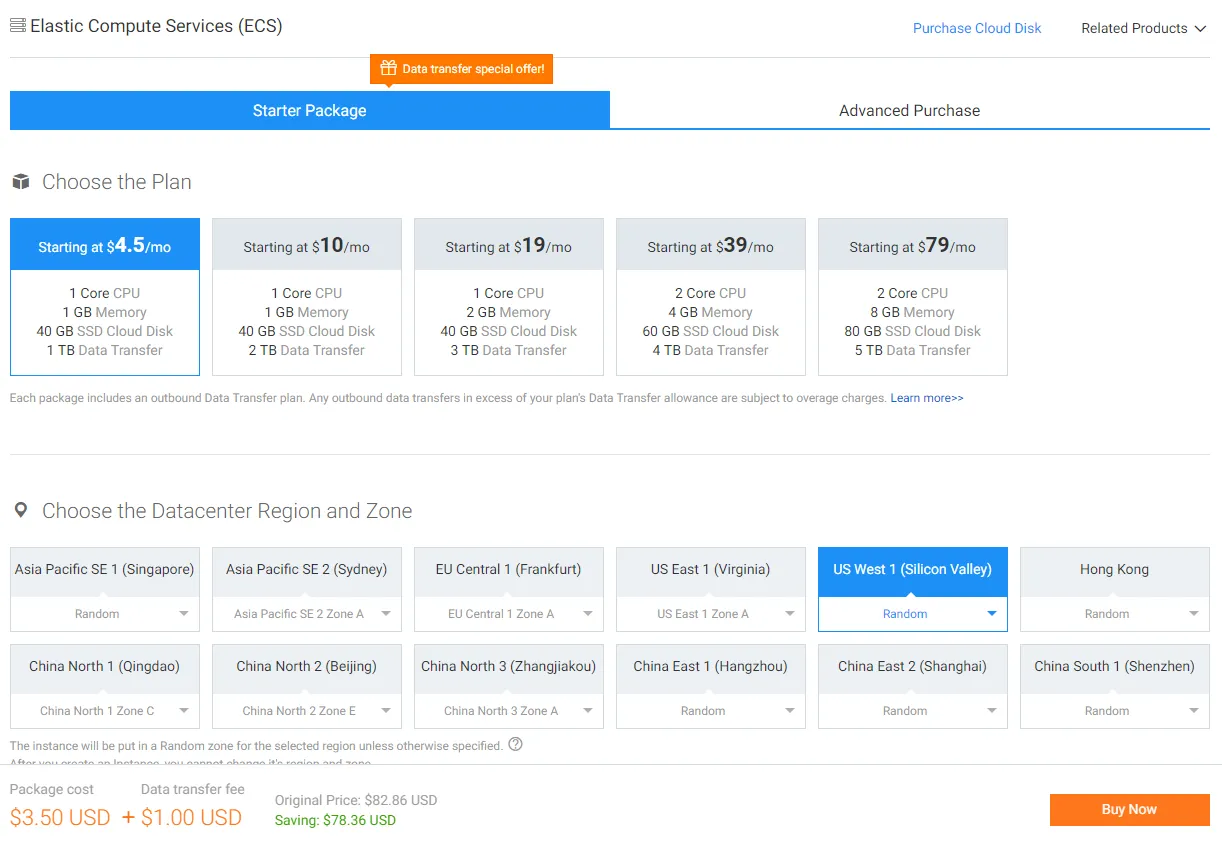
Click on SSD Cloud servers: 
Choose your region where the offer is applicable (US, Germany, etc.)
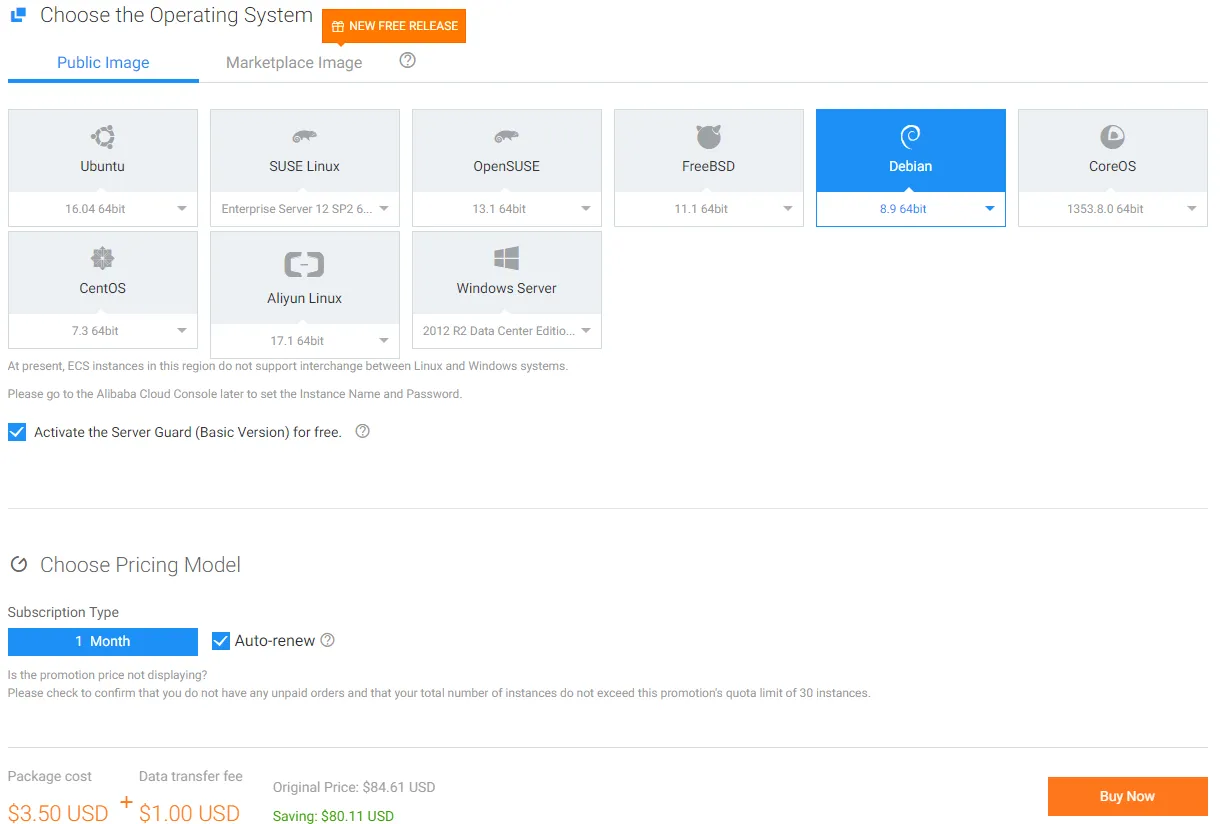
Make sure you choose Debian:
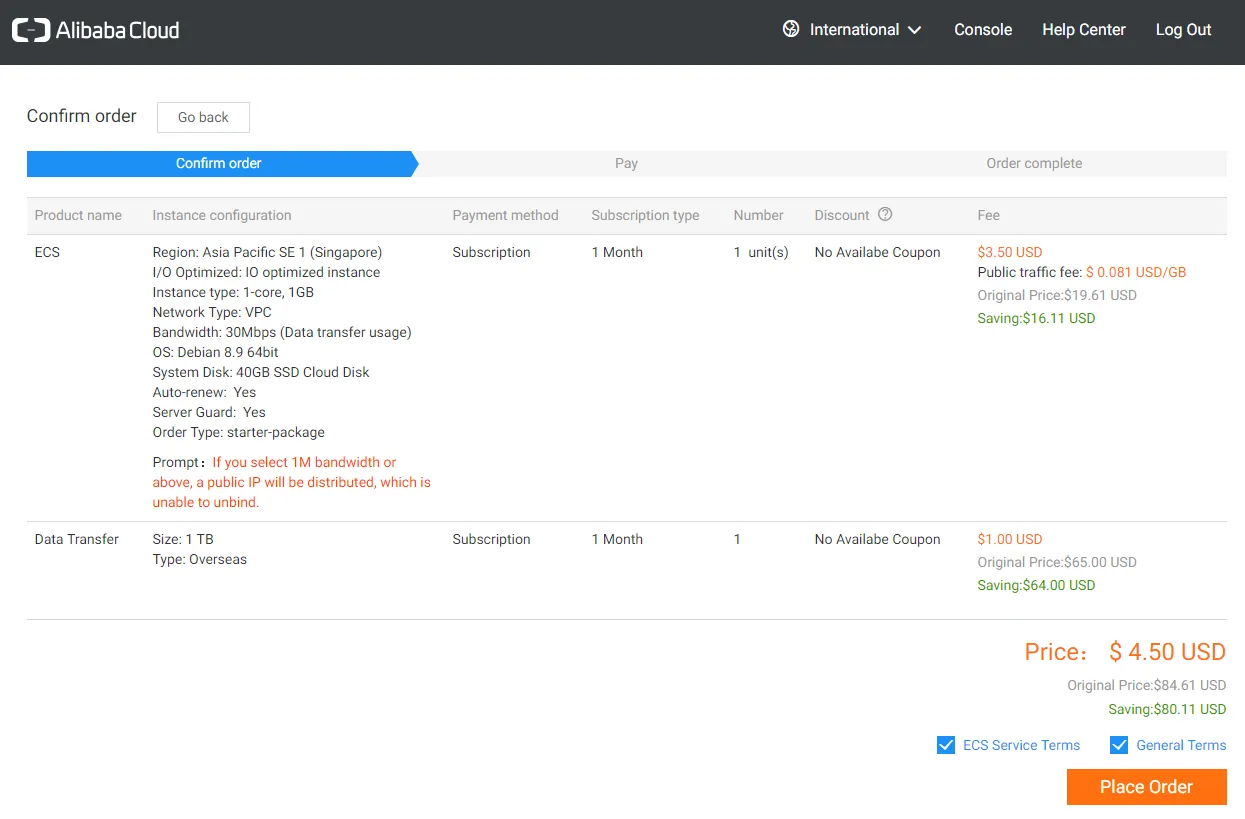
Confirm everything looks ok, and order:
Now, you'll need to either create a password or user a public/private key. Keys are the best, but beyond the scope of this doc.
Click on Elastic Compute Server, then click on Instances.
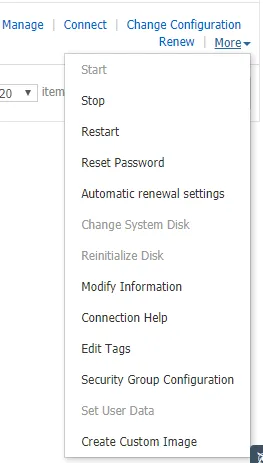
Now change password to a really secure password. You don't want someone stealing your coins! Click on Reset Password
Before we leave the console, let's setup one last thing. Access to the Bitcloud port! Go ahead and click on Security Groups
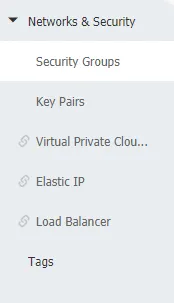
You will see a single line in there. Click on Configure Rules and add port 8329 like so:

We're done with the Alibaba Console! Let's proceed to the coin itself...
Go ahead and grab Putty and install it. Configure it with your Public IP that's shown in the instances console, choose ssh (port 22 default), and click save.
Try connecting to your server!
Once you're in as the root user, prepare your instance to rock. Run:
apt-get install software-properties-common
add-apt-repository ppa:bitcoin/bitcoin
apt-get update
apt-get install libboost-all-dev libminiupnpc-dev libdb4.8-dev libdb4.8++-dev
Add a user, let's call it 'btdx' (# adduser btdx)
Set a hard password for user 'btdx': # passwd btdx
Install monit to monitor your masternode! # apt-get update && apt-get install monit
Follow the rest of these steps as the current 'root' user:
mkdir /opt/coins
Download my pre-compiled Bitcloud Linux Binary ( Backup link on MediaFire ), cd into /opt/coins and run
tar xjvpf Bitcloud-9-30-2017.tar.bz2
then do
chown -Rf btdx.btdx /opt/coins/
Create the following file /etc/ld.so.conf.d/coins.conf with the following contents:
/opt/coins/Bitcloud/lib
Run # ldconfig
Then,
cd /etc/monit/conf.d/
Put the following info into bitcloud.conf in this directory. Remember, this is NOT your bitcloud.conf file for Bitcloud. This is for monit to control the Bitcloud process:
check process bitcloudd with pidfile /opt/coins/Bitcloud/run/bitcloudd.pid
   start program = "/opt/coins/Bitcloud/control/start-bitcloudd.sh"
        as uid btdx and gid btdx
   stop program = "/opt/coins/Bitcloud/control/stop-bitcloudd.sh"
        as uid btdx and gid btdx
   if failed host 127.0.0.1 port 8329 for 10 cycles then restart
   if 5 restarts within 50 cycles then timeout
group Bitcloud
Let's create the initial bitcloud.conf file!
mkdir ~btdx/.bitcloud
cd ~btdx/.bitcloud
Create your bitcloud.conf file here and replace everything between <>. Leave the commented out stuff till later:
rpcuser=<user>
rpcpassword=<some pass>
discover=1
externalip=<your external ip>
rpcallowip=127.0.0.1
daemon=1
server=1
listen=1
maxconnections=100
# masternode=1
# masternodeprivkey=safdasdfasdfsadfsadfsadfsafd
# masternodeaddr=:8329
logtimestamps=1
addnode=199.233.246.209:8329
chown -Rf btdx.btdx .
chown -Rf btdx.btdx bitcloud.conf
Before we proceed, it's important to make sure sudo is installed: # apt-get install sudo
then do: # usermod -G sudo btdx
This will allow you to execute stuff as root using the btdx account.
Now, start another putty session, and login as user btdx using the password you just set up. Don't log out of your current putty session; it's there in case anything goes wrong.
Once you login as user btdx run: $ sudo monit status
You should see a message saying "Process 'bitcloudd'" is not running.
Let's give it a go, do: $ sudo monit start bitcloudd
Wait a minute and do $ sudo monit status again. You should see a lot more info!
If you want to see what's happening, you can tail -F ~/.bitcloud/debug.log to see data streaming in. Ctrl-C out of that.
Let's Start Masternoding
We'll be interacting directly with the wallet. This setup is not a remote masternode. You will be keeping the coins/wallet on this server, so make sure all the passwords are saved, AND you have a backup of the masternode wallet. For a remote Masternode there are other guides out there.
$
cd /opt/coins/Bitcloud/bin
./bitcloud-cli getinfo
Everything looks peachy? Great! Open notepad or Evernote. Something to keep track of your Masternode details.
./bitcloud-cli getaccountaddress "0"
Copy that address down. That's the address you will be sending your 10k+ of coins to. Remember, you have had to purchase over 10k in coins to cover the Exchange fees and network fees. Do NOT send any coins yet..
./bitcloud-cli genkey
Copy this down, this is your Masternode Private key. You can use this key to run the Masternode remotely by having coins in external wallets.
./bitcloud-cli backupwallet "/home/btdx/masternode-wallet.dat"
You've backed up your wallet. You may want to grab it first just in case. gzip -9 ~/masternode-wallet.dat
Then, on your home machine, open a command console cmd and type:
pscp btdx@<your VPS external ip>:masternode-wallet.dat.gz .
Enter your password, and save that file!
Now cd back into /opt/coins/Bitcloud/bin, we've got more work to do!
Send, in a single transaction, 10k coins exactly to the address you saved. Make sure you send it as a zero fee transaction:

Wait for 15 confirmations. Here's how you check:
./bitcloud-cli listtransactions "0"
If you don't see anything at all, you're most likely not fully synced yet. It can take a while, so don't worry, your coins aren't lost.
While you're waiting, and there's more than 1 confirmation, do:
./bitcloud-cli masternode outputs
Save the data. The long number is the transaction id, the single digit is the index. We won't need it right now, but it's good to save for later if you want to remotely stake your masternode coins.
Edit ~/.bitcloud/bitcloud.conf and replace all commented out sections with valid data. This will be primarily the masternode private key.
Once you're synced (you can verify with getinfo and looking at to make sure the number of blocks are the same), do:
sudo monit restart bitcloudd
Give it a minute or two, then do:
./bitcloud-cli masternode debug
Masternode successfully started
Profit!
Tips (BTDX): B4mt8PWCWfbw2rVhboTfUo7EKpNb2MGW75