I decided that I'd like to be more community minded and extend my blog to other things I like to do.
Then, I decided I'd also like to see what other members of the Steemit.com community can do. So, taking a leaf from @opheliafu's book, I thought I'd do a Saturday series of making and/or baking where I invite you to share your links and show me what you've been making.
I don't mind if you don't get around to sharing actually on Saturday, but this is when I think I'll be most able to post on a regular basis.
Feel free to use the tag #make-orbake and we'll see if it takes off.
Please note, this is for crafts or baking, not photography or writing. I think there are lots of posts for those things already so I'm deliberately NOT including them in this tag. Thank you for understanding.
Today, I made a box.
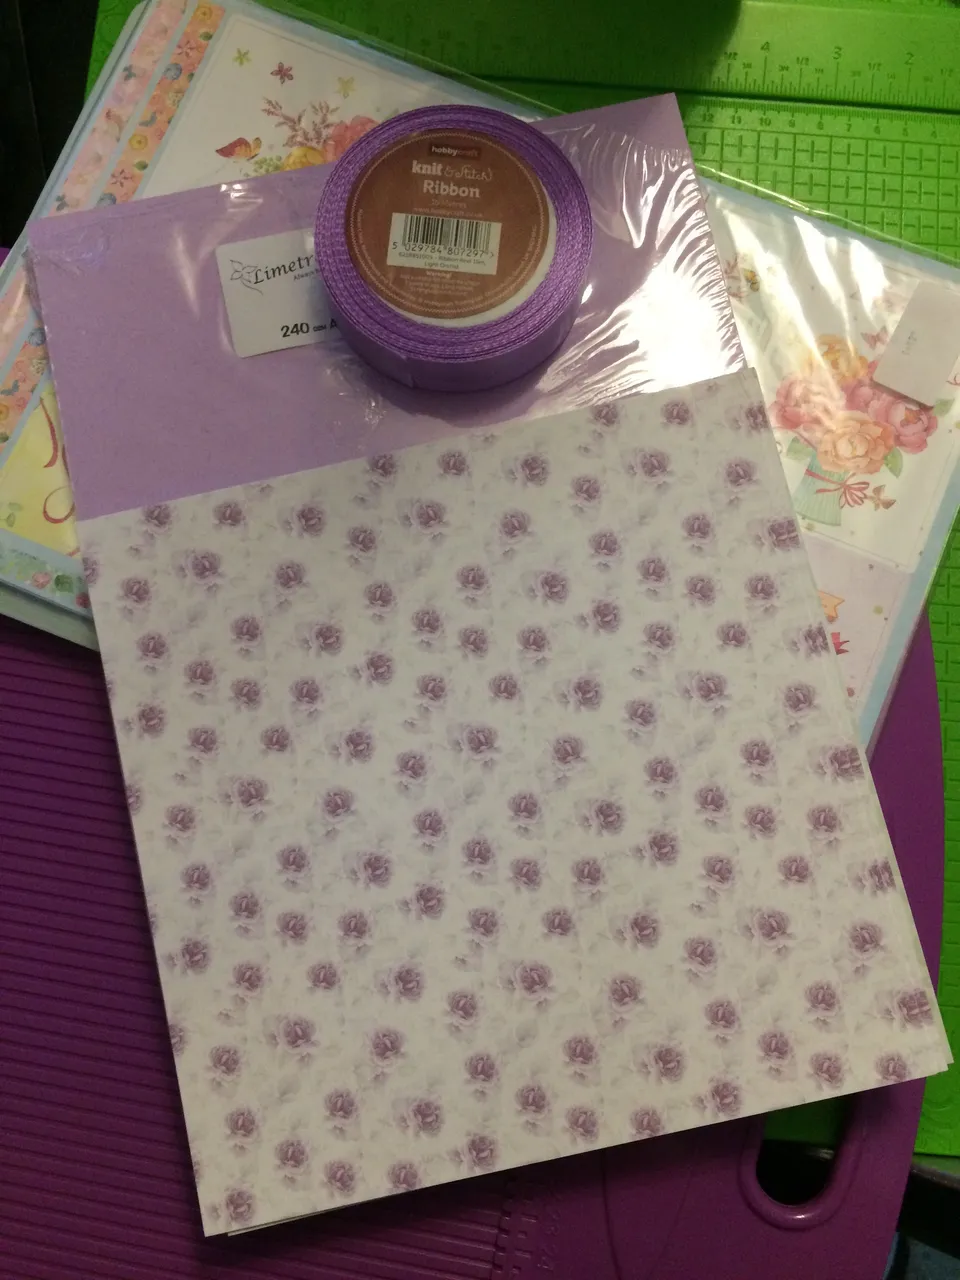
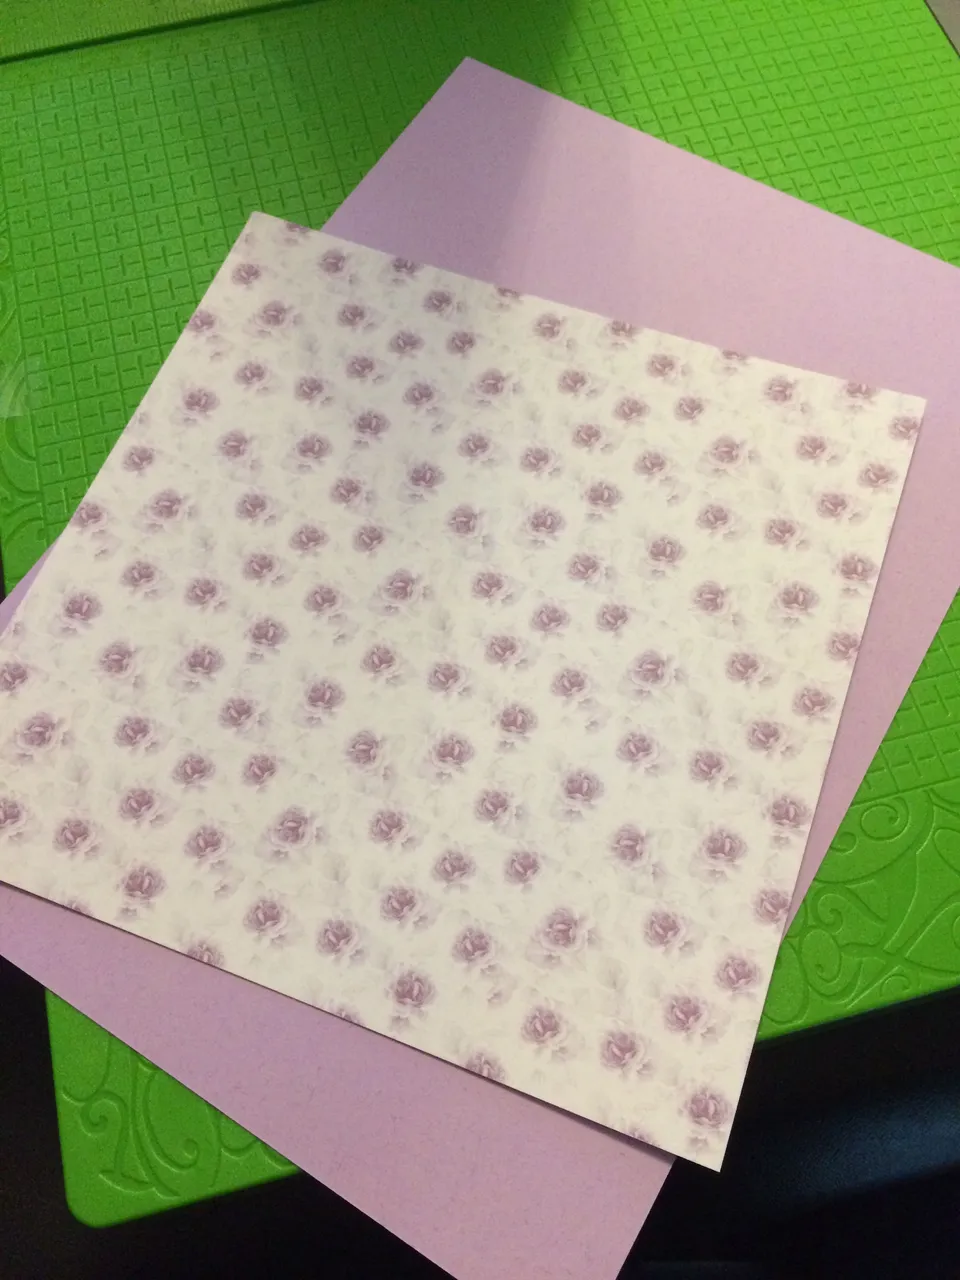
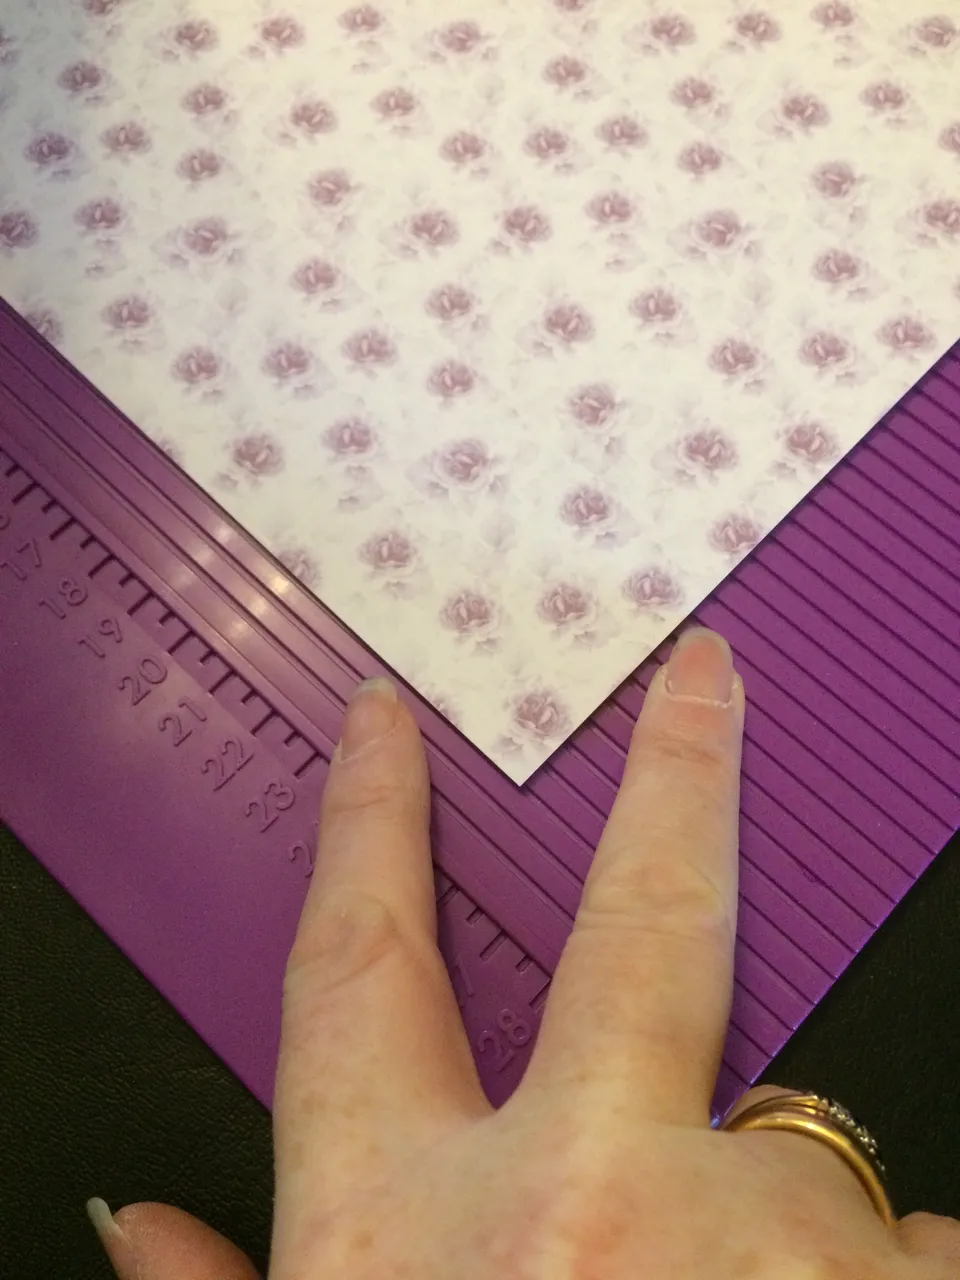
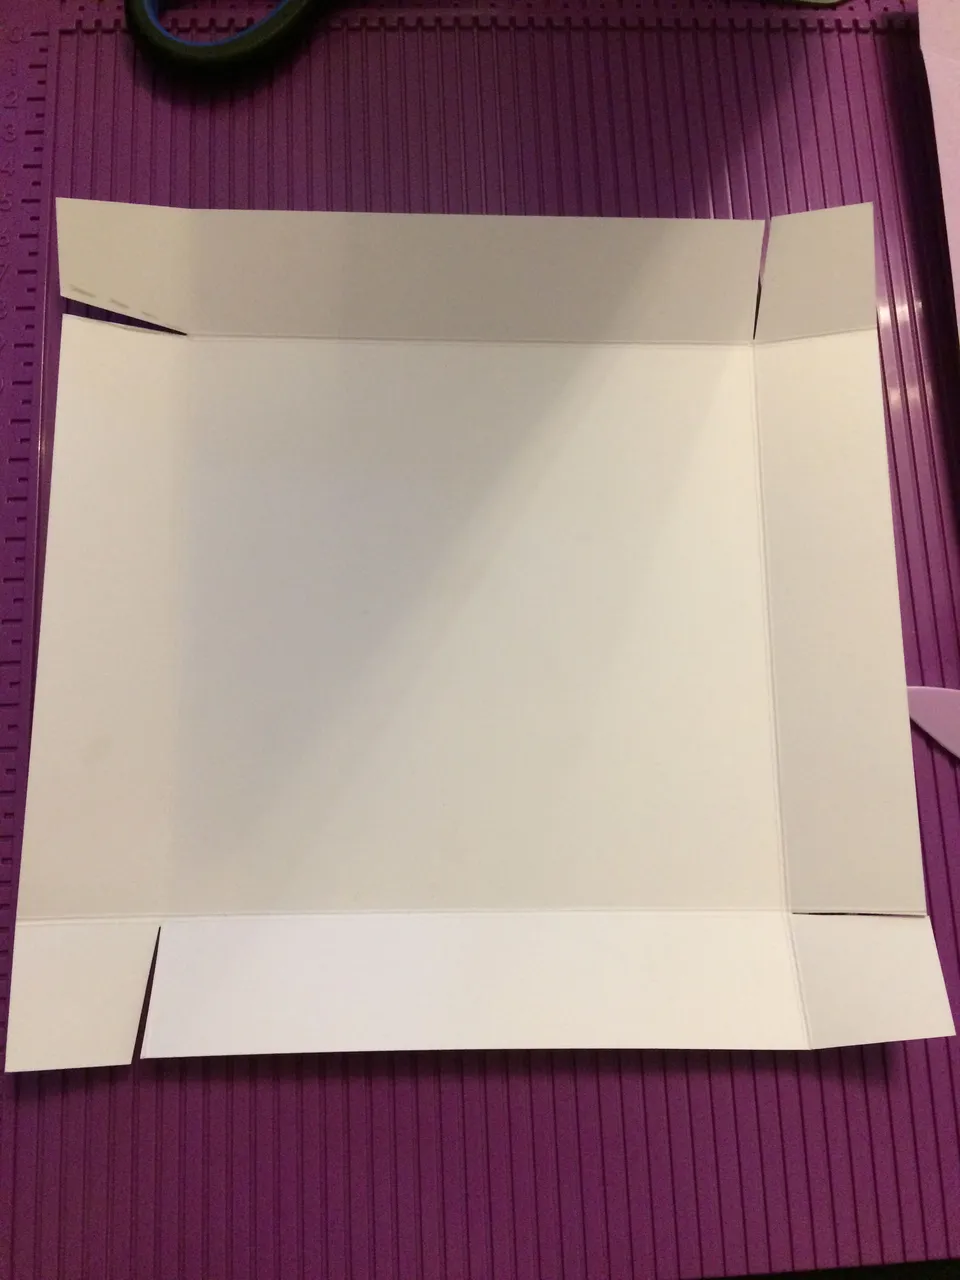
I started with two pieces of contrasting card (pretty card for the lid and plain for the base).
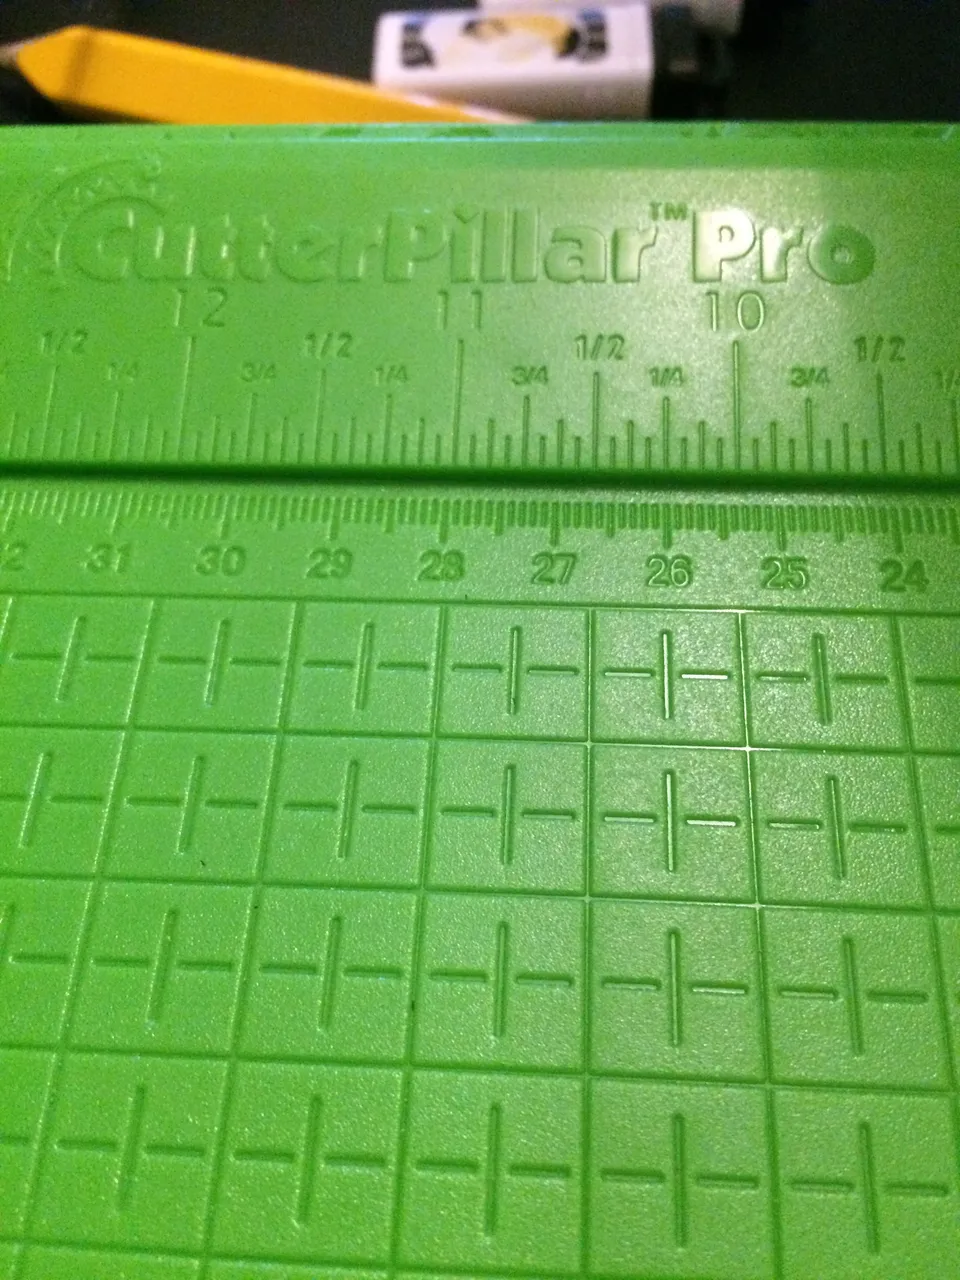
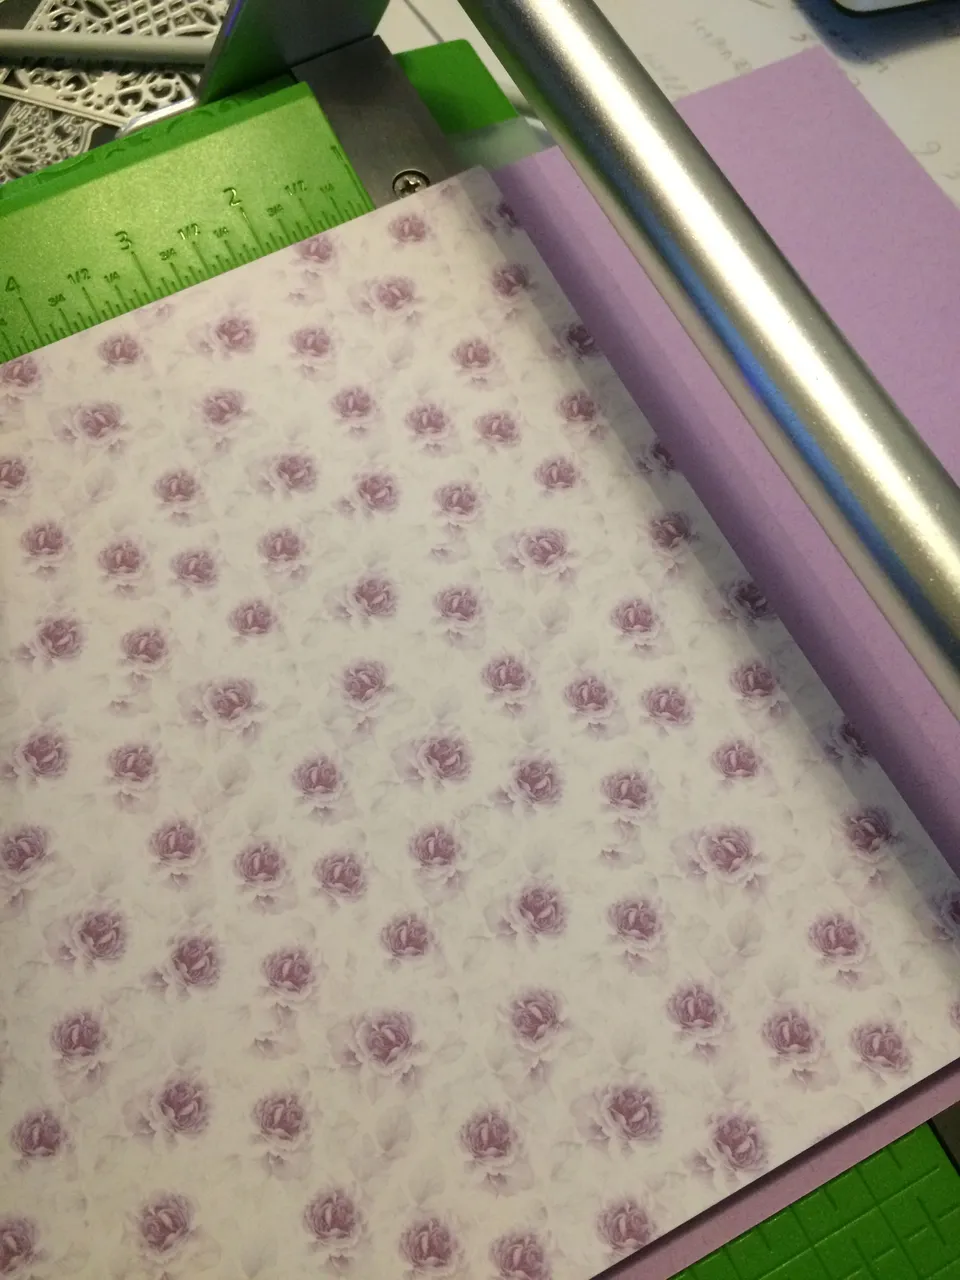
I cut the card to the same size with one of my Christmas presents - CutterpillarPro
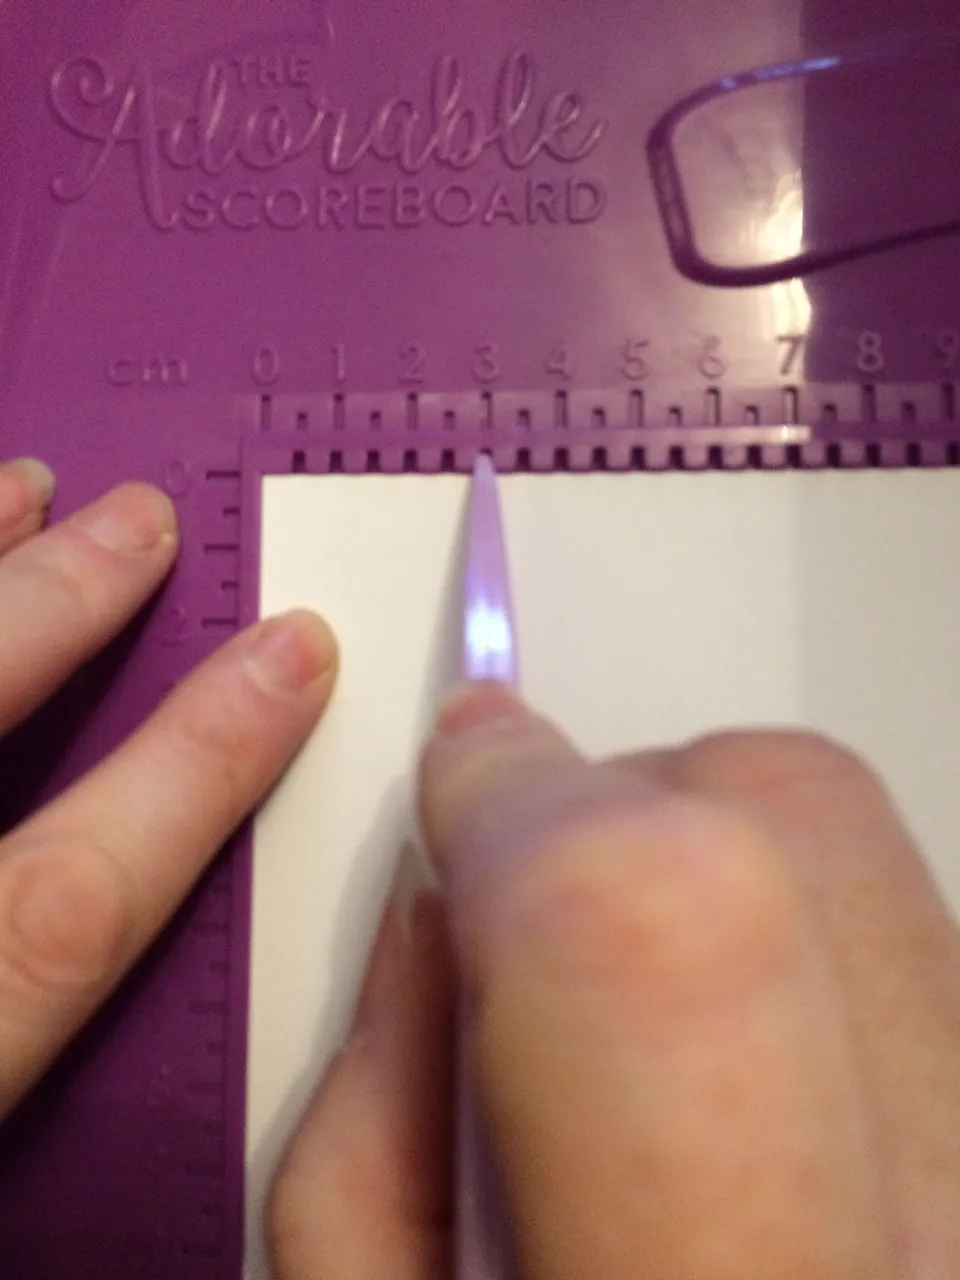
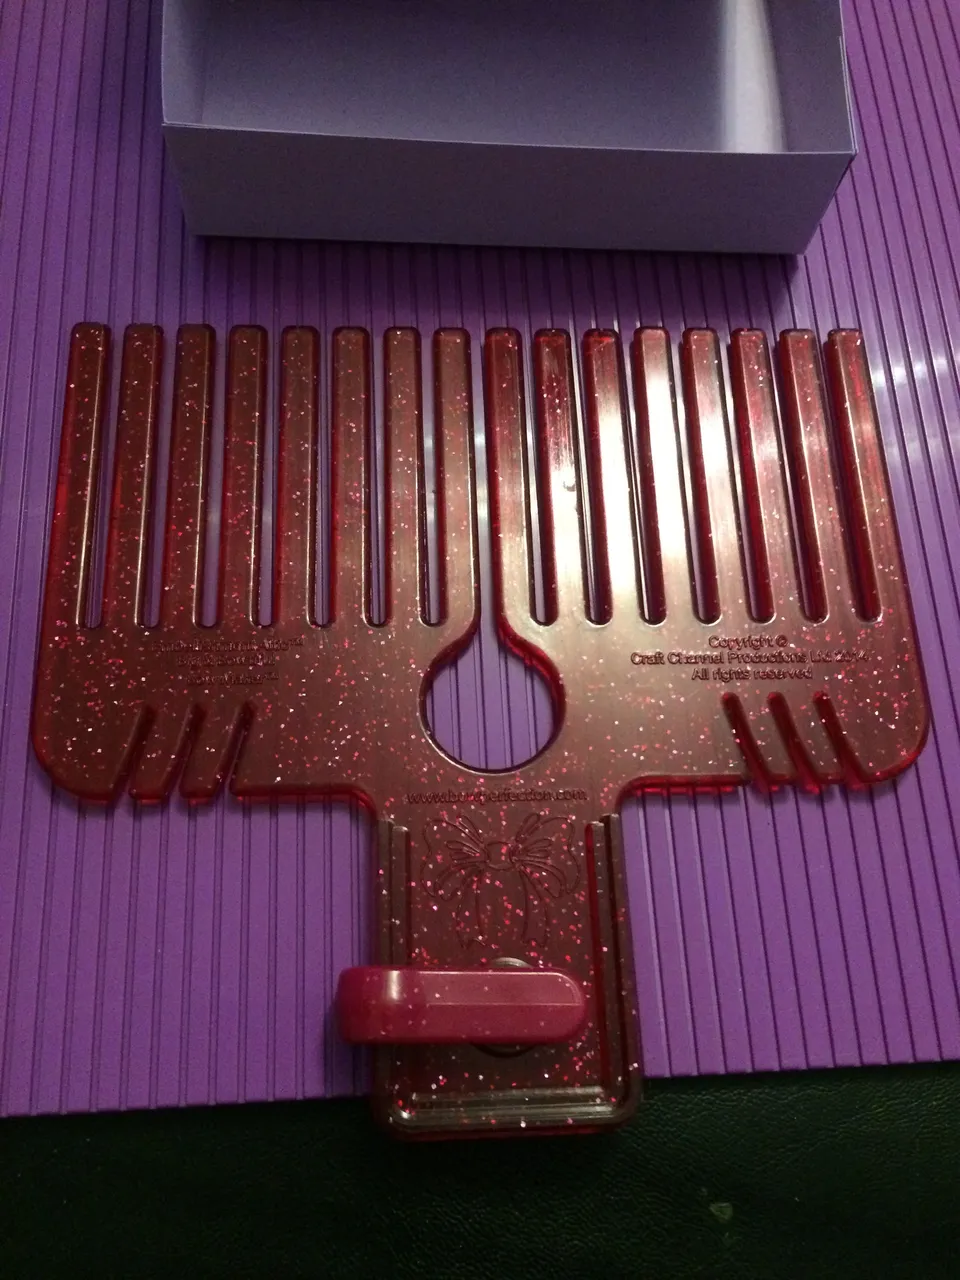
Then I scored the sides using a gift I got for myself - Hunkydory Adorable Scoreboard.
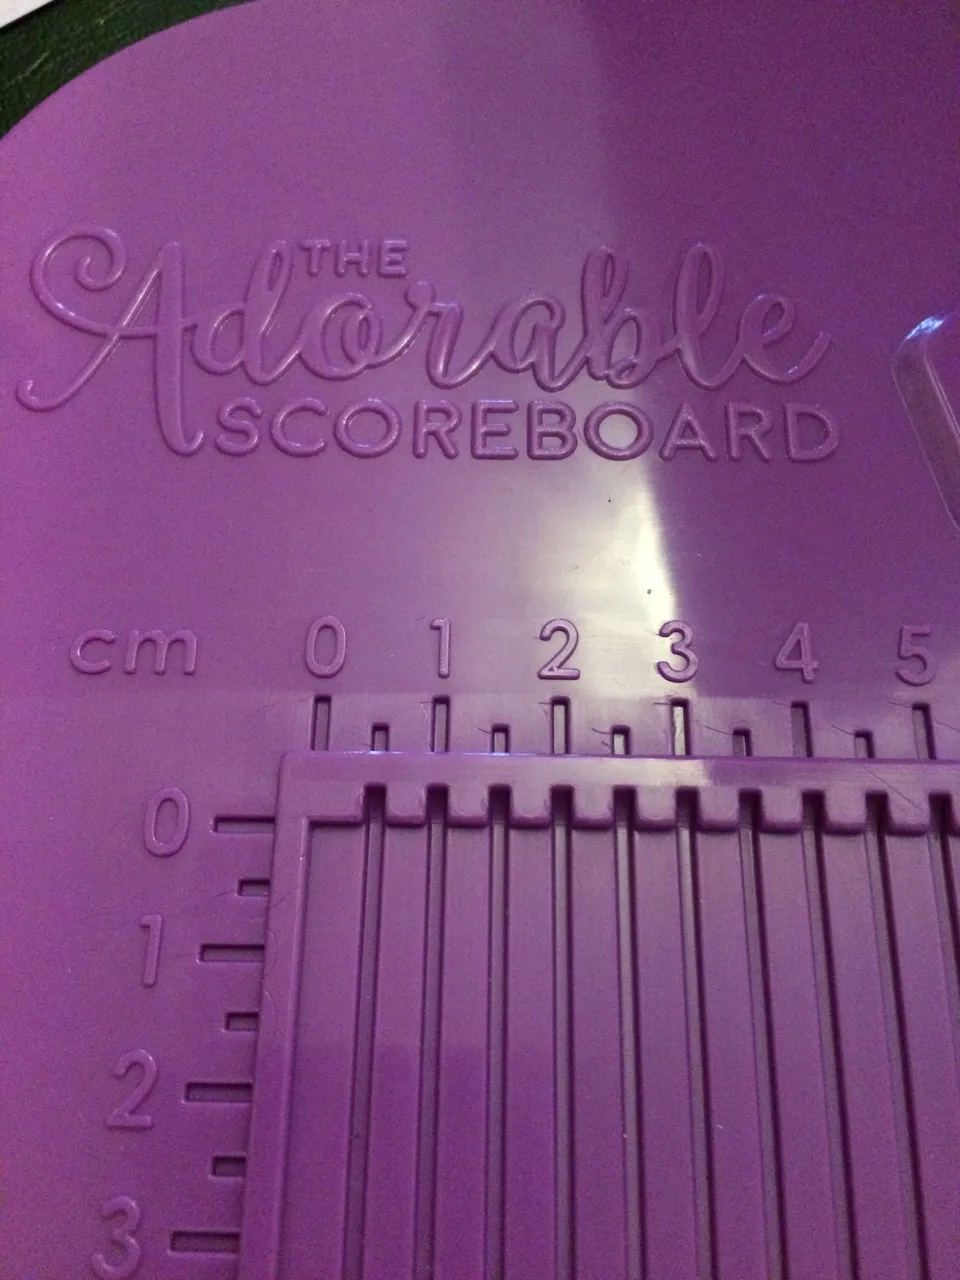
I really like this scoreboard because of the thought that went into designing, developing and manufacture.
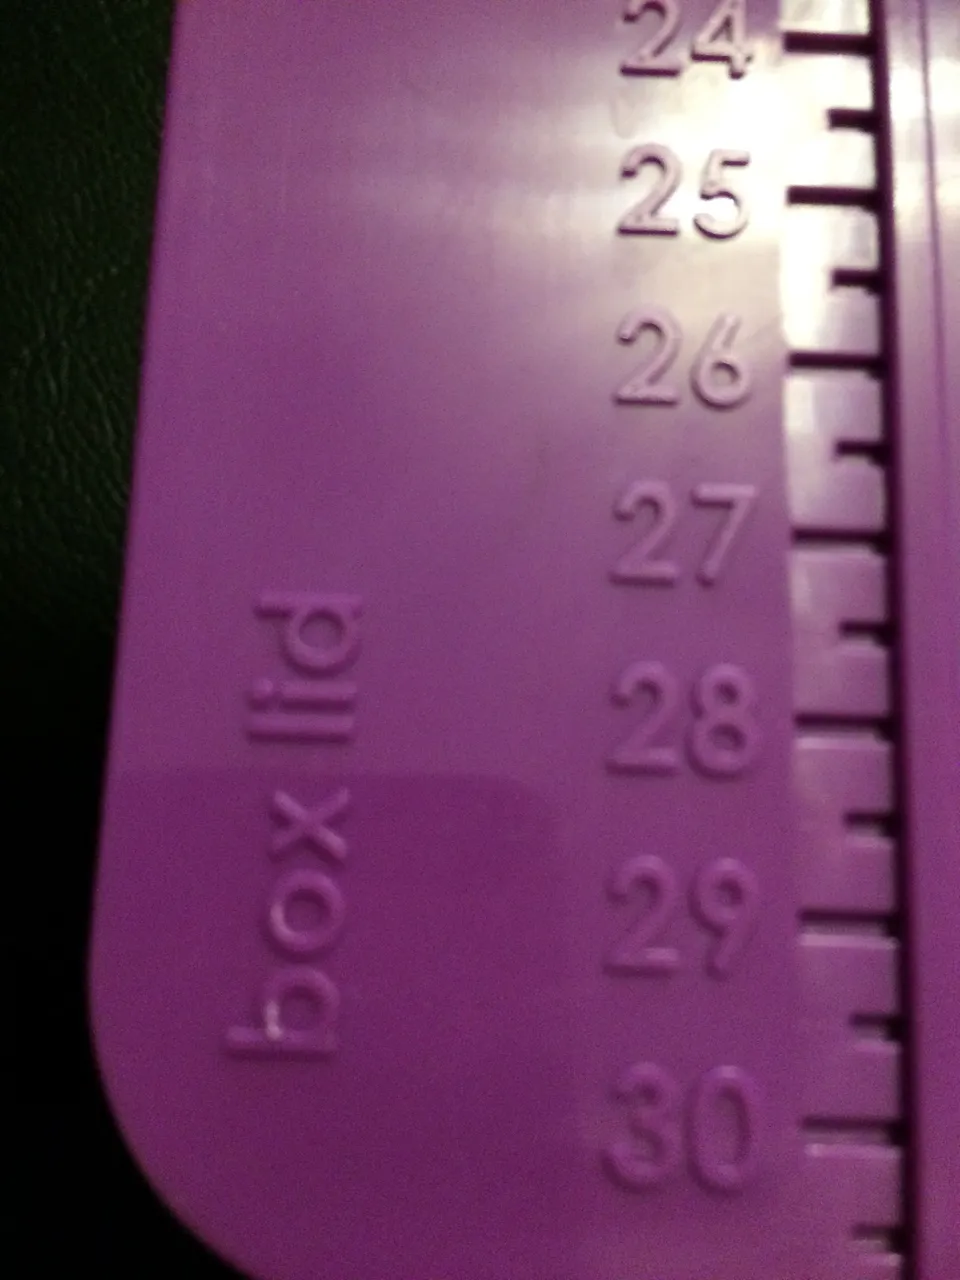
One side of the scoreboard is designed just for making boxes.
One edge is for the box lid...
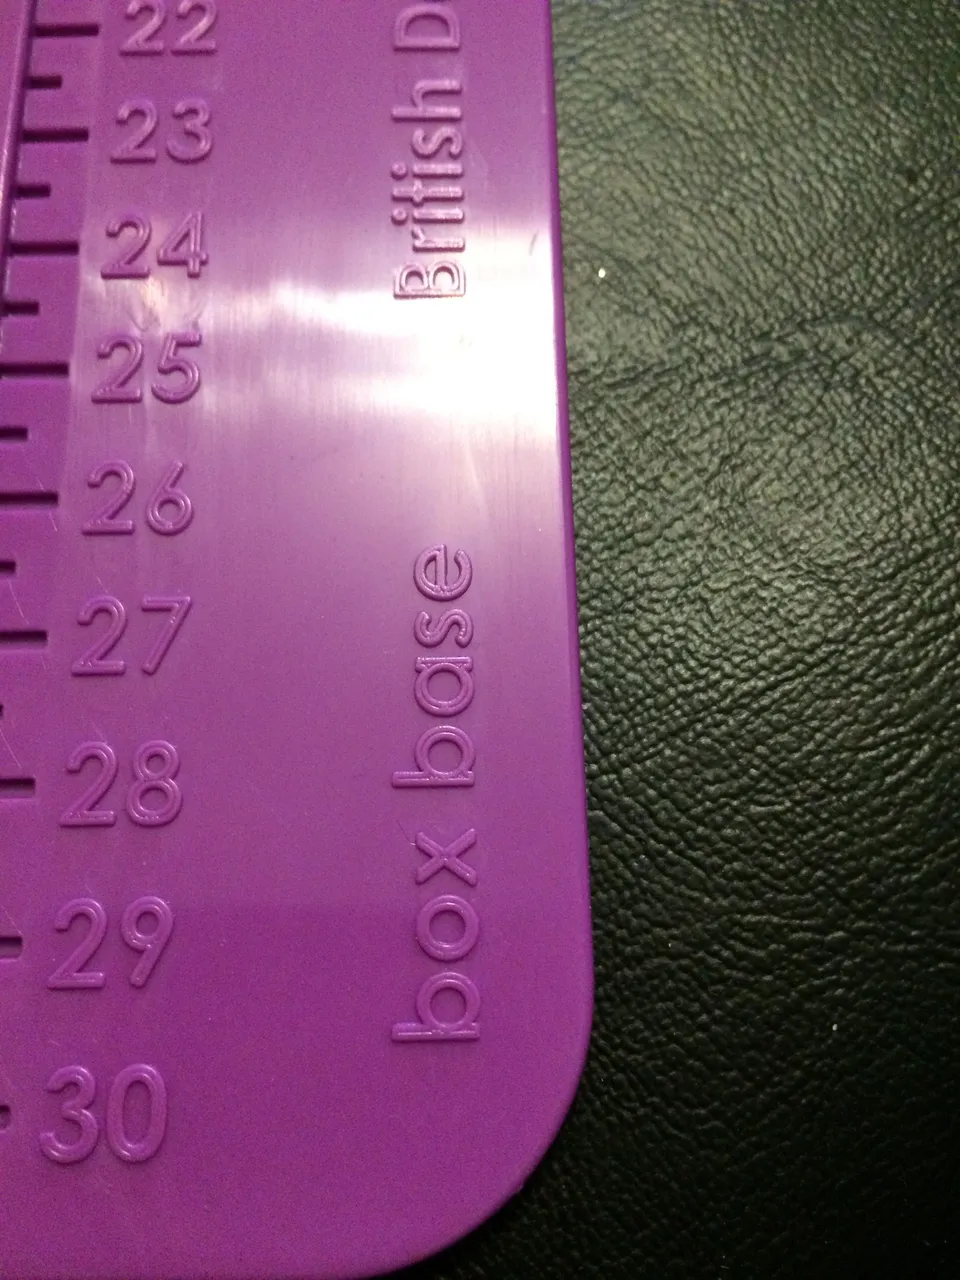
... and the other side is for the box base.
Once I'd scored the lid (using the box lid edge of course),
I scored the base (again, using the base edge).
If you don't have a score-board that gives different sides for base and lid, don't worry, you can use your own score board, but cut down the plain piece of card on TWO edges only.
Trim the card by 2mm or so on two sides that share a corner, NOT opposite sides.
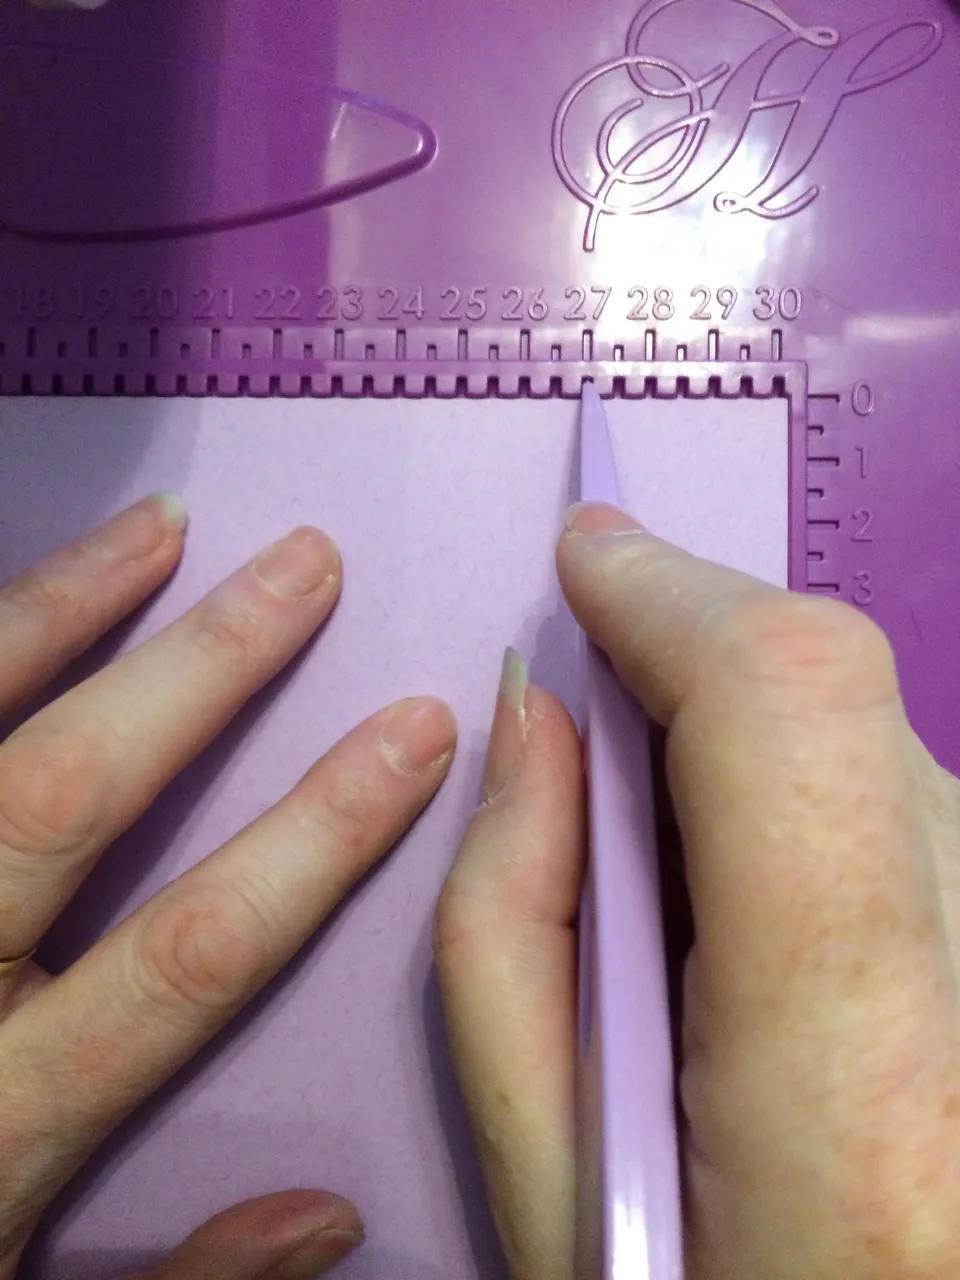
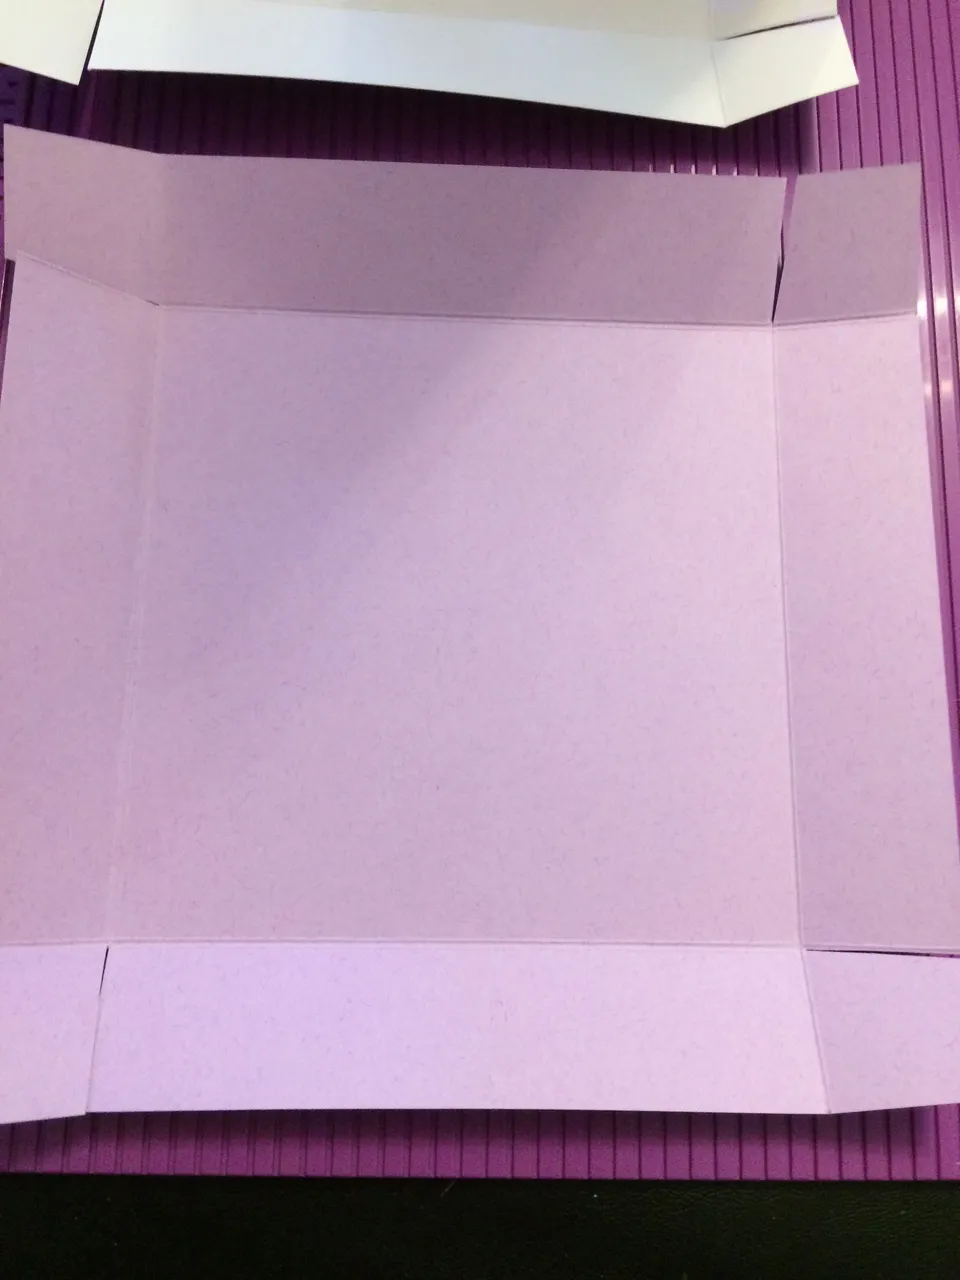
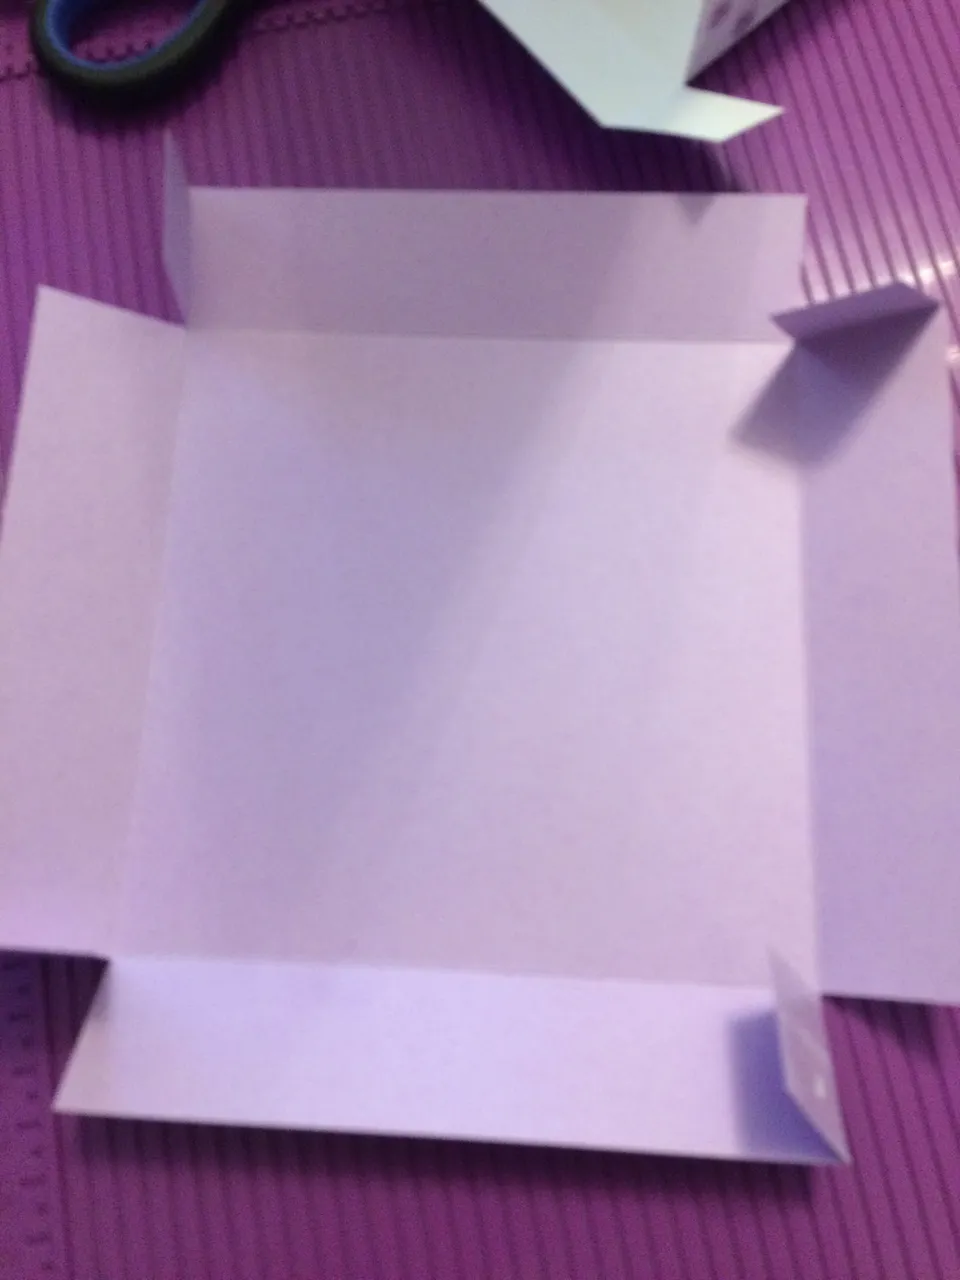
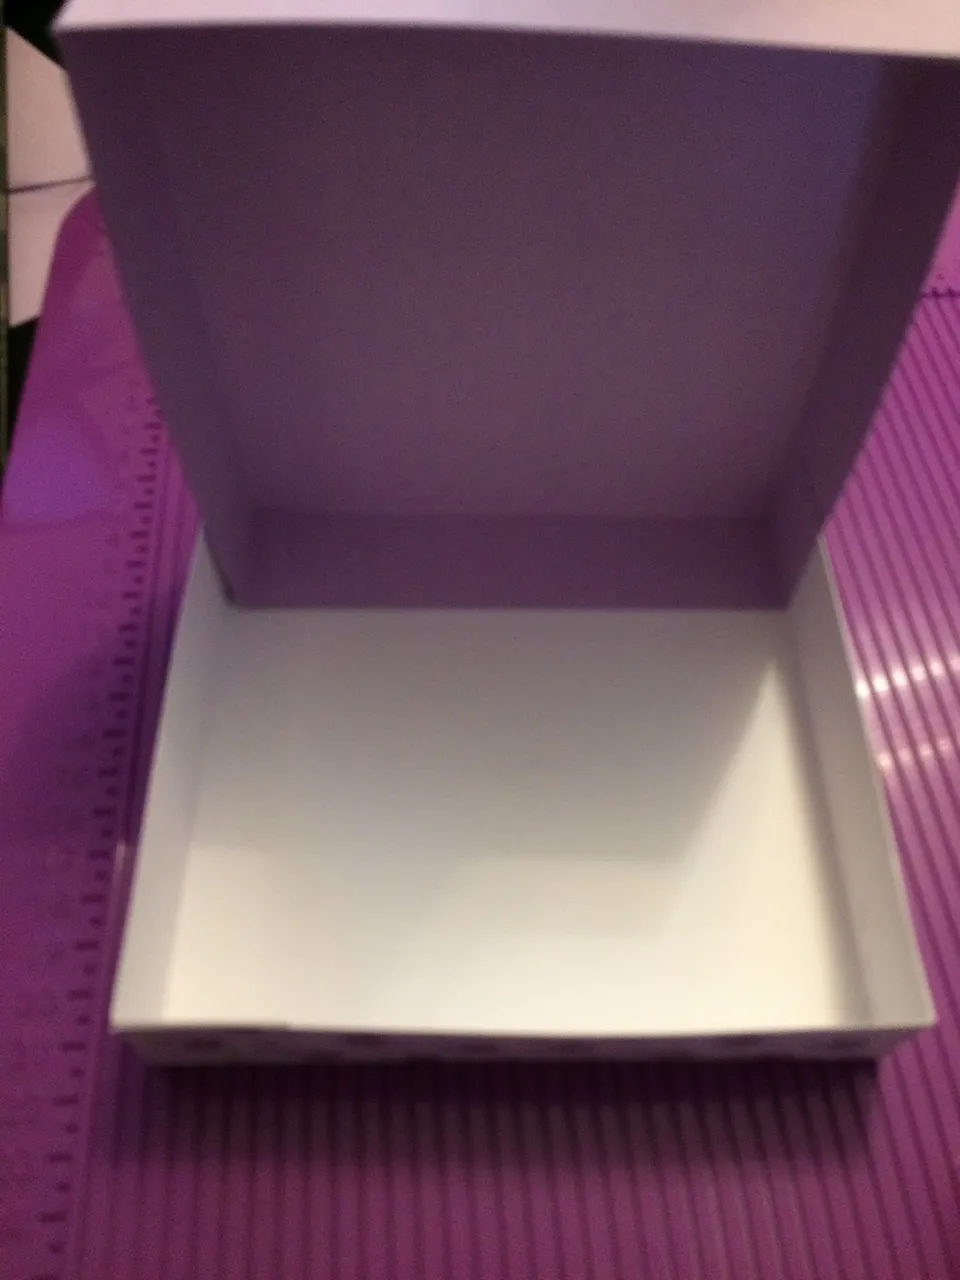
Once you've scored all four sides on both pieces of card,
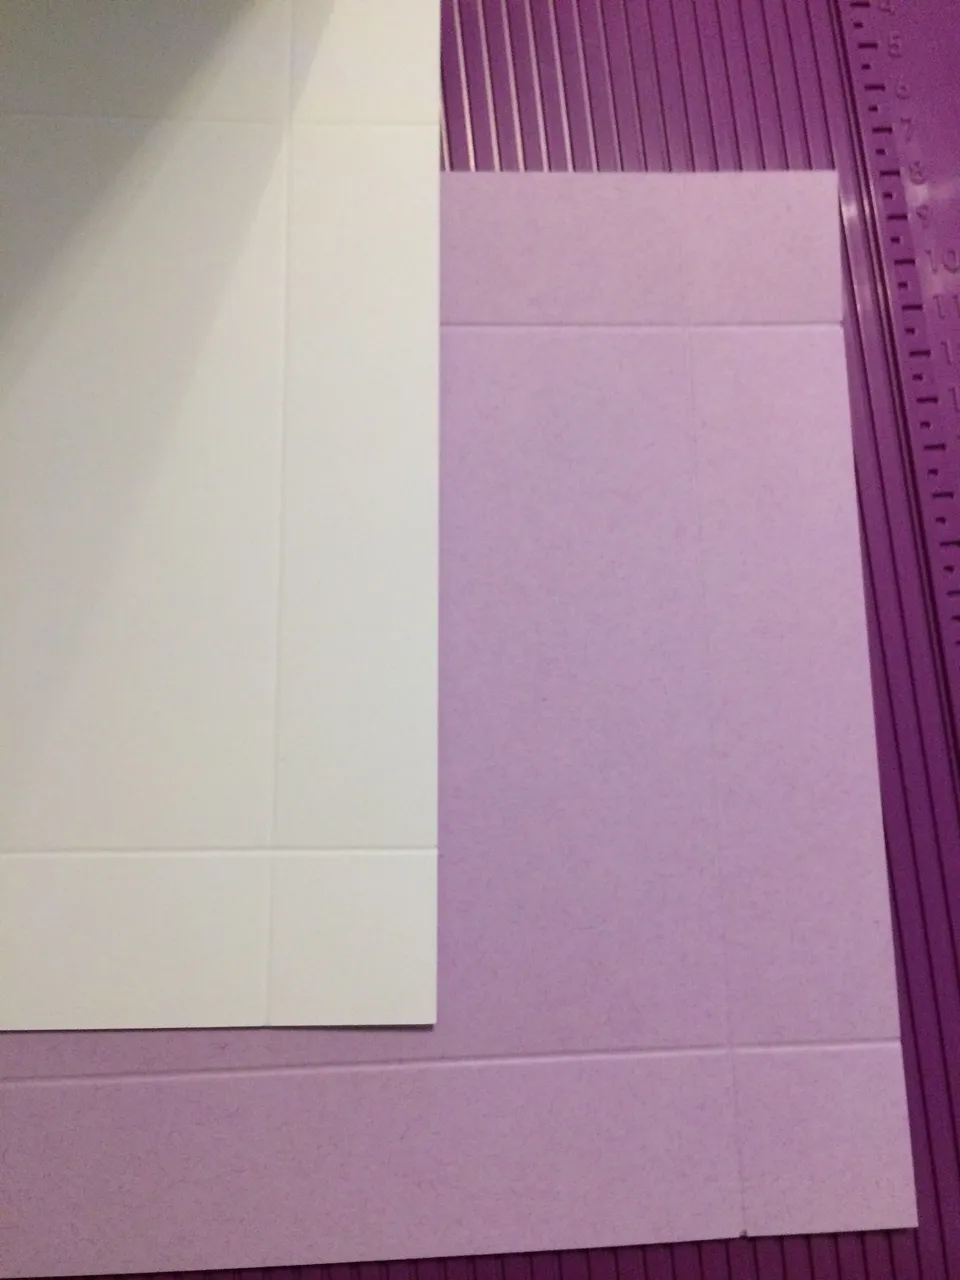
you need to fold the sides of your box in.
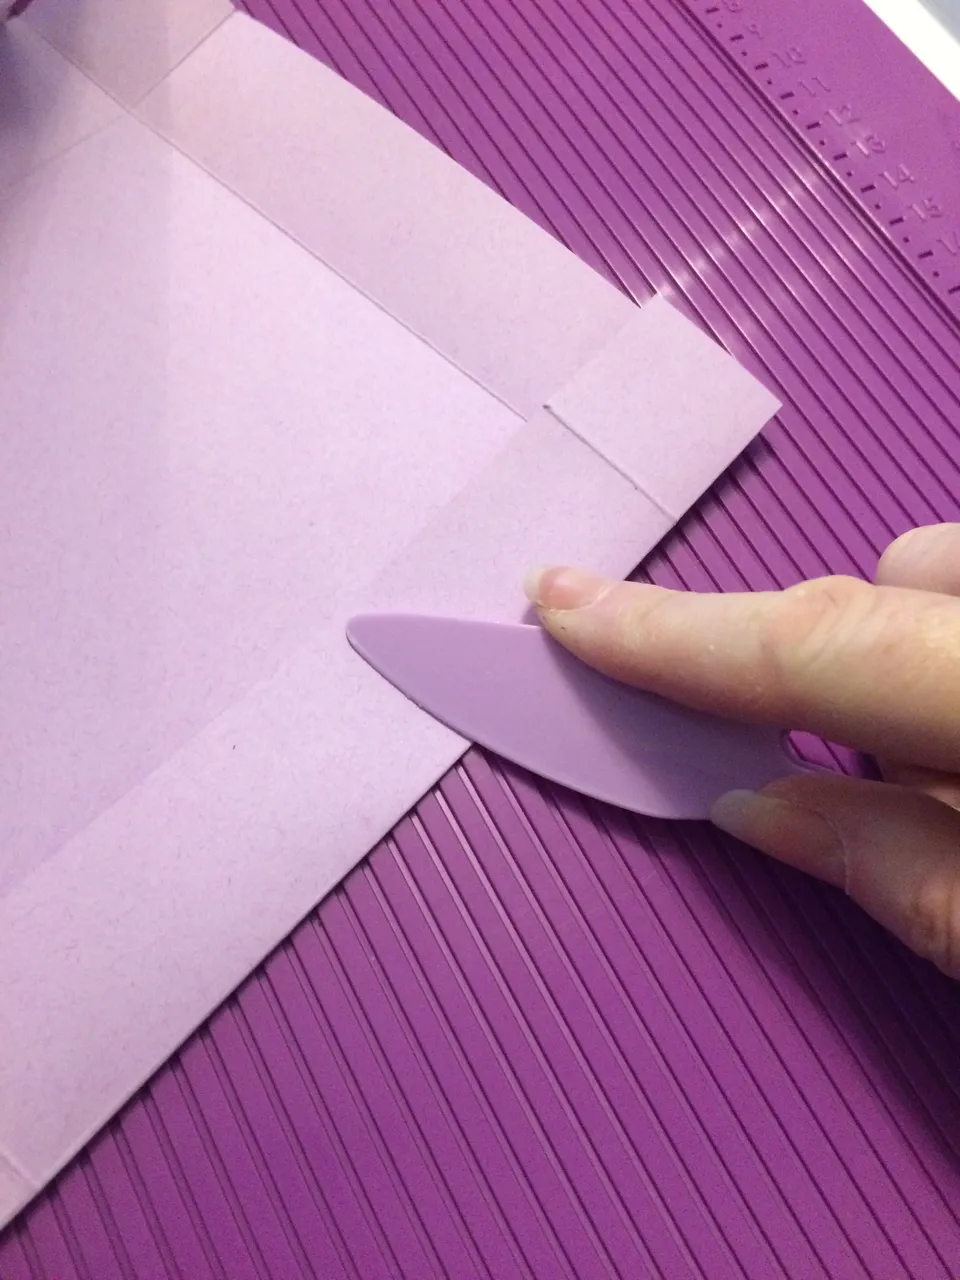
Then you have to cut each side like this.
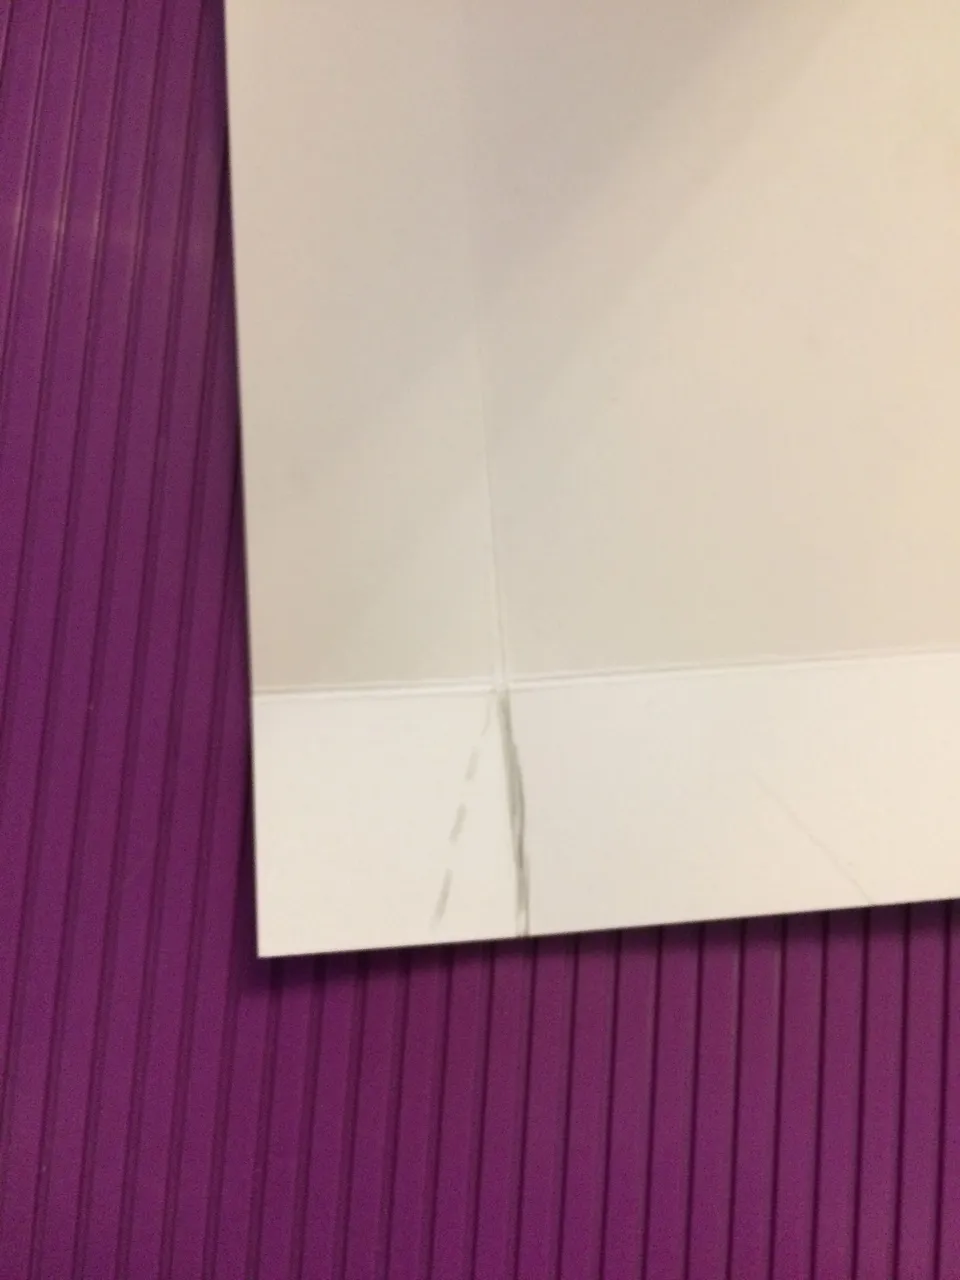
If you cut every corner the same, you'll end up with the cuts working for you rather than against you.
I've made the cuts wrong before and it makes it difficult (not impossible) to fold the corners of the box neatly.
If you make the cuts the same, the corners make a neat 90 degree fold rather than a little over or a little under.
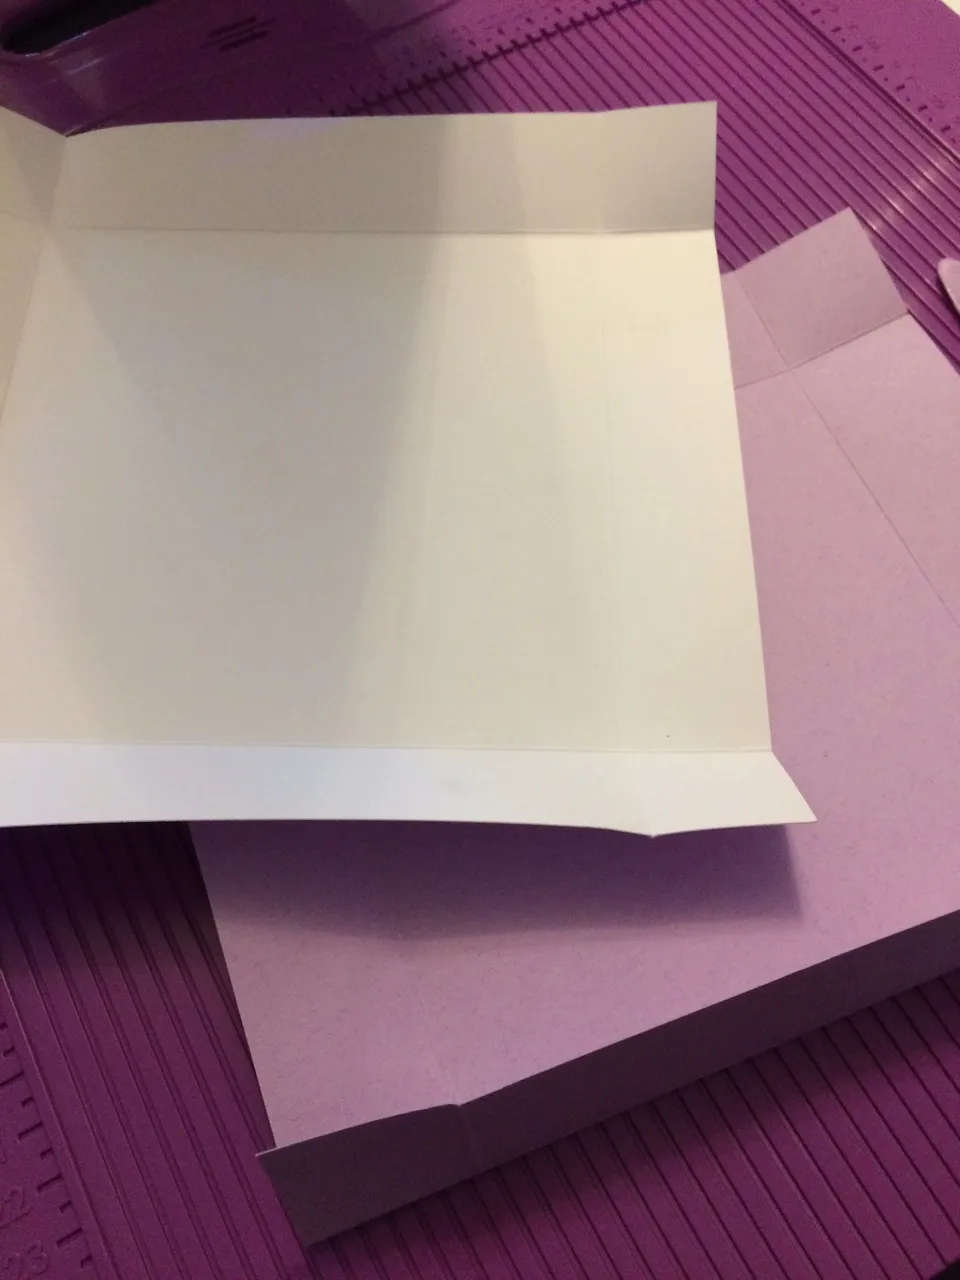
Then you either glue or double-sided tape the corner flaps...
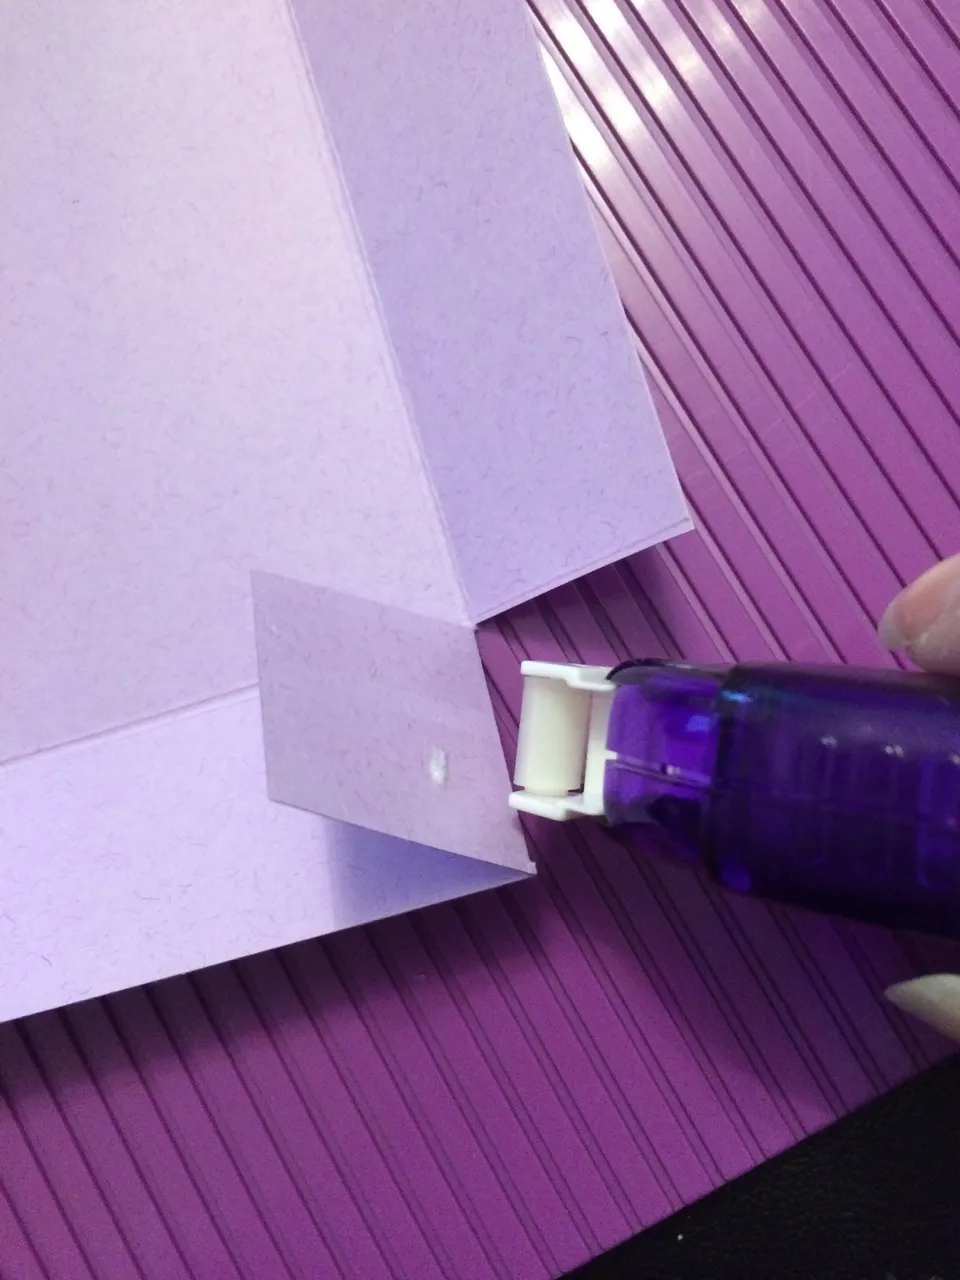
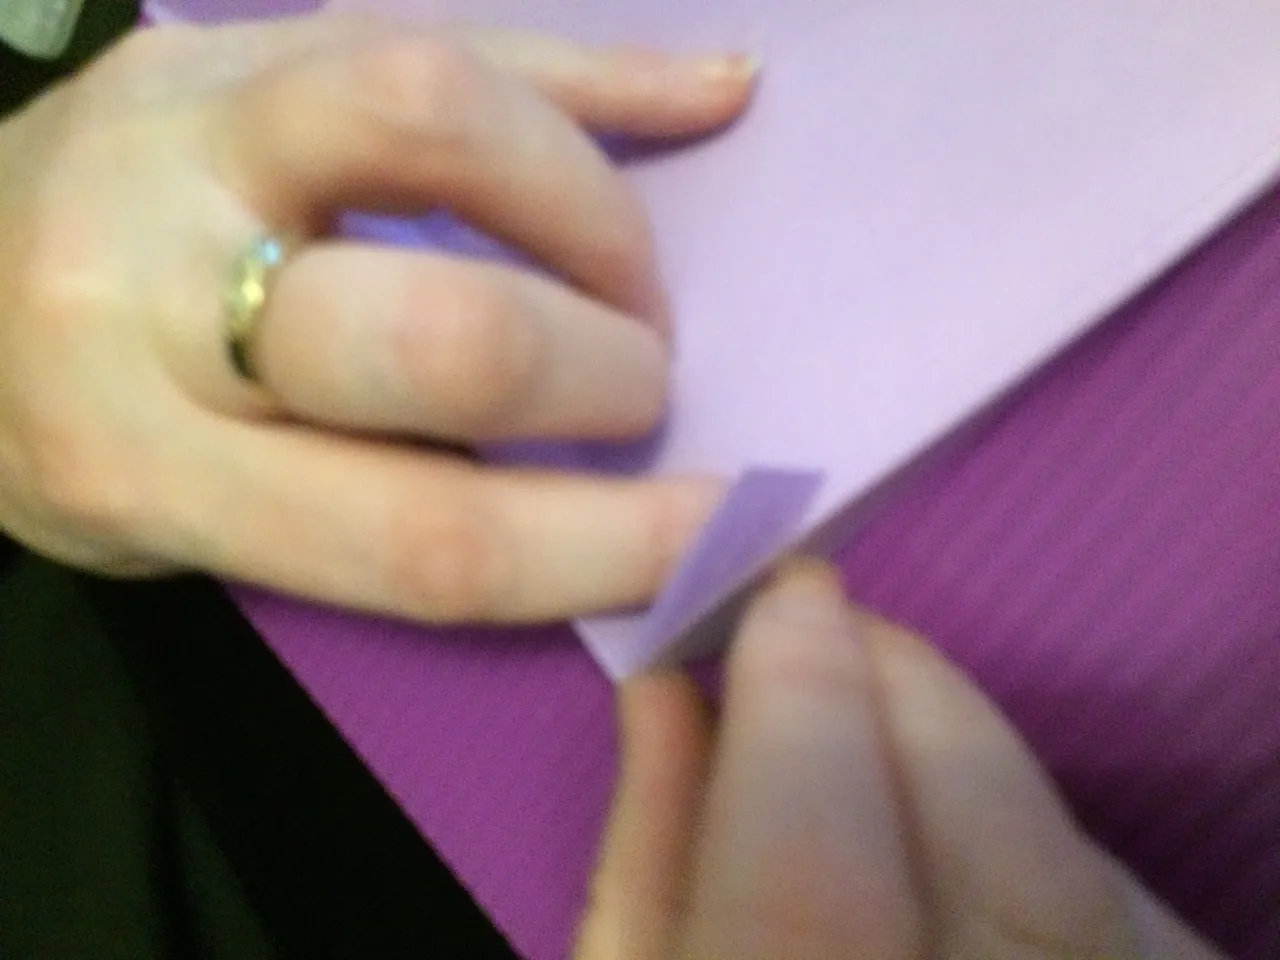

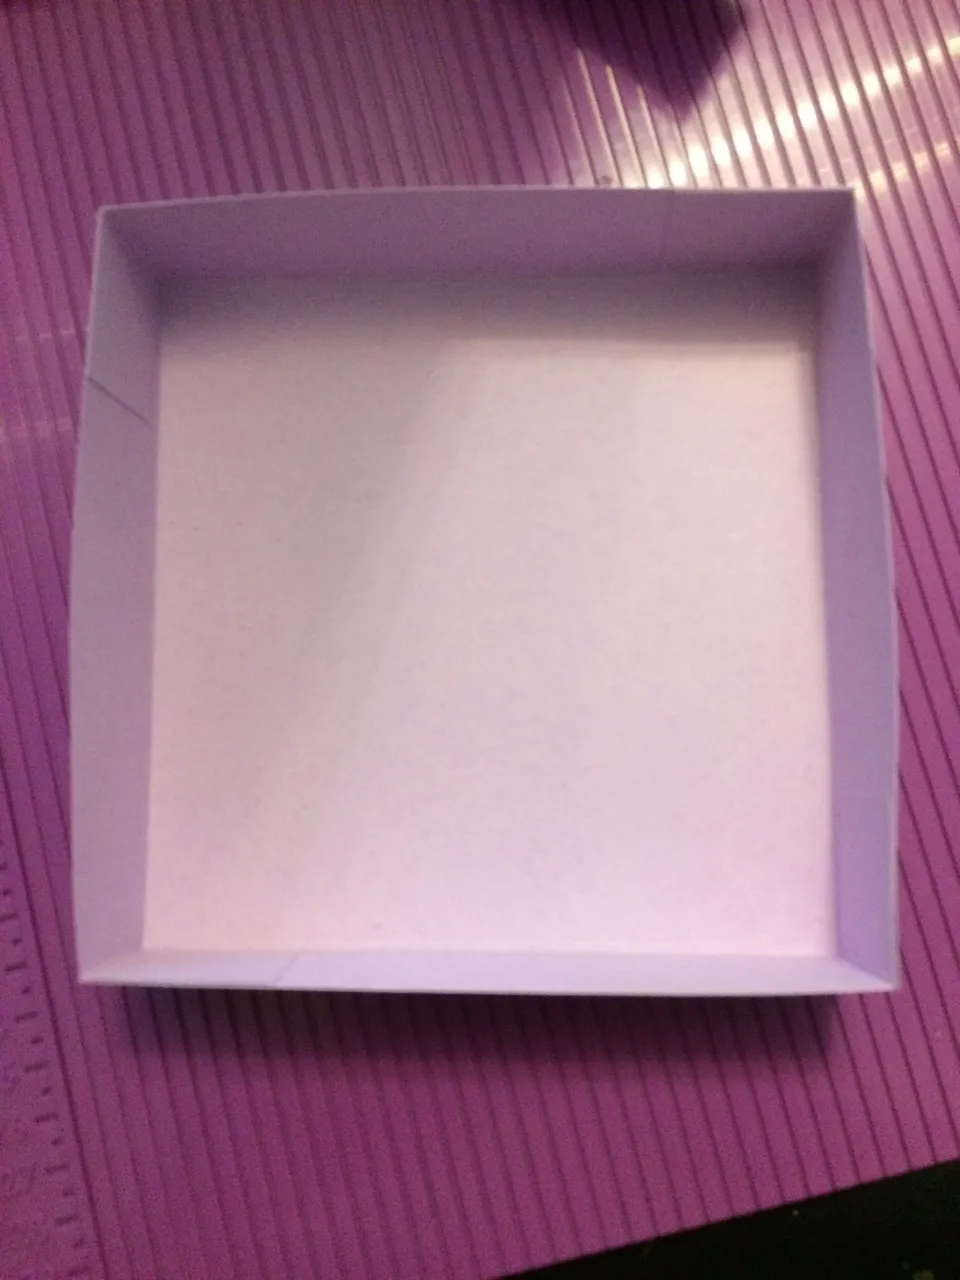
And stick them together neatly so the straight side meets on the inside of the box to make that perfect 90 degree corner.
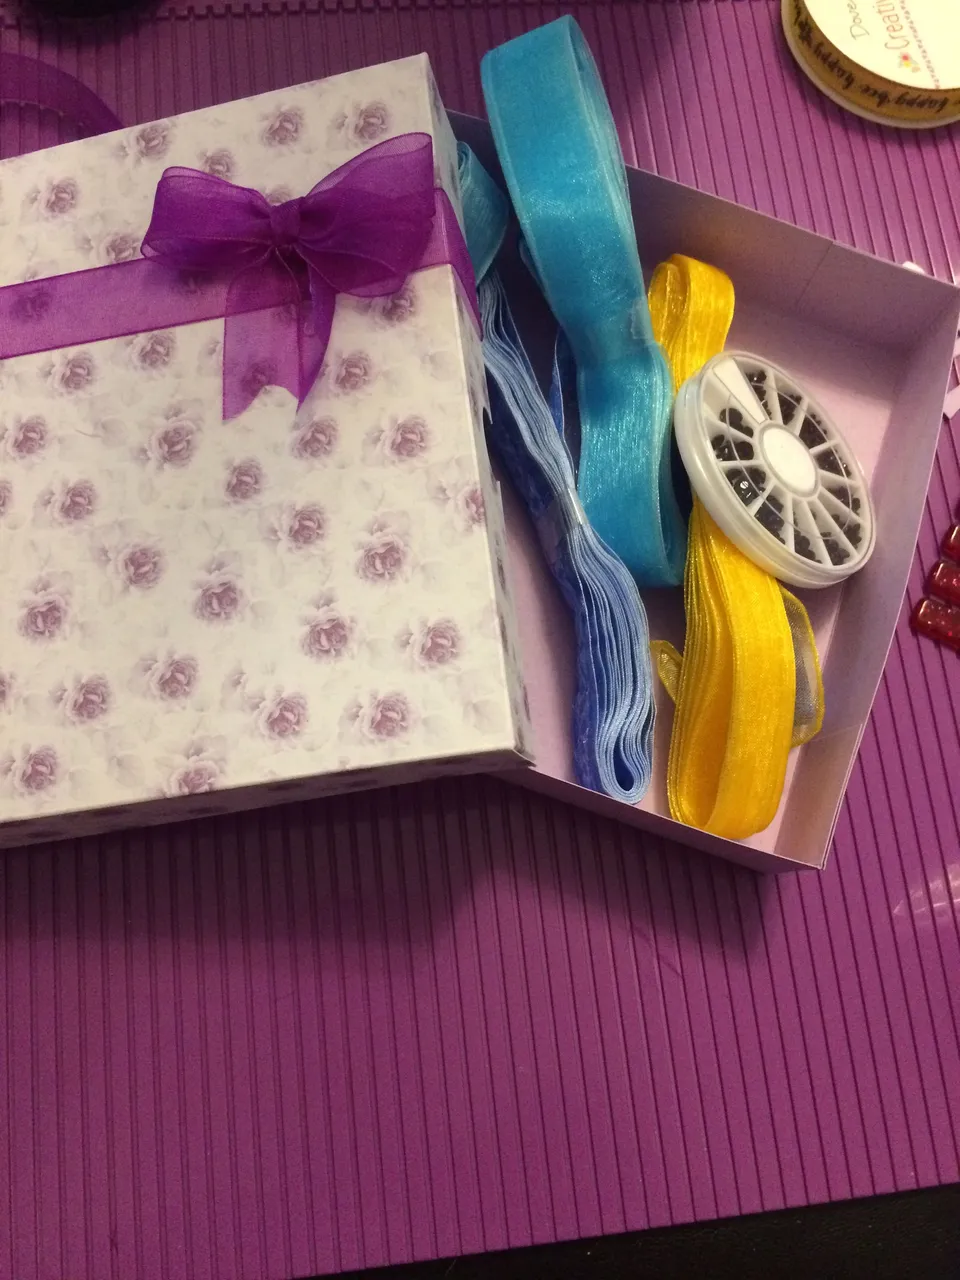
As you can see, the lid is slightly bigger than the base - for a good reason.
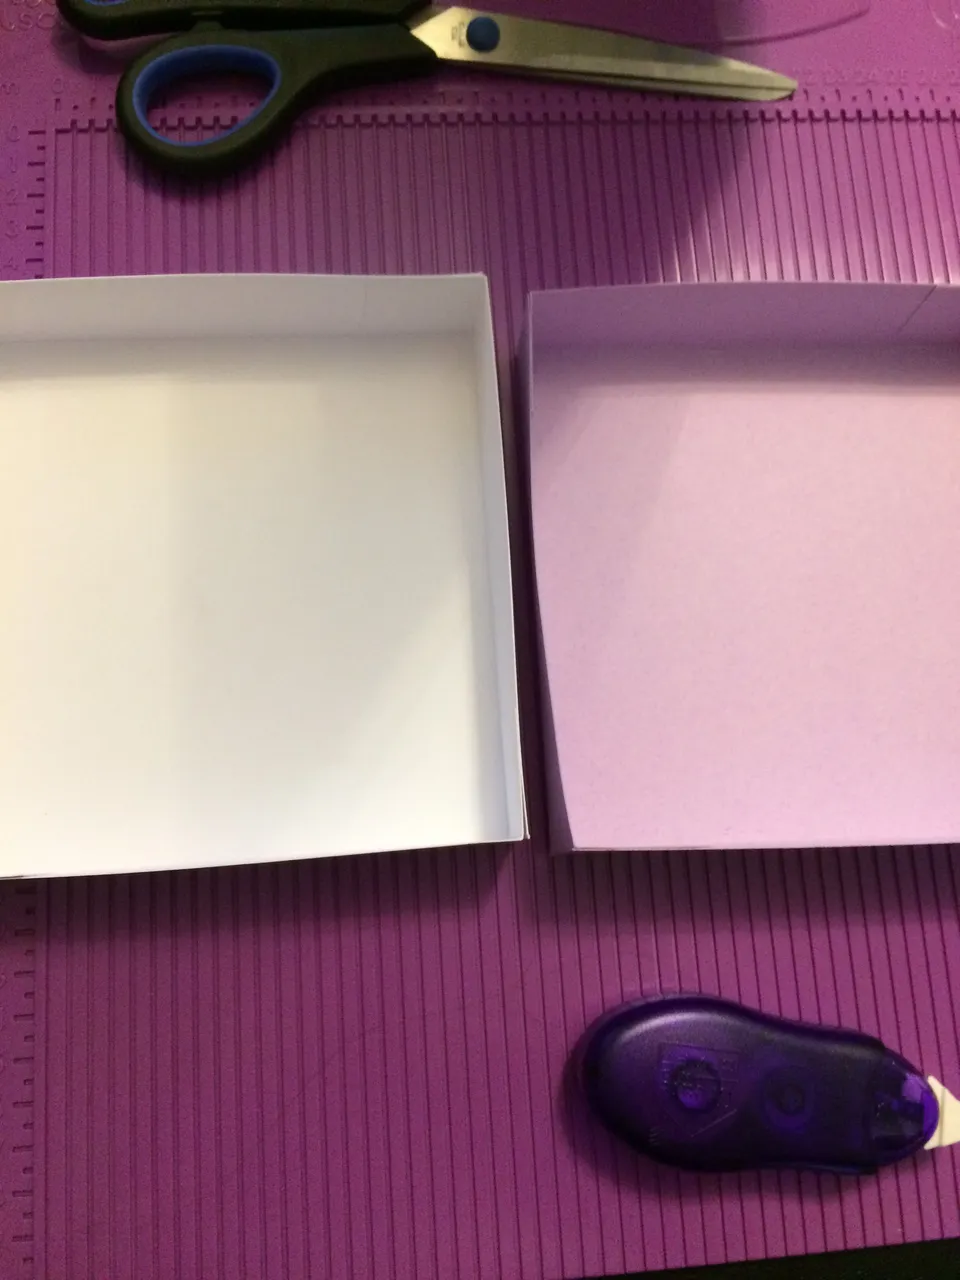
One fits inside the other - just like a real box!
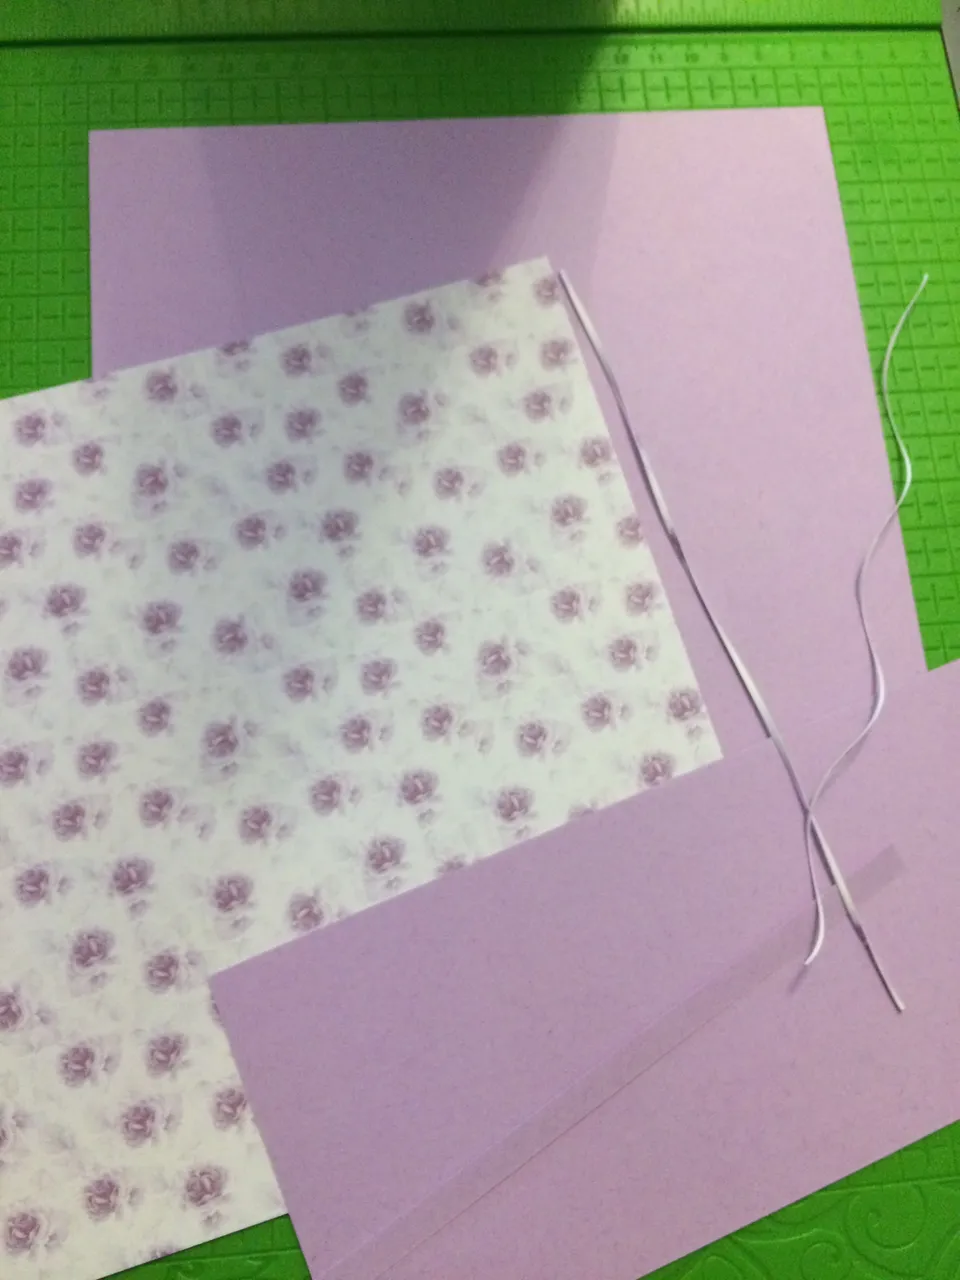
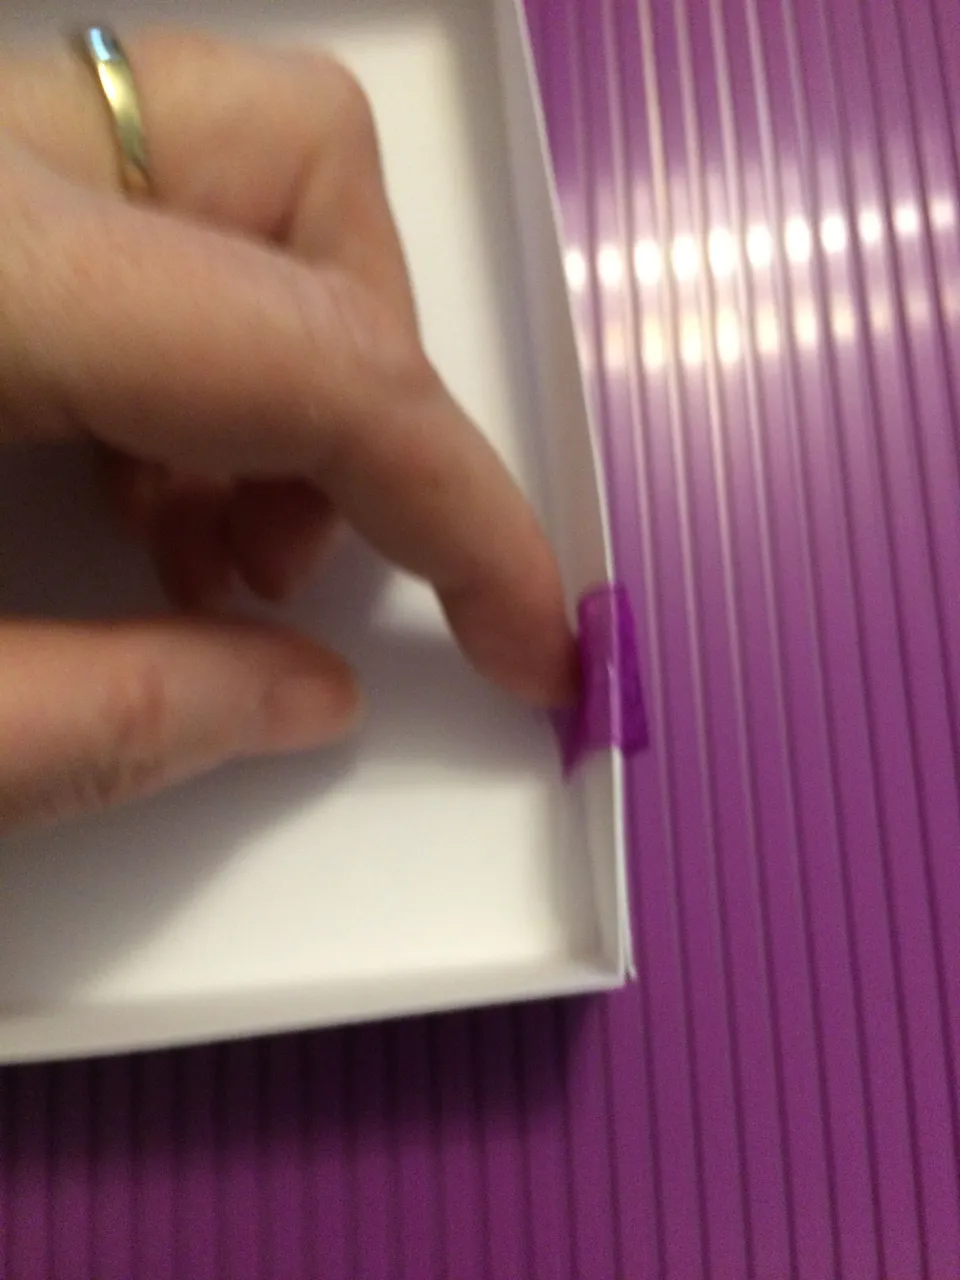
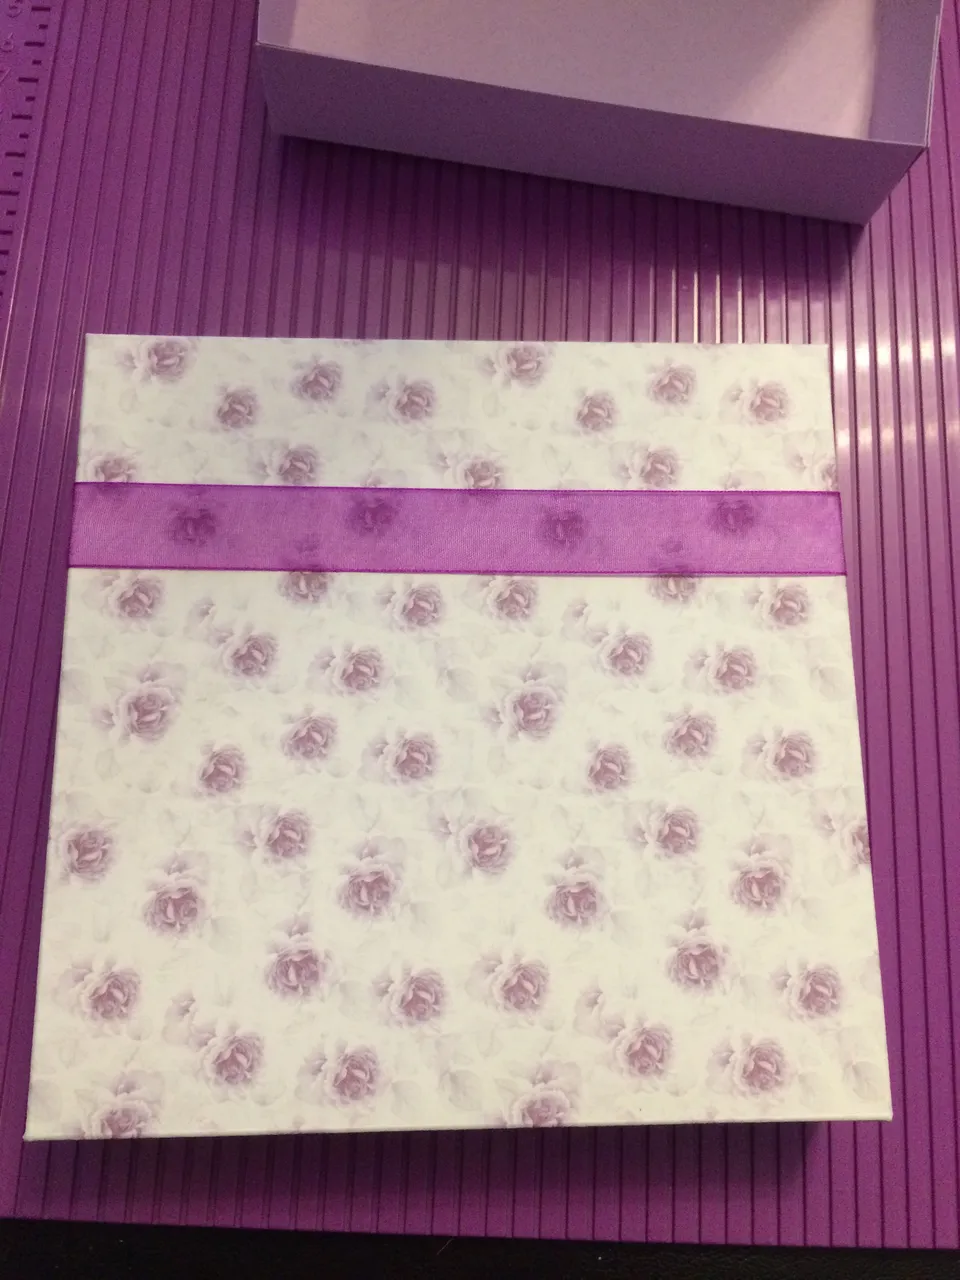
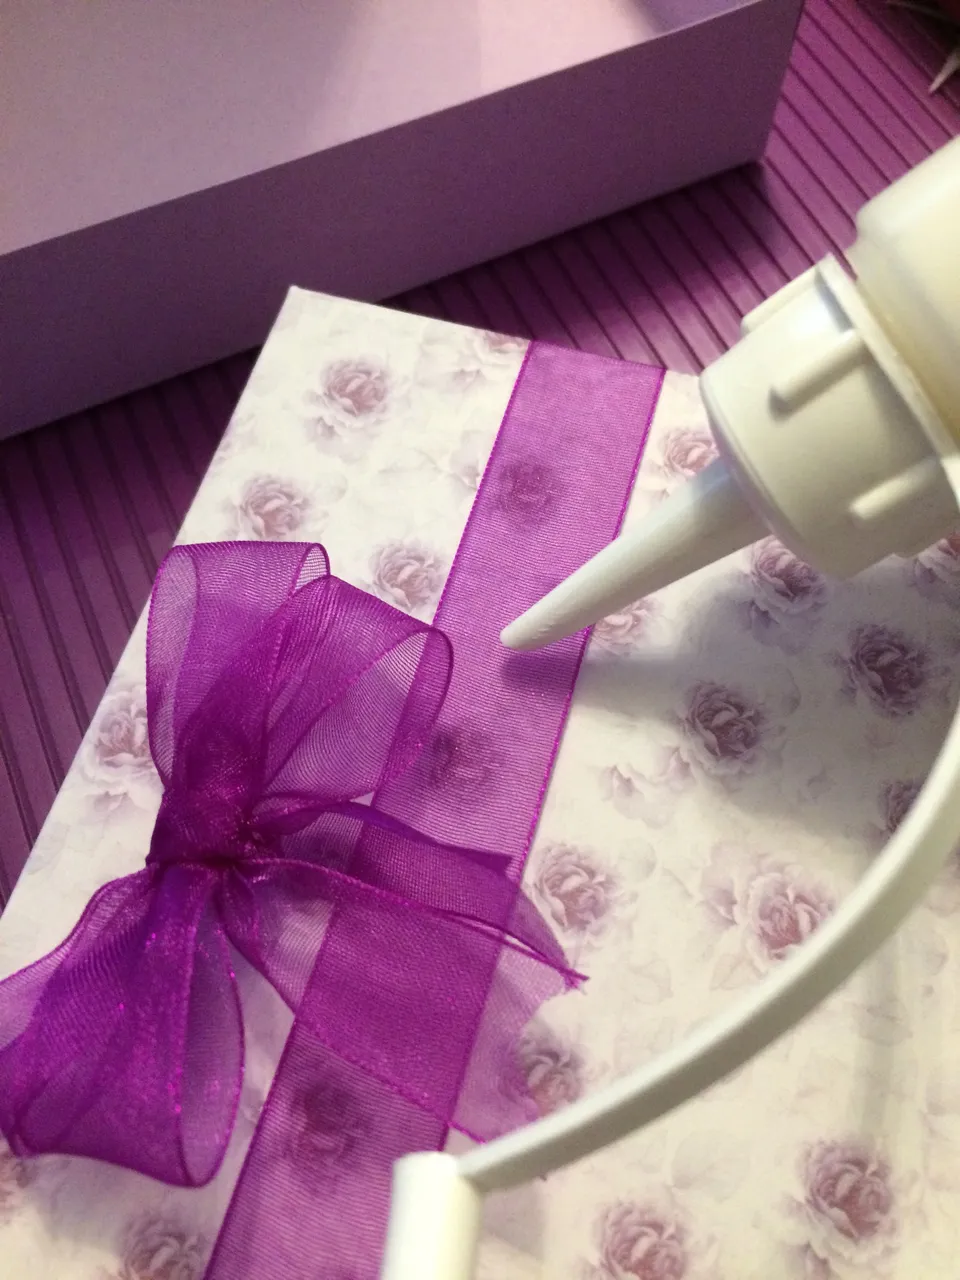
Then I took some pretty ribbon and decorated the box.
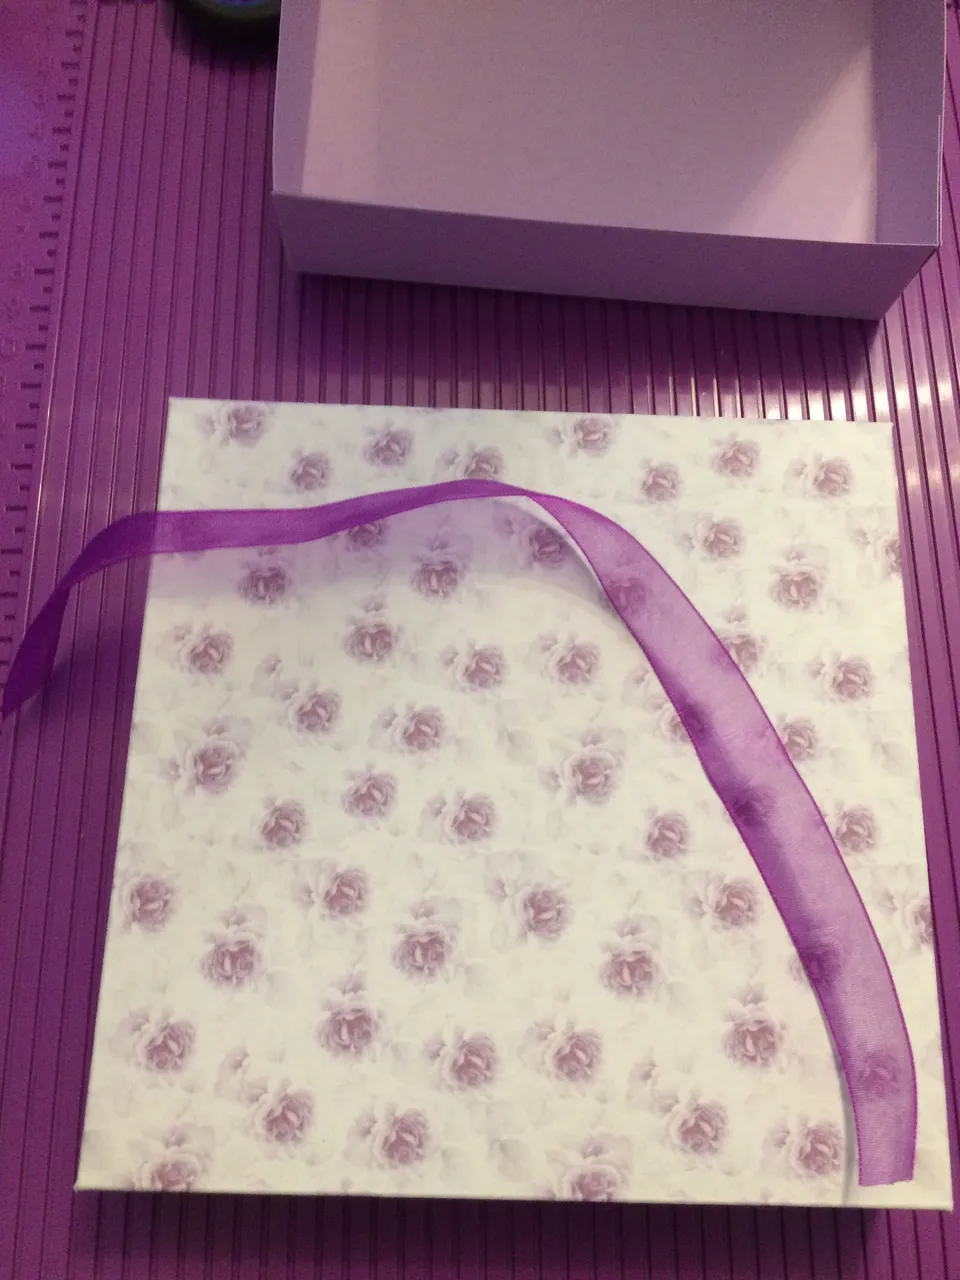
Stick the ribbon onto the inside of the lid so it looks like it's supposed to be there!
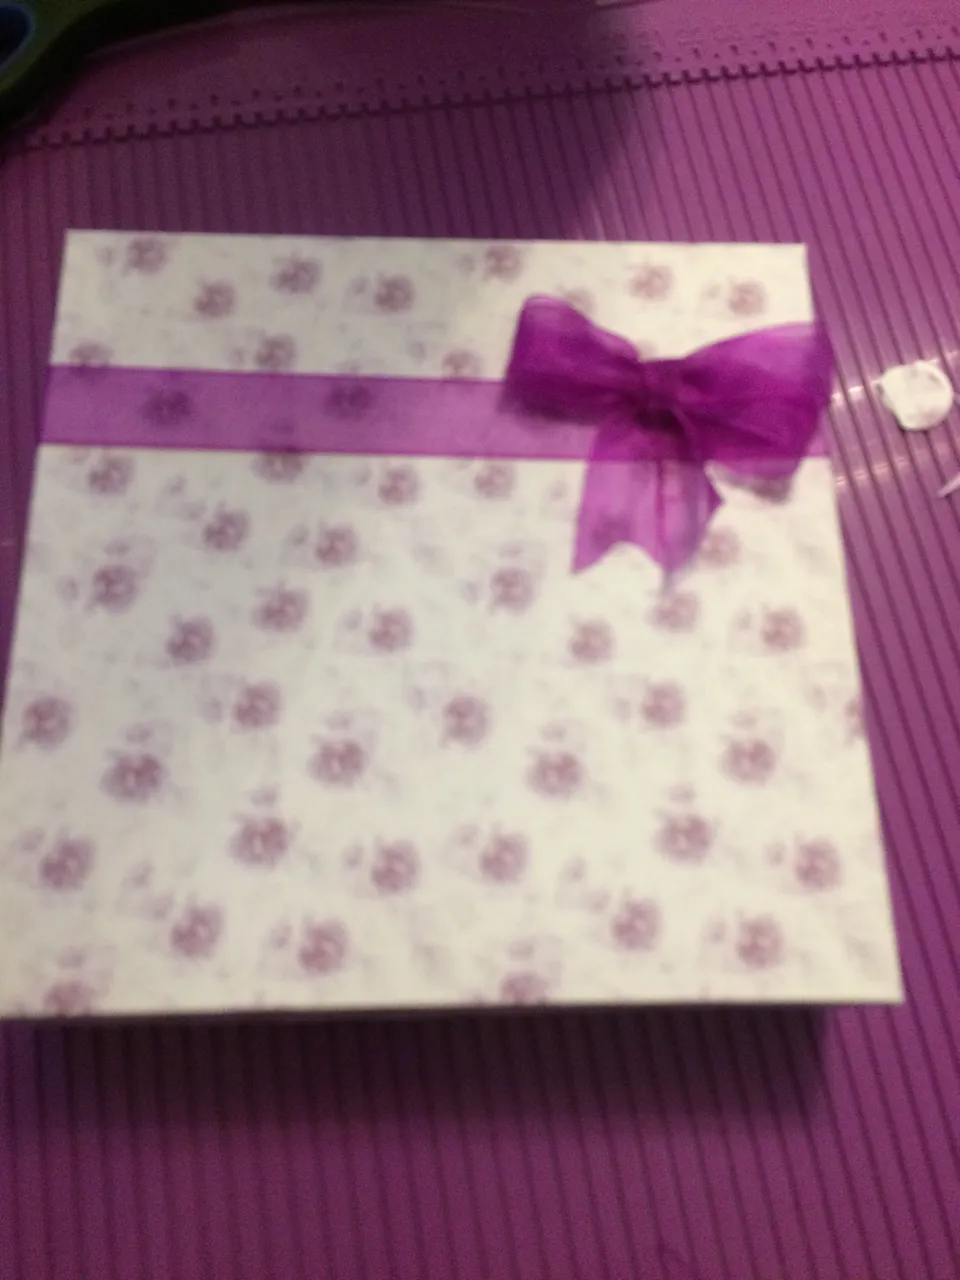
Then I made a bow.
And stuck that onto the lid.
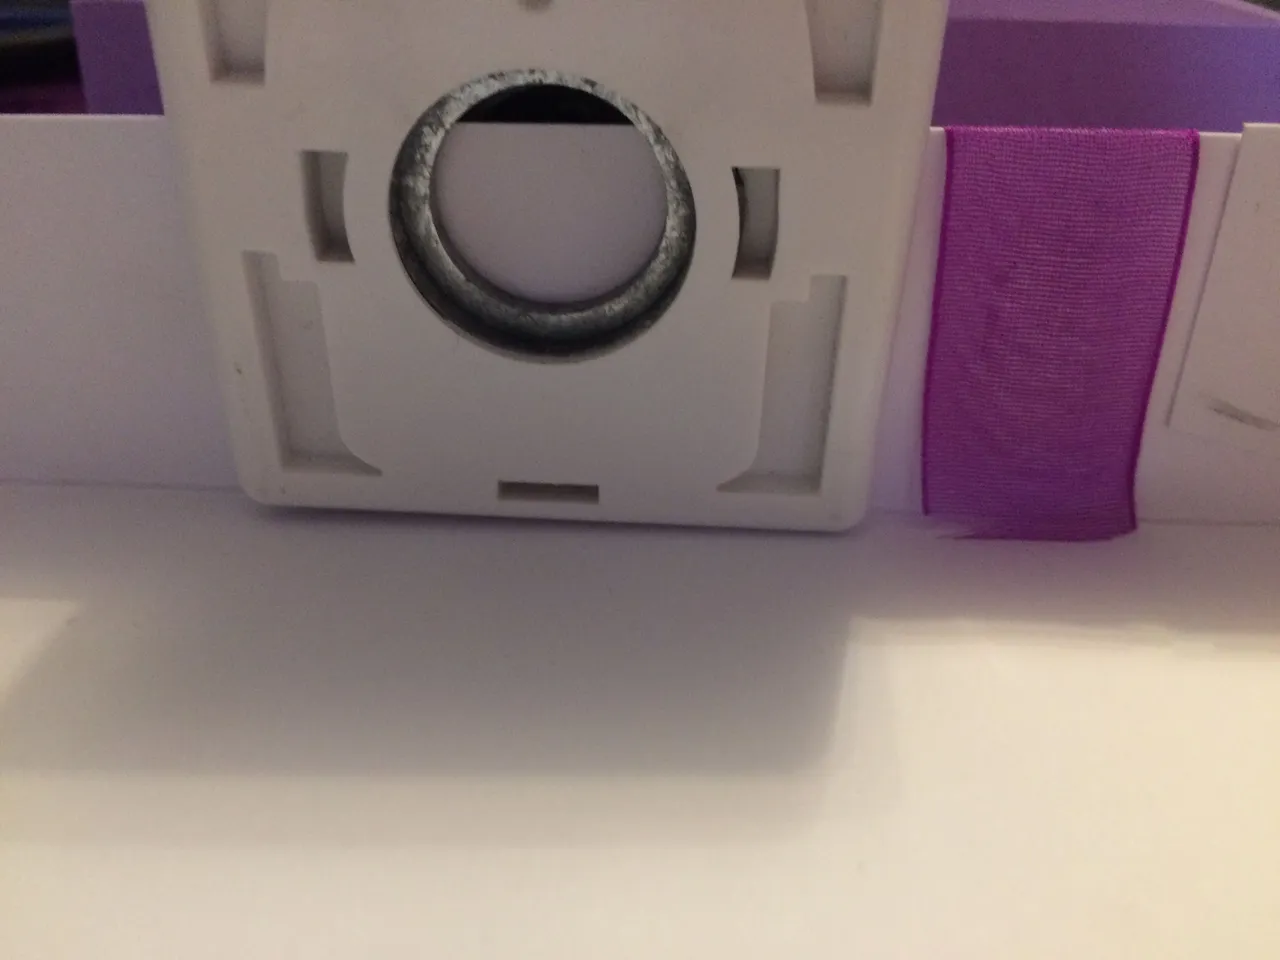
I used a round punch to make finger-holes on the lid so you can open the box easily.
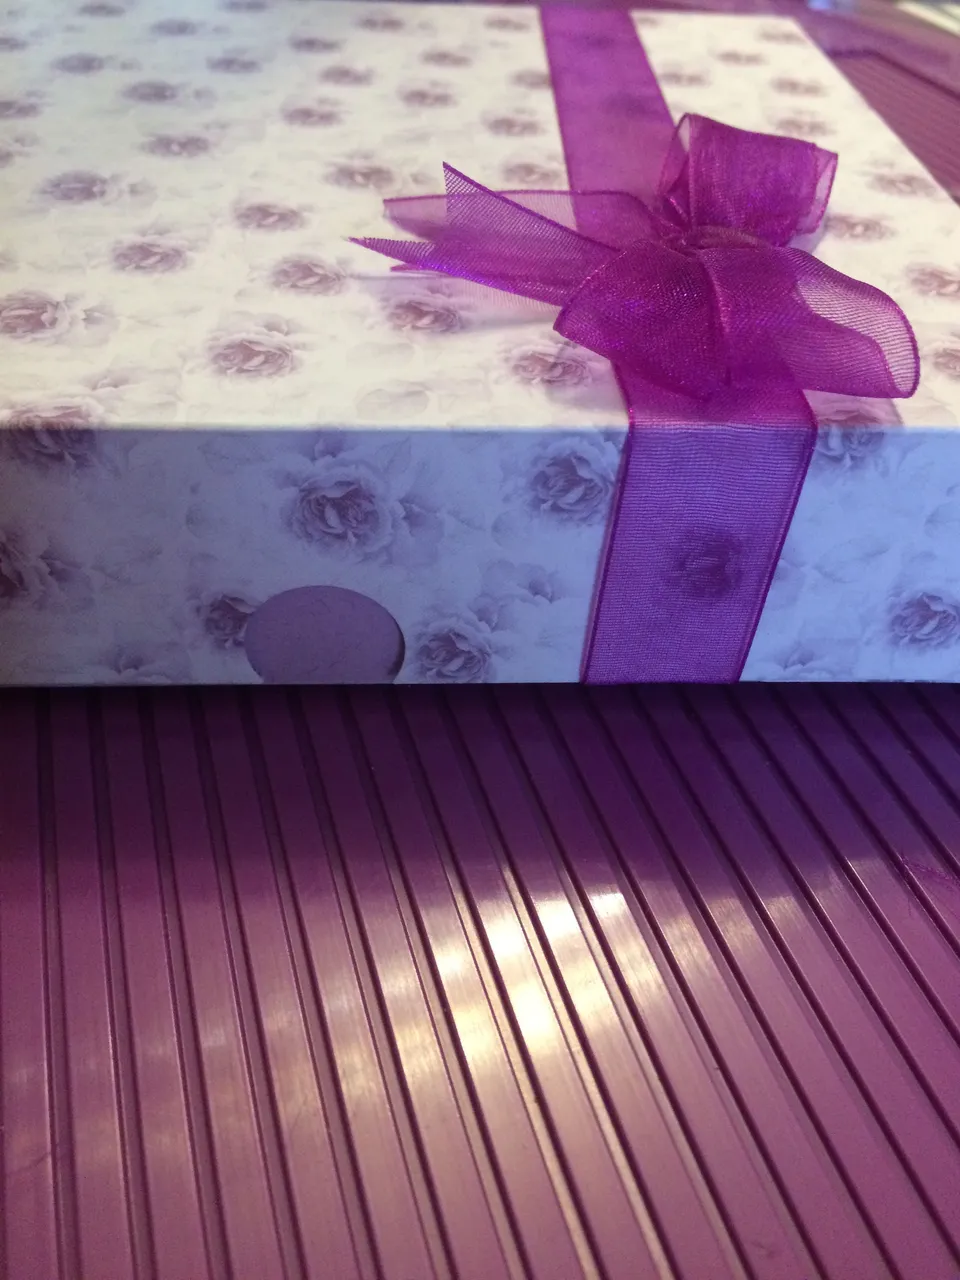
And there you go!
I've put a few lengths of ribbon in the box. The box can be used for any type of gift (that fits, of course) and because it's all hand-made, it shows that you've put thought into everything, from the gift to the packaging.
What did you do today? Share your links and show us!
Video of box making
Thanks JC ;)