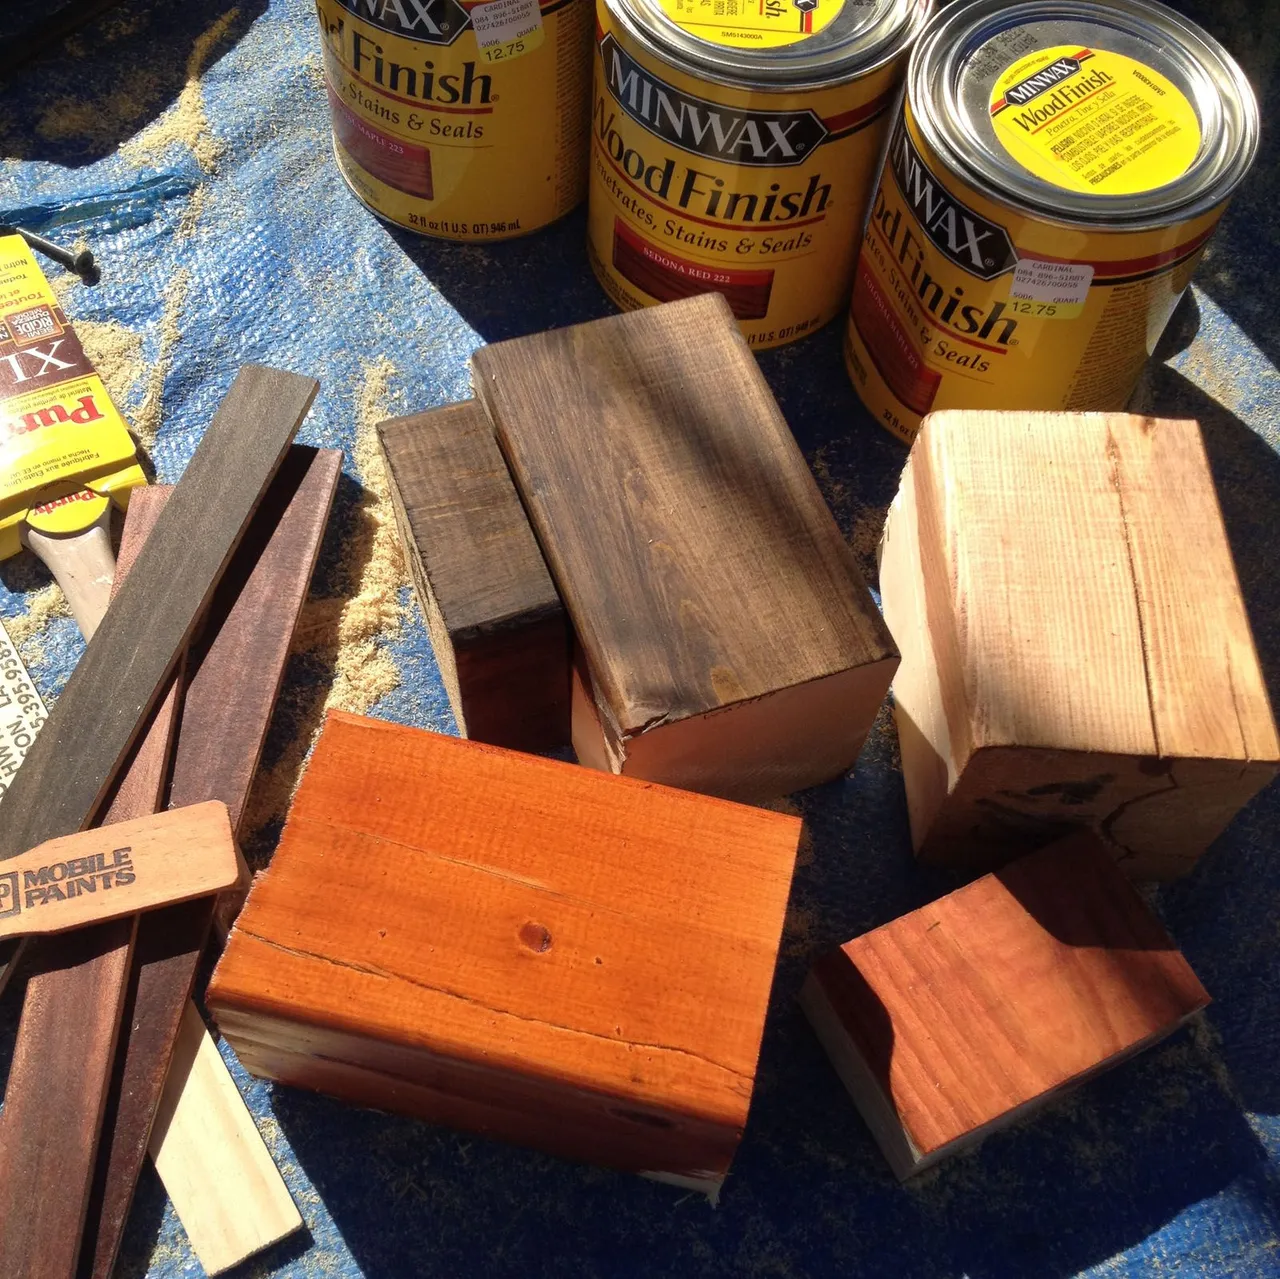
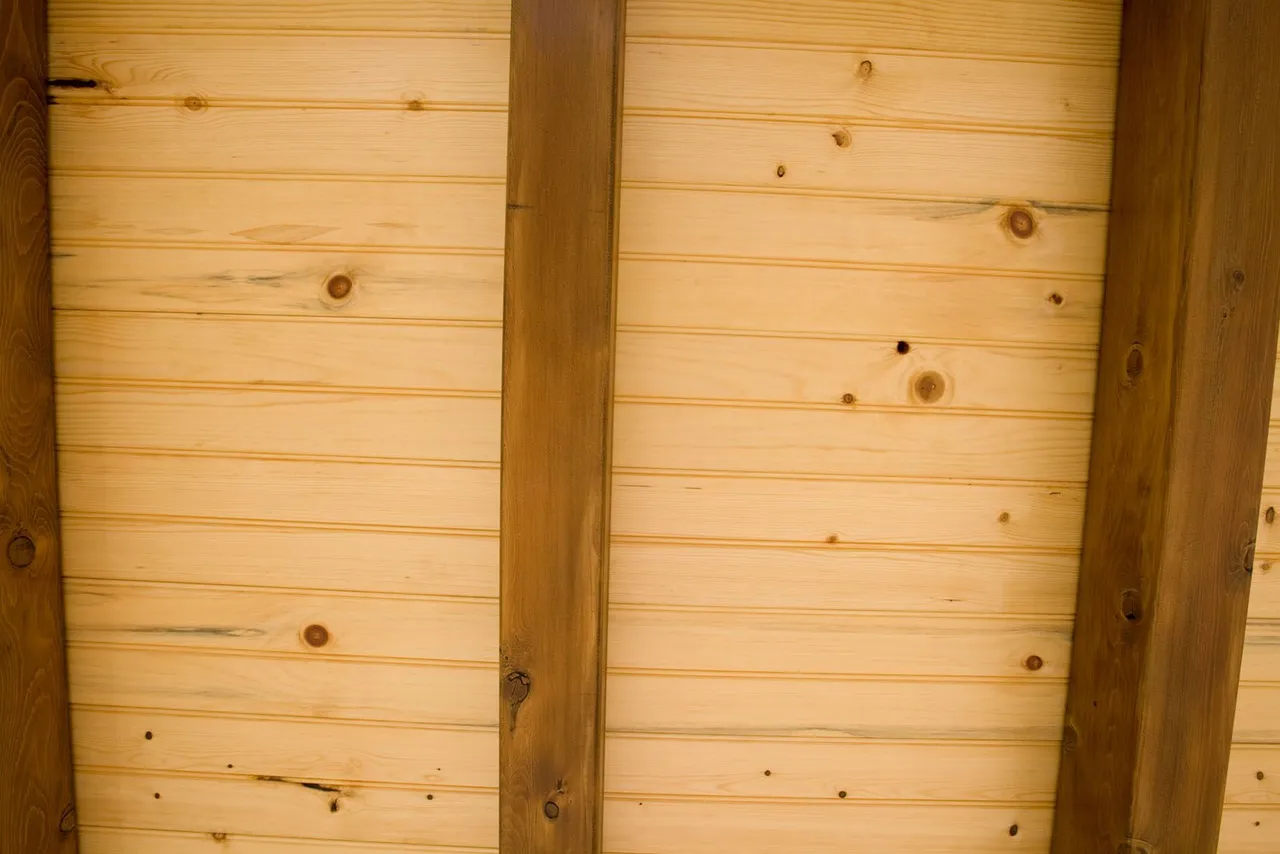
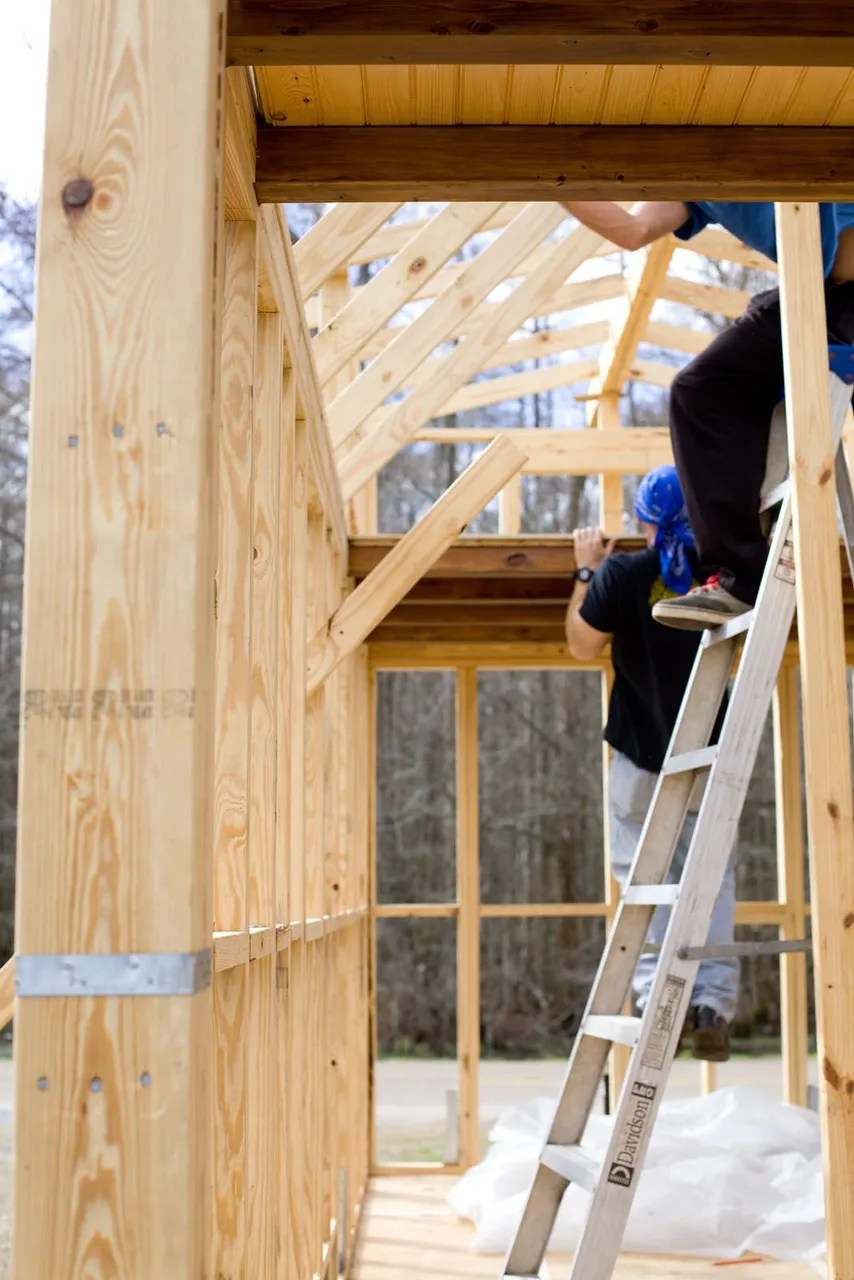
Wood interiors can leave structural beams exposed. We figured to pre finish them. The bottom side of the flooring had a beaded edge and to stain the beam and not the delicate ceiling seemed really hard. So we prefinished the wood beams and ceiling on the ground. But that made decorating decisions critical. Conveniently the real artist was around. She had a theme selected in about ten minutes.
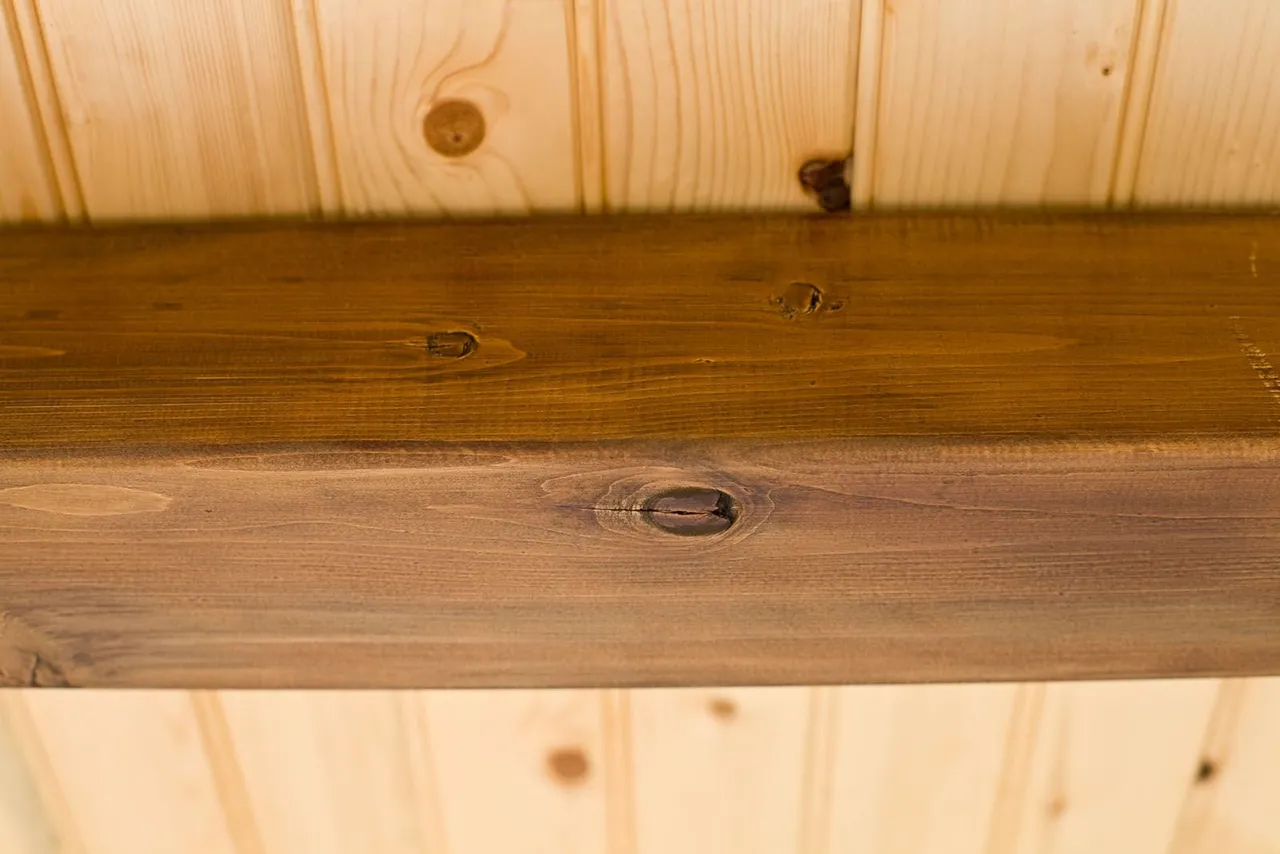
We installed the beams and stained them in place. Then we urethaned the bottom of the floor boards (3x) because that was going to be the bathroom ceiling. It seemed like it took forever to get through that step, its like the framing all was on hold for some piddly painting project. But I'm glad we did it because it really did work out great and we never had to try and get dark stain off white untreated wood.
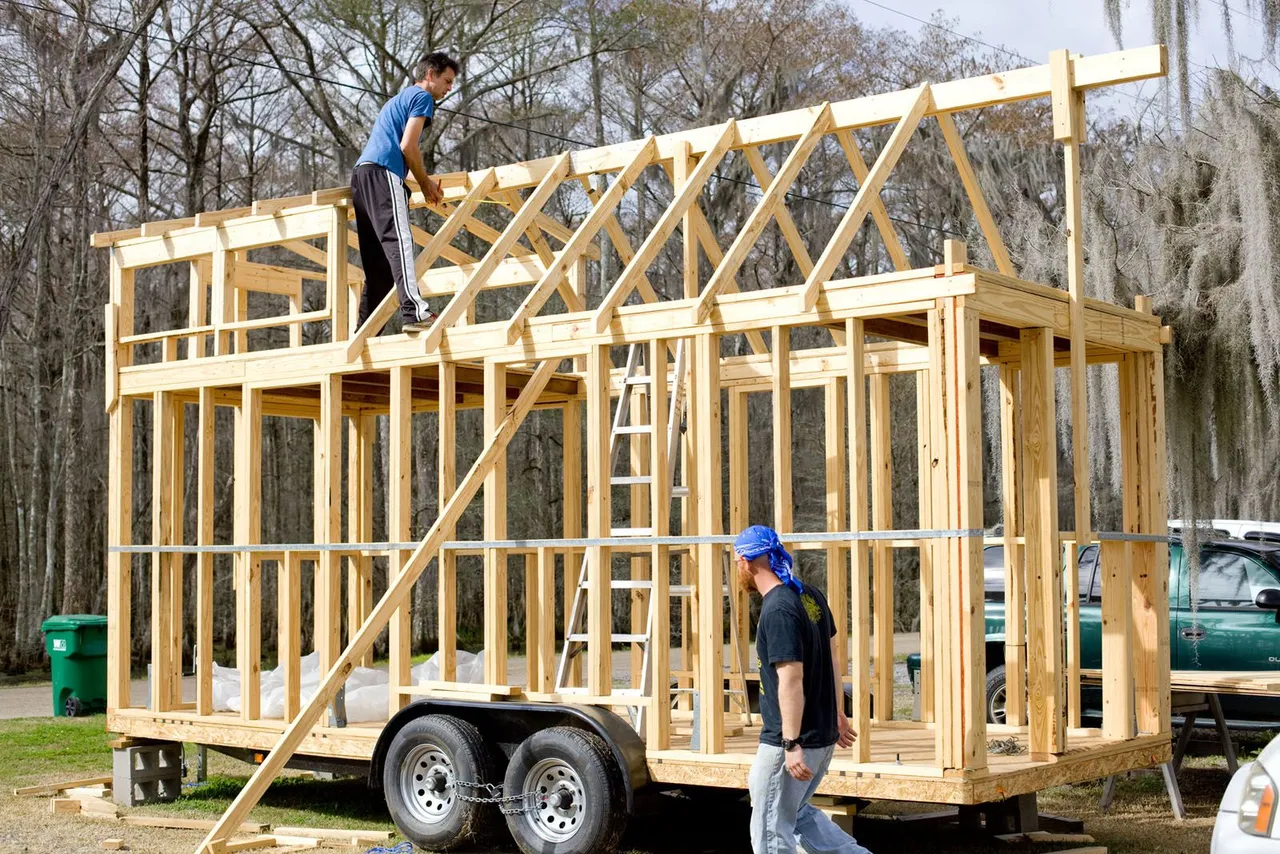
Ammon bought some pre-engineered plans, and he really wanted to stick to them. It called for some kind of subfloor or something, but we ditched that right away, and the door stoop. And then the whole gable end.
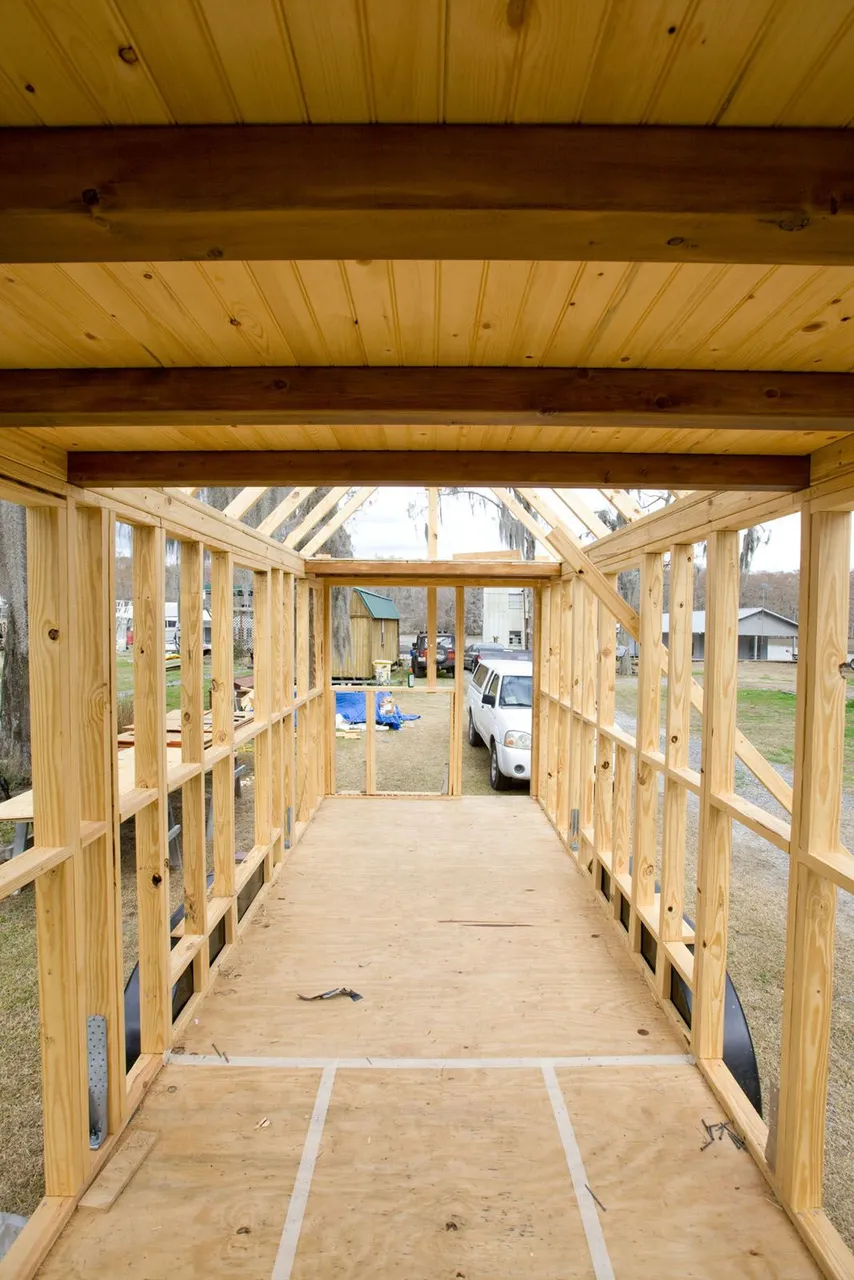
We put masking tape down to try and figure out how big would be the bathroom / kitchen cabinet / walkway area. And exterior width of 8'6 is not much after removing a bunch of inches for walls.
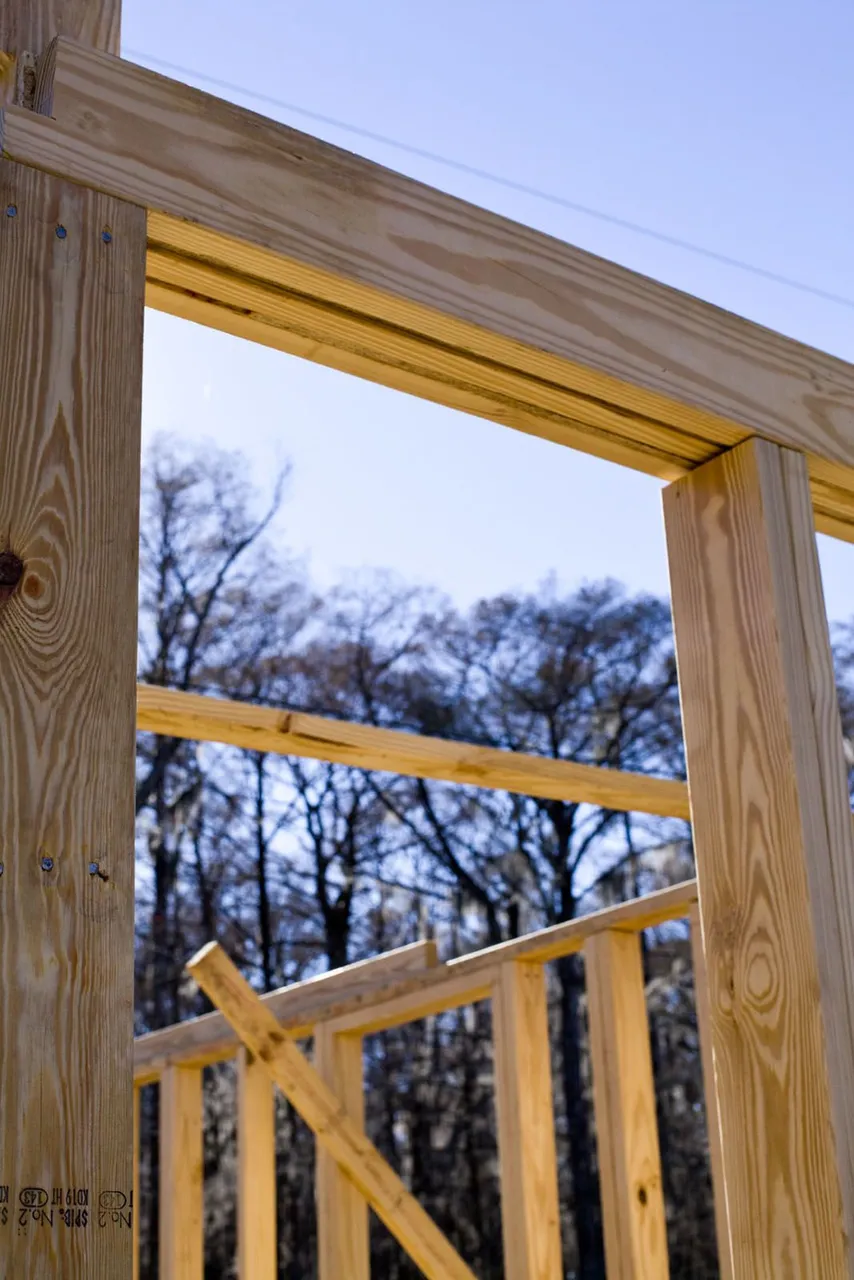
This back wall was supposed to be angled back with a shorter beam but that would cut up his storage above the door and also there would be no window up there. He wanted some kind of nautical theme, and a boat window sounded fun. Plus a square wall is way easier to frame.
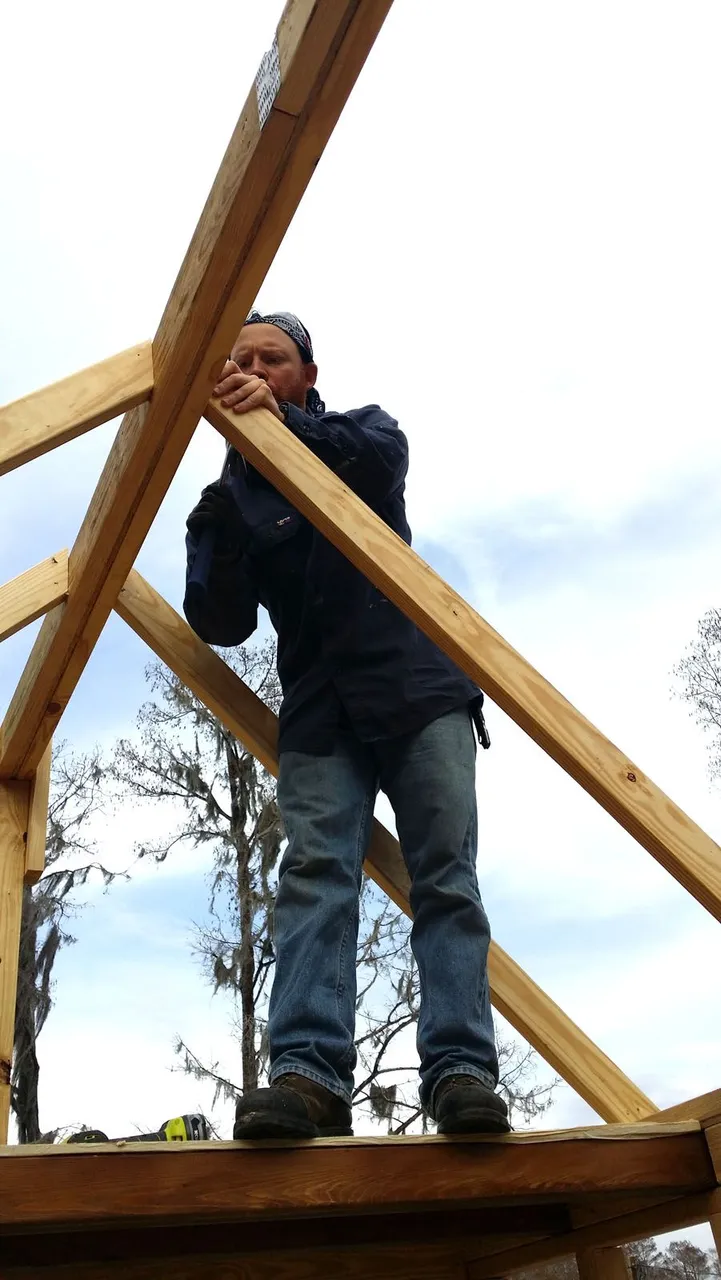
We built the beam on the deck because getting them straight on uneven ground is really really hard. Also, We realized later that the beam was supposed to be 4x6, not 3.5x6. So that changed the lengths of the rafters just enough that it was time to throw away the plans.
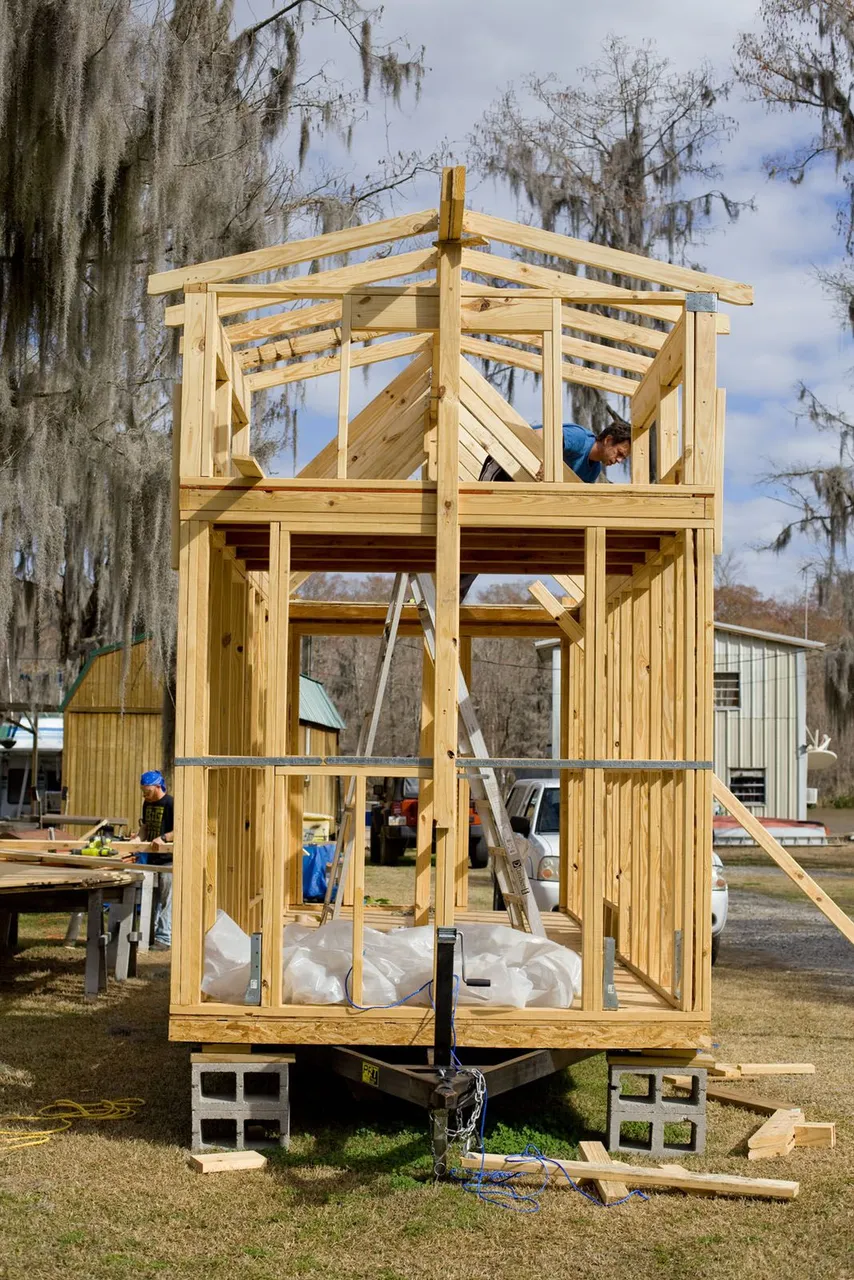
The dormer end was a bit trickier. We wanted to make sure all the windows were interchangeable and not some random custom size, but it turned out that there is no custom size to a louvered skinny window and thus those were crazy expensive. Though I really think the best spent money in construction is on the items that the homeowners actually touch. The faucet, the window cranks, the door handle.
Still not sure why the back wall had to be 2x6. I think it had something to do with the angled dormer wall above and the door cutout, both of which we ditched. Since it would cut out a whole 2" from the length, it didn't seem worth revamping the structural element, it was on the not hitch end, and it is some easy to put everything heavy over there. This would at least put a little counter weight to everything so we left it as the book described.
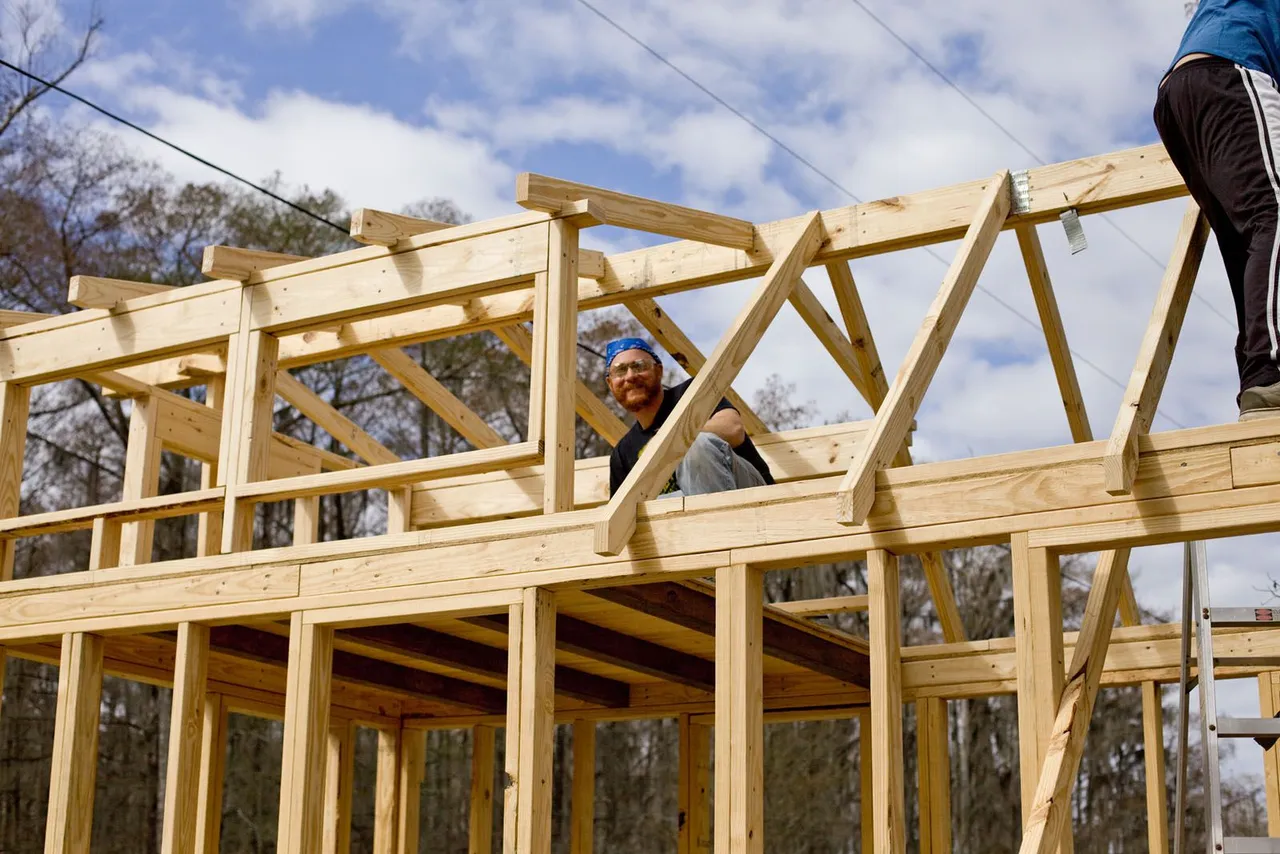
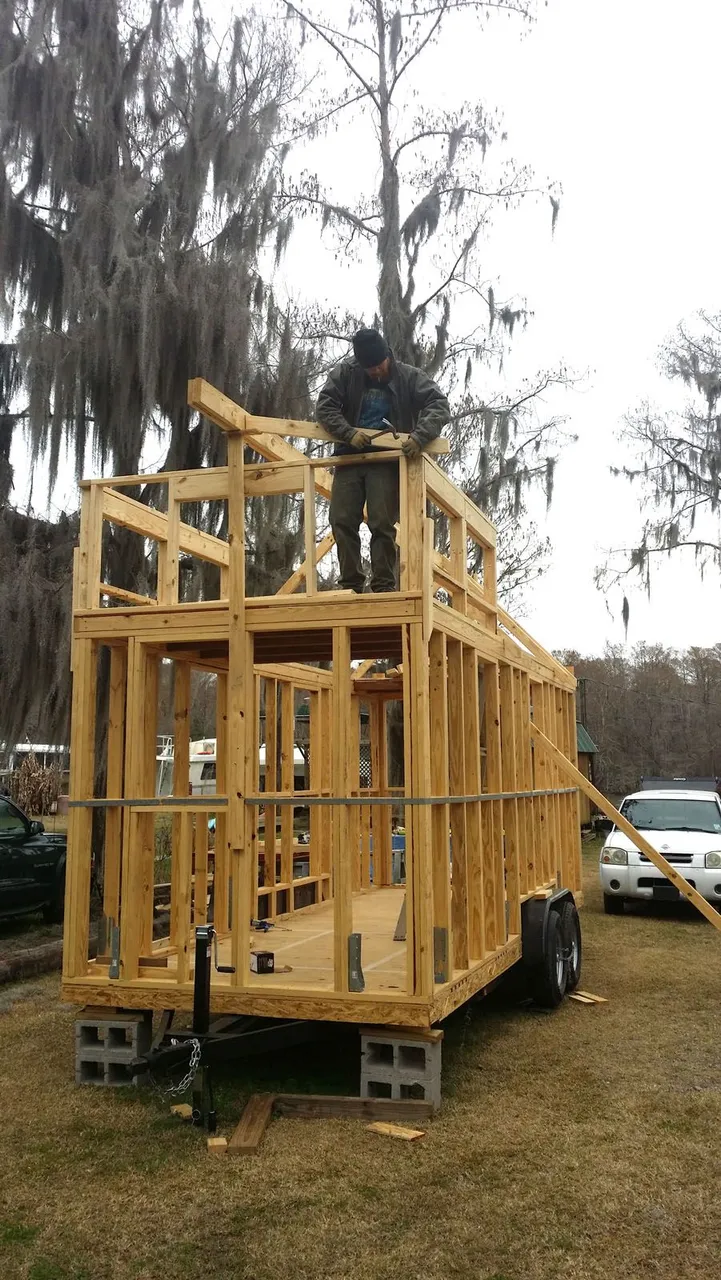
In a couple of these you can see a metal strap around the perimeter. Every hole filled. So many nails. It was mentioned in the plans a bunch of times, me being from where hurricanes don't really travel, I'd never seen that. But we did it as I'd never really built a house that travelled either.
Next up, sheathing.