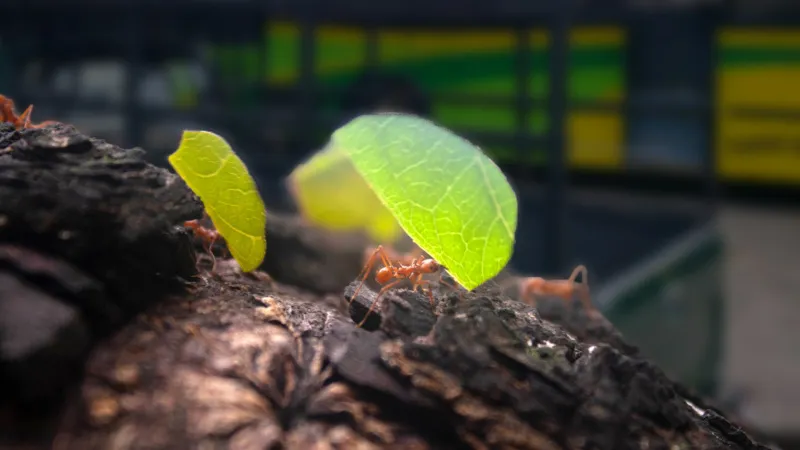
Progress is slow, getting our retired passenger bus ready to become an official tiny home, but it's not because our project manager has been slacking. He and his crew have been working as hard as a colony of leaf-cutter ants on the interior and it's starting to take shape. They have the supply lines run to the main water tank as well as a city water hookup that functions just like residential plumbing. Black water and gray water tanks are installed and all flush lines are operable. Wiring is new, labeled in detail, and tucked away in sleek, nearly invisible wall strips running the length of the bus. Then there's the finish work in the bathroom...it's begun! Watertight, lightweight, and very attractive wall panels have made a huge impact in the appearance of the living space. Read on to learn more about what's been happening!
The biggest hurdle we have faced is getting the bus past inspection and the title transferred to Michel's name. The reason for this is that the original plates on the bus were for passenger transport and that requires a special type of drivers license. The seller had to deal with switching the tags from commercial to private, which was a beauracratic mess. It was necessary, though, because inspection done on the old tags would have made the bus unusable as a motorhome. That's done now, but there is still red tape to slog through before the title is officially transferred. Pura vida.
The land we intend to park the bus on to live in is officially under contract. So things are moving forward. Just... not quickly. This is not unexpected because... well, because Costa Rica. We have not been caught by surprise.
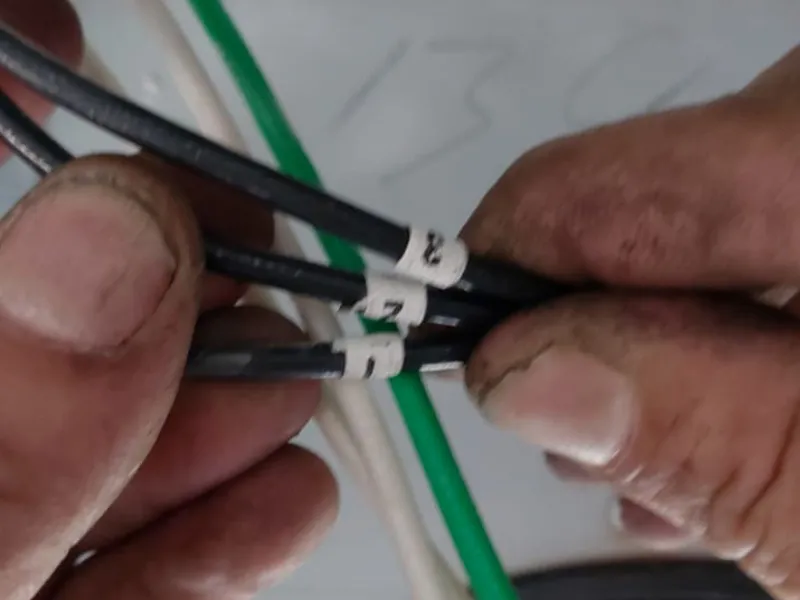
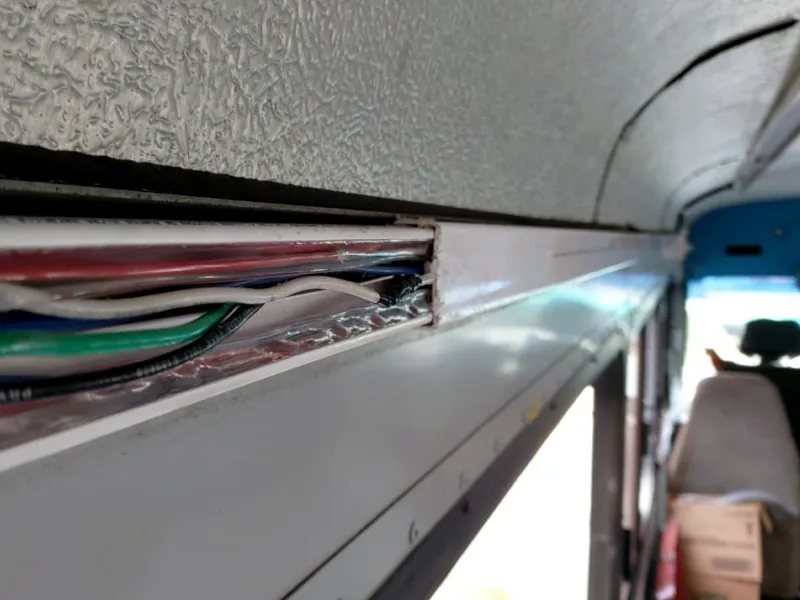
In the meanwhile, Jorge and his crew are busy at work on the interior. First, they dealt with the wiring.
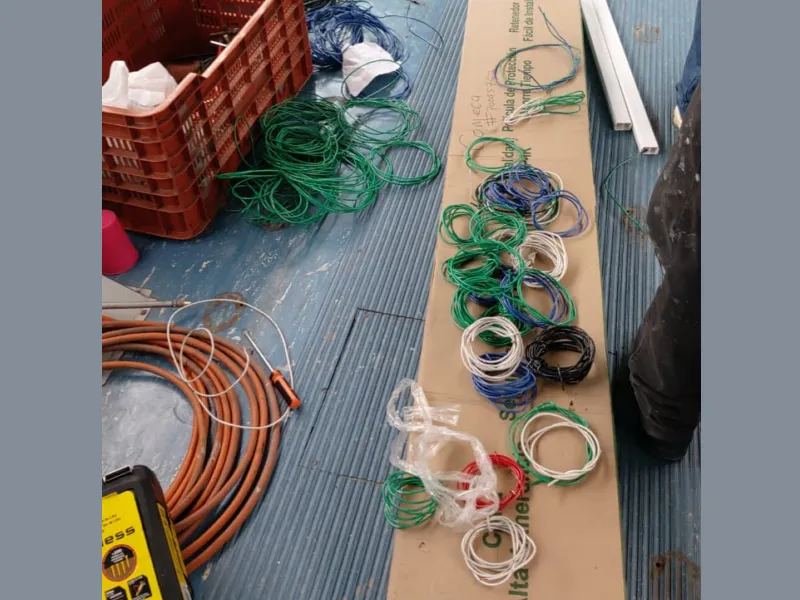
Each bit of wiring is color-coded and labeled.
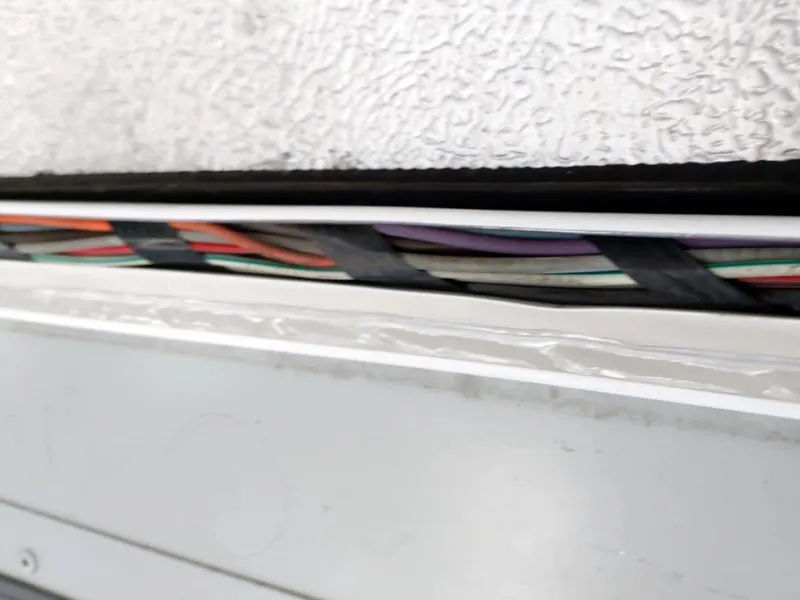
Installation involved securing all the wiring into an insulated strip that will eventually disappear behind cabinetry on the upper part of the walls. Access will be from inside the cabinets, by simply sliding the front cover off the strip.
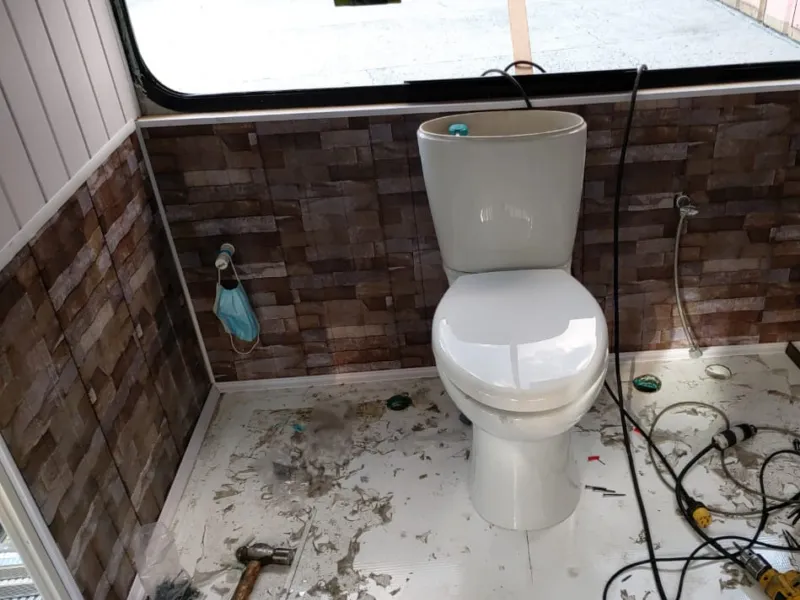
Next came the important task of selecting a waterproof wall covering for the bathroom and kitchen area around the sink. In a stroke of good fortune, a company right there in Cartago manufactures, warehouses, and sells high quality PVC wall panels in an overwhelming assortment of colors and textures.

We chose a stone tile pattern for the bottom half of the bathroom walls, which we then carried forward into the kitchen and back entryway. The upper half of the bathroom walls are finished in a white paneled pattern to match the fixtures and floor. All of these panels are sealed in place with silicone for a completely watertight bathroom. I can hose that sucker down and not have to worry about rotting the floor or walls or doing any damage whatsoever.
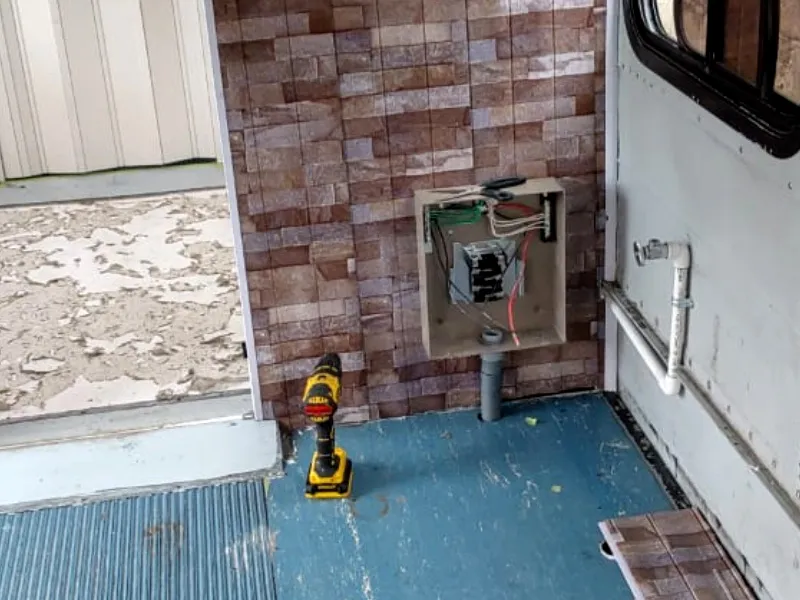
The total effect of so much stone tile pattern is a bit overwhelming. However, that isn't an issue because all of the walls you see in the next photo will only be visible in part once the kitchen cabinets are installed, along with the refrigerator and other appliances. So that pattern will only be glimpsed peeking through real wood and stone surfaces in the kitchen.

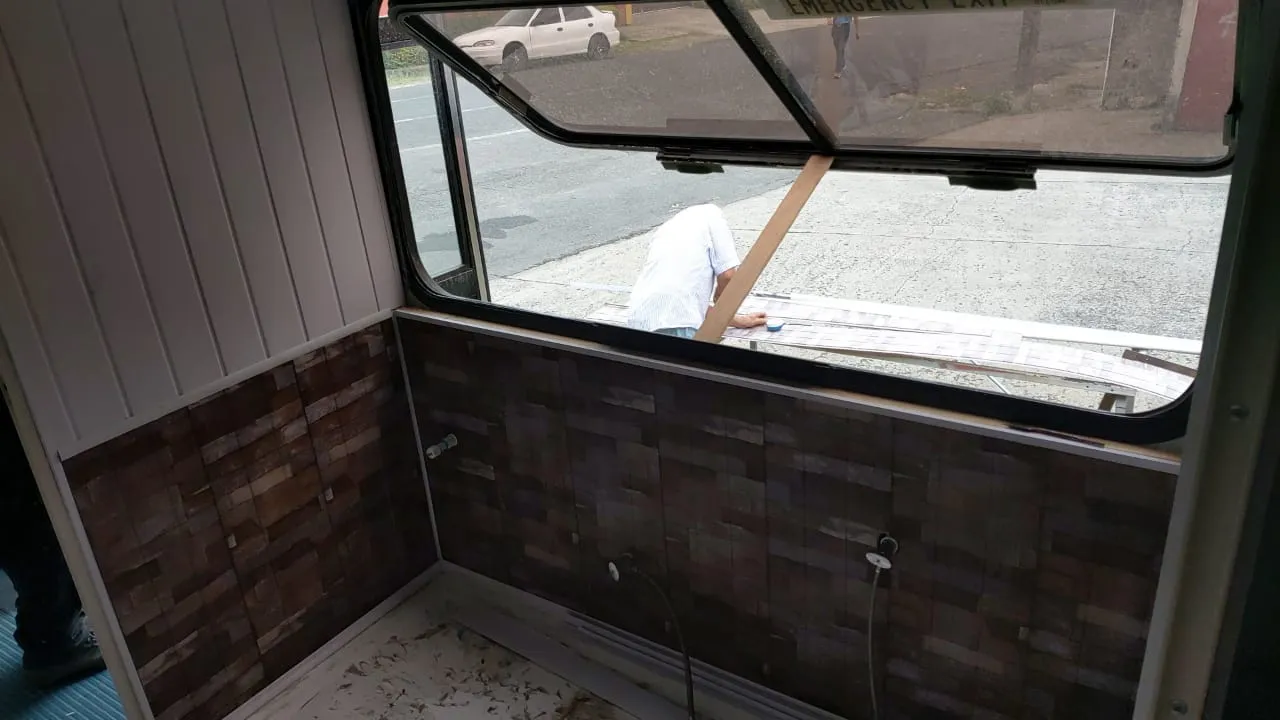
An example of what I mean is the photo below--the circuit breaker box for the whole bus will be located underneath the kitchen countertop and behind wooden cabinetry. We'll seal it away from the adjacent waterlines in case there is a pipe leak. We plan to board up the window at the extreme right of the photo and create a solid wall for cabinetry. So pretty much everything visible in this shot will eventually be covered by pretty kitchen stuff.
We also think these PVC wall panels will be great on the curved ceiling of the bus. They're lightweight and flexible, easy to install. There are so many choices for us to pick from!
Still, all this waterproofing wouldn't do us much good with the actual water. Not to worry--Jorge and his crew have that well in hand.
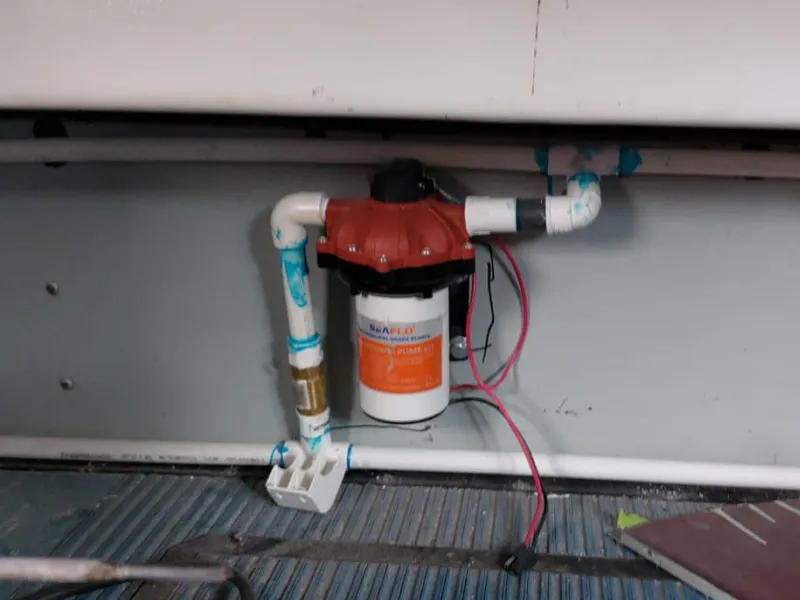
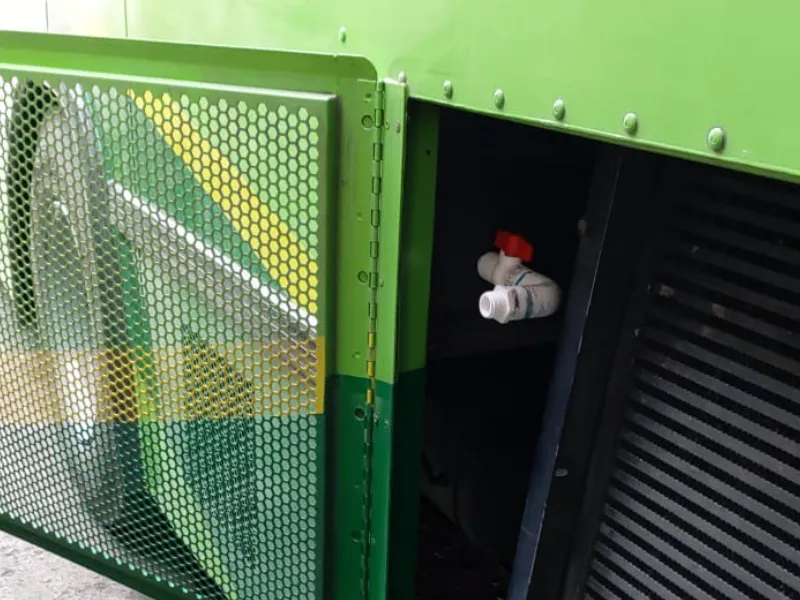
That's some pretty good water pressure for a motorhome, if you ask me!
That's our news for now. I will post updates as they come. I can't wait to see the finished product!
Photos courtesy of Jorge Luis Peraza
cover image compilation source: