Here I measure out the area that needs to be cut out
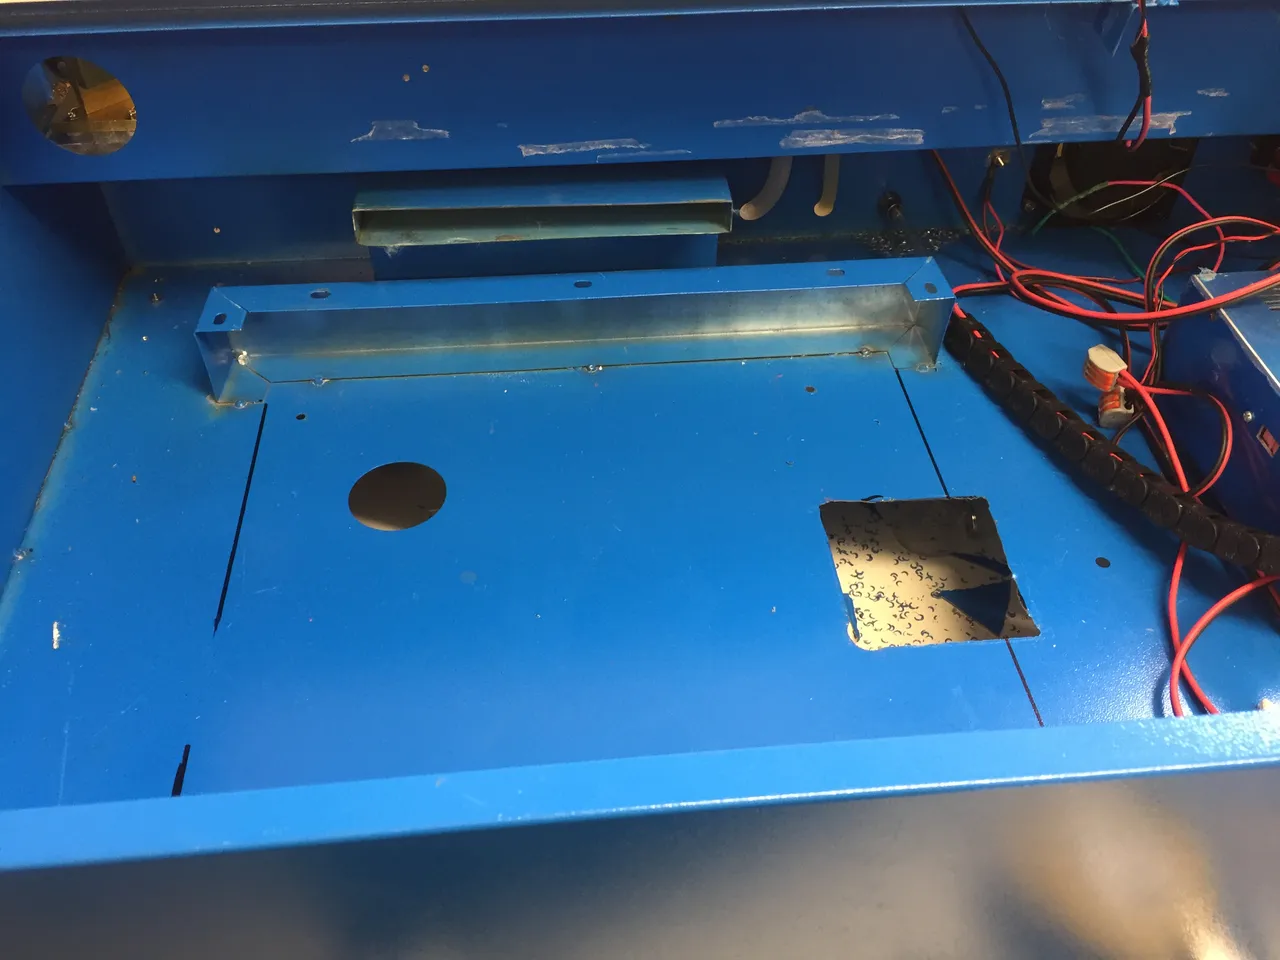
Using the Air nibbler tool I start to cut out the base of the K40 laser cutter sheet metal.. It only just gets through this material so it takes some time
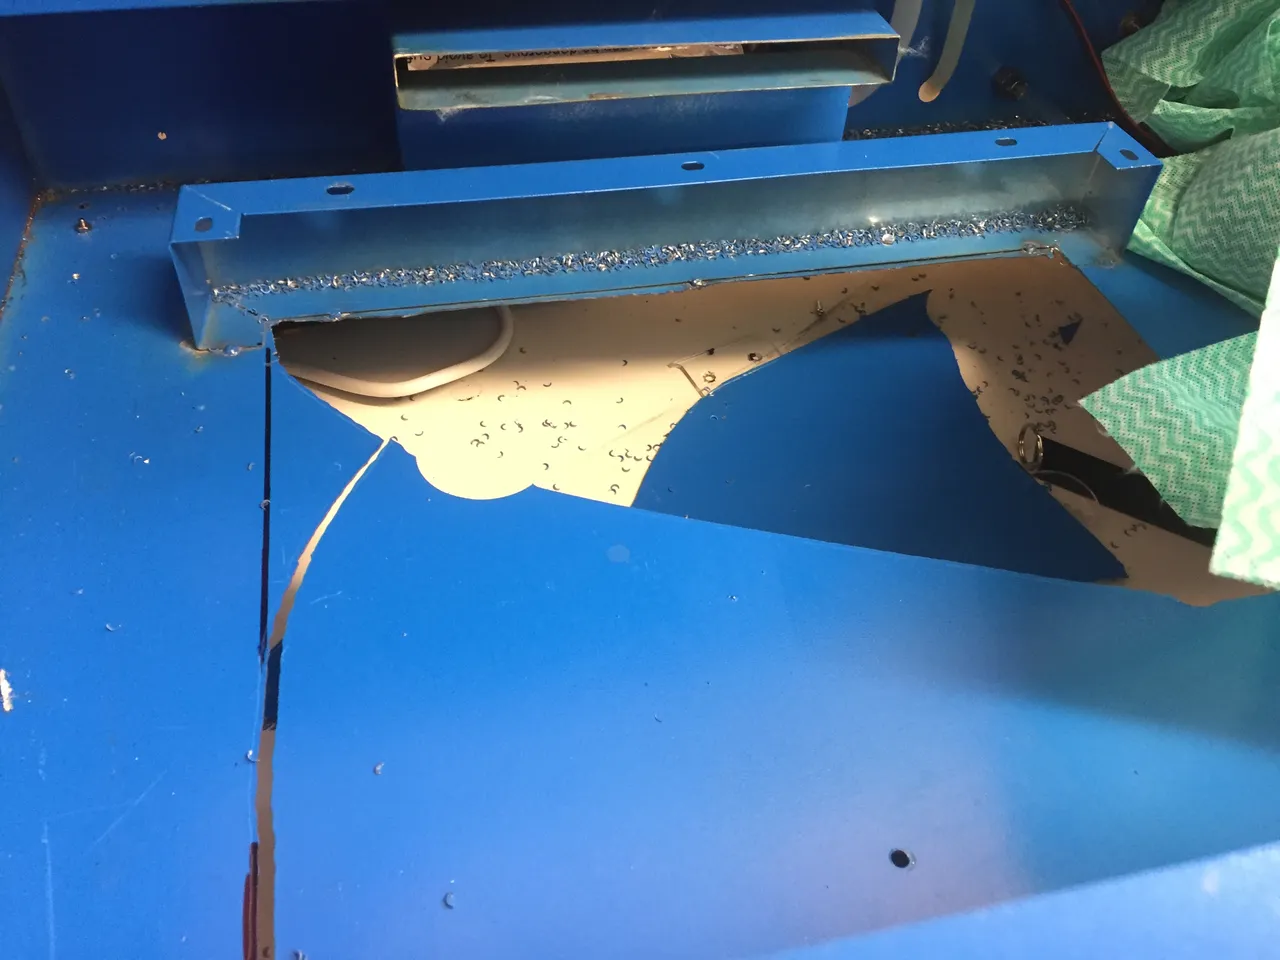
All cut out - there is a lot of mess - Those metal ring cut thingos get everywhere.
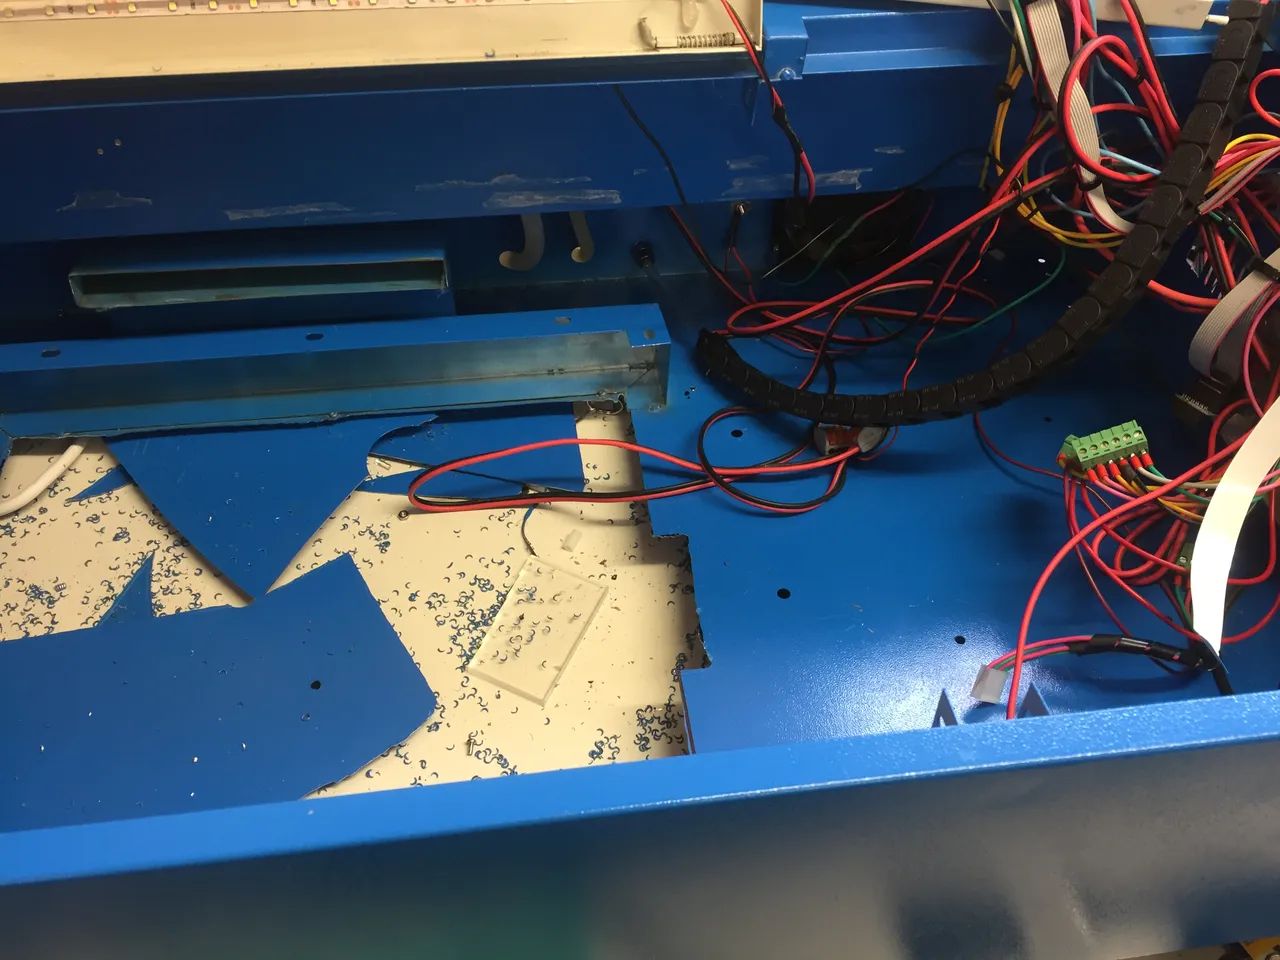
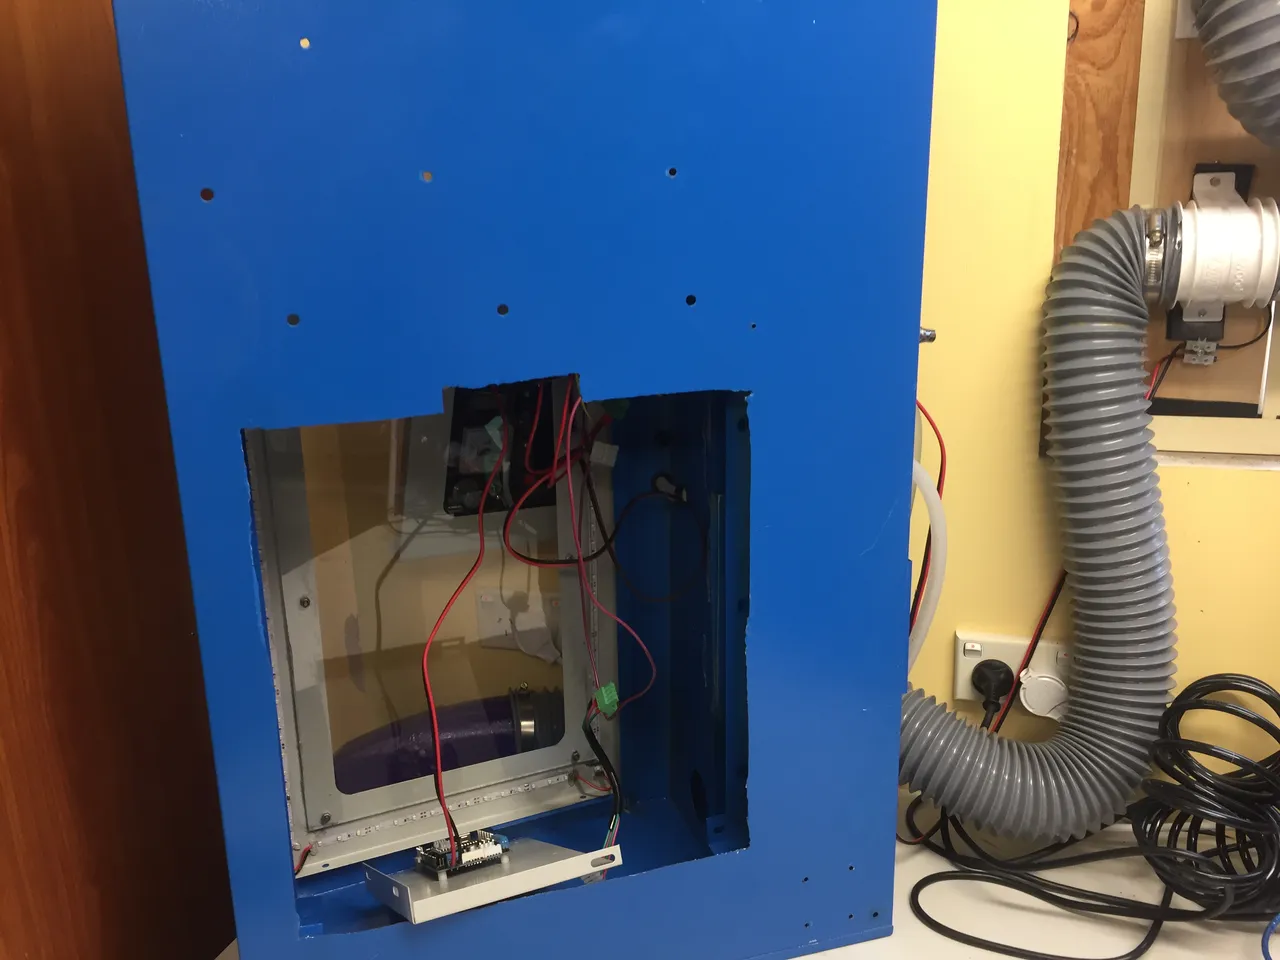
I need to make room to work, so I start to remove the inside guts of the laser cutter

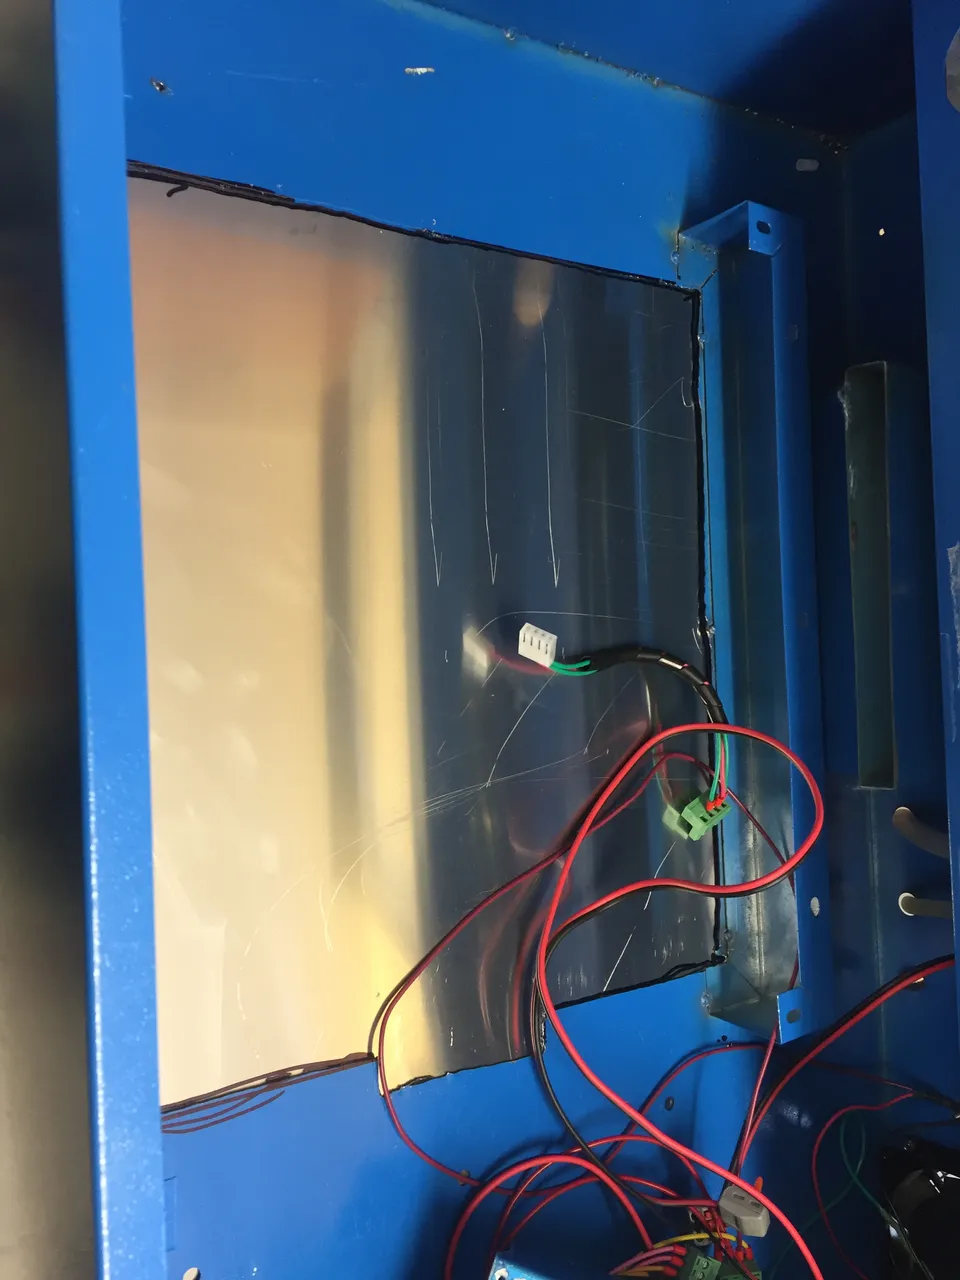
All that remains is the control board and a few wires
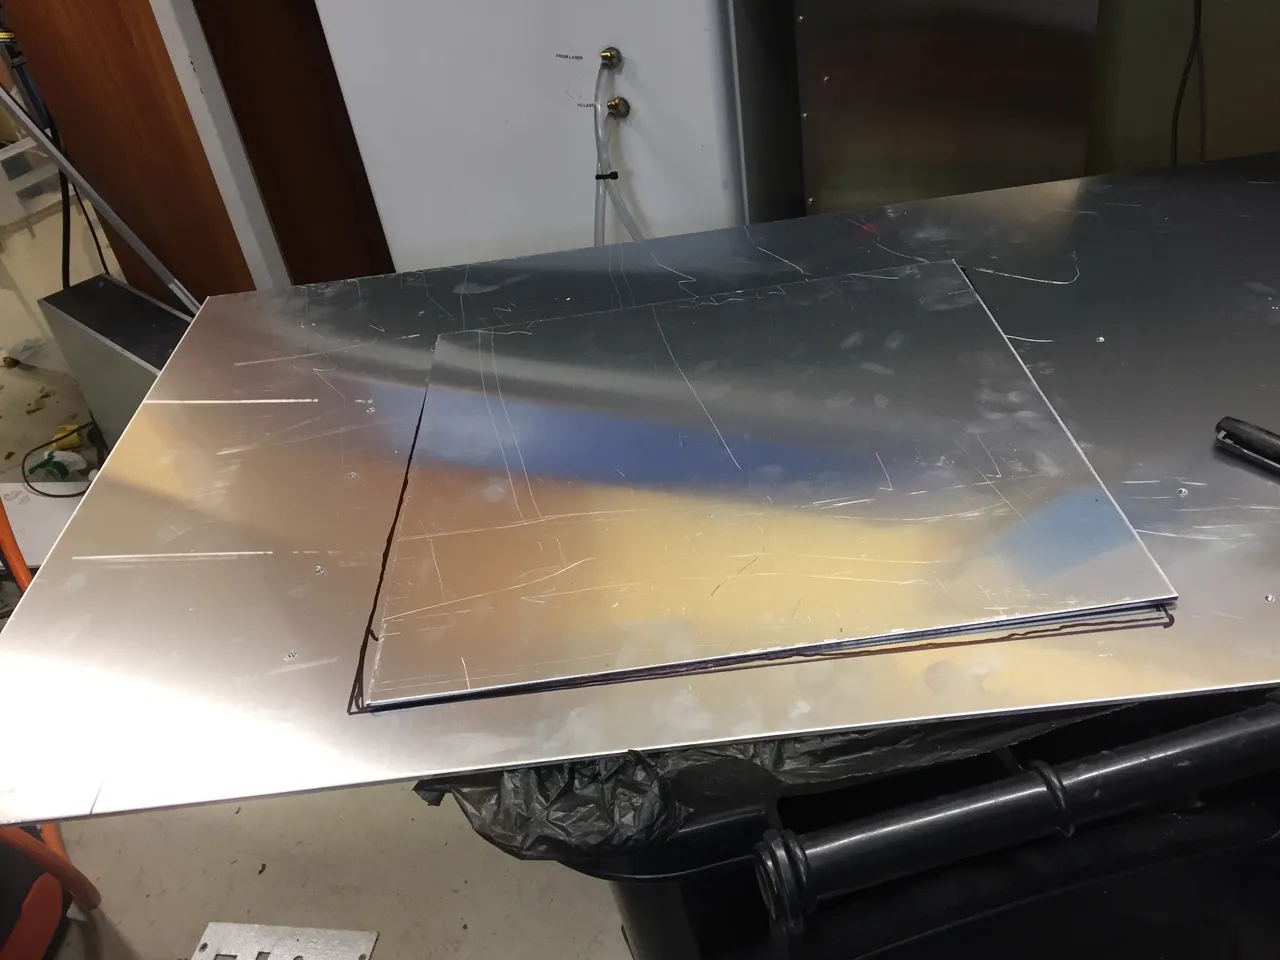
Here is a 1000mm x 500mm sheet of 3mm aluminium flat sheet that was bought and cut at paramount browns earlier today (see previous blog post)

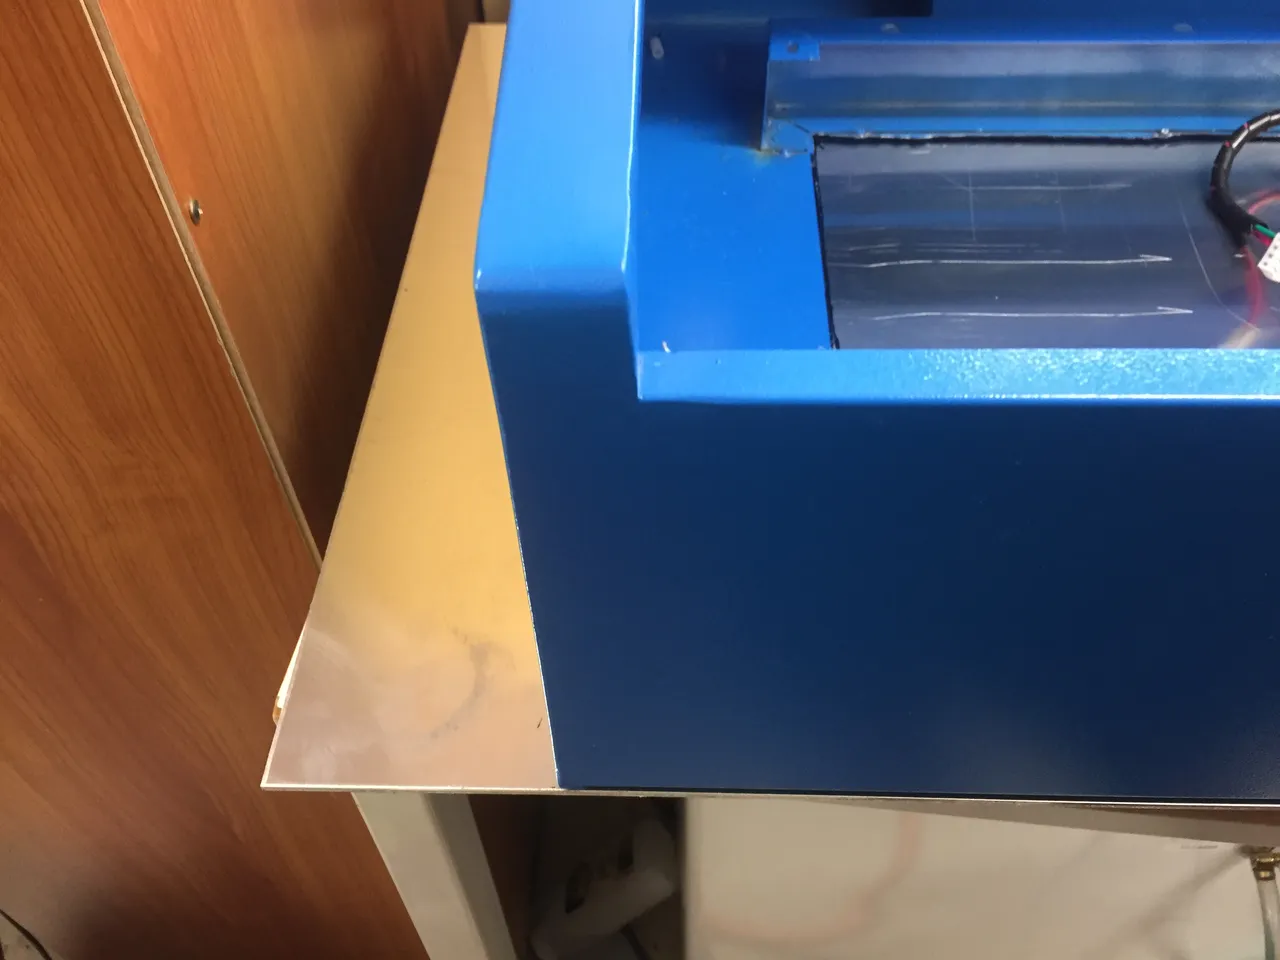
I put the laser cutter down on the aluminium sheet where I want it - center of the sheet - and then draw out where the hole needs to be cut out of the sheet
As we can see here there is 95mm on each side sticking out - this is intentional.
So using a 260mm by 240mm aluminium sheet that was also cut earlier, I then neaten up the lines marked on the main sheet
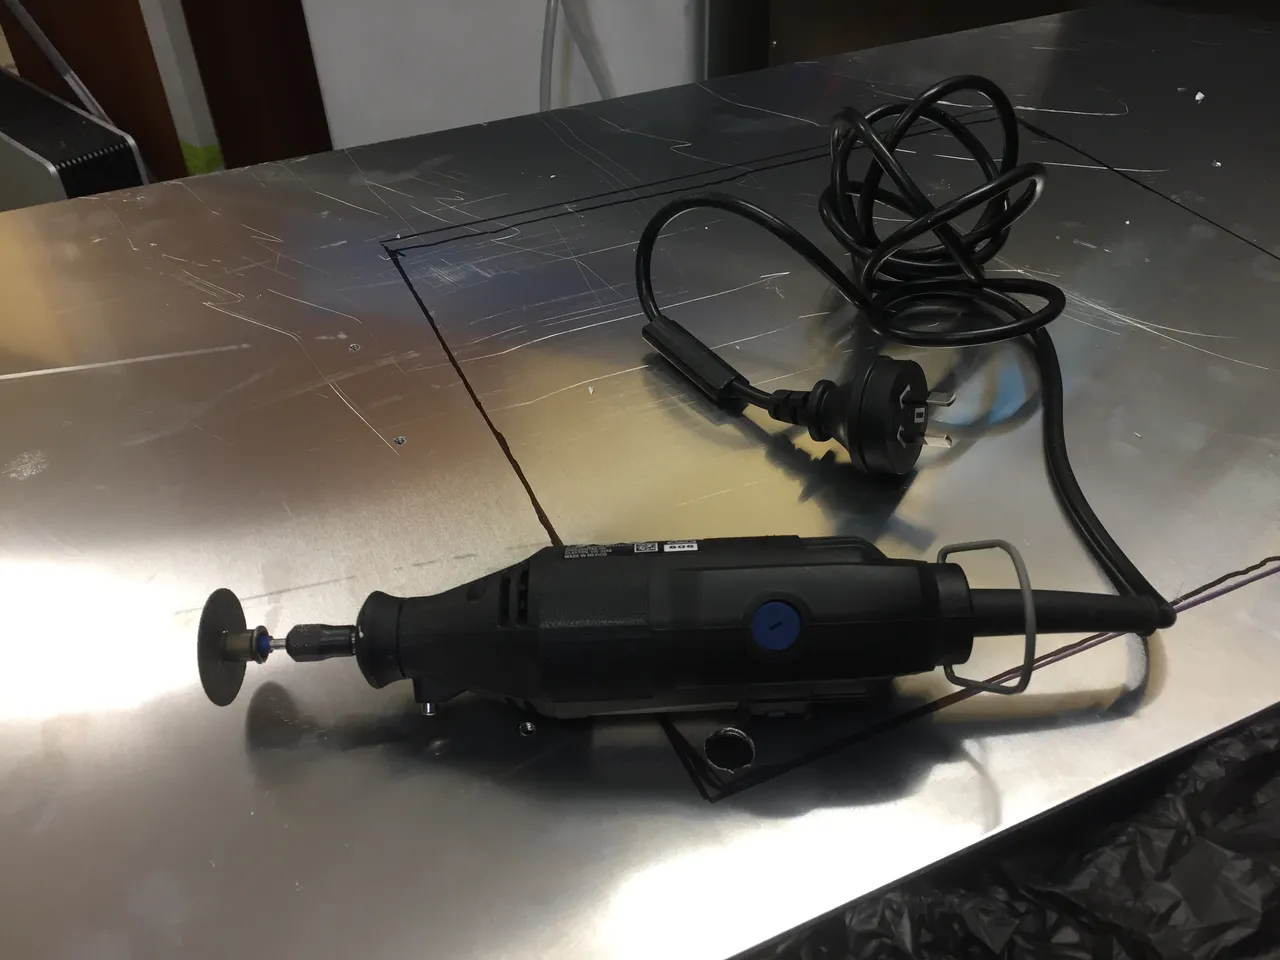
As you can see here, I drilled a 20mm hole in one of the corners in the hope that I could use the air nibbler. Unfortunately the 3mm is too thick for that.. So I bust out the dremel tool and try to start cutting. Turns out it was useless. Being a softer material, the cutting disk caught and there wasn't enough torque in the dremel tool to overcome this.
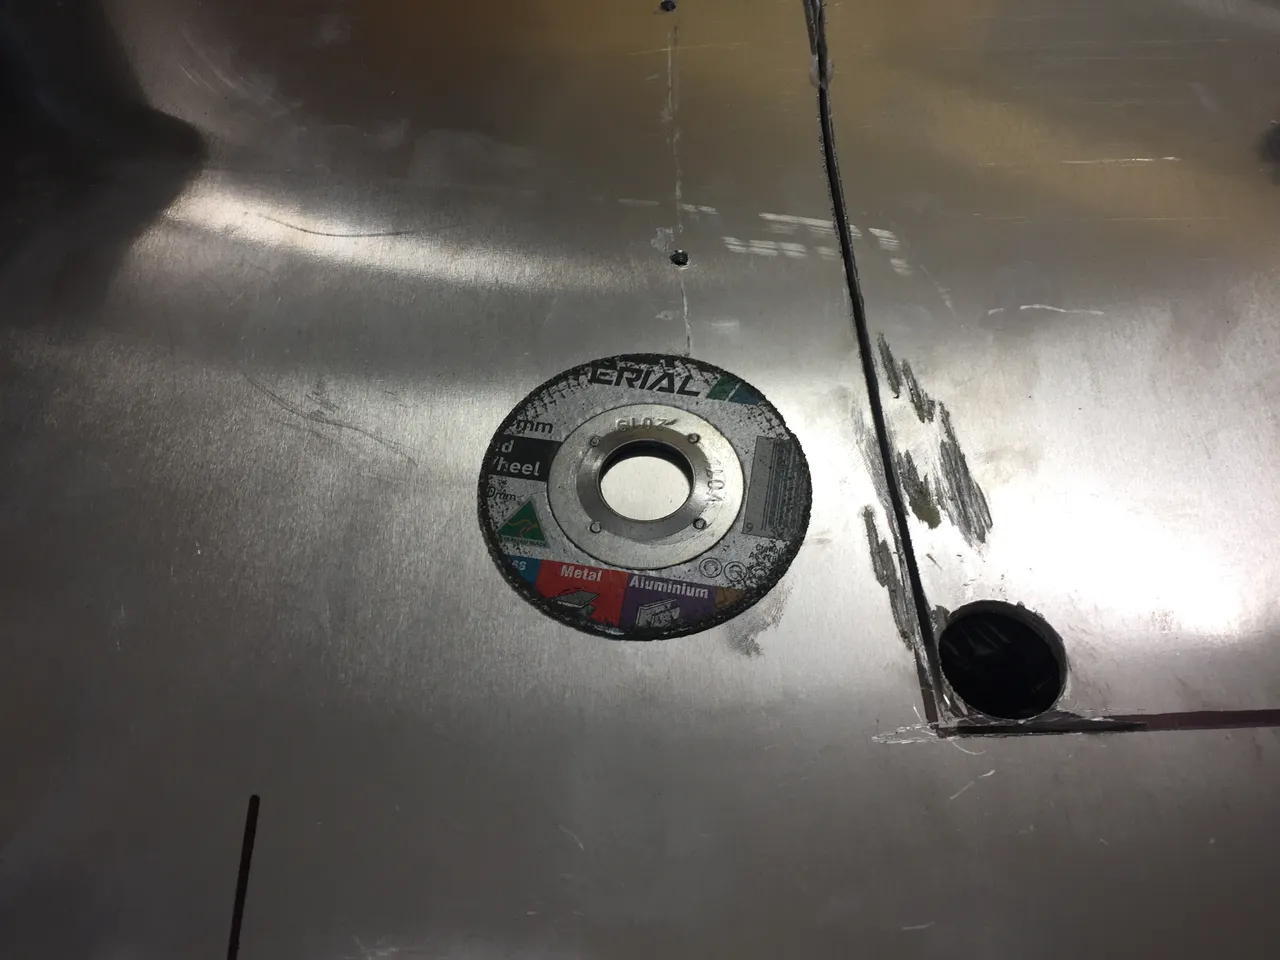
So I tried with my angle grinder with a cutting disk. I only had half a cutting disk left after a previous job so I only managed to cut a little bit before this disk was worn out.
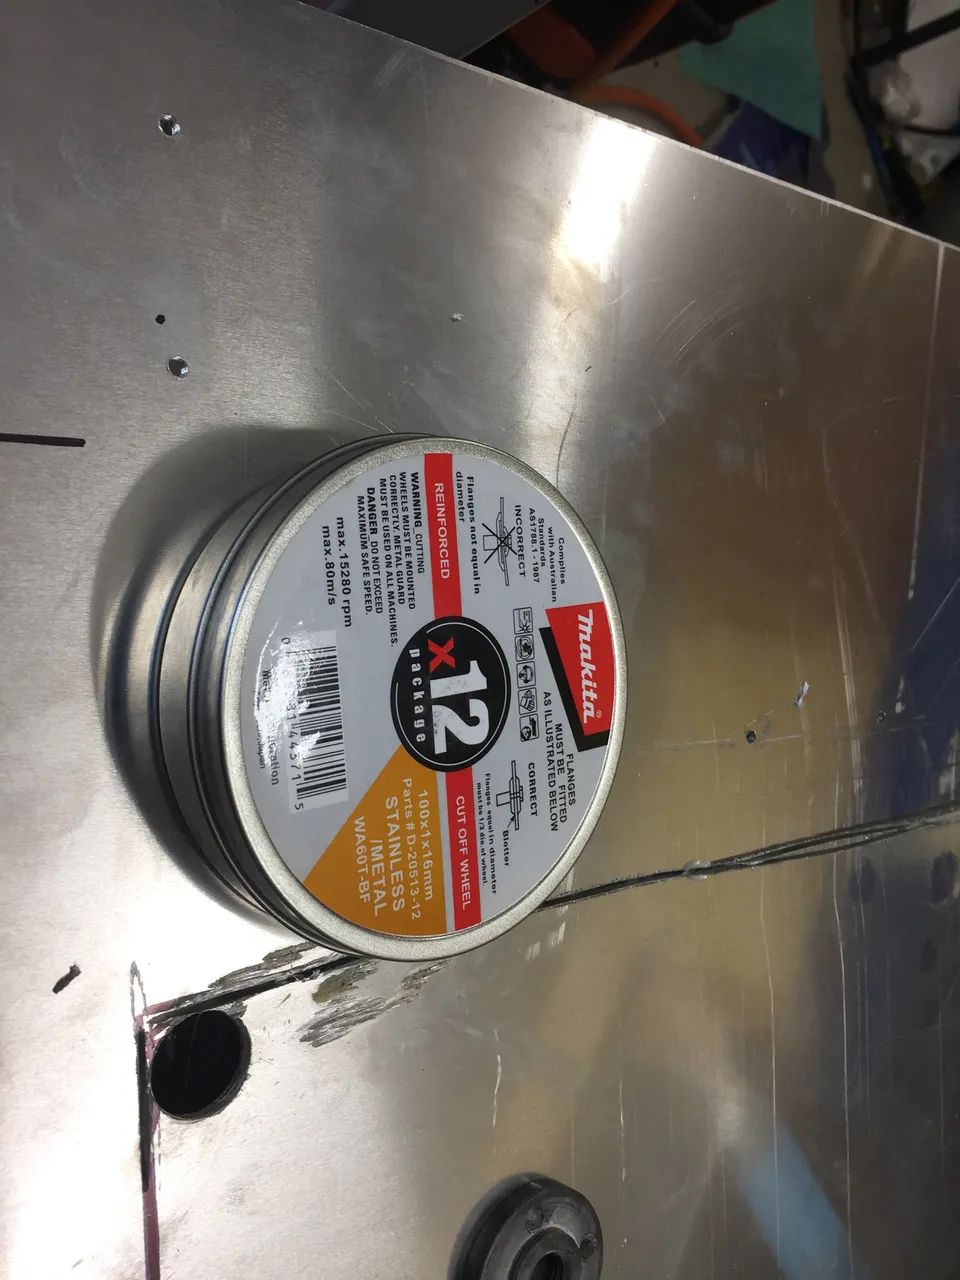
A quick 30 minute trip to Bunnings in the rain let me pick up another 12 cutting disks in a handy dandy container!
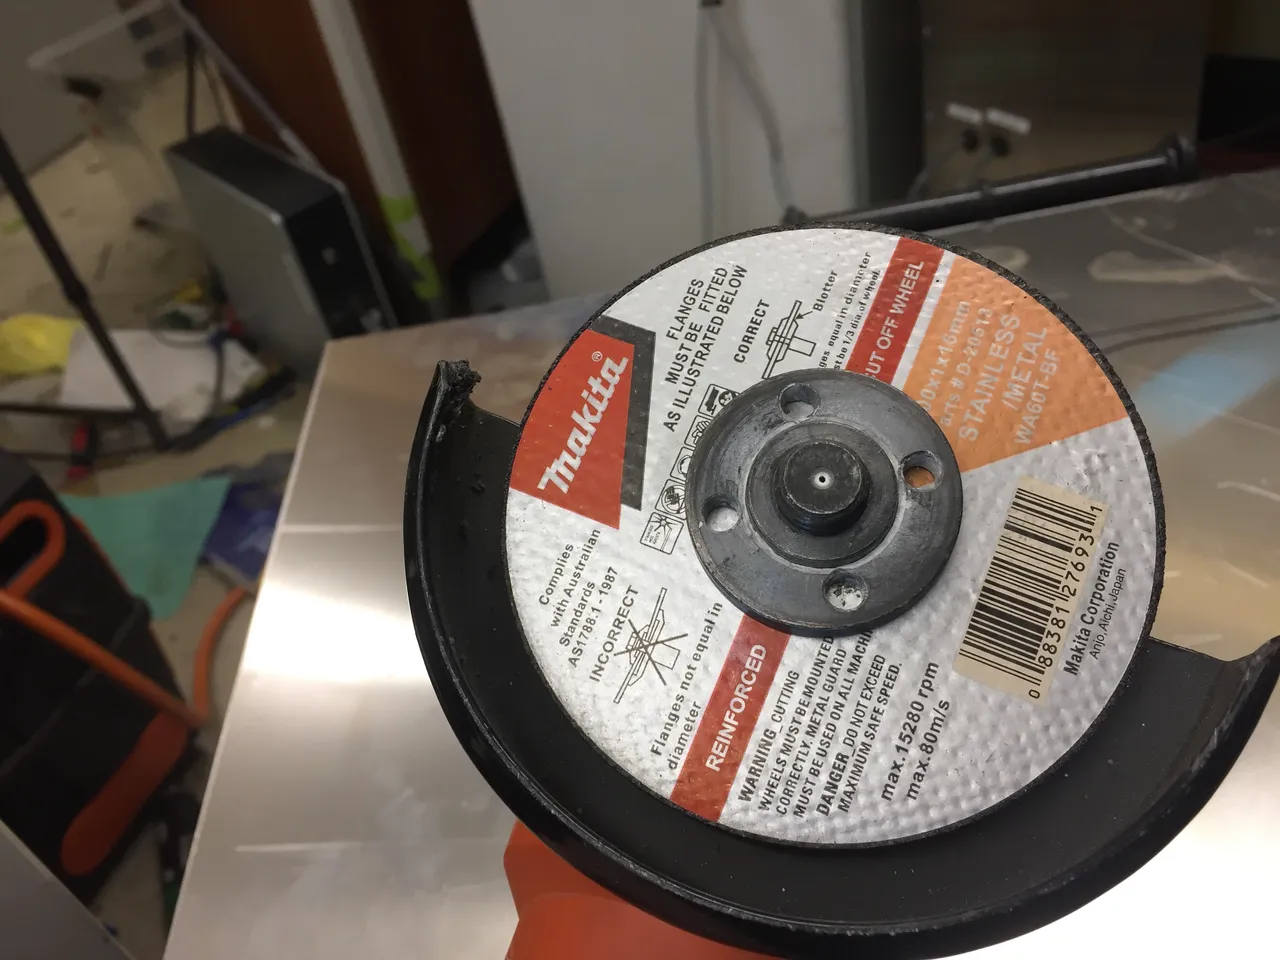
Installed the cutting disk onto the angle grinder
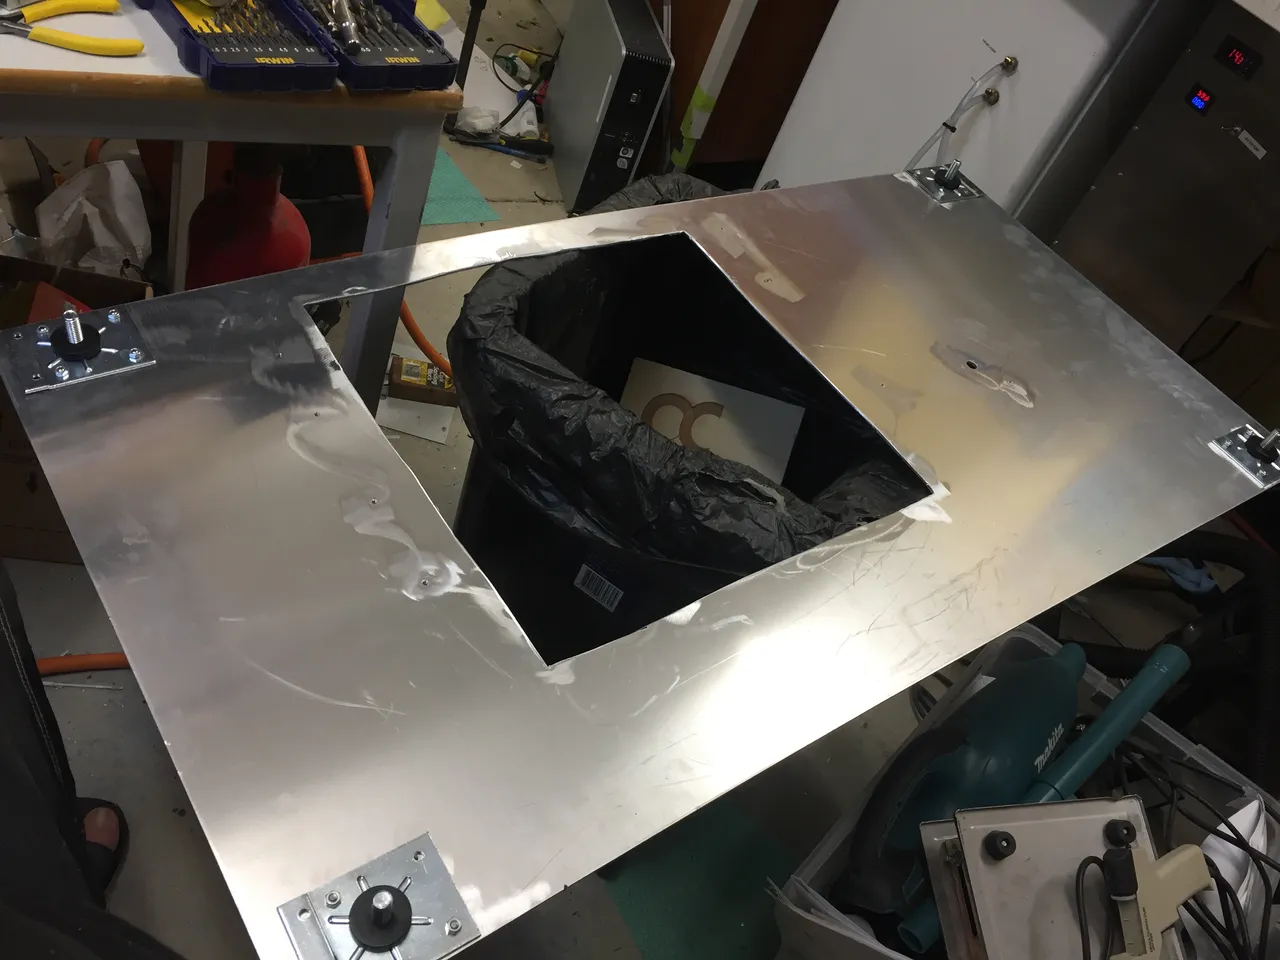
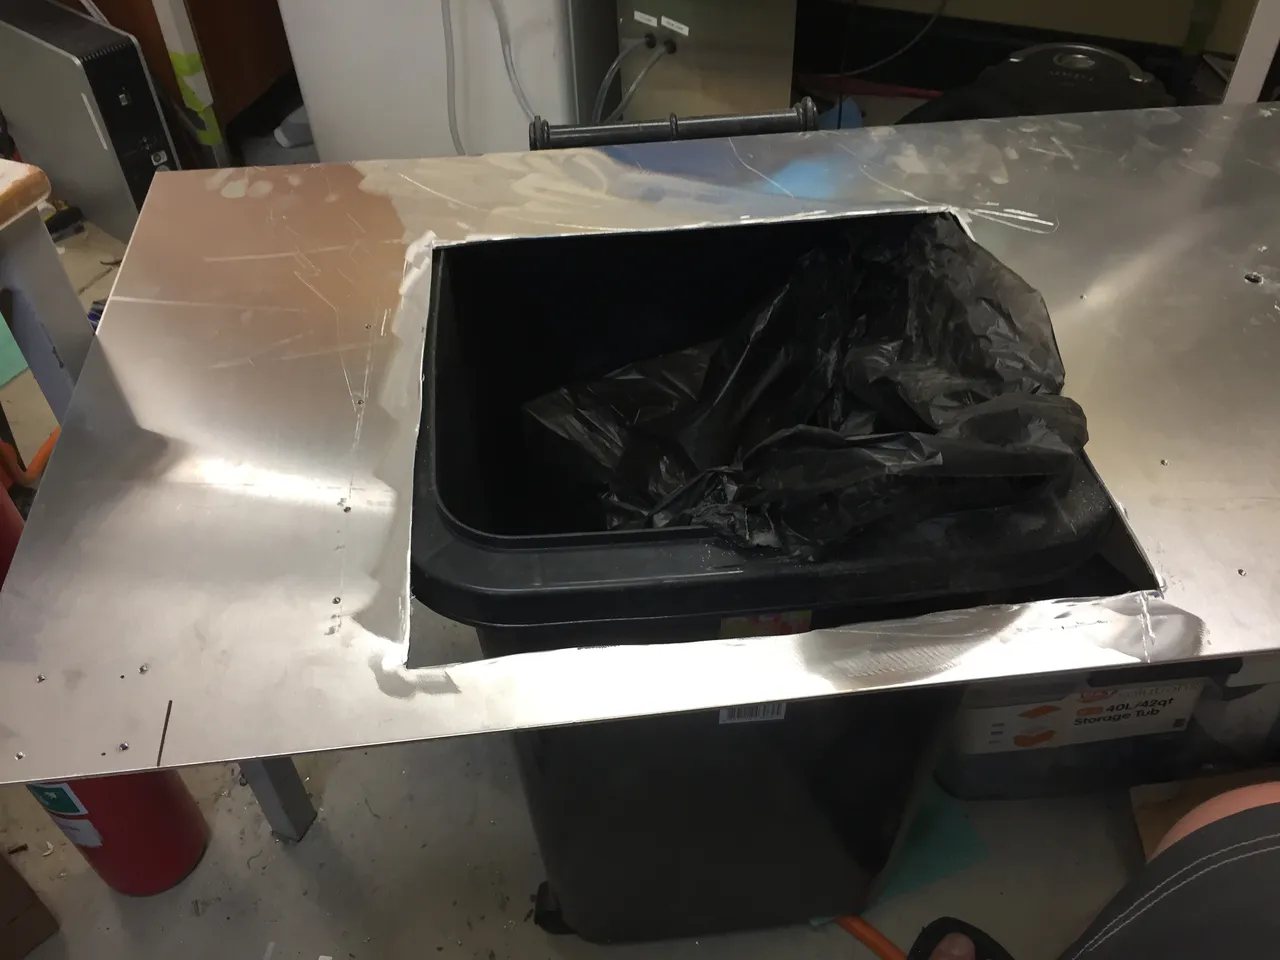
Cut out the hole. As you can see saftey was paramount and the work piece was secured correctly before using the cutting wheel......... OK don't do what I did here.. ever. I used my wheely bin as a make shift table. You can see the apprentice marks all over this as a result... also, it didn't help with making a straight cut.. oh well
I cleaned up the edges with a sanding flap disk on the angle grinder
Here I am installing the legs to the bottom of the sheet.
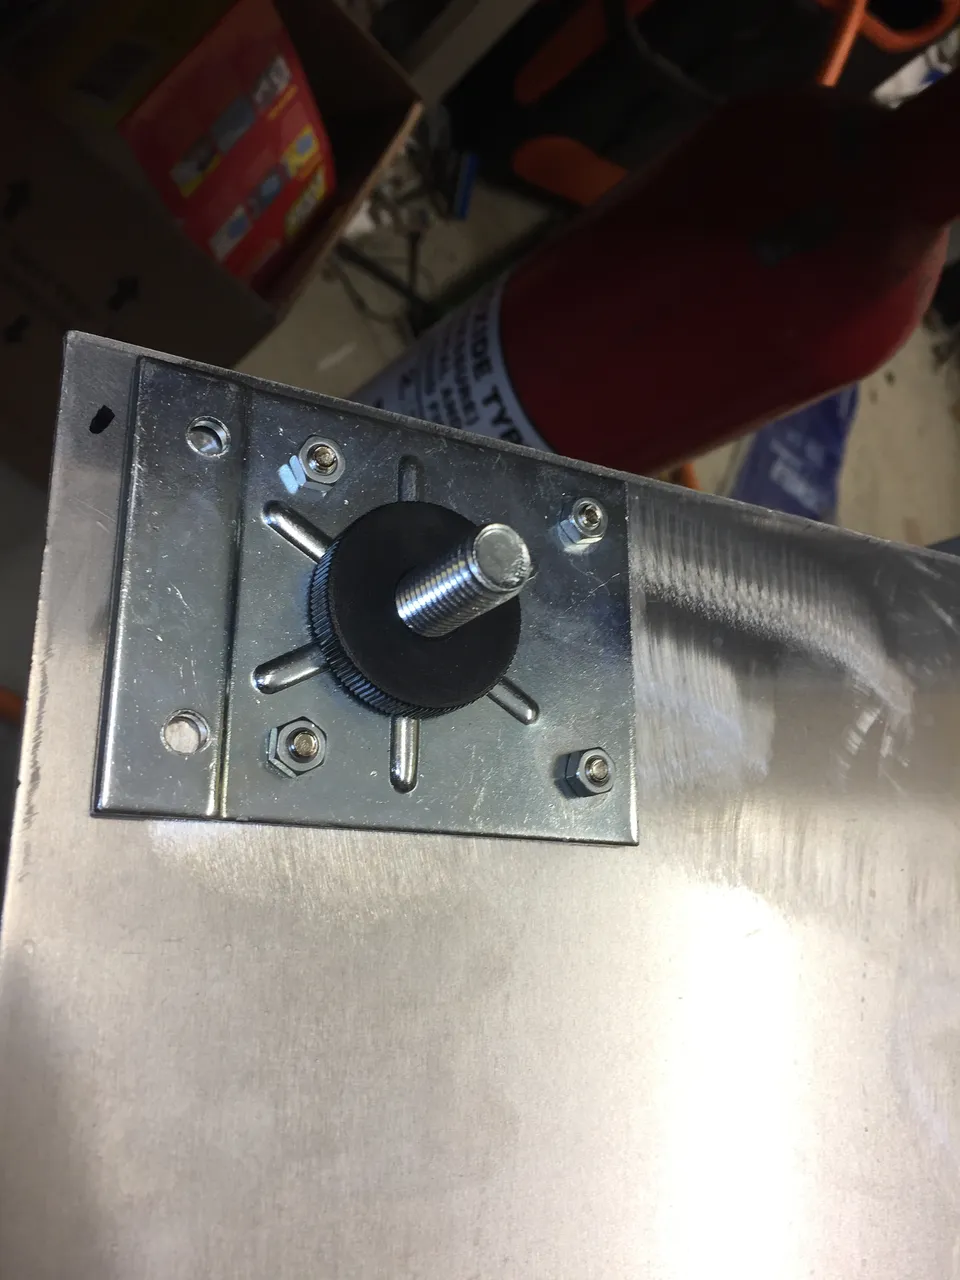
The legs are secured with 4mm screws and nuts