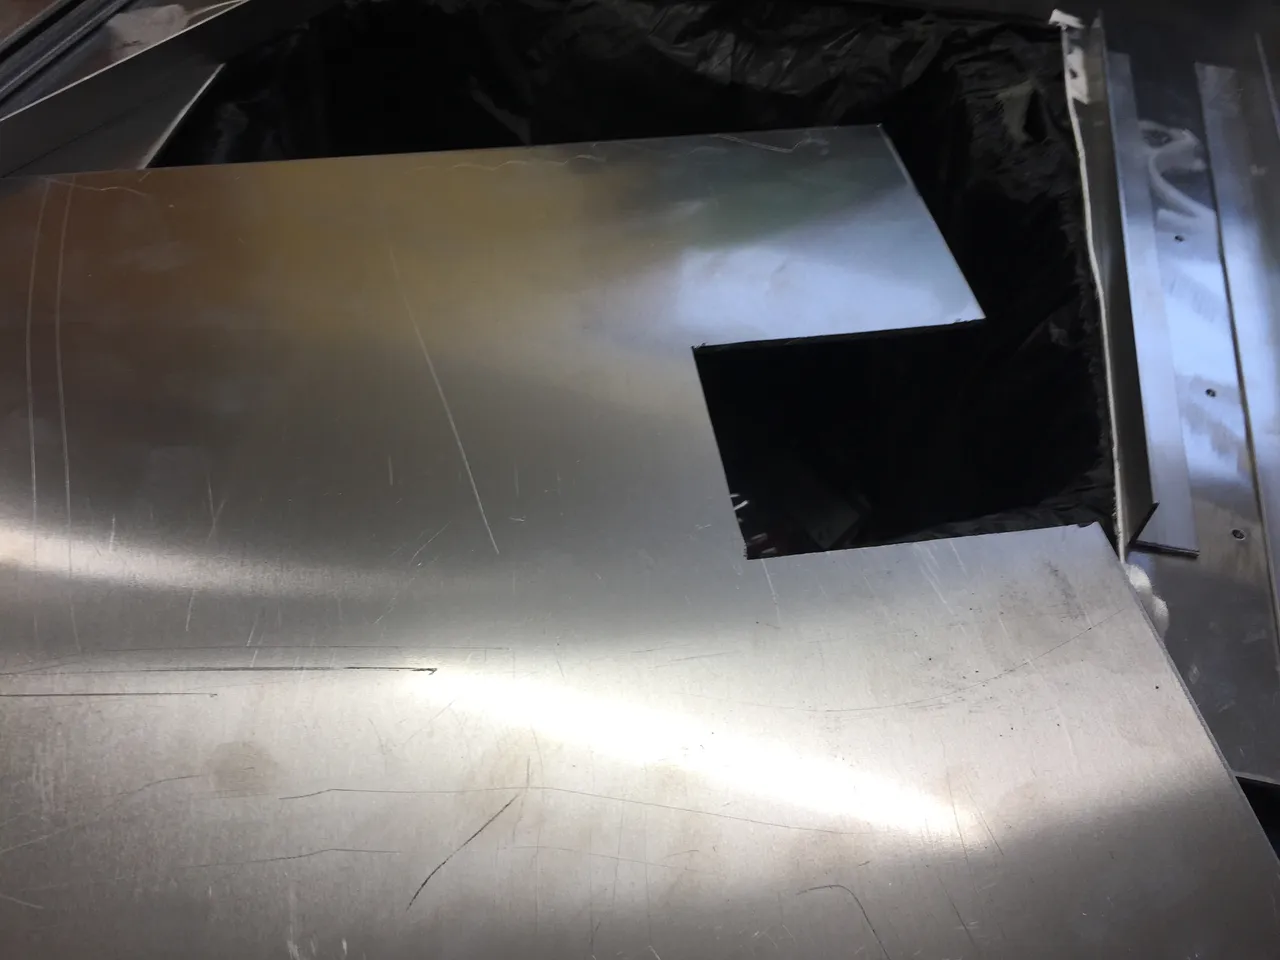
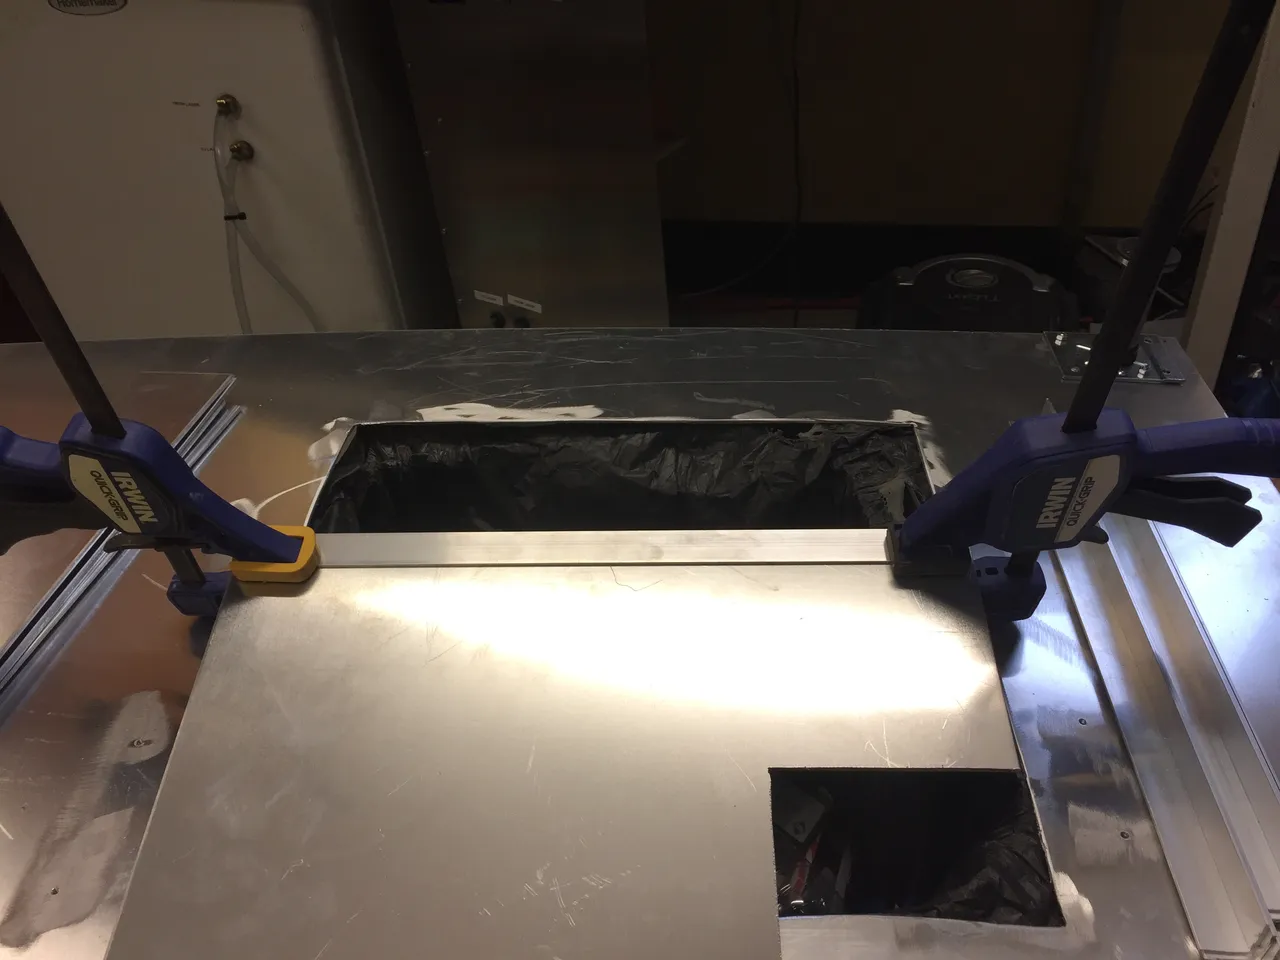
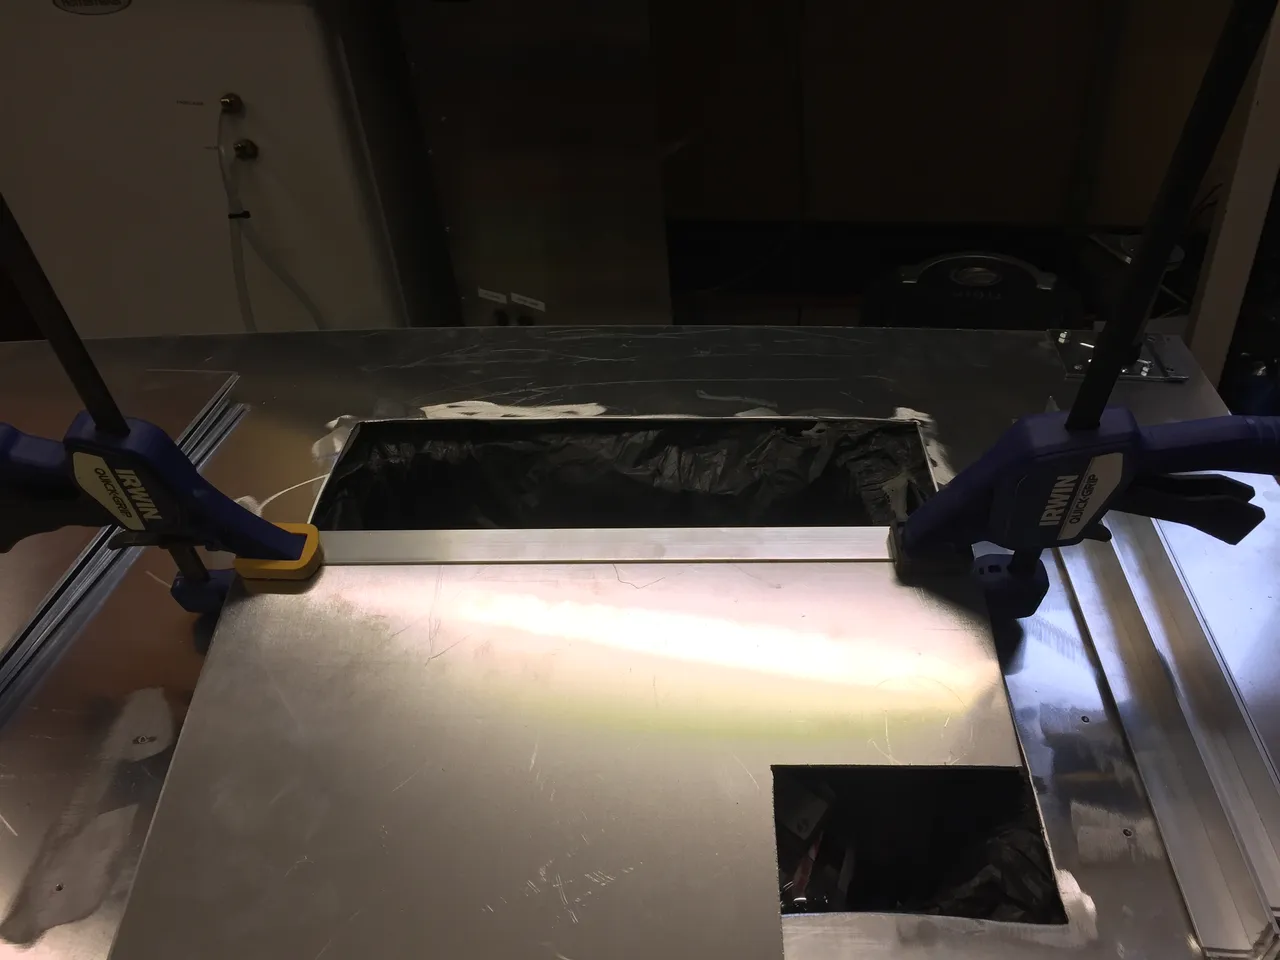
Cut out of the 260mm x 240mm base tray plate a hole using the table saw and the bandsaw
This is going to get a lot of use today...
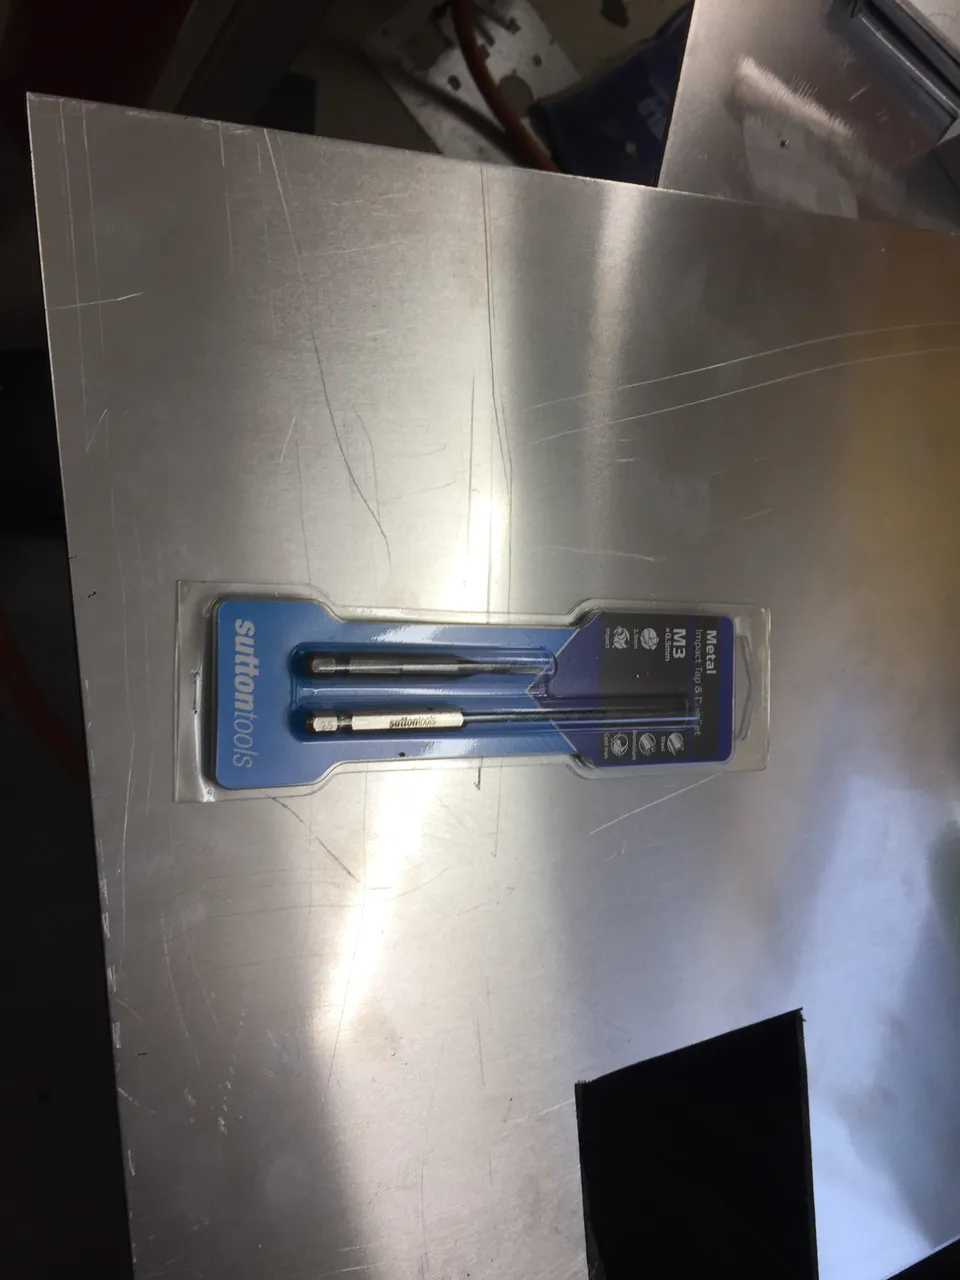
The 2.5mm drill piece in my impact driver

Clamped in place the first piece of angle
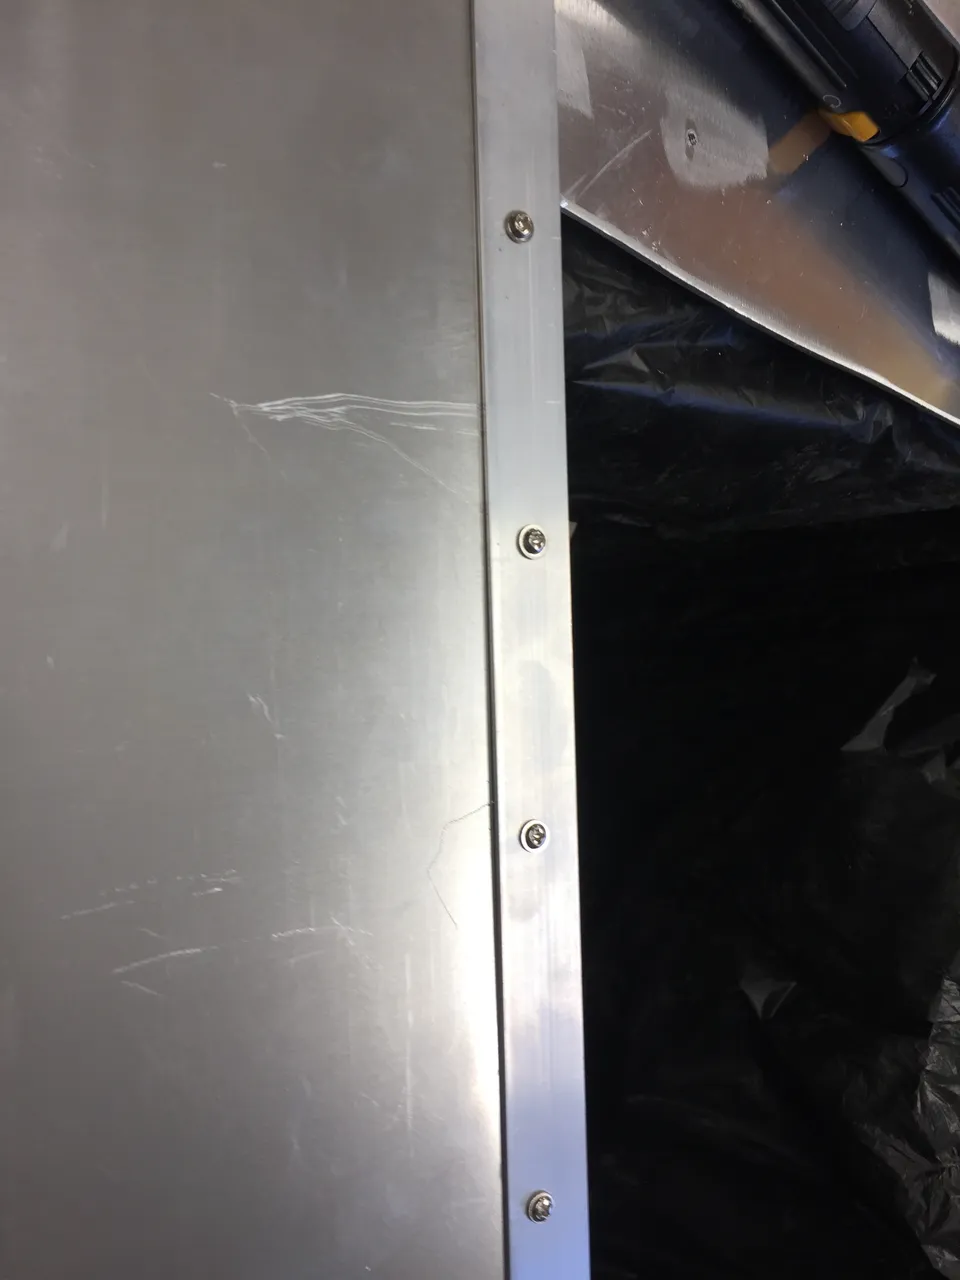
drilled and tapped some 3mm holes into the angle and throught he 3mm sheet and then used some computer screws to secure it. Do you know how annoying it is to try to actually find short 3mm fine thread screws otherwise?
completed all 4 of the base angles.. got a bit carried away drilling and tapping screws maybe... MOAR STRENGTH!
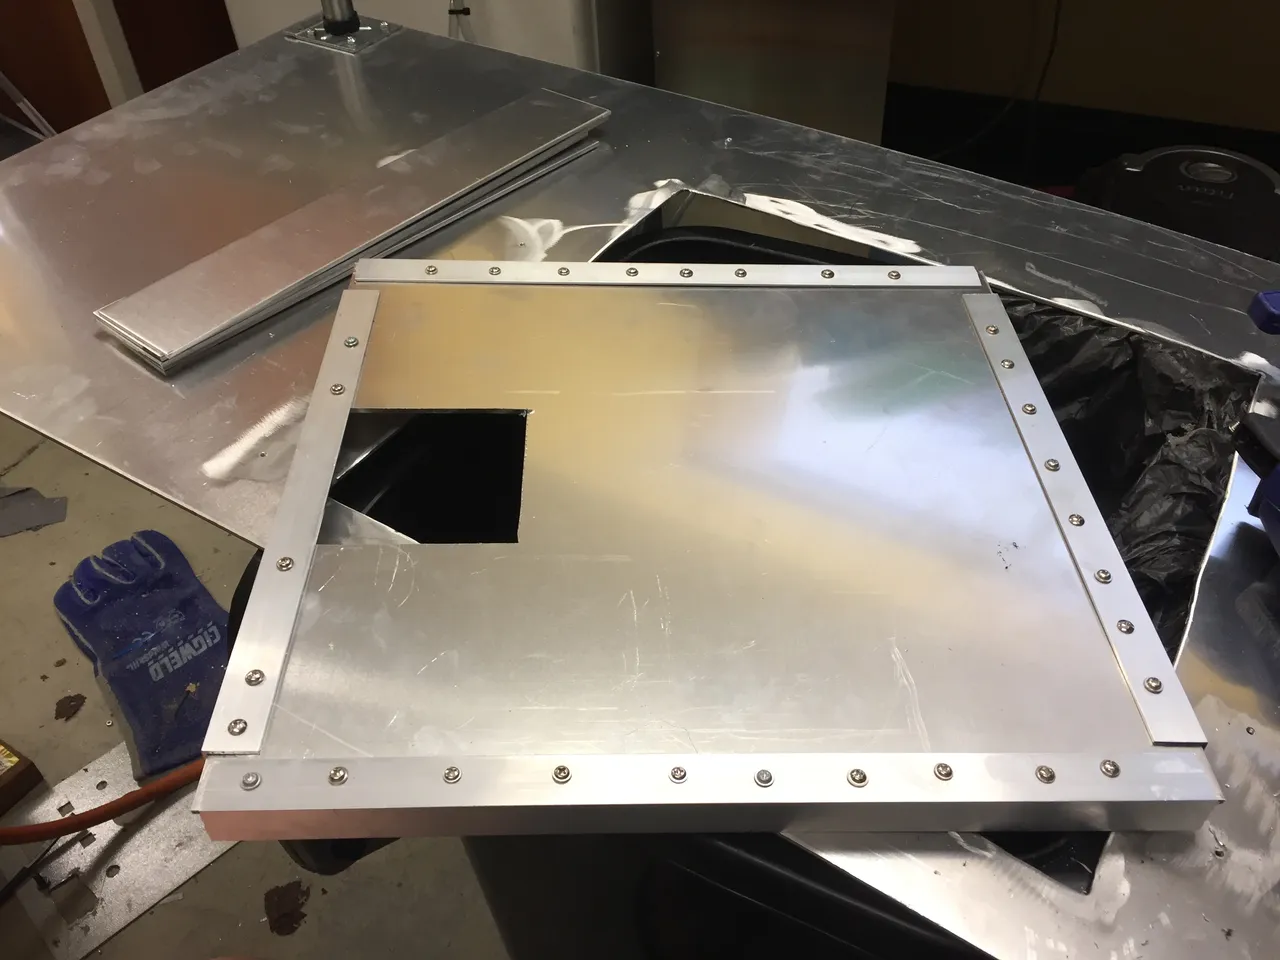
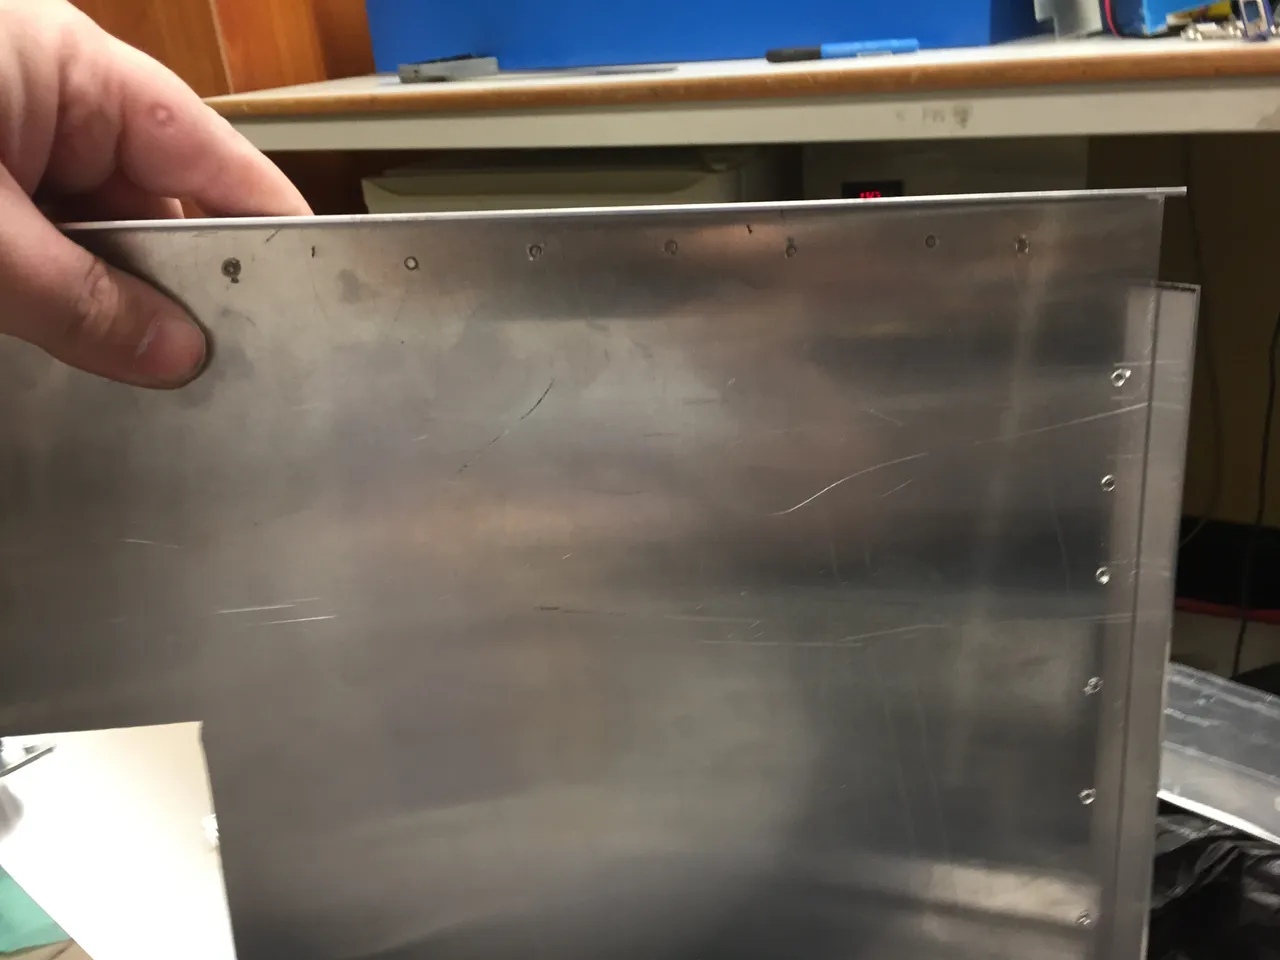
here is how far they went in on the inside.. just mainly needs cleaning up
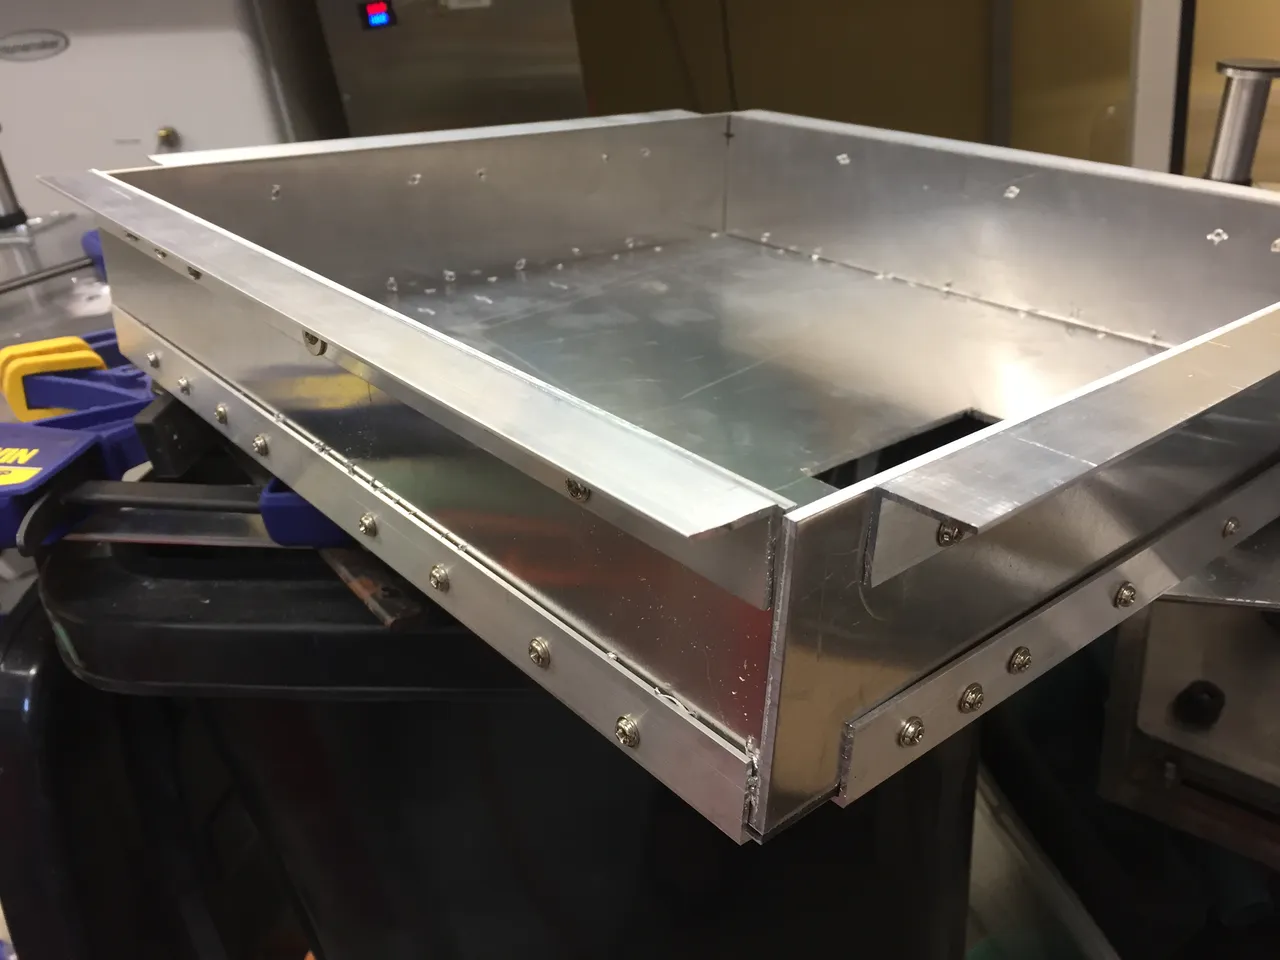
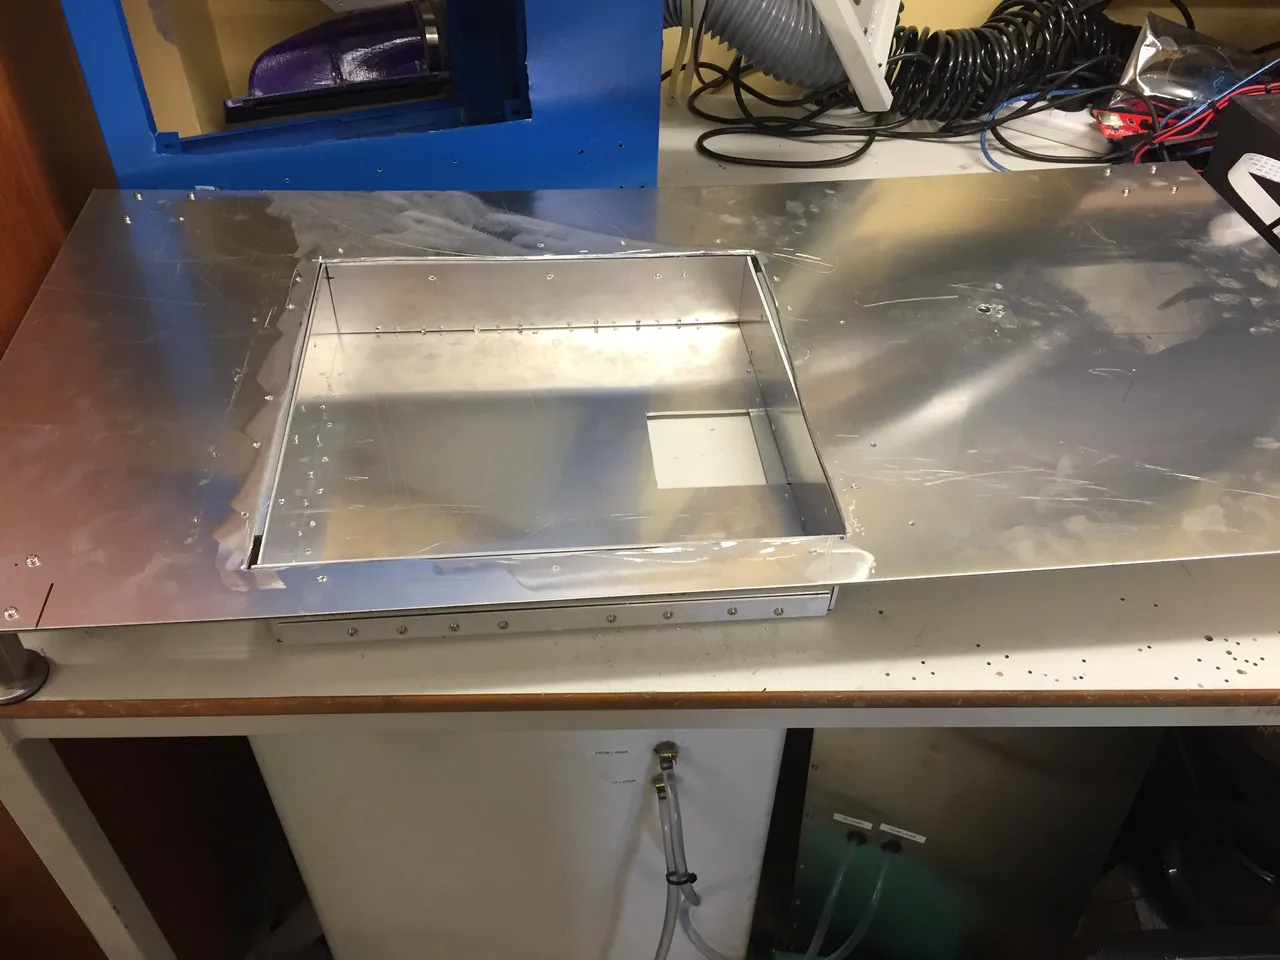
Drilled and tapped the 4 side pieces to start forming the box that the Z-Axis bed will sit in
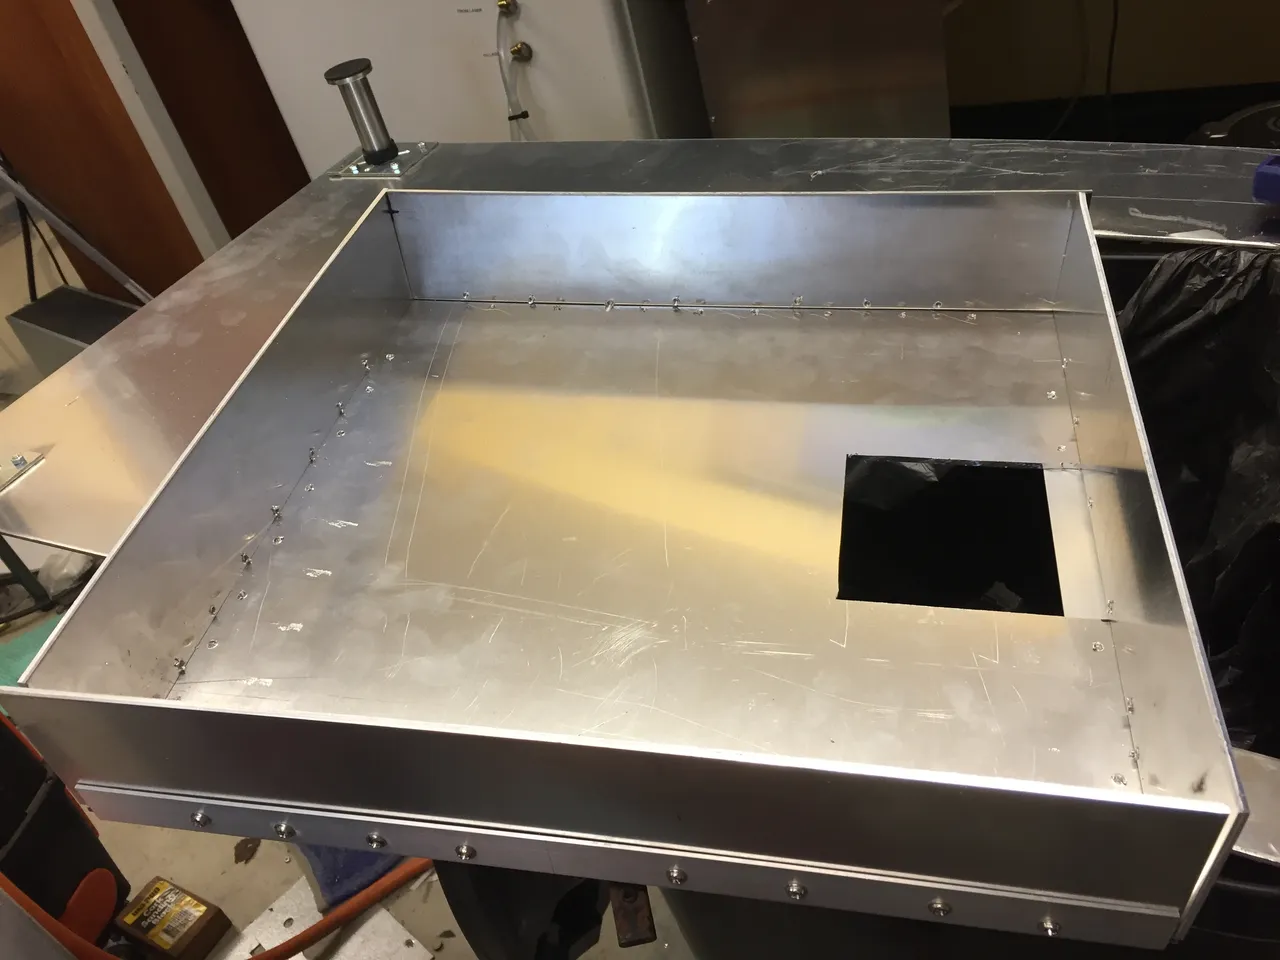
added more angle pieces for form a lip that can be secured to the main piece
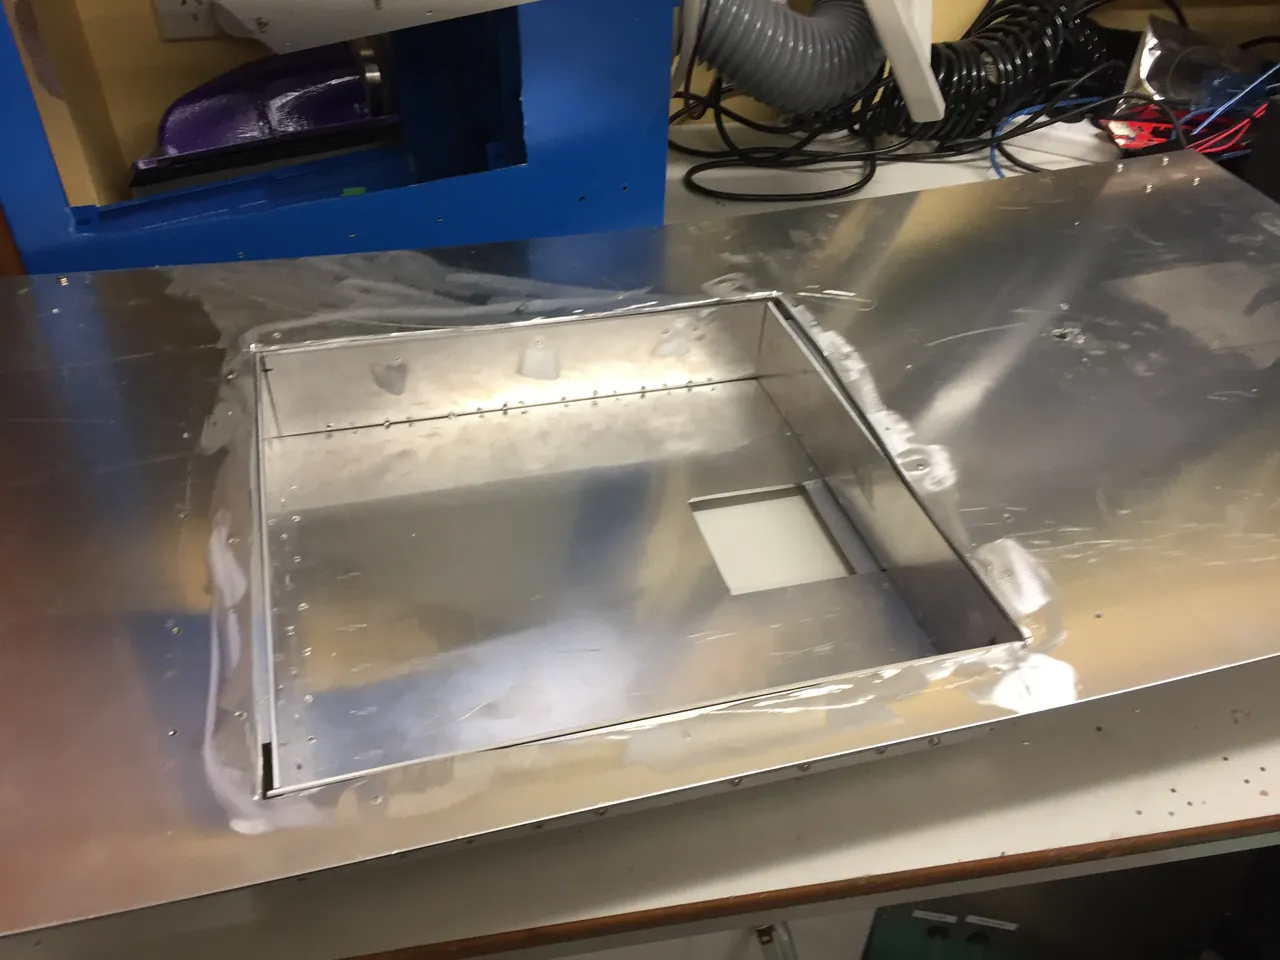
Flipped it over to see how it would fit on the large sheet base.. looks ok! That said.. the bin doesn't allow it to stay flat.. So I guess I have to move it to a flat table
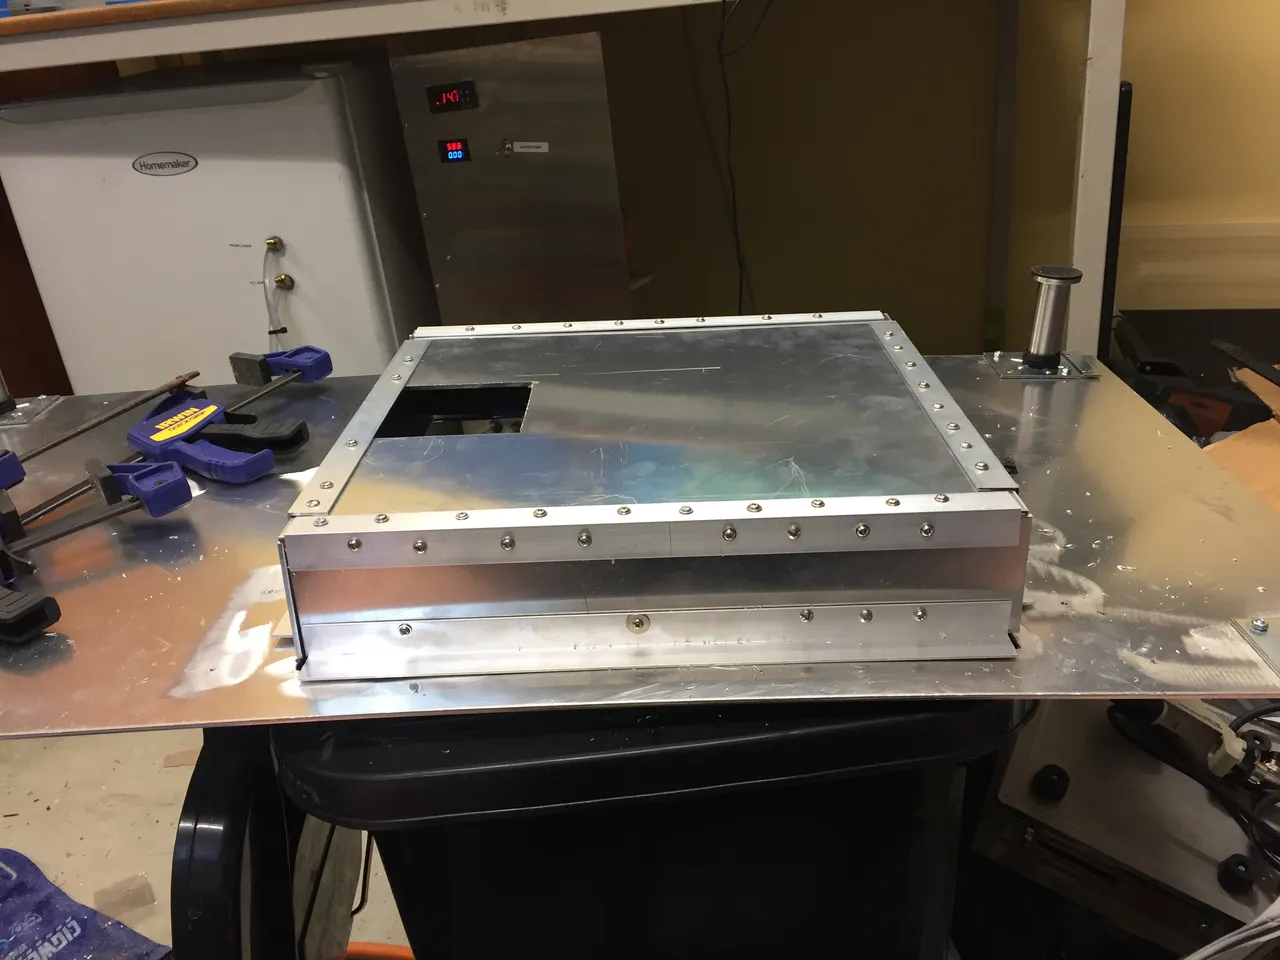
Once on the flat table, I secure it with more computer fine thread screws
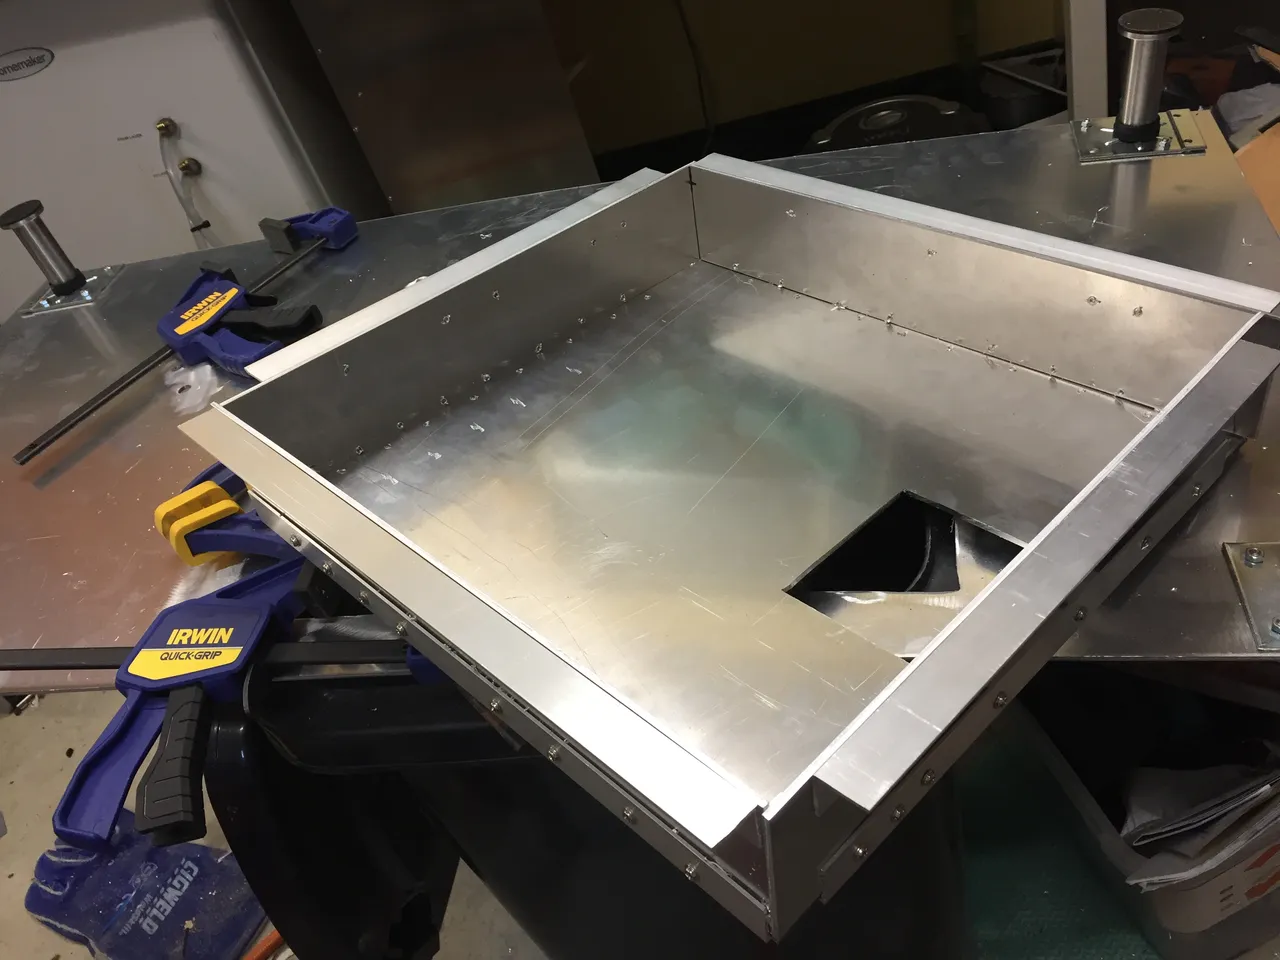
And.. done
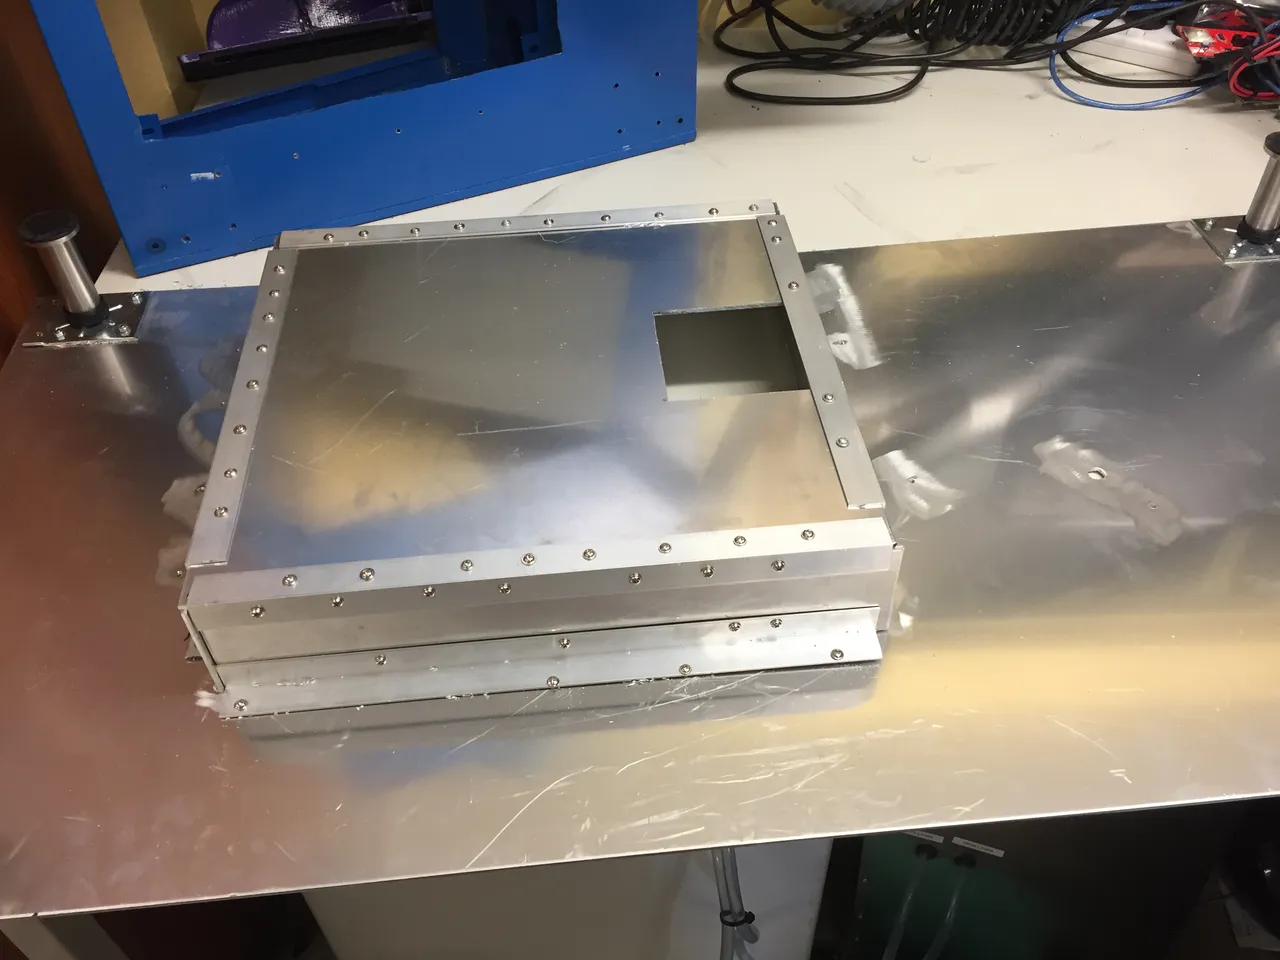
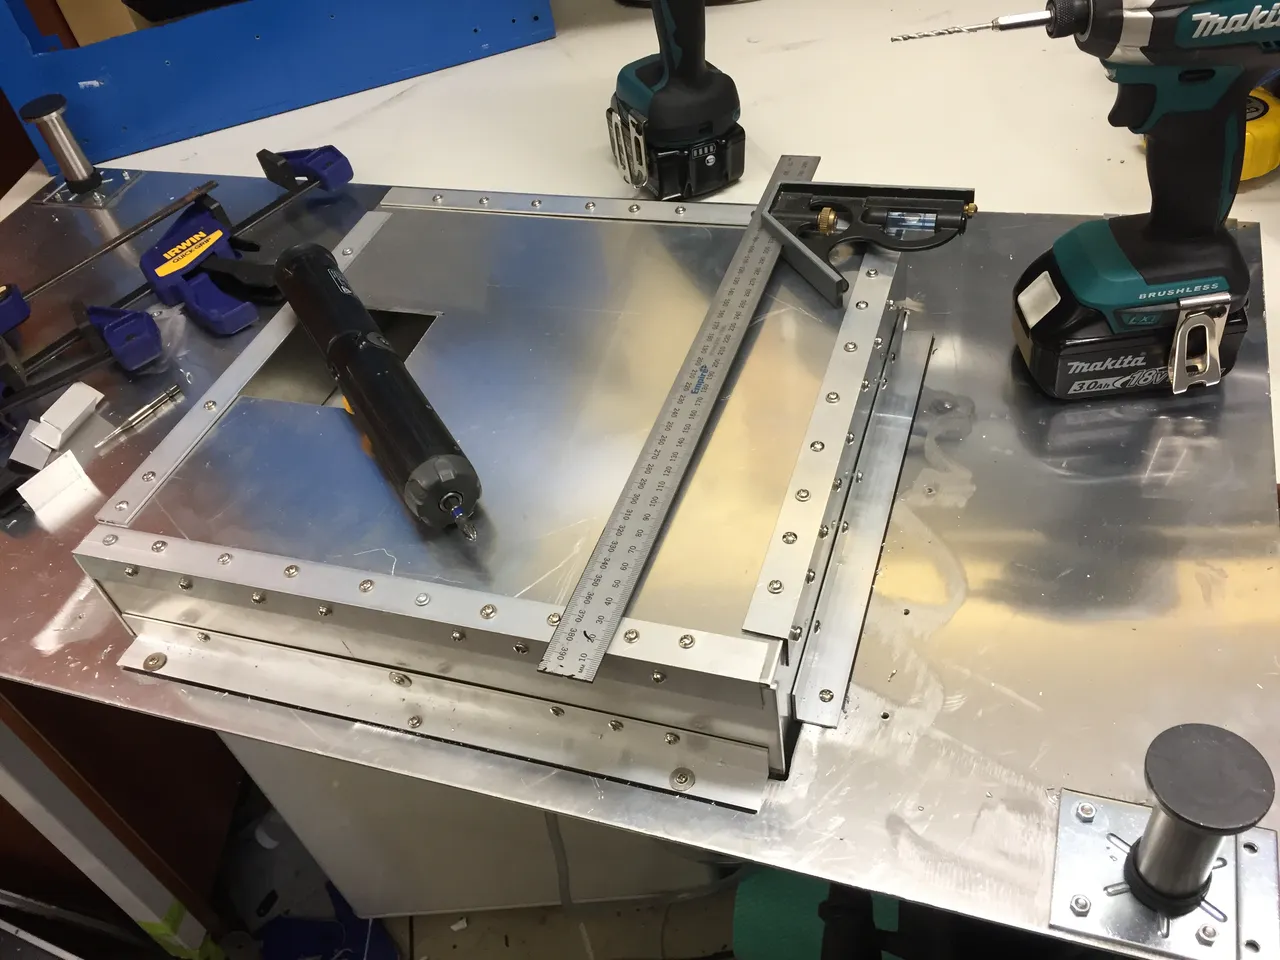
Lets see what it looks like from the top.. not bad
Cleaned a little off with the flap sander on the angle grinder
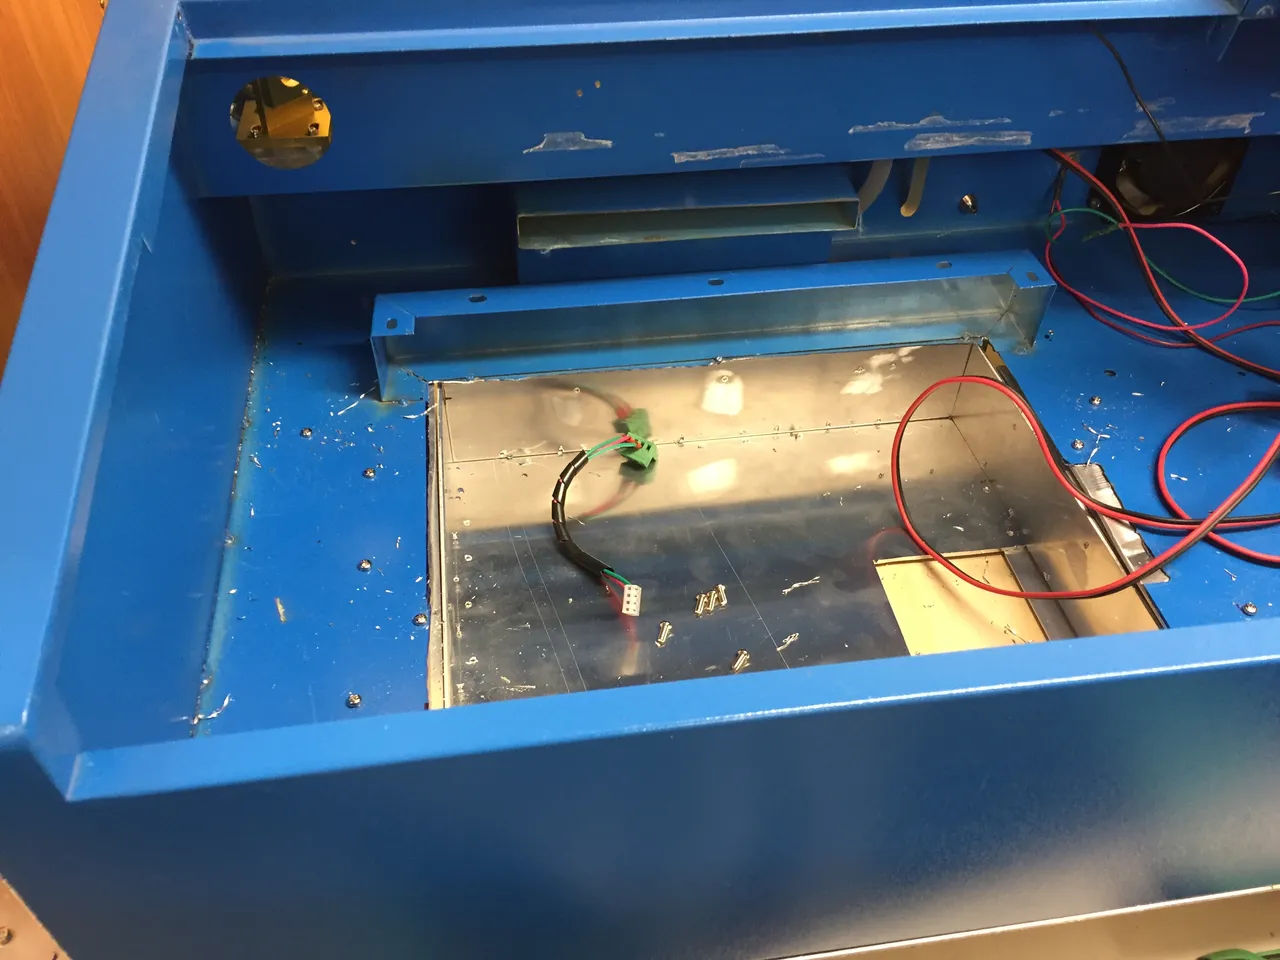
Placed the laser cutter on top of the new bed... still bows! at least once its all screwed together, the bow will go
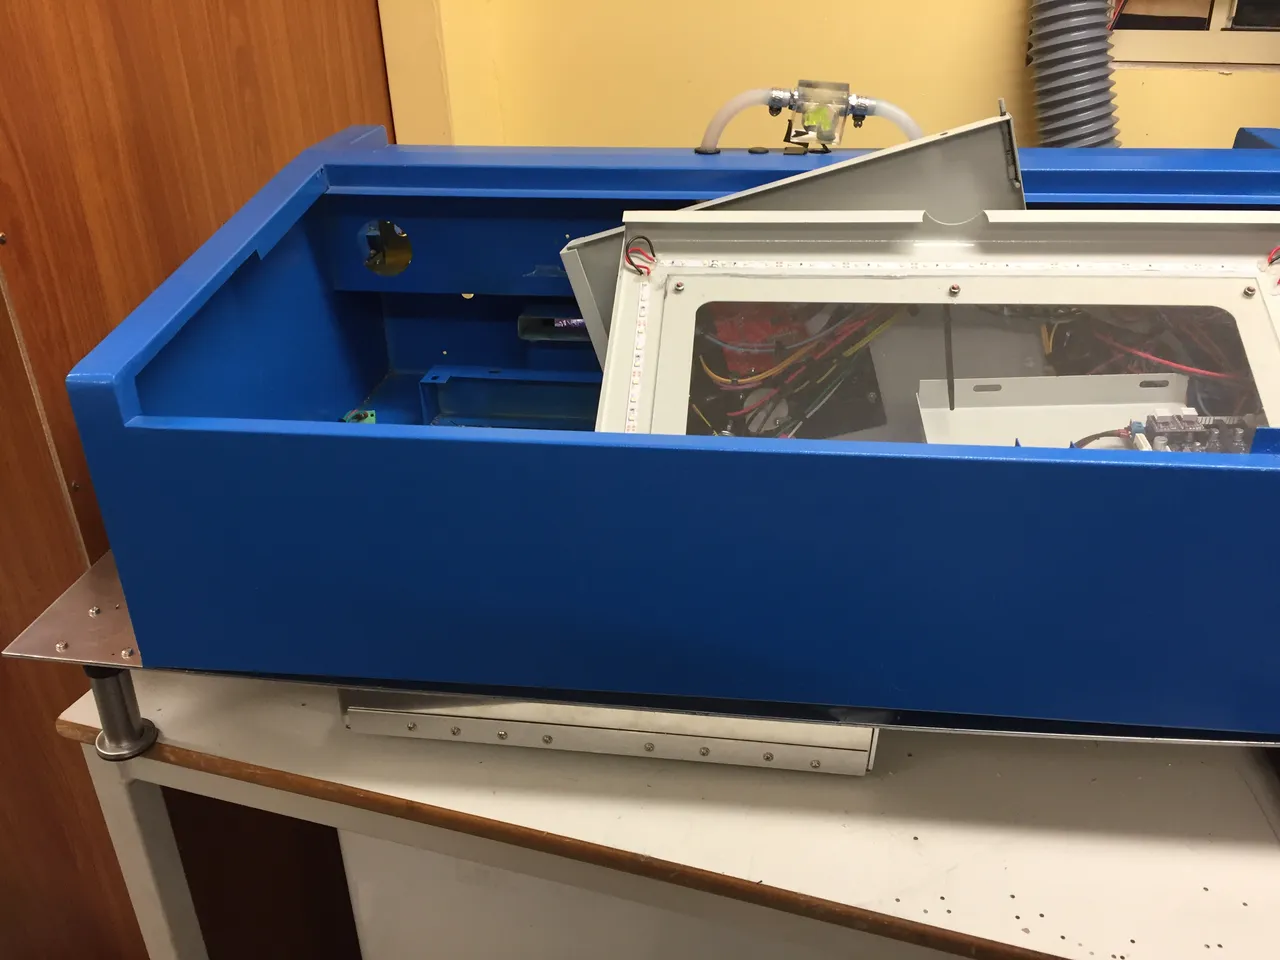
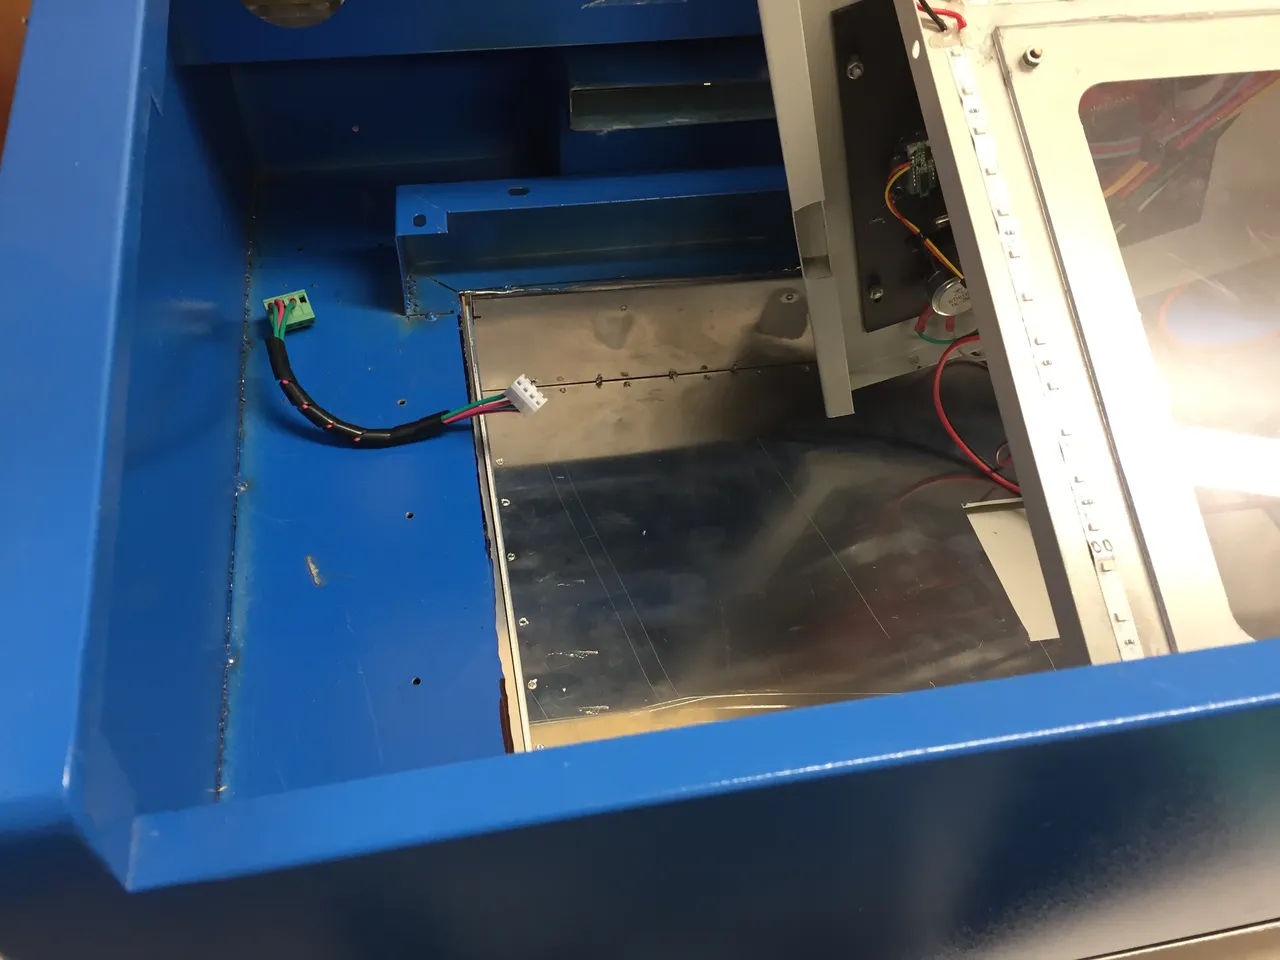
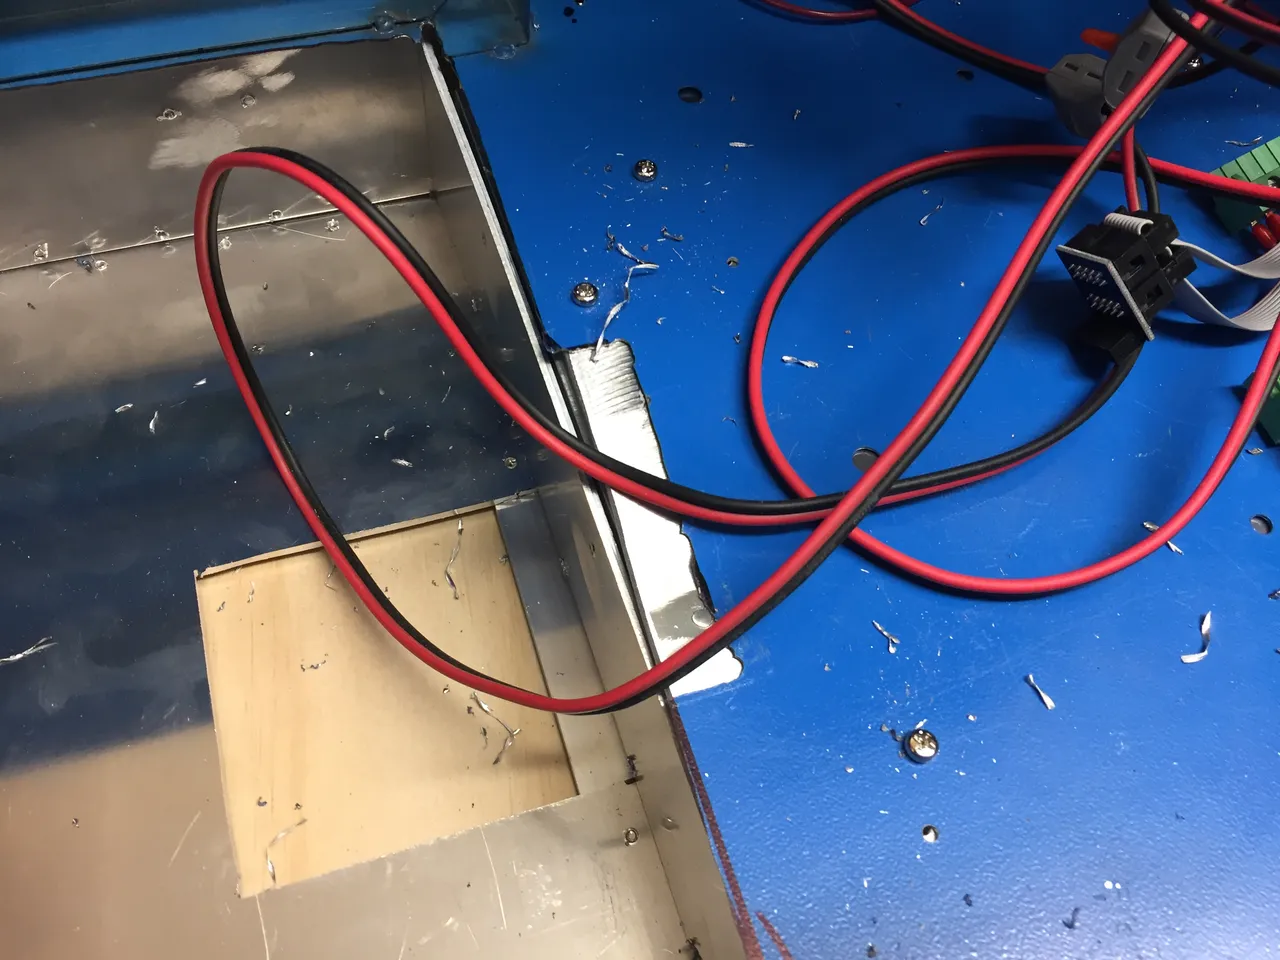
Jammed some plywood underneath to straighten it up and then drilled and tapped some 4mm screw holes in various places that wont have anything actually in the way when reassembled.