these are my entries for Jerry Banfield's Phoenix Design Contest
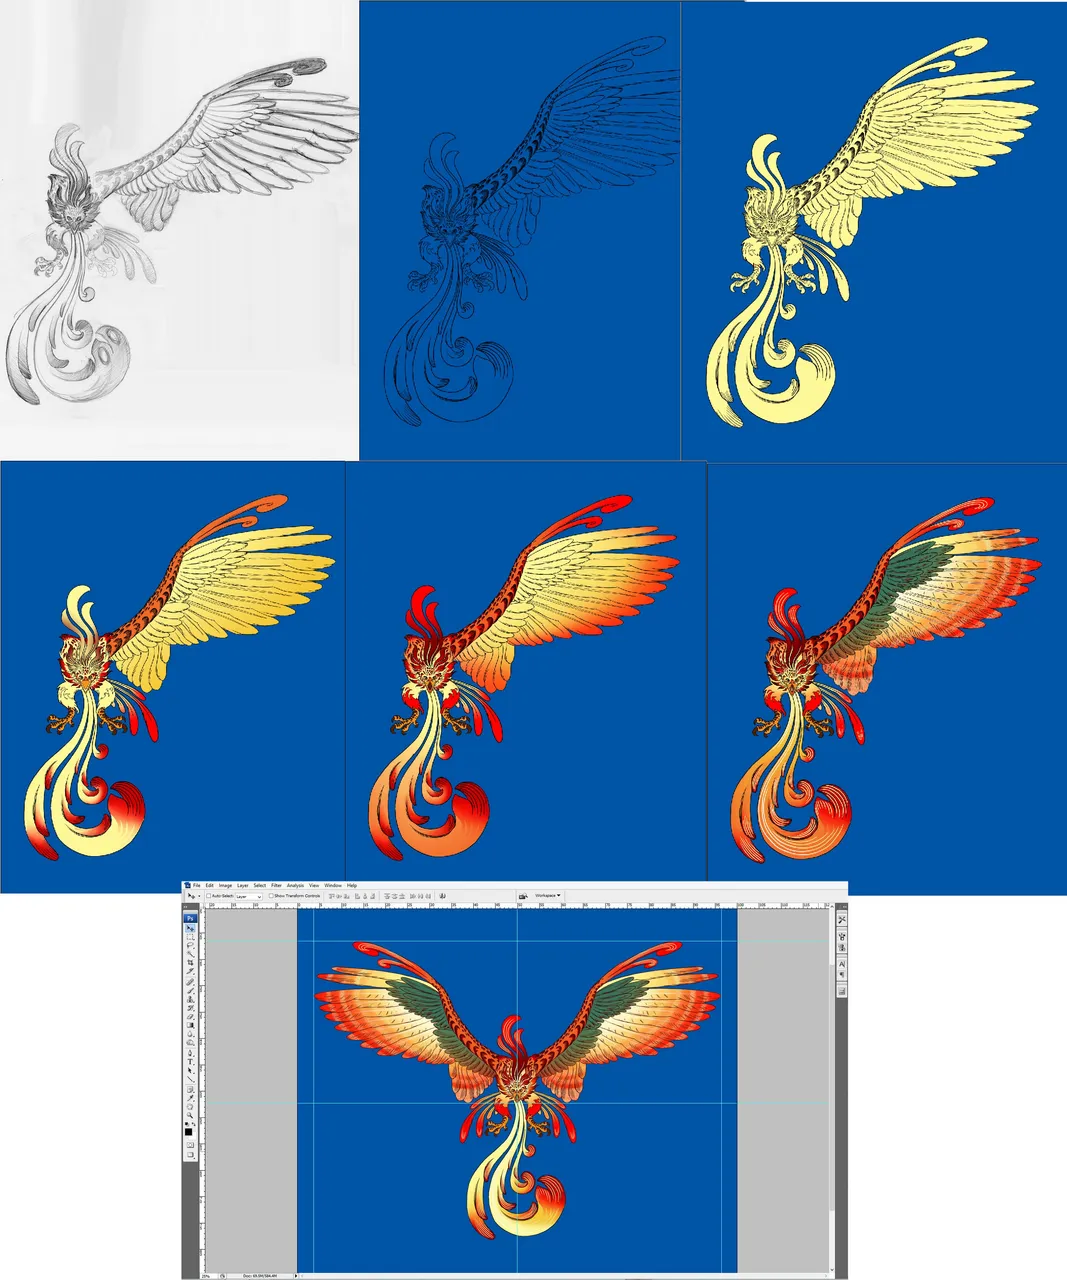
first, I sketched a lot of birds and picked the ones that I like.

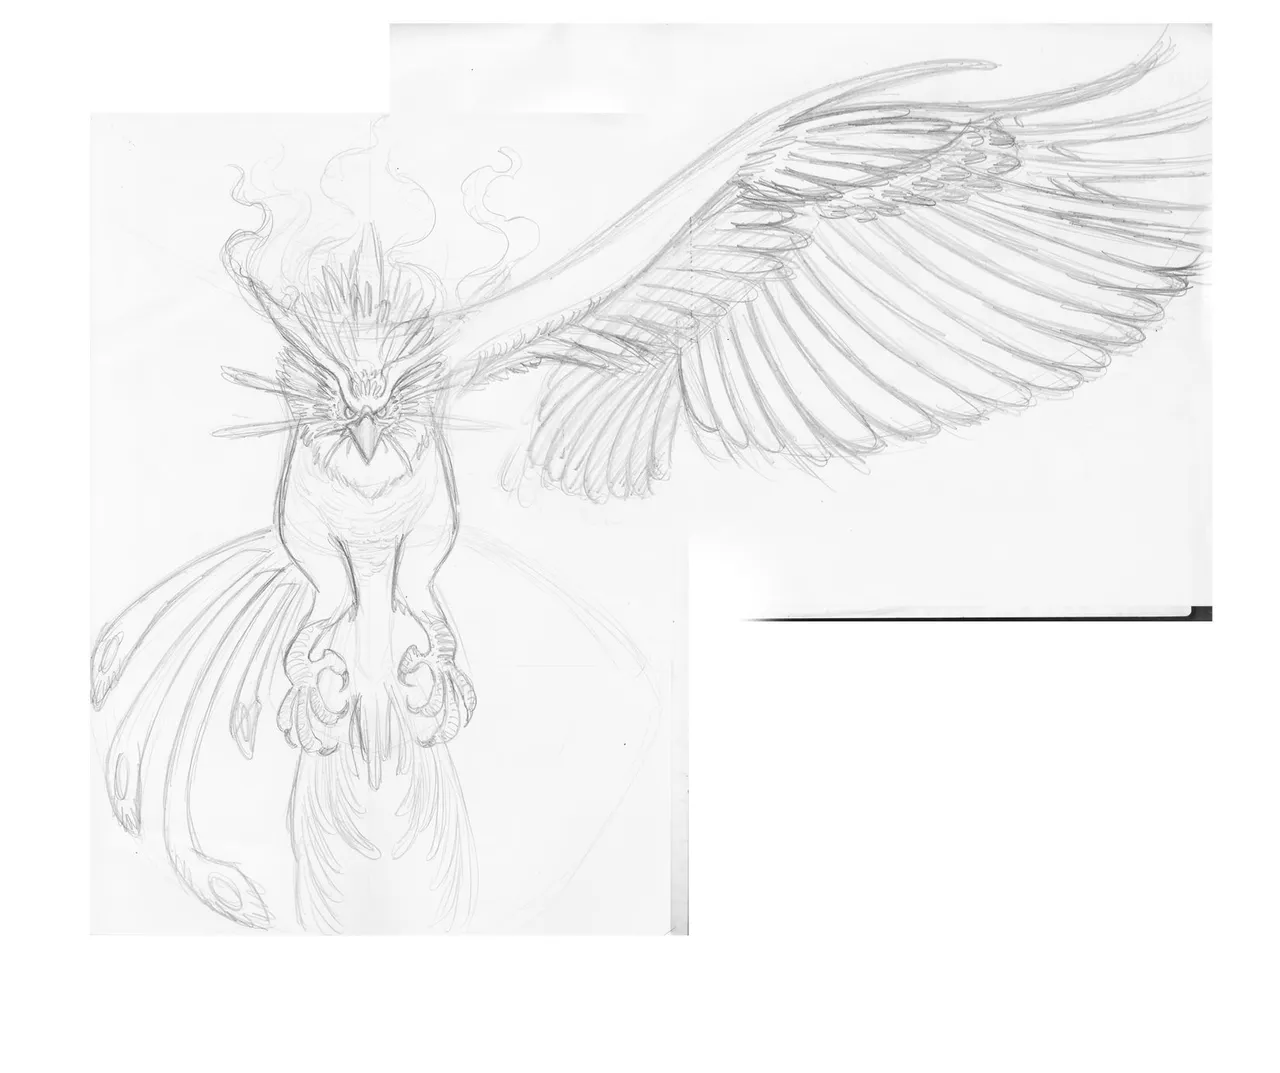
after finalizing the design, I ink it on paper and scanned it.
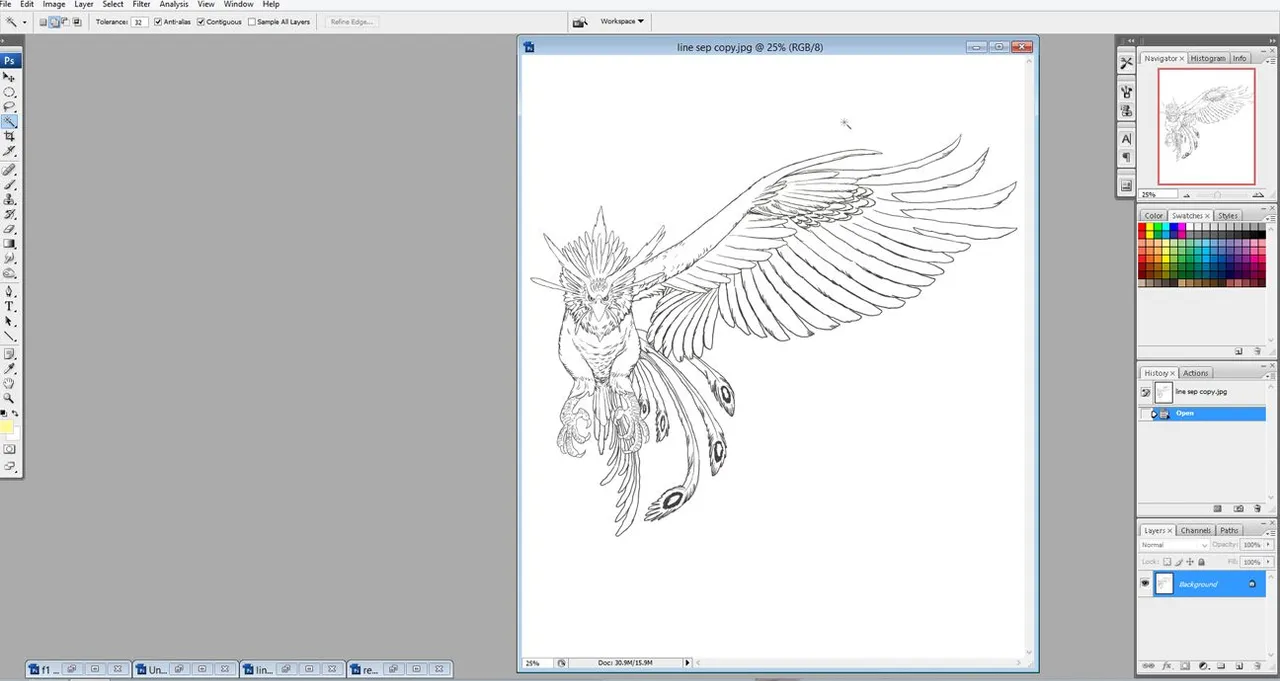
next, I'm going to separate the line drawing from the white background, but before that, I adjusted the LEVELS of the drawing by pressing CTRL+L.
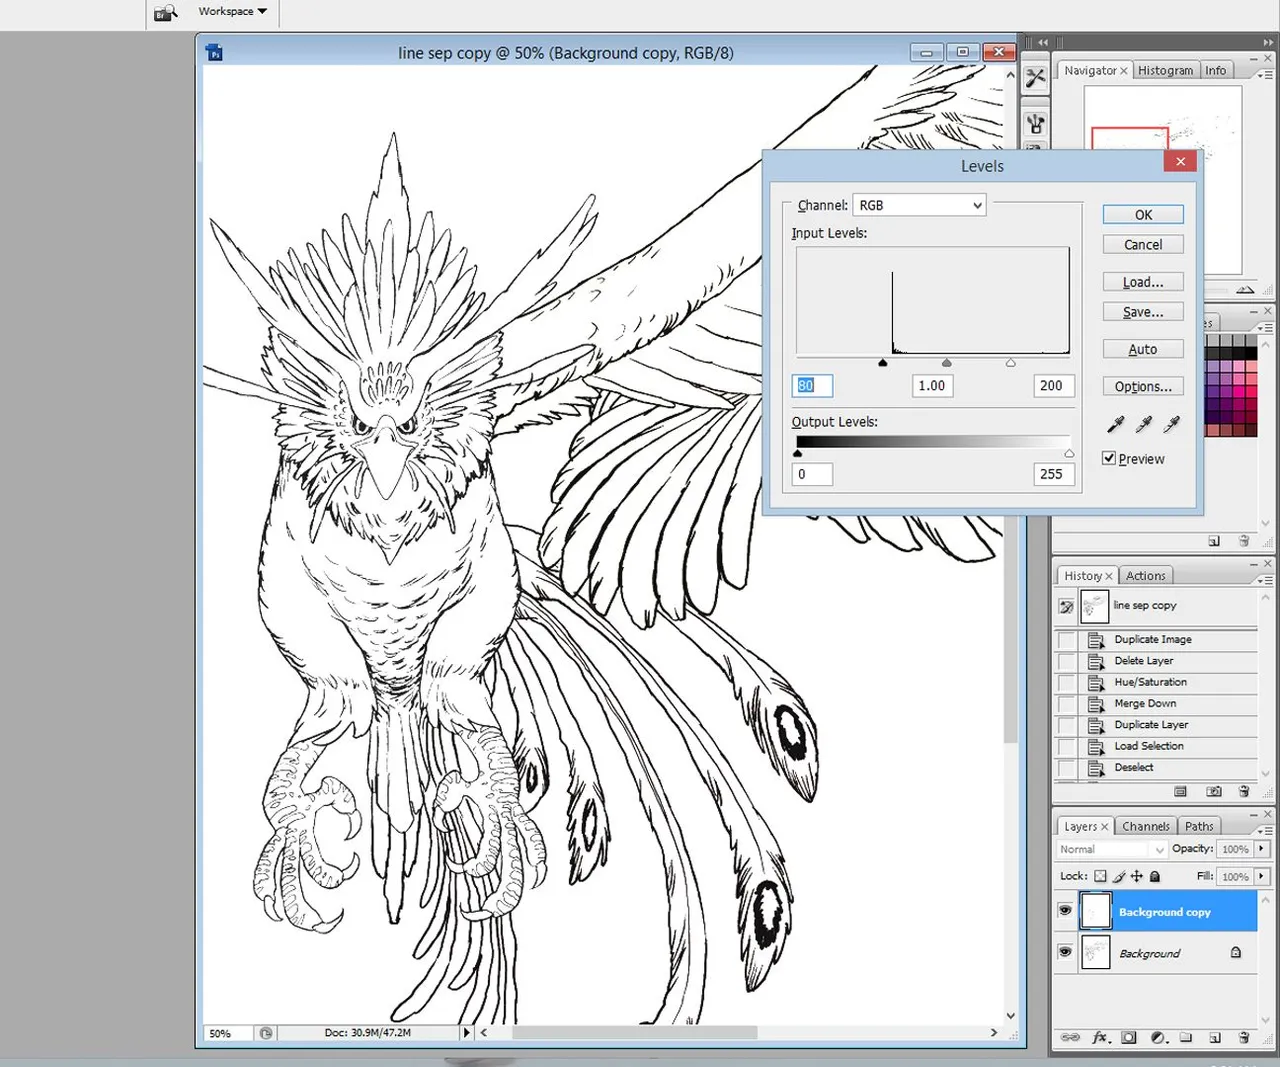
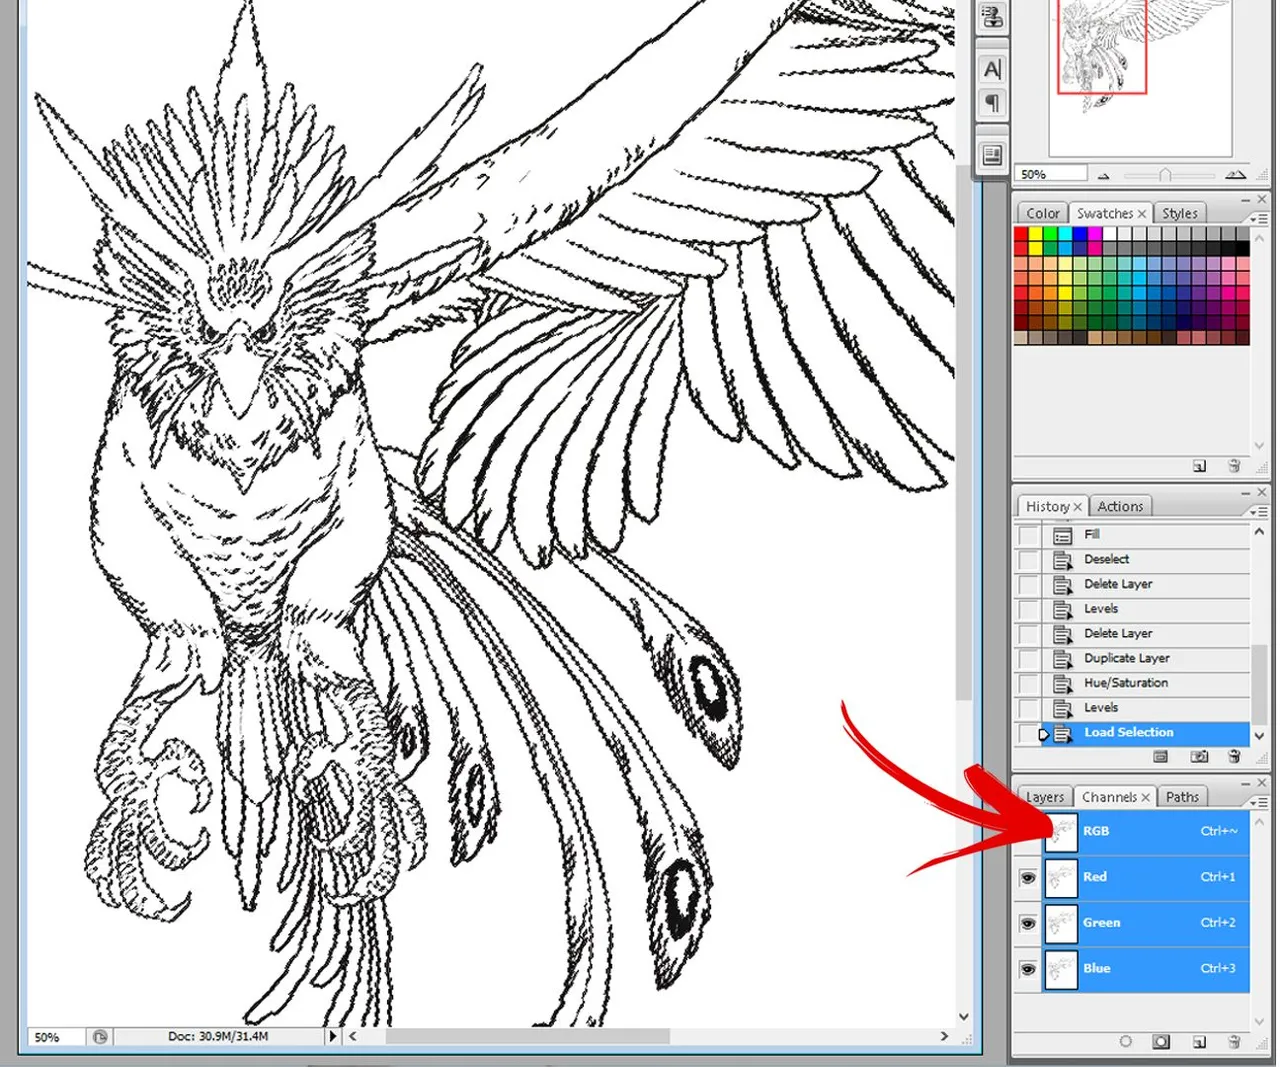
after that, I go to channels and CTRL+ click the RGB layer. this will make a selection on the line drawing.
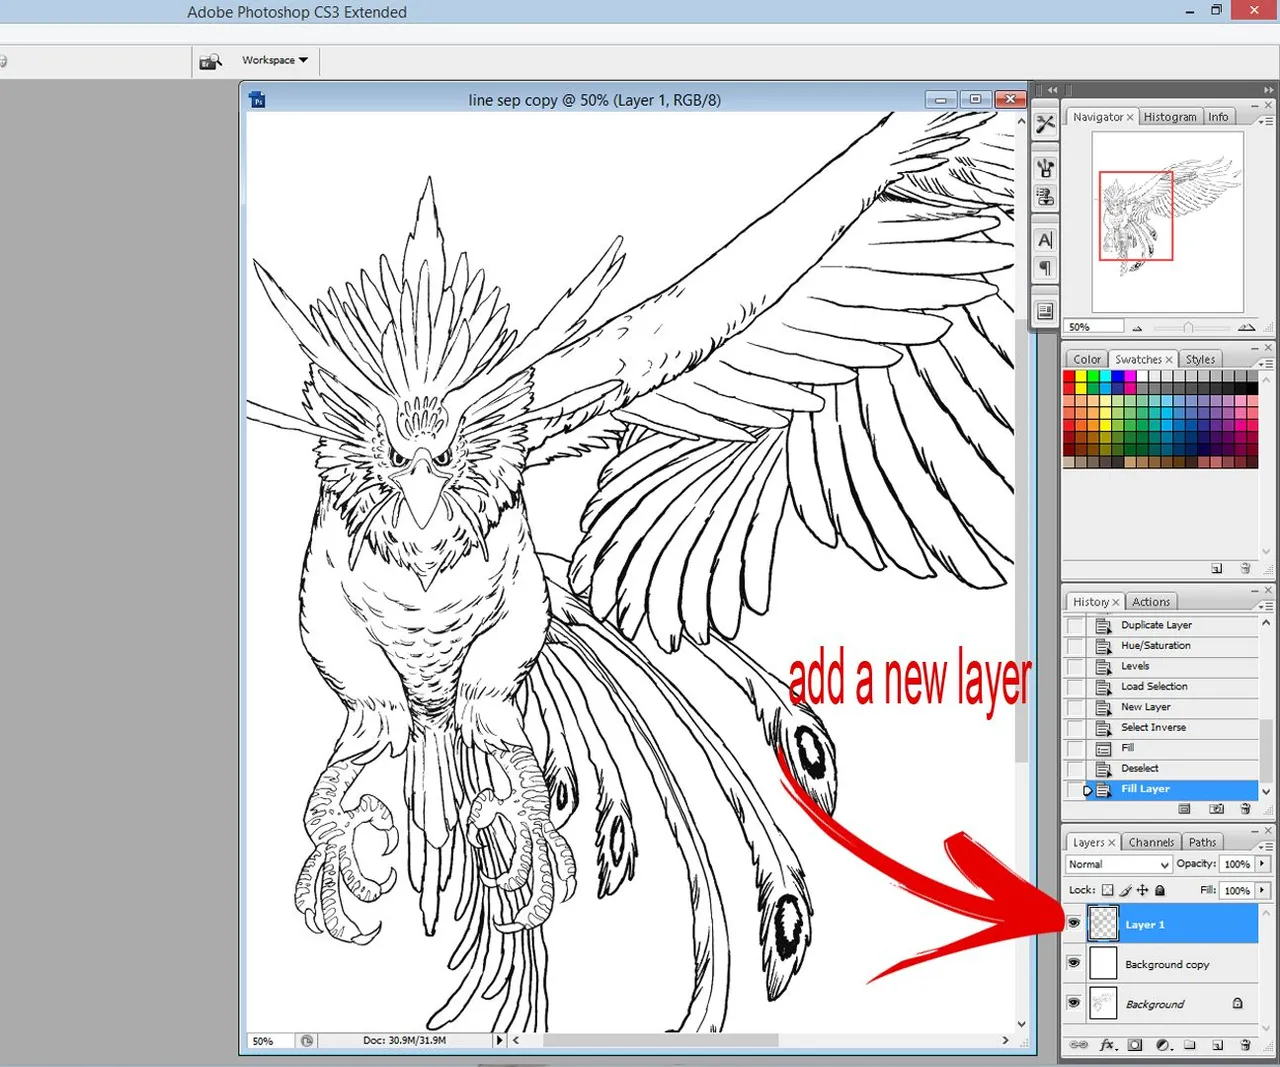
go back to the layers palette and add a new layer and fill it with black.
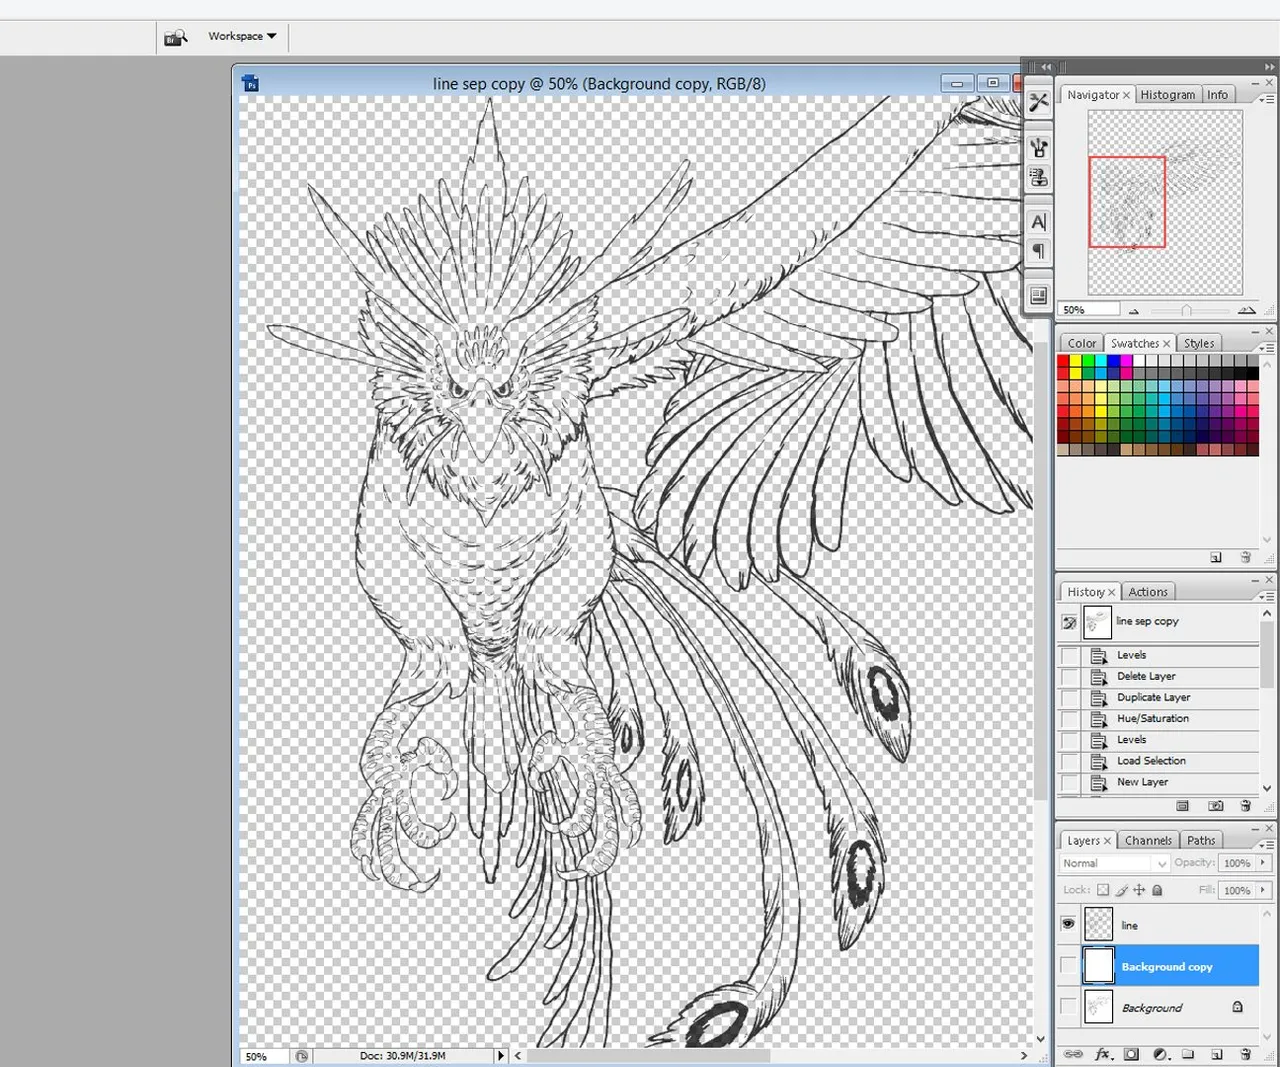
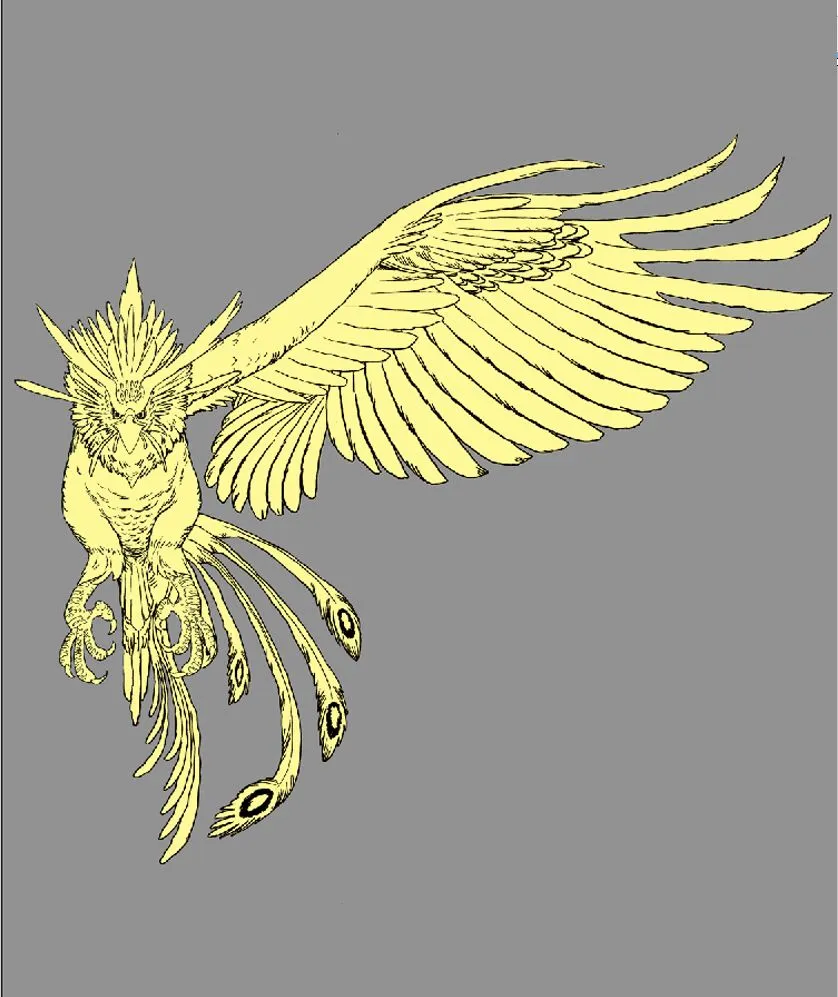
now I have the line separated. I added a new layer under the line layer and fill it with white.
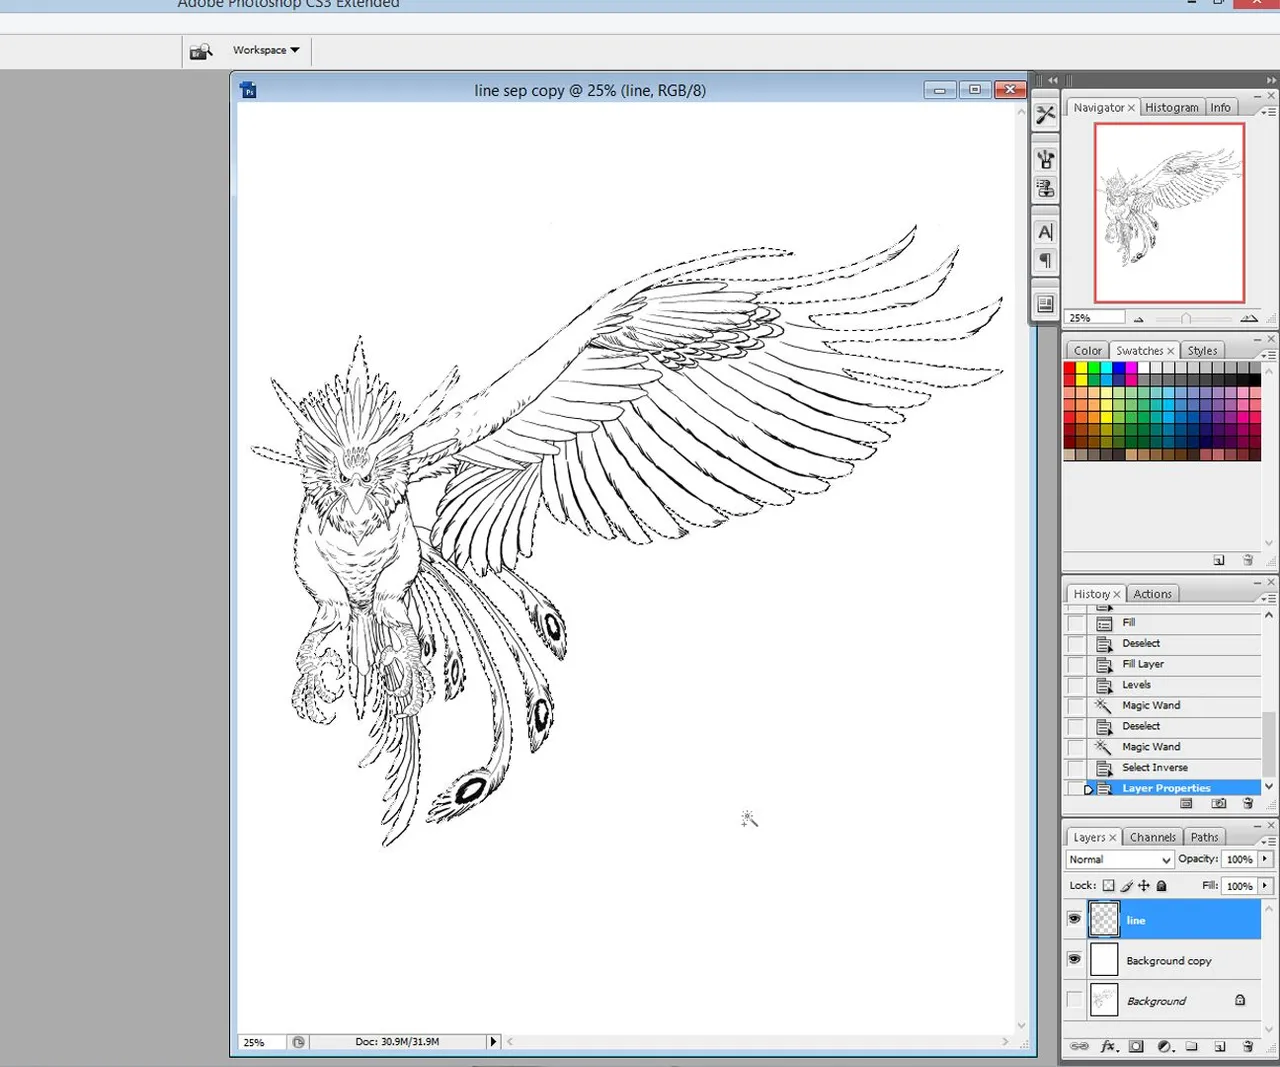
next, I'm going to paint a flat color under the line drawing layer. I use the wand tool and I click anywhere outside the line drawing's layer (or the negative space) and it will create a selection. then I inverted the selection by pressing CTRL+SHIFT+I.
and fill it with yellow.
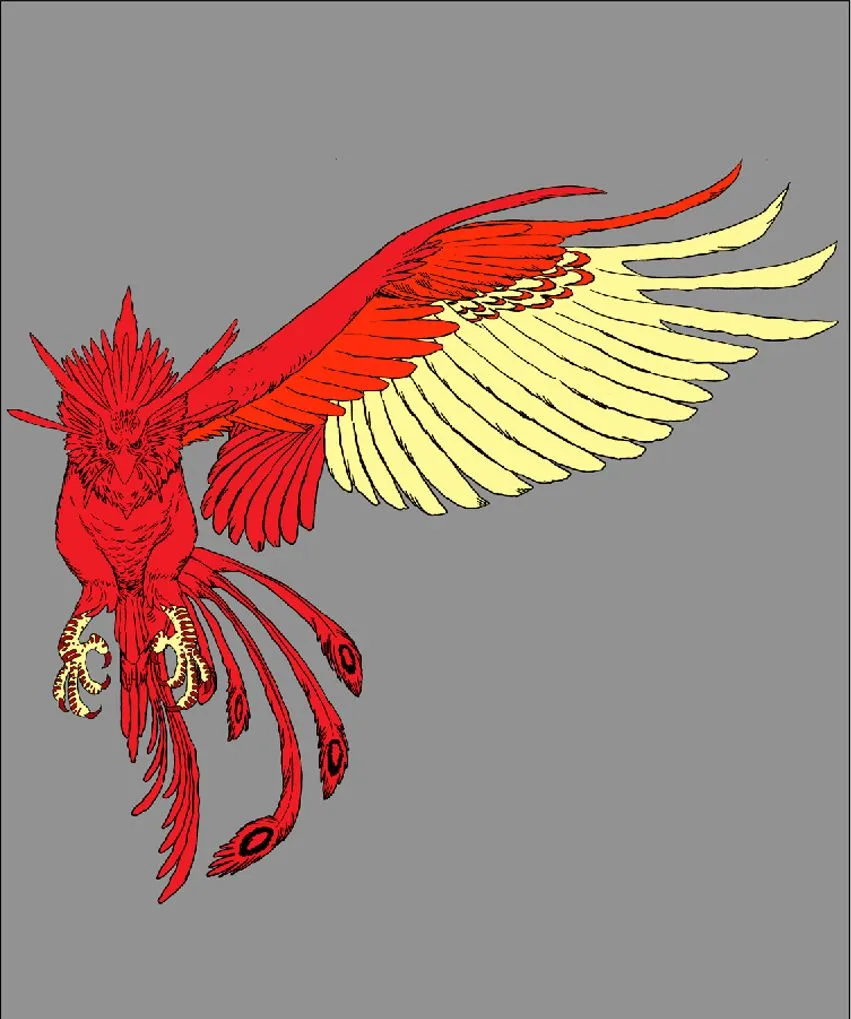
I added red and orange and little details
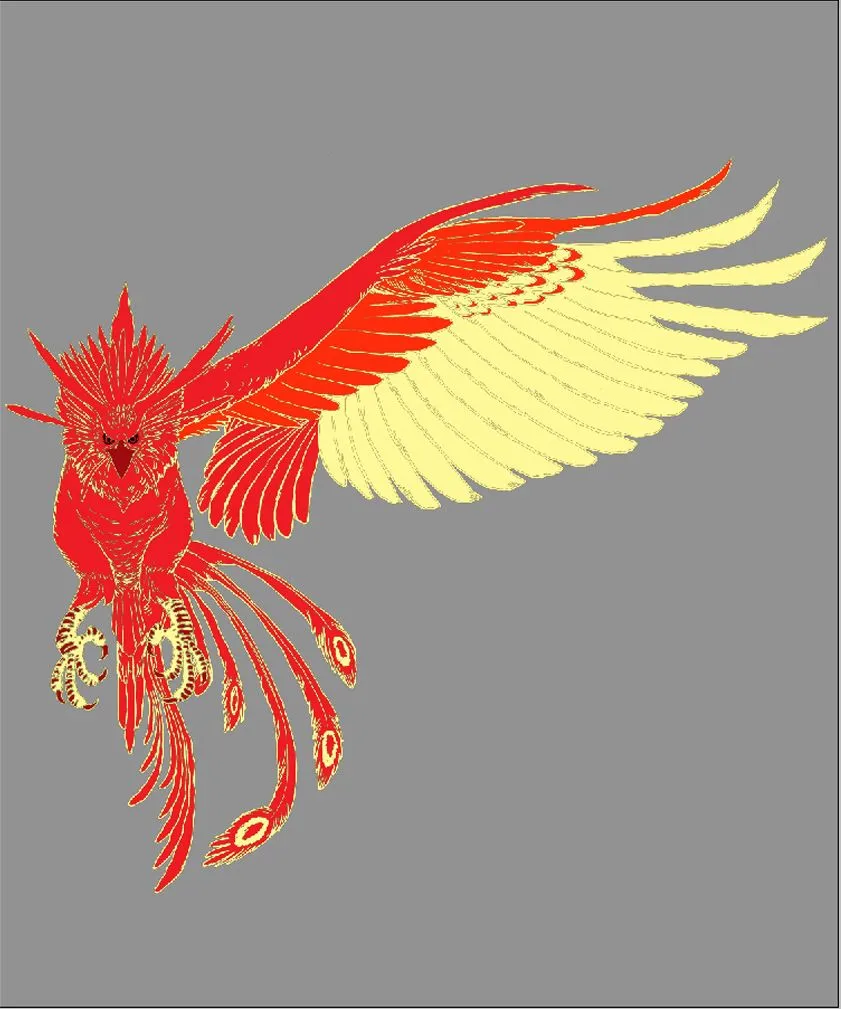
here, I changed the color of the outline to light yellow.
usually, the Phoenix have a long tail feather so I go back to my drawing table and draw the half of the tail, scanned and paint it.
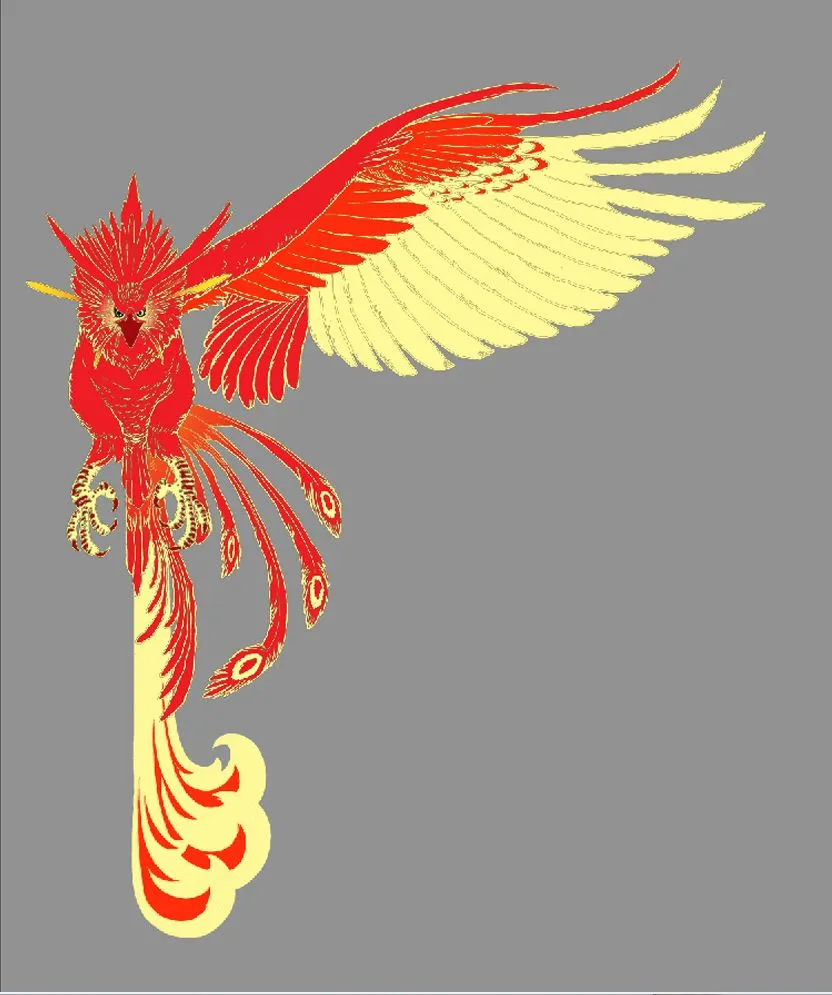
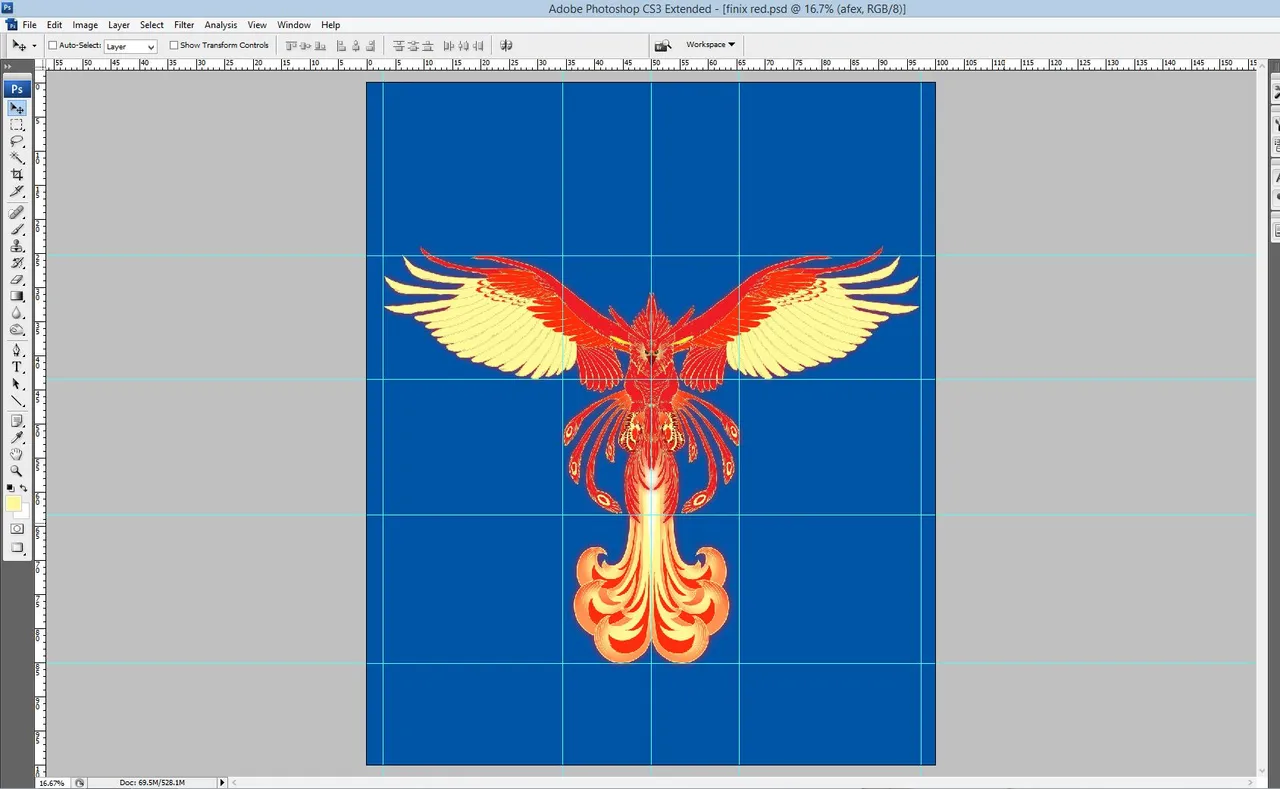
here, I duplicate the right wing and tail, I flipped it and put it on the left side. I use the line to align and center the Phoenix.
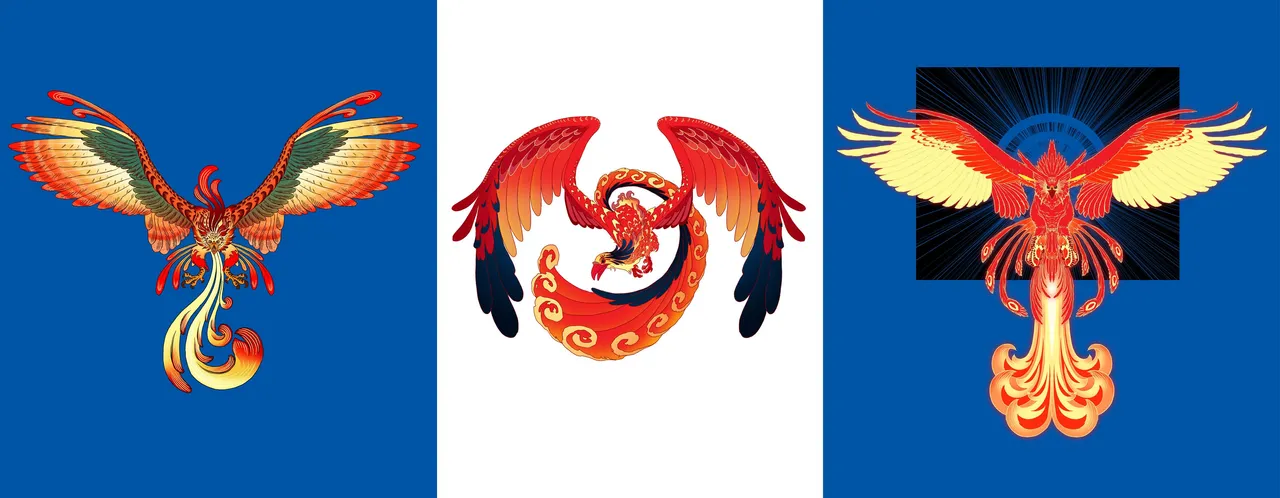
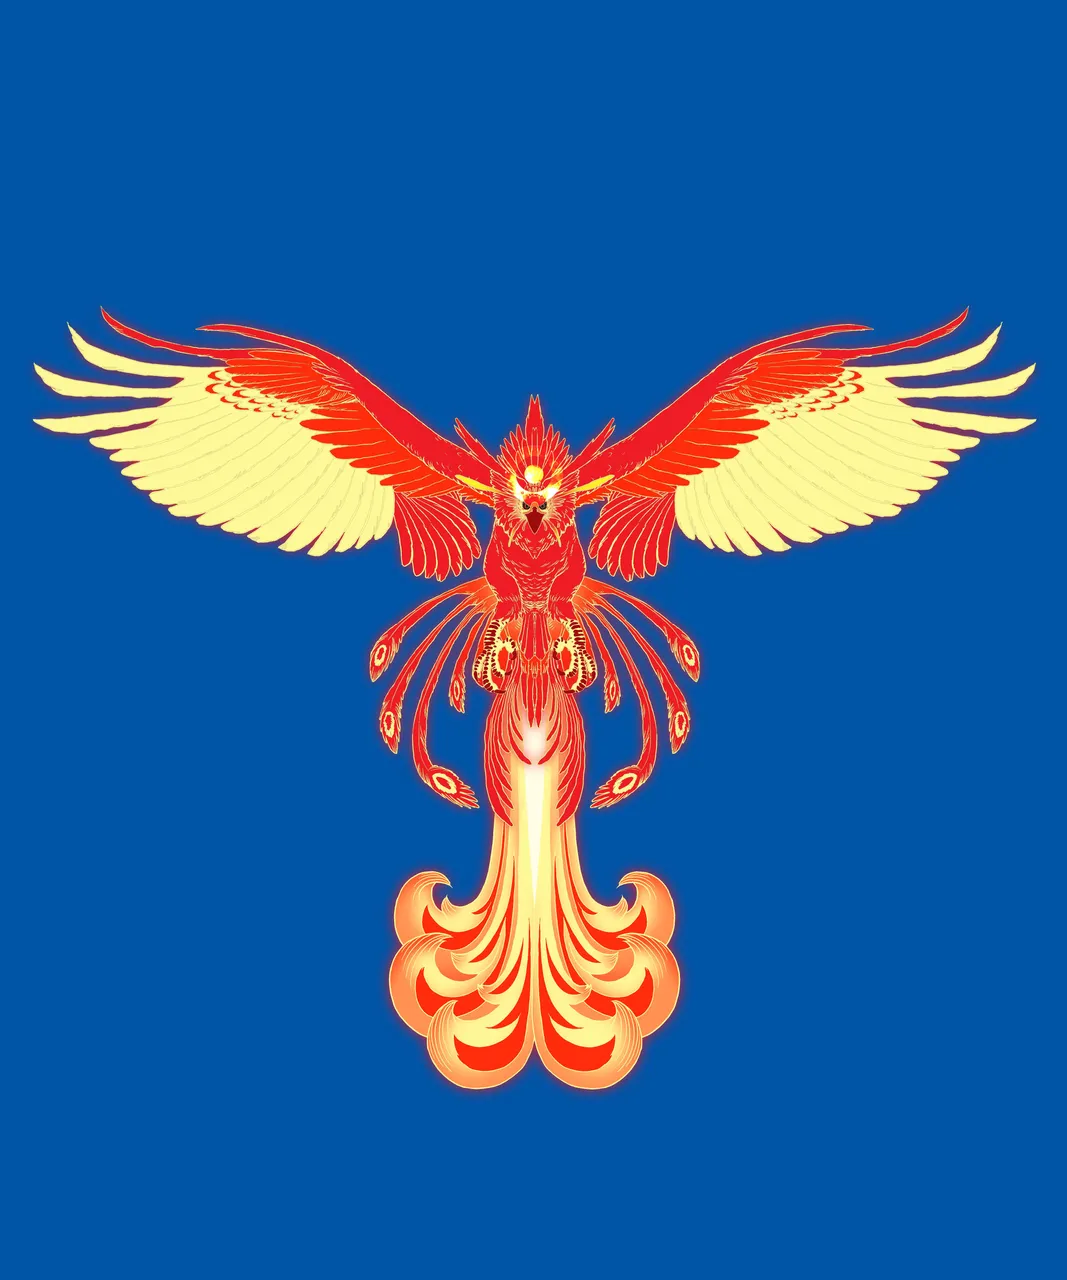
version 1

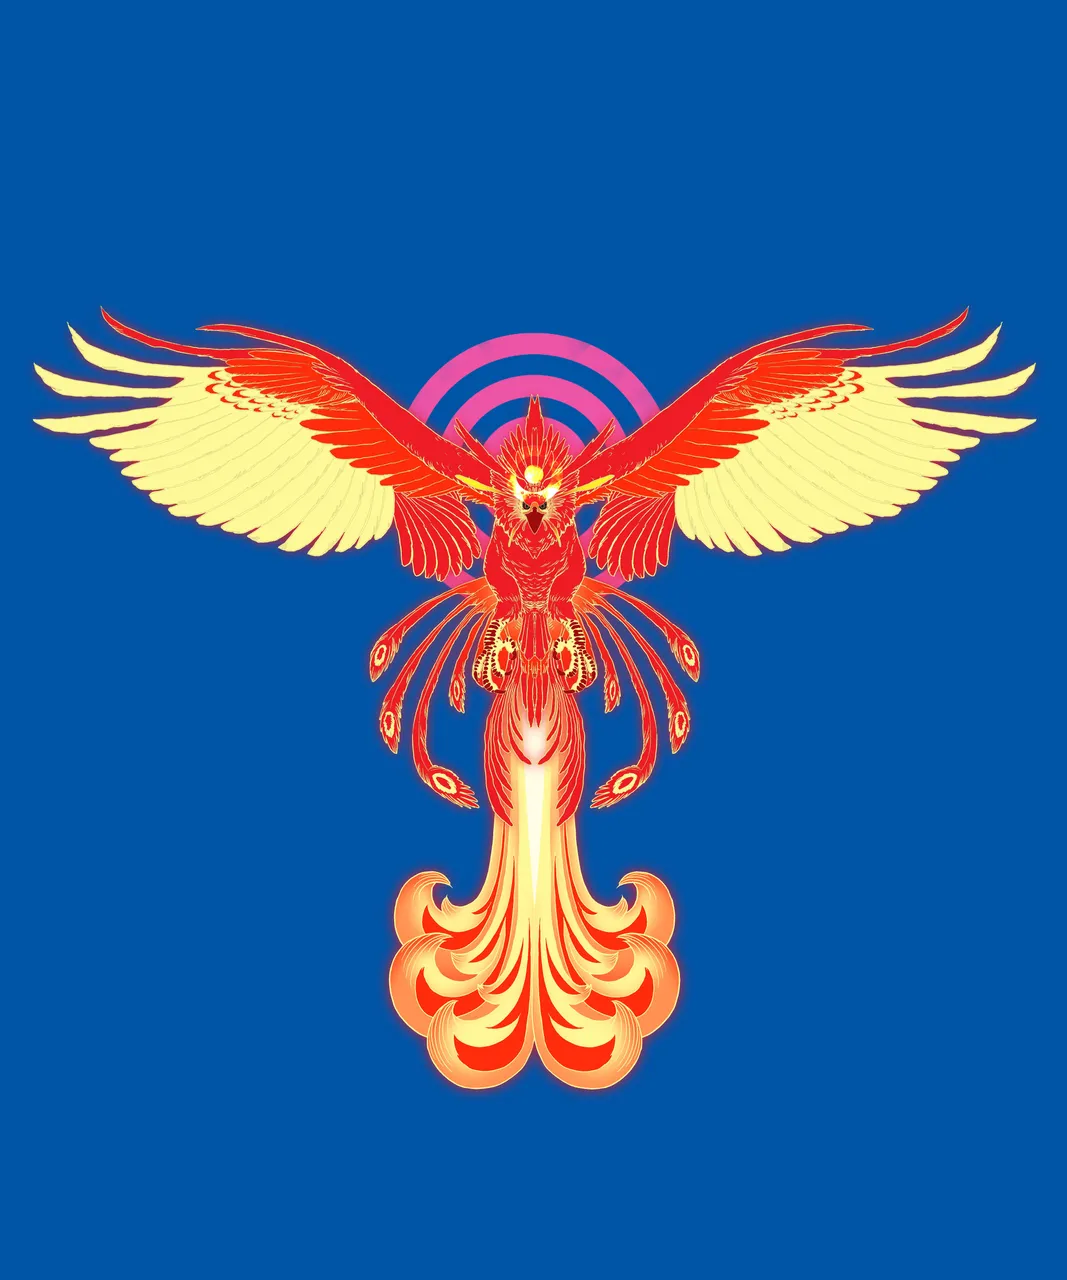
version 2

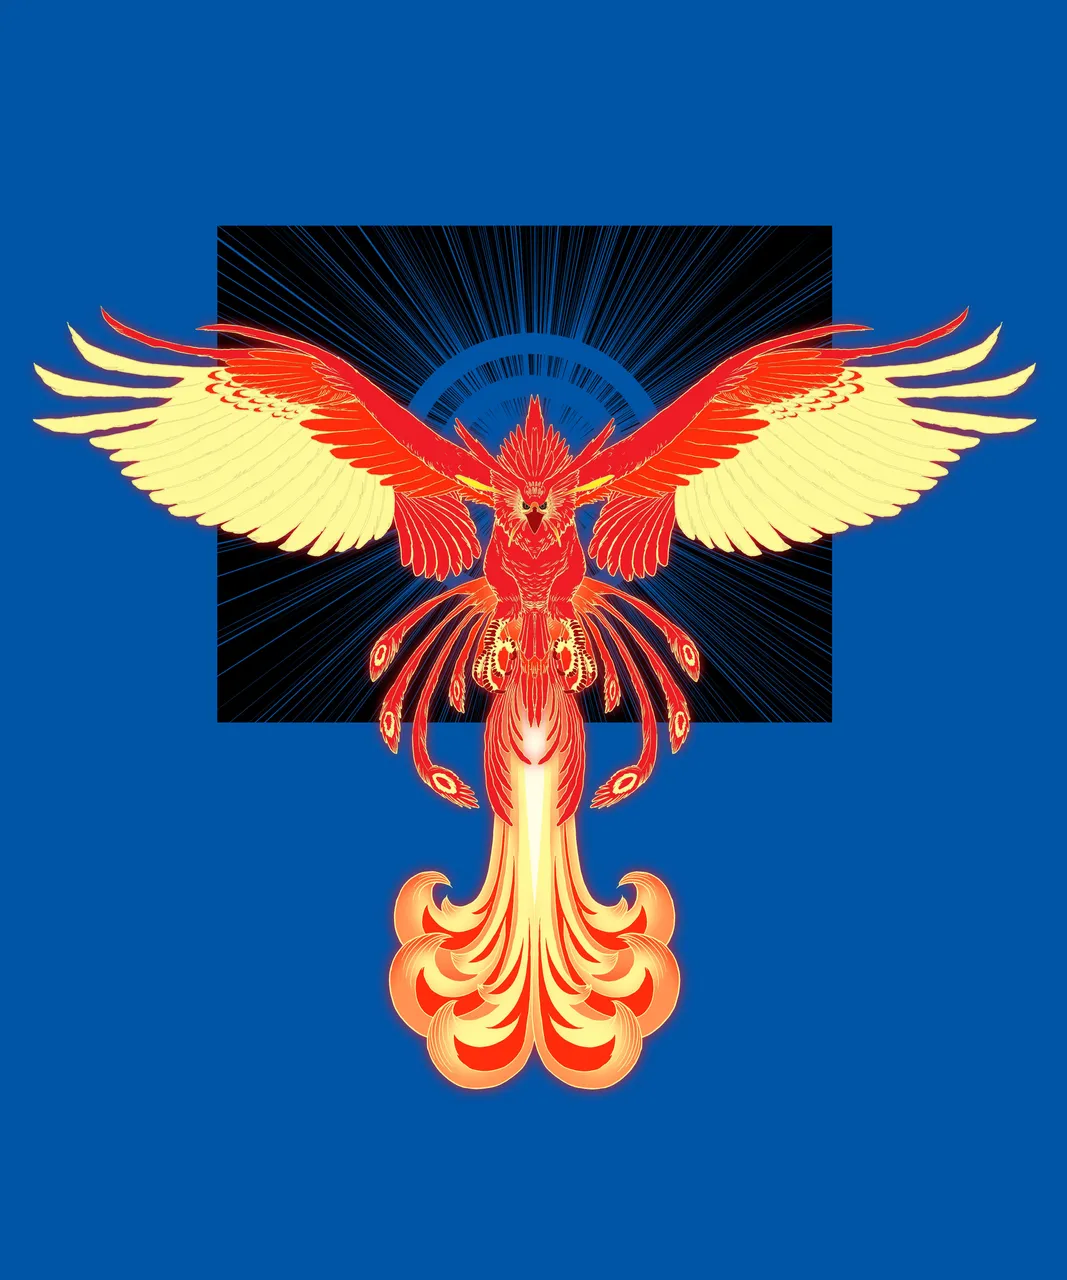
version 3

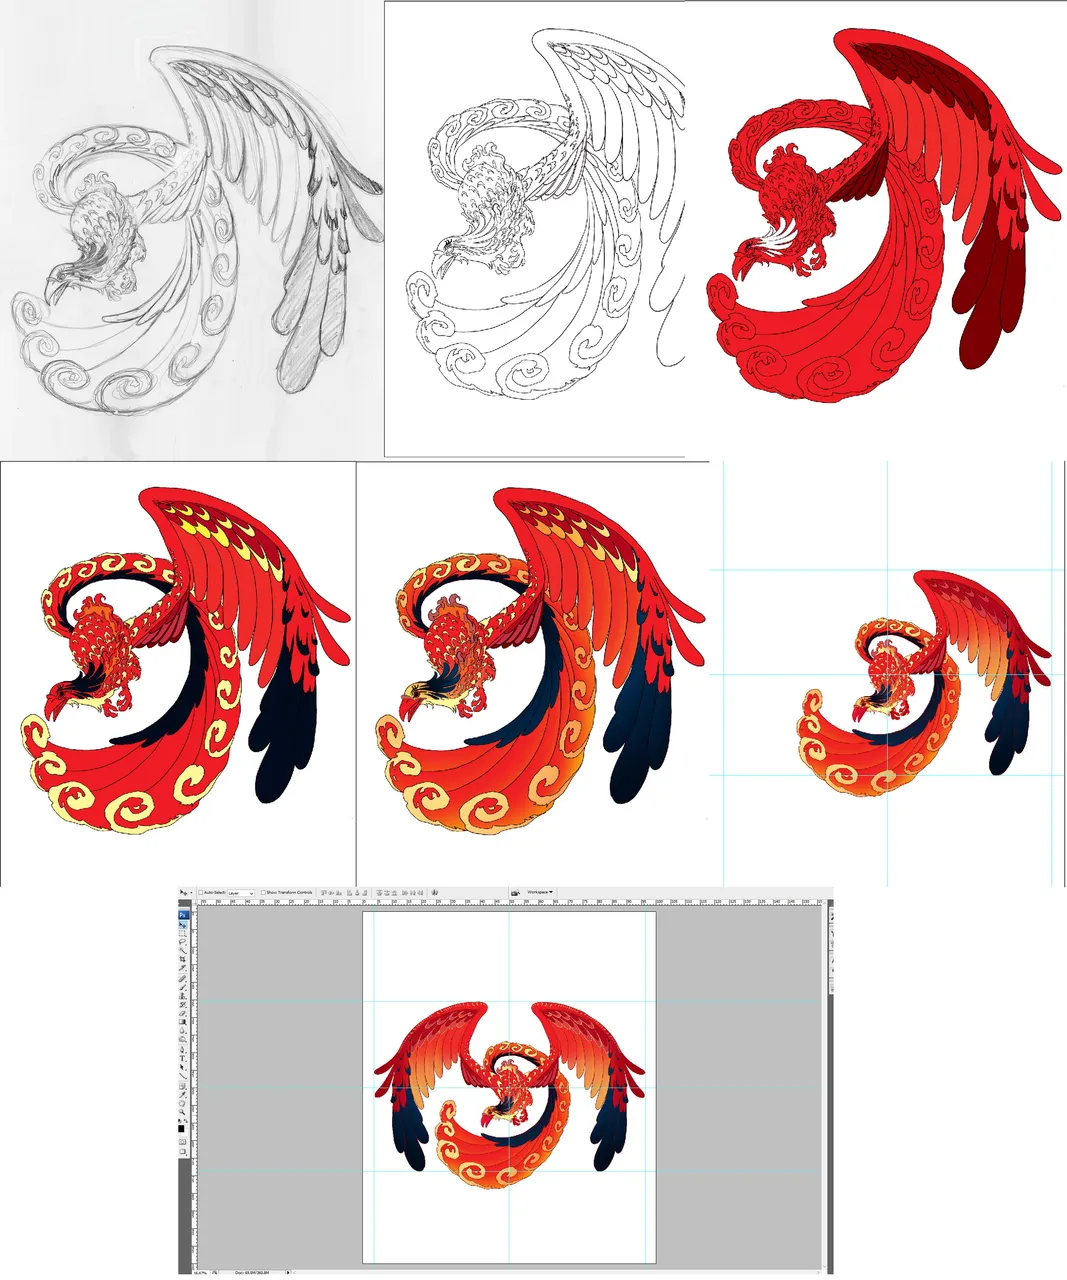
like the first Phoenix Design, I applied the same process here
version 1


version 2


.....and that's it. thanks for stopping by.
