Hello everyone, this time I come with a creative process Steampunk style Charms made in different materials which are similar to the Polymer Clay but with a difference and is that these are not baked, well without limiting let's start.
DAS putty is a paste similar to clay, it is dried in the open air and to mold it, only water is needed, it is fast drying and absorbs paint very well.
Flexible dough is a homemade dough based on glue and cornstarch or cornstarch, its drying time varies depending on the size and thickness of the piece, to mold it requires hand cream or glycerin; the pieces stick together with white glue.
This mass is not so easy to handle, since poor handling can create cracks in the piece and sometimes are difficult to cover, you can color before molding with chalk, acrylics and oil; but in my opinion and taste I prefer to work it and then paint it. Once dry this tent tends to reduce its size due to the glue but once dry it is very firm and is difficult to break.
Materials:
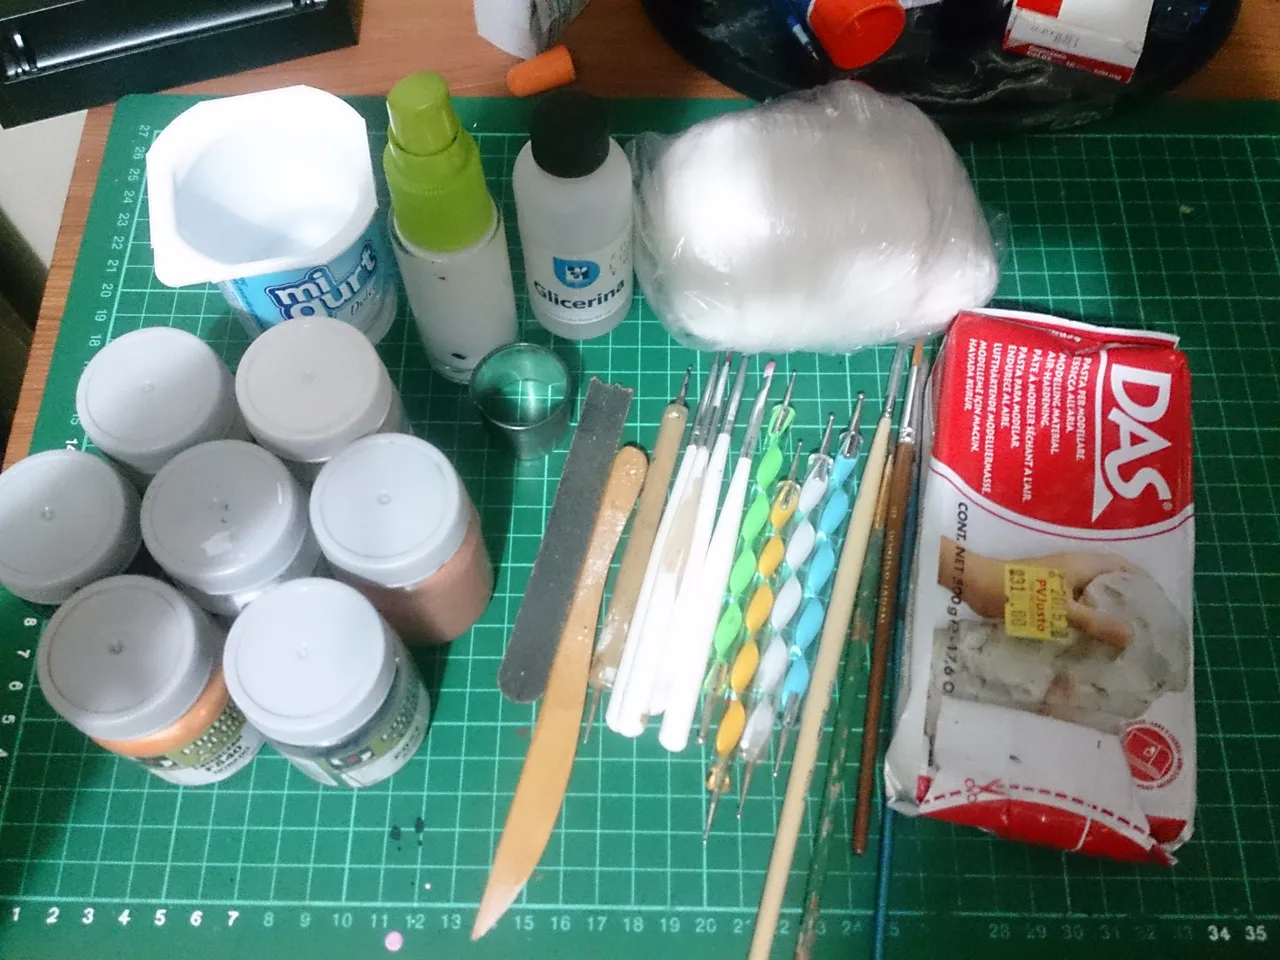
º Flexible Mass
º Masilla Das
º White Pega
º Acrylic Paintings
º Hand Cream
º Glycerin
º Brushes
º Water
º Stilettos
º Circular Cutter
º Eyepins and Jump Ring Connectors
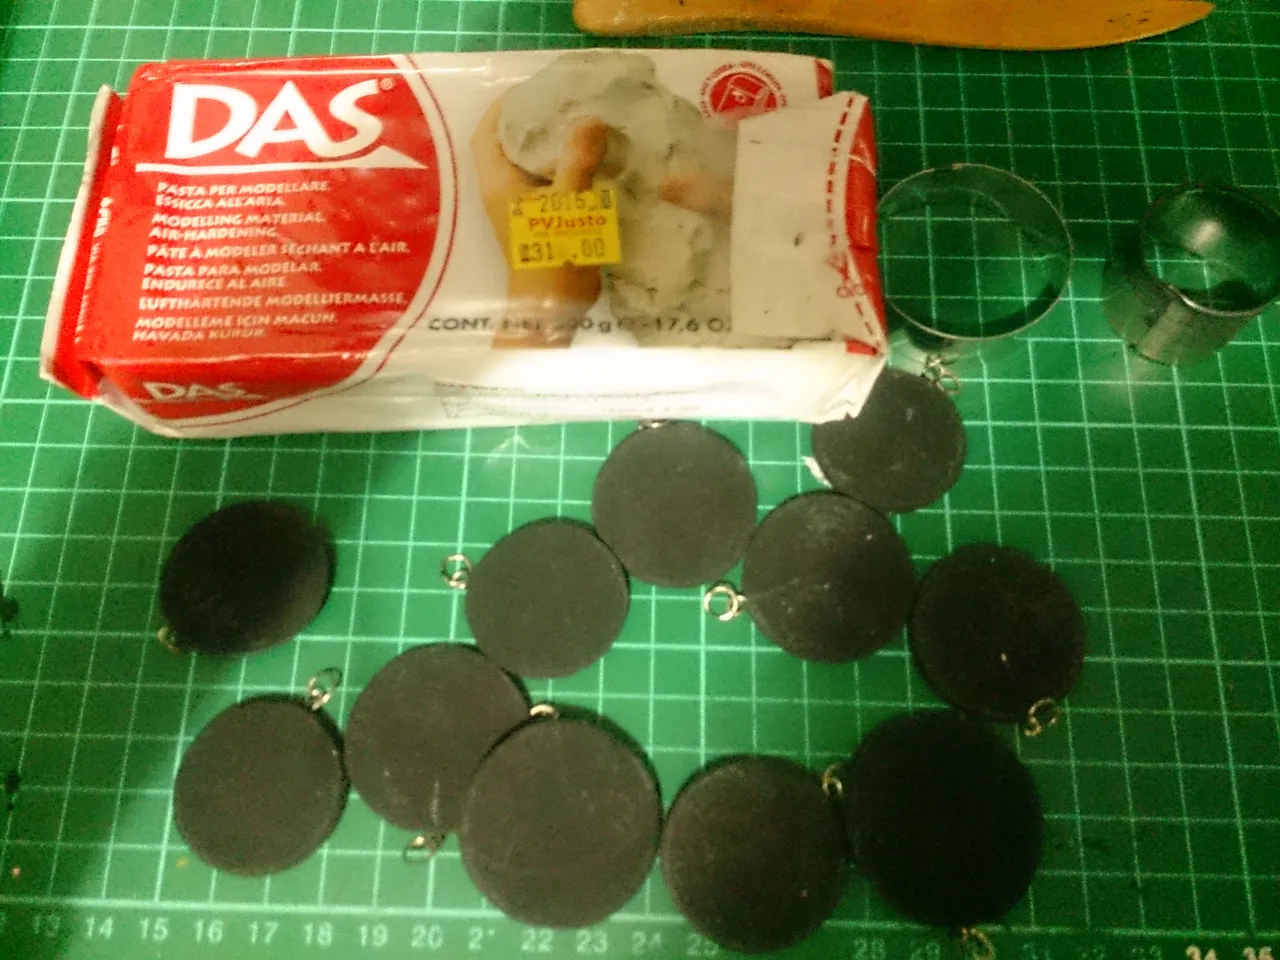
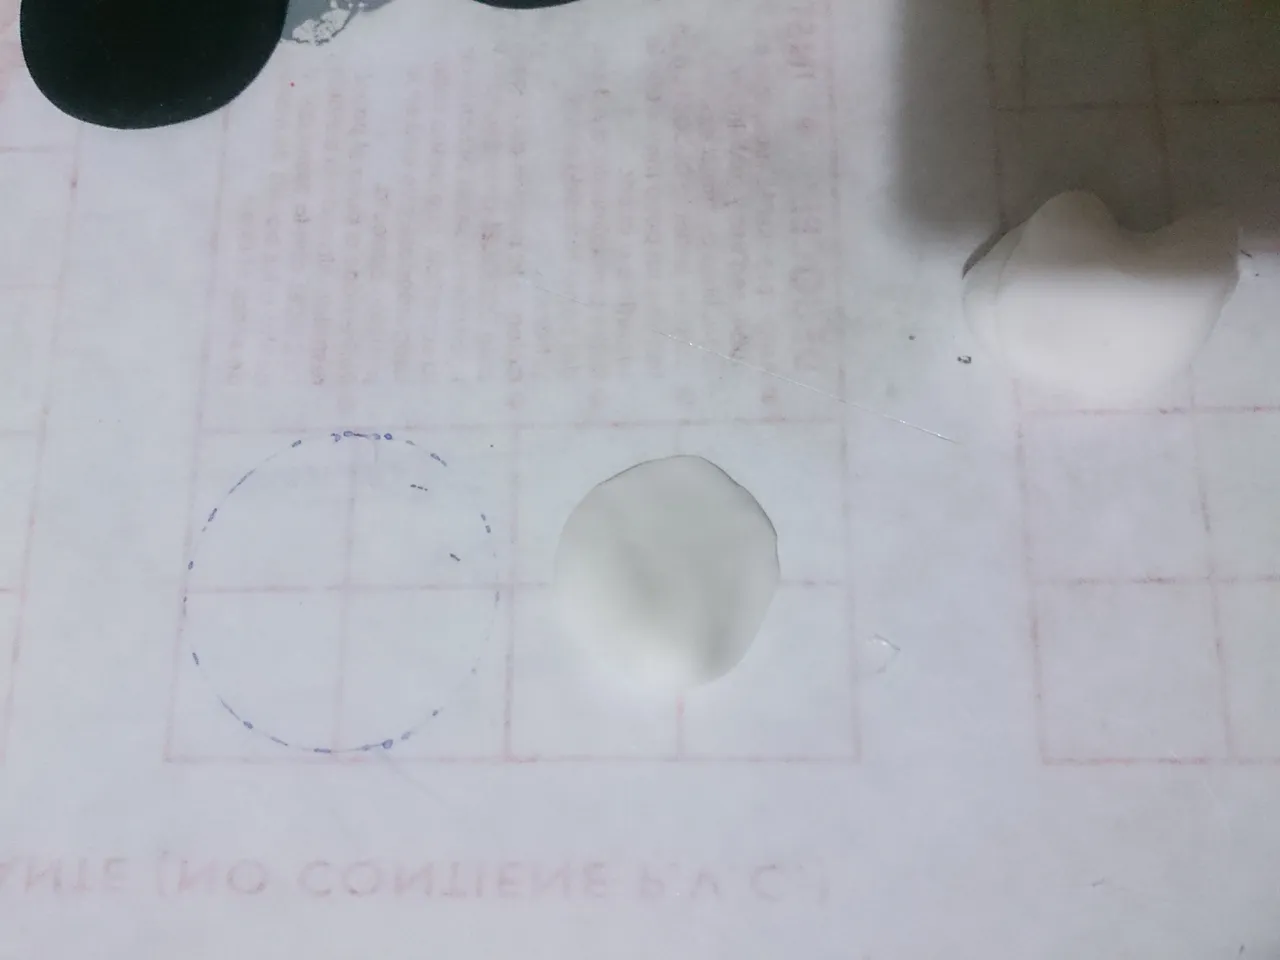
º Paso 1
Cut a small piece of DAS Putty, flatten it to a thickness of 3 to 5 millimeters, then with the circular cutters we take out several circles, put the eyepins with your Jump Ring Connectors and let them dry in free air, then anchor them with Black acrylic paint.
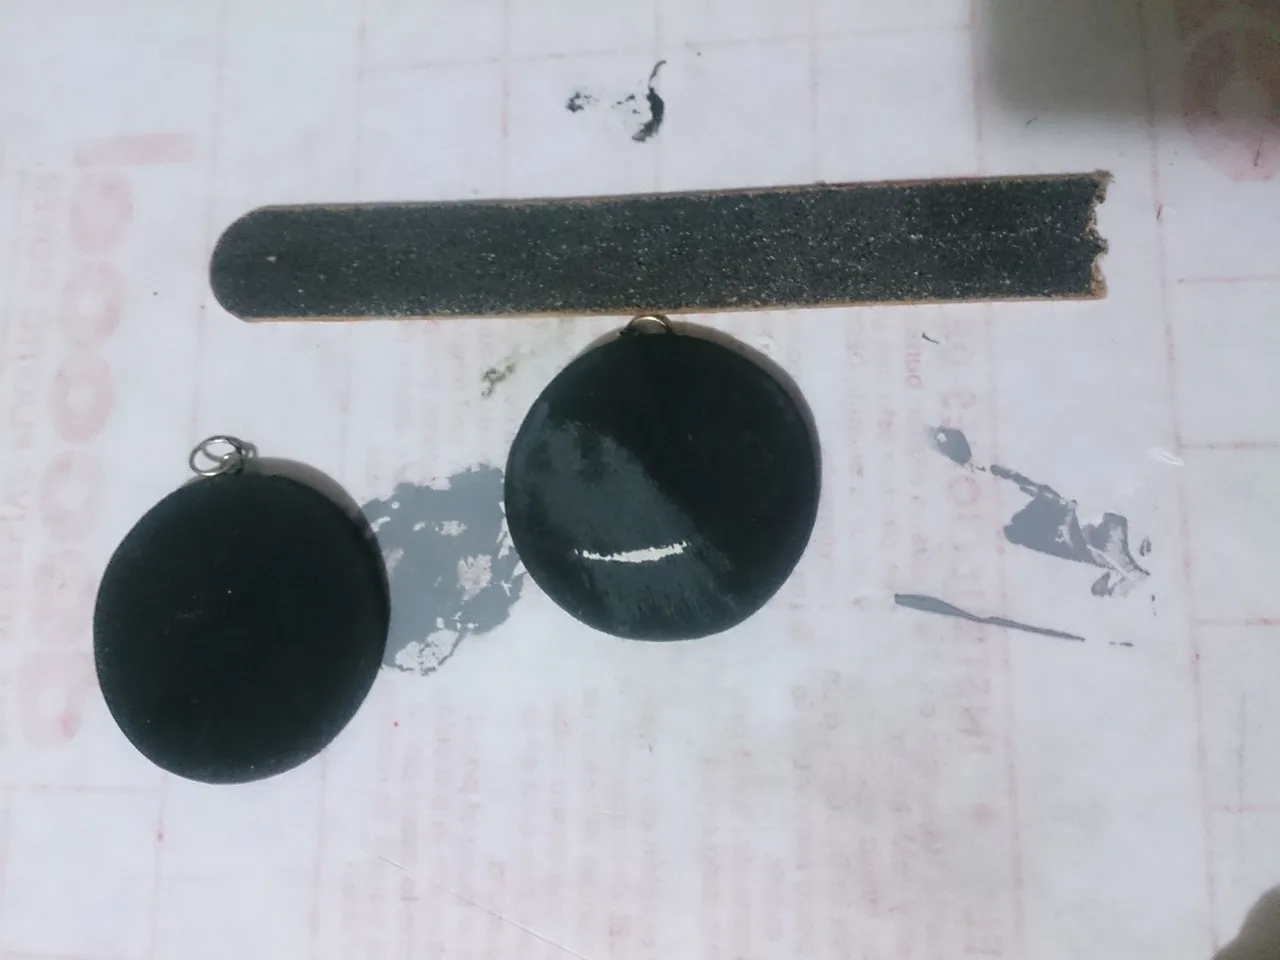
º Paso 2
With a file remove the imperfections that may have the circle.
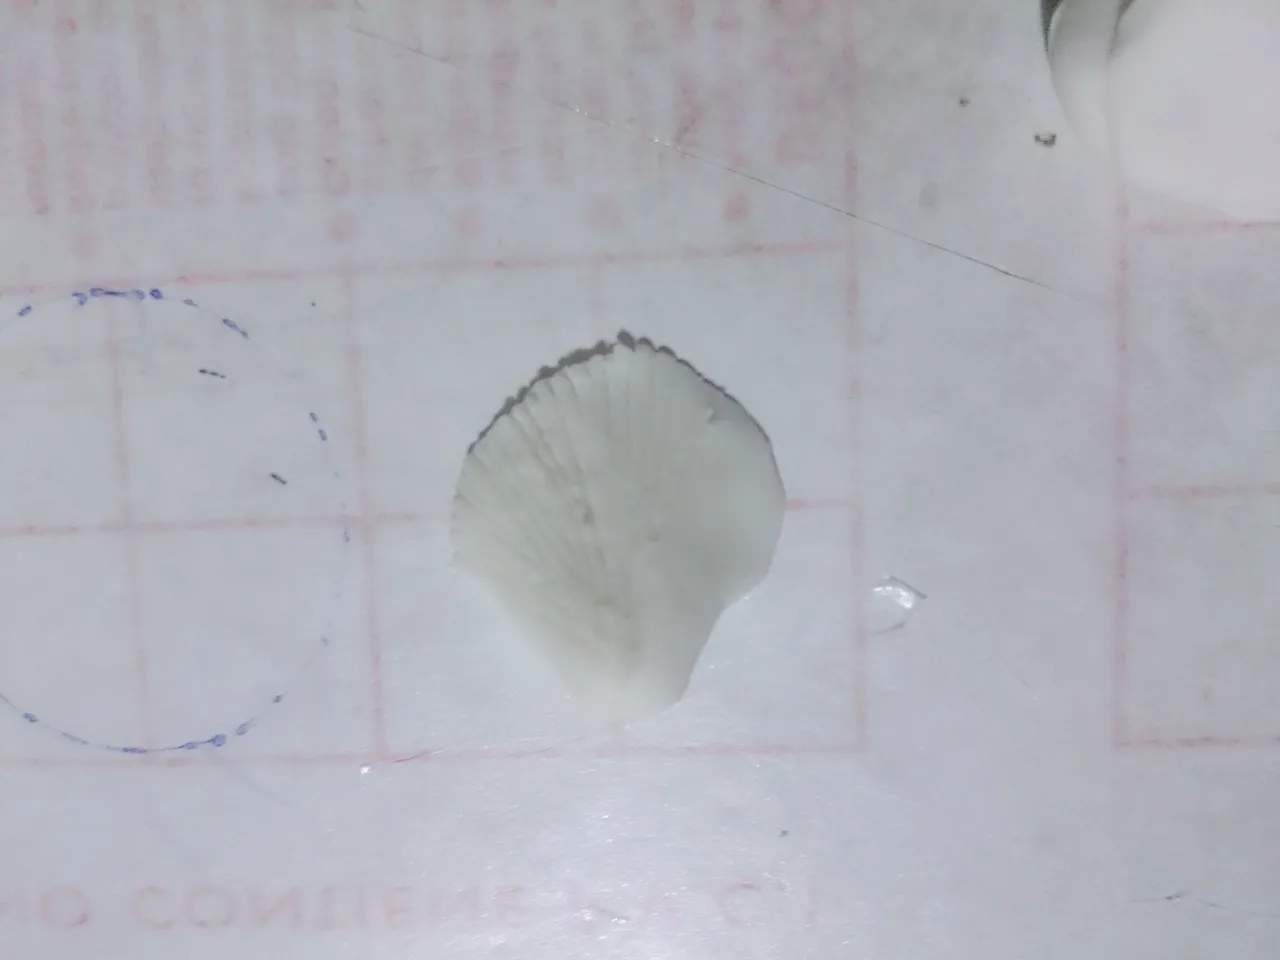
º Paso 3
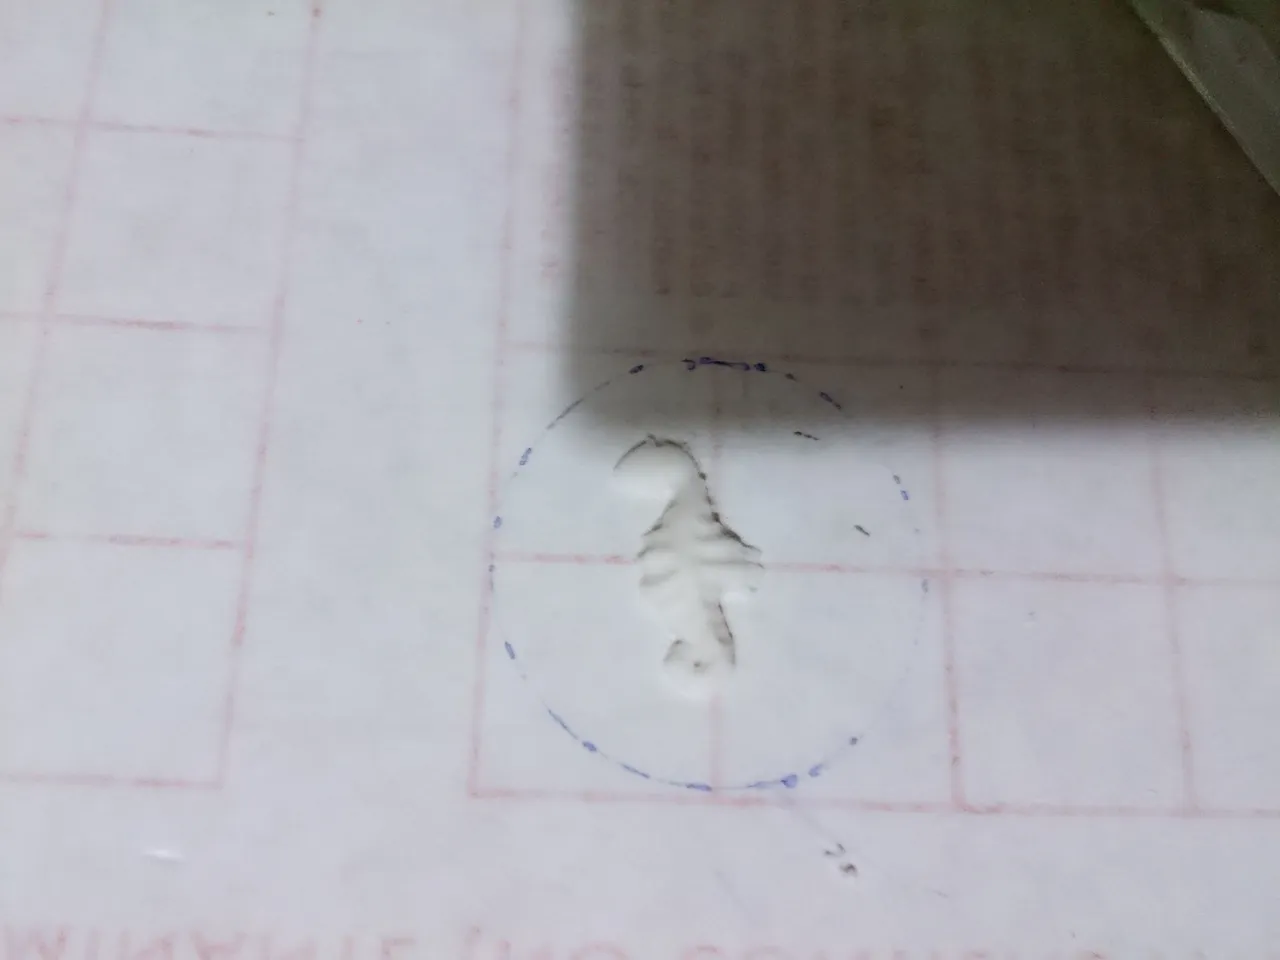
Take a piece of the Flexible Mass to make the figures, first make a sphere, flatten it in the upper part, while in the lower part press both sides until forming a roundness which is typical of the seashells.
º Paso 4
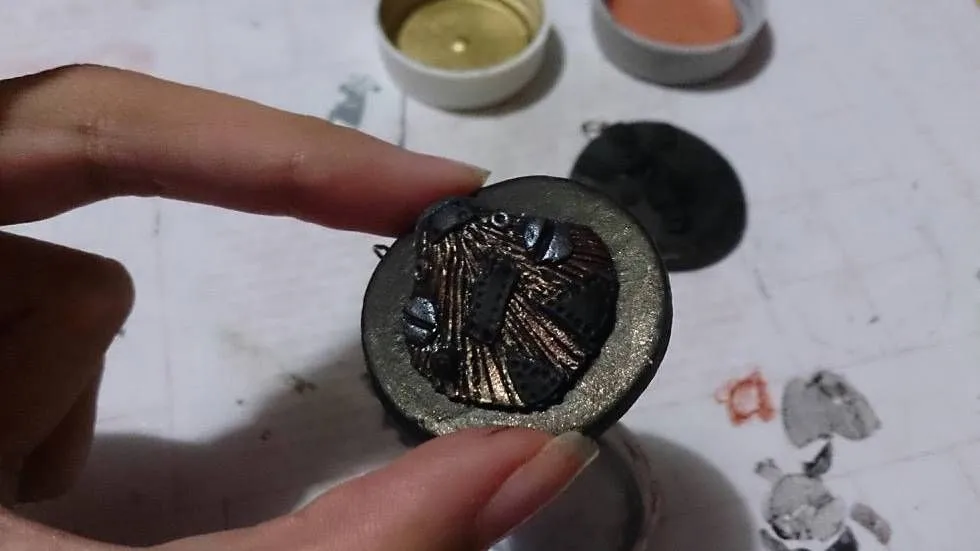
With a Xacto or Stileto begin to make furrows in the dough to create the texture of the sea shells.
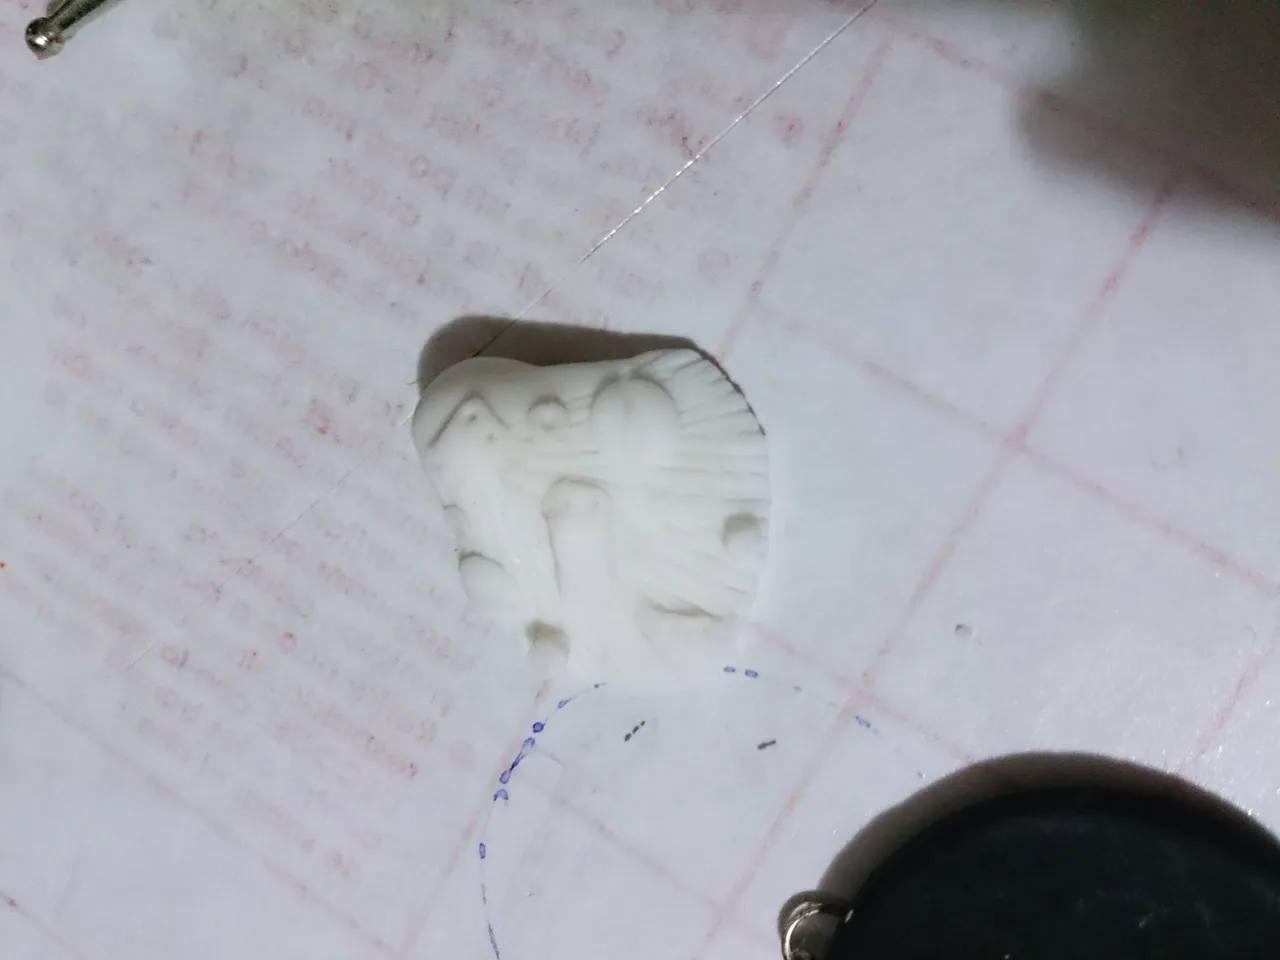
º Paso 5
Add the elements and details that are part of the Steampunk Style with Flexible Mass and White Paste to the whole piece and let it dry.
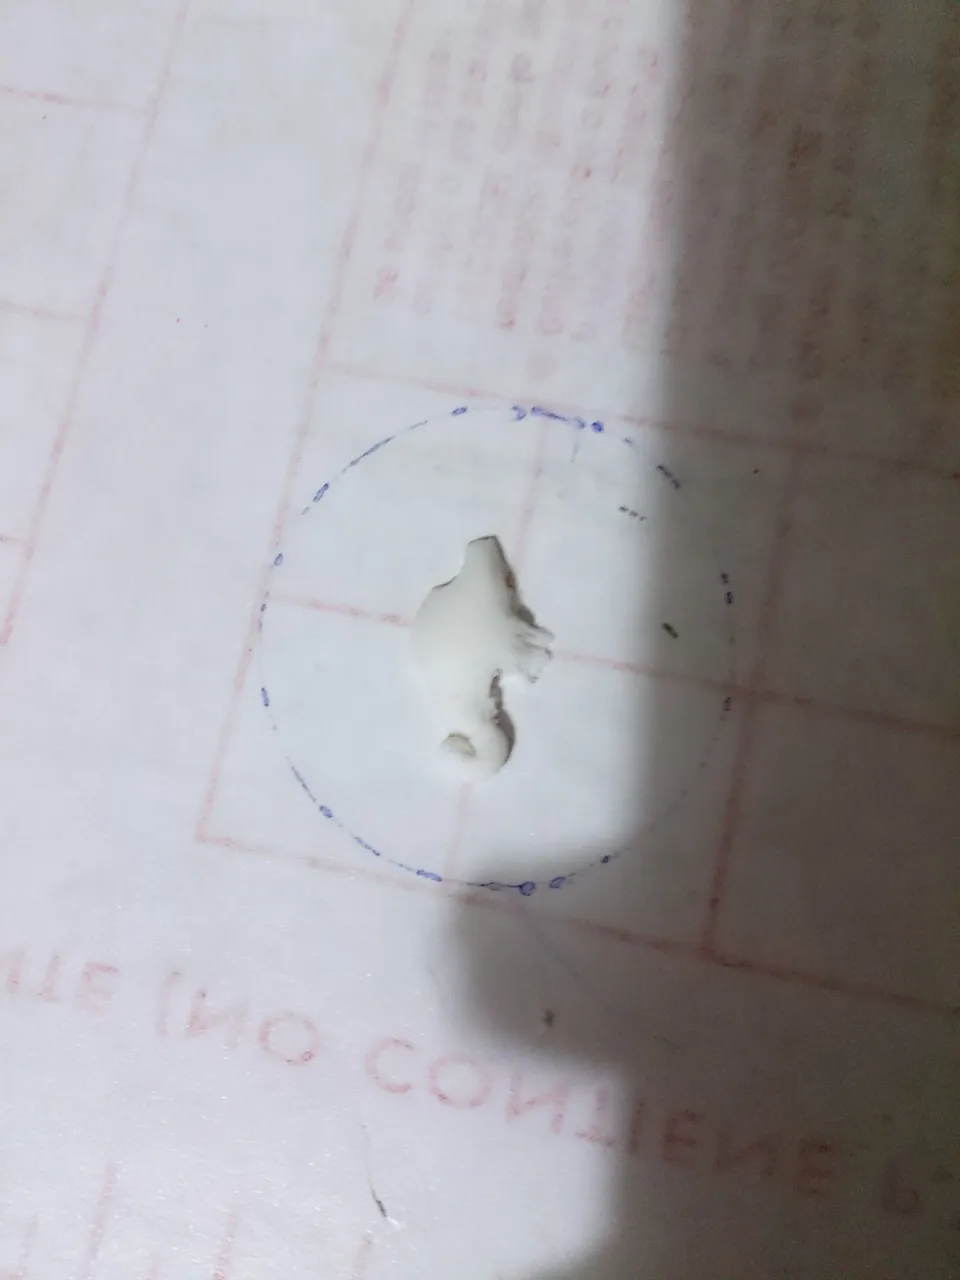
º Paso 6
To begin with the elaboration of the Seahorse; Make a sphere which you must turn into a cone to create part of the tail, cut from the right side in the form of a half circle to remove the fin and place a strip of flexible dough with one of the ends in the form of the lower part of the body. snail for the tail.
º Paso 7
Add the details of the body with one of the spherical stilettos and attach another sphere on the top to make the head with little detail.
º Paso 8
Once the piece is finished, paste it on the circular base, do the same with the Sea Shell and add the details to the Seahorse relevant to the Steampunk style.

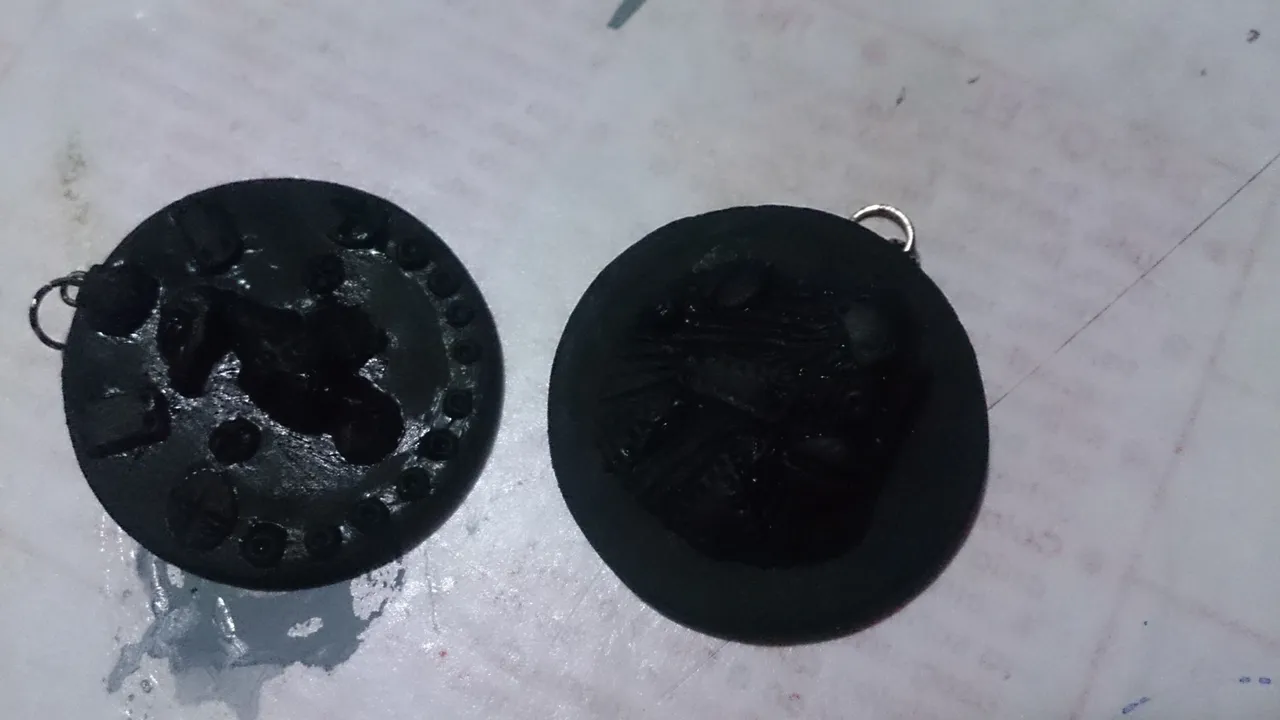
º Paso 9
Once they are firm and stuck to their bases, they proceed to paint both pieces black without leaving blank spaces.
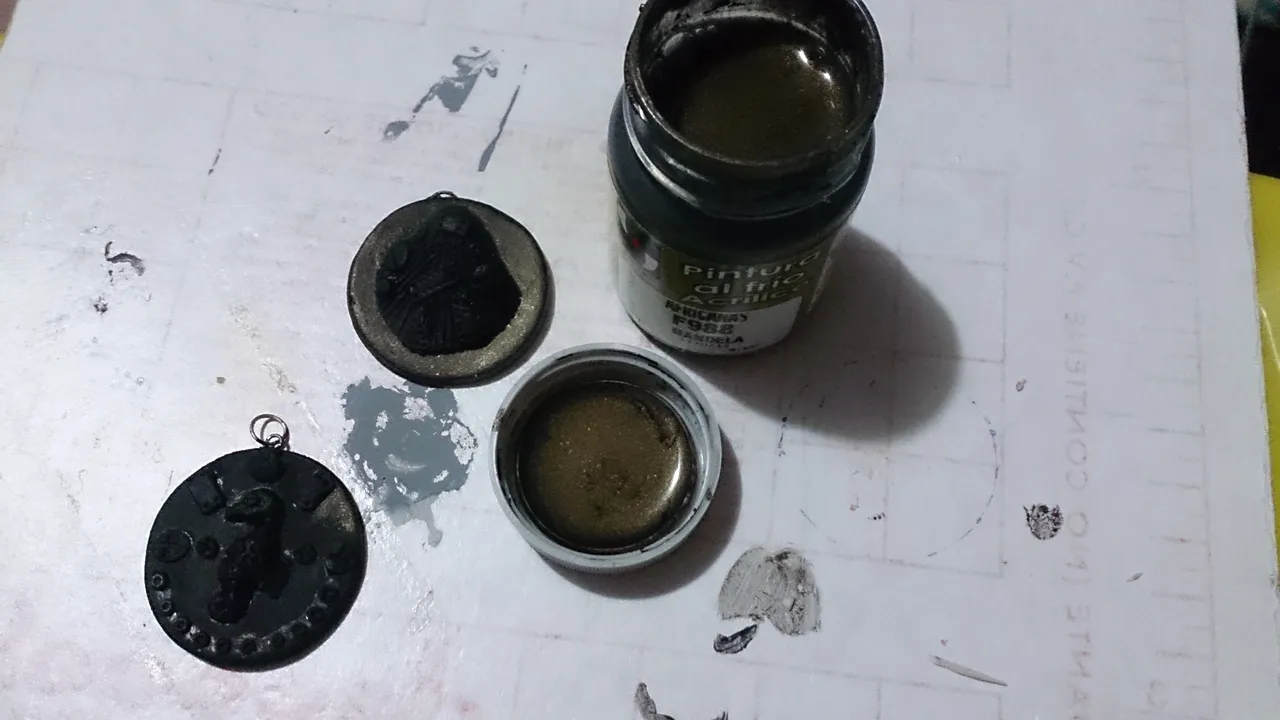
º Paso 10
Apply an acrylic aging to the base that gives it an opaque bronze finish; this applies to both pieces.
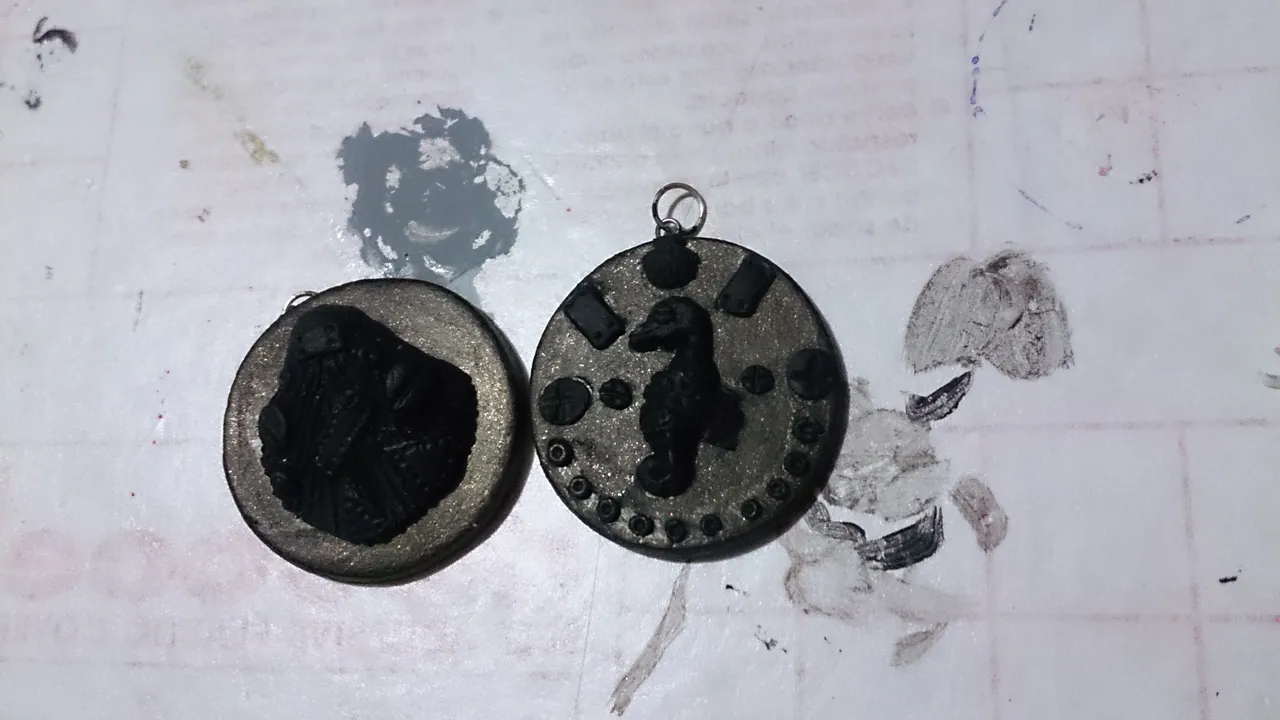
º Paso 11
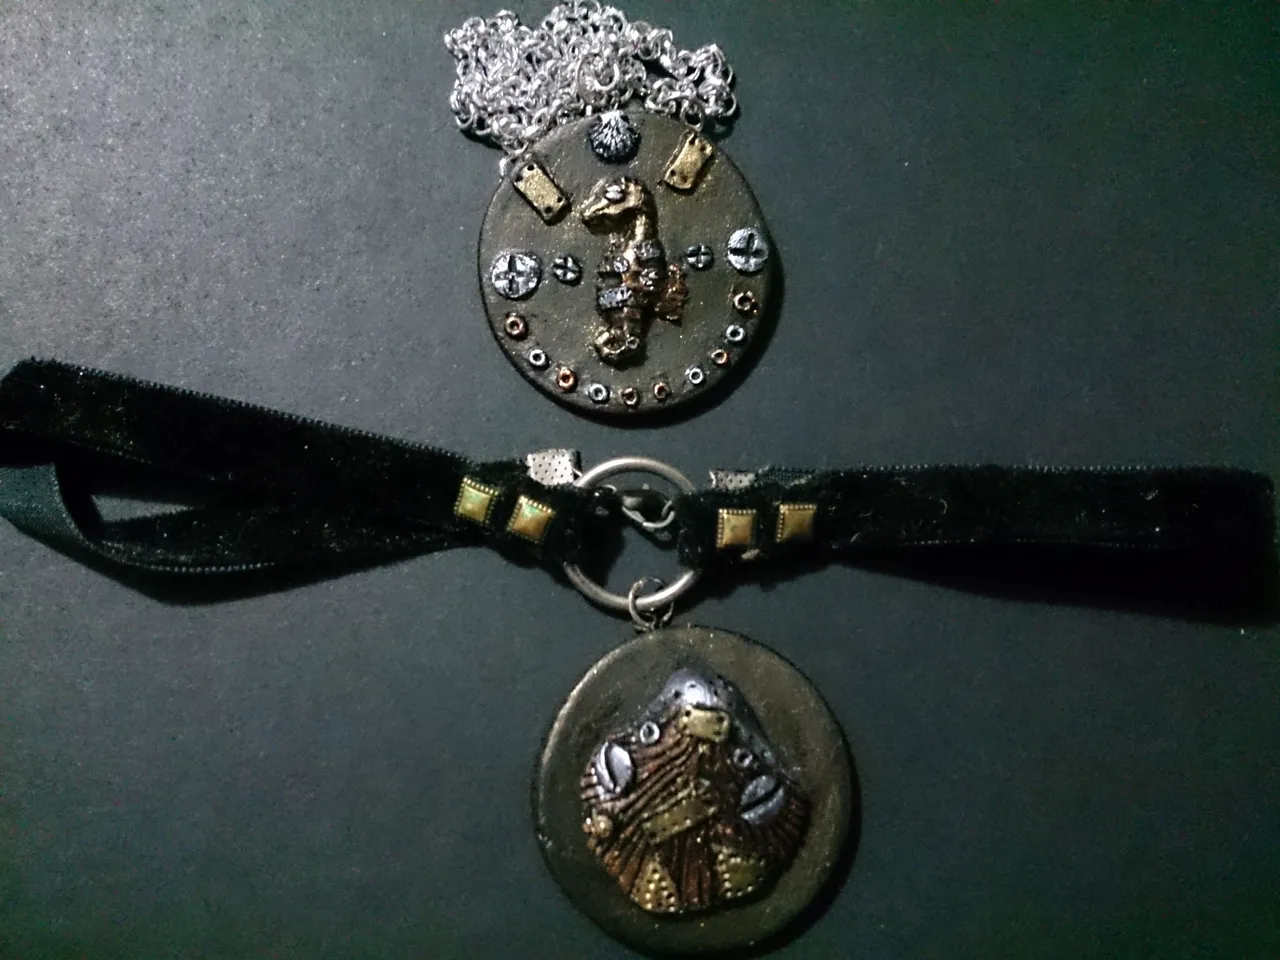
Begin to apply the technique of dry brush which consists of applying the paint with the semi-wet brush to give an old look to the pieces; This is achieved with metallic acrylics.

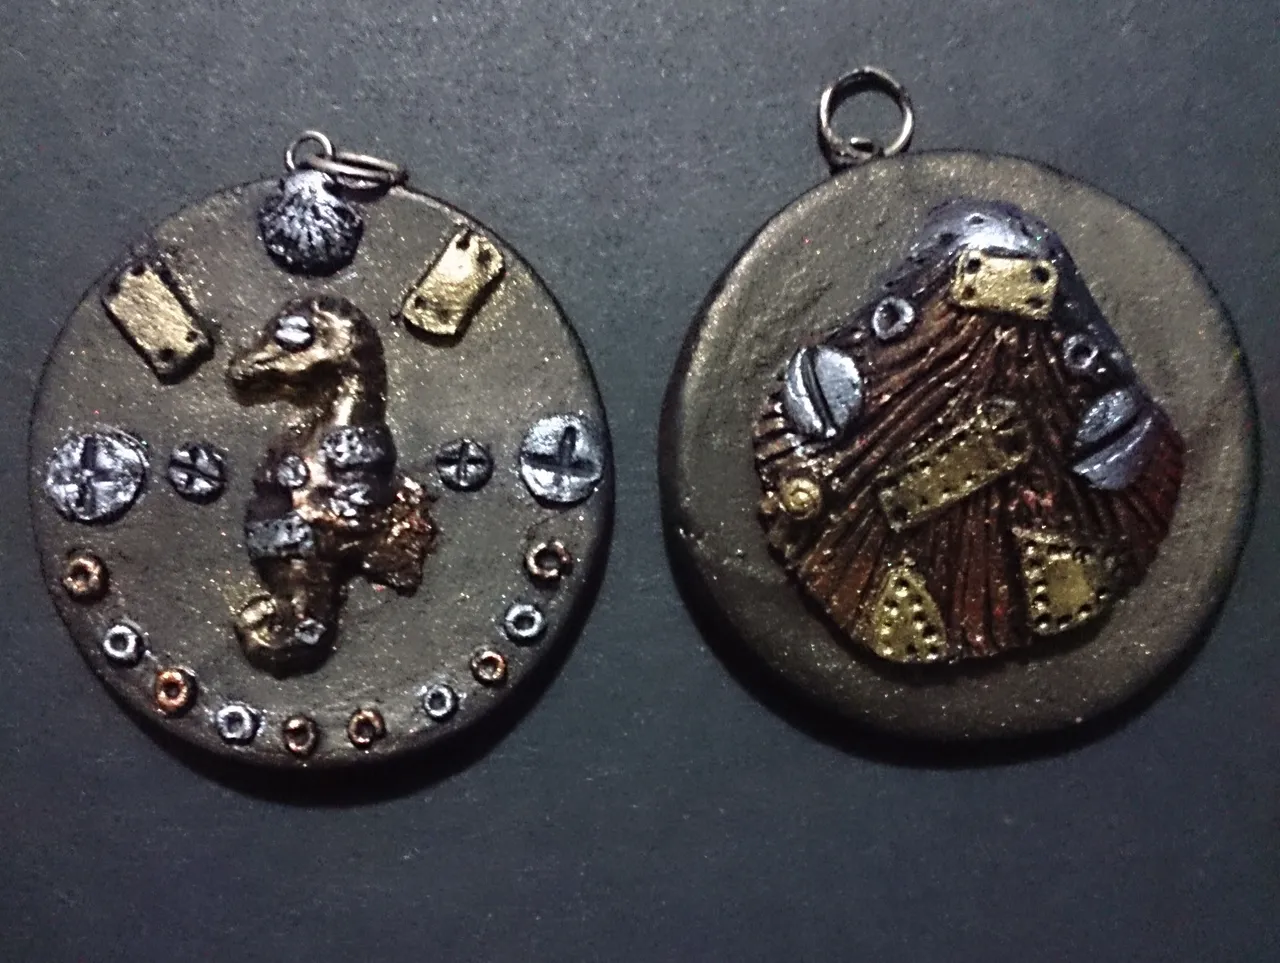
This is the final result :3
I hope you liked these Steampunk Charms, anything do not hesitate to ask: 3 Bye <3

Esta obra está bajo una Licencia Creative Commons Atribución 4.0 Internacional.
bitcoin wallet: 1PZzDpsbT7VxvnyRHNhnZrcUsZnncmyVq2