You don't really trust actual paper for your private keys or mnemonic phrase do you?
The standard cold storage is a paper wallet. Store the keys or seed on a piece of paper. No worry of passwords being lost/stolen or exchange websites going down. Paper has downsides though. It burns and rots. Hardware wallets like Trezor or Ledger have many advantages over paper, but come with their own concerns.
There's another option: metal.
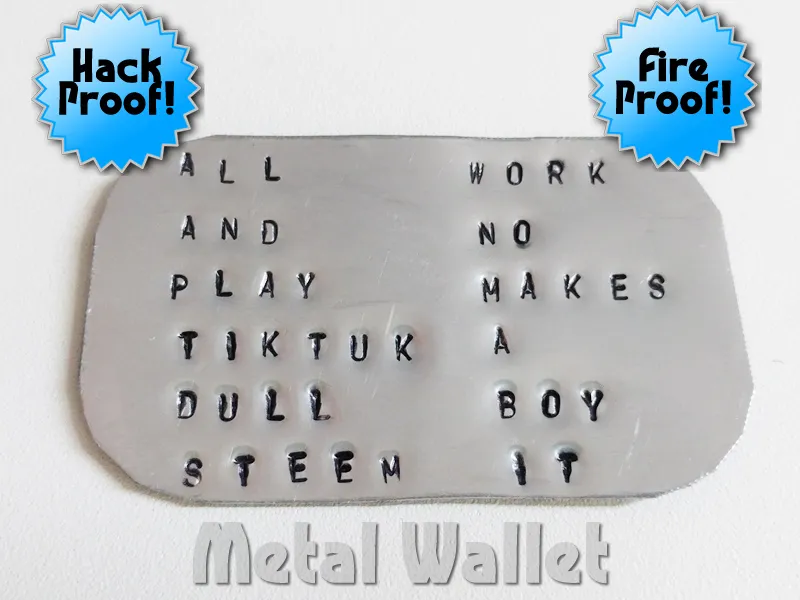
Fireproof and waterproof with no electronics to fail or security to breach. Make one (or many!) to keep your key or mnemonic phrase safe.
Warnings
- Protect yourself. Eyes and fingers are far more easily damaged than your metal wallet.
- Metal stamps are designed for soft metals. They will work with harder metals, but the process will be more difficult and dangerous.
- This post contains links to Amazon. All should be obvious.
- Acetone is flammable. 🔥
Equipment
| Required Items | |
|---|---|
| Eye protection — You only have two eyes. Keep them safe. Buy Safety Glasses |  |
| Hand protection — Protect your hands. Buy Mechanix Wear Gloves |  |
| Number and Letter Stamp Set — Hardened steel for imprinting lesser materials. Buy a 3mm 1/8" Stamp Set |  |
| Steel Bench Block — A solid piece of metal to work on your project. You need a solid surface made from a material stronger than your new wallet. Buy a Steel Bench Block | 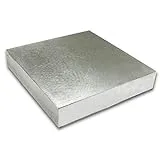 |
| Brass Hammer — The brass hammer will dent instead of the stamps. Hammer weight depends on metal type and thickness. .5kg/1lb/16oz for copper and brass. 1kg/2lb/32oz or more for stainless steel or titanium. Buy a Brass Hammer |  |
| Optional Items | |
|---|---|
| Aviation Snips — Snips cut sheet metal and come in left, straight and right cut versions. Buy a set of Aviation Snips | 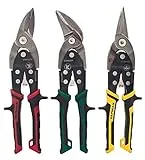 |
| Metal File — Smooth the sharp edges and corners of your work. Buy a set of Metal Files | 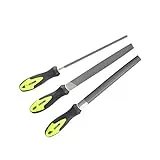 |
| Stamping Jig, 3mm — Hold 3mm stamps to protect your fingers. Buy a Metal Stamping Jig | 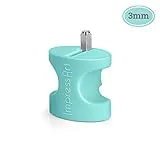 |
| Permanent Marker — Drawing guide lines and fill stamped characters for visibility. Buy Permanent Markers |  |
| Electrical Tape — Tape works instead of a marker. Buy Electrical Tape |  |
| Straight Edge — Draw straight guide lines. No need for extreme precision. | |
| Acetone — Nail Polish Remover. Removes Permanent Marker. |
Material
Be creative! You are creating an object which will stand the test of time, there are thousands of options. You can use simple sheet metal or a pre-made product. Avoid metals which easily corrode or rust.
Be careful working with harder metals such as Platinum, Steel, or Titanium. Softer metals such as Brass, Copper, Gold, or Silver are much easier to work with, but not as durable. Learn more about the Mohs Scale of Mineral Hardness or Sheet Metal Gauges. Aviation Snips are only good for up to about .031"/0.79mm/22 gauge sheet metal.
See after the Steps for material ideas.
Steps
Generate a new key/seed with Electrum, Armory, Jaxx or a BIP-39 generator. Write it down on paper. There are many guides about this process for all types of crypto. I won't cover those details here.
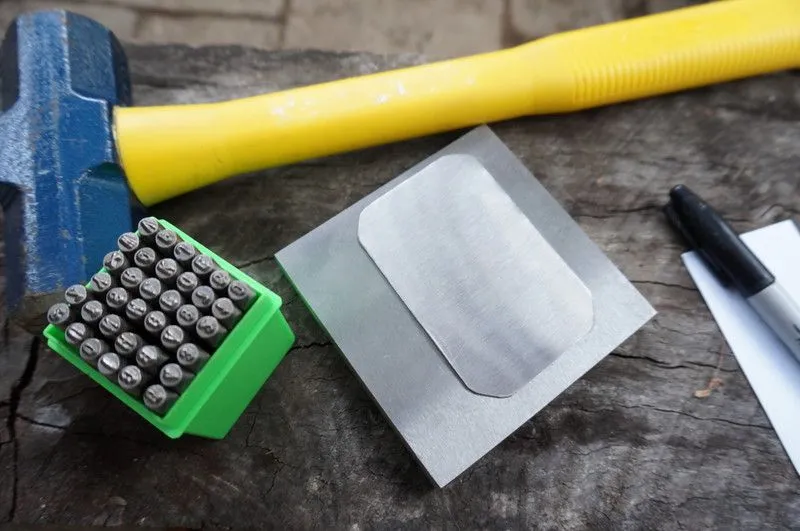
Prepare your metal. Will you use it as-is? Cut it up with your metal snips to make it a business card sized? In this case, I'm starting with a large piece of stainless steel sourced from an old microwave. Banana for scale.
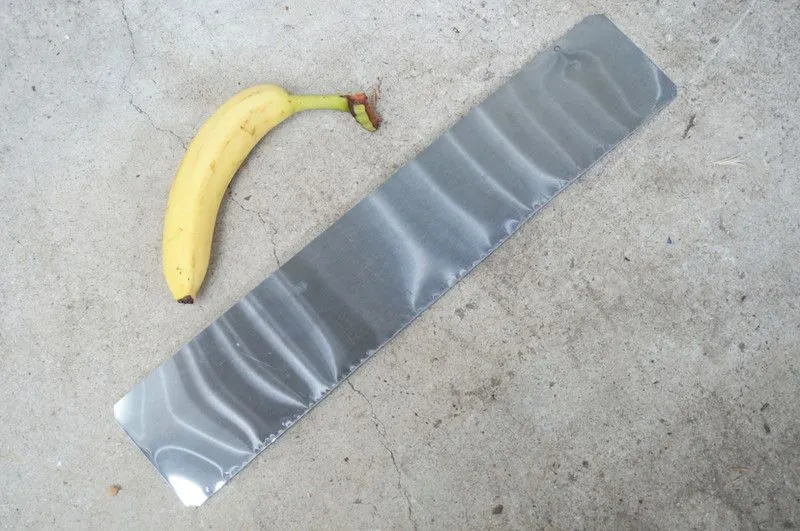
It's 0.63mm/0.025" thick and seems to be 24 gauge. Many cuts and failed cuts with the snips latter, I ended up with a reasonable ~60mm/2.5" x ~90mm/3.5" blank to use as my starting point. Cut the sharp 90° edges off with the aviation snips and file the points with the metal file.
Prepare your work area. I'm using a large block of wood; my tables are not strong enough.
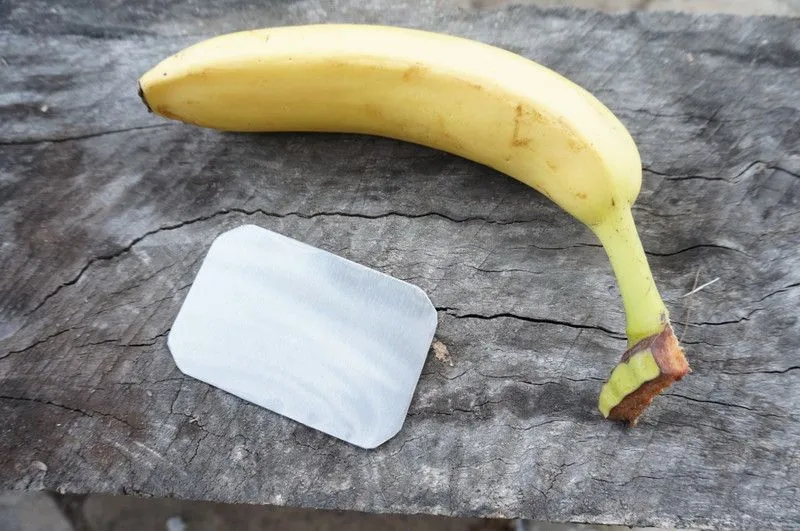
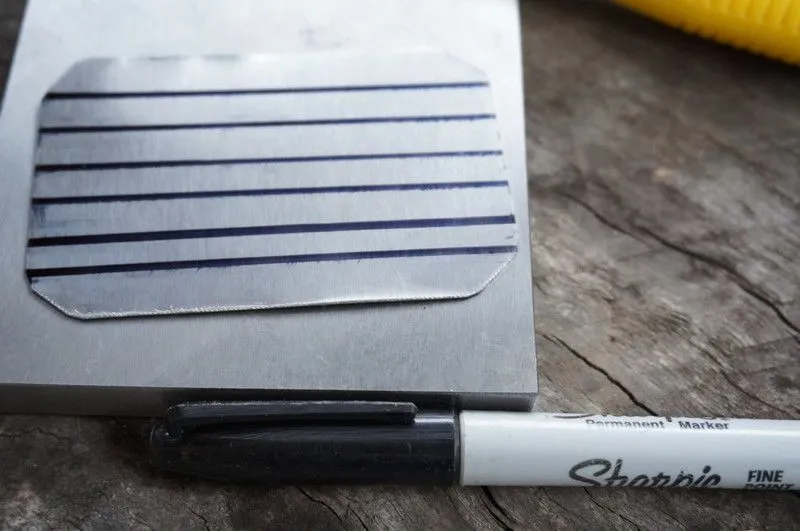
Add guide lines with a permanent marker or electrical tape. I used a marker and an old business card as a straight edge.
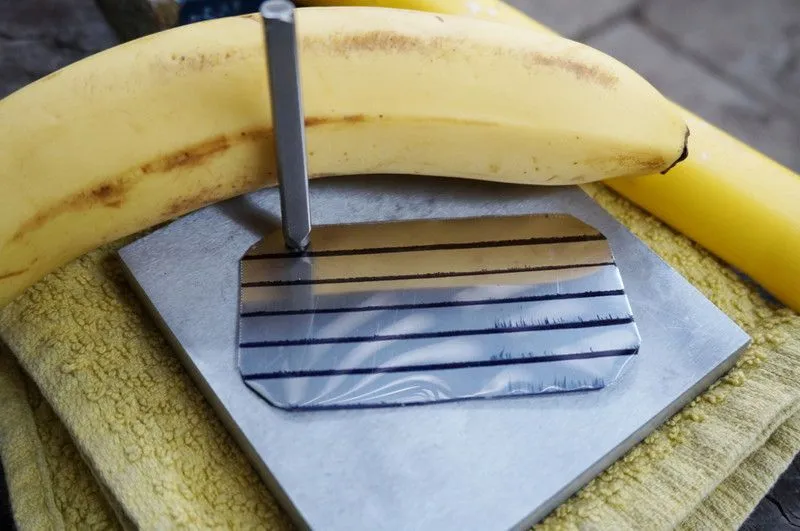
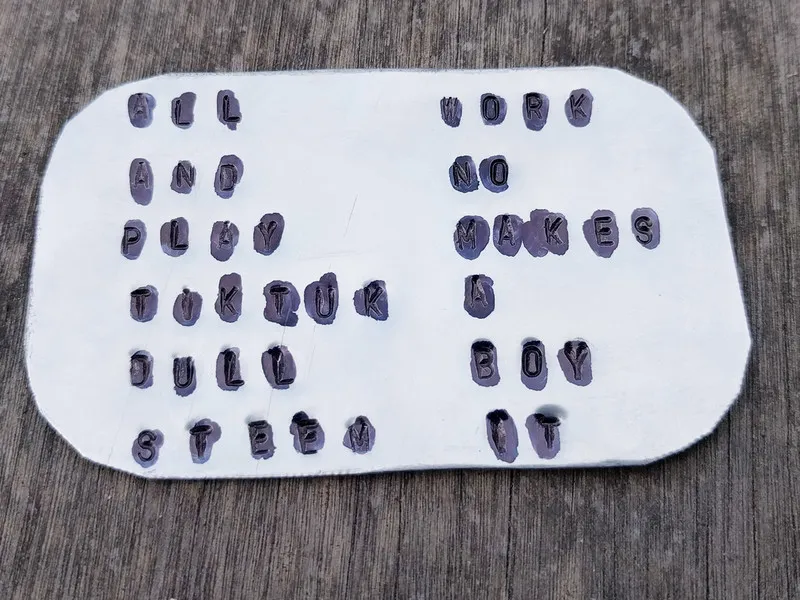
Stamp the key/mnemonic on the metal. Carefully hold the stamp with your non-dominate hand and strike the top of the stamp with your hammer. This is tedious and tiring work, it can be dangerous depending on the type of metal and size of hammer. Practice on some scrap metal first. Don't worry if you make a mistake. You bought extra material right? Banana because I needed to hold the stamp up. The first practice wallet took me about two hours and a bit of cursing. The pictured wallet was my third attempt.
Admire your work!
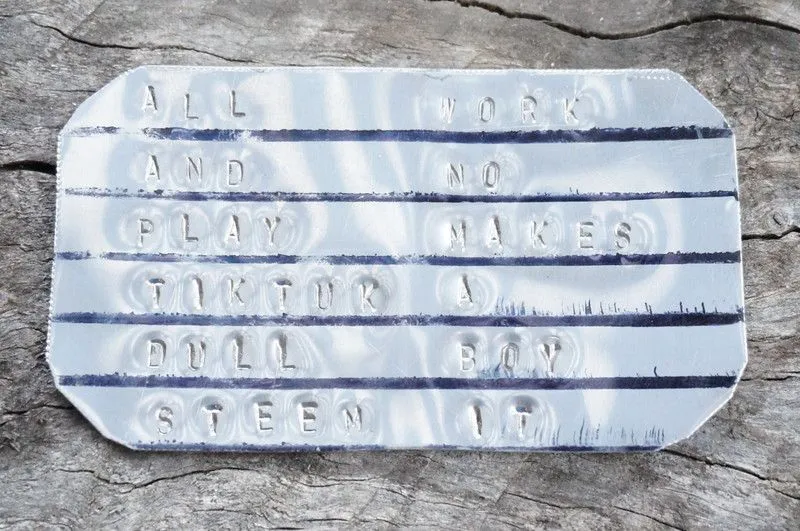
Fill the characters with ink. Clean the surface with Acetone. Use the permanent marker to fill in the stamped characters. Let it dry.
Clean the surface with acetone. Put some acetone on a cloth or paper towel, then carefully wipe away all of the marker on the top of the wallet. Don't press hard. Leave the ink in the stamped characters.
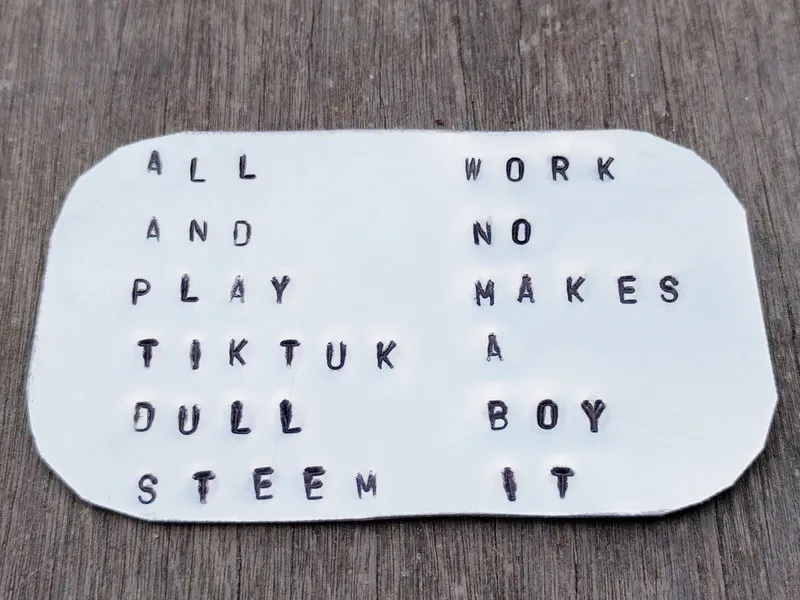
Done! Burn that flammable paper wallet. 🔥💸
Wallet Material Ideas

End
Have any other ideas for using existing metal products as wallets? Post them in the comments!
Thanks for reading! Please follow for more tutorials, howtos, and photography.