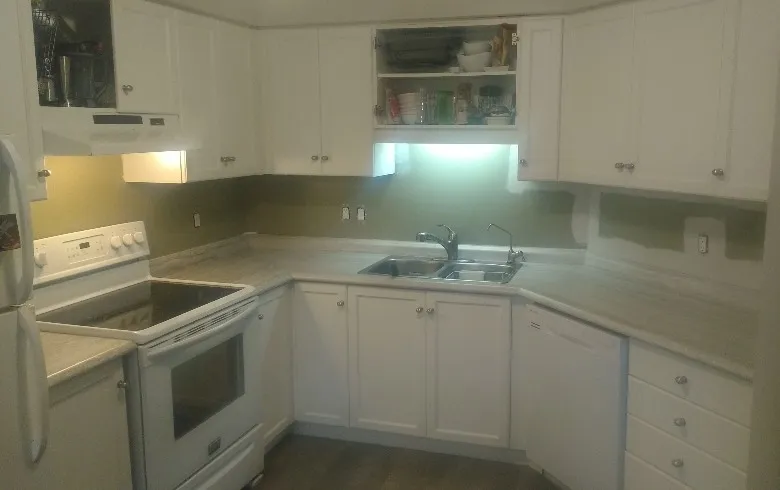
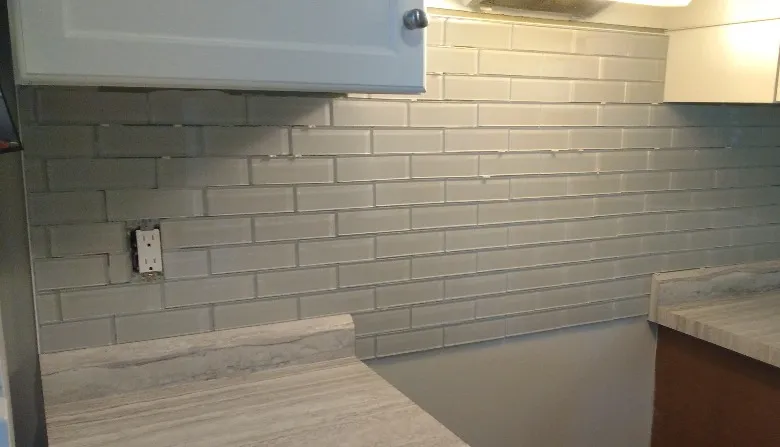
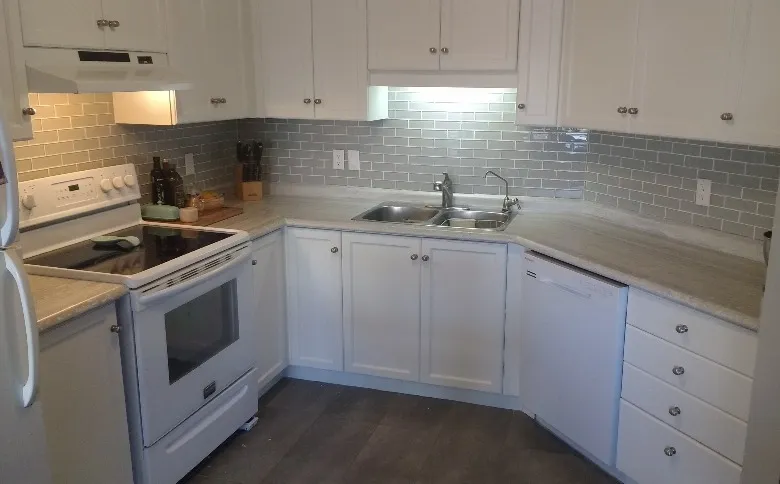
Over the past few days I've been installing a new glass tile mosaic backsplash in my kitchen. I'm not an expert handyman by any means and it was my fist time ever installing one but I think that it turned out quite nice overall. I also painted our cupboards which is why some of them are missing in the picture.
Kitchen Before Backsplash
Tools
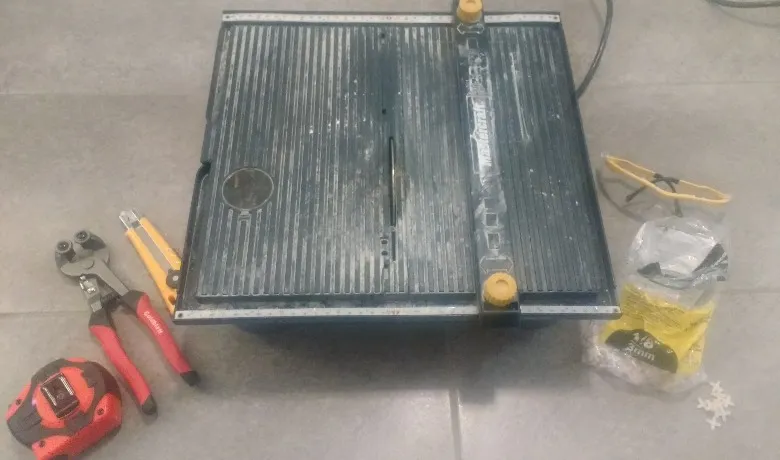
The wet saw, tile cutter I used was just a cheap thing that I borrowed from my father in law. It didn't have a guard to block the water that cooled the blade so water shot about five feet in every direction. Needless to say, I had to do all of the cutting in y garage rather than my kitchen.
The blade was a diamond blade specifically meant for cutting glass tiles. Diamond blades cut glass with minimal chipping.
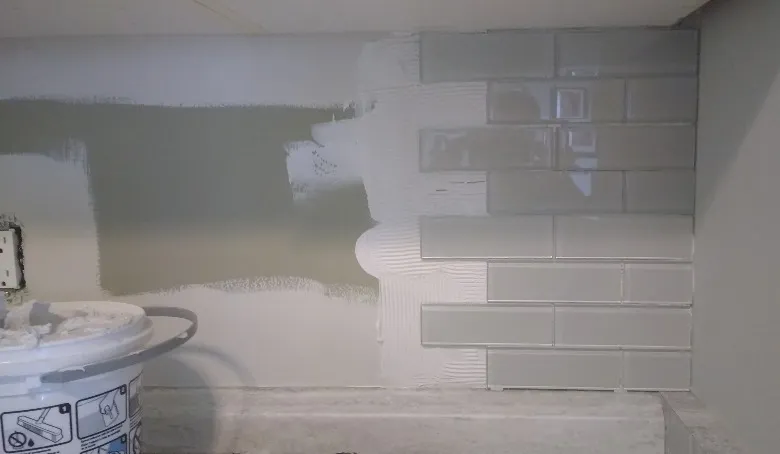
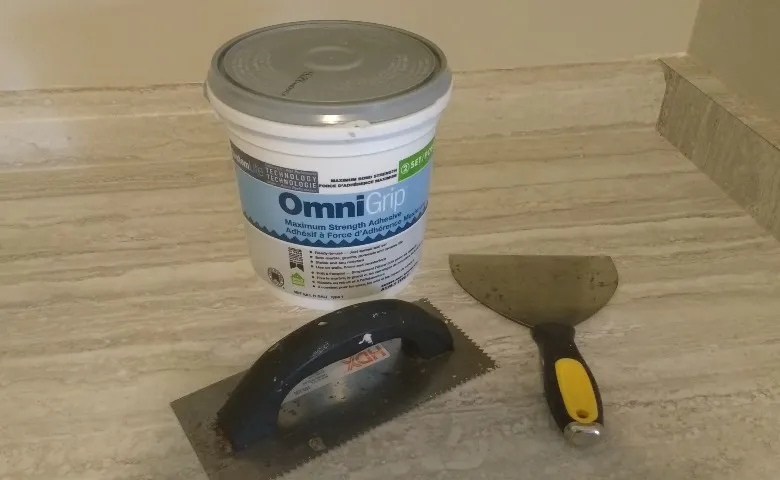
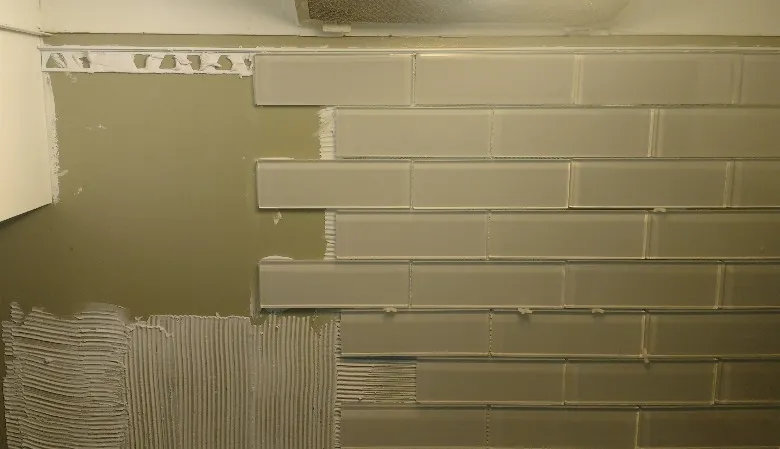
I used a spatula and 1/8" serrated trowel to spread tile adhesive on the wall. Then I stuck the 12"x 12" sheets of tiles to the adhesive.
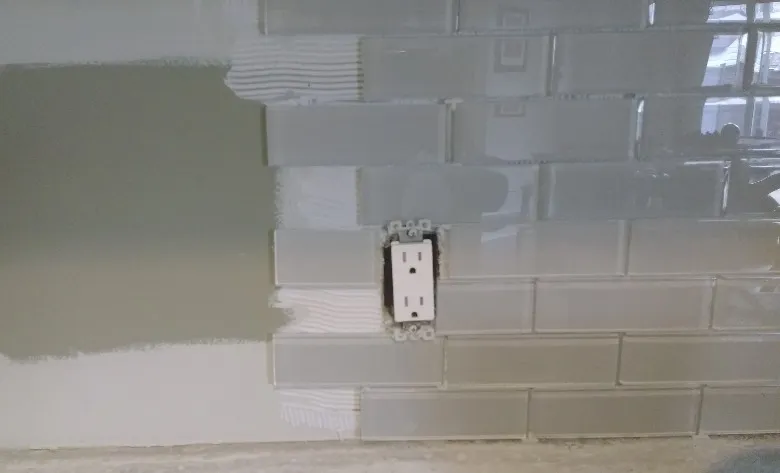
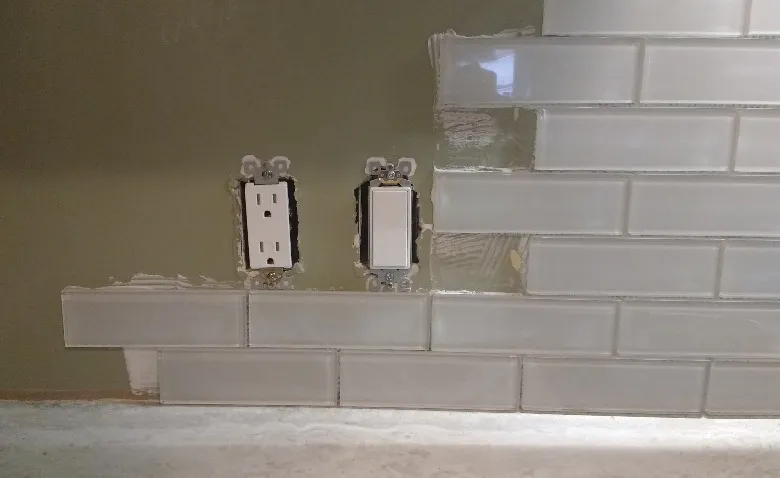
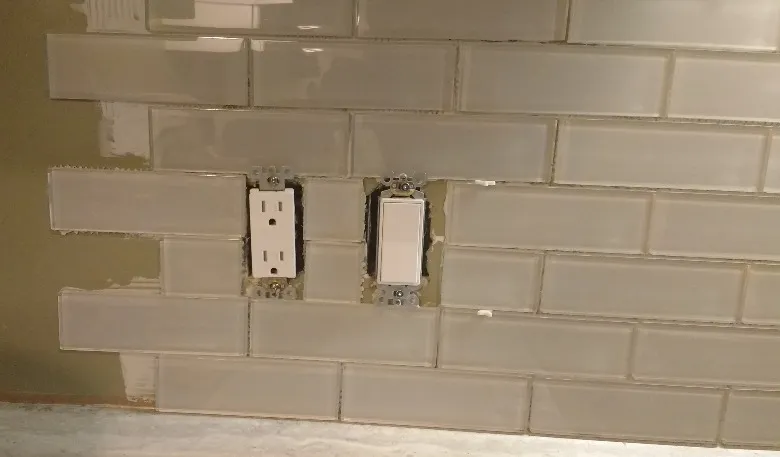
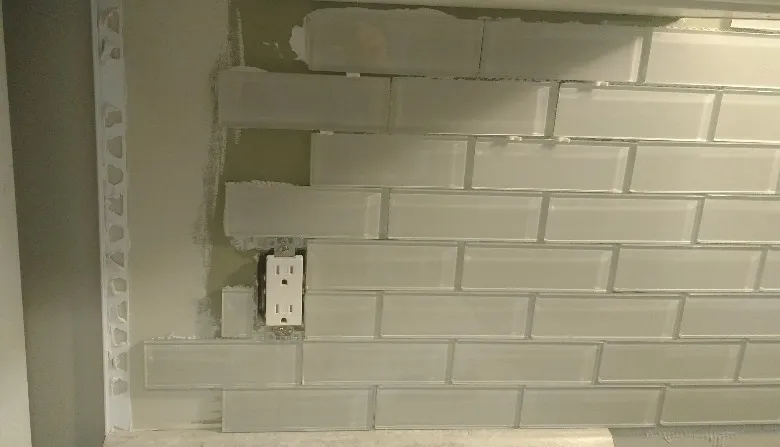
I had to cut some of the tiles to fit around the wall outlets.
One challenge that I ran into was that my wall has a 45 degree angle in it and my tile saw had no way of cutting the tiles at that angle. I ended up just butting the tiles up to each other which worked out ok. I also ended up with a small piece of tile ending up at the joint which was a mistake on my part. If I would have measured the space before I began laying tiles, I could have split the difference on both sides and made it more symmetrical. Opps.
Next I cut around cupboards and more outlets. I also used 1/8" spacers where necessary to keep the tiles lined up correctly.
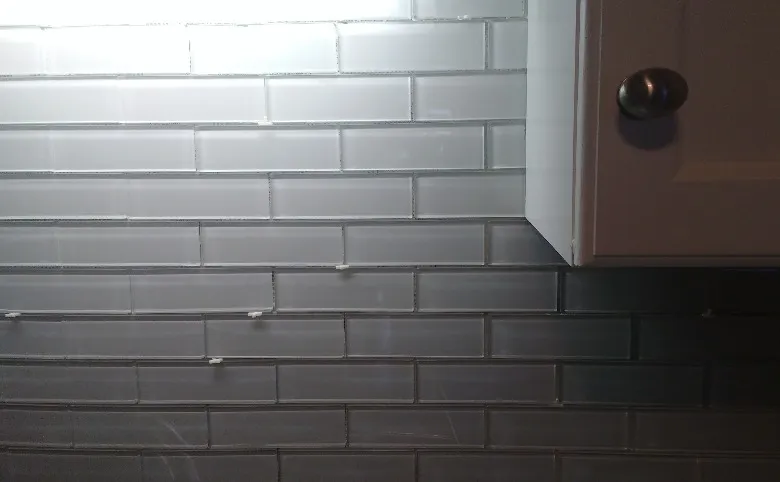
I ended up with a small space above the stove and didn't want to cut the tiles lengthwise to fill the gap so I added a finishing piece near the top of the stove. I'll paint the space to match the kitchen walls once I finish the project.
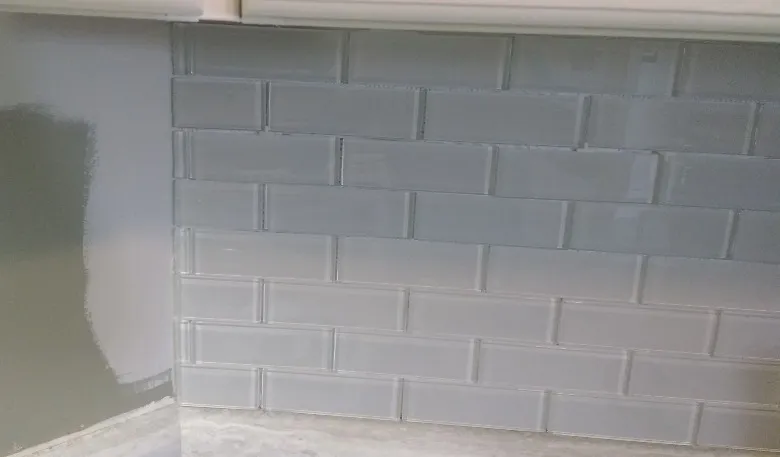
I also added a finishing piece at the end of the backsplash.
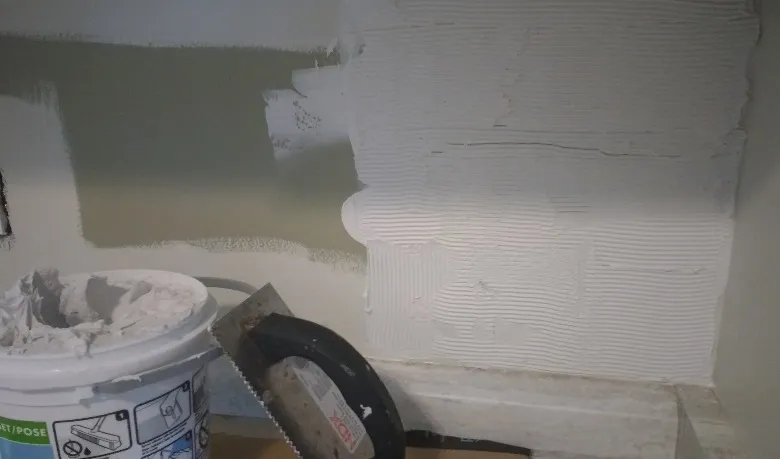
Grouting
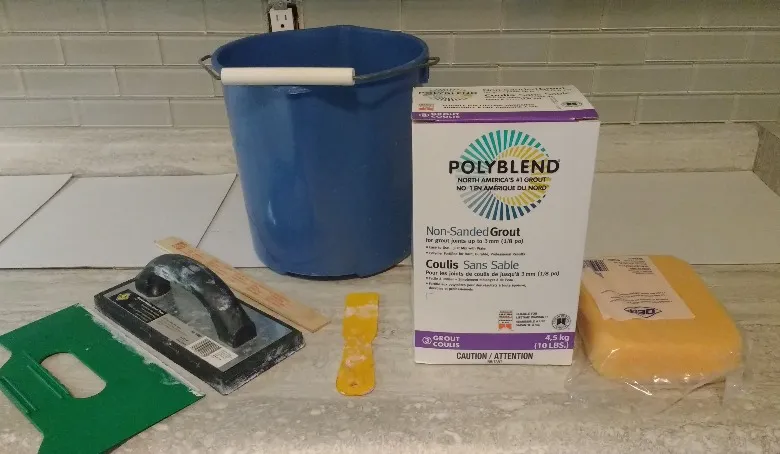
I used non-sanded grout which is required for glass tiles. There were several color choices including various shades of white and grey. I went with an off white color.
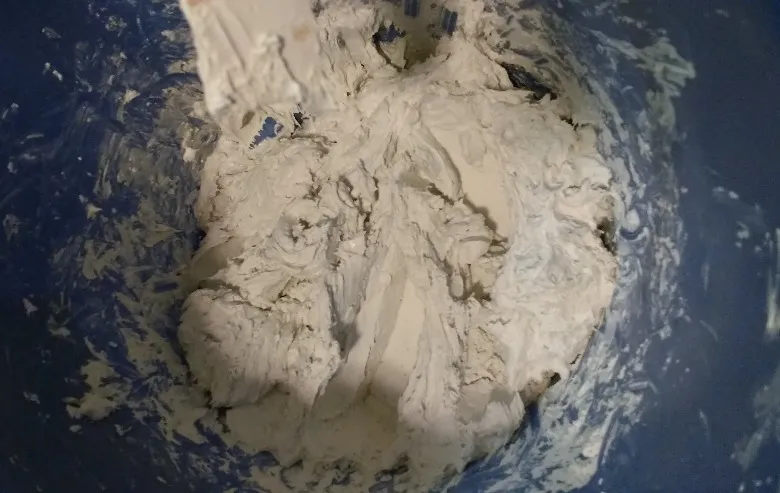
I mixed the grout powder with water to roughly the consistency of peanut butter. Then I filled in the gaps in the tiles with a plastic spatula and rubber float.

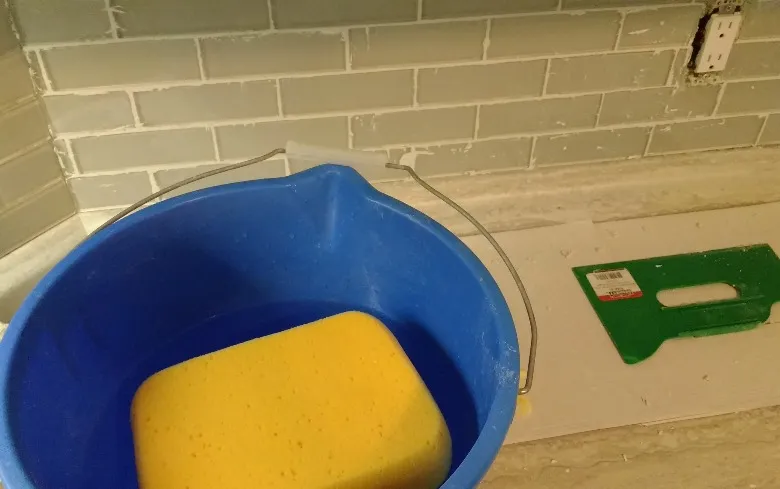
After letting the grout sit for about 20 minutes, I wiped off all of the excess grout with a damp sponge and ran my finger over each seem to make sure everything was smooth and clean. I had to clean the tiles several times in order to wash away all of the film left by the grout. I left a little too much grout on the tiles and it took quite a while to fully clean each of them.
Job Complete
I think the project turned out pretty good in the end. There were a few minor imperfections but both me and my wife were satisfied with overall finished look.
